DIY ventilation in the kitchen
Content
- 1 Requirements for the ventilation of the kitchen and verification of its operation
- 2 Types of ventilation
- 3 Kitchen ventilation system
- 4 How to choose a hood?
- 5 Installation of ventilation in the kitchen
- 6 Supply valve installation
- 7 Exhaust fan connection
- 8 Connecting the hood in the kitchen to the ventilation
- 9 Ventilation in the kitchen in a private house
If odors and stale air are constantly felt in your apartment, then ventilation is either absent or not working. In addition to the presence of odors, which themselves are harmless, poor air exchange is fraught with the fact that repairs in the apartment will have to be done more often, since mold spores begin to multiply quickly in stagnant, humid air and then precipitate in secluded corners in the form of fungal deposits. In the kitchen, with a poor hood, particles of burning and grease settle on the ceiling and walls, quickly negating fresh repairs.
Lack of ventilation brings even greater harm to health. In stagnant air, the oxygen content is reduced, but there is an excess of carbon dioxide in it. A person in such an atmosphere quickly gets tired, does not feel cheerfulness, headaches can begin. Particles of burning and mold spores settle in the lungs, slowly destroying health. In a word, it is time to start installing ventilation in the kitchen - find out the causes of poor air flow and eliminate them.
Requirements for the ventilation of the kitchen and verification of its operation
In the houses of the Khrushchev’s layout, the kitchens are usually small, another part of the area is eaten by a vertical ventilation shaft. A mine is an engineering structure, the parameters of which are carefully calculated at the design stage of a house. It is a vertical box, originating in the basement and facing the roof. In the bathrooms and kitchens of each apartment there are ventilation grilles through which air enters the mine and is led out.
The mine’s performance can be checked by holding a piece of paper to the grate. If the sheet is stuck to the grate, ventilation works fine. If the paper does not hold at all - the ventilation is clogged, partially collapsed, or one of the residents arbitrarily broke the shaft wall in order to increase the area of the kitchen. To check, open the windows and once again lean the sheet against the grate. If traction is still missing, the problem is really in the mine. To clean it or restore it, you must submit an application to a competent organization. If the draft has appeared, you will have to install a supply fan, because the sealed windows impede the movement of air.
Types of ventilation
Air exchange in apartment buildings is carried out in three ways:
- Natural involves the use of traction, which creates a pressure drop in the ventilation shafts. Its action is described above.
- Combined uses either forced air supply and its natural exit through the shaft, or air flow through windows, windows, slots and outflows using fans built into the exhaust openings.
- The forced system involves the installation of fans of both types - supply and exhaust. This ventilation can be autonomous and centralized.
Autonomous type involves the operation of an exhaust fan at the entrance to the mine on the facade of the building. Also, air can enter through the supply valves.
The centralized type is a ventilation chamber with supply and exhaust units. This system works constantly.
Kitchen ventilation system
The simplest kitchen ventilation system consists of an exhaust hood, duct and check valve. First you need to calculate the required hood power. To do this, remember the multiplication table. Or pick up a calculator:
- we multiply the area of the kitchen and the height of the ceiling;
- multiply the resulting number by 12;
- add 30% to the resulting figure, or simply multiply by 1.3;
- the result is an approximate drawing power.
Air ducts are rarely of direct shape, and when gases move along them, part of the power is lost, so 30% is added to the resulting figure.
How to choose a hood?
Now we go to choose a hood. According to the installation method, the hoods are divided into:
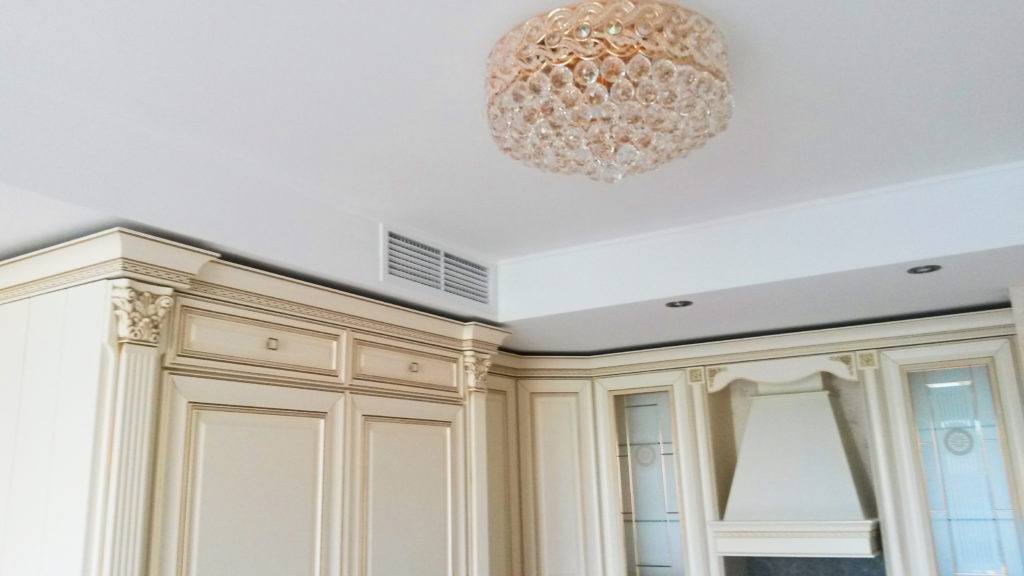
- Recessed. As the name implies, the hood is built into the kitchen furniture, only the grill remains on the outside. This look fits easily into the design of any kitchen.
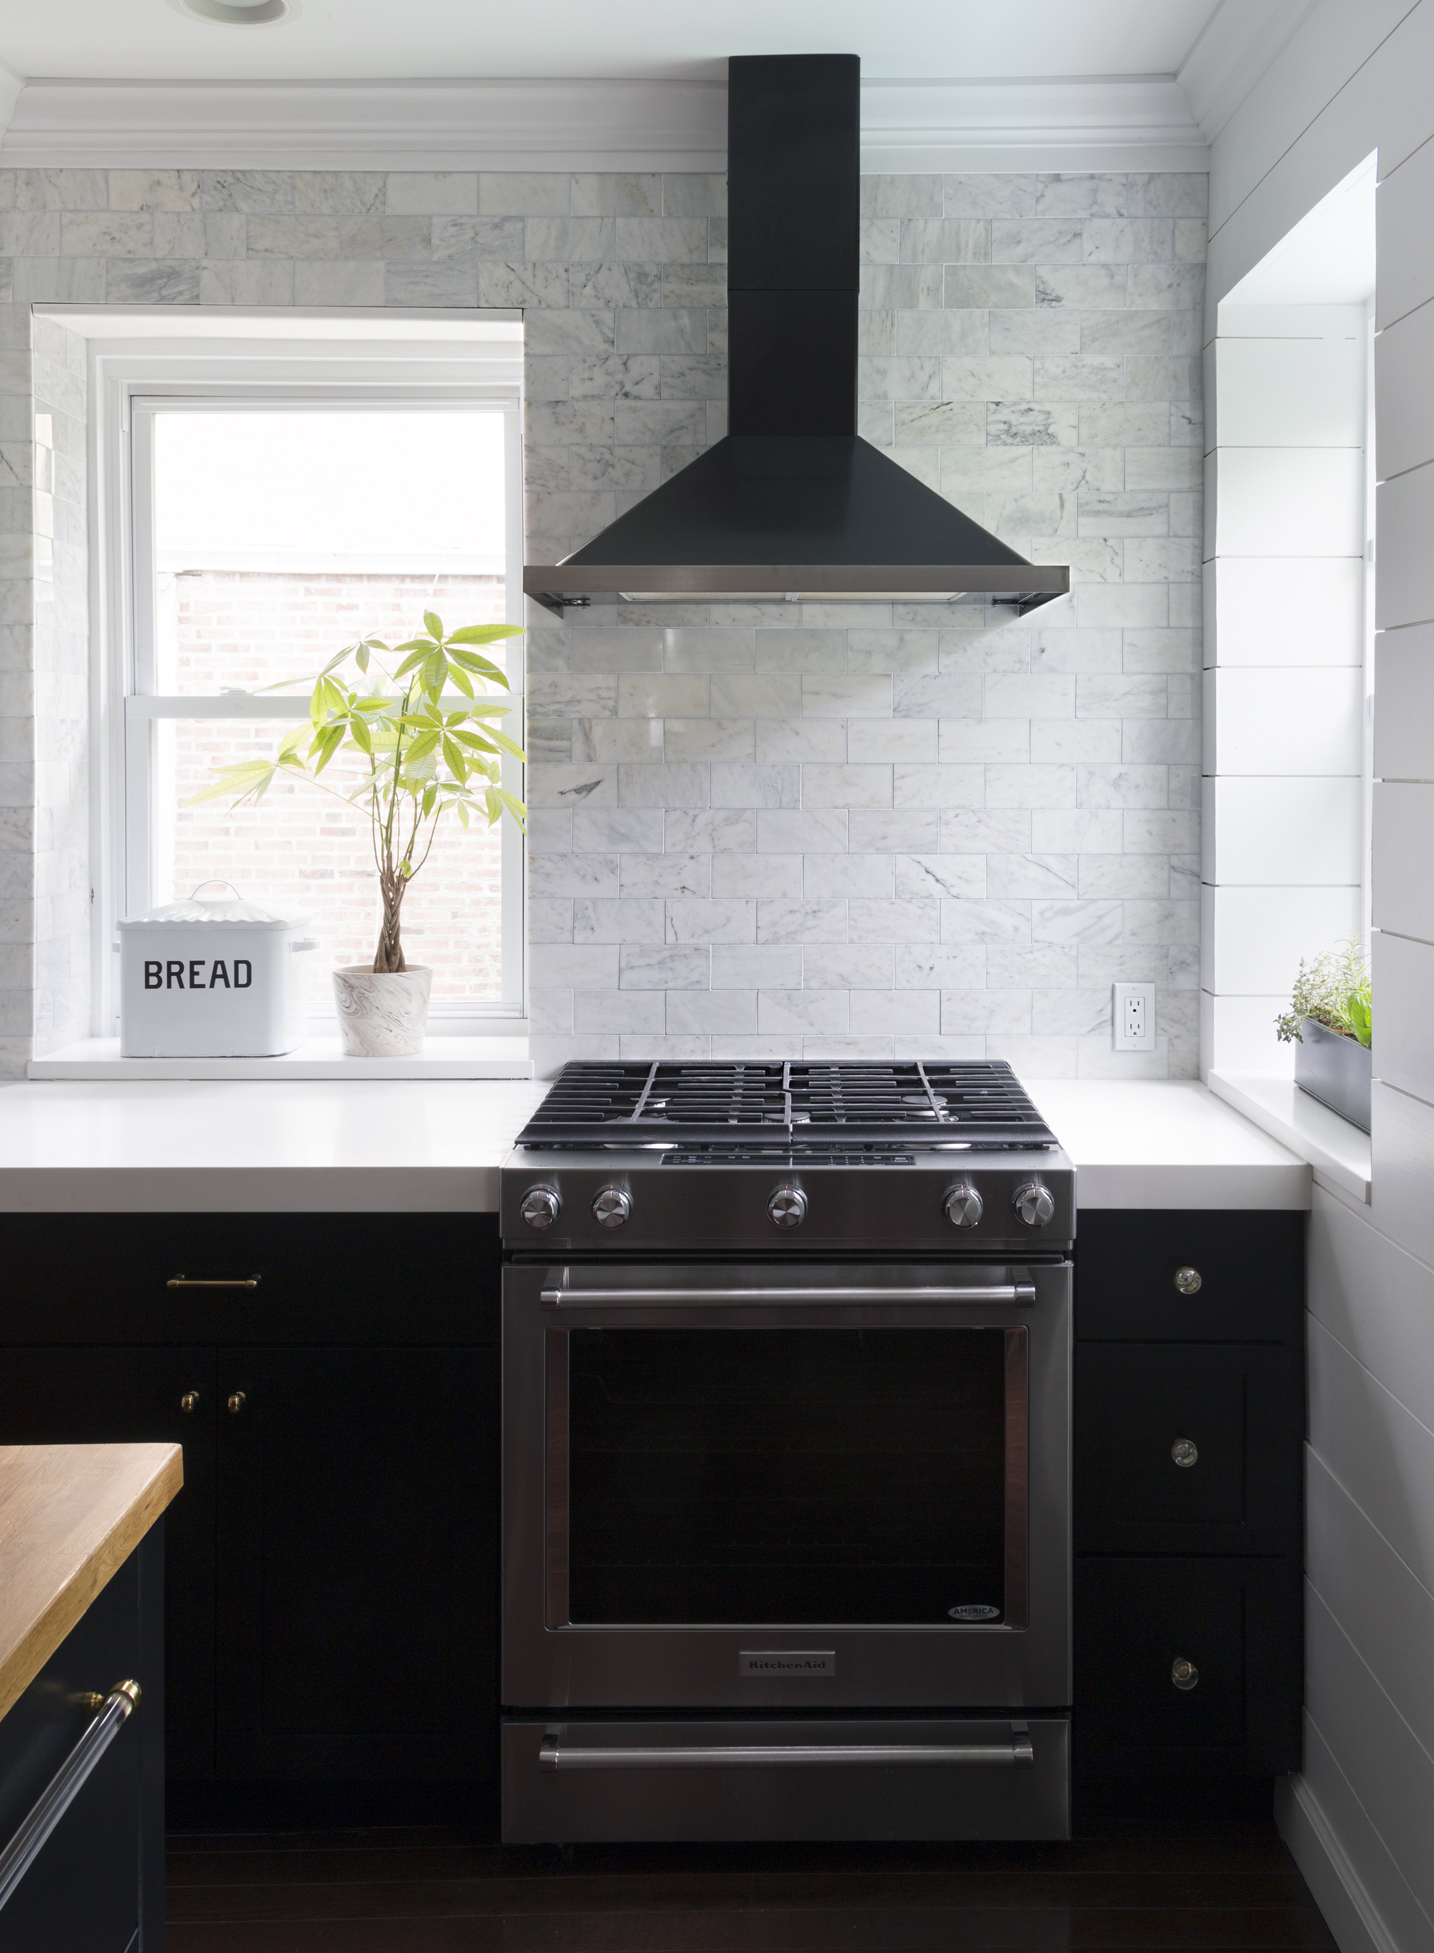
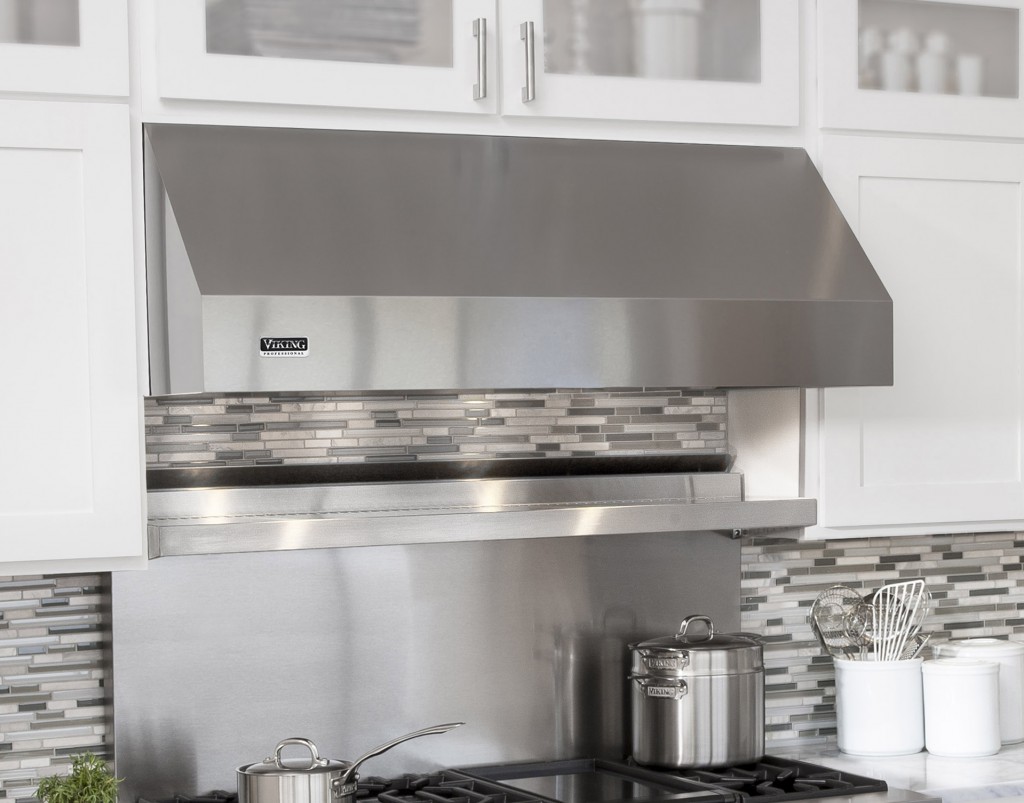
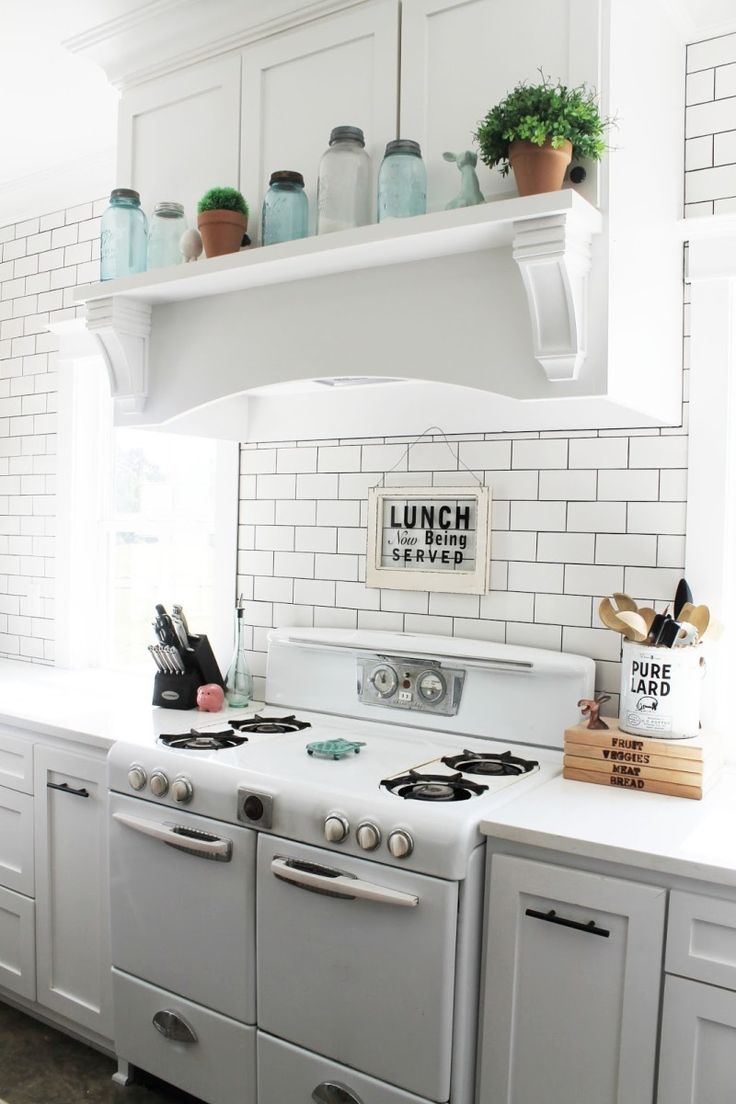
- Wall mounted. Mounted to the wall above the stove. Hoods of this type appeared the very first, and are still in great demand and are available in a huge assortment.
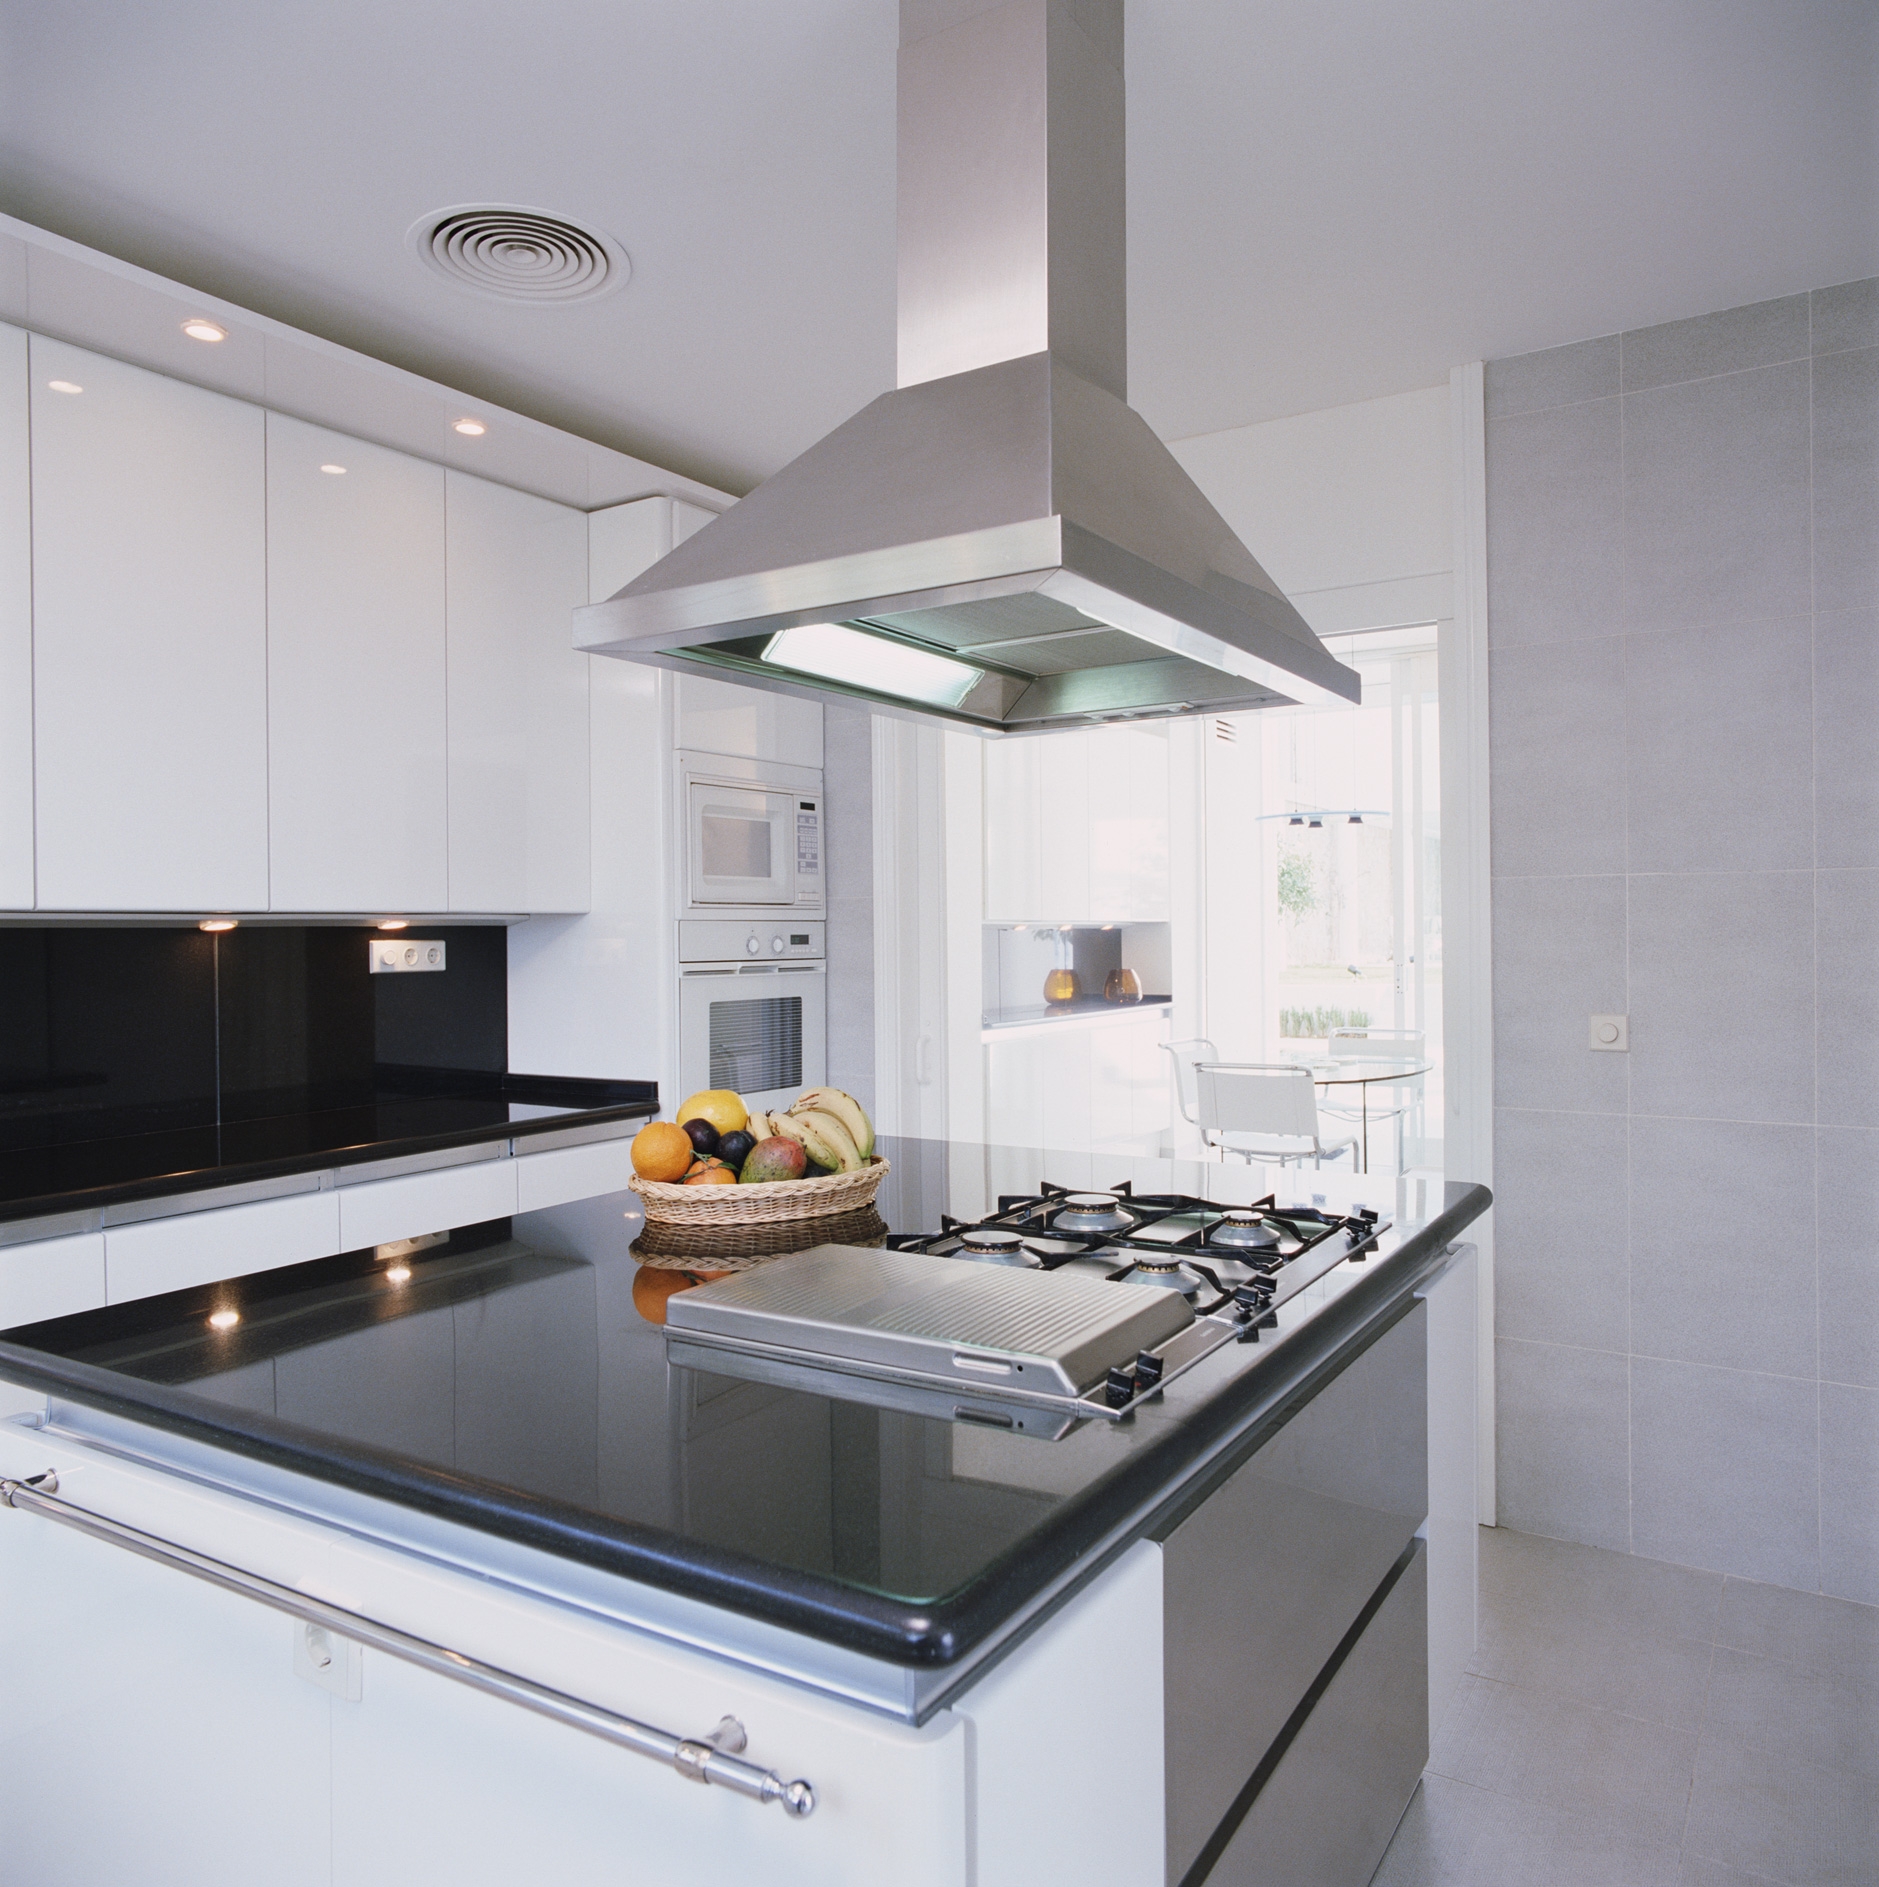
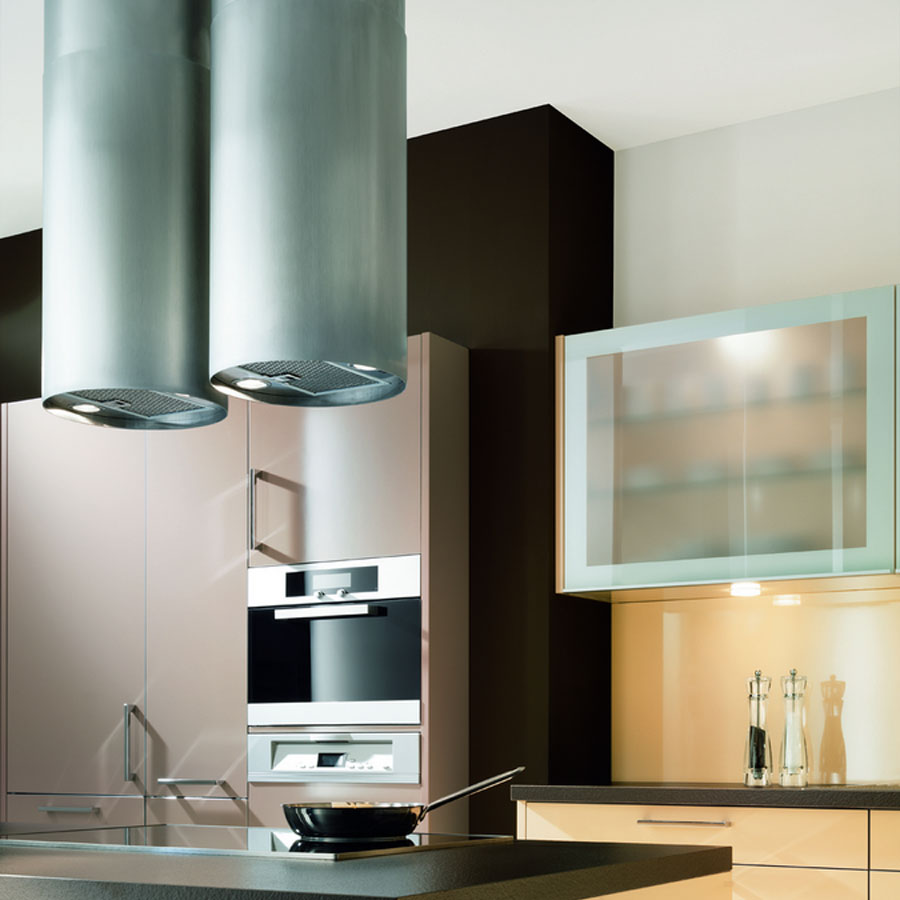
- Island. Suspended from the ceiling and most suitable for kitchens with an island.
- Outboard. Mounted between a wall cupboard and stove.
Also, hoods can be divided according to the principle of operation. Flowing air discharges polluted air into the mine, while circulating air is not connected to the duct system, they purify the air with special filters. The most effective are flow hoods.
Installation of ventilation in the kitchen
Most likely you selected a flow-through ventilation system, and in the store they offered you a duct and a check valve complete with an exhaust hood, and at the same time explained that the valve does not allow air to flow from the mine to the apartment. If there is no draft in your apartment, buy a supply valve. Now it remains to install all this correctly.
Supply valve installation
A supply valve is usually placed between the heating battery and the window sill. Structurally, it is designed so that the air in it is partially cleaned of dust particles. To install the valve, drill a hole with a diameter of 60-70 mm in the wall. Drill with a slight slope down so that moisture does not get into the room from the street. In the finished hole you need to insert a piece of pipe of suitable diameter. The length of the pipe exceeds the width of the wall by about 12 mm. We install the pipe with the protruding part inside the room. If there is free space between the wall and the tube, it should be sealed with foam. Next, we fix the box from the kit onto the wall, insert sound-absorbing material into it, which should also be in the kit and close it with the top cover.
One valve is designed to provide one person with fresh air, so if several people live in the apartment and the windows are tight, it is worth installing such a device in each room.
Exhaust fan connection
We provided fresh air to the kitchen. Now you need to organize the outflow of contaminated, and for this, connect exhaust fans in the bathroom and kitchen.
In a toilet, it is most convenient to make an extract using a switch with two keys, when one key turns on the light and the other turns on the fan. This circuit can be complicated and a timer can be connected to the fan, which can be programmed at any time. Such a connection is convenient for both the toilet and the bathroom. The fan will turn on simultaneously with the light and turn off after a certain time. Even more convenient, albeit more expensive, is a design with motion and humidity sensors. Then the whole system will work automatically. Installing a motion sensor will be convenient in the toilet, then the fan will be triggered by the sensor signal, and turn off after a specified period of time. The humidity sensor is suitable for the bathroom, then the fan will work until the humidity drops to the desired value. With such a sensor, you can forget about the appearance of mold and the long-drying laundry in the bathroom.
Connecting the hood in the kitchen to the ventilation
To do this, install the hood and connect it to the ventilation shaft of the house and to the electrical network.
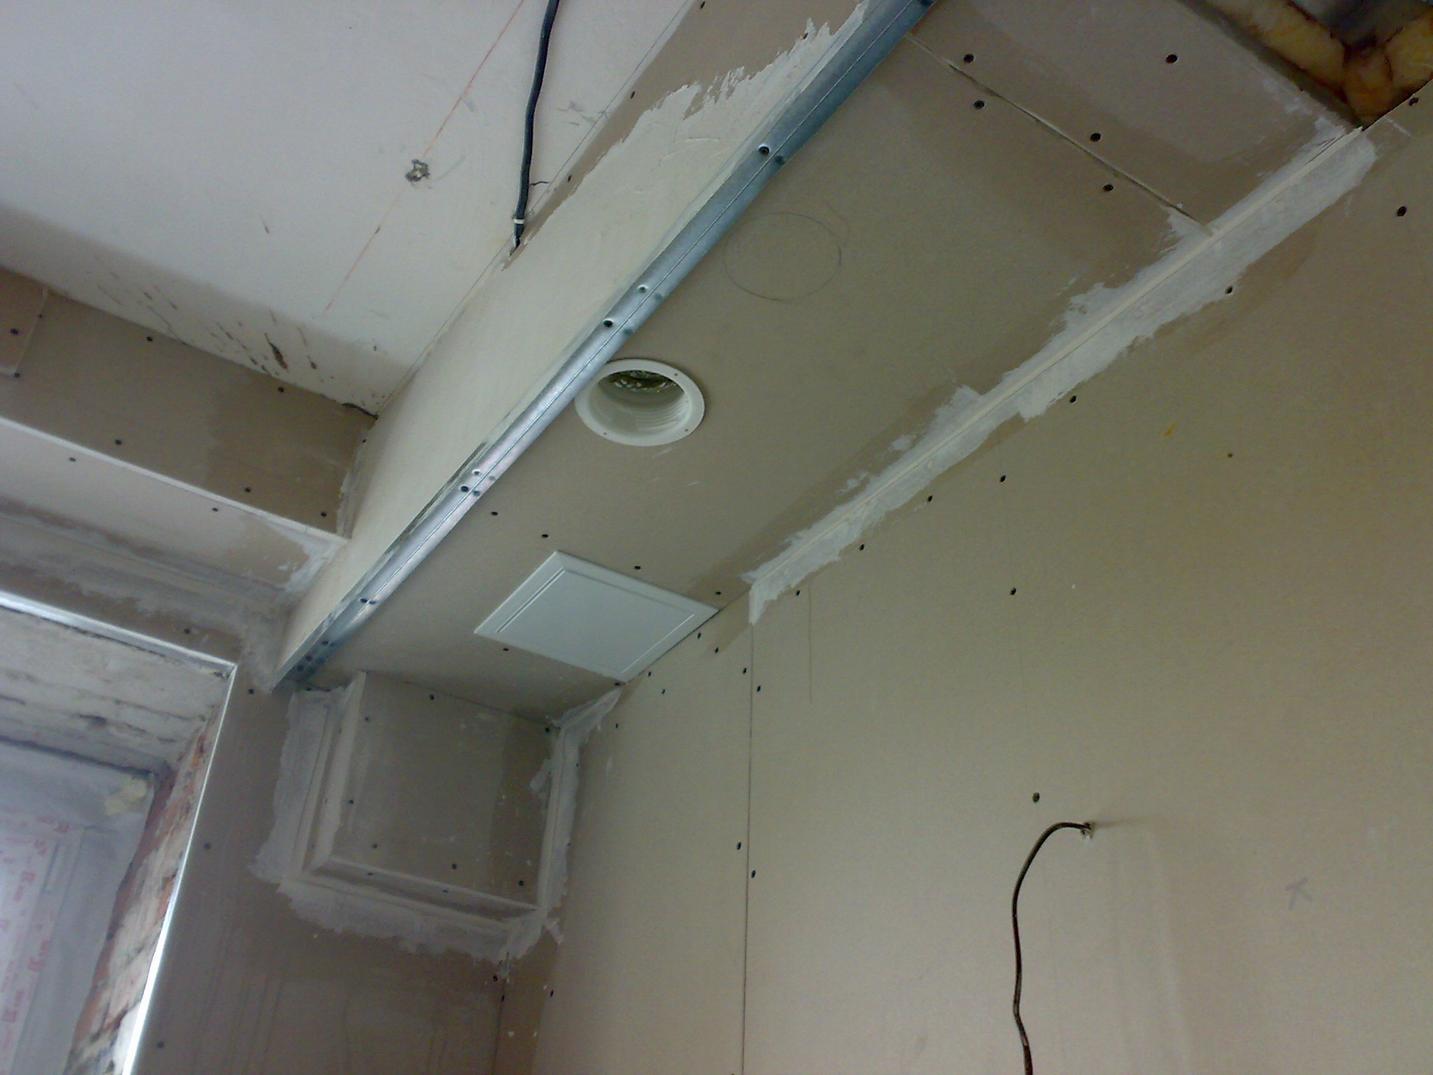
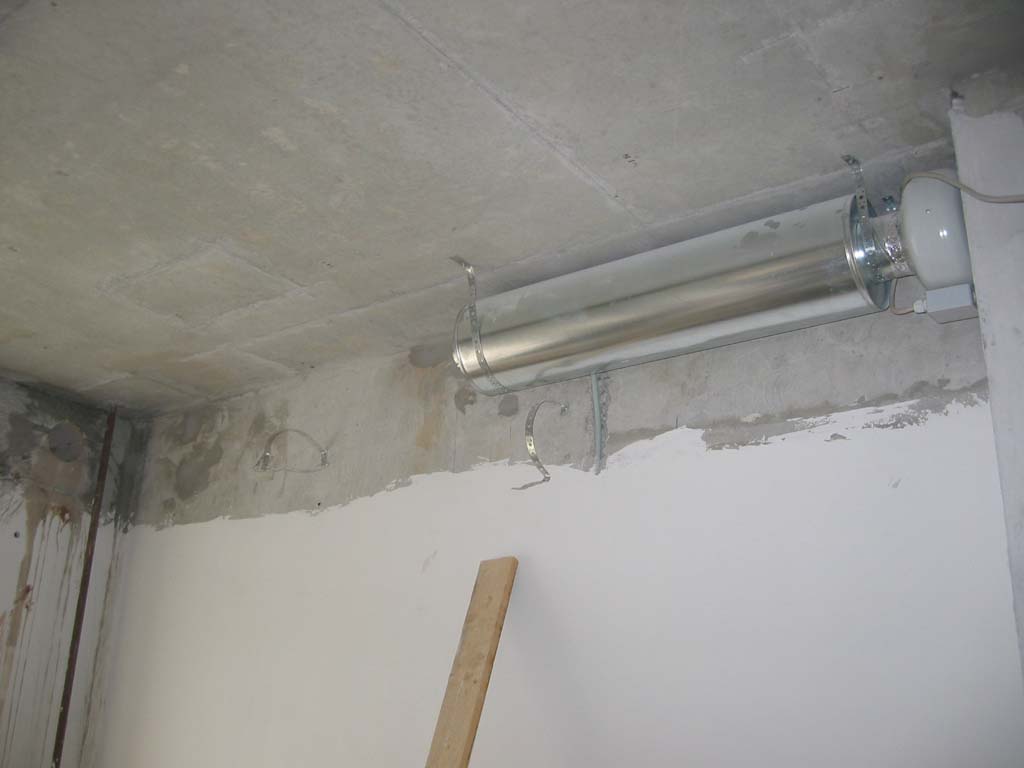
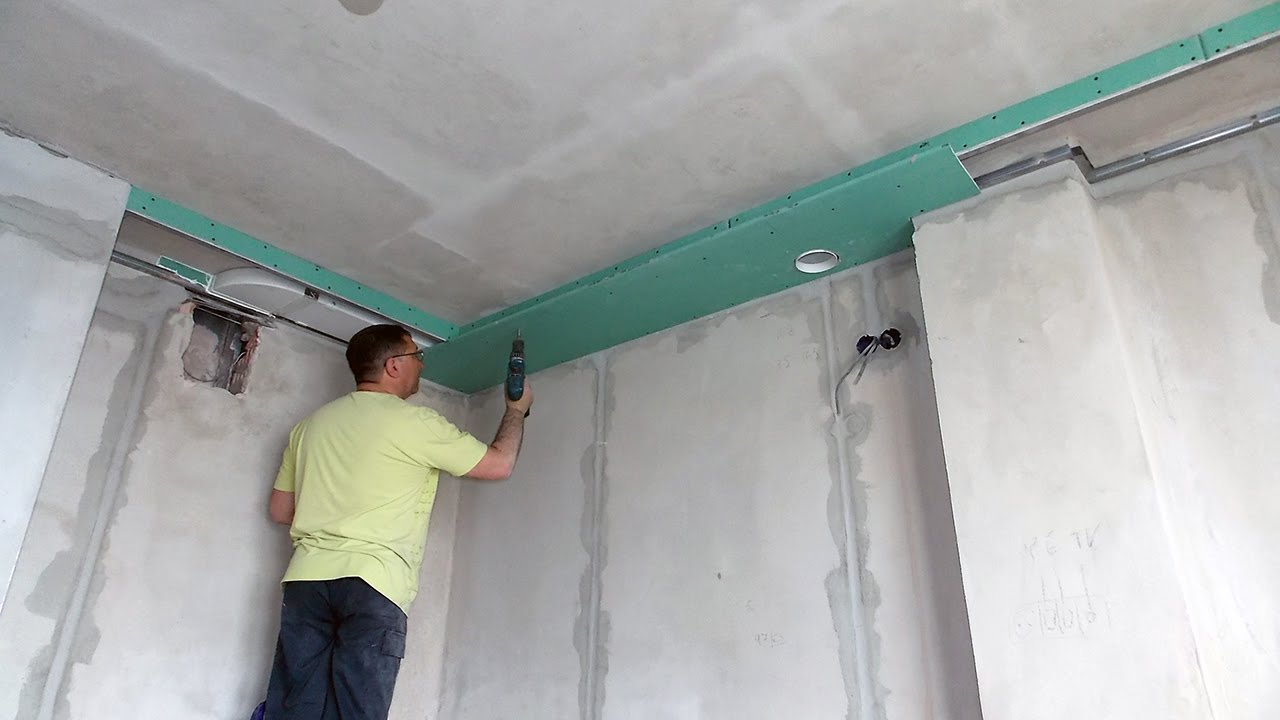
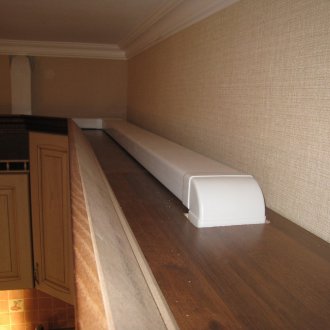
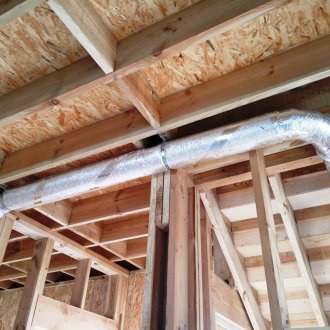
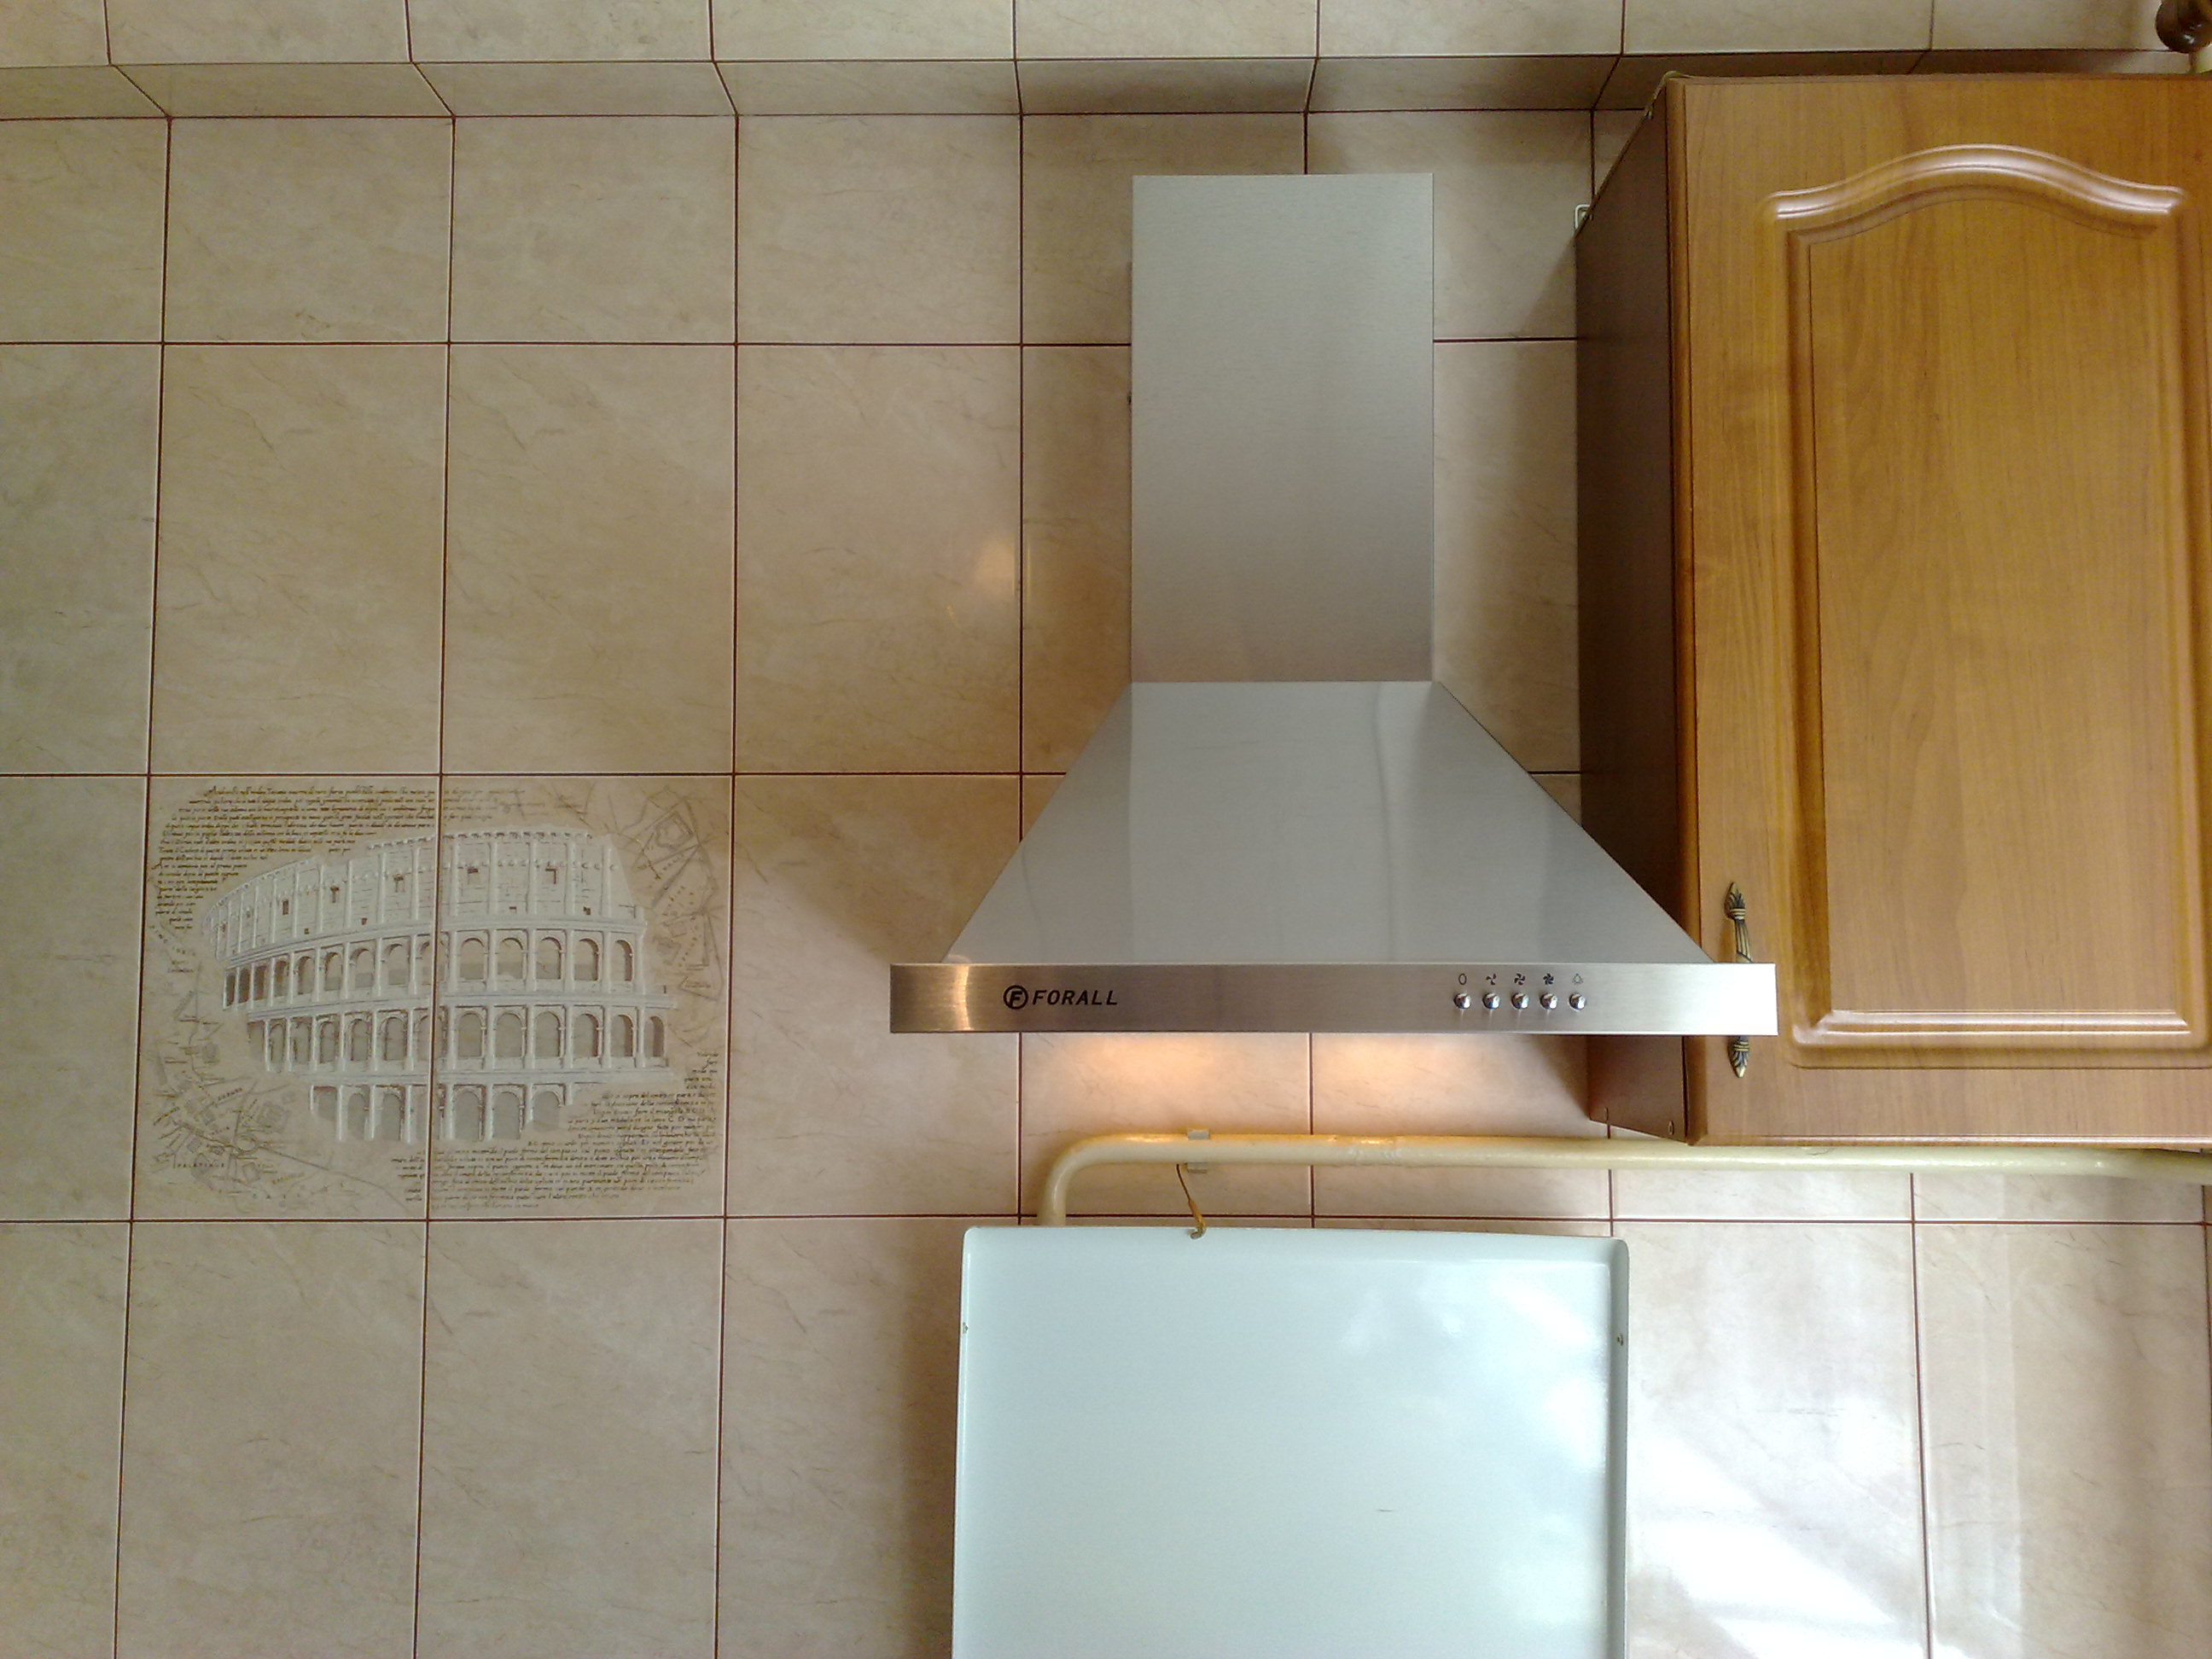
Mounting the hood is straightforward. A detailed description of it is necessarily present in the instructions. The distance from the gas stove to the hood should be at least 90 cm, from the electric stove - 70 cm. Next, you need to connect the hood to the duct. It can be plastic or corrugated metal. The latter is better to put in a special box. Then the design of the kitchen will not suffer.
If the apartment has two ventilation ducts, the hood is connected to one, then the second works as natural ventilation. If the channel is one, which often happens in prefabricated houses, you should buy a special adapter, which provides a grill for natural ventilation. The exhaust duct is connected to its upper part. The disadvantage of this method is that when the hood is turned on, excess pressure is created and part of the exhaust air can be thrown back into the apartment. This effect can be reduced by purchasing a grille with a special protrusion in the lower part of the round hole for the air duct. This protrusion already in the channel directs the exhaust air upward, preventing it from falling back.
There is a more reliable way to preserve natural ventilation - install a special tee before entering the ventilation duct. Two outputs are used to connect the duct and ventilation duct, and a check valve is mounted in the third. It prevents the entry of contaminated air into the room. It works like this: when the hood is turned on, the valve closes and the kitchen child does not get back into the kitchen. When the hood is turned off, the valve is open and supports natural ventilation. Ventilation in a kitchen with a gas stove must necessarily preserve the natural continuous flow of air. Otherwise, using gas may be dangerous.
Ventilation in the kitchen in a private house
For the arrangement of ventilation in the kitchen of a private house, there are several restrictions that should be considered when connecting a gas stove and hood. In the kitchen should be:
- ceilings of at least 2.2 meters in height;
- at least one window with an opening window;
- vertical exhaust duct.
Documents also regulate the necessary air exchange rate. For a gas stove, ventilation is considered effective at a speed of 140 cubic meters per hour.
For normal air circulation in the house must have openings for exhaust and exhaust ventilation. The retractor is located in the outer wall of the house at a height of at least 2 meters above the foundation, the exhaust must go to the roof. Natural ventilation in a private house is not always enough and more often homeowners are installing a forced air exchange system. It consists of supply and exhaust fans and can be supplemented by a recuperator - a modern device that allows heating incoming cold air without increasing heating costs. These devices are not cheap, but they are easy to make with your own hands. The effectiveness of homemade recuperators is slightly lower than factory ones, but they cope with their task.
Ensuring effective ventilation in an apartment or your home is an important and responsible matter and you need to approach it with all the attention, because fresh air is the key to our well-being, performance and health.
