The hip roof in modern construction: design features (21 photos)
Content
Increasingly, in private construction, when designing houses, preference is given to four-gable roofs. It is to this type that the hip roof belongs.
Advantages and disadvantages of hip roofs
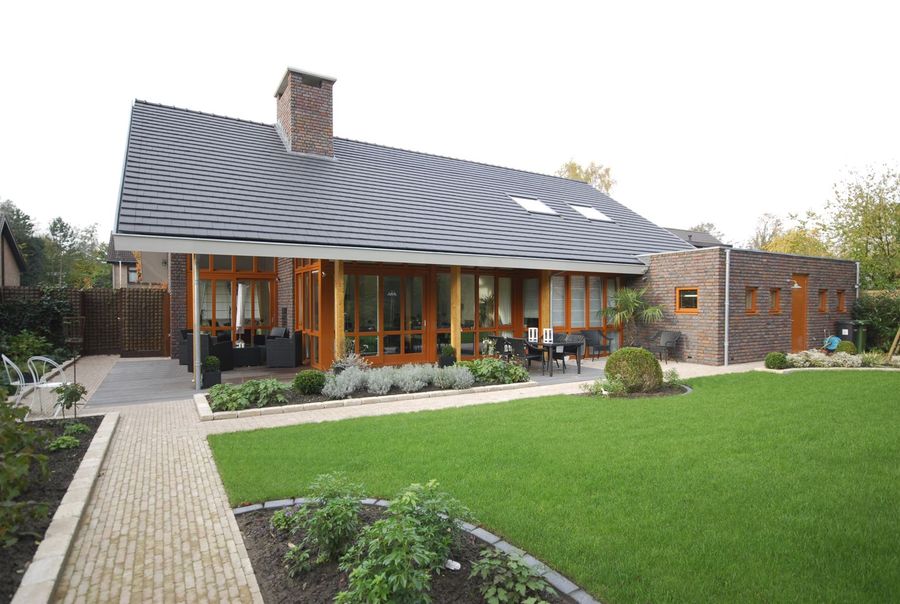
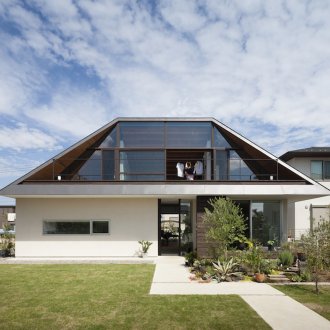
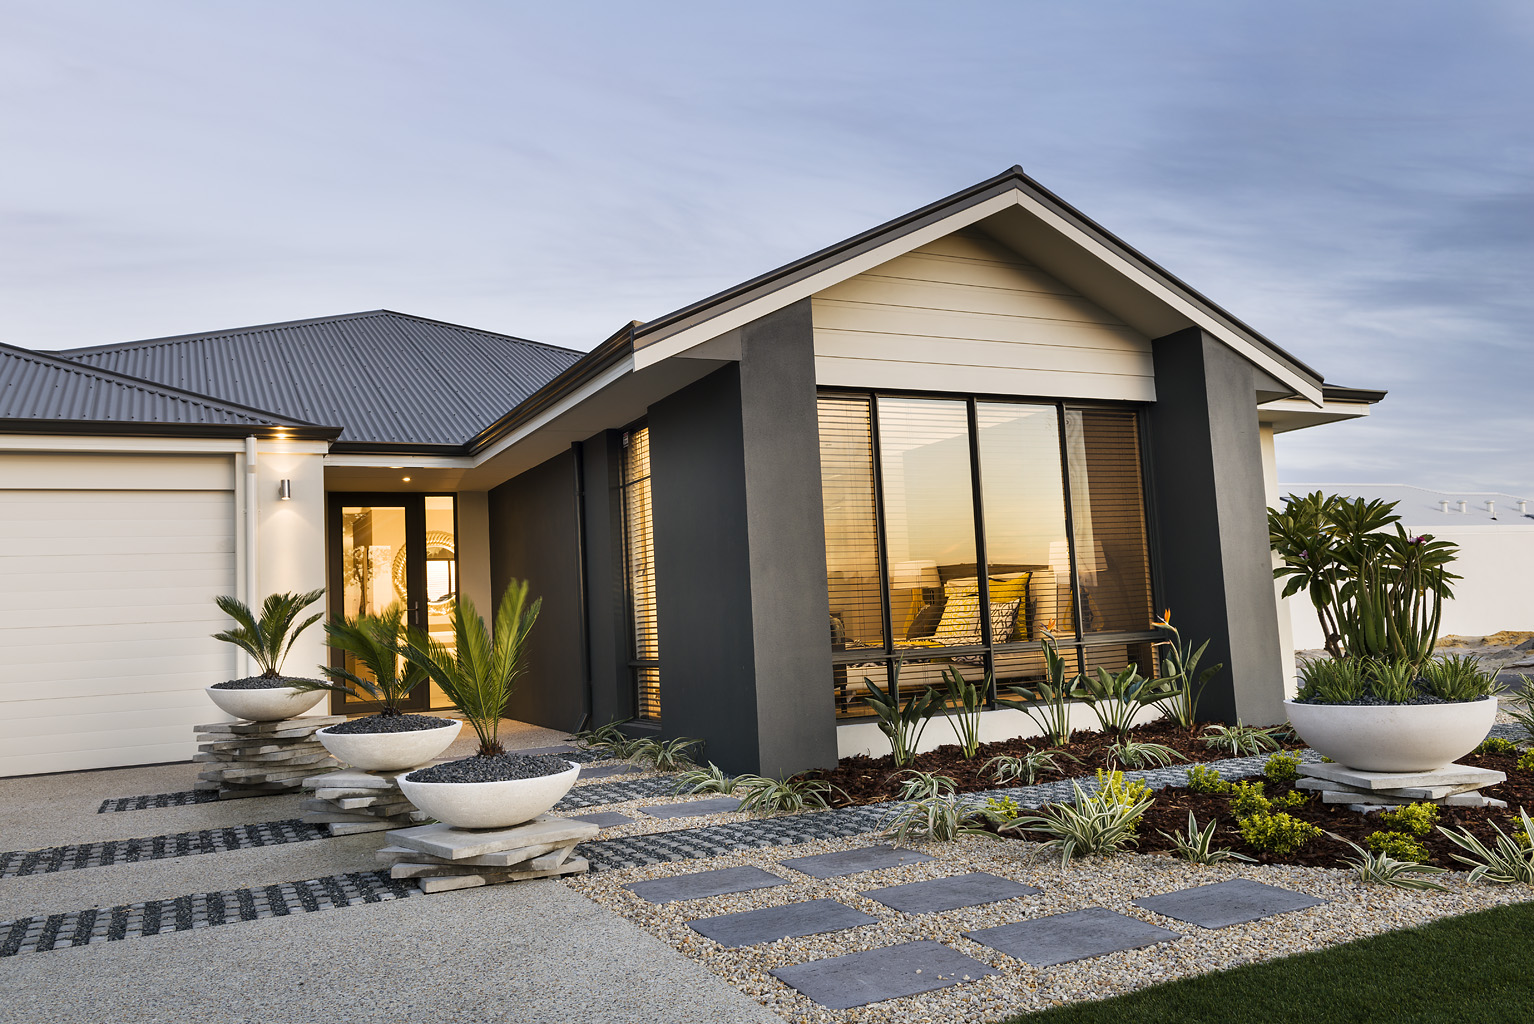
The most common and simplest view is the hip roof, in which two slopes are trapezoidal and are located along the longer side of the house. The other two are in the shape of a triangle, they are called hips. A characteristic feature of this design is the absence of gables. Due to this, the force of the wind on the roof becomes minimal. In addition, the issue of structural insulation is much easier and more effective.
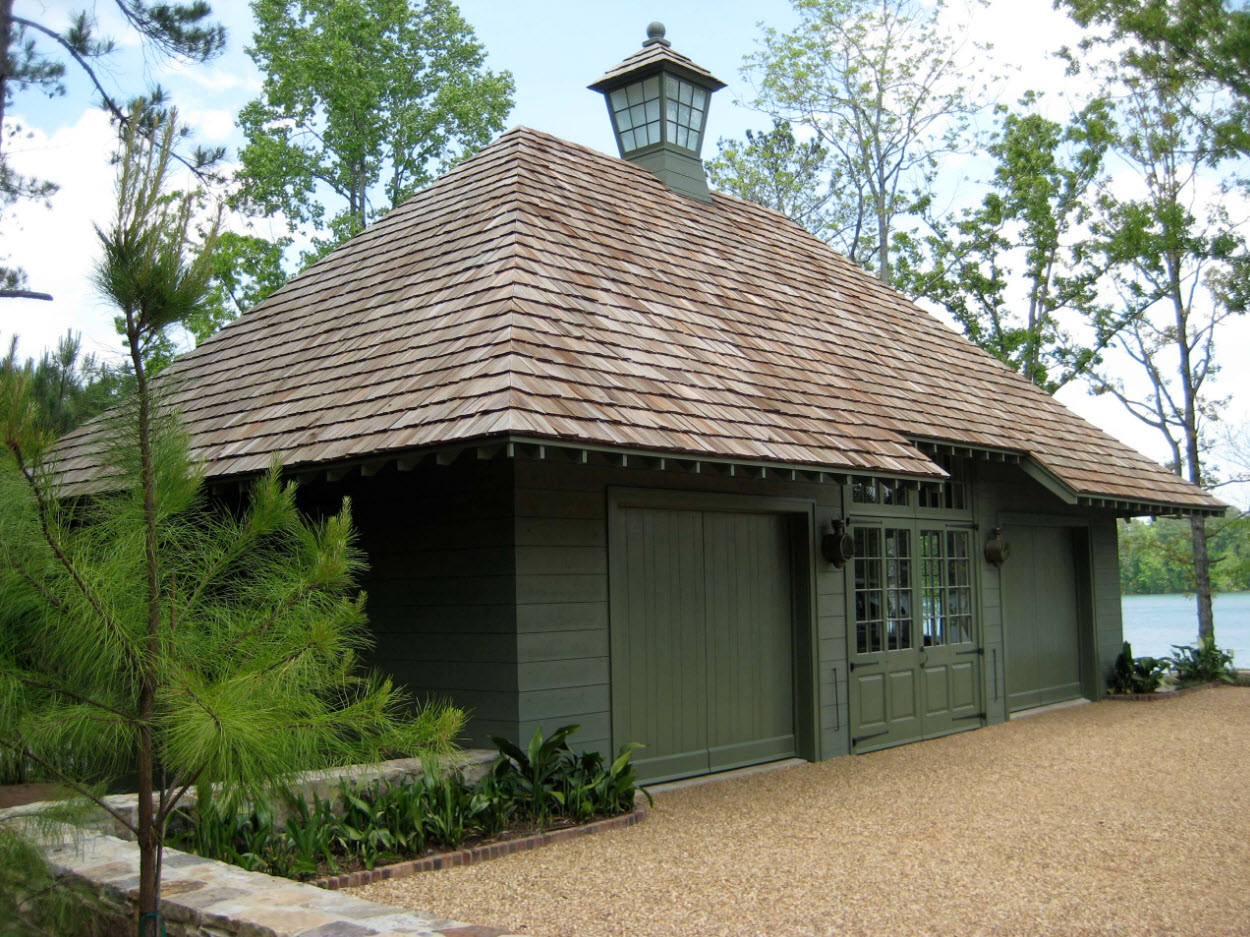
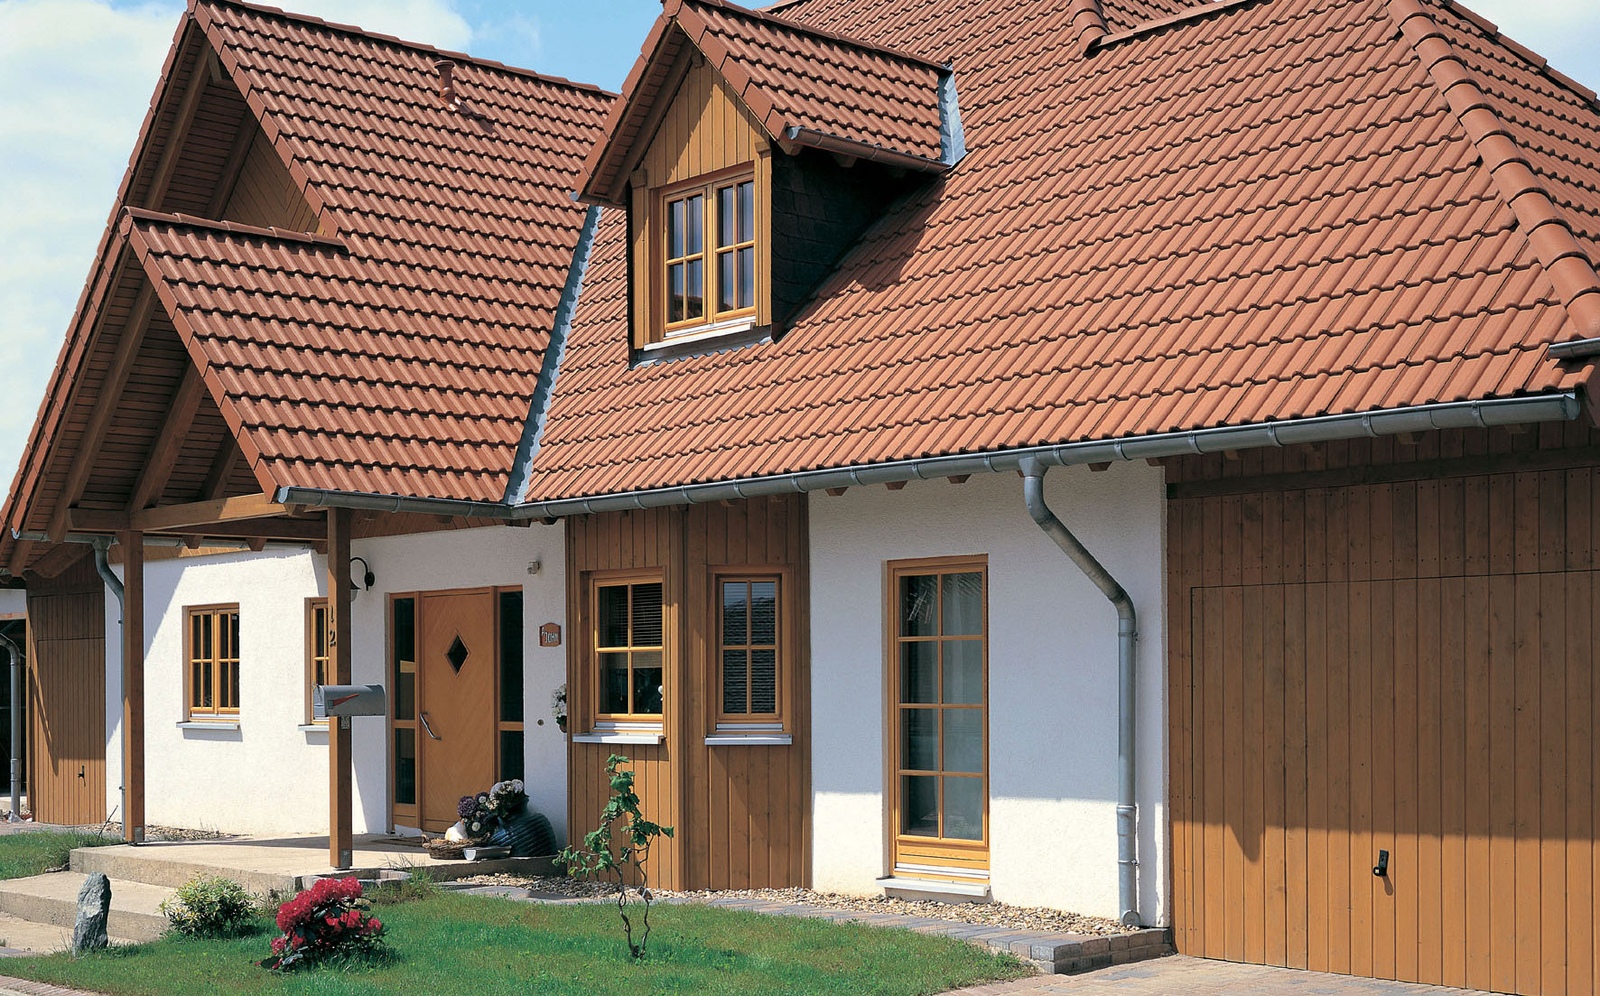
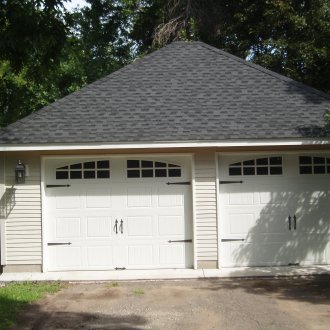
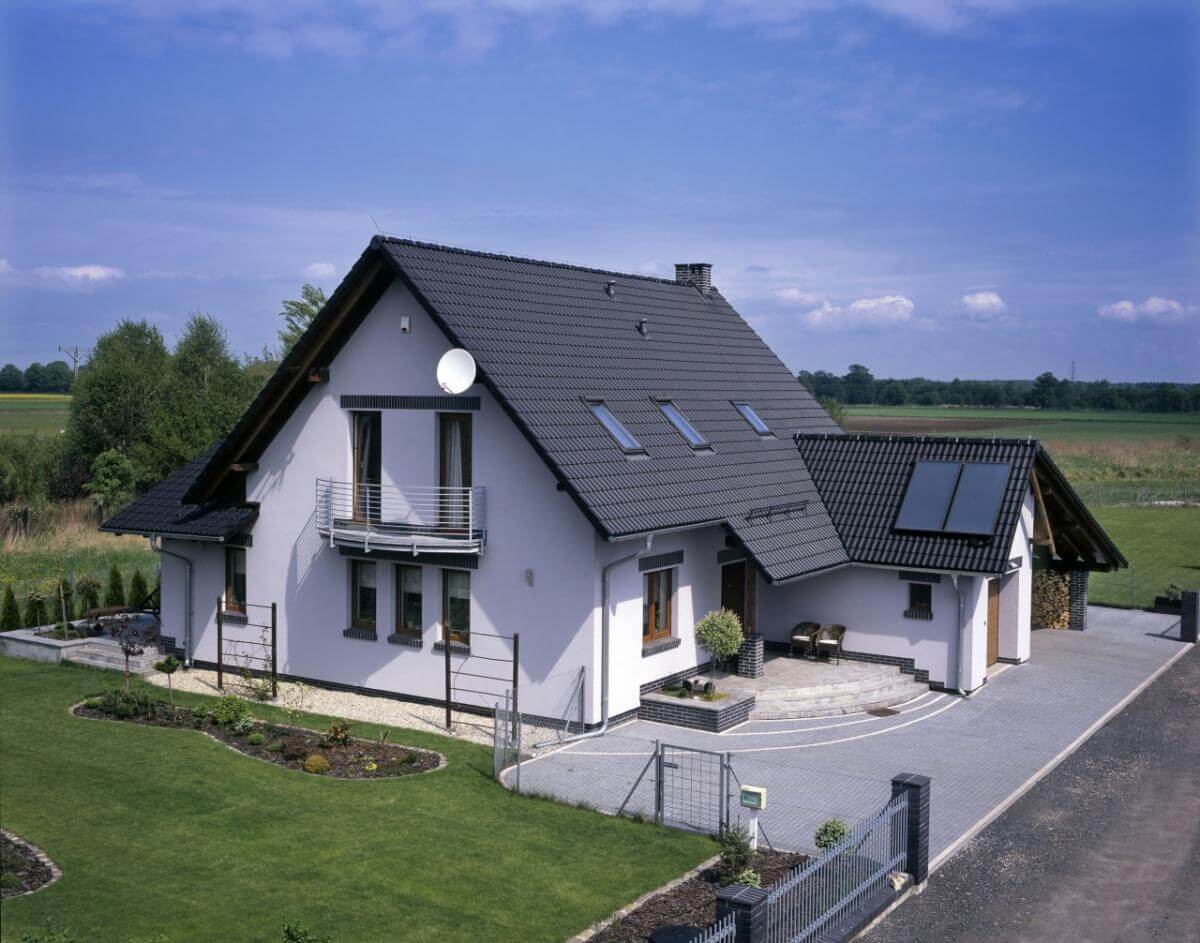
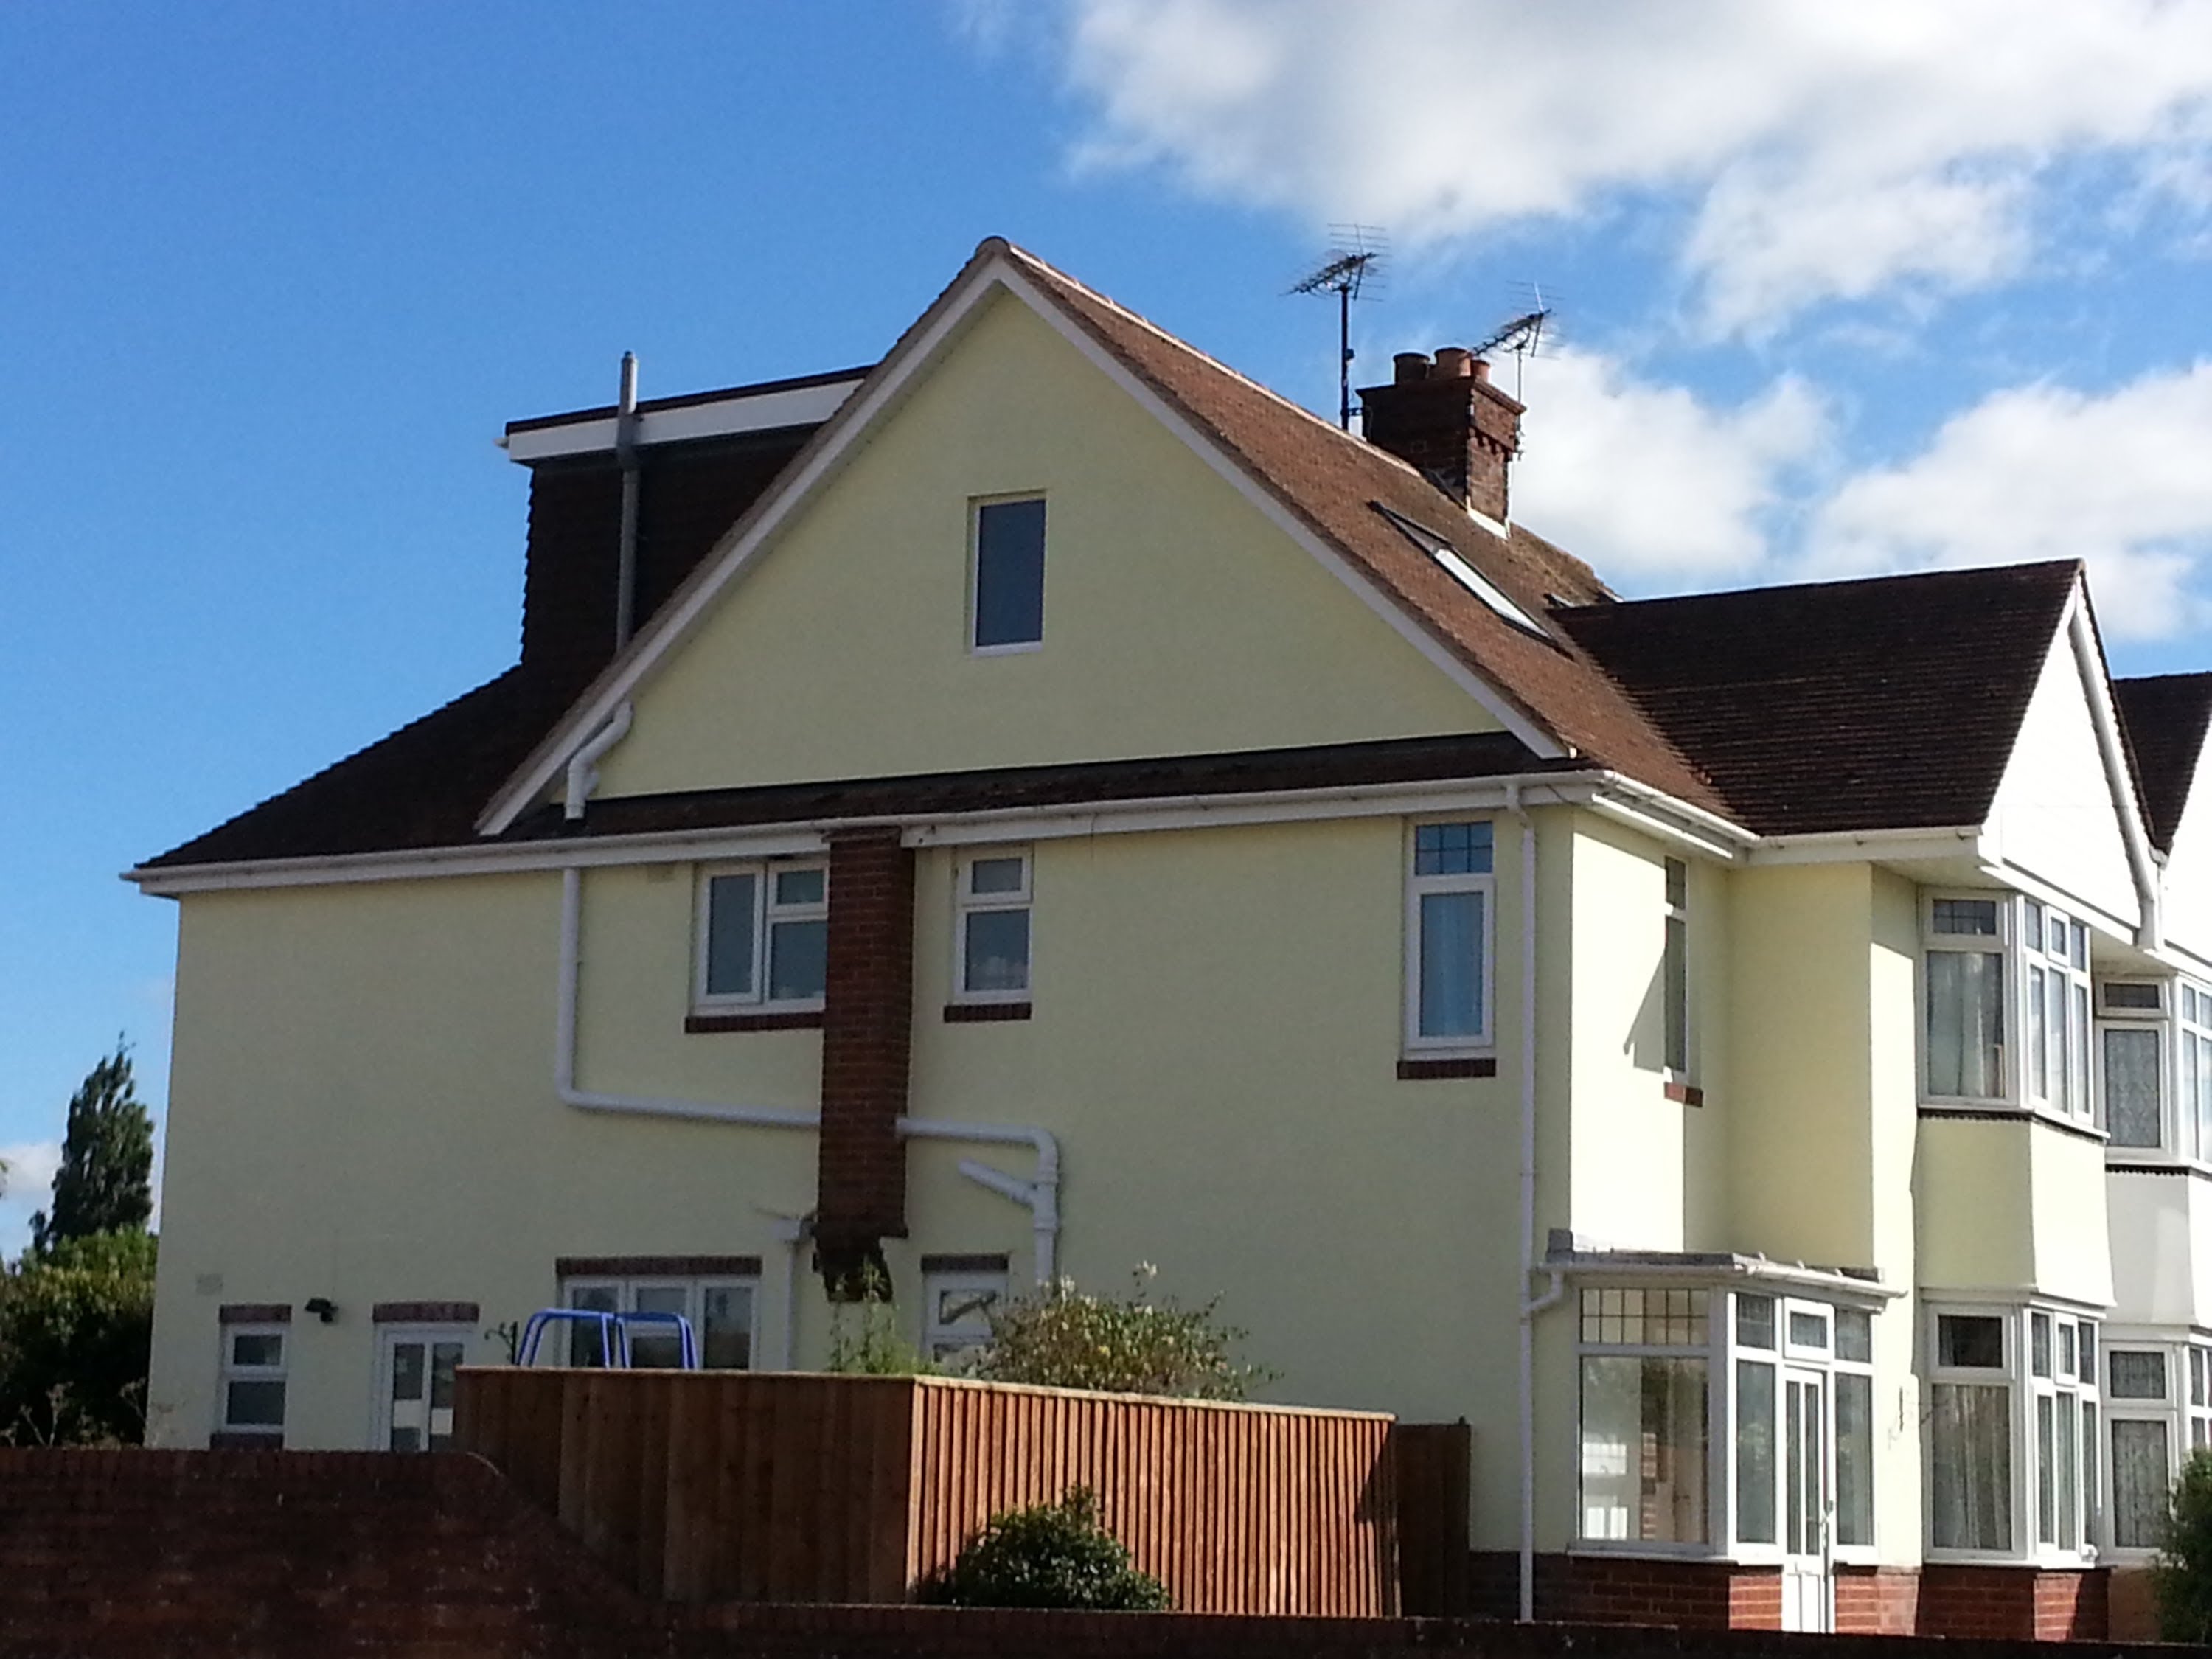
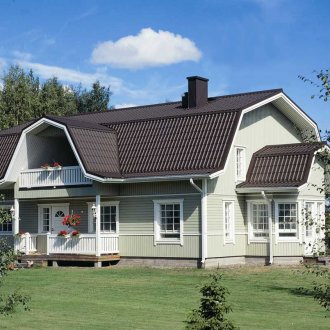
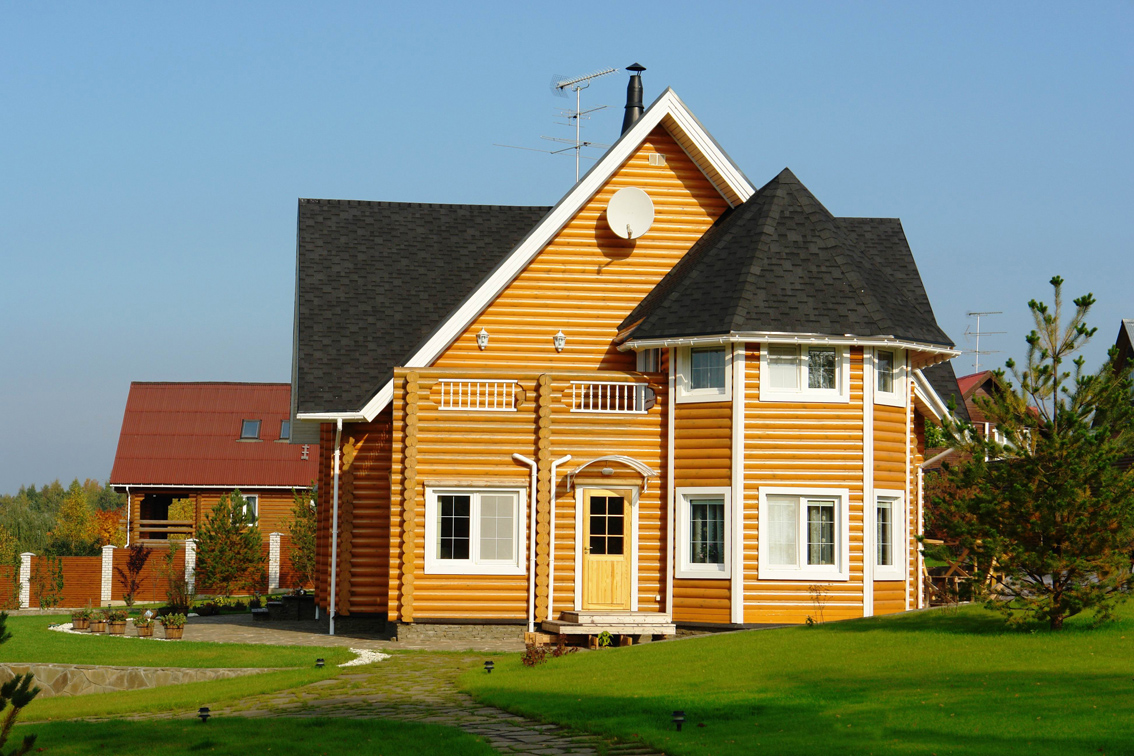
Other types of hip roofs: half-hip, tent, mansard, complex shape. The semi-hip roof has both gables and hips that are located above them. Hipped roofs consist of four slopes in the form of triangles, the vertices of which converge at one point.
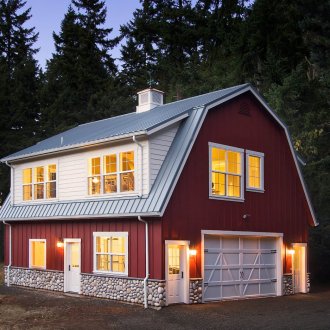
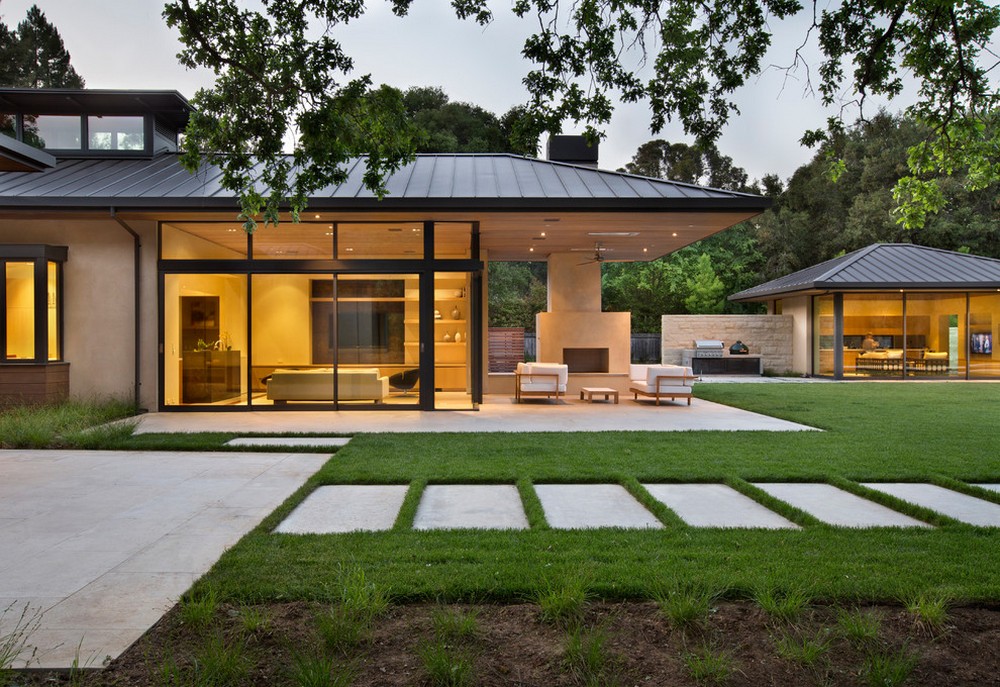
A one-story house with a hip roof is ideal for the installation of a tent structure. A hip mansard roof involves slopes with broken edges. A hip roof of a complex shape is obtained by combining several tiers or using some additional elements. One of these options is a hip roof with a bay window. Often these systems cover frame houses, as they create less load on the frame of the building.
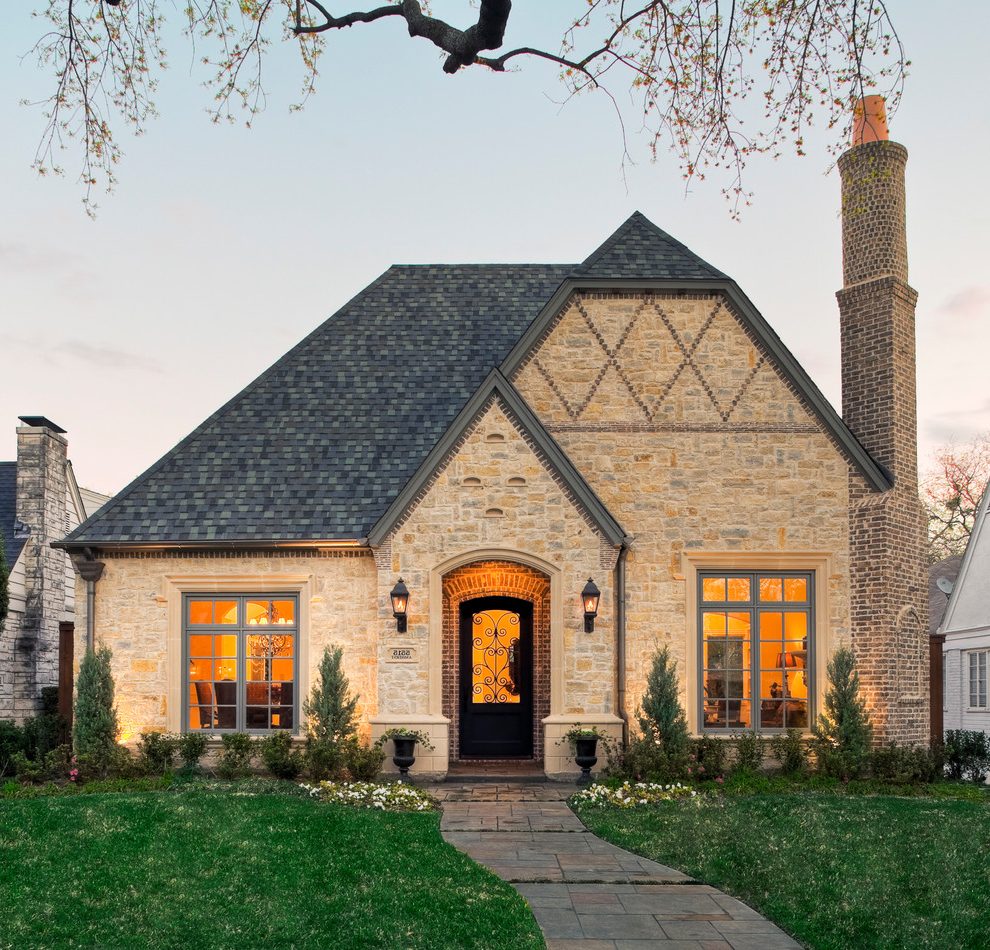
A two-story house with a hip roof will look more impressive and interesting than with a conventional gable roof.
The main advantages of this type of roof can be called strength, reliability, wind resistance, excellent design. The smaller the slope of the roof planes with respect to the ground, the more difficult it is for water and snow to linger. In addition, the space under the hip roof can be more rationally used to make the attic floor.
The disadvantages include the complexity of their installation, especially on their own, and the high cost. To know how to make a hip roof correctly, you need to have a clear design. Despite the fact that any multi-slope system is much more difficult to install than a single-pitched roof (or the most common, gable), it is quite possible to do it yourself.
Hip roof construction
Consider what a hip roof consists of. The rafter system is the basis of the entire structure. Its main elements:
- corner rafters;
- main rafters;
- intermediate rafters;
- short rafters;
- ridge beam;
- vertical racks;
- screeds;
- Mauerlat;
- wind beams.
Corner rafters are attached to the ends of the ridge beam, their angle of inclination is always less than that of the intermediate rafters. This element has the greatest load. Four main rafters are mounted at the ends of the ridge perpendicular to it. Two hip main rafters are installed along the axis of the ridge beam. Intermediate beams are attached to the side surface of the ridge with the step necessary for the calculations, and rely on the Mauerlat. If the length of the ridge is very small, then you can do without them. Short rafters are fixed on the side surfaces of the corner beams.
Vertical racks are located at the junction of the ridge and inclined beams, they rely on the screed beams. But often for the optimal use of the attic space they are replaced with other supporting elements.
Mauerlat are made of solid beams and form a frame around the perimeter of the walls of the house - the basis for the rafter system. Ties that are located inside this frame are usually used as floor beams. Wind beams are needed to strengthen the entire rafter structure; installed either on the windward side of the house, or on both sides. There are additional elements: struts, filly, sprigs, sprigs.
The angle of inclination of the surfaces of the hip roofs is usually 20-45 degrees. But depending on the climatic features of the area (a lot of snow, frequent winds) and the type of planned roof type (soft, hard), the optimal slope of the hip roof is calculated individually for each project.
Preparation for installation
Considering the fact that this type of roof is not very simple, projects of houses with a hip roof with all the required calculations and drawings are preliminarily made. First of all, they are determined with the configuration of the roof. The more complex the option will be, the more materials and time will be required for the construction of the structure.
Depending on the presence of the attic, the height of the roof is determined. When calculating the size and quantity of all parts, it is necessary to take into account the temporary and permanent loads to which the rafter system will be subjected, the intensity of the effects of wind and precipitation. The bearing capacity of the building foundation and walls is evaluated, the angles of inclination of the main beams, the area of the hip roof are determined, additional elements are calculated: the presence of windows, openings for ventilation pipes and chimneys.
The main materials necessary for the installation of the roof are well-dried lumber: timber and boards. In addition, you need to stock up in sufficient quantities with roofing nails, screws, anchor bolts. According to the calculations, various metal fasteners are used that are used to reliably connect the parts of the rafter system. First of all, these are corners, supports and holders for beams, connecting plates, mounting profiles and other configurations of fasteners. If the structure is new, then the presence of floating mounts is required, which absorb possible deformations of the entire system during the shrinkage of the walls of the house. With established walls, simple metal staples can be used as connecting elements of the bars and beams with each other.
Hip roof device
After the project is done, all the materials are available, you can begin directly the installation of the hip roof. The main stages of installation:
- A waterproofing material is laid along the contour of the walls.
- The whole perimeter of the Mauerlat is strapped. Fasten it to the walls with anchors and brackets.
- Then, it is necessary to carefully mark out the installation of the rafter structure according to previously made calculations. In order for all the elements to be laid evenly, the marks on the opposite walls must be strictly at the same distance from each other.
- Floor beams can be laid directly on the Mauerlat and act as screeds or placed at a lower level. In the latter case, they are mounted on timber supports pre-installed on the inner wall of the house.
- Mauerlat screed is made with transverse bars. To facilitate the further installation process, you can cover the resulting structure with a deck of freely lying boards.
- Vertical supports are fixed to floor beams or screeds. If you plan a house with an attic, then such supports are usually not used. A ridge beam is installed on top of them.The hip roof ridge is located strictly along an axis parallel to the walls of the building. The verticality and horizontalness of the resulting frame are carefully measured. Any distortions in it will lead to further deviations of the entire rafter structure.
- Next, intermediate rafters are attached to the ridge.
- Corner rafters, if necessary, are additionally strengthened by struts.
- In accordance with the project, all other parts of the rafter system are installed.
- If the wooden parts of the structure were not pre-treated with protective compounds, then this can be done after its installation.
- The next step is marking for future openings for windows, pipes and shafts. On the contour of which additional rails are filled.
- The entire structure is covered with vapor barrier materials from above.
- On the rafters, a crate of boards under the roof is packed.
- The insulation is laid, which is covered by a layer of insulation from moisture and wind.
- Then the counter-lattice is attached.
- The final stage is the direct covering of the hip roof. A soft roofing material is usually chosen, as it is easier to mount on various hip roof options. But under it you need to lay sheets of plywood or OSB boards. A hard roof can be mounted immediately on the counter grill.
Mauerlat is used in brick and block houses; in frame houses, the upper binding of the frame is performed. In houses of timber or ordinary wooden, the upper crown of the walls acts as a Mauerlat.
Some important points
Attaching rafters to a Mauerlat can be done in several different ways:
- using two metal corners, one on each side of the rafter;
- drive nails at an angle so that, passing through the rafters, they are firmly fixed in the Mauerlat;
- using special metal staples;
- applying floating mounts.
The hip roof ridge carries a significant load, therefore, it is necessary to correctly fix the rafters on it. This can be done with various options:
- lining the rafters over the lap beam and bolting;
- if wooden or metal pads are used for fastening, then the rafters on the ridge must be adjusted to the required angle.
The selection of lumber must be done based on the load that they will have to withstand. For the main structural elements, only the first grade wood is taken; for the additional, second grade wood can be used.
When choosing a material for the roof, it is worth paying attention to the percentage of waste that will remain after the flooring. When using sheet products, it can be up to 30 percent. Therefore, it is more rational to use soft roofing options or an assembly of individual elements.
When a hip roof is chosen for the roof of a private house, it must be remembered that for the protection of the structure to be durable, strong and reliable, it is necessary to carefully design and install it. Any miscalculations and errors in the future can lead to significant costs for their correction or complete replacement of the design. In case of self-doubt, it is better to turn to professionals.


