Lobelia in the garden: planting and care (25 photos)
Content
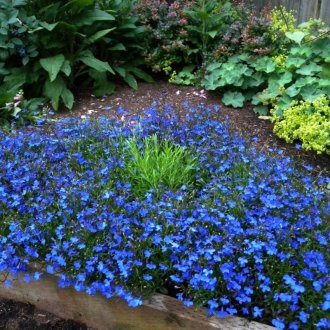
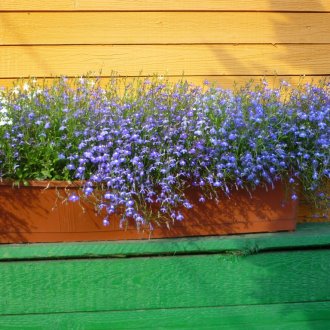
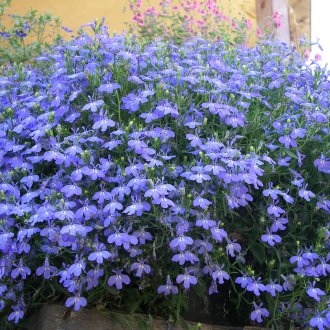
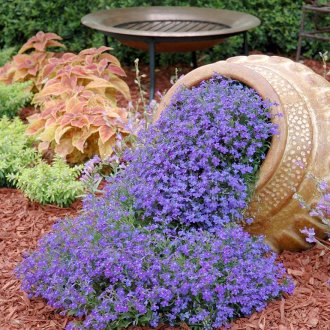
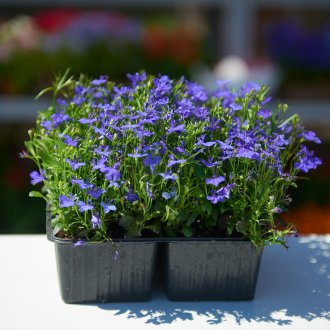
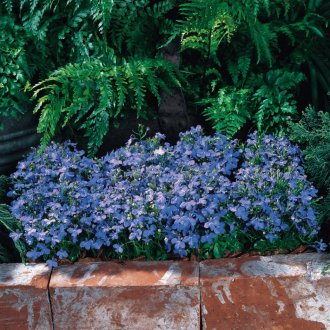
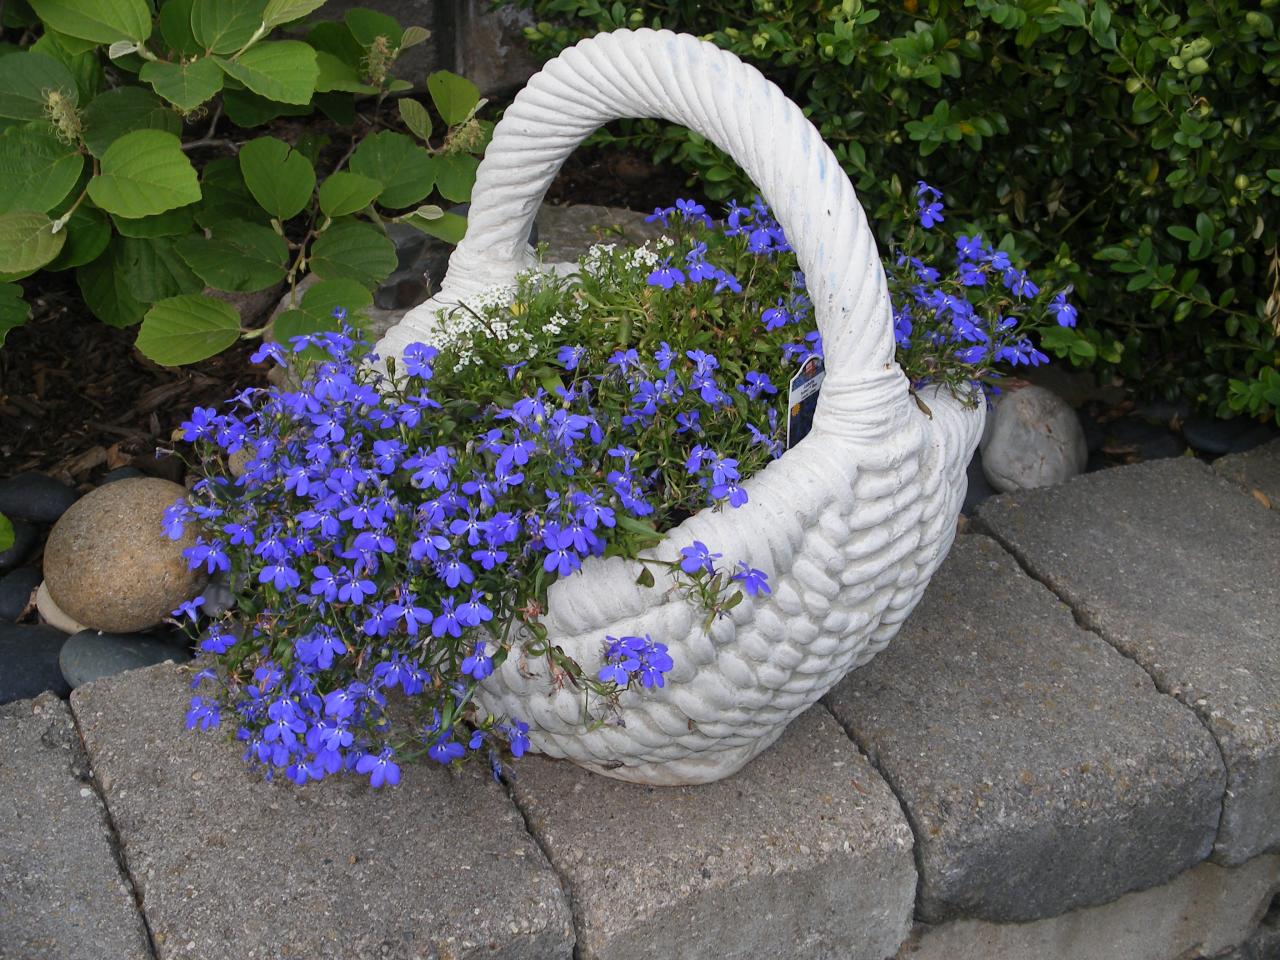
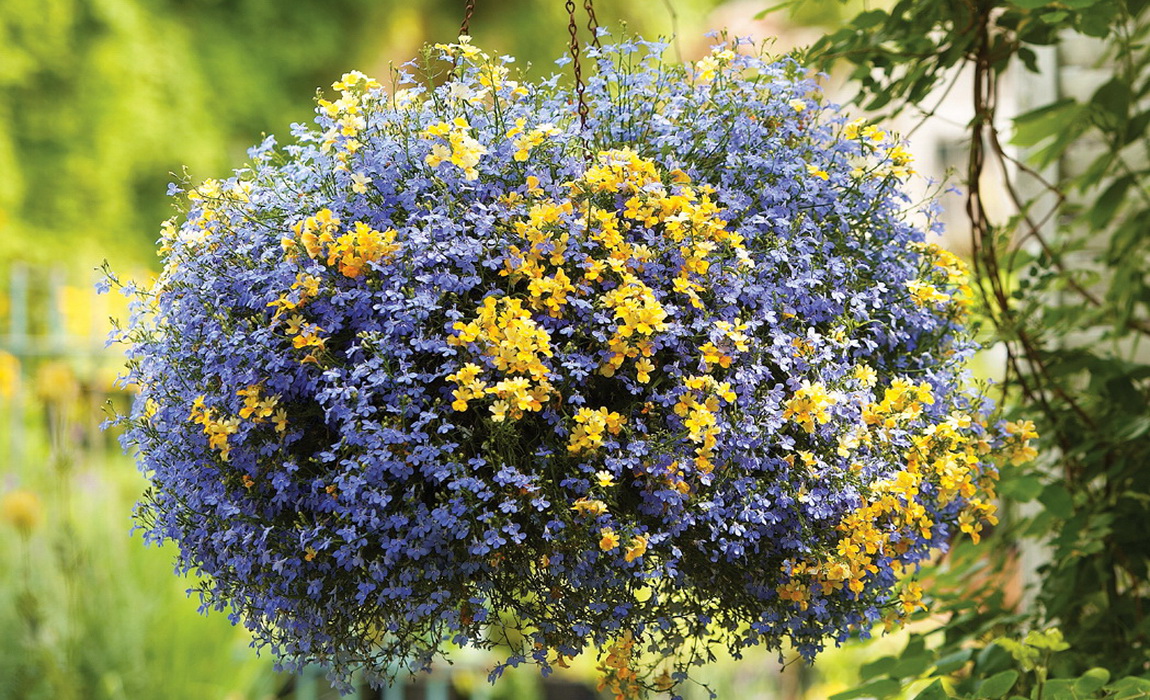
Lobelia belongs to the bellflower family, is considered a unique plant, which is valued among flower growers and breeders. During its flowering in summer, it resembles a fluffy ball in which green leaves are almost invisible. It is grown on flowerbeds, hanging decorative baskets, flower pots, lobelia on the balcony looks very elegant. You can create magnificent compositions when designing a garden with such a universal plant, for example, it will look beautiful in combination with petunia. To know how to grow lobelia at home, you need certain knowledge and experience, especially at the seedling stage.
The most famous types of lobelia
The homeland of the plant is considered South Africa, but lobelia is quite unpretentious, and therefore it is common in many countries. Russia was no exception. Now about 300 different varieties of lobelia are bred in nature, each type has its own characteristics. Lobelia in a pot is often used by gardeners as decorations for arches and arbors. Such a plant can be annual or perennial, grassy or shrub, cultivated varieties also exist.
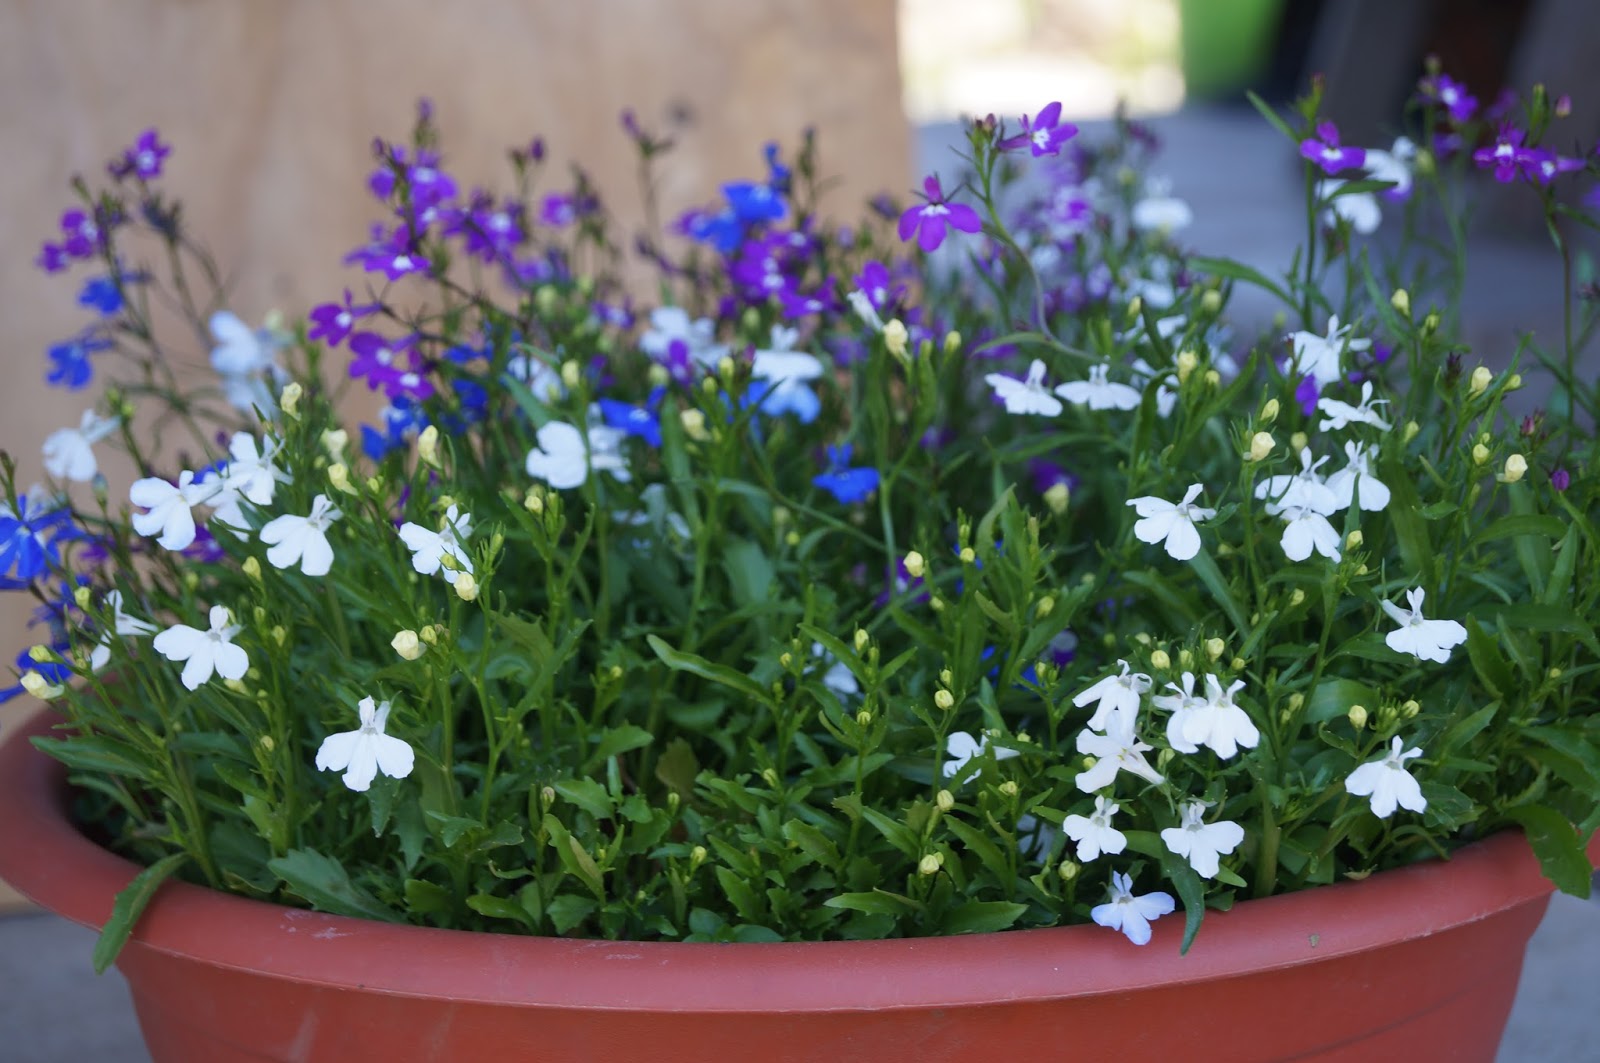
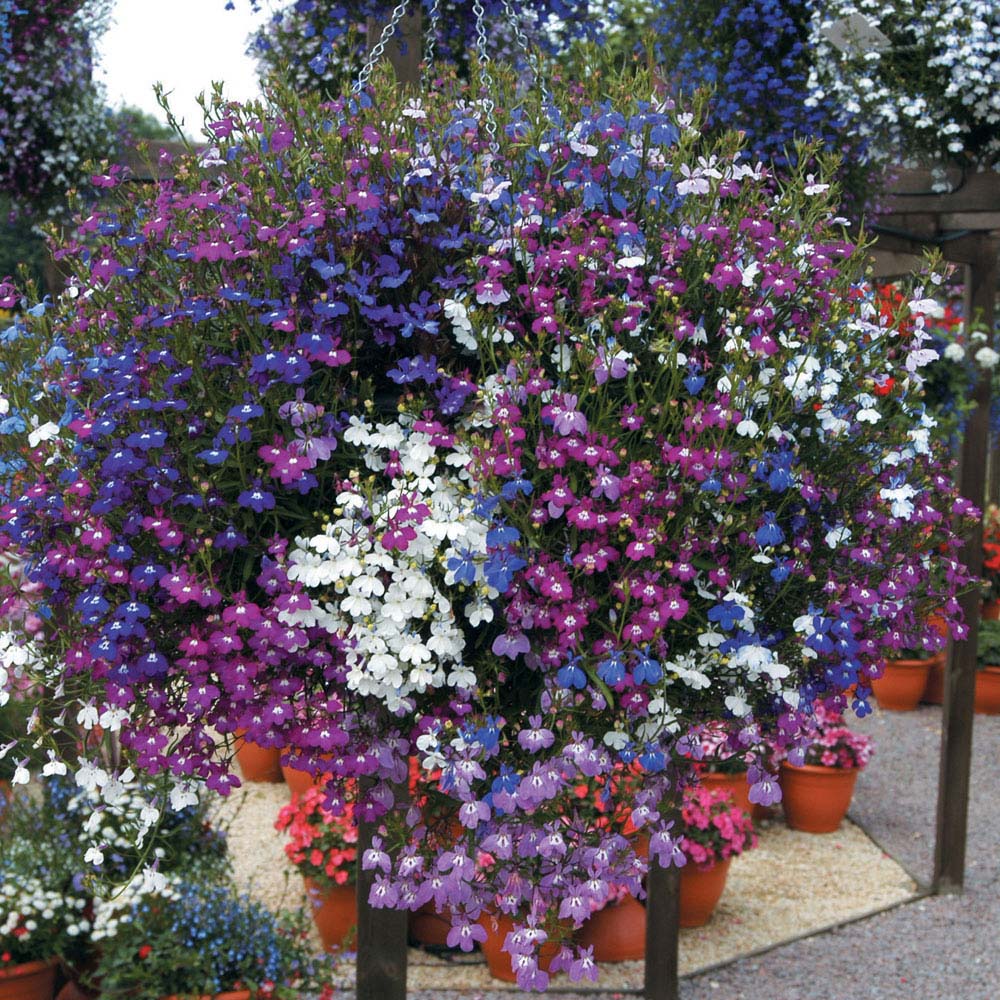
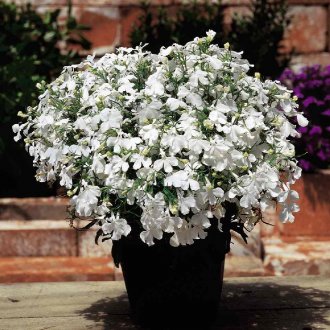
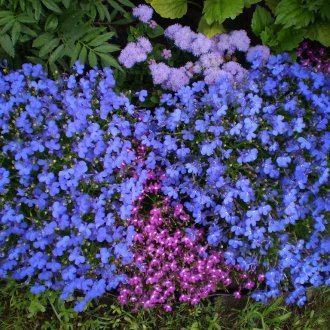
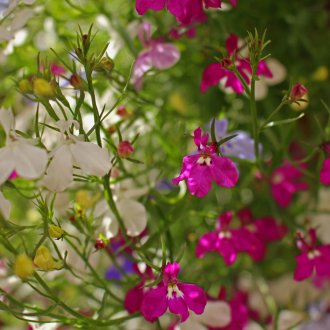
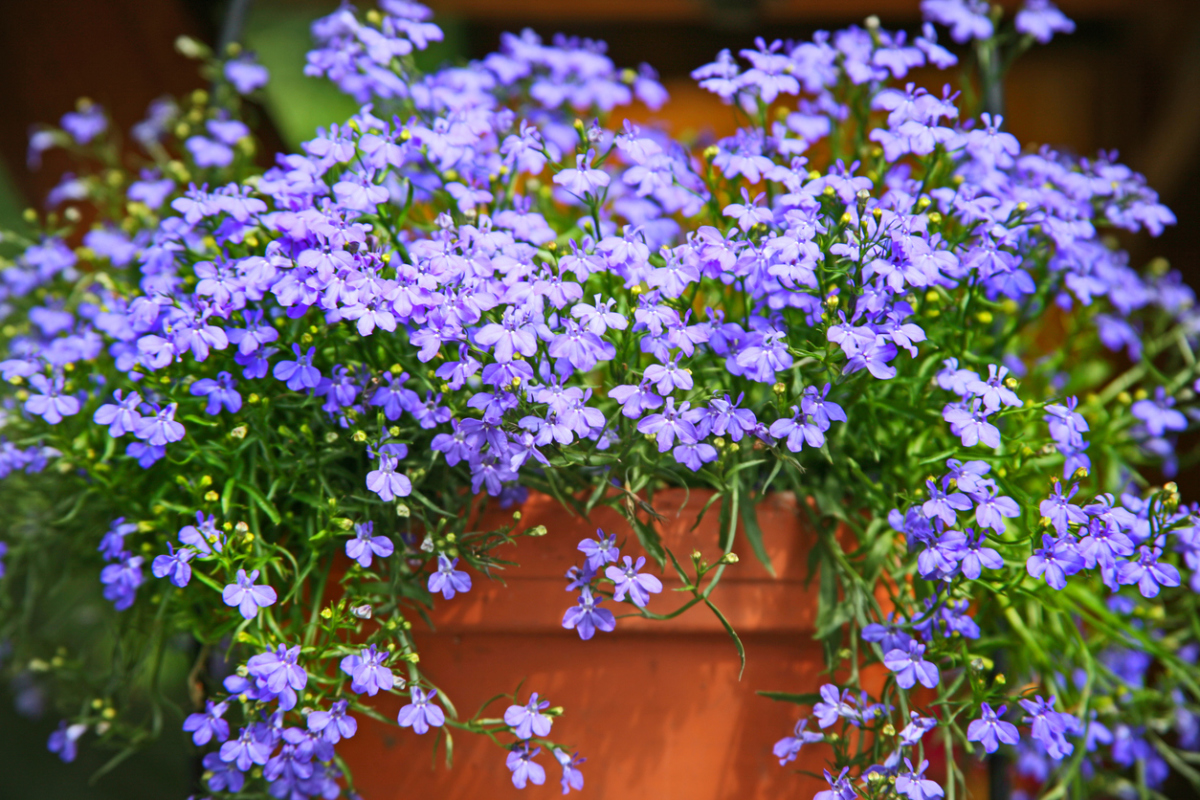
In floriculture, only 20 varieties are used as ornamental plants. The most common species is considered to be the annual erinus lobelia, which is also called the black lobelia (border). It has thin stems and jagged, whole leaves. During the flowering period, the lobelia looks like a magnificent ball with numerous small flowers of white, lilac, blue and violet shades, the size of which is in the range of 1-2 cm, and their number reaches up to hundreds of pieces. There are several forms of it:
- Dwarf lobelia - is considered the smallest form. The height of the bushes varies from 8-12 cm.
- Lobelia is compact - grows in a dense bush with straight shoots. It grows up to 15 cm in height.
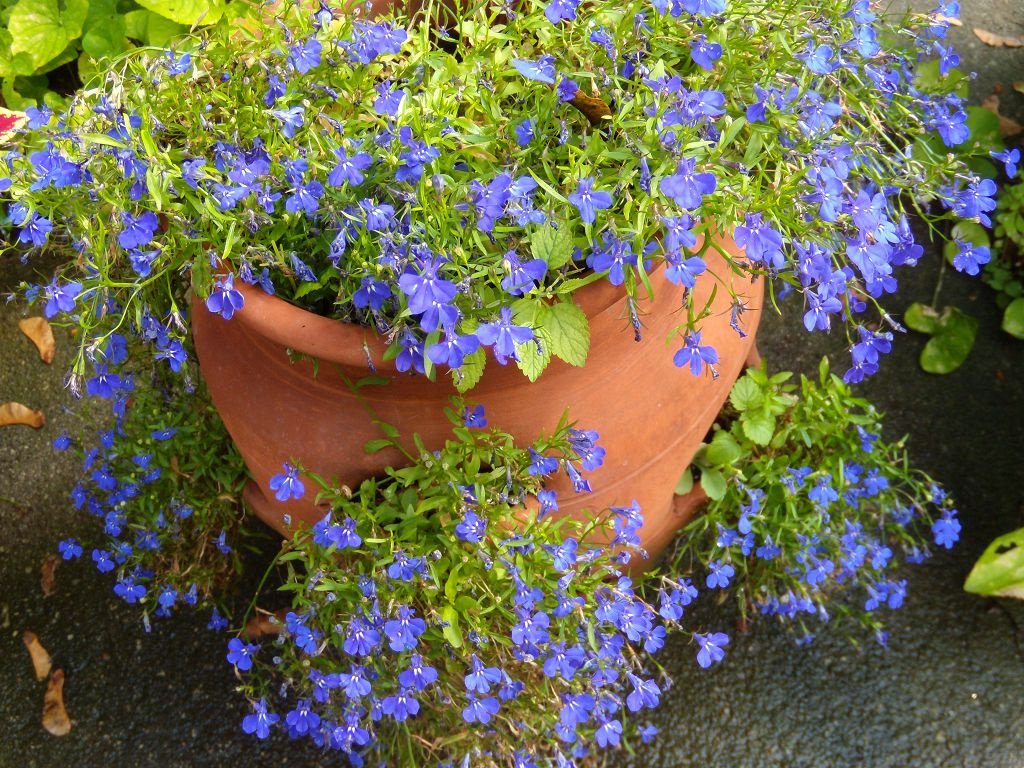
- Ampelia lobelia - this species grows in a magnificent cascade, whose stems are directed downward. The lashes grow to 35 cm.
- Lobelia erect - grows a column-shaped bush. In height reaches up to 25 cm.
- Spread lobelia - the stems of such a lobelia are long, sprawling. The height of the bush is small, from 10-15cm.
- Ampel lobelia is used for balcony boxes, flowerpots, hanging flower baskets. The remaining listed forms belong to the bush type.
Popular varieties of lobelia erinus include:
- "Emperor Willy";
- "White Palace";
- "Sapphire";
- "Miss Clibran";
- "Red Cascade";
- The Blue Fountain.
In addition to the annual species, there is a perennial garden lobelia. Among such a variety, there are:
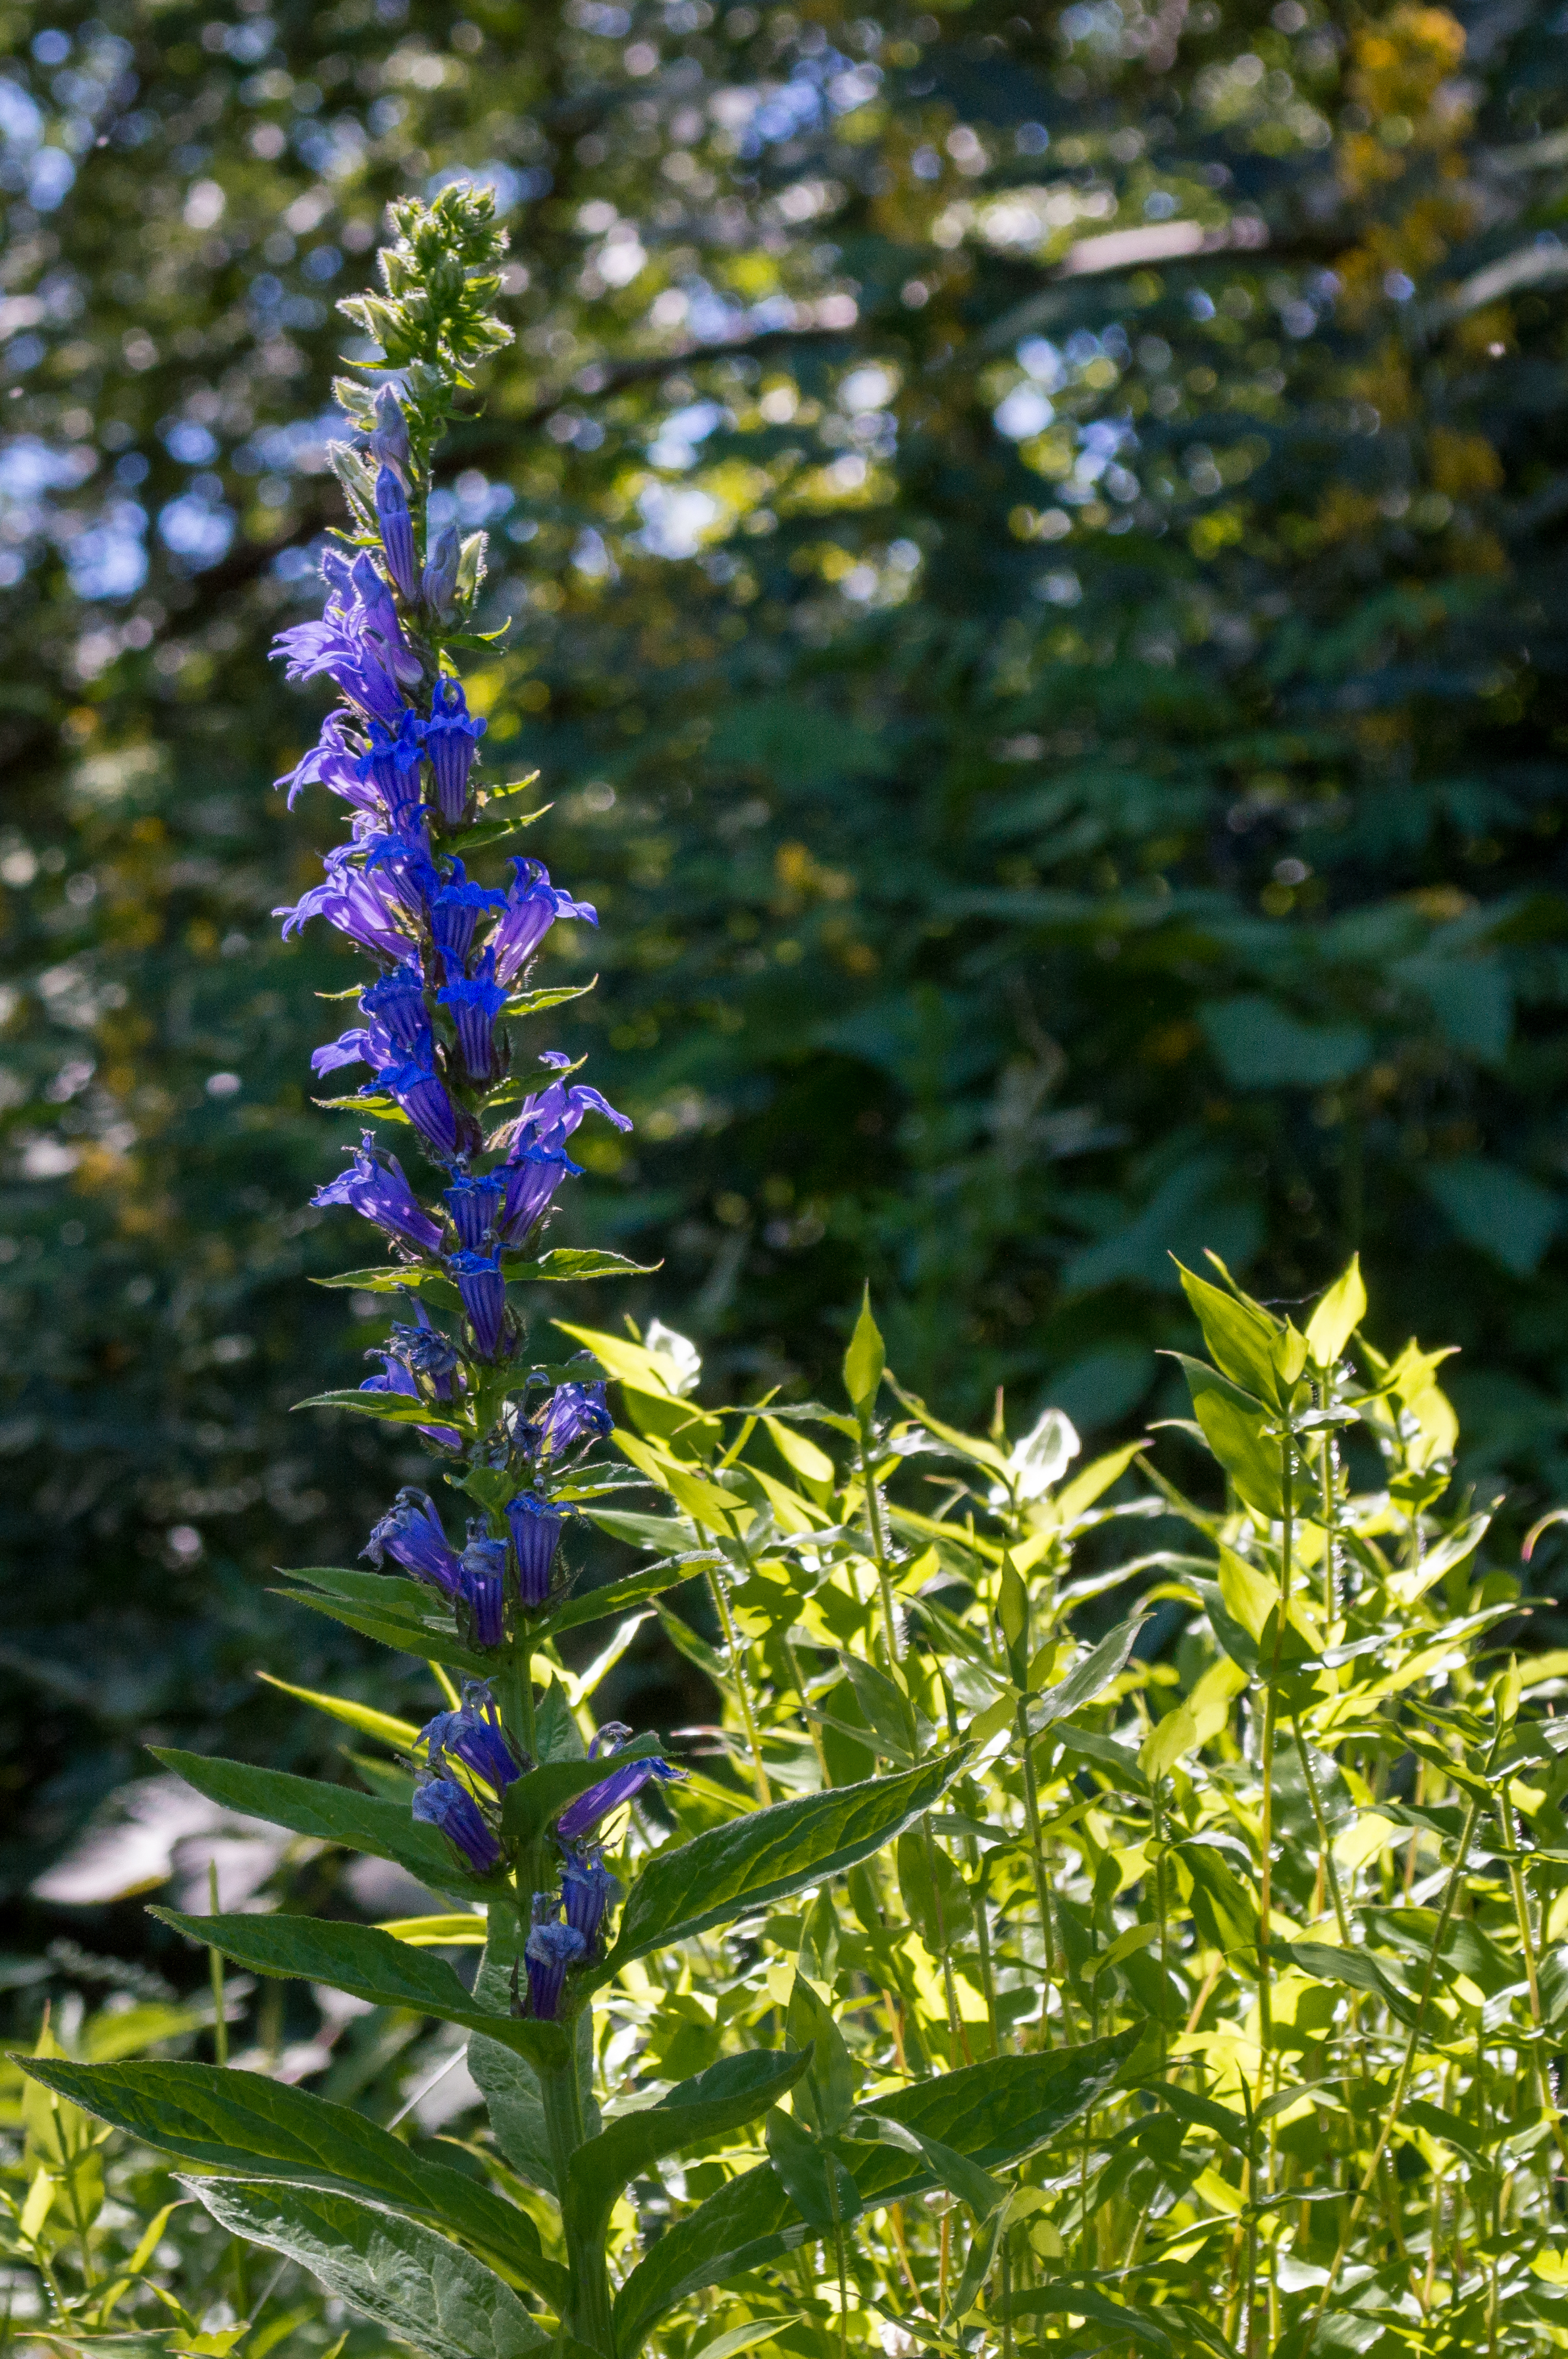
- Syphilitic lobelia - characterized by erect bushes with dense flowers. Such a plant is planted on moist soil.
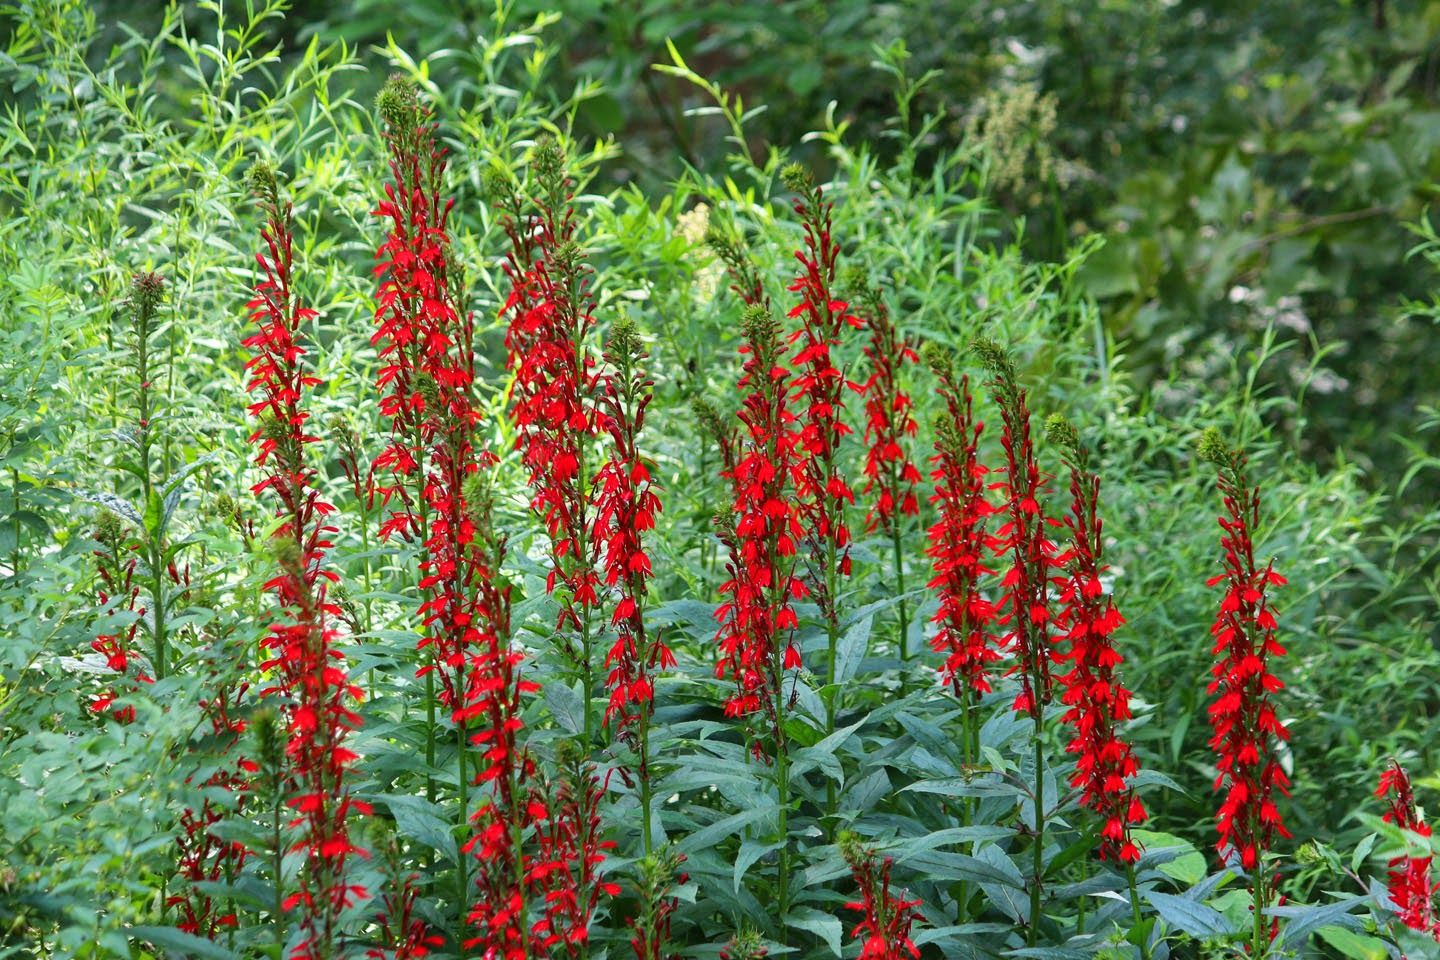
- Cardinal lobelia - erect stems of such a bush reaches 1 m in height. Flowers are bright red. This plant is suitable for growing on marshy soil.
- Fire lobelia - this type has spike-shaped inflorescences with red flowers and burgundy leaves. The height of the bush reaches up to 1.5 m.
Perennial, of course, is not so common, but also has its fans among flower lovers. Planting lobelia perennial is appropriate when creating floral arrangements on the site and the shore of garden ponds.
Seed selection and lobelia sowing time
To grow a beautiful lobelia, you need to know, not only how to plant it correctly, but correctly select the seeds. Shrub species blooms very abundantly, low and dense ball. Observing the rules for care, no greens will be visible behind the flowers. The ampelous appearance does not bloom so intensely, the bush is more friable. Lobelia flowers of this form require more careful care and knowledge. Even an inexperienced gardener can grow bush lobelia.
When choosing a plant, you should pay attention to color. White lobelia sprout more slowly. Blue and blue varieties sprout and bloom faster. Growing lobelia of purple and violet shades is the most troublesome task, they grow poorly.
Seedlings develop over a long period of time. From the time of sowing and until it blooms, it takes about 90 days. Lobelia at home begins to be grown by some gardeners in February. During this period, it requires increased care, as there is not enough daylight for the plant, the sprouts grow poorly, and the risk of the appearance of a black leg increases. The situation is stabilizing next month. In some cases, seedlings sown in March lobelia, due to sunny weather, catch up with the February, so if you have special lamps for illumination and extra time, you can sow the seeds earlier.
Sowing seeds for seedlings
Soil for lobelia seedlings should be moisture-intensive, nutritious and not heavy. You can purchase a special substrate in the store, designed for growing flower seedlings. If the land will be extracted with your own hands, then it should be properly prepared: in the fall, make a mixture of forest land, humus, sand and peat in equal proportions, and then sift it through a large sieve. It is important to know that any land, even purchased, must be decontaminated. To do this, you need to treat it with a fungicide solution or just freeze it on the balcony all winter. To normalize the acidity level of the soil before sowing seeds, it is enough to add lime or dolomite flour to it.
The successive stages of sowing lobelia seeds for seedlings:
- Place prepared soil in a wide and shallow container with drainage holes, tamp a little on top and hold for 24 hours.
- Seeds of the plant, laid out on a sheet of paper bent at an angle, carefully sprinkle on the ground substrate, while distributing them evenly. Then you need to spray them with water.
- Cover the tray with seedlings with a glass surface and place in a sunny, warm place.
You can sow granular seeds. Well developed lobelia, growing from seeds of which occurs in peat tablets or special cassettes. This option of sowing seedlings is easier.
Seedling Care
For a magnificent plant to grow from seeds at home, you need to know not only how to plant, but also how to care for lobelia. To do this, it is necessary to ventilate the planted sprouts daily, that is, periodically remove the glass, remove the collected moisture and put the transparent lid on the container with the back side. After 1-1.5 weeks, when the first shoots appear, it is recommended to remove the glass and arrange greenhouse conditions for the seedlings, covering them with polyethylene and placing them in a well-lit place without direct sunlight. Accumulated condensate must also be removed from polyethylene.
After the seeds have sprouted, it is necessary to prevent their intensive growth in height. To do this, it is necessary to temper them a little by moving the trays with seedlings for a while in the afternoon on the balcony, where the air temperature will be cooler and there will be enough light. At night, you must definitely bring them into a warm room, providing an additional source of lighting. Also, the backlight must be turned on in rainy and cloudy weather.
It is best to moisten the seedlings from below, pouring a small amount of water into the pan, as this will prevent the appearance of moldy fungus on the surface of the soil substrate, due to which seedlings can die. Water from above must be very carefully from a teaspoon or disposable syringe. When mold appears on the surface of the earth, it must be removed and sprinkled with a thin layer of washed and calcined river sand or crushed activated carbon. To avoid the occurrence of any diseases, it is necessary to prevent drying out and strong moistening of the soil, as well as to feed periodically. The soil should be loose and moderately dry.
Picking seedlings
After the seedlings have grown, they need to be dived, that is, it is necessary to plant them in small bunches, capturing several sprouts with the ground in a separate tray. Before this, the soil with seedlings should be abundantly moistened so that it is easier to separate the seedlings from each other. The interval between the bunches of transplanted plants should be left at least 2-3 cm.
After a dive, ram and water the ground. When the transplanted sprouts become 3 cm in height, it is recommended to cut them a little, so they will well grow and bloom.
Water the seedlings carefully, without affecting the young leaves. Do it better with a syringe or a teaspoon.
It is necessary to start planting the grown lobelia seedlings from a temporary tray in the open ground at the beginning of the first month of summer, observing the distance between individual bushes of 10-15 cm. Their transplantation is similar to a dive. To capture the beams, you can use a spatula or a small spatula.
Lobelia is recommended to be planted on a partial shaded or sunny area of the garden with mostly moist soil. Too fertile soil is not suitable for lobelia, as the greens will grow luxuriantly and bloom sparsely. It is recommended to trim the bushes in July, this will contribute to its even greater growth and flowering. During this period, you can fertilize the soil with mineral additives once a week.
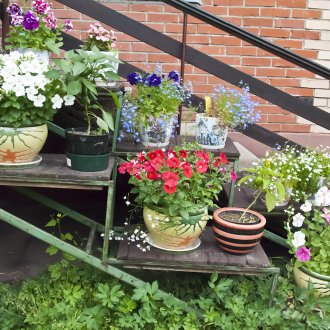
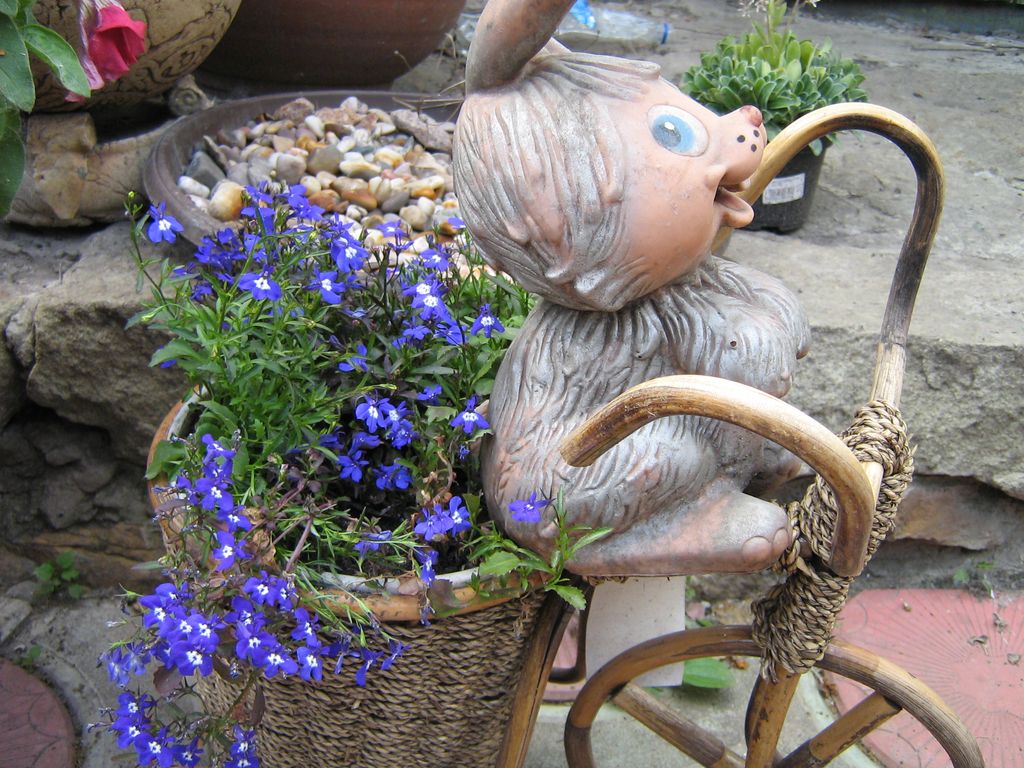
Planting lobelia in a flower pot, flower pot or on the balcony implies a more thorough care, since the earth there quickly dries out and there are much less useful substances. The soil needs to be fed periodically, so before planting lobelia in a pot, you need to take care of fertilizing the earth.
Planting and care in the open ground of such a plant is not a big hassle. Lobelia from seeds grows beautiful and magnificent, if you follow all the recommendations and rules listed. Such a plant is able to decorate any territory with its fluffy and magnificent compositions.
