DIY chandelier decor: new ideas and materials (53 photos)
Content
Lighting is one of the most important elements of the interior, capable of drastically changing the visual perception of the room. Therefore, the location and number of lighting devices are always carefully thought out.
It’s a great luck to immediately find lamps that fit organically into the interior. But sometimes it’s difficult to find an ideal chandelier, and a table lamp, pleasing to the eye, has dimmed and lost its original beauty.
At such moments, the housewives wonder how to renew the look of a new or so beloved old chandelier. Consider some interesting options on how to make a chandelier decor on your own at home.
Painting or painting
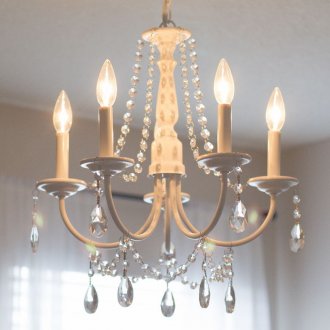
You can paint both the base and the shades themselves. Often, the color of the chandelier is updated when repairing an apartment. Indeed, the old chandelier does not always fit organically into the updated interior.
Oil and acrylic paints are suitable for this, and you can apply them with brushes or with an airbrush (only acrylic).
- The first stage is preparatory. It is necessary to disconnect the elements that we are going to paint. That is, put aside bulbs, cartridges, and so on. Then you should get rid of the old paint and degrease the surface.
- Next, we prepare the workplace. An open area or at least a balcony (in other words, any well-ventilated place) is best suited. We cover the floor with newspapers or film.
- There should be several layers of paint, and each should dry well before applying the next. As a result, the color should be saturated, and the surface should be uniform. Usually, three to four layers are sufficient for this.
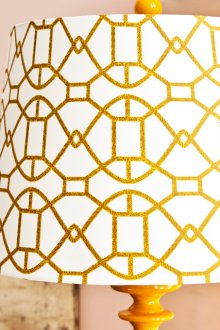
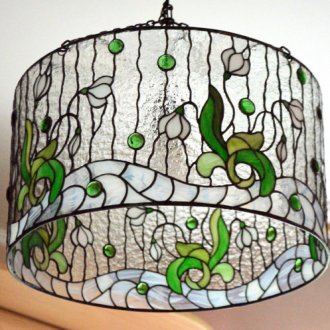
You can paint the shades in one color, or you can paint them with all kinds of patterns. It is better to do this with acrylic or stained glass paints (they fit perfectly on a smooth surface and do not spread). It all depends on your imagination and creativity. It can be ethnic motifs, geometric shapes, birds, flowers, in general, everything that the soul desires at the moment.
You can use various drawing techniques:
- imitation of stained glass on glass shades;
- gradient (smooth transition of one color to another);
- volumetric painting (can be achieved by painting with large strokes; flowers are very beautiful in this technique).
If you are unsure of your drawing skills, you can use stencils. The most complex drawings are possible with them!
Decorative lampshades
In addition to painting and painting shades when updating the chandelier, you can use various decorative materials:
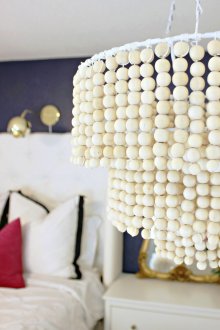
- rhinestones and beads of various shapes and sizes;
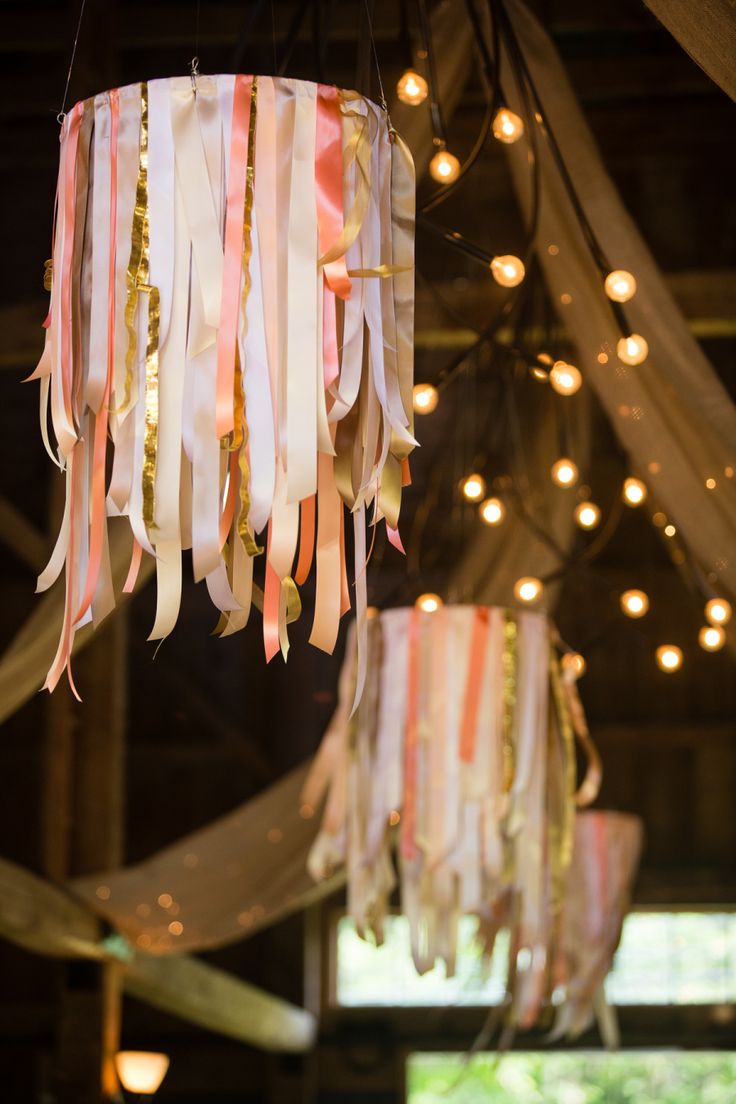
- ribbons and fabrics;
- lace;
- yarn;
- feathers;
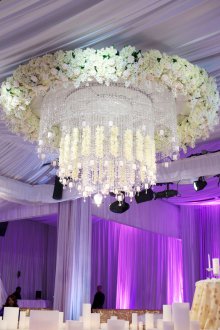
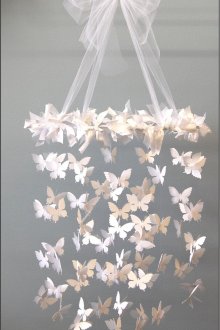
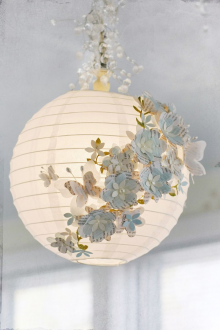
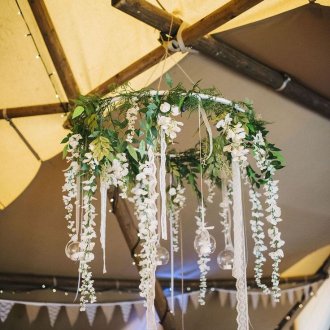
- artificial flowers, butterflies and countless other materials.
Decorative elements are used already at the final stage of the transformation of the chandelier. Since after their attachment it will be difficult to paint it, if you suddenly want to. Fasten elements with a glue gun.
It is worth remembering that the chandelier heats up very much during operation (when using incandescent lamps). This means that jewelry must be fixed with high-quality glue, which will not change its properties over time.
Create a new do-it-yourself chandelier
Famous designers and decorators claim that anyone can create an unusual ceiling for a chandelier.On the Internet, a huge number of workshops from amateurs and professionals to create unusual chandeliers. Usually simple materials are used for this, and the process does not take much time.
The most suitable materials for creating a ceiling light are paper and fabric. They are in every home, easy to change shape, are inexpensive. You can also use threads and yarn or glass (for example, unusual bottles or vases). The most extravagant options for fixtures can be made of plastic, cardboard boxes and even from a coffee box!
Starting from scratch is always difficult, so here are some interesting options.
Thread Chandelier
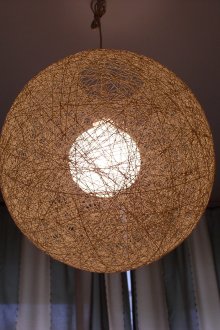
An interesting and fairly simple option. You will need a skein of thread, a balloon and PVA glue.
So, we inflate the ball, then we make a through hole in a tube with glue and a needle and we pass a thread into it. Now wrap the ball with this thread. This can be done both randomly and in specific directions, creating various geometric patterns. We wait for the glue to dry and burst the ball. Such a ceiling is not very strong, so you should pull out the ball very carefully. With a creative approach, using different textures and thread colors, you can get a very creative and beautiful chandelier.
Chandelier "Birdcage"
We will need thick wire, metal mesh, scissors and artificial birds.
First you need to assemble the frame of our future chandelier. To do this, we make two identical rings with a diameter of 40 cm, cut off a piece of metal mesh with a width of 30 cm and a length of 126 cm. We twist the mesh into a ring of equal diameter with our wire rings and fix (twisting the ends of the mesh onto the wire) between them. On one side, we fasten three wires, connecting them in the center of the circle and protruding slightly beyond the cylinder (in this place our chandelier will be attached to the cartridge). The frame is ready.
Next, cut pieces of wire 40 cm (2-3 pieces). These will be bird poles. So we attach (thin wire) birds to them and place them inside our cage. The chandelier is ready. You can complement it with the decor of the outer side of the cage, but here it all depends on your imagination.
Chandelier "Skirt"
The simplest and a bit strange in this collection. Only the upper platform is needed, on which the "skirt" is fixed - round pieces of translucent fabric (preferably light tones), fastened in the middle. A fabric for sewing a skirt-tutu or other bulk loose fabric is well suited.
Often, special shafts of cylindrical shape are sold for shades. Many craftswomen use them. It is not surprising, because they are inexpensive, and there is no need to waste time creating them. They are sold in any store for creativity. Such a ceiling is often covered with fabric, but we will consider a more interesting option - we use braid. In this case, we tie the first braid for the lower edge of the frame, pull it well and throw it over the upper edge, then again return down.
It is always necessary to go around the frame with braid from the same side, so it will be more beautiful. With a braid of the same color, only part of the ceiling can be decorated, then you can take a contrasting color. It is advisable to use up to four to five colors, so it will not be too colorful and beautiful.
Original ideas
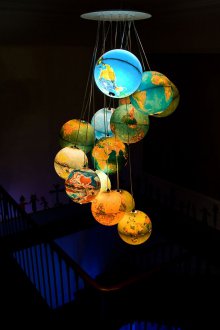
For travel lovers, you can make a pendant lamp from several small globes. Some of which can be left intact, and another part cut along the equator so that more light enters the room.
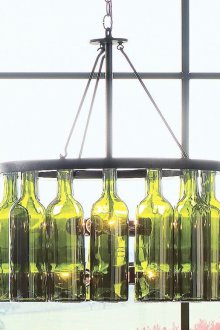
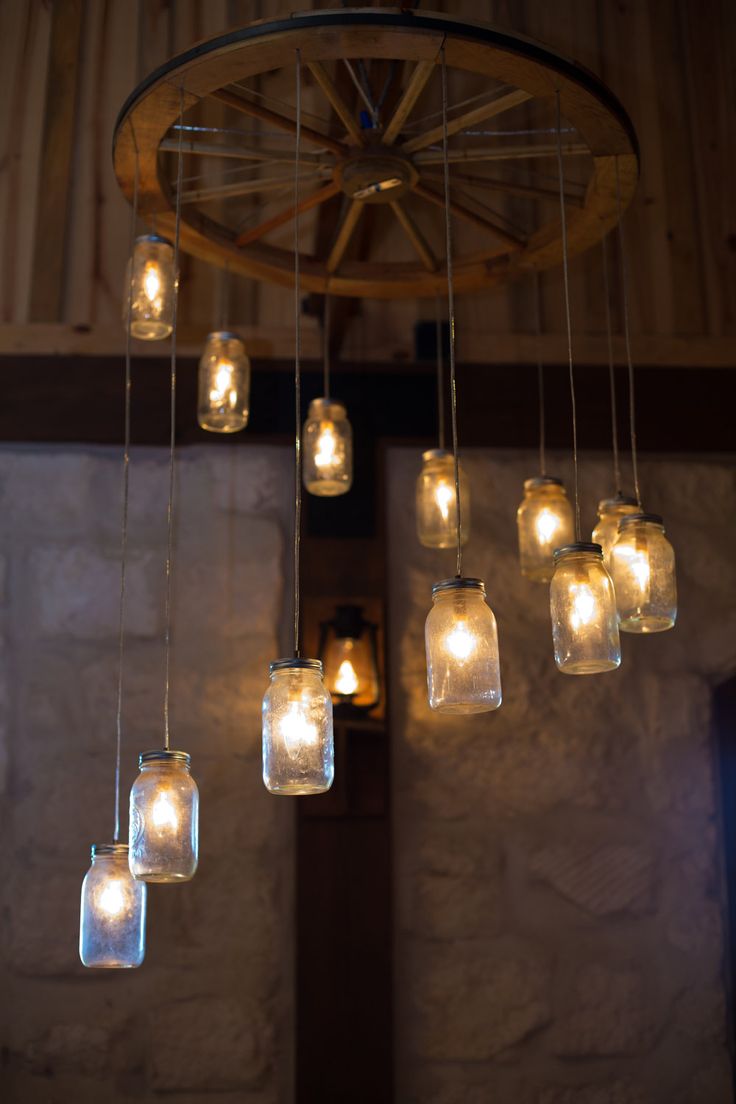
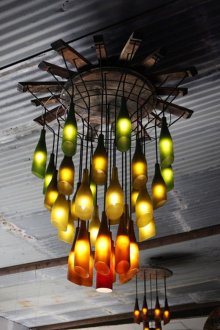
You can give a new life to old banks (which, by the way, can be with convex patterns and different colors), such glass loft style shades can fit into any industrial style.
To do this, remove the lids (metal) from the cans and carefully, exactly in the middle, drill holes for cartridges in them.Next, a cartridge is inserted and with cords and suspensions, several of these shades are assembled into a chandelier, creating a magical play of light in the room. Suspensions can be made of different lengths, so you can make a wave or other figure out of canopy shades.
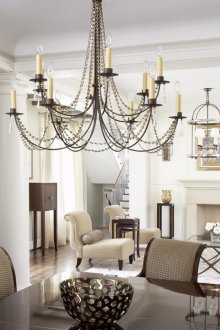
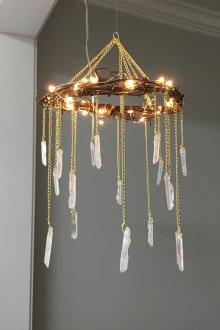
Back to the finished frames, in addition to the described options, you can use anything! Pencils, colored flasks, threads and so on. In addition, chandeliers consisting only of a frame, which is painted in an interesting color and has a minimal amount of decor, are gaining popularity.
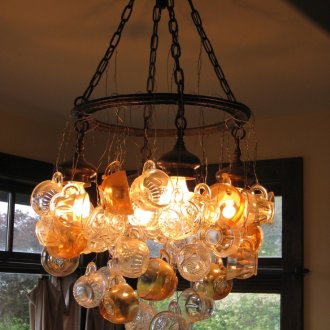
Another unusual option: you can turn over the cups and saucers, carefully (with a special drill for ceramics) drill holes in them and insert shades. Great idea for a kitchen or dining room.
The above methods are just a drop in the bucket, there are countless options, and it all depends on your free time and imagination.
