Ideas for New Year's decor of a bottle of champagne (52 photos)
Content
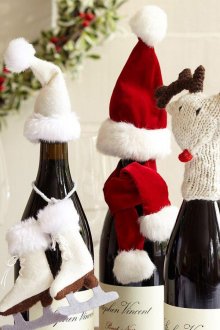
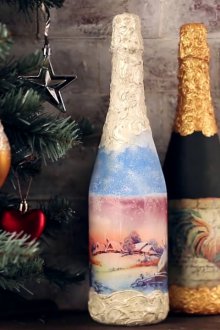
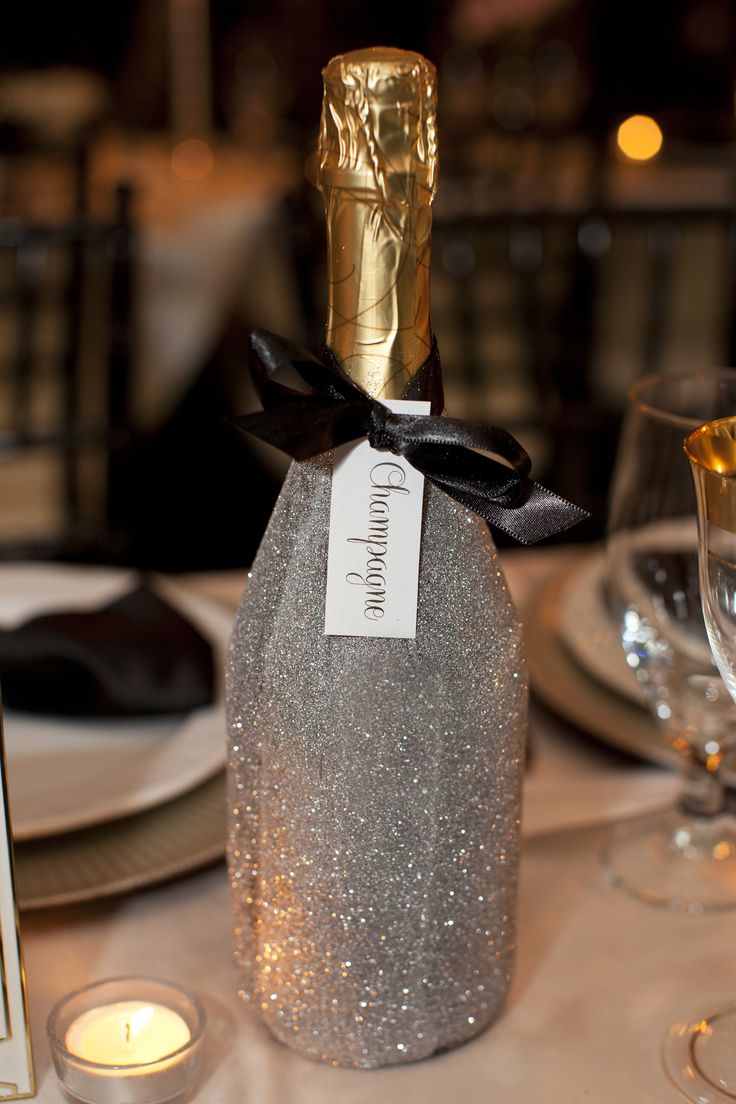
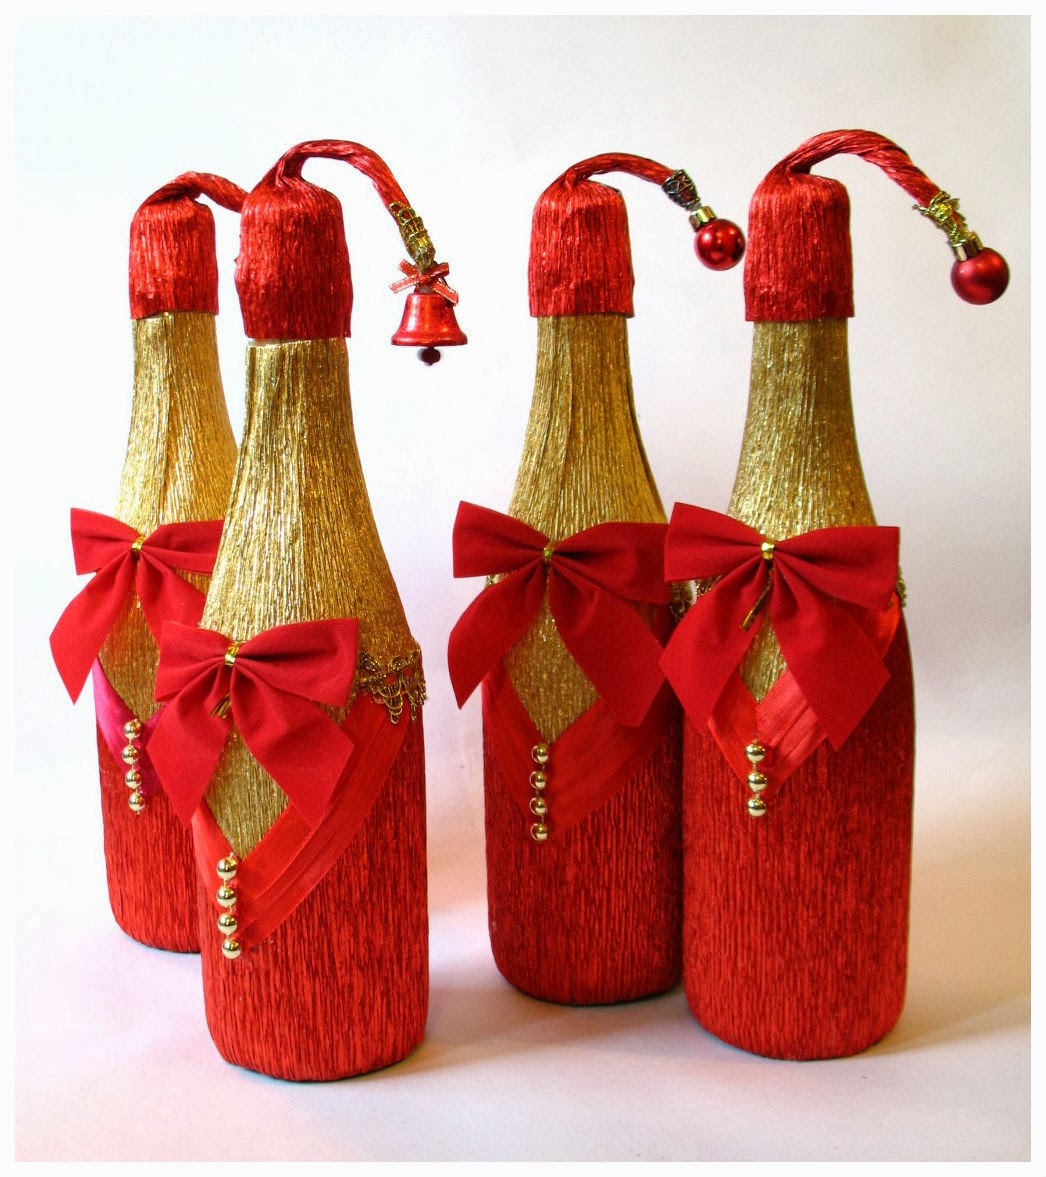
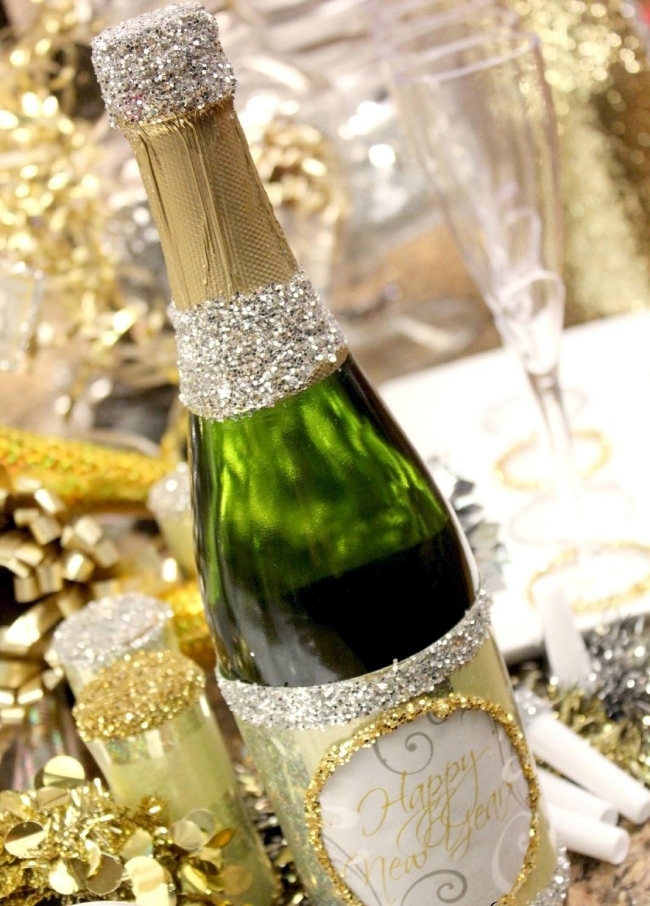
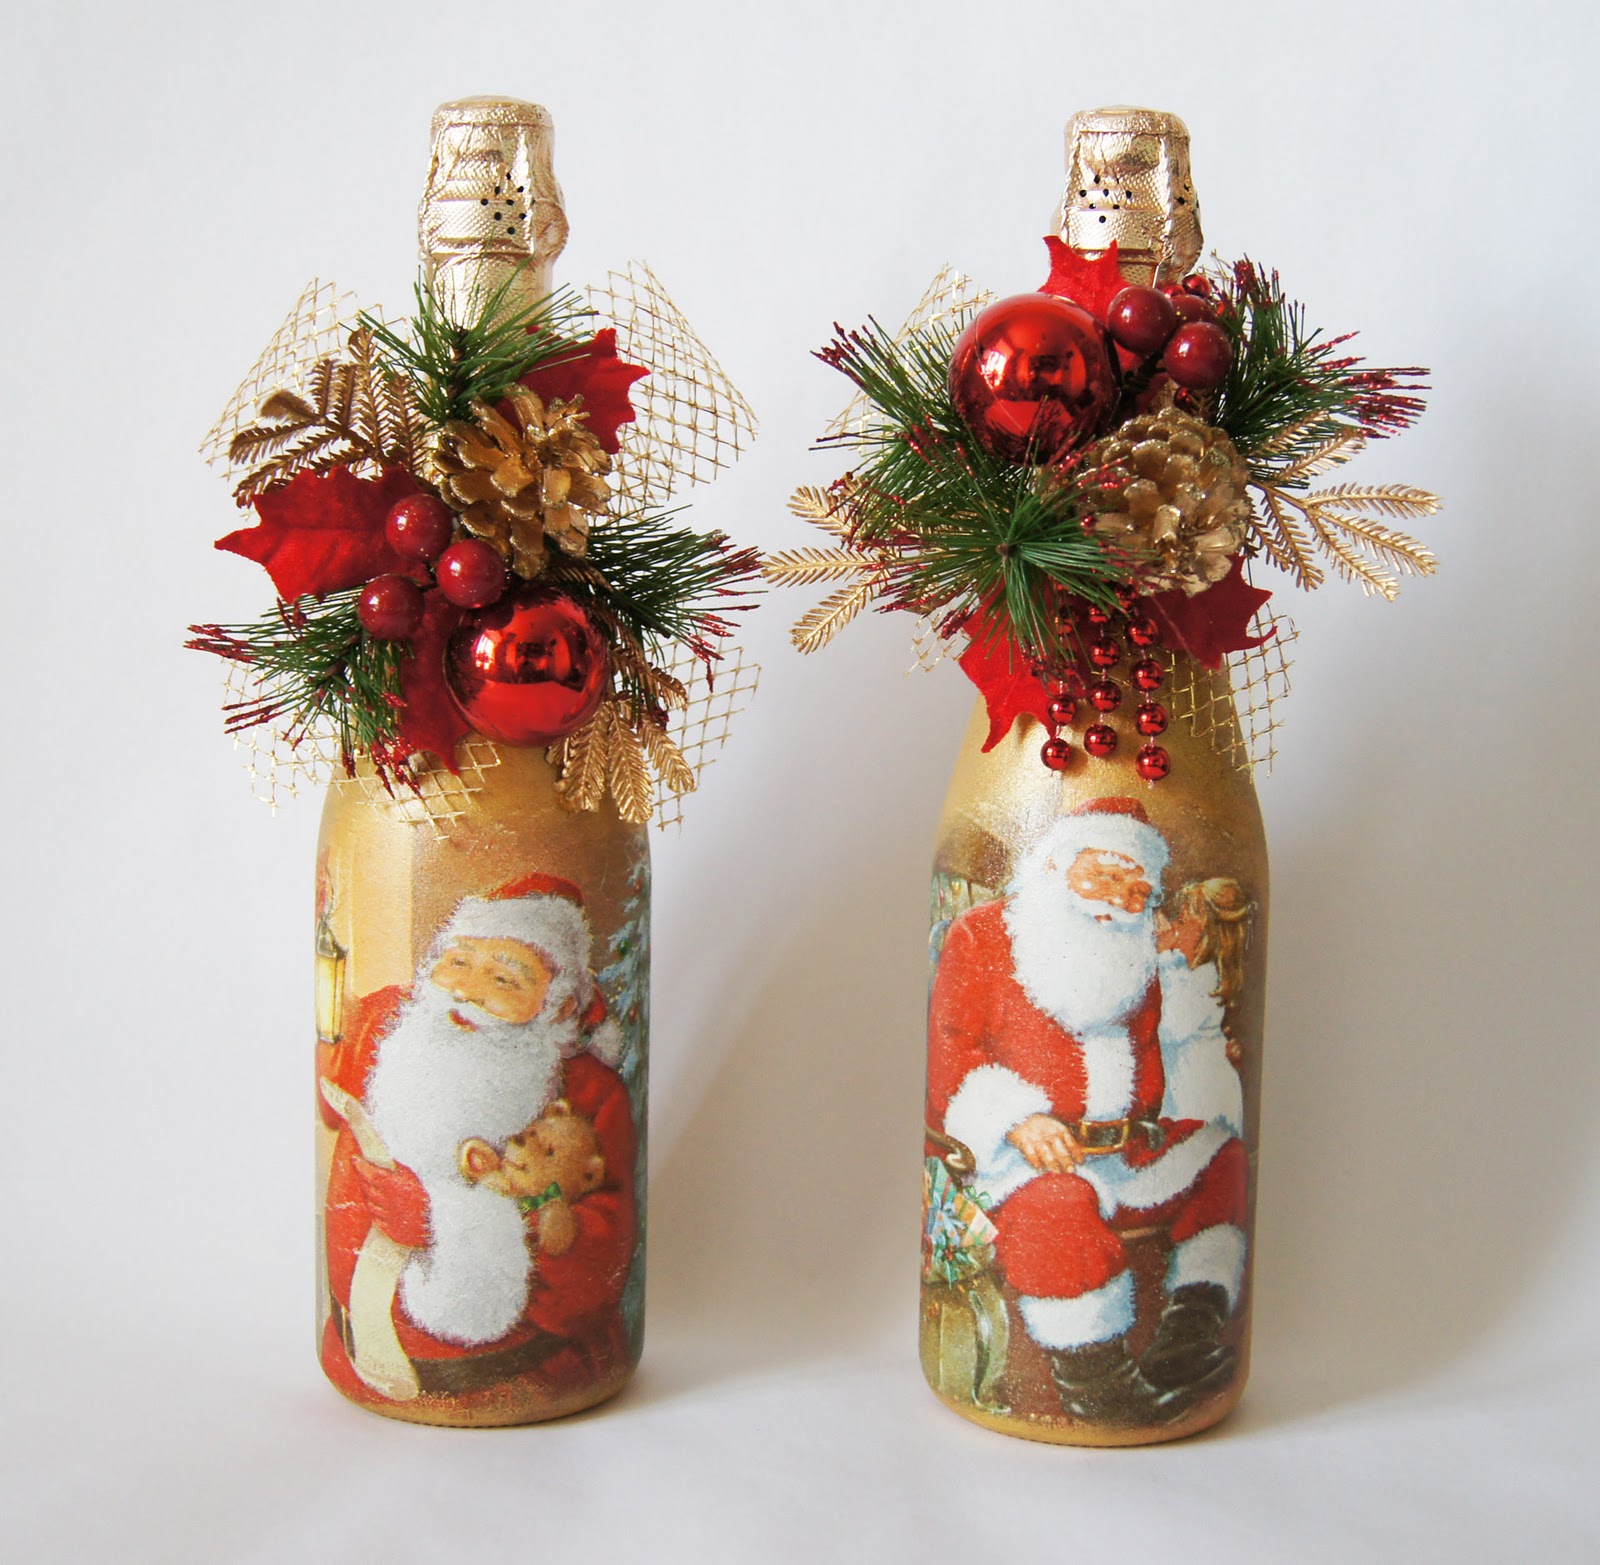
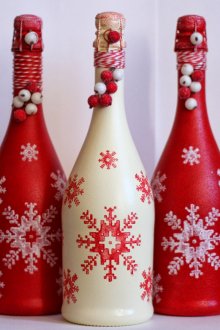
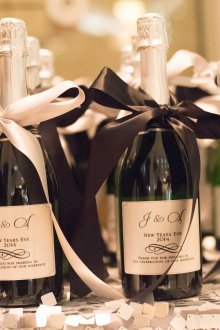
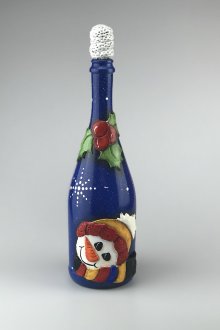
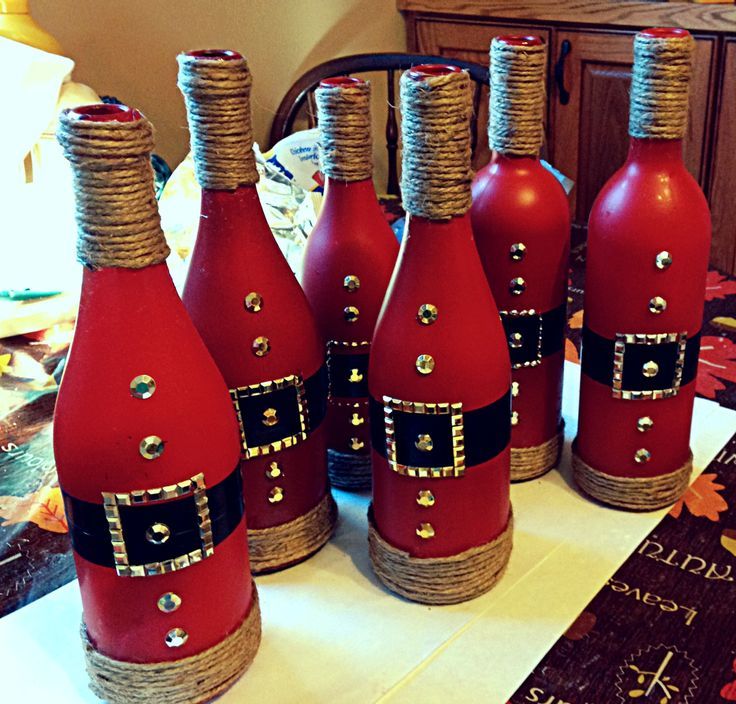
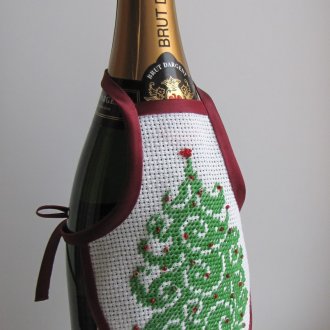
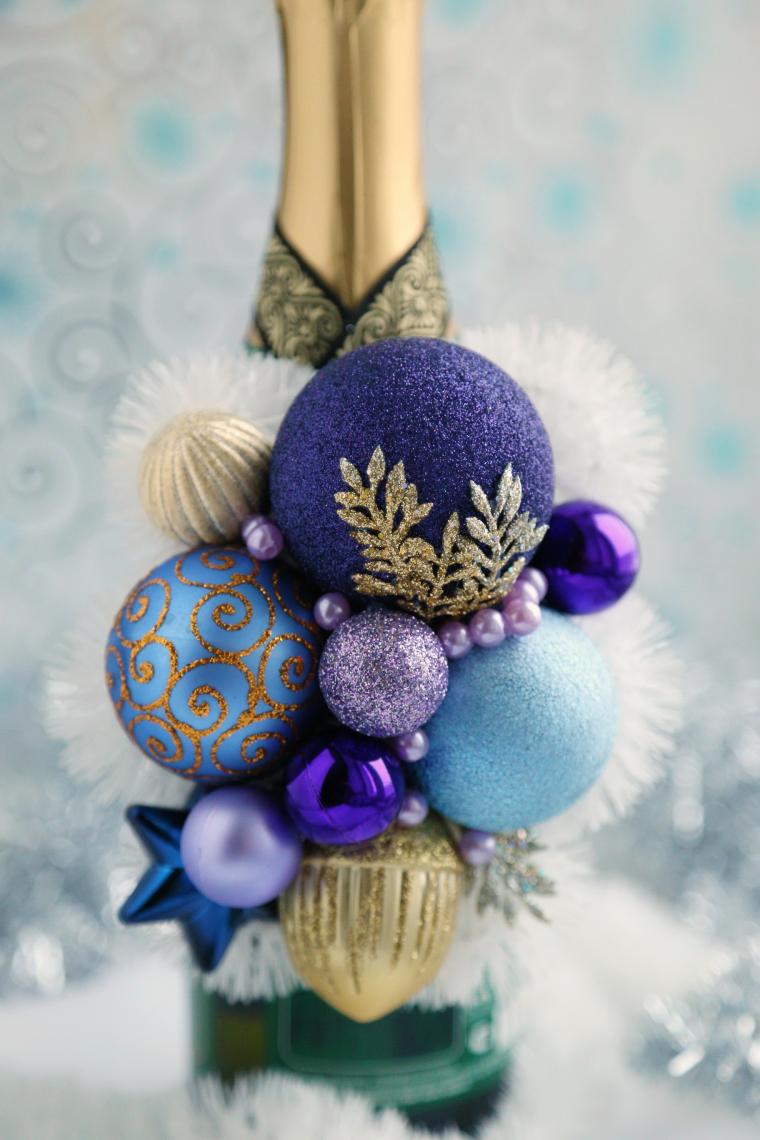
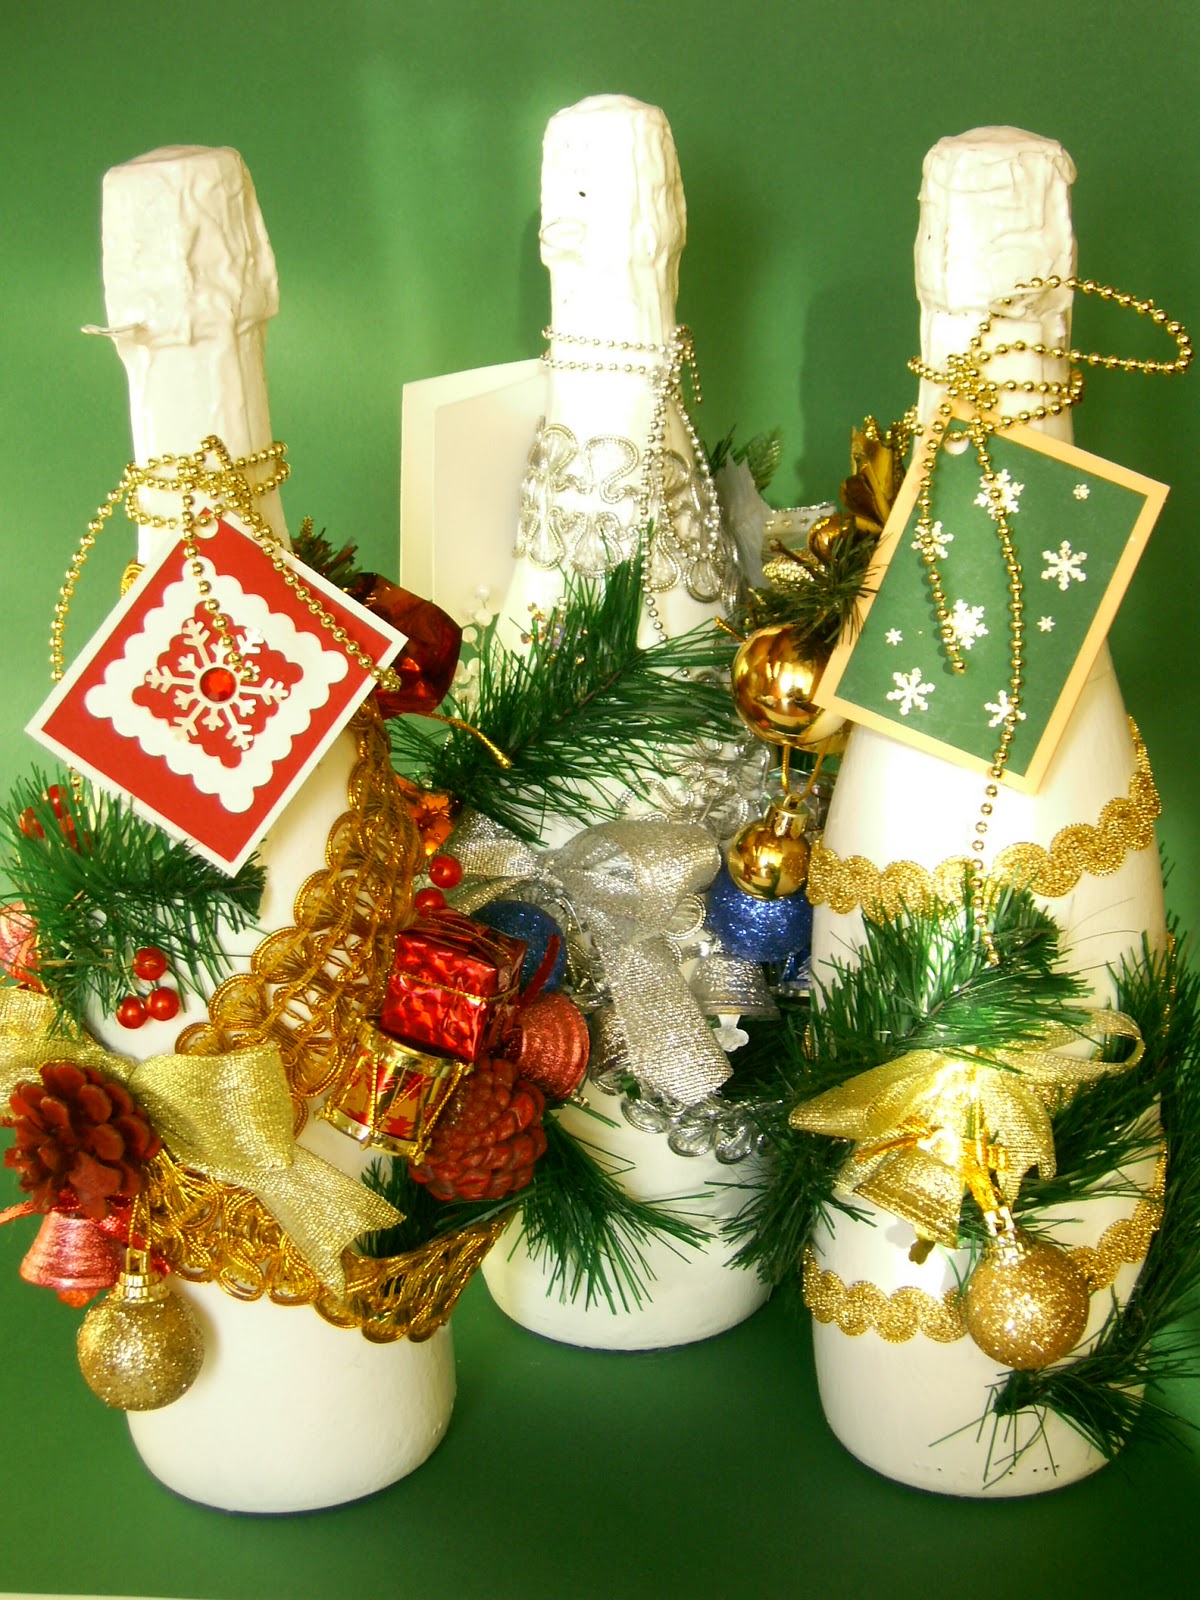
Decorated with ribbons, sweets or napkins using the decoupage technique, a bottle of champagne can become an original gift or give a New Year table a festive look. Learn how to decorate a bottle of champagne for the New Year, and choose the most suitable option to create an unusual souvenir.
Preparatory stage
Before decorating a bottle of champagne with your own hands, you need to properly prepare it:
- If you will decorate a bottle of sparkling drink on the eve of the holiday, try not to shake it during the process. Keep the champagne in a cool place before working.
- To remove a label from a container, moisten it and leave it for a while. After 5 minutes, the paper will easily come off if you scrape it with a knife. Remove glue residues by wiping the surface with a cotton pad soaked in alcohol or vodka.
- To fix tapes, paper, beads or tinsel to the bottle, use silicone glue - the quick-hardening mass is odorless, it is easy to remove from glass or candy wrappers. Double-sided tape can also come in handy.
Decorating bottles with ribbons
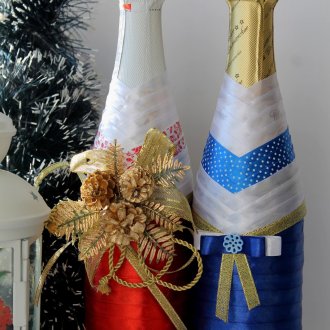
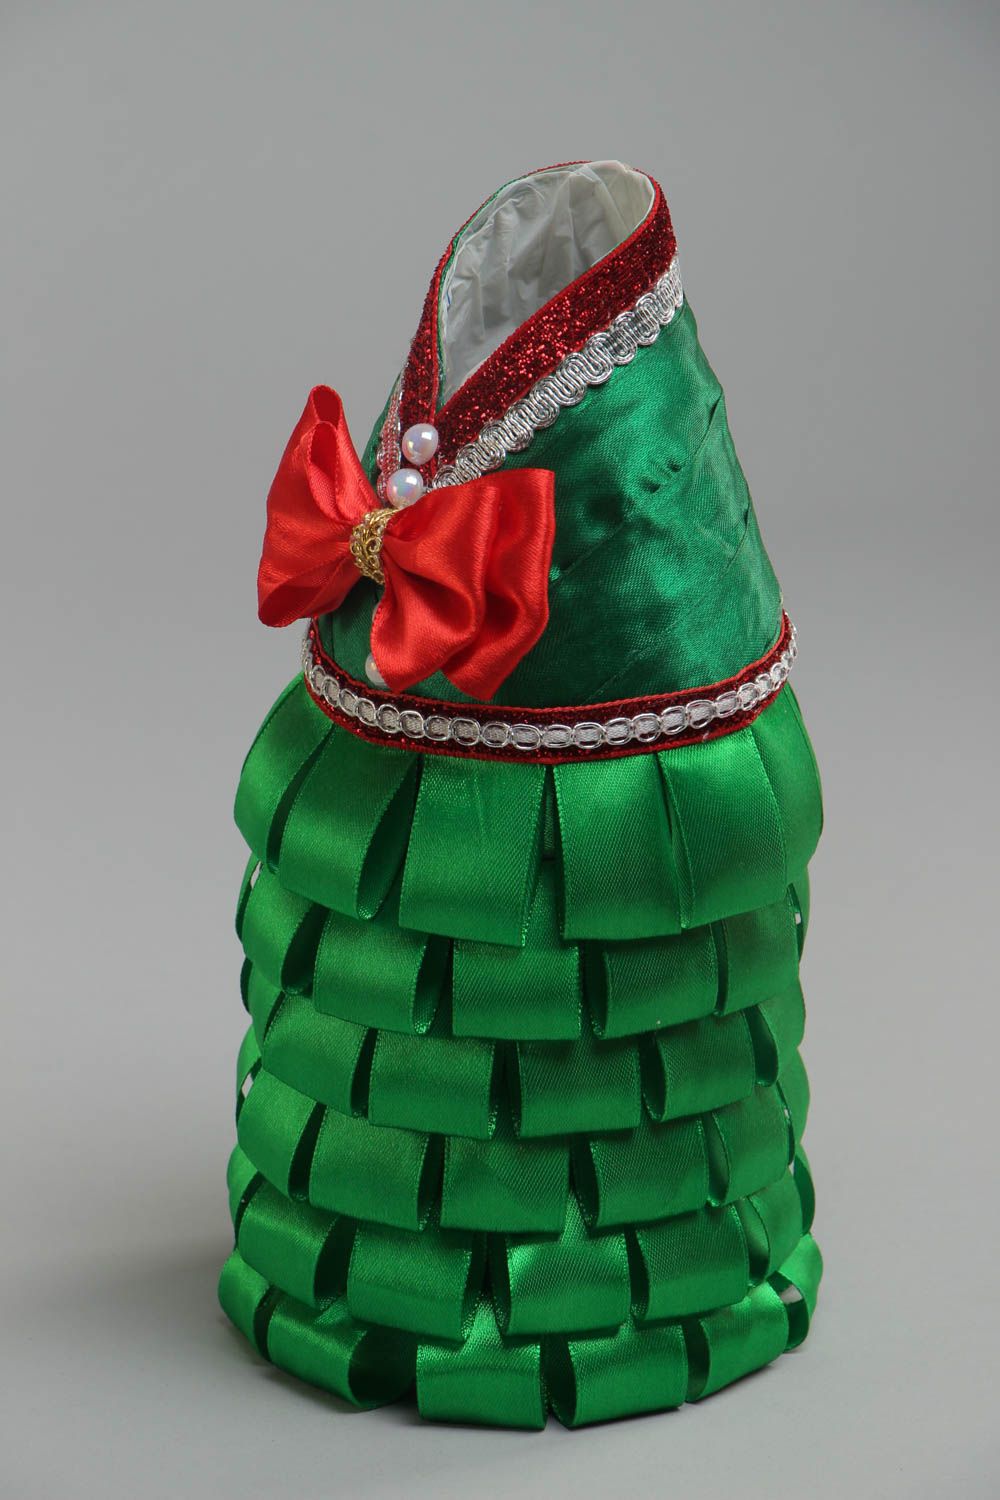
Decorating a bottle of champagne with ribbons is simple, and the finished product will look spectacular.
Materials and Tools
You will need:
- 5 m satin ribbon;
- 3 m brocade tape;
- silicone glue or PVA;
- brush;
- bottle;
- scissors.
Operating procedure
Attach a satin ribbon to the neck where it begins to expand. Connect the two ends of the tape, mark this area and cut the tape. Apply glue to the bottle with a brush, then gently glue the cut strip.
Attach the ribbon again, but a little lower, so that its upper part slightly covers the already pasted section. Measure, cut, stick as the first. Glue 4 stripes of satin ribbon.
Now take brocade and make 3-4 more rows. The finished product will look especially impressive and elegant if you decorate the bottle with golden or silver brocade ribbon.
Cover the remaining bottom of the bottle with satin ribbon. At the bottom, glue another strip of brocade.
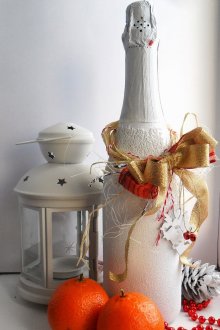
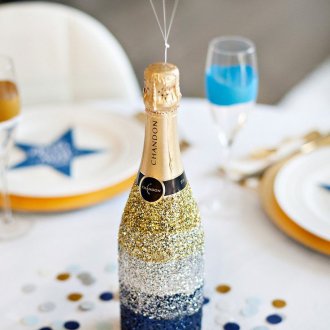
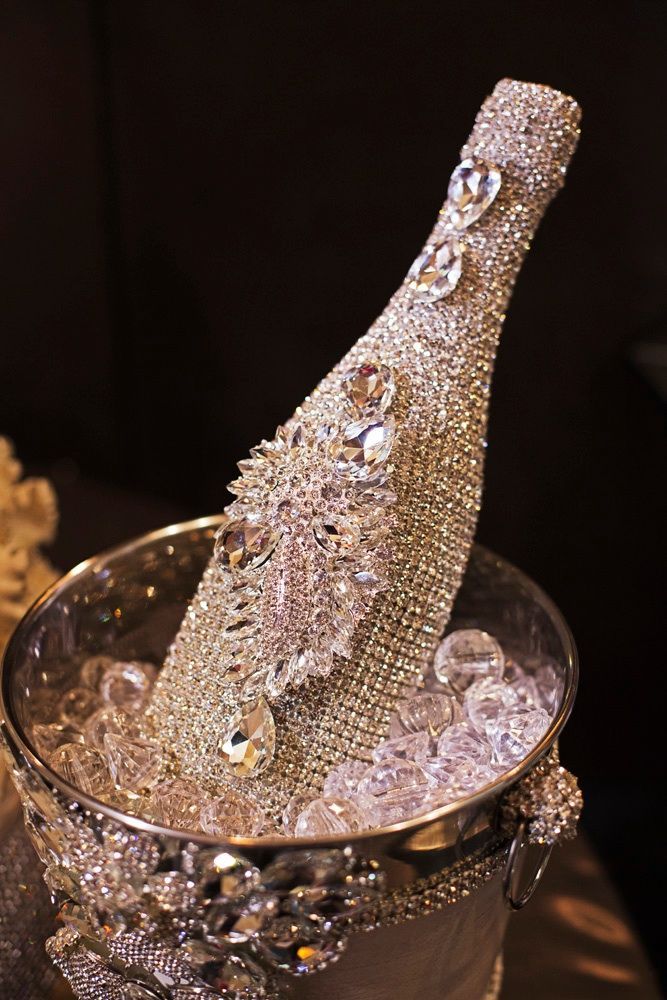
When everything is ready, decorate the souvenir with tinsel, rhinestones, a flower or a bow from ribbons. You can also decorate the bottle cap - stick beads, rhinestones or sparkles on it.
Decoupage champagne bottles
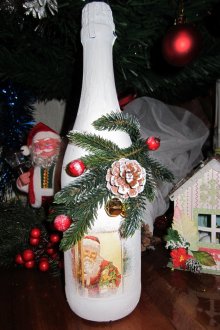
After decorating the bottle with a napkin, you can additionally decorate it with ribbons, tinsel, sweets or sparkles.
Materials and tools. Prepare:
- a bottle of champagne;
- primer;
- fine sandpaper;
- napkins with a beautiful pattern;
- PVA glue or a special decoupage tool;
- acrylic paints;
- scissors;
- water-based varnish;
- a brush;
- foam sponge or sponge.
The primer can be found in the building materials department, and varnish is not necessary if you do not plan to store the bottle as a souvenir.
Operating procedure
Step-by-step description of champagne bottle decoupage:
- Remove the label from the glass, wash and dry the bottle well. Using a sponge, coat the walls with a primer: soak it in solution and, pressing, treat all surfaces. When the first coat dries, apply the second.
- Leave the bottle for a while until the primer is completely dry. After sanding the surface with sandpaper.
- Cut out from the napkin that part of the picture that you want to transfer to the bottle. Carefully remove the top layer, tear off the edges of the workpiece so that they become uneven.
- Try on a napkin - attach it to the bottle, select the optimal location for the picture.
- Take a brush, dip it in PVA glue or a special tool designed for decoupage, and apply soft neat strokes on the napkin attached to the glass. You need to drive with a brush from the center of the part to the edges - thin paper will not frown, it will lie flat.
- When the first layer of glue has dried, apply a second.
- Coat the entire bottle with water-based varnish, leave it to dry.
- Now you can start decorating the top of the bottle. Possible options: tie a neck with tinsel or rain, make a bow out of satin ribbons, glue pine cones.
The bottle, decorated using the decoupage technique, is ready - it can be presented as a gift or put on the New Year's table.
Removable felt cover
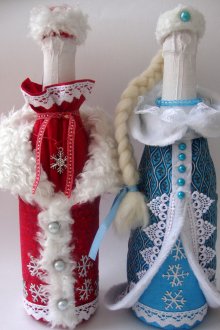
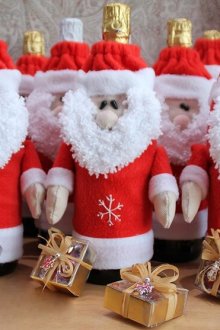
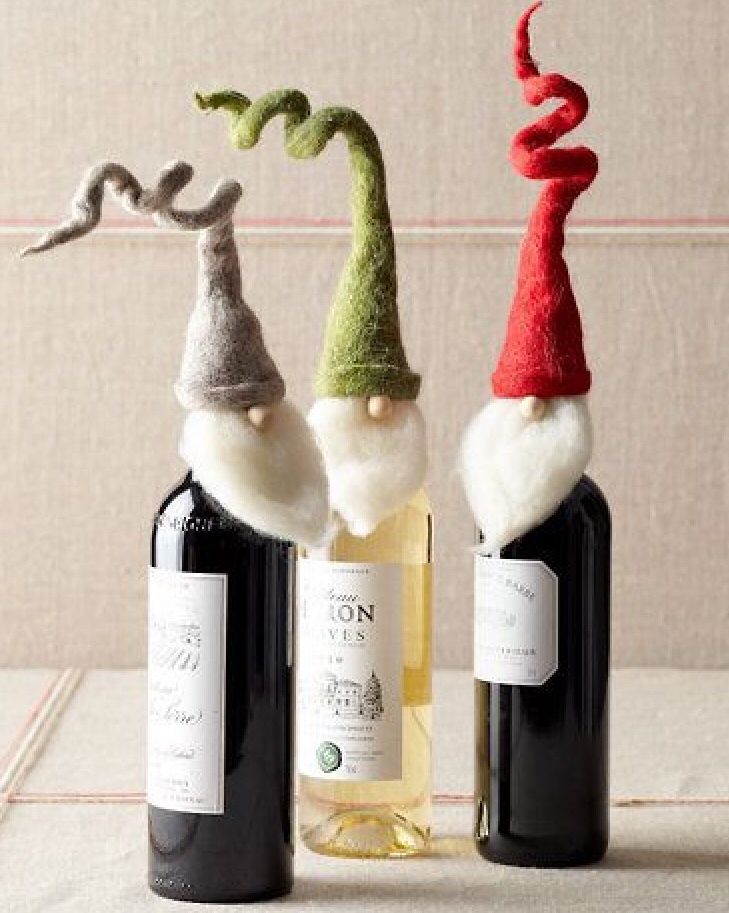
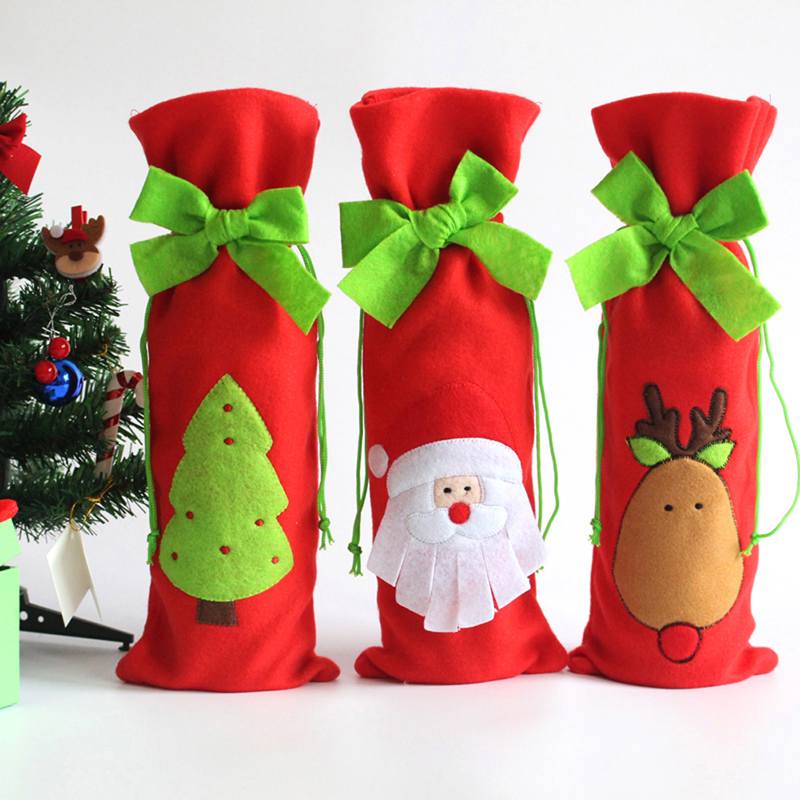
The original decoration is reusable felt covers in the form of Santa Claus and Snow Maiden.
Take:
- a bottle of champagne;
- paper;
- slanting inlay of red and blue colors (sold in any sewing store);
- silver tape;
- glue;
- chopstick for sushi;
- a little sintepon or cotton;
- needle, thread;
- wide red satin ribbon;
- decor (white beads, lace, sparkles).
Cover making
Draw 2 rectangles on a sheet of paper, one with sides 14 and 30 cm, the second - 8 and 30 cm. Cut them out. Attach the one that is wider to the bottle, glue the ends of the part so that the resulting pipe can be easily removed. Now glue the second rectangle at an angle, cutting off the excess parts. You need to act carefully. Try to make the part smooth: all small folds and bumps will be visible on the finished product.
When the glue dries, start decorating the cover. Attach a silver ribbon to the top of the paper part, cut enough so that it is enough for a full turn. Stick the tape on the paper. If it is wide, then one strip is enough, a narrow one will have to be glued in 2-3 rows.
Take a slanting inlay, glue it over the entire cover to the bottom. Proceed in the same way as when gluing the tape.
Take the lace, attach it at the junction of the inlay with the ribbon - you get a collar. Do not rush to cut the lace by wrapping it around the bottle: mask with it the junction of the string. You can trim the lace and bottom of the cover.
Try to remove and put the cover back on the bottle - is this easy to do? If there are no difficulties, then everything is done right.
Staff
Proceed to the manufacture of the staff: take a stick, glue it with glue, and then wrap it with a red oblique ribbon. Garnish with a silver ribbon, fixing its ends with hot glue from the gun.
A bag with presents
Take a wide satin ribbon, cut a small strip. Fold it in half and sew using a sewing machine or needle and thread. It is necessary to leave 2-3 cm not stitched on each side. Turn the finished bag onto the front side, put a piece of cotton wool or synthetic winterizer in it.
Cut a small strip of narrow silver ribbon, tie a bag. If desired, you can decorate the bow with a bead.
Hat
Cut a strip of paper a little longer than the circumference of a cork of champagne. Glue the ends of the part. Attach to the paper, circle the circle. Cut it, glue it to the cylinder.
When the glue dries, decorate the workpiece by covering it with a wide red ribbon or oblique trim. Fix the tape with hot glue.
Decorate the bottom of the hat with lace or sew on sequins in the form of snowflakes.
Assembly
Attach the bag to the staff, and then glue the entire structure to the case.
Make a cover in the shape of a Snow Maiden, but use not a red, but a blue slanting inlay.
Pineapple Bottle
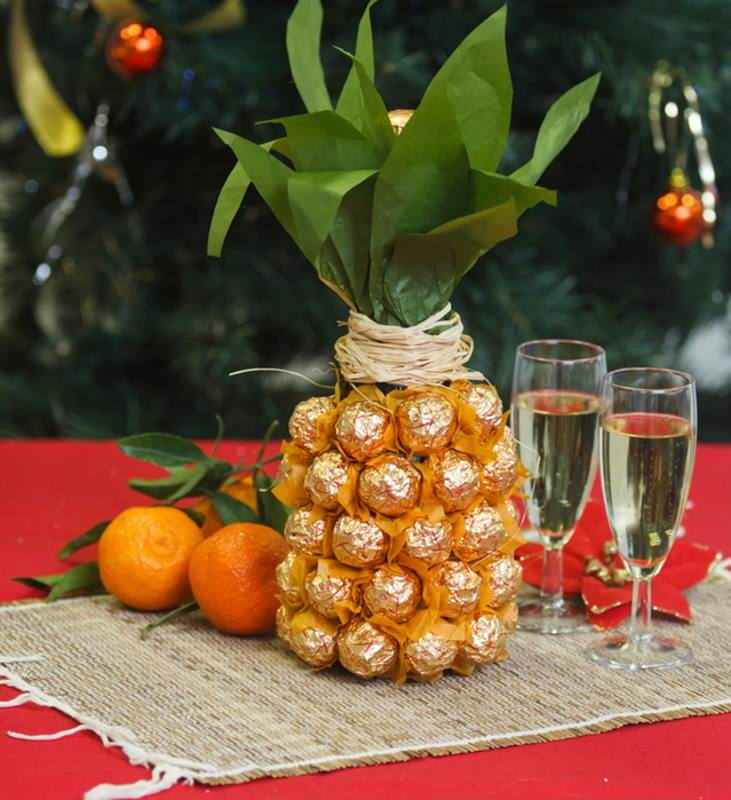
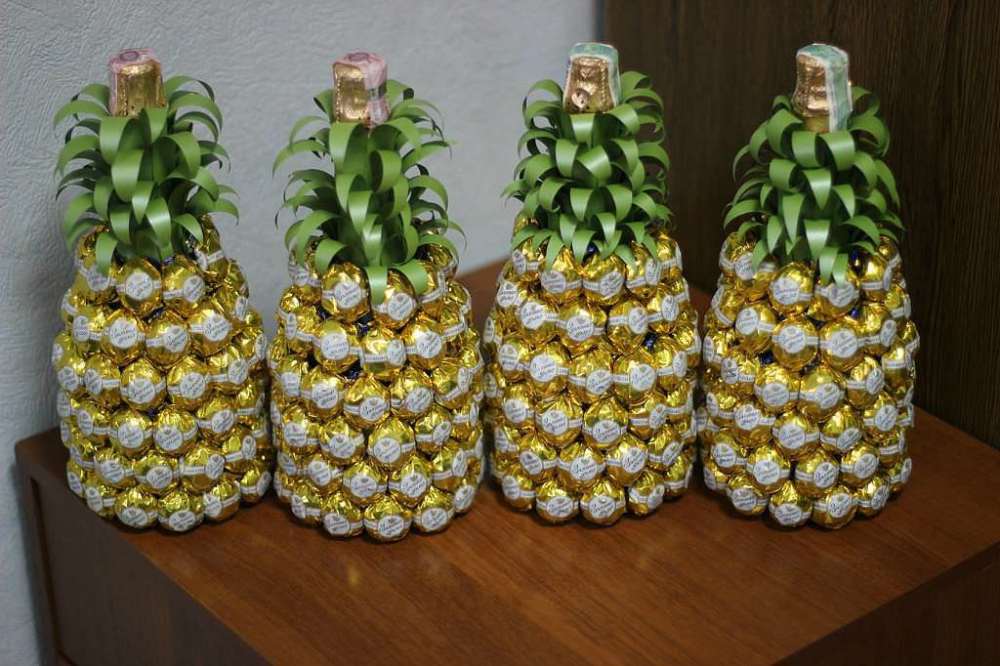
You can decorate a bottle of champagne with sweets - a souvenir in the form of pineapple will be an original gift.
You will need:
- a bottle of champagne;
- golden tissue paper or organza;
- silicone glue;
- scissors;
- candy;
- green corrugated or wrapping paper;
- twine.
Operating procedure
Cut squares of tissue paper or organza a little larger than the size of the candies. You will need as many squares as candies fit on the bottle.
Put glue on the middle of the square, glue the candy to it. Try to make the ends of the candy wrapper down, otherwise they will spoil the look of the finished product.
When all the details are connected, start sticking sweets to the bottle. To do this, you can use silicone glue or double-sided tape. First perform the bottom row, then rise up.
Stack sweets. Tuck an organza or paper backing so that it does not interfere with the next row.
Draw pineapple leaves on green paper, cut them out. Glue all the blanks together - you should get a strip of leaves. Wrap it around the neck of the bottle and secure it with twine. Unusual sweet gift ready.
Now you know how to decorate a bottle of champagne beautifully. Use one of the suggested tips and surprise your friends.
