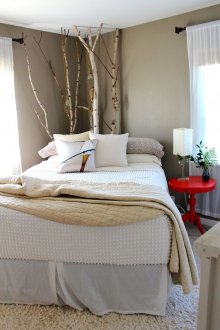
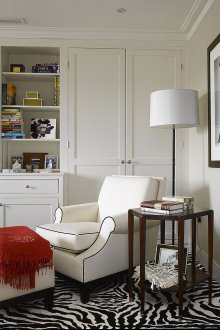
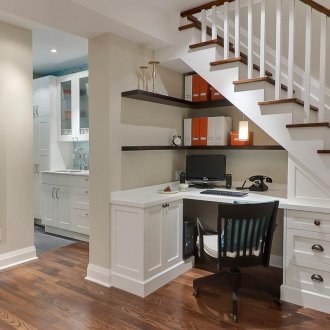
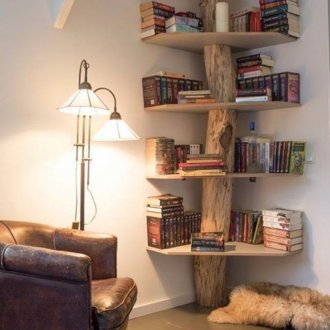
Making corners in a living room - fill the void (55 photos)
Content
At the beginning of this article, it is necessary to emphasize the importance of finishing and filling corners in the apartment. If your family has kids or playful pets, you risk losing the gloss of unformed room corners, since plaster is not a durable material for decoration. Wallpaper covering the corners is pressed, torn, unevenness appears on them.
In this article, we will help you choose the right materials and design methods. But keep in mind that aligning and decorating corners is a rather complicated process that requires knowledge of theory, experience and the availability of tools.
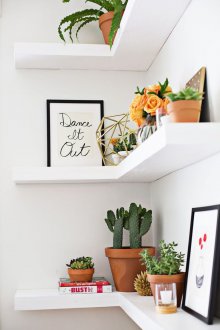
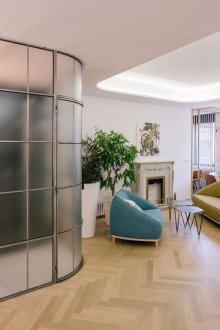
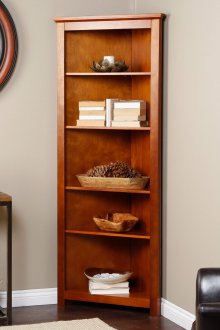
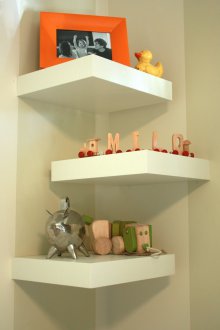
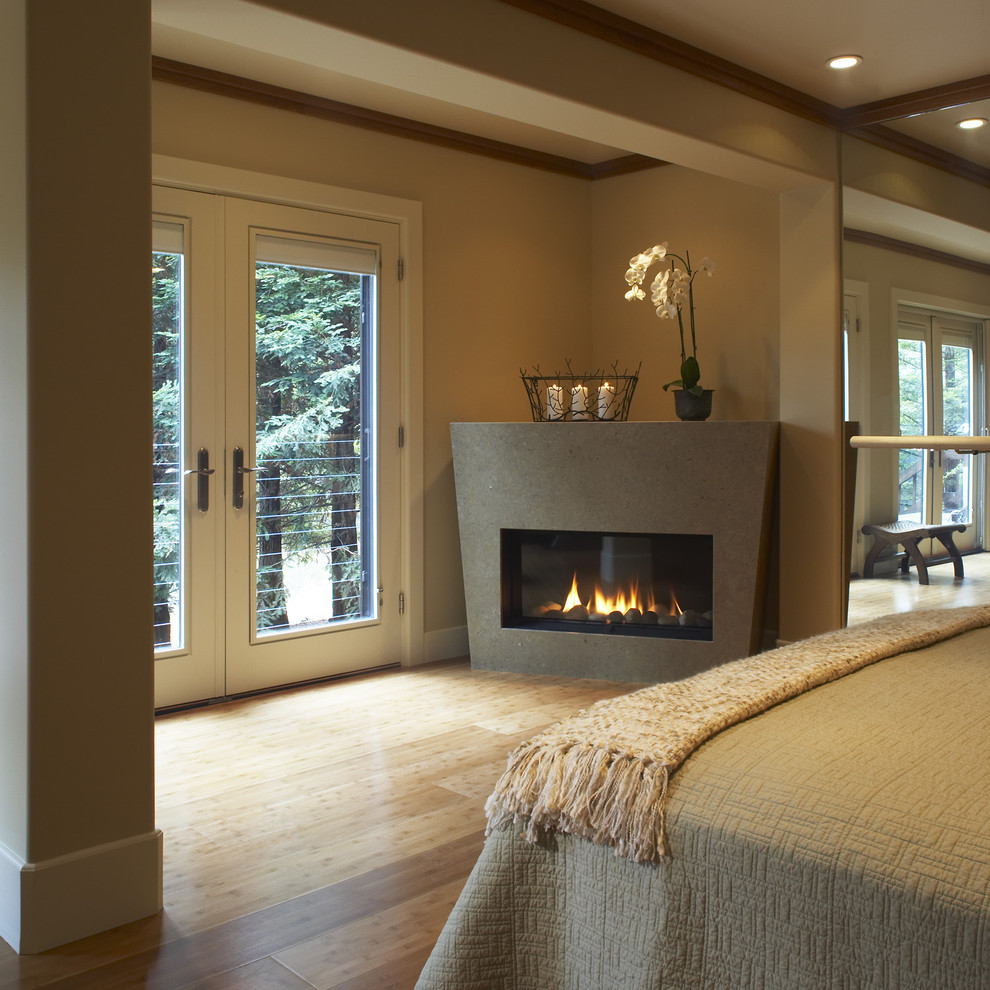
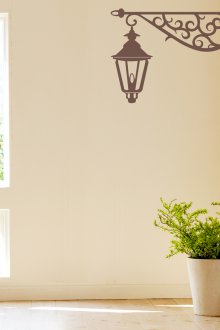
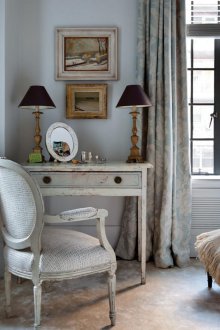
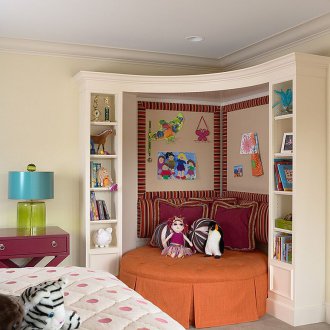
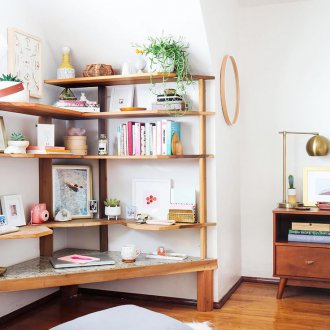
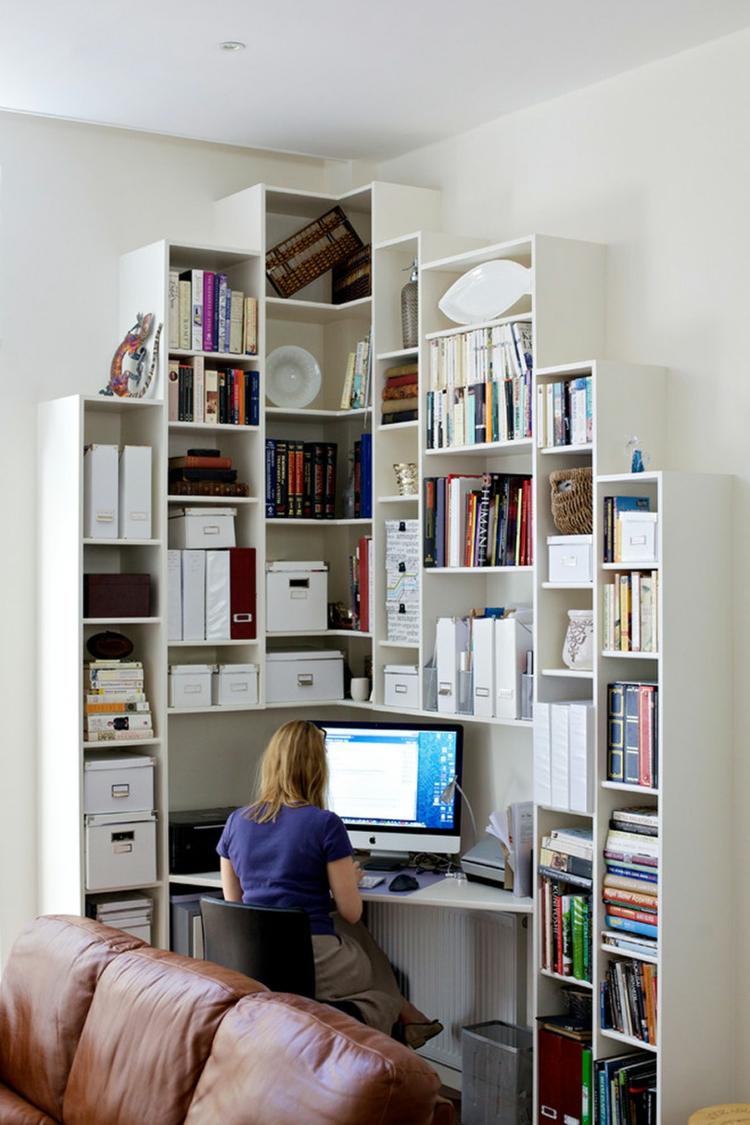
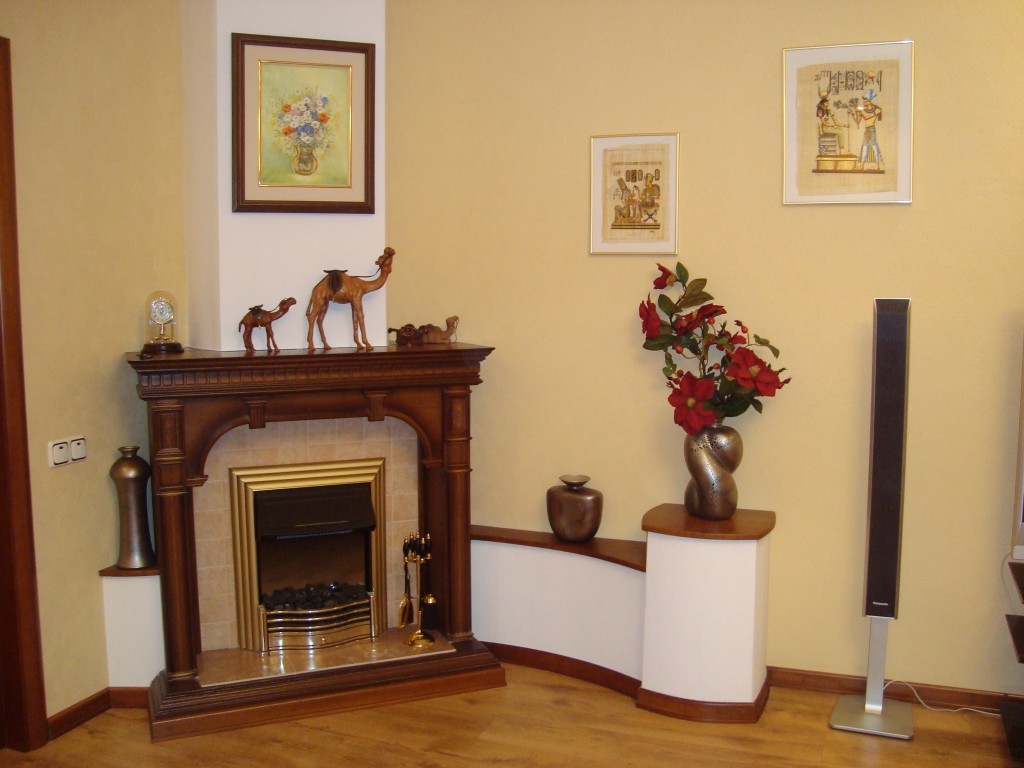
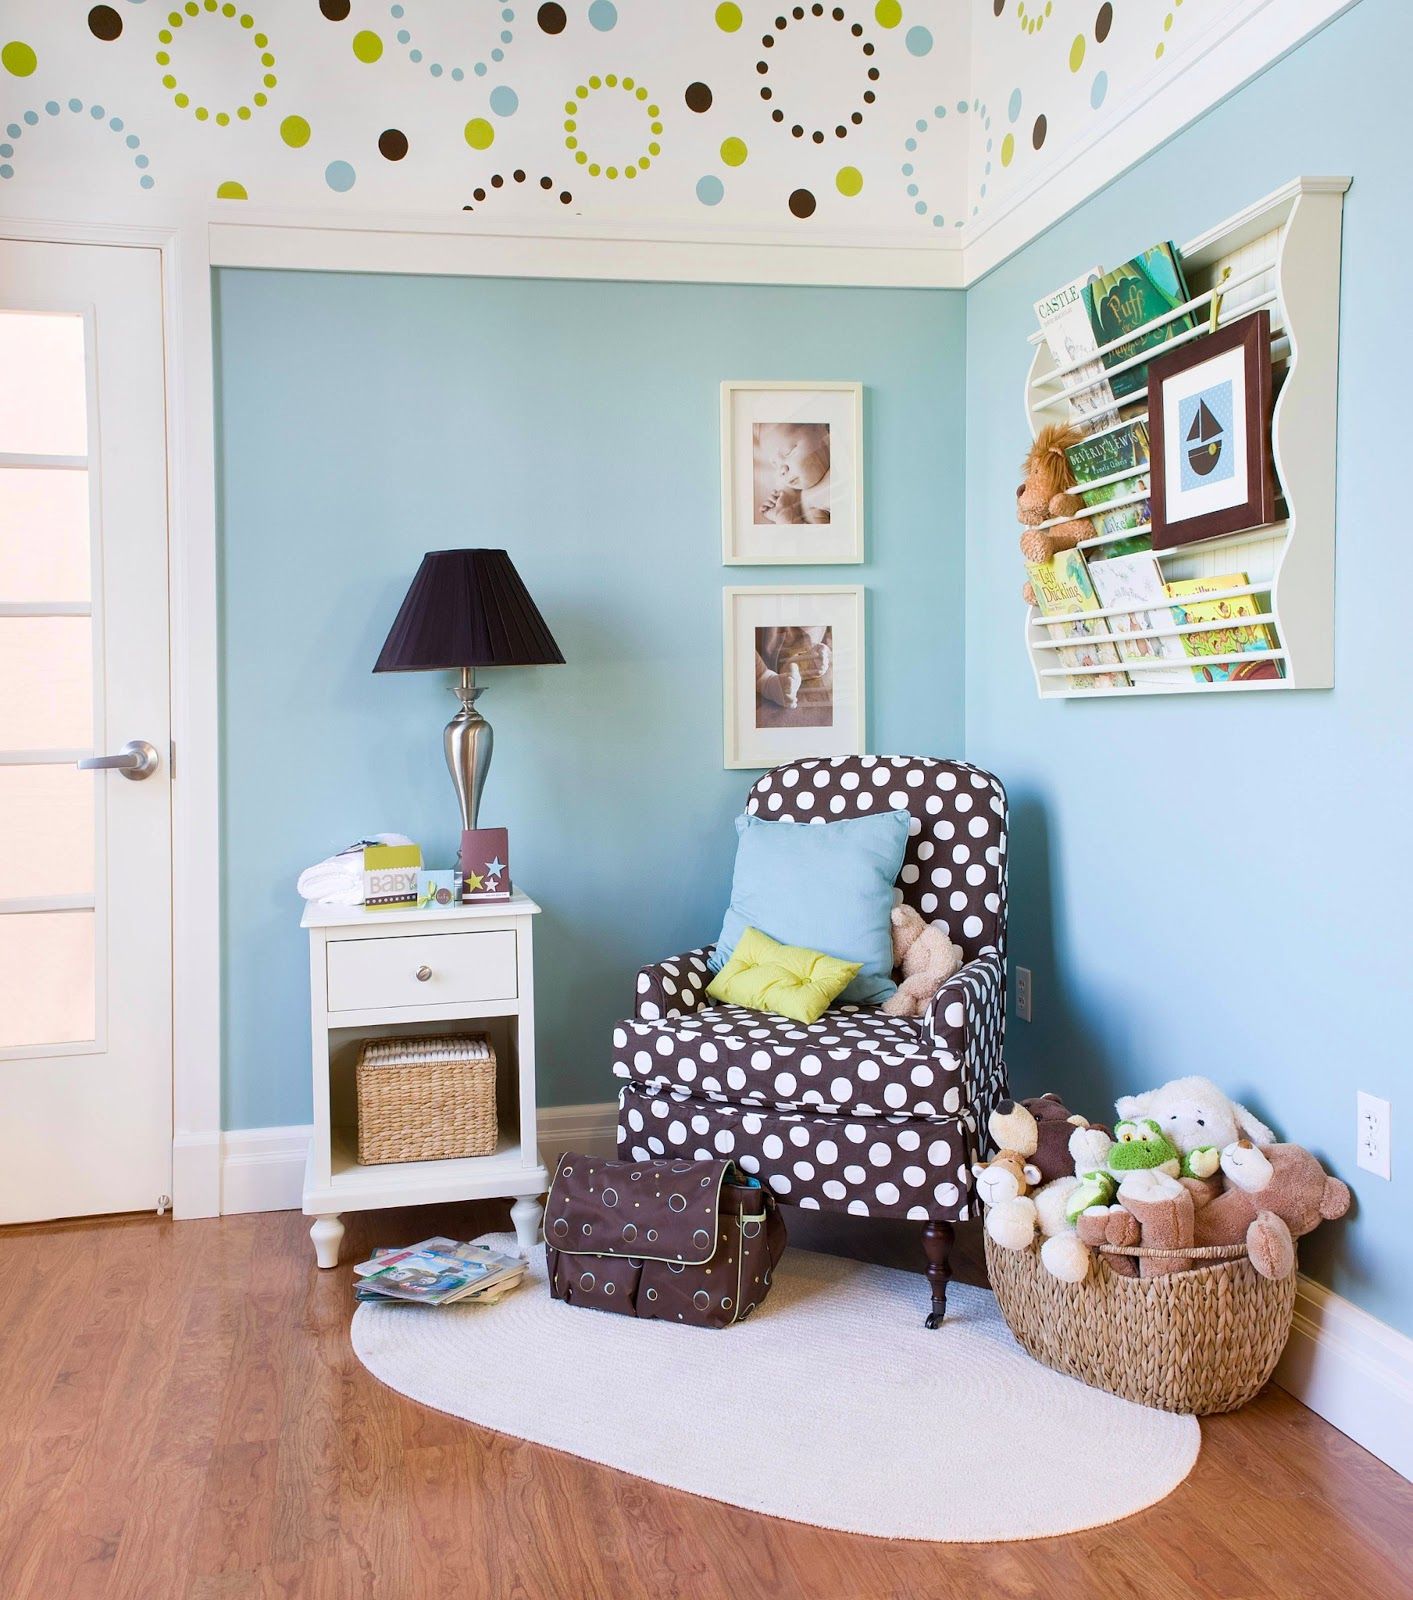
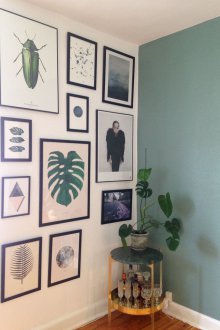
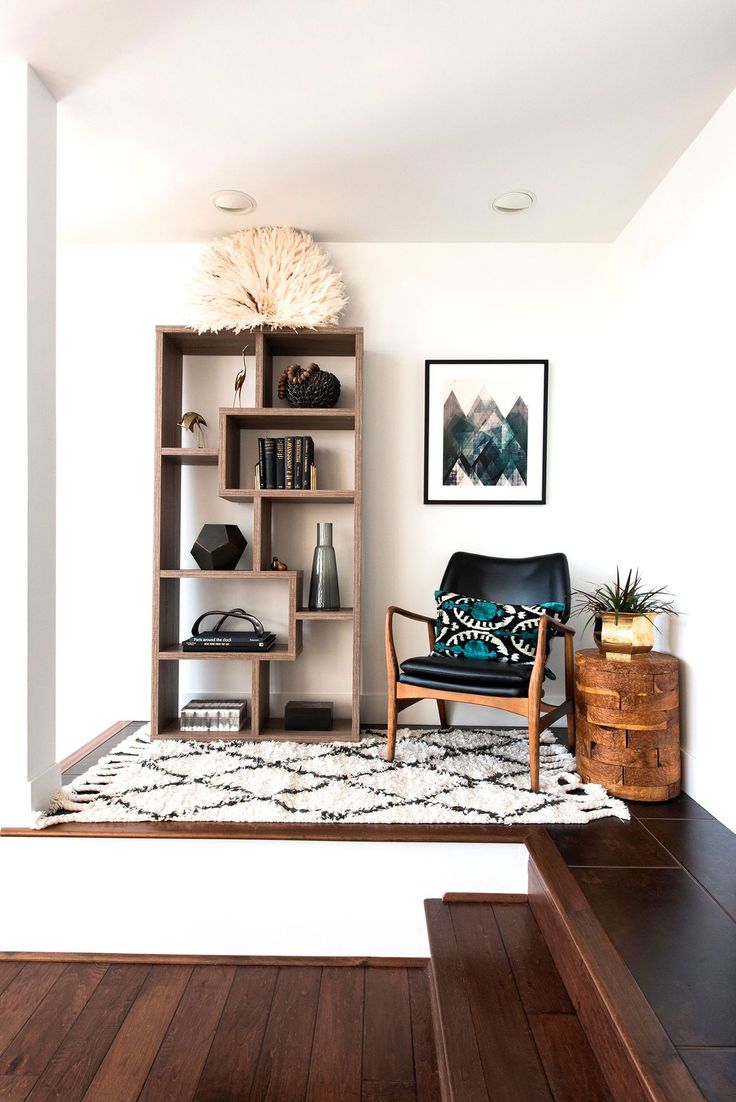
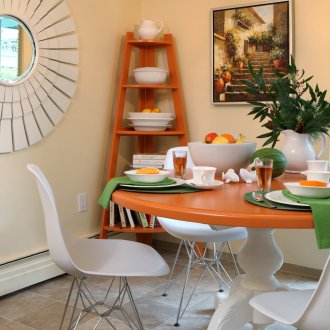
The decor of the corners also includes decoration with objects, such as vases or figurines. This emphasizes the style of the room, fills the void and as a whole puts an end to the correct design of your home.
Architectural decoration of corners
In order to reliably decorate the external corners of the walls, durable substances such as metal, plastic, wood, stone, and polystyrene foam are suitable. As a rule, special corners are made of them, which are attached to the already plastered corners using mounting mixtures.
Let's consider the most suitable materials.
Tree
This is a rather capricious material that does not withstand high humidity and temperature extremes. However, it has several advantages: safety for the environment, visual appeal, the possibility of carved processing. In general, wood is a very stylish element of decor.
Plastic
In addition to durability, plastic has rather good flexibility and, choosing it, you will have the opportunity to adjust such an important parameter as surface roughness. Plastic corners with a standard length of 250 cm have different widths. It should be chosen based on the degree of curvature of your corners. If it is large, then it is better to choose wide corners, and vice versa.
There are two ways to attach plastic corners. The first involves preliminary alignment of the angle with putty, on which the corner is then glued. After that, the final layer of the putty mixture should be applied to the structure and after drying it should be sanded.
For the second method, liquid nails or colorless silicone are useful to us. Glue must be applied to the inside of the corner and applied to the corner cleaned of old coatings. Then the corner should be fixed with special construction tape.
Expanded polystyrene
This substance is slightly affected by moisture and dirt and can be used at different temperature ranges. Products from this material can be painted and used to decorate the joints of the ceiling and walls.
A rock
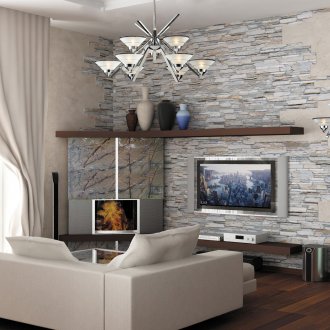
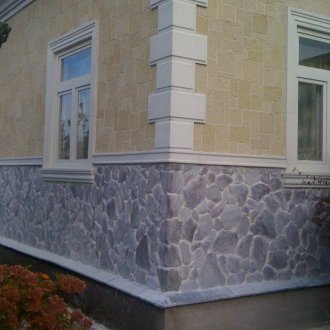
It is better to give preference to artificial stone, as it is an order of magnitude lighter and has a lower roughness, which makes it easier to care for.
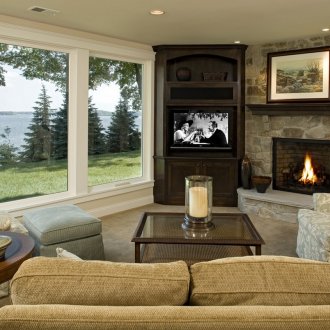
Stone, as a rule, is used for finishing external corners. In this case, you can not worry about the fact that the angles are not perfectly smooth. This material can be fixed with special glue or liquid nails.
For ceiling joints, it is better to use lighter materials.
Before laying the stone, you need to clean the surface, and if it is too dry, give it moisture to better penetrate the glue. The finished solution is applied to the stone itself, including the edges, as well as on the wall.Next, the stone must be pressed firmly against the wall and check whether it is installed exactly using the cord plummet and spirit level.
And most importantly: after gluing 3 rows of stones, you must always wait two hours for the glue to fully seize and only then continue to work. If you do not take a break, there is a great risk of collapse of the entire structure.
Drywall
Drywall sheets are used when working with the most curved corners. For a frameless installation option for drywall corners, you will need:
- clean the surface;
- attach plasterboard sheets to both sides of the corner and put marking to cut corners;
- cut the finished corners and correct them by applying to the corners;
- apply building glue to the corners and press it against the wall;
- remove the corners (glue remains on the wall);
- re-apply glue;
- hold the glue a little in the air and return the sheets to the corners;
- straighten the corners using the staff and level.
There is also a wireframe method that is associated with certain difficulties. It is used when there is a high level of angle curvature and when it is necessary to strengthen the insulation of noise and heat.
Stages of finishing in a frame way:
- determine the level of curvature of the angle;
- install the metal frame (profiles) on the screws;
- Next, you need to install the drywall itself and also fix it with screws;
- cover the installed sheets with putty and sand them.
Finishing the corners of the ceiling
For joints of the ceiling, a lighter material is required than for walls. Running are polyurethane and polystyrene skirting boards, which are quite cheap, easy to cut and have an attractive appearance. A thin, well-sharpened clerical knife is used to cut foam skirting boards.
If the room has straight lines of angles, then it is best to use a miter box for cutting - a special tool with cut templates for 90 ° and 45 °. Before applying glue, carefully measure the correctness of the trim of the skirting board. The ceiling is an element of the house that you will definitely pay attention to, and defects will be visible. At the same time, it is better to just putty microscopic deviations.
If you do not have a bite - it does not matter. To correctly cut corners follow the instructions:
- Take a small strip of skirting board, a hard, well-sharpened pencil, a ruler and an office knife or a saw, depending on the material used.
- Attach the prepared piece of the plinth to one of the corners of the ceiling and mark the line along the edge on the ceiling, do the same in the opposite corner, while marking the junction point of the corners.
- Further, based on the obtained calculations, it will not be difficult for you to evenly trim the corners and dock them. This works on both external and internal corners.
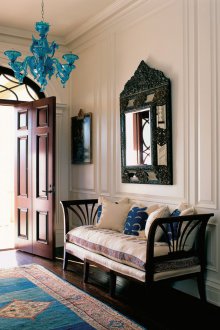
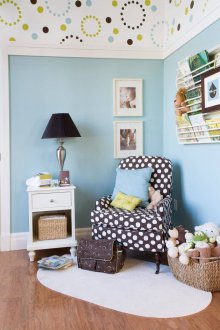
Filling the Void: Decorating with Objects
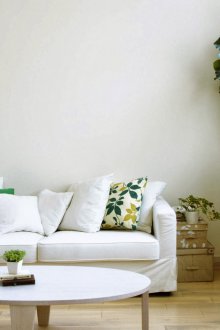
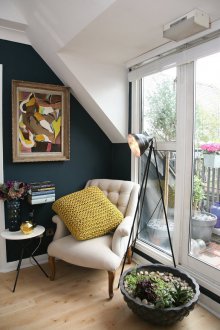
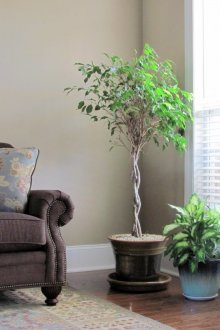
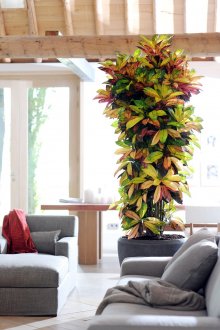
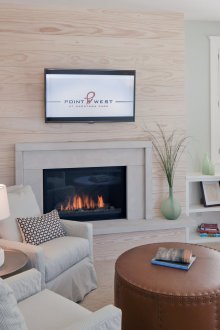
When the architectural faceting of the corner is completed, it needs to be visually filled (we are talking only about the internal corners). For this purpose, vases are great. They should be selected based on the proportions of the room. For example, the wider the room, the wider the vase should be. Also, do not put too short vases, as it looks inorganic.
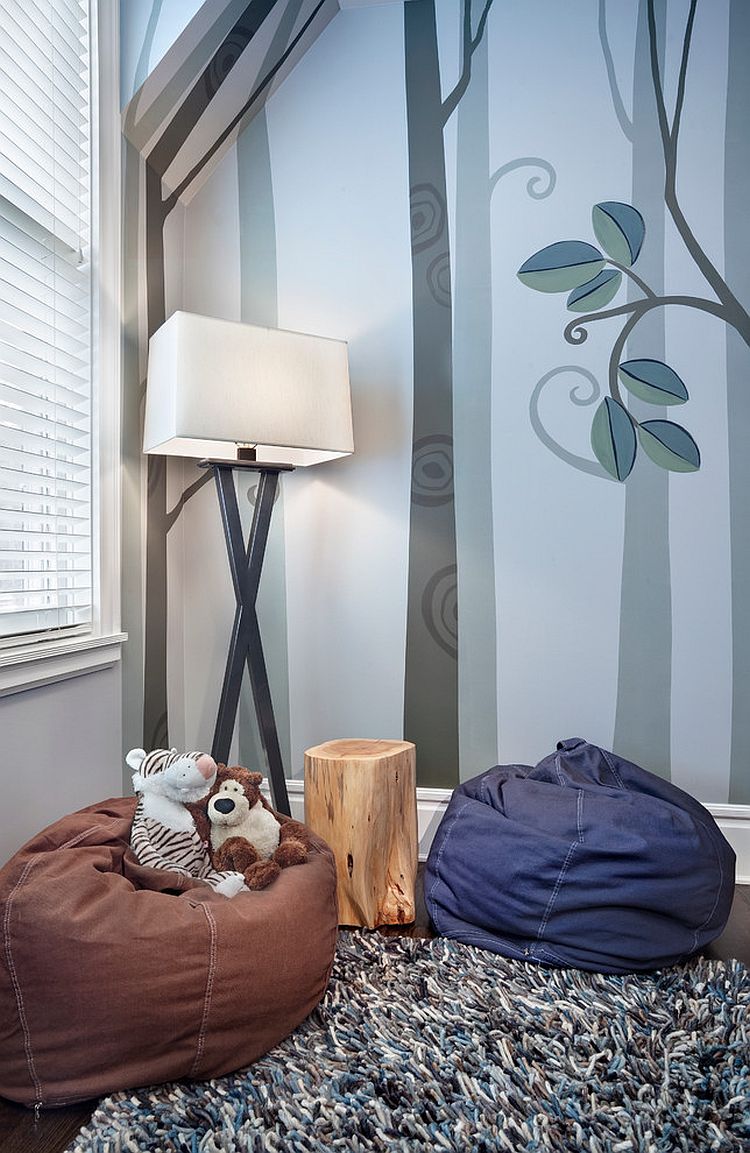
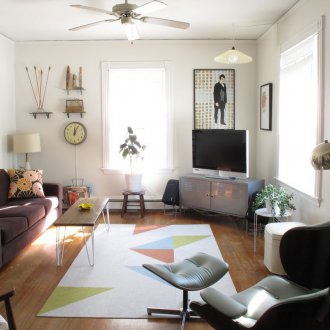
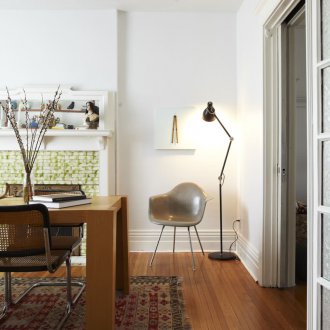
Floor lamps will emphasize the style of the room and will serve you as an additional source of light.
On decorative tables you can install photographs of relatives, a home telephone or even a small elegant aquarium with a goldfish. Figurines will also fit into the decor of the corners.
The installation of suitable decorations is the final touch in the design of corners, which will make them truly cozy and stylish. Good luck with your repair!
