How to make a baseboard frame: professional tips (23 photos)
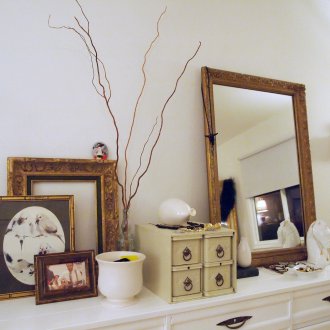
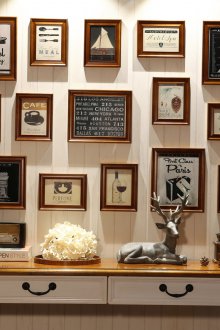
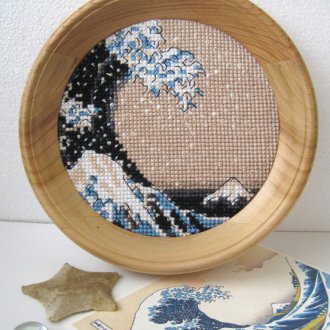
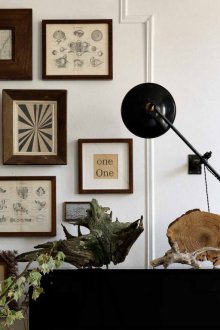
Many of us like to decorate our home with paintings, drawings, photographs. These decorative elements always look spectacular, especially if they are in the appropriate style frame. However, the cost of such a purchased product can sometimes be significantly higher than the cost of the image for which it is purchased. And in this case, your imagination and ingenuity can come to the rescue, because the frame can be made from the baseboard with your own hands.
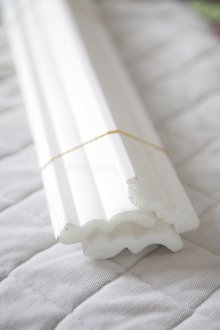
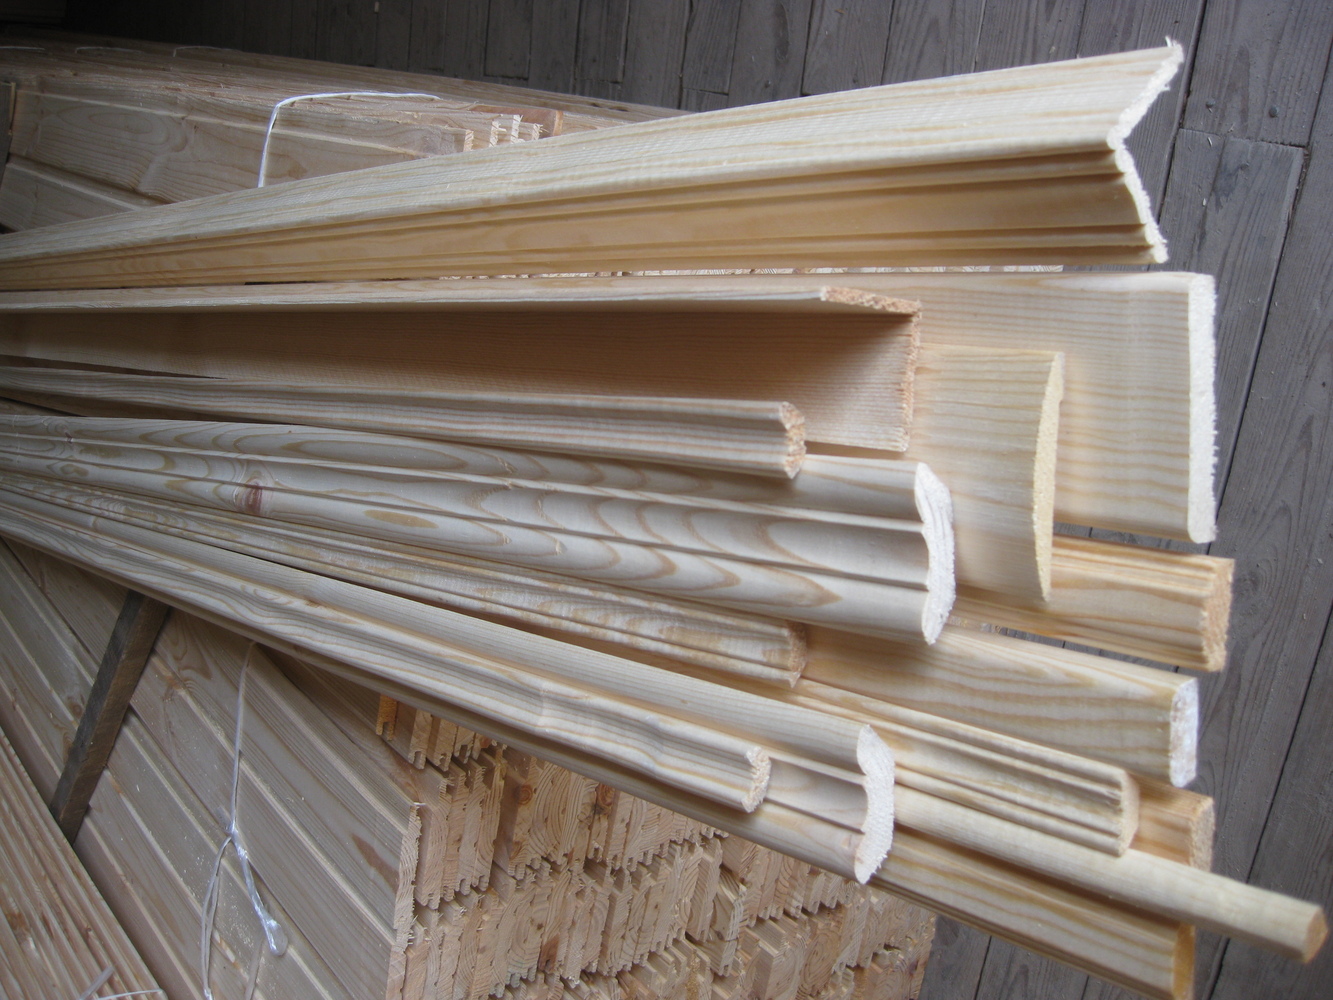
For work, you can use the plinth for the ceiling, which is sometimes also called the fillet, baguette, or decoplint. Regardless of the name, the main thing that is important for the master who decided to make a photo frame or a frame for the picture on his own is that today all these baguettes and declinters are presented on the building materials market in a wide assortment. In the shops you can find samples of skirting boards, significantly different from each other both in the pattern decorating them and in the material from which they are made.
There are such products made:
- from foam;
- from expanded polystyrene;
- from polyurethane;
- from plastic;
- from wood;
- from metal.
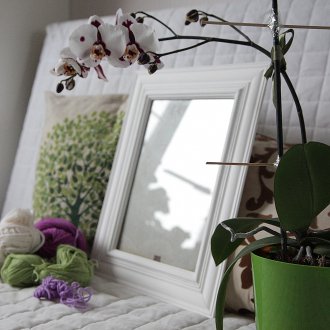
What specific skirting board to purchase in your situation is determined by what you want to make the frame for. So, for example, a frame from a foam plinth is quite suitable for a photo or drawing, or a small-sized picture. And for decorating mirrors or paintings, it is better to make frames from a wooden plinth, or metal, or plastic, since in this case a greater structural strength is required.
Frame for the picture of the ceiling plinth (material - foam)
A frame from a skirting board made of polystyrene is the most, let's say, budget option, unless you, of course, use excess material left after repair, but decide to specifically purchase such a skirting in the store. You need to immediately warn you that the foam products are fragile and fragile. As for expanded polystyrene, it is stronger than polystyrene and has a certain flexibility, but inferior to polyurethane in these indicators.
The most durable, of course, will be the frame of the ceiling plinth wooden, metal or plastic. Such material is advisable to use if you want to make a frame for the mirror, especially large and heavy.
Step-by-step instruction
Prepare the following:
- foam baseboard;
- ruler, square, protractor;
- miter box (carpentry fixture that allows you to cut boards or any other profile lumber at a right angle and at an angle of 45 °);
- glue such as "Liquid nails" (you can also use "Dragon", "Moment" and generally any glue that can be used to glue foam products);
- a knife and a hacksaw for metal (unlike a hacksaw for wood, it provides more even cut edges);
- marker or pencil;
- awl, drill, small diameter drill;
- acrylic paints, acrylic putty;
- metallic enamel;
- thick cardboard (a thin sheet of fiberboard or plywood can be used);
- brushes and foam sponge;
- thick fishing line or long lace.
- Measure the length of the picture (or photograph) for which you are making the frame.
- Make appropriate marks on the side of the baseboard, on which it will be in contact with the picture.
- Using the miter box, cut two pieces of the plinth at an angle exactly equal to 45 °, so that they look like a very long trapezoid, in which the smaller side is equal to the previously measured length.
- Now measure the height (width) of the picture. And in the same way as in paragraphs 3 and 4, cut off two more shorter pieces of the baseboard.
- Glue the resulting four pieces of the plinth to form a rectangular frame.
- Check with a square whether the angles of the resulting structure are rectangular.
- Putty (after the adhesive has hardened) places where there are cracks, cracks or irregularities.
- Wait until the surface of the frame dries, and prime with a dark paint, applying it two to three times in succession.
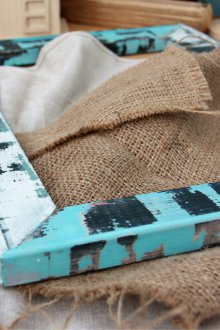
- When the paint dries, cover the convex parts of the surface of the frame, using a foam sponge, metallic enamel (with imitation of bronze, silver or gilding). Do not forget that you need to paint the ends of the frame.
- Cut a piece of cardboard (or fiberboard, or plywood) to fit the resulting frame in order to fix the picture and frame on it in the future.
- Drill holes for fishing line (twine / cord) in this piece, with which you hang your picture in a frame on the wall.
- Pull the fishing line through the holes and knot the ends, and it is best to make several knots so that they do not untie.
- Glue a piece of cardboard with fishing line with glue and glue the picture and the frame surrounding it.
After enough time for the glue to completely dry, you can hang your picture on the wall.
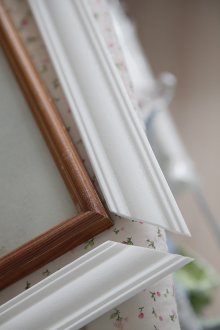
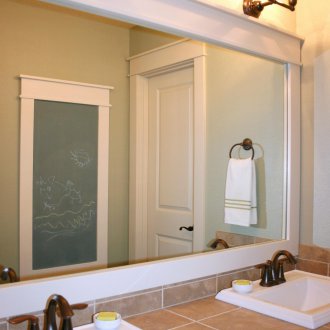
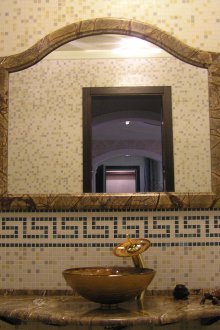
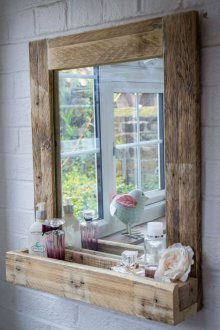
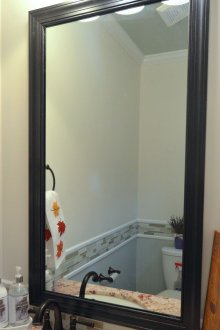
The frame for the mirror of the ceiling plinth can be made by the same methodology as above. In this case, not only a ceiling plinth can be used, but also a door platband, which can be painted with a paint that matches the basic color of the interior in shade. The appearance of the painted frame will also improve if it is varnished and decorated with some decorative elements. Although one can limit oneself only to varnish, if one wants to emphasize the naturalness and beauty of natural wood.
People have been using frames for a very long time to emphasize the contents of such works of art as paintings, to achieve a more spectacular appearance, separating them from other interior items. Today, the scope of frames in the form of frames has become even broader: now this design method is used not only for paintings and mirrors, as in past centuries, but also for photographs, and even for wall-mounted panel TVs. At the same time, due to the availability of modern materials, cheap and easy to process, it is not necessary to buy a framework. You can make them yourself, if you know how to make a frame from a ceiling plinth!
