Crafts from cones: forest beauty (23 photos)
Content
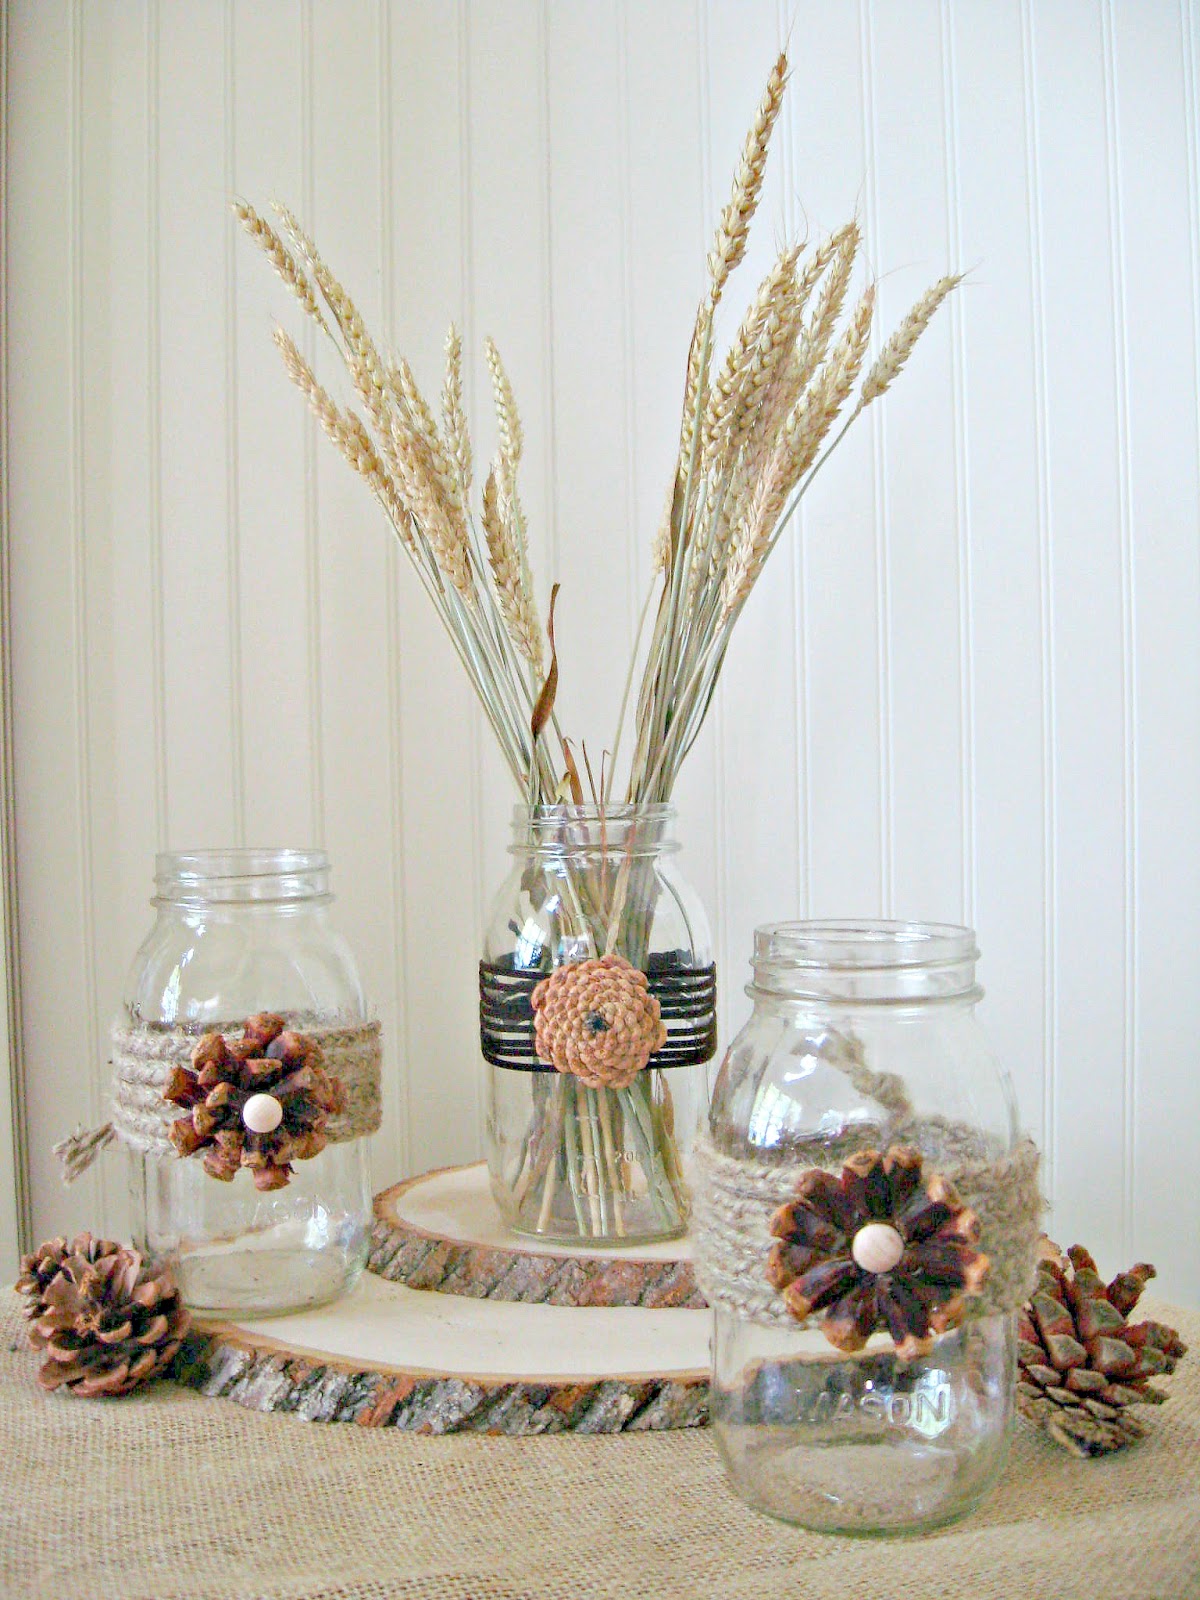
Cones are a truly unique natural material suitable for creativity. It is most popular among school and preschool children, but often you can find crafts from cones and from serious masters and designers. With the help of cones, you can make a beautiful gift, souvenir, decoration for the cottage and garden and just transform the interior, creating his mood. All that is needed for this is imagination and, of course, the cones themselves and other additional materials.

Acquaintance with the material
To achieve a better result, before you start creating crafts from cones and chestnuts, you need to familiarize yourself with the material. Examine its properties. To do this, just walk through the woods, in the country or in the park and pick up the cones that fell from the trees.
Compared to other materials, crafts made from pine cones are environmentally friendly. They have a pleasant coniferous aroma. In addition, they can be collected for free, which is an indisputable advantage in the manufacture of Christmas toys, souvenirs, crafts.
To achieve a better result, before you start to make beautiful crafts from cones, you need to familiarize yourself with their other properties. The main one is the variation of form.
We change the shape of the cone
Depending on the ambient temperature (season of the year), the cones are able to change their shape. In the cold, they close, in the heat they open. If you have only open cones and the necessary closed cones (or vice versa), then you do not have to wait for the season to change or wander through the forest in search of the necessary, ideal form. You can change it yourself. For this:
- Choose any pine cone or pine cone.
- Prepare a container of warm water.
- Dip the cones in it for 1-5 hours (depends on the quality of the material used and the temperature of the water).
- As soon as the “feathers” become flexible, it is necessary to get the bump out of the water.
- Give it the desired shape, fix it with a rope or elastic band.
- Dry to dry completely at room temperature.
So you can give the cone the shape you need. It is not necessary to banally open or close the “feathers”. You can give them an unusual position, look.
We fix the shape of the cone
So that later (after making the craft) the cones do not begin to deform, you can fix their shape. To do this, you must:
- Choose a bump of the required shape.
- Dip it in a warm solution of wood glue for 30 seconds.
- Remove and dry naturally.
The procedure will not affect the appearance of the material. But after it, the bump is not threatened by any deformation and fluctuations in the ambient temperature - all crafts made from natural material will remain as you intended them to be.
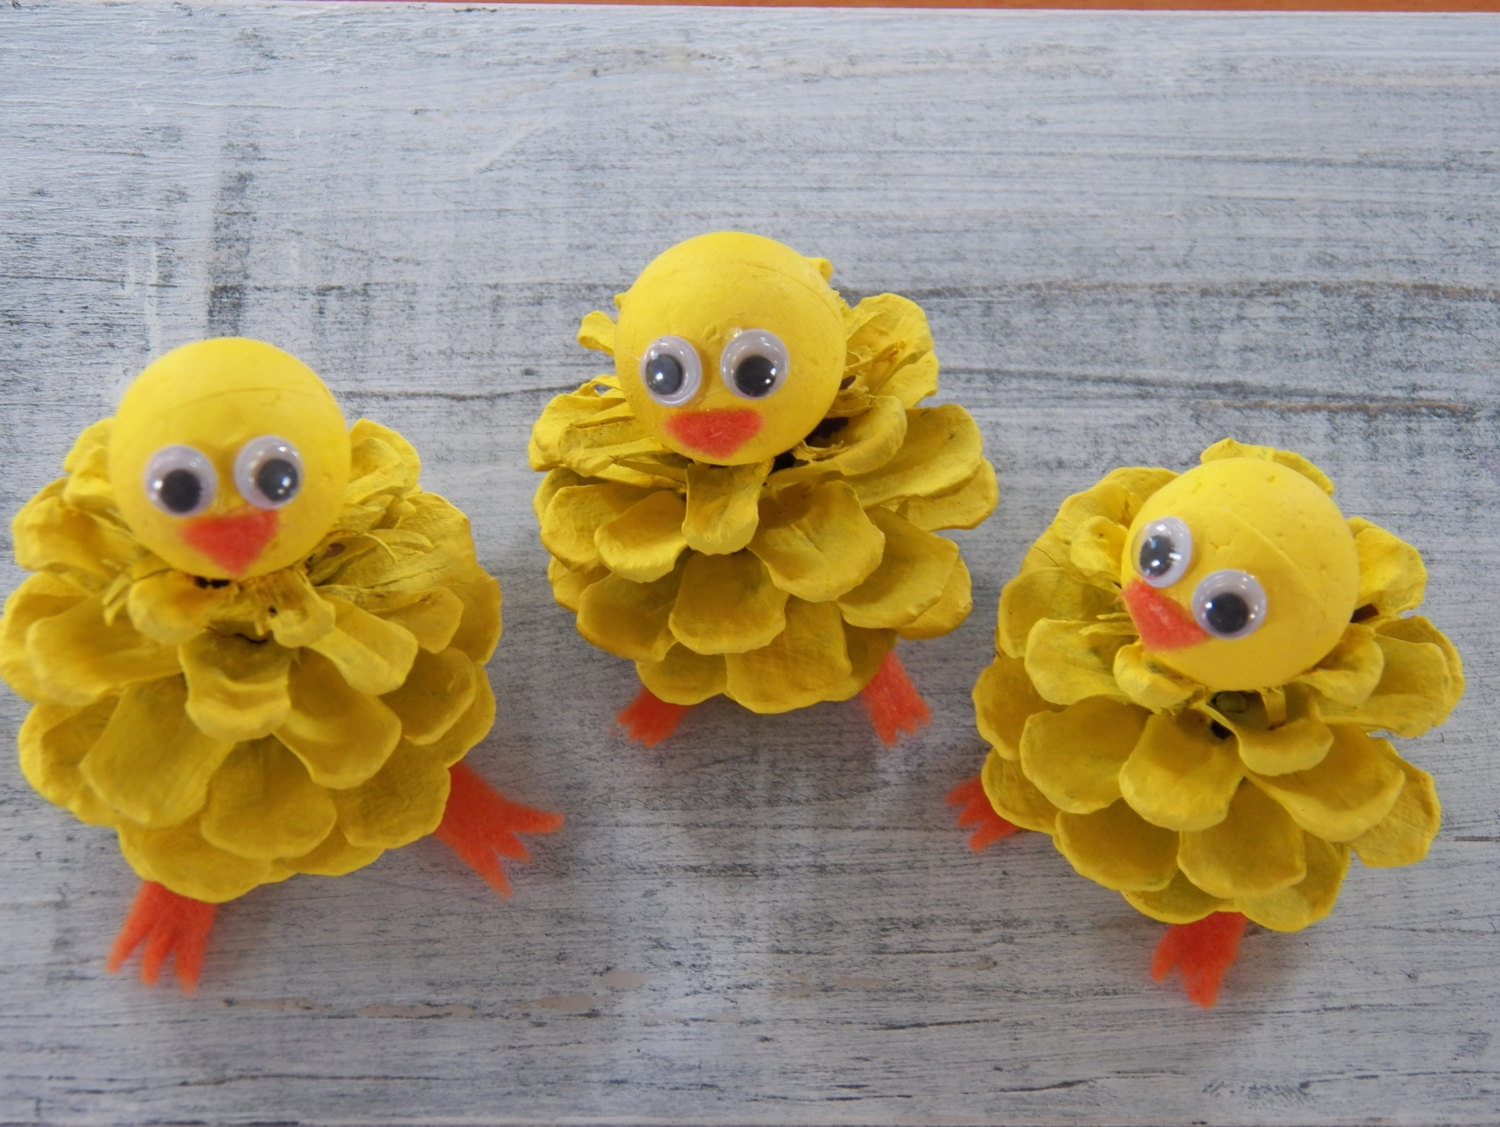
Simple crafts
The most simple are crafts from cones for children. Their production requires a minimum of materials (including additional ones), and the process itself will not take much time - an important fact when working together with adults and children. Some do not have time to get tired, while others do not get bored.
The first thing to do is decide on the type of work. Will it be a figurine, a toy (from whole cones) or a three-dimensional picture (from peeled cones) using herbarium, sparkles, etc.
Simple crafts from bumps will help the child get to know the world around him better, learn how to work with natural materials, and create something new.
Volumetric paintings
Three-dimensional artwork made of cones and leaves are considered one of the simplest. For manufacturing, it is necessary to prepare the basis on which the image will be glued. It is best to use cardboard or other dense material for this.
You can stick colored paper on thick cardboard, paint it with paints, felt-tip pens or pencils. Crafts from cones and acorns in the form of volumetric paintings are especially popular not only with beginners, but also with professional masters.

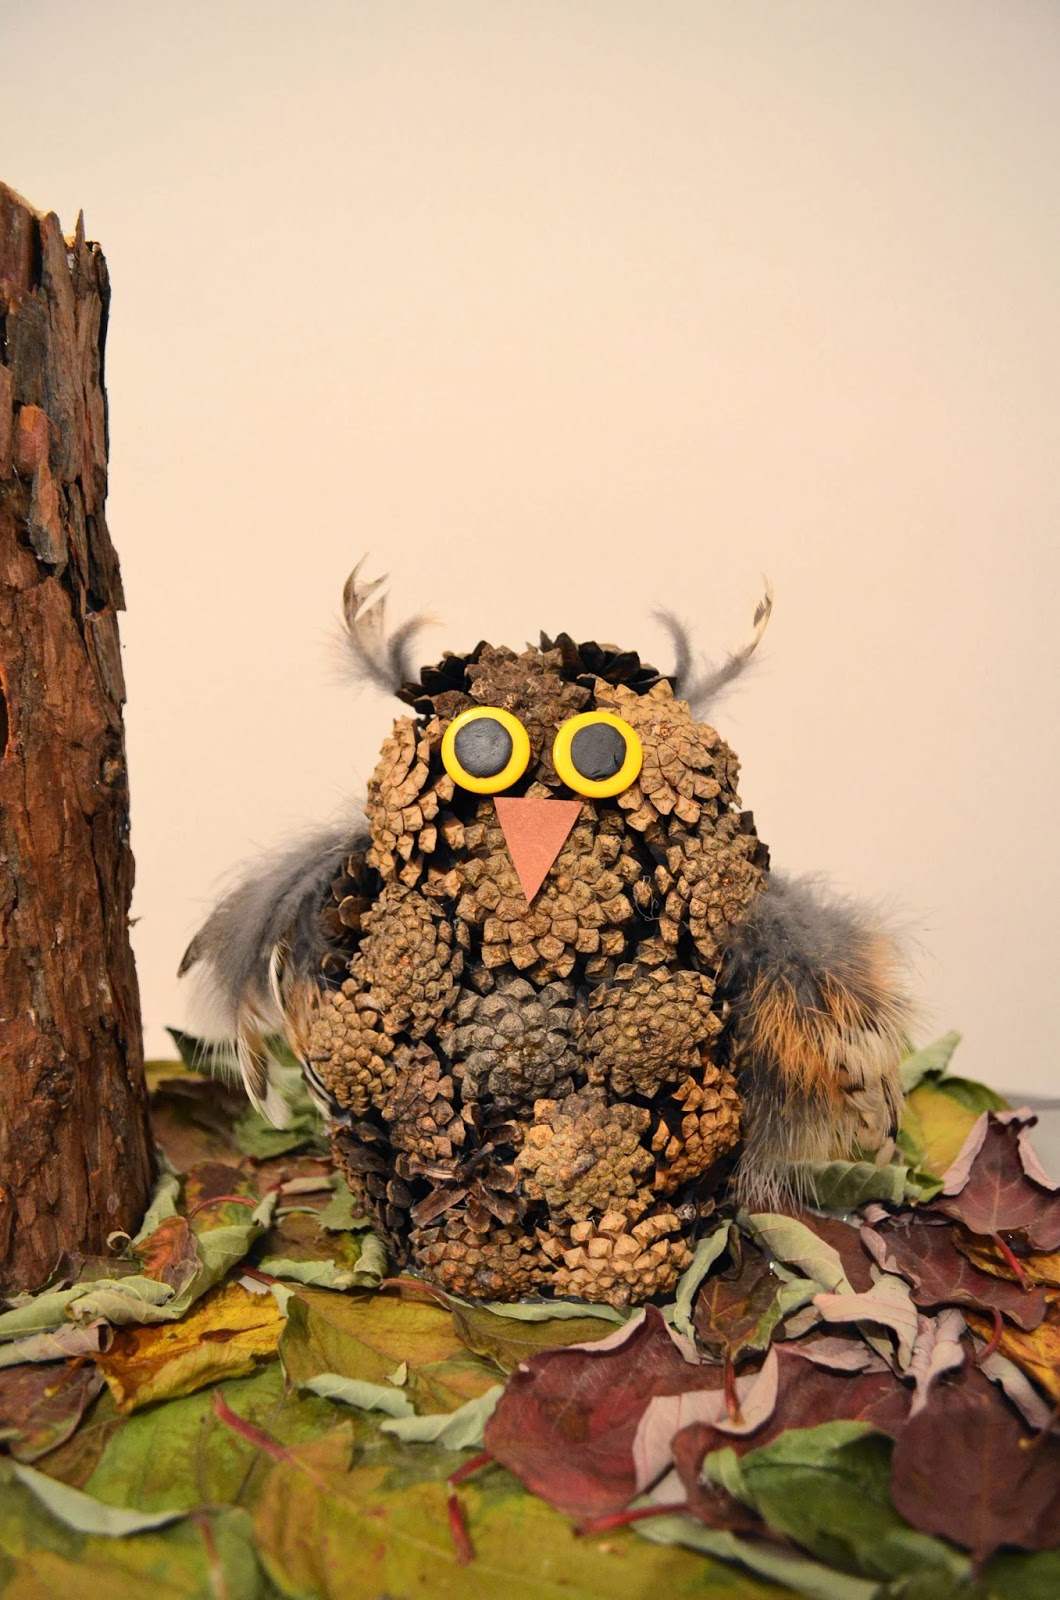
Owl
Before starting work, you should make a sketch of the picture. Draw an owl (if necessary, you can use ready-made images from the Internet). Decide on the position of the bird and its location in the picture: in the center, side, on a branch, in flight, etc.
To make a three-dimensional picture-craft of fir cones, the “owl” will need:
- A few cedar cones.
- Paints, felt-tip pens, pencils, sparkles, dry leaves or acorns.
- PVA glue.
- Thick cardboard A4.
- Scissors.
- Plasticine.
First, you should carefully outline the outline of an owl directly on a working basis - a pre-prepared background, but it is not necessary to paint it in advance. You can do this later.
Next, you need to split several cones into separate components. After that, immediately sort the received materials in a way that is convenient for you. For example, the length of the "feathers" or their color.
For convenience, the method for making the “owl” crafts in full face (when the bird looks directly at the viewer) will be described below.
Body and wings
Before you make the body of an owl, you need to carefully study the photos of the bird, the location of the feathers. After that, the same “feathers” of peeled cones are taken and laid out vertically strictly in several rows to the very bottom (paws).
In a similar way, but wings are laid out slightly to the sides (they can be opened or folded behind).
At this point, it is important to ensure that the feathers are lush. For this, only one part of the pen is glued, while the second remains elevated, thereby creating volume.
Head, claws
Owl eyes - the most important stage in the manufacture of crafts from cones with their own hands. They should be moderately large and located exactly in the center. You can make them from plasticine, and then place them next to each other, leaving no gap between them.
Like large eyes, the beak can be molded from plasticine or cones. So that it does not merge with the rest of the head and does not “disappear”, it will be necessary to paint it in a color that stands out from the main color of the bird.
The feathers of the head are laid out in a circle. Here you need to glue them tightly to the paper so that each pen is pressed tightly. If desired, you can make small ears, like some species of owls.
If you depict a bird that sits on a branch (which is long enough), then to make owl claws, it is enough to take three feathers of cone and stick them vertically.
If necessary, the owl can be painted, varnished or sparkles, decorate the background with leaves. On this, the craft is considered complete.
Children's crafts from cones can not always boast of their naturalness, but this does not mean that this should be neglected. It is important that the child understands the line between truth and fiction. Especially if the main goal of making crafts from cones and plasticine is to study the animal world.
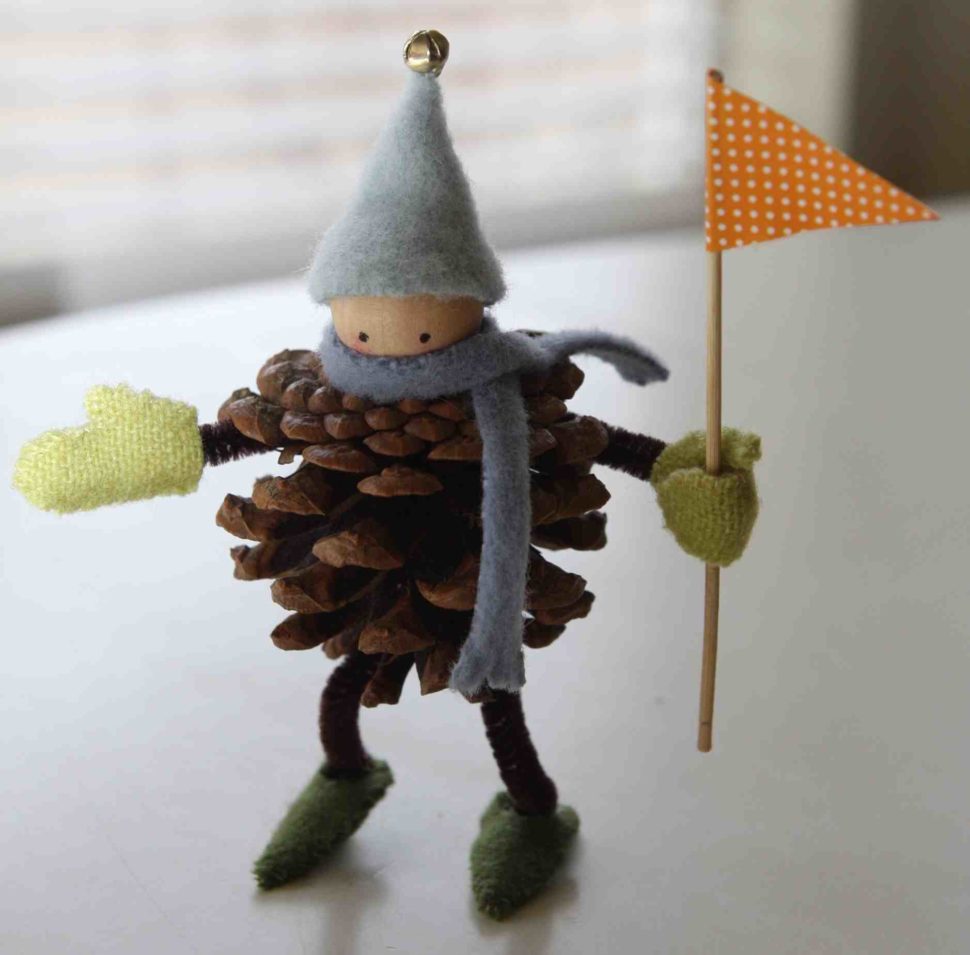
Cone Cones Crafts
Whole-cone toys can be either large or small (for example, a small pendant). To do this, cones can be glued, stitched with thread with a needle, or, conversely, cut with a clerical knife.
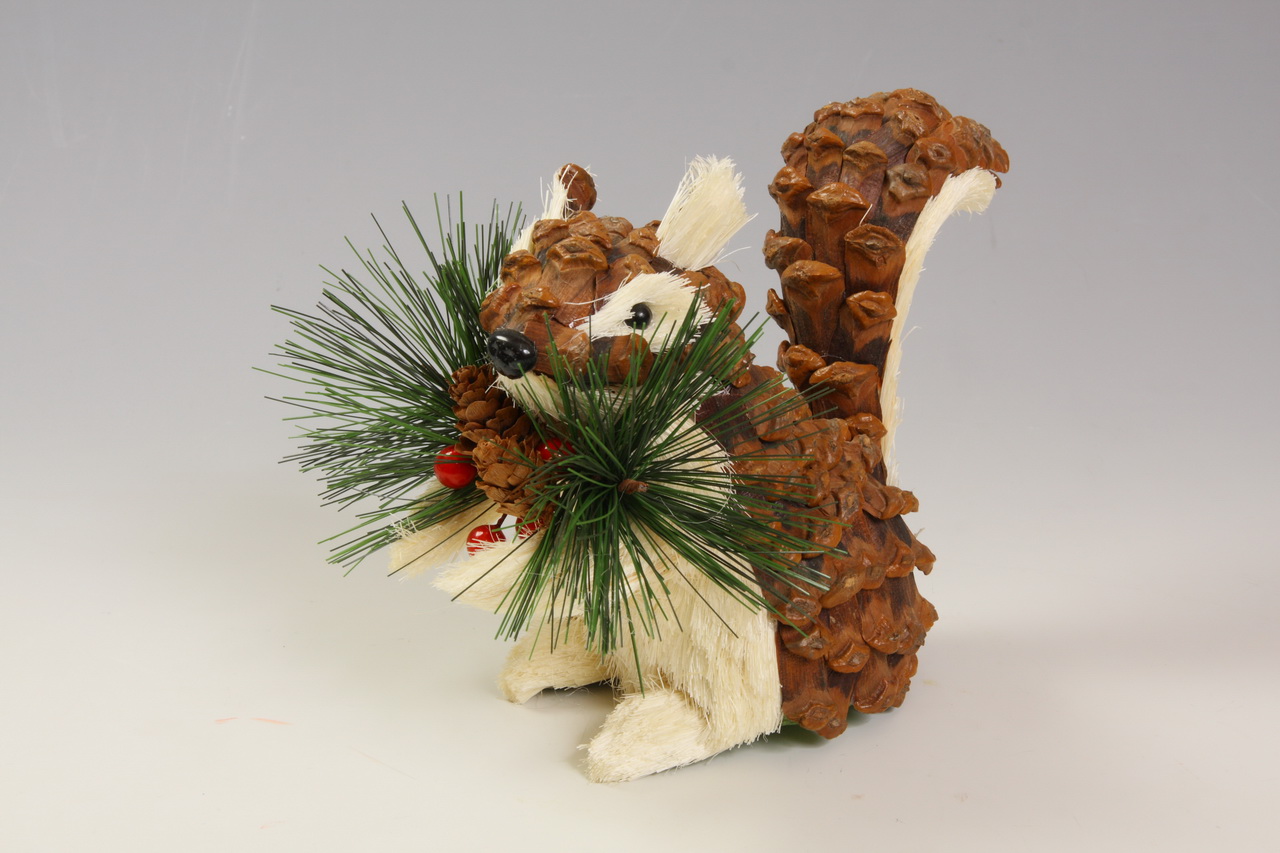
Do not forget that cones can be combined with each other. By combining several, you can get a funny snake figure or the likeness of a train.
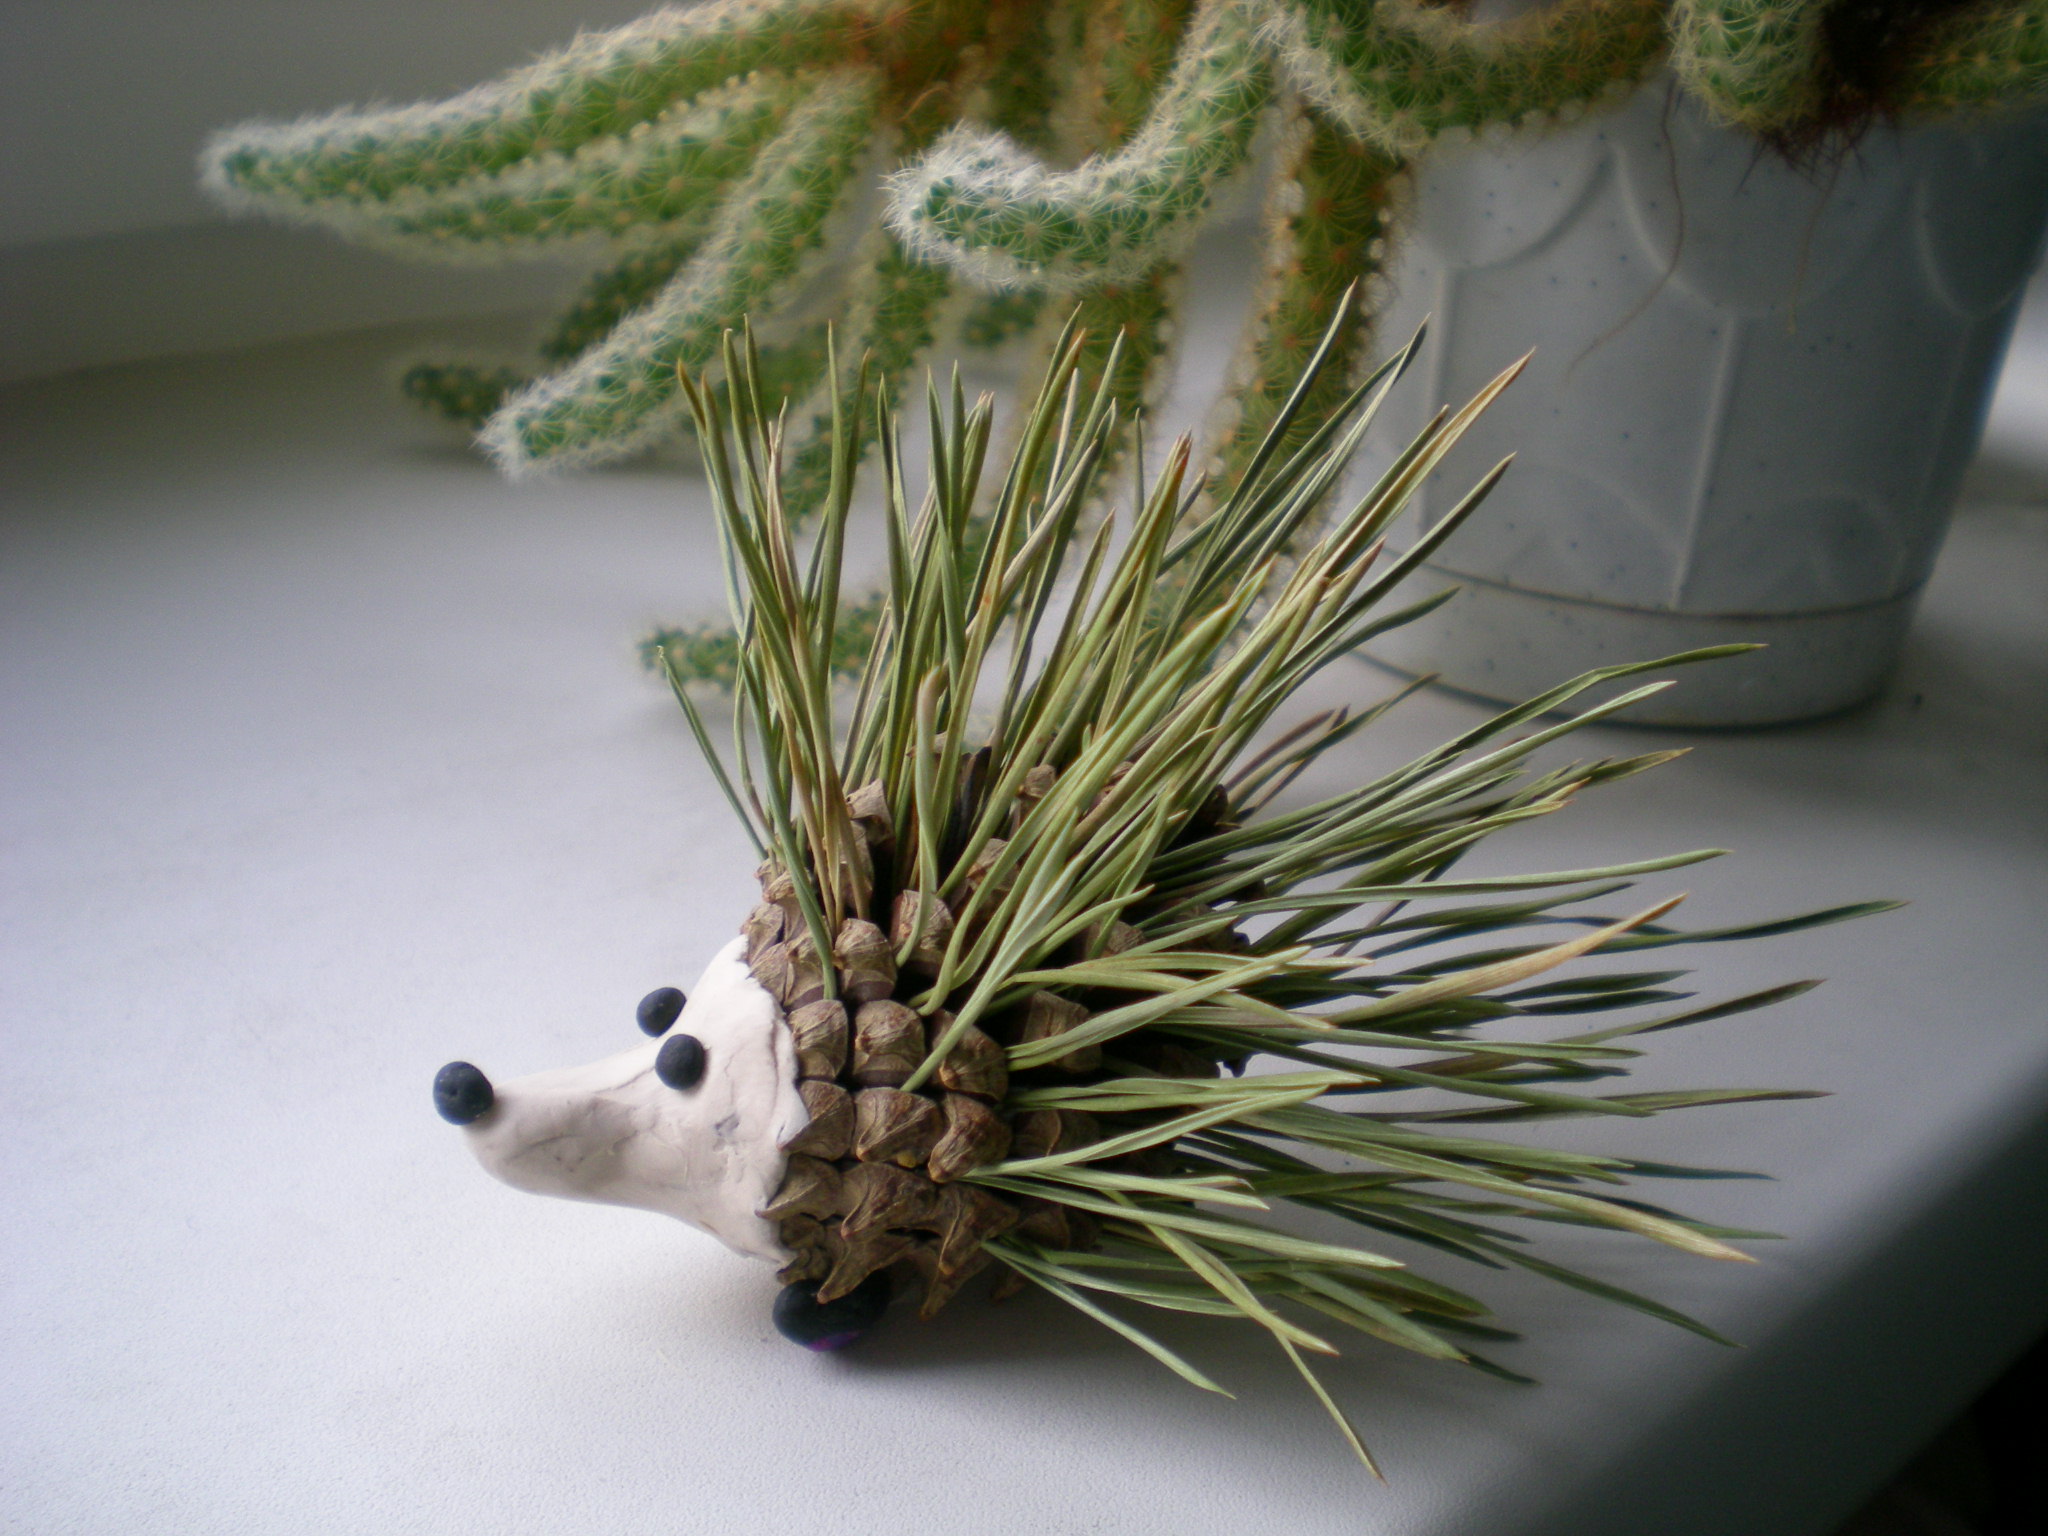
The most popular and at the same time lightweight object that can be made from a solid cone is an ordinary hedgehog.
Hedgehog
The simplest piece of forest cones is the hedgehog. To make it you will need:
- One half-opened cone (body).
- Colored cardboard or thick paper (face).
- Scissors.
- PVA glue.
- Sparkles, paints, felt-tip pens.
- Plasticine (for stand or face of the hedgehog).
The first thing to do is the stand on which the hedgehog will be located. It is best to use clay for this. It can be ordinary paws or a more complex stand in the form of a “background” (grass, a tree stump on which the hedgehog sits, a house, etc.).
It is important that at this stage the child shows his imagination and decides how it will be better. Here you should not indulge in naturalism. The hedgehog may have a humanoid shape.
There is nothing wrong if a child decides to give him the pose of a seated person or comes up with something completely unusual.
If the shape of the cone does not meet the requirements, then it can be changed, trimmed with scissors or tear out the extra “feathers” with forceps.
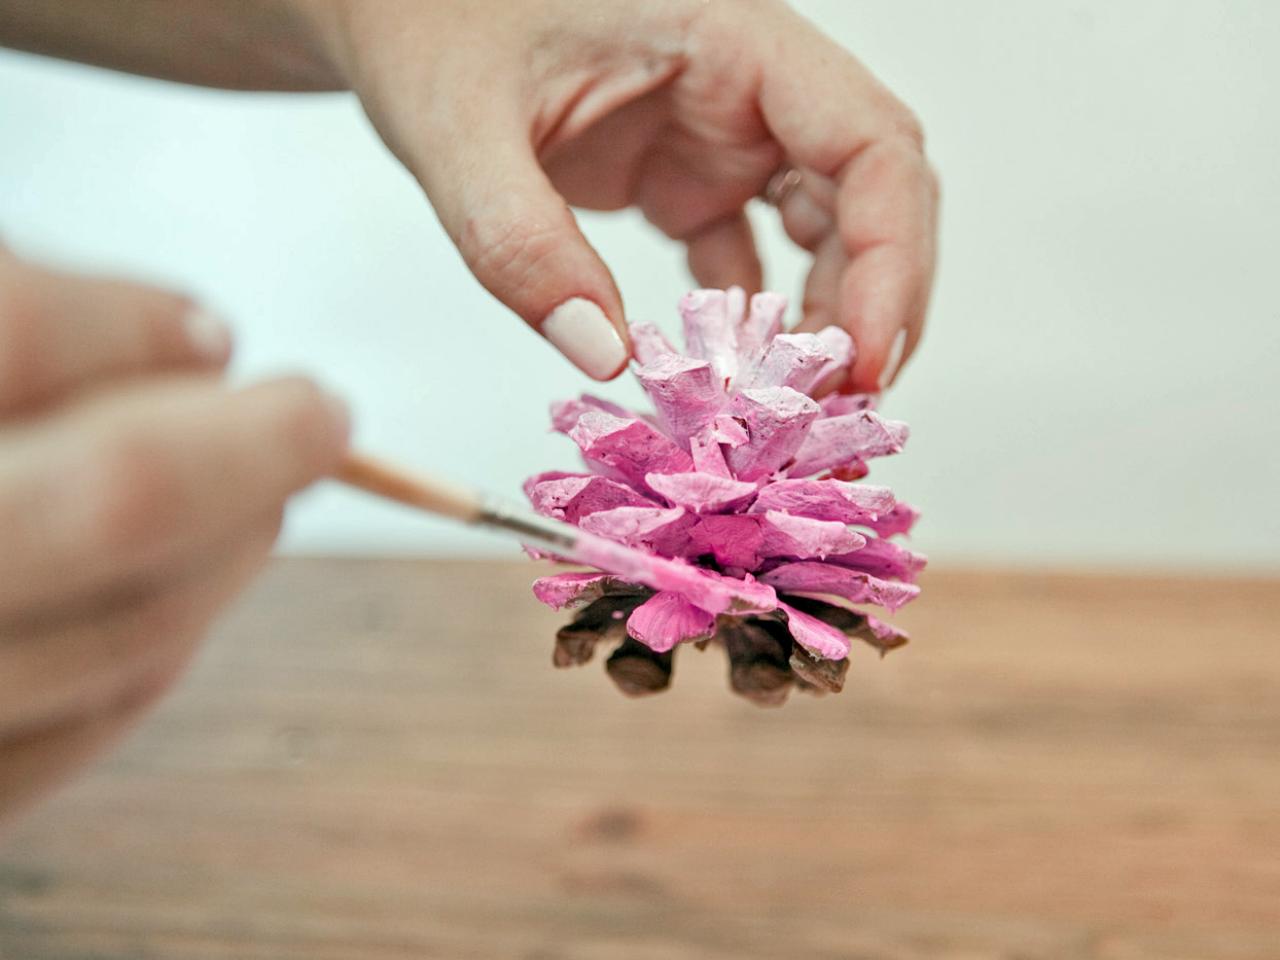
Next is the face. It can be drawn on top of the bumps with paint or felt-tip pen, cut out of paper and pasted, made of plasticine.
On this craft "hedgehog of cones" is considered finished. In addition, you can decorate the back of the animal with leaves, sparkles, paint the "needles" in an unusual color.
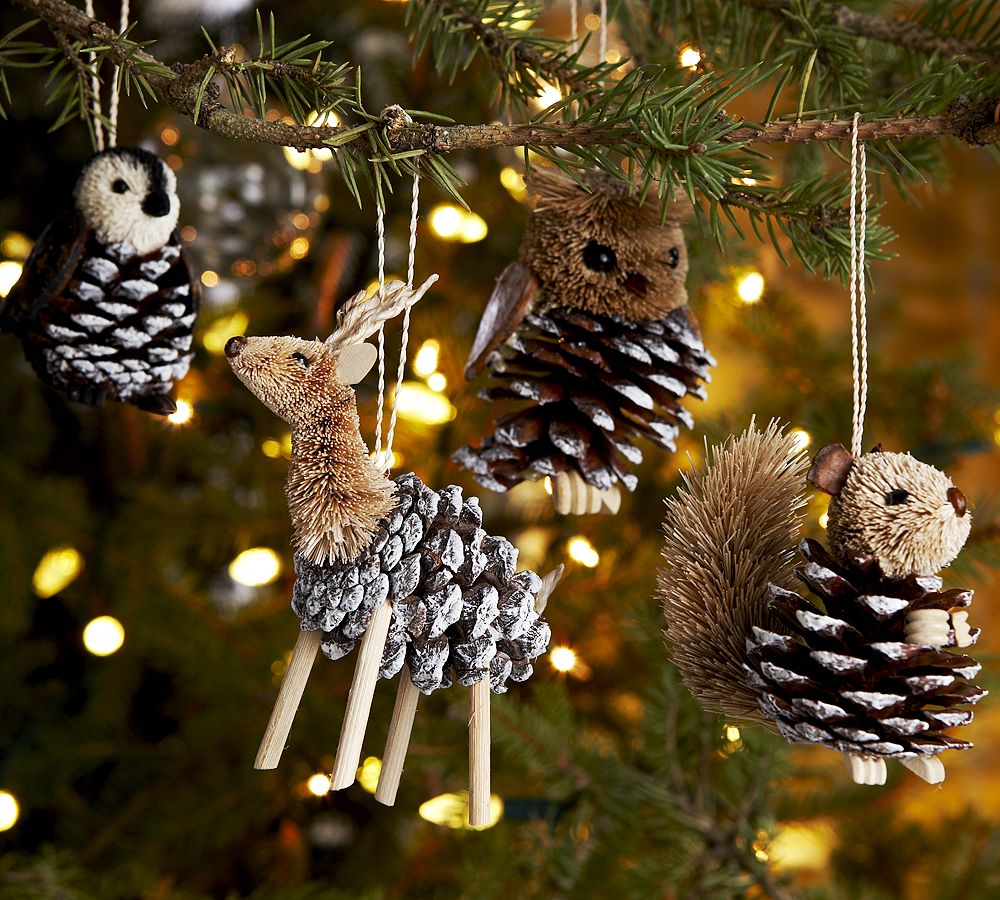
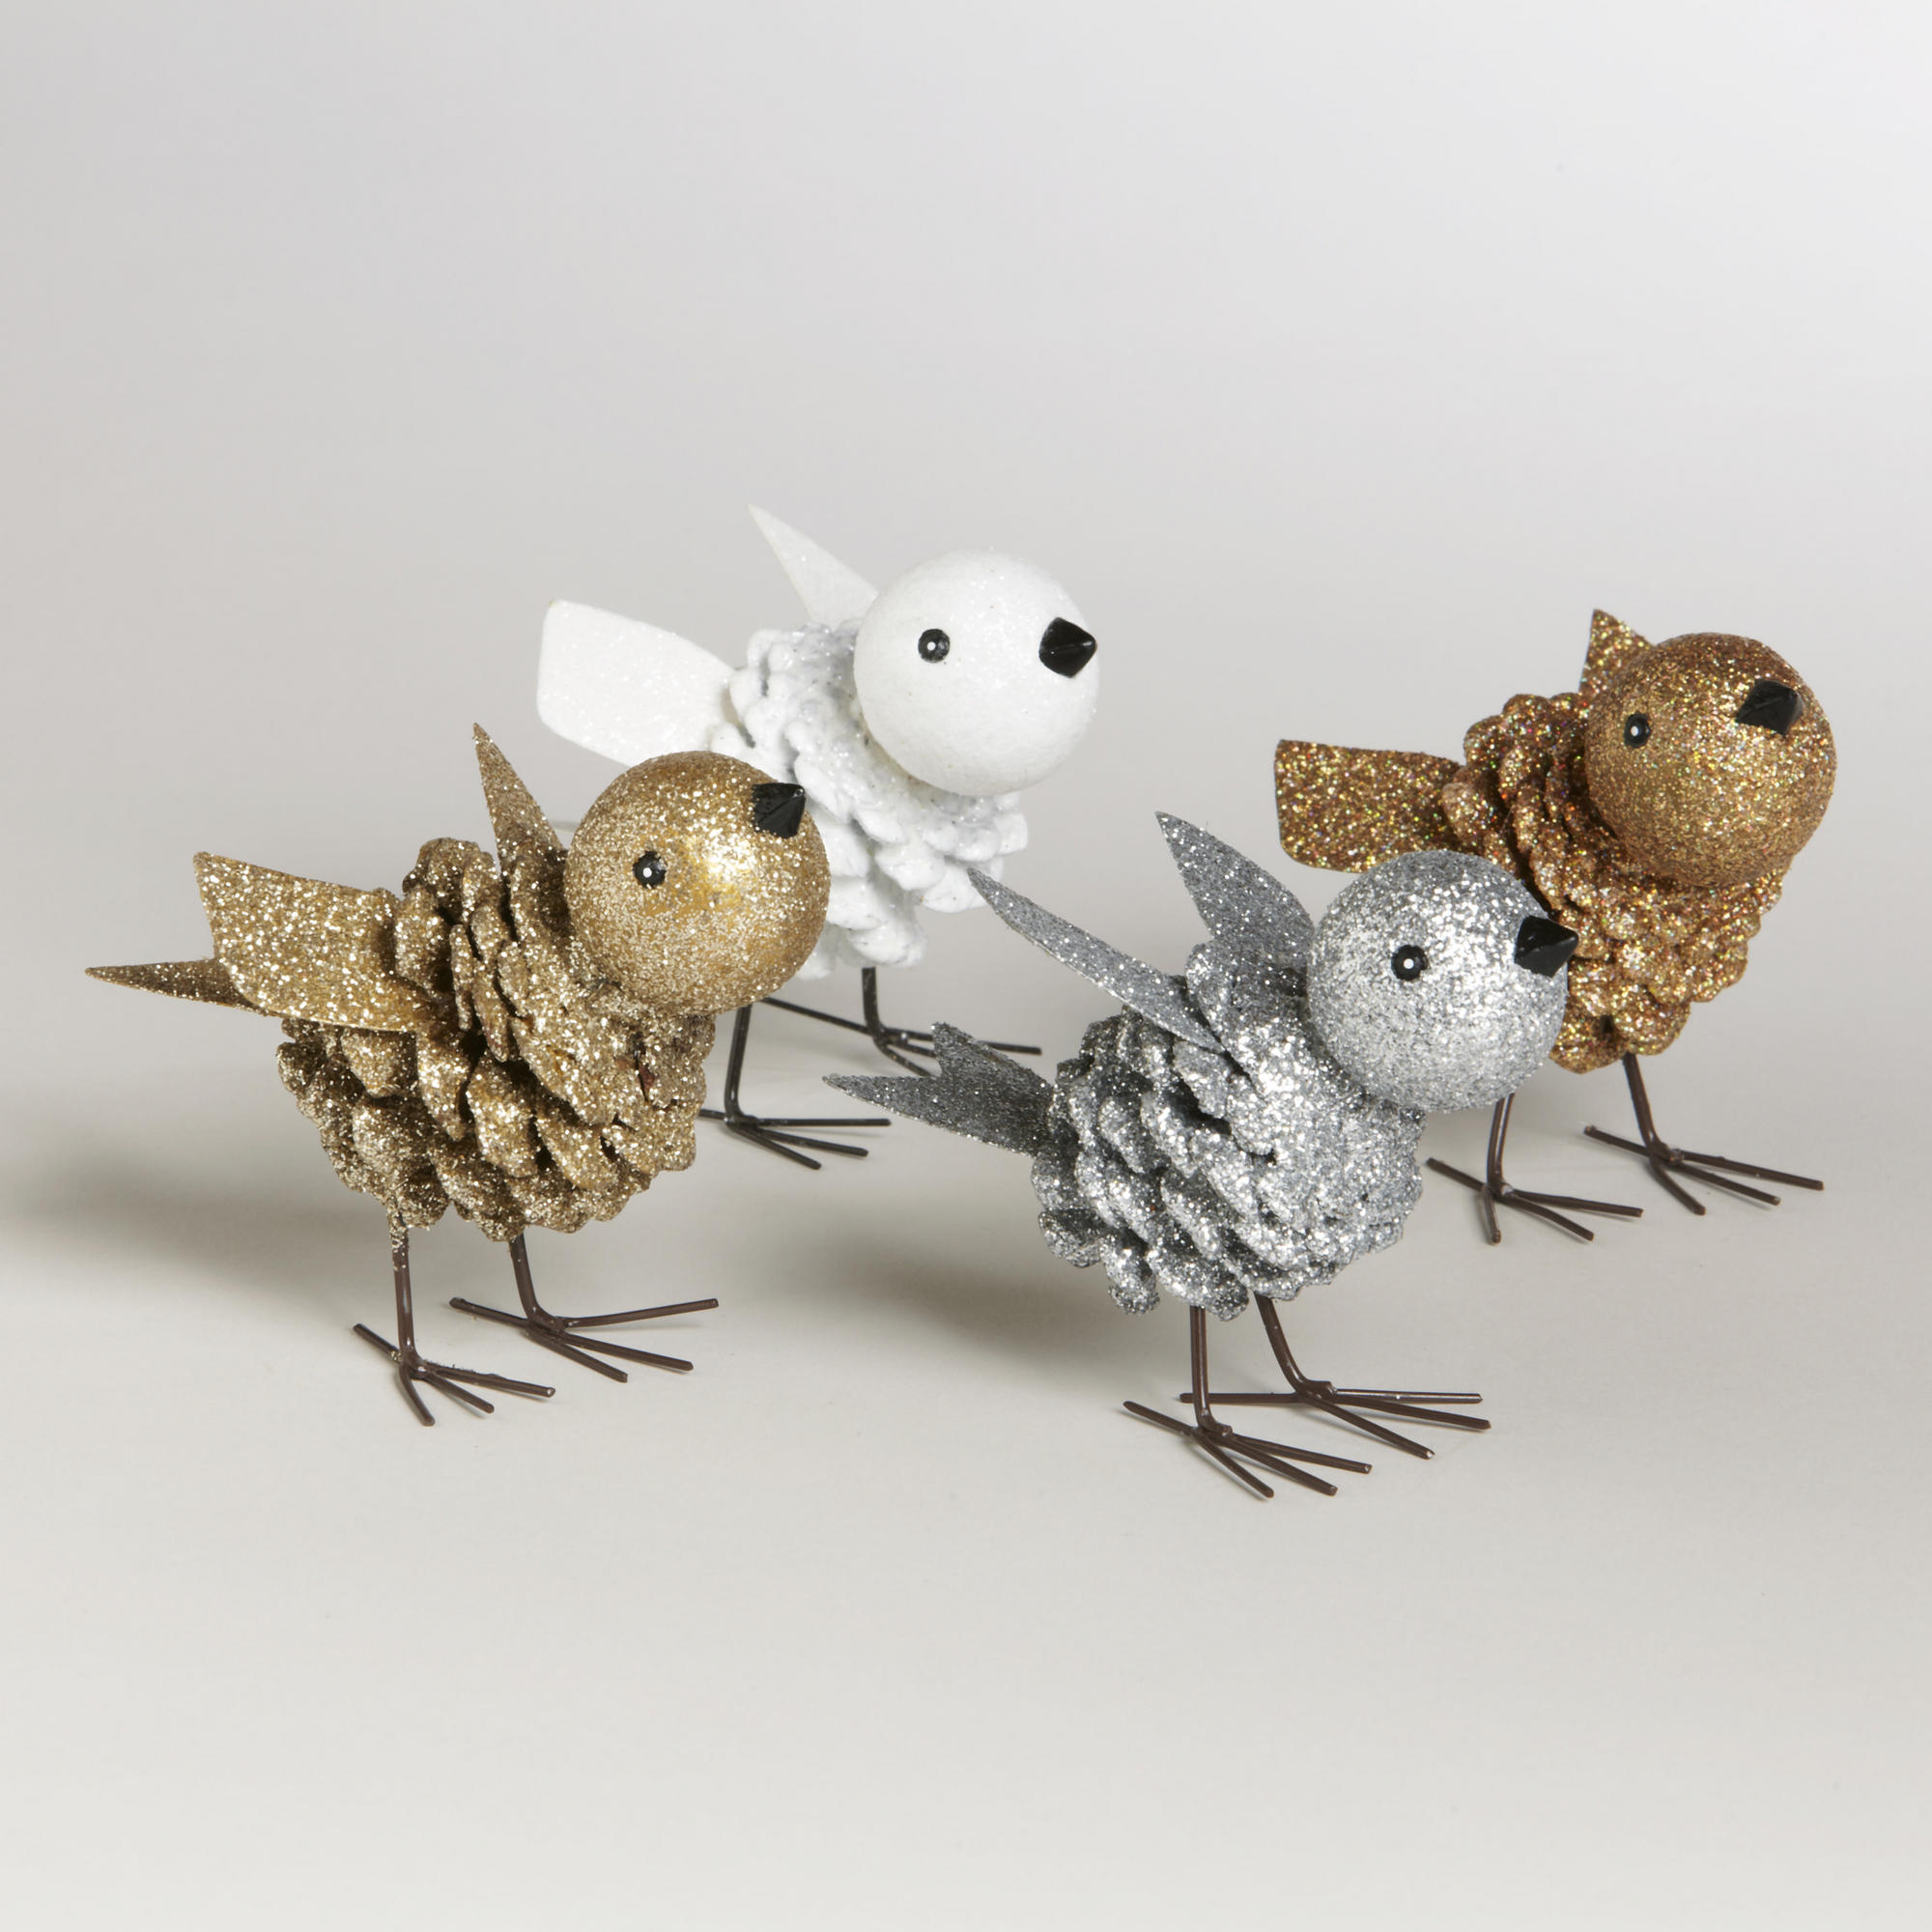
Like a hedgehog, you can make a mouse, a penguin and other animals. As a rule, a cone is taken as the basis (body), on which wings, legs, ears, head and other parts of the body are attached with glue.
General recommendations
If the child does not know what can be made of cones, then propose to portray a beloved animal, a cartoon character. Do not limit yourself to commonplace ideas. From cones you can make a typewriter, little men, a snowman.
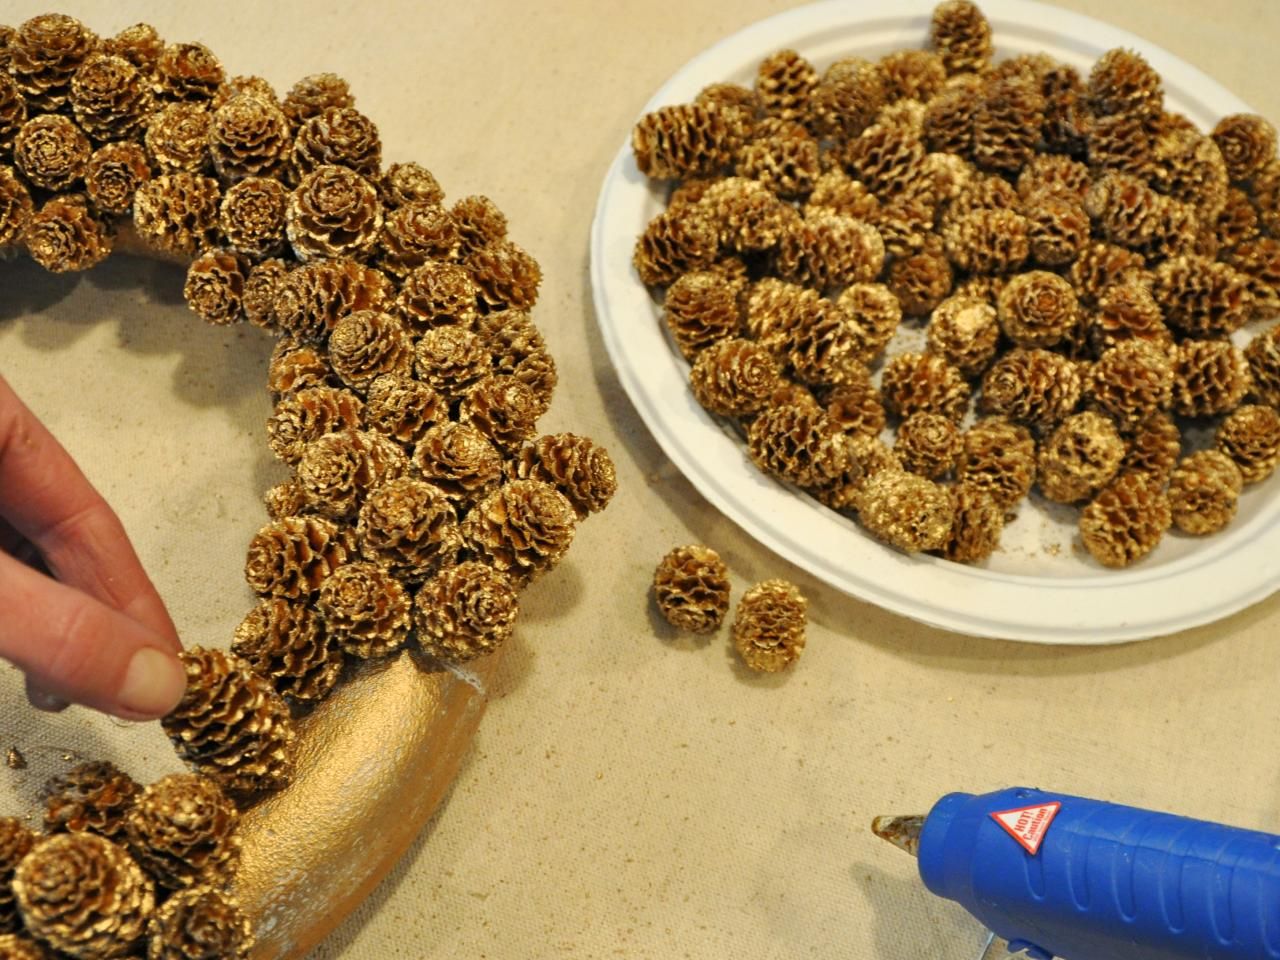
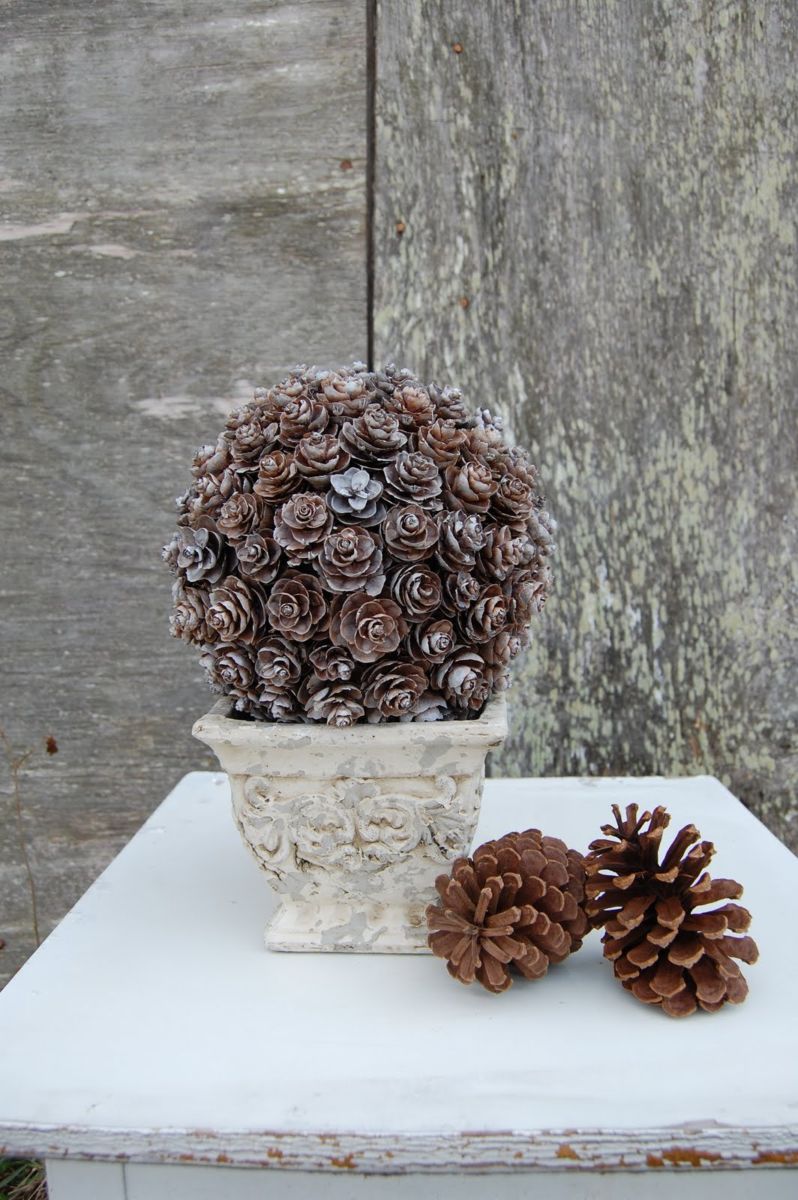
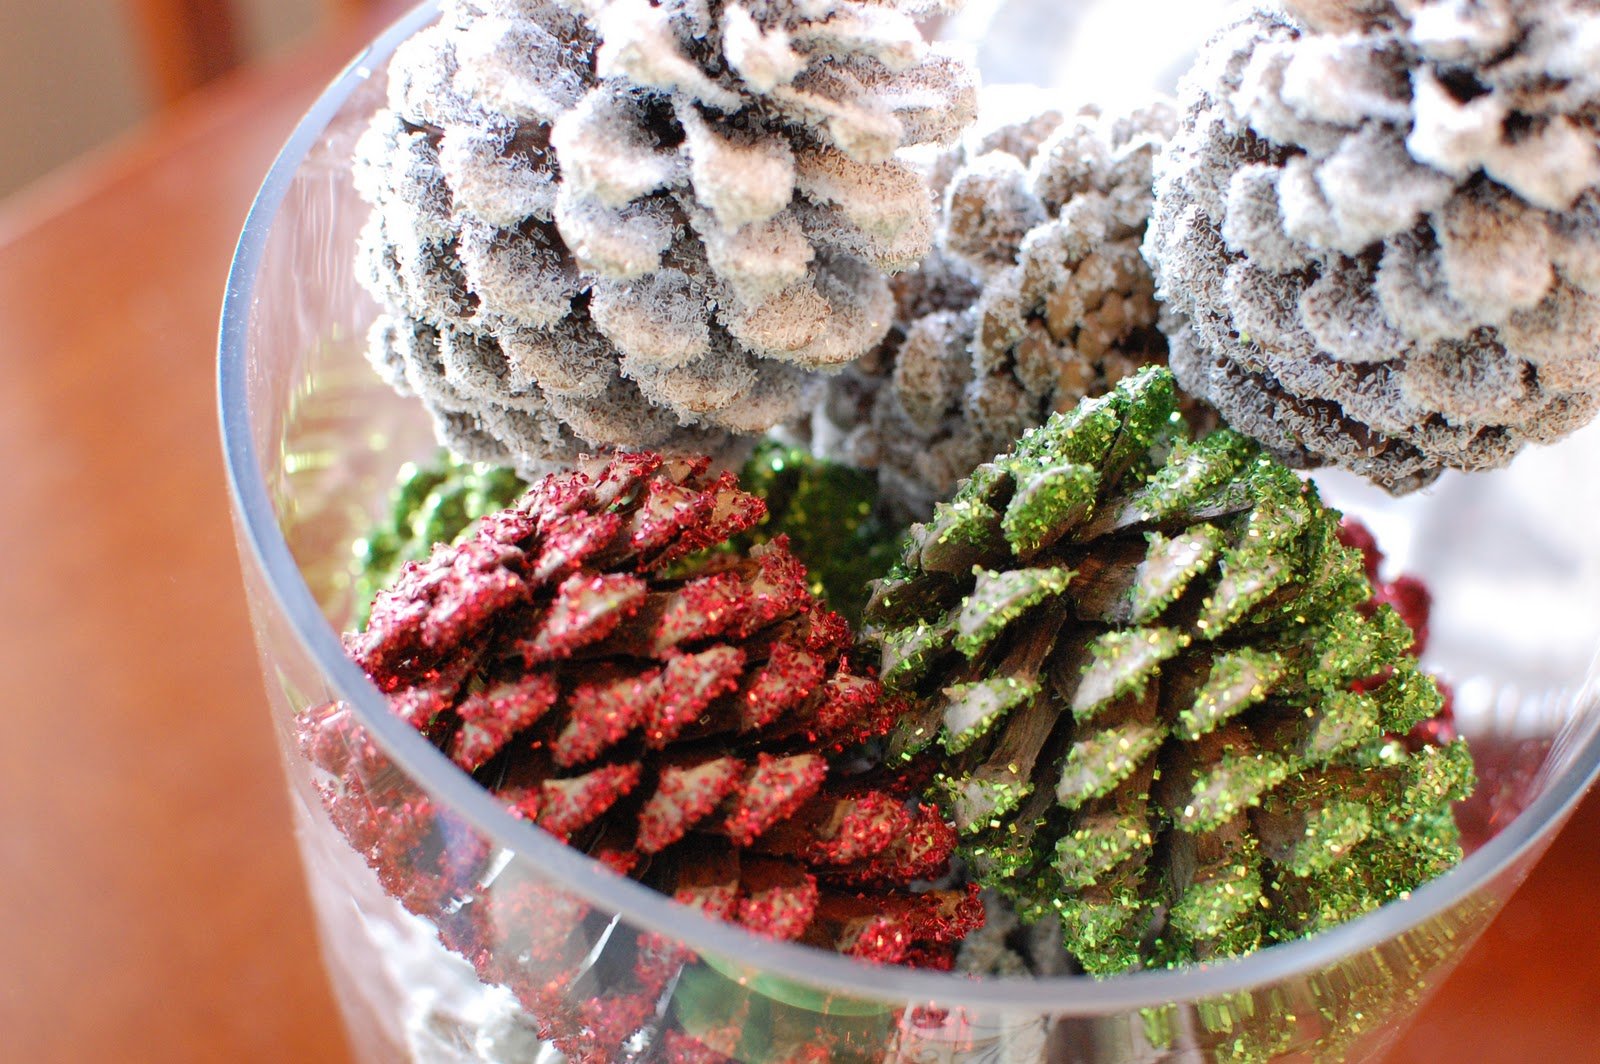
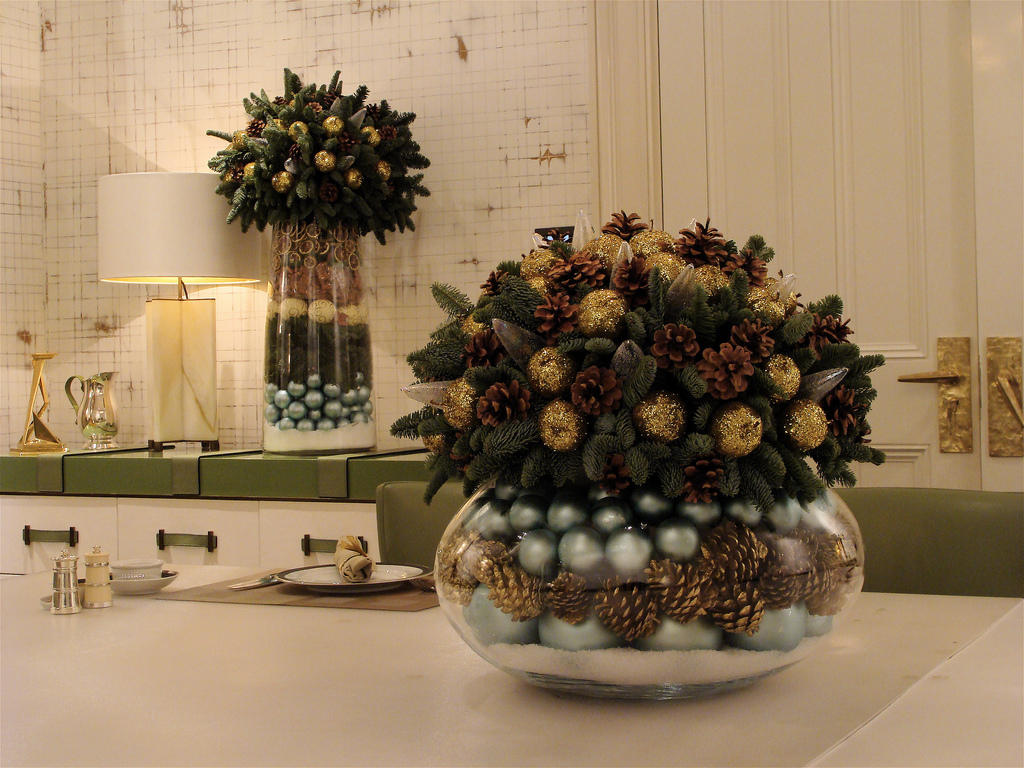
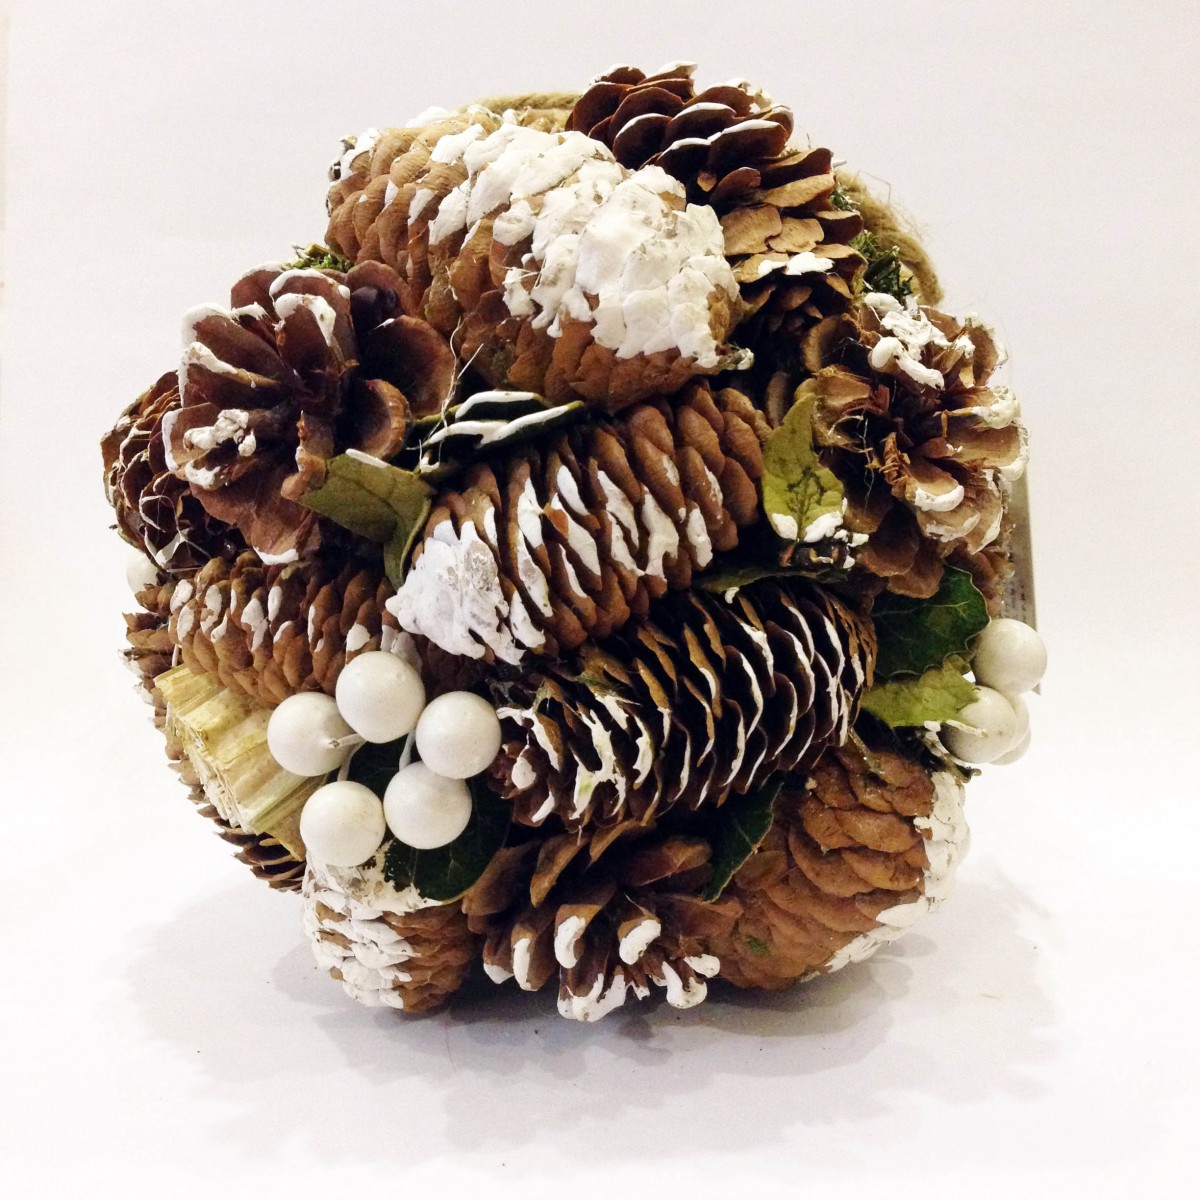
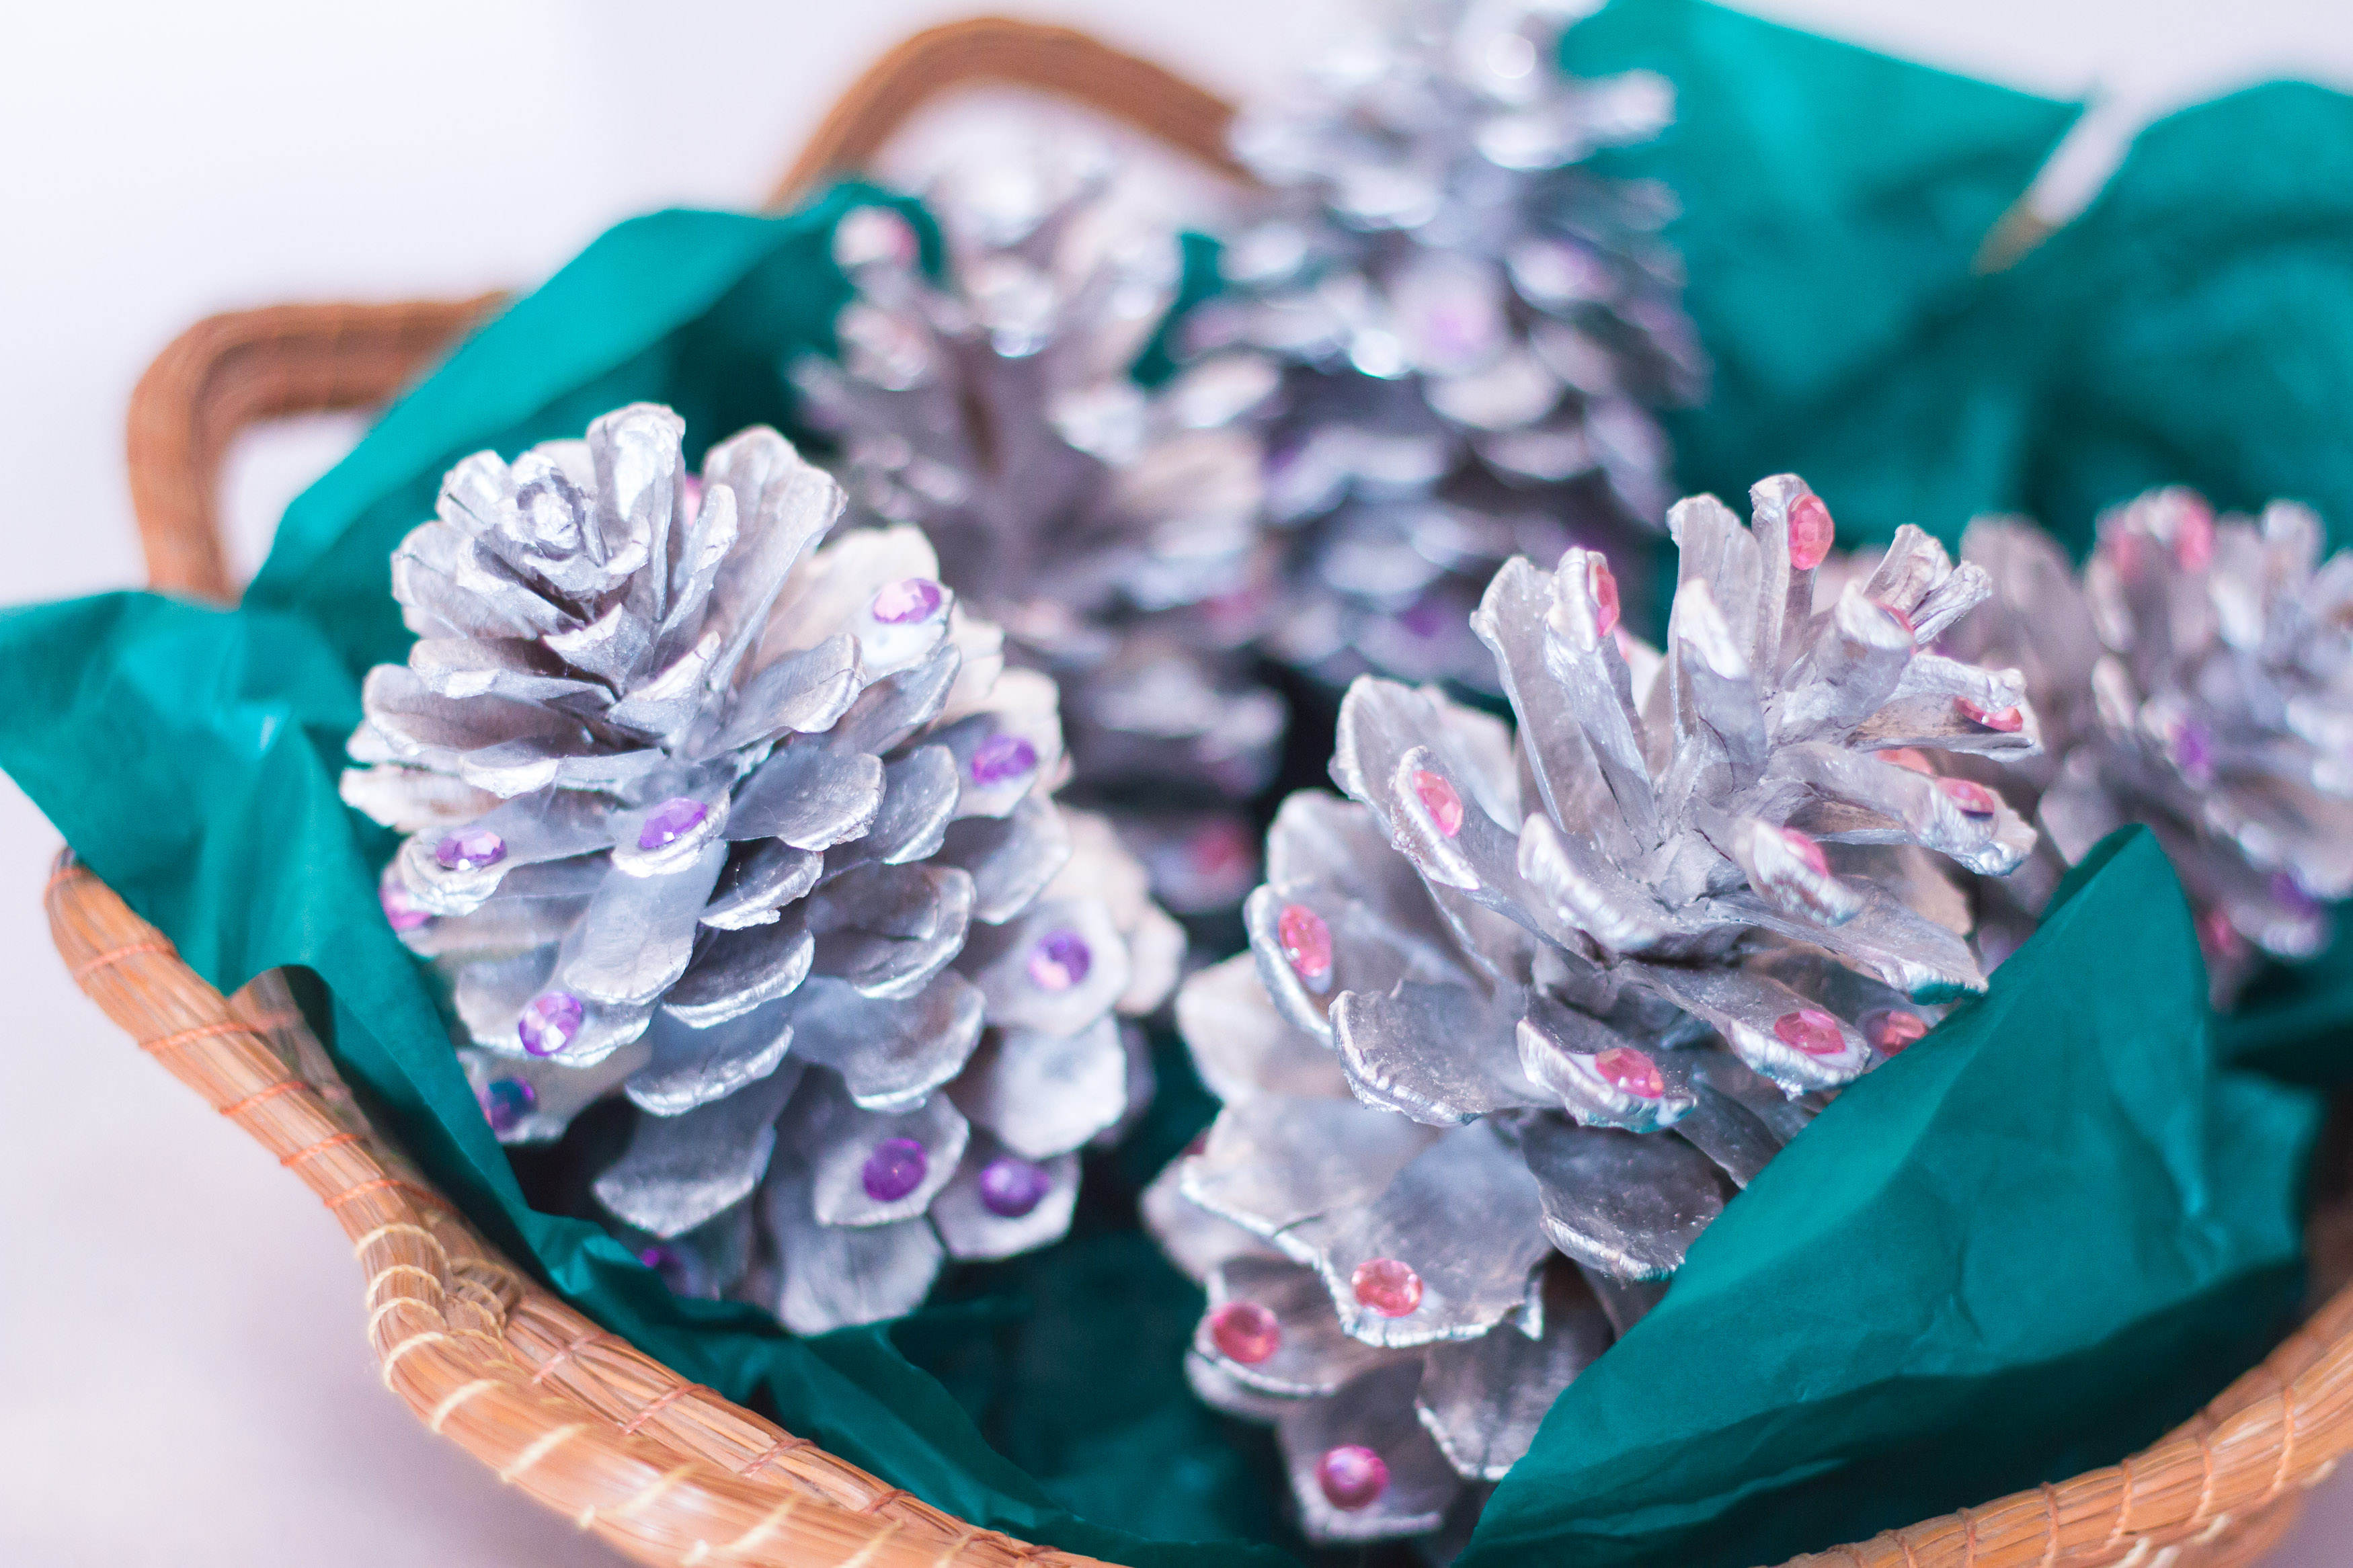
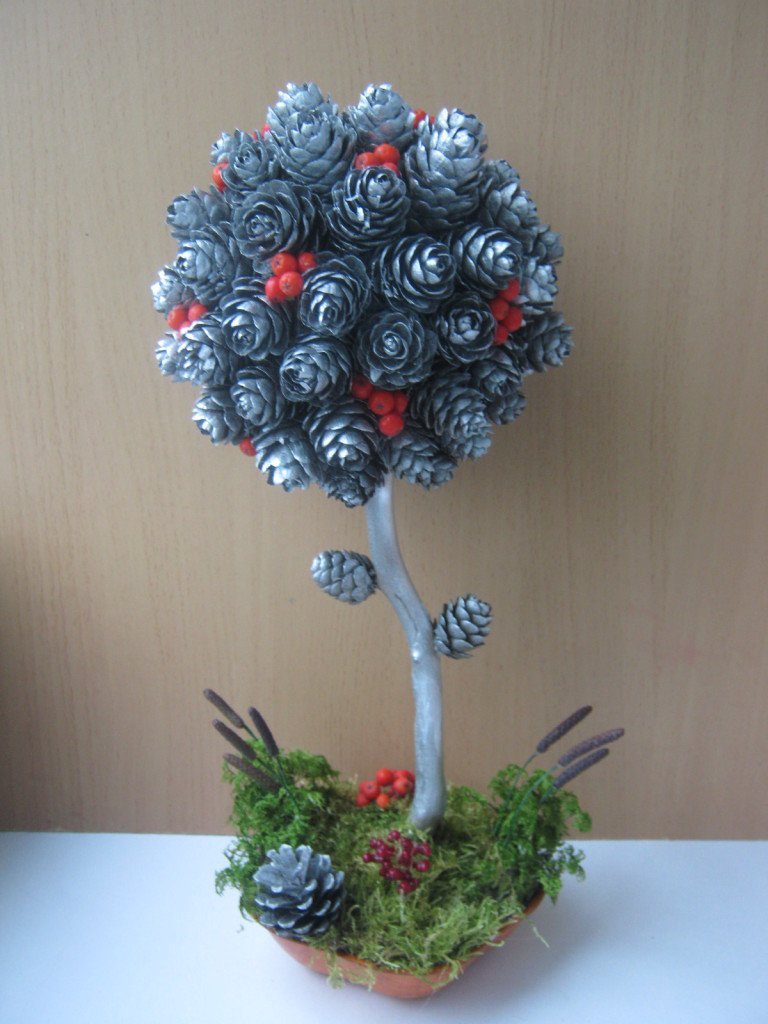
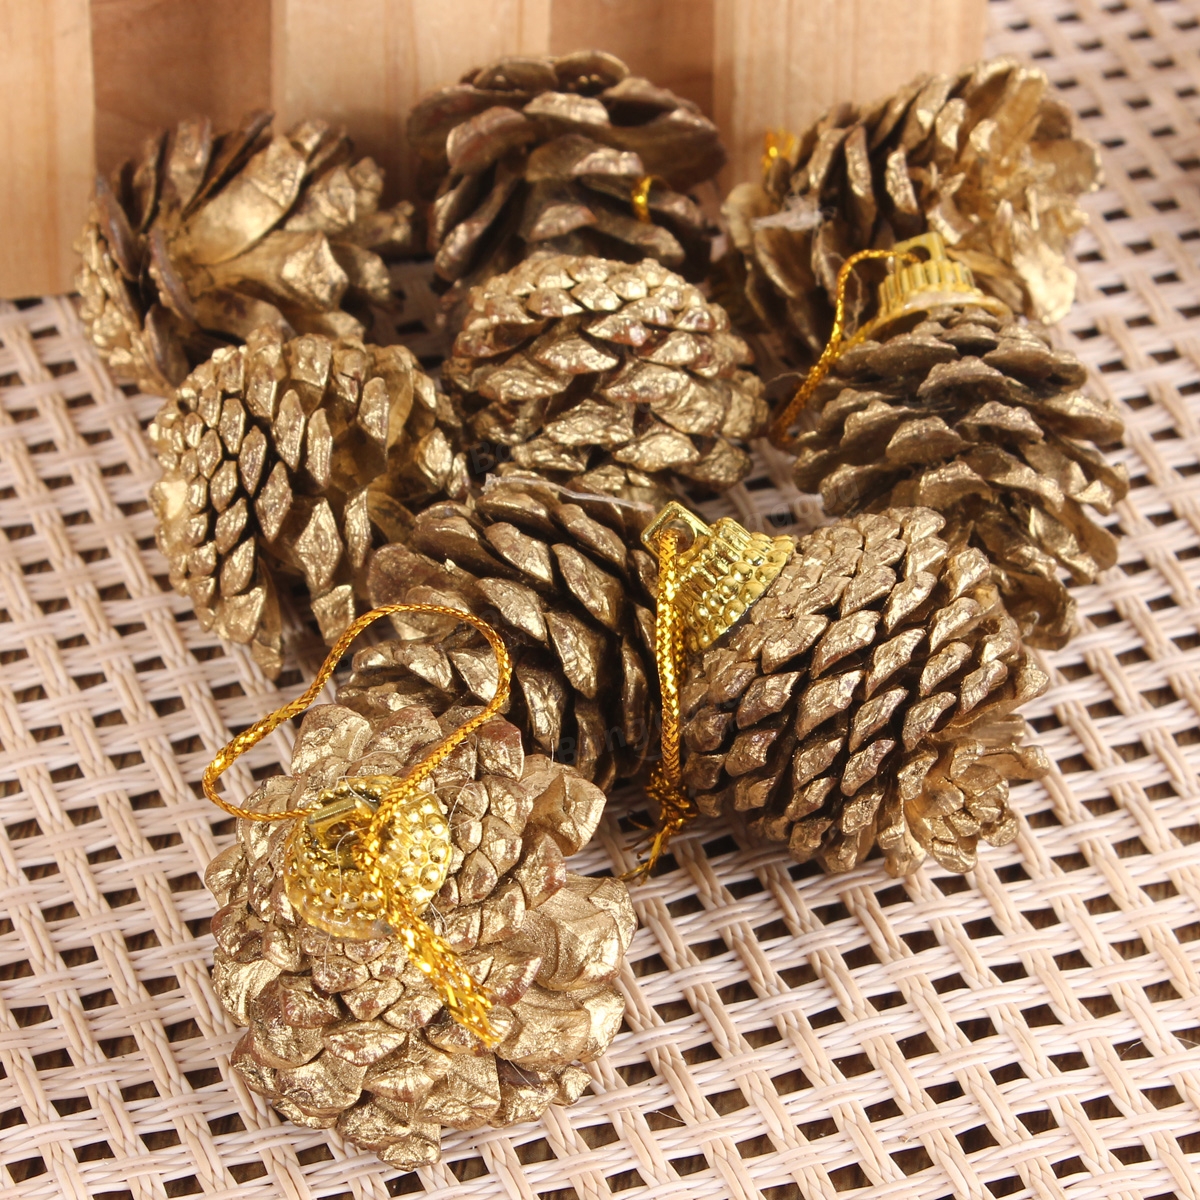
Due to the fact that the cone itself is light, crafts are often used as a replacement for Christmas toys. To do this, they can be decorated with snow, painted in red and gold colors, covered with sparkles.
So, to simulate snow crafts can be decorated with cotton wool, which is neatly inserted between the feathers. The finished toy will be the perfect decoration for a summer house, garden or home.