Styrofoam Tile: Key Features (21 pics)
Content
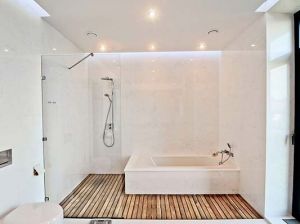
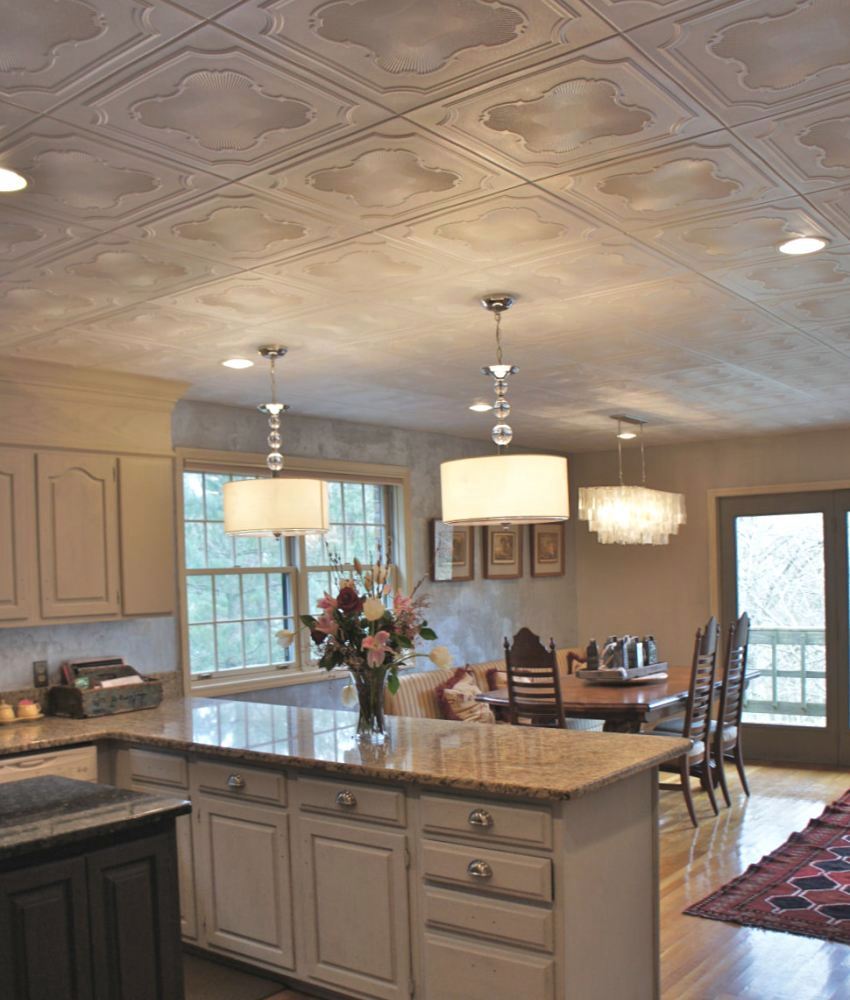
Foam slabs on the ceiling provide an opportunity for quick updating of the apartment interior, making noticeable changes in the environment using budgetary methods. It is worth noting that the decoration and pasting of the ceiling with foam tiles can be carried out independently. Foam panels on the ceiling weigh very little, so everyone will be able to install them. The panels are characterized by increased resistance to moisture, you can use them as a finishing material in almost any room. This can be a kitchen, sanitary facilities, as well as bathrooms.
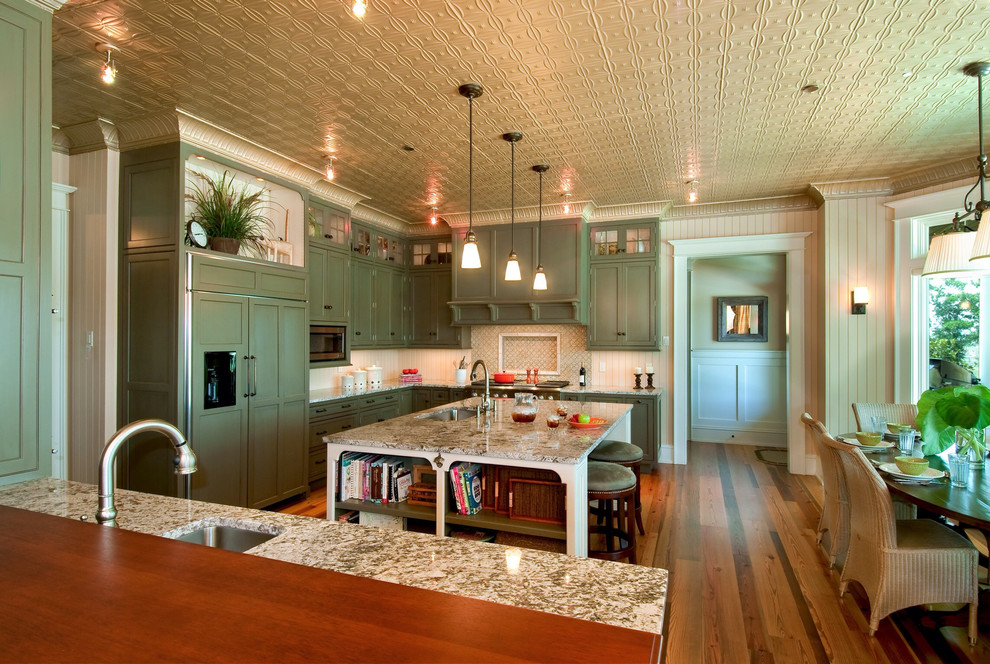
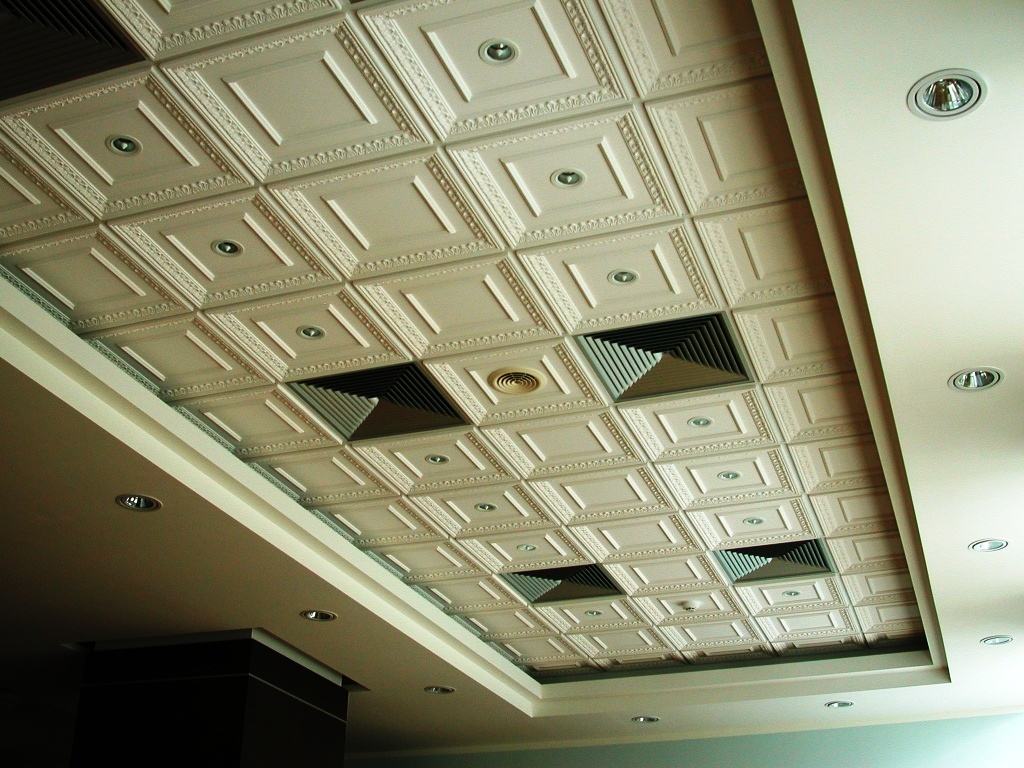
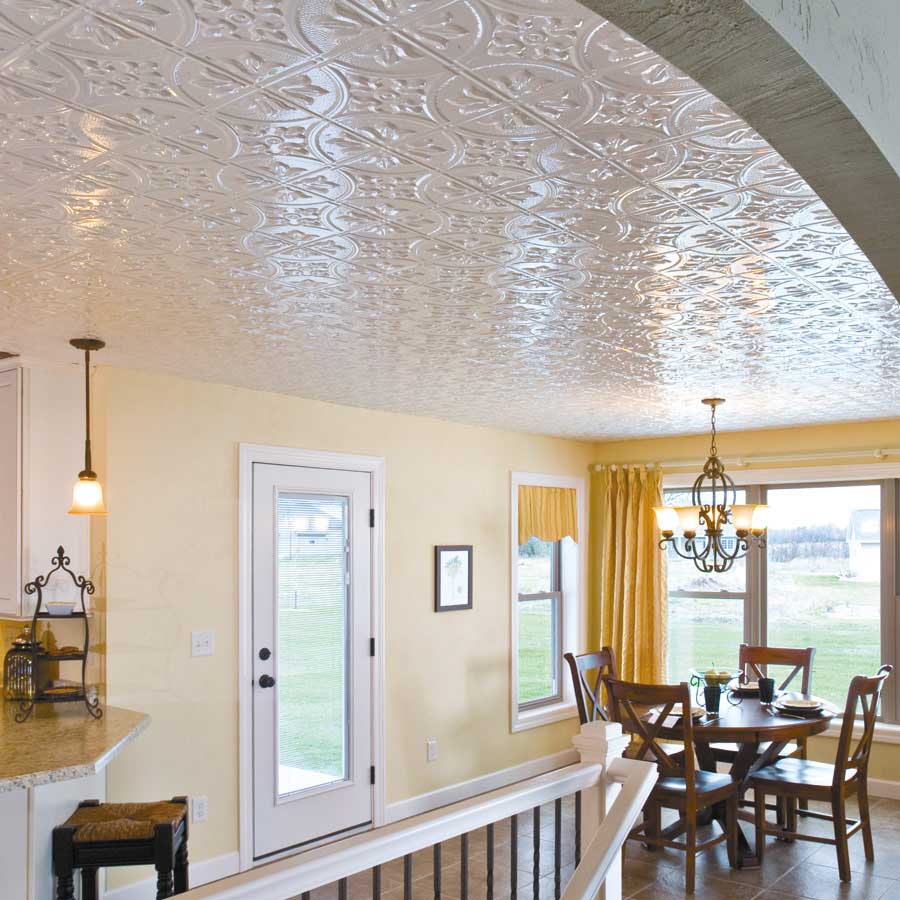
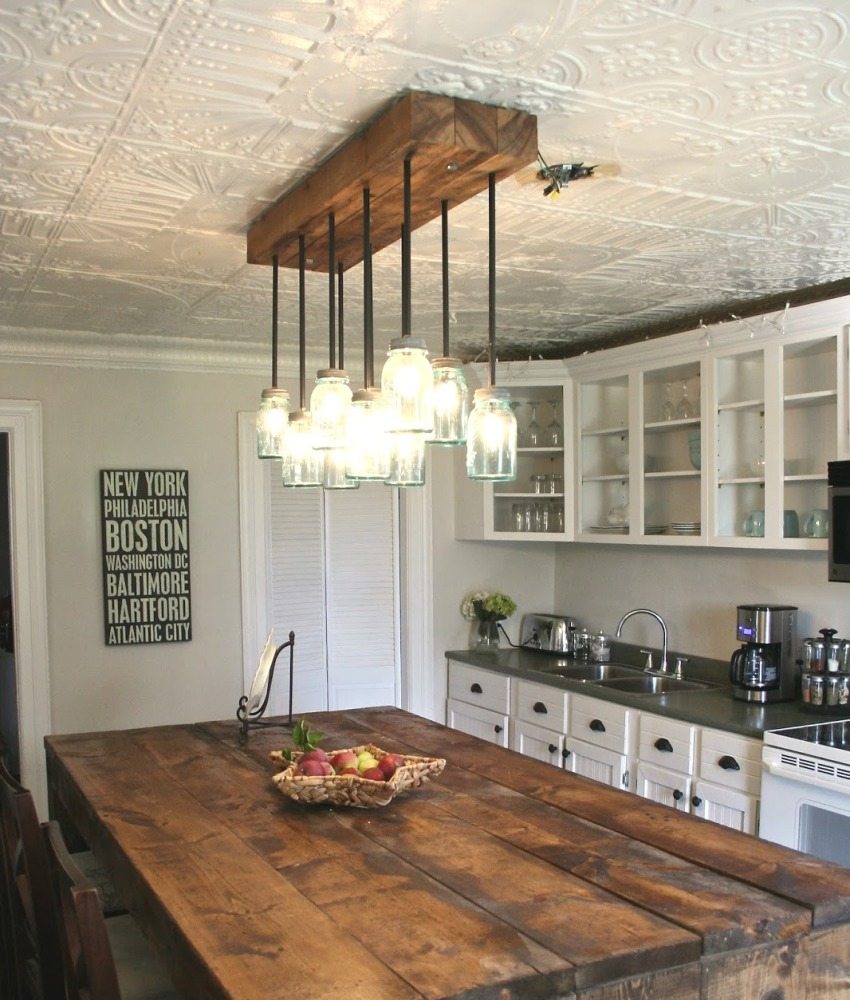
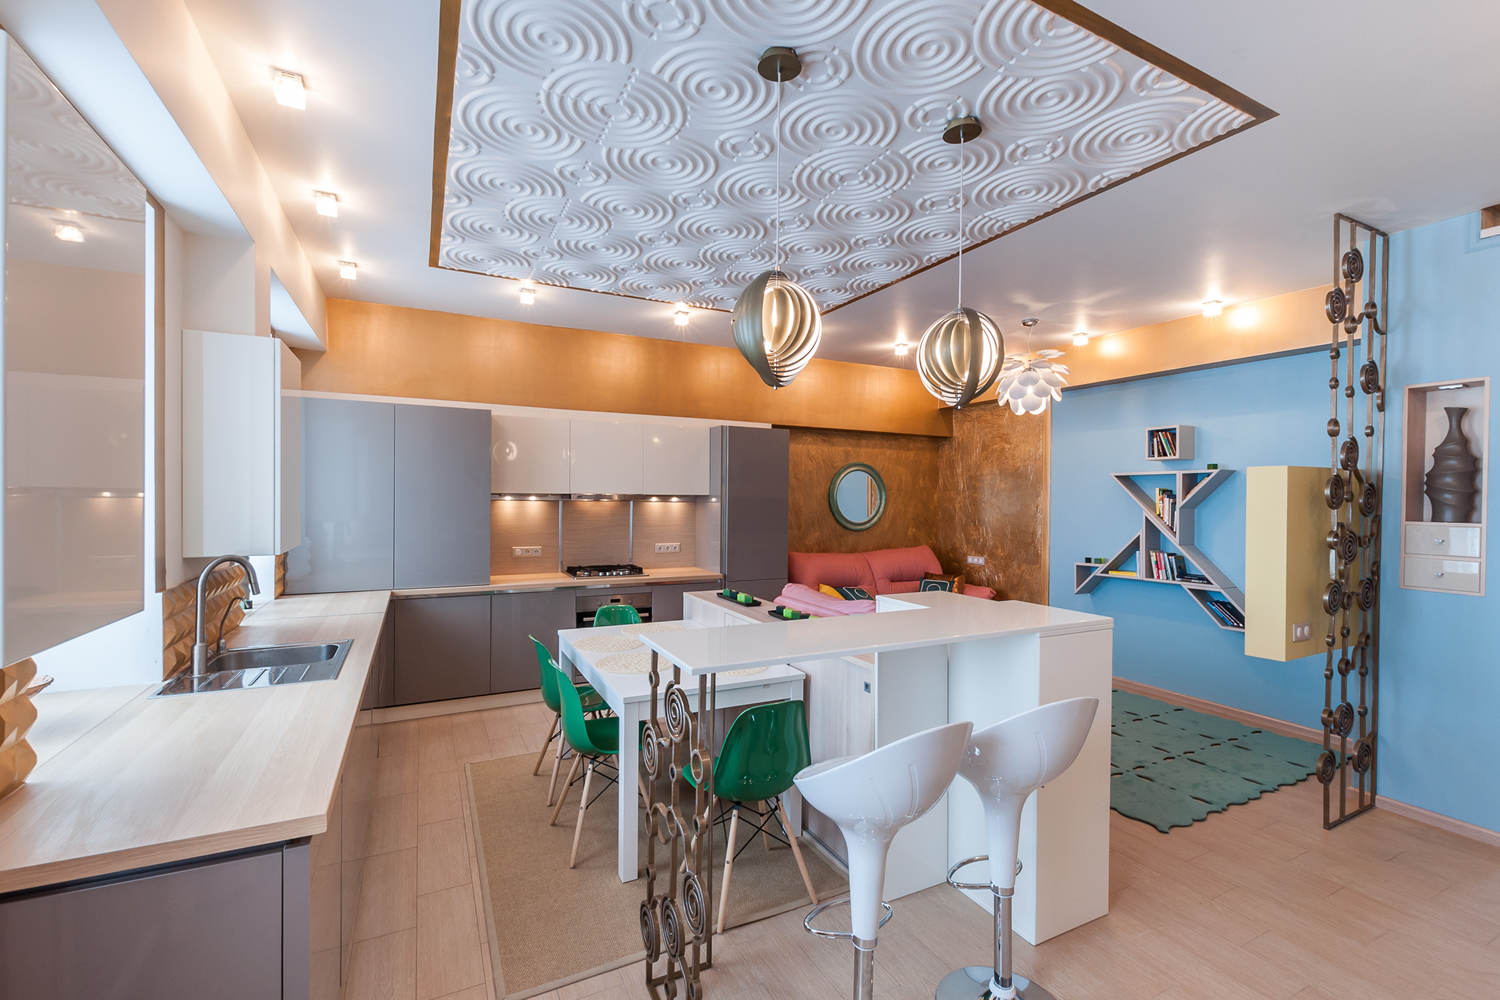
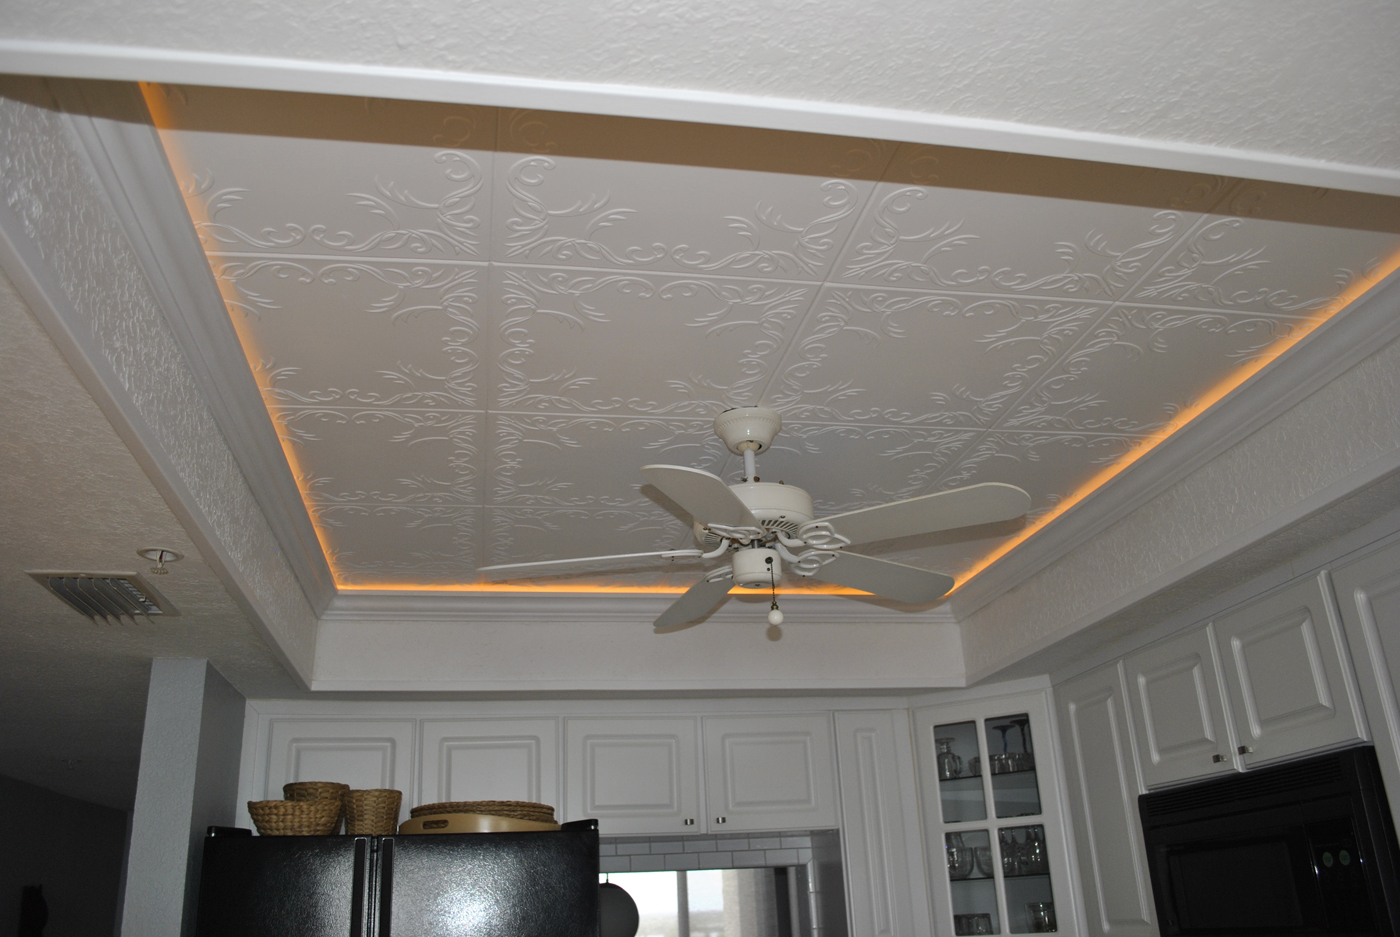
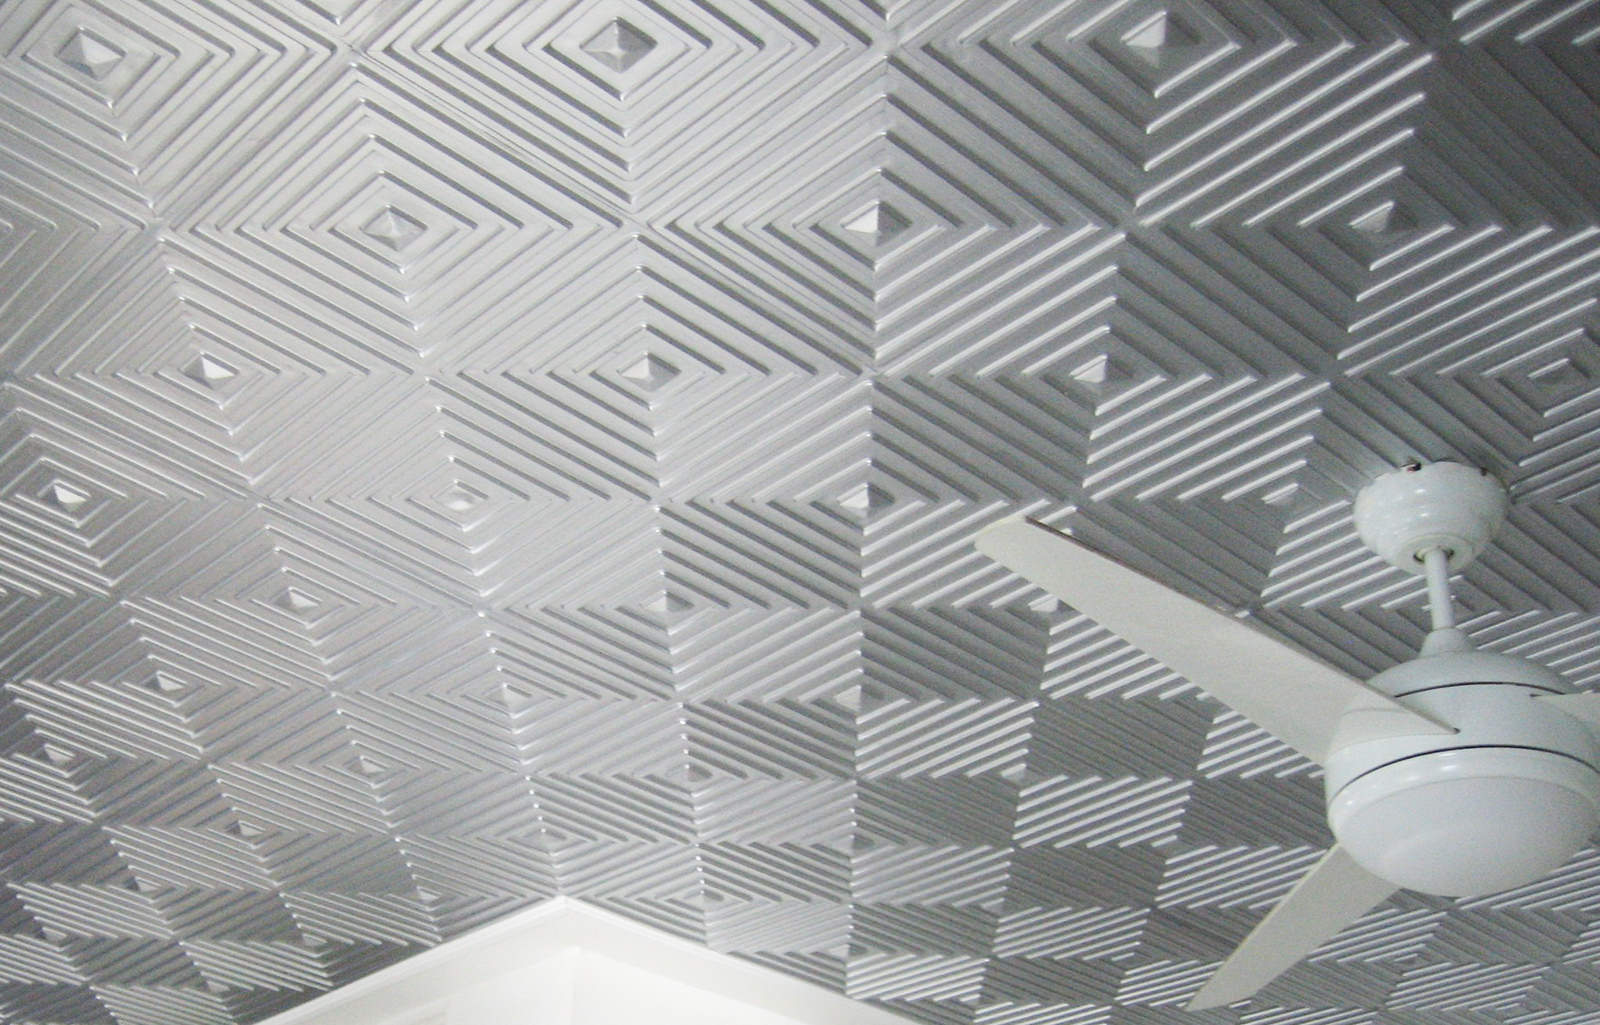
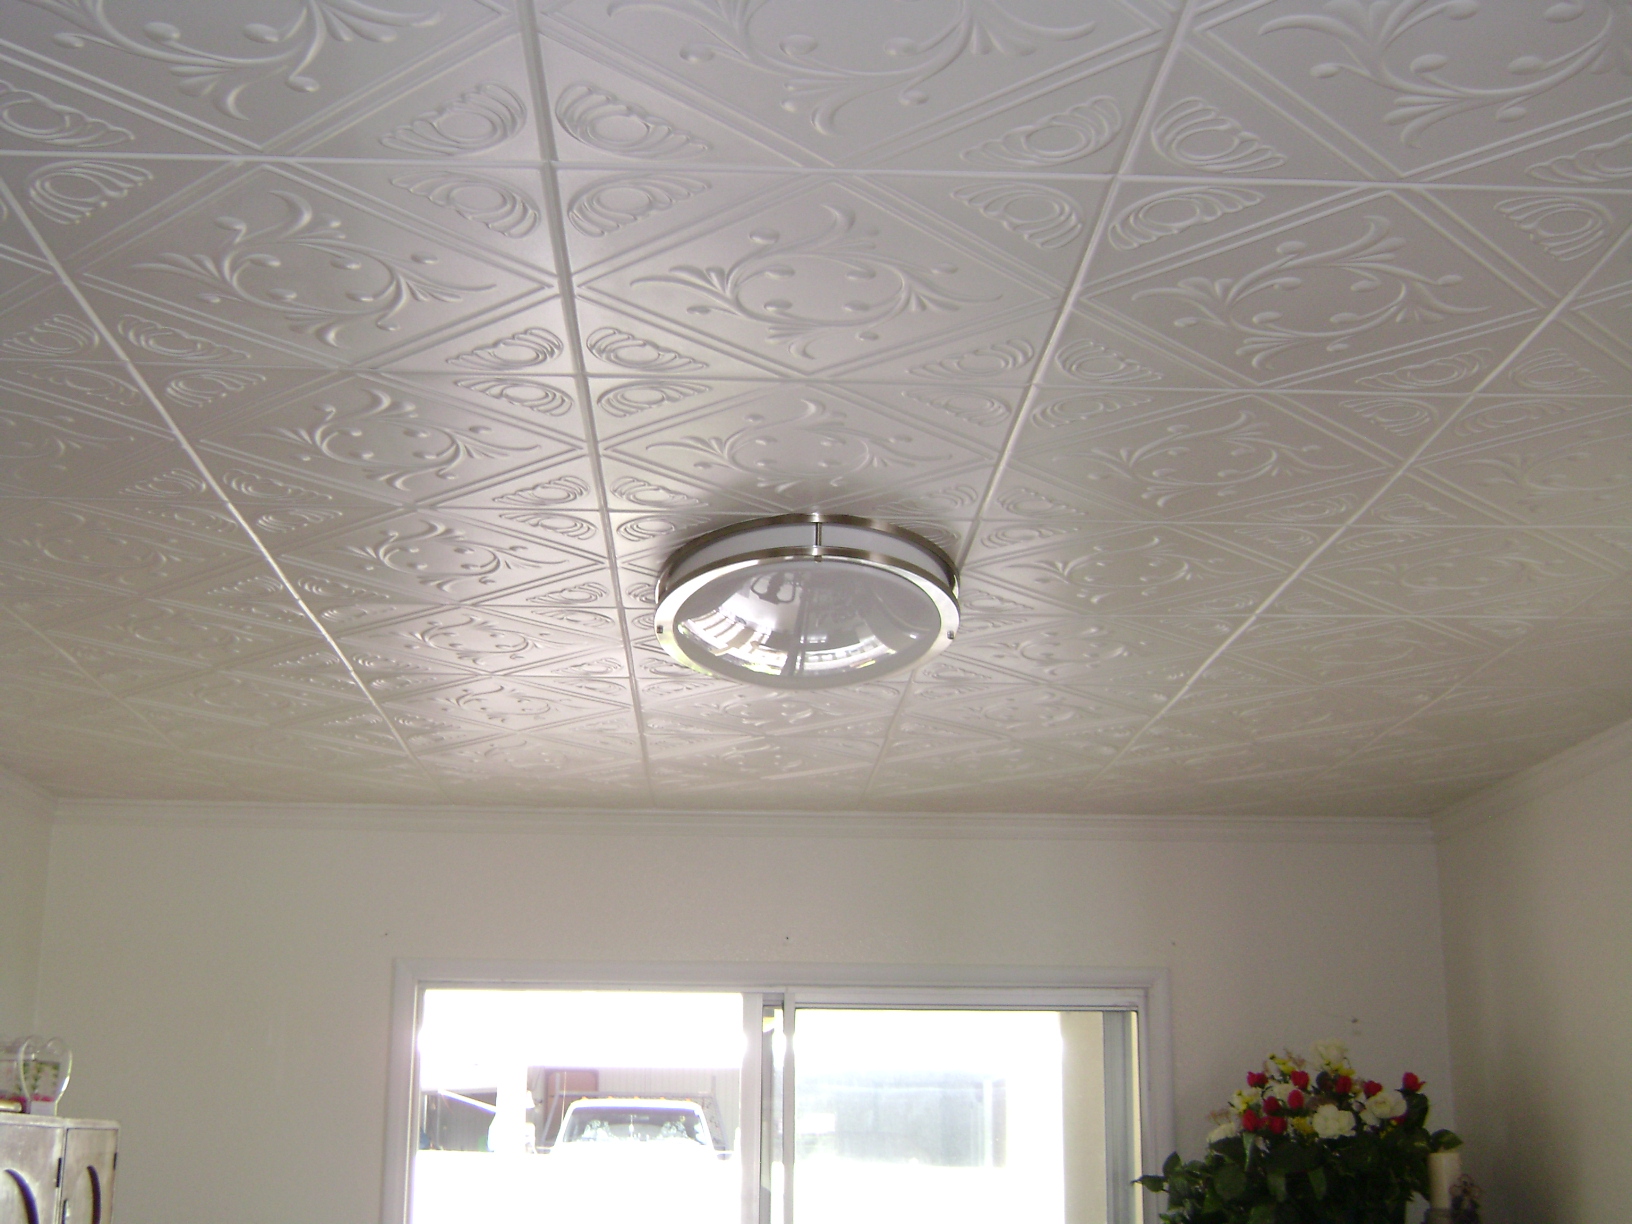
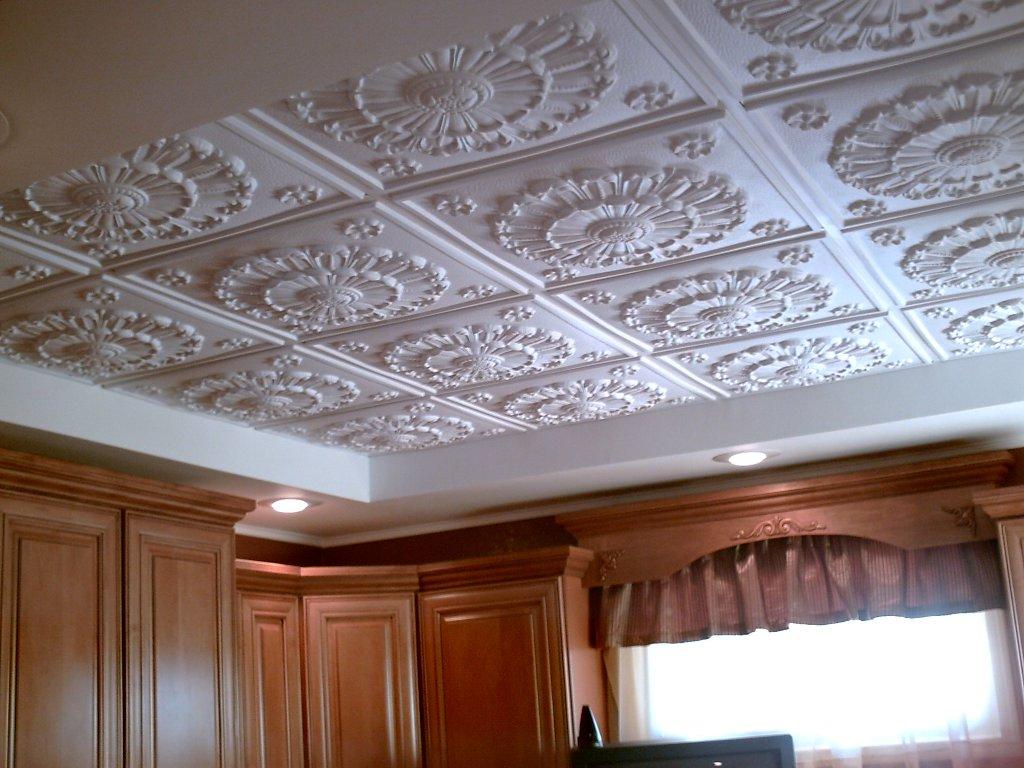
Numerous shapes and colors, patterned images applied to the surface of the plates allow you to give the ceilings absolutely any style.

Decorative skirtings perfectly complement the ceilings, allowing you to block various types of bumps and joints. If you wish, they can be equipped with LED strip, which will be used as a backlight. To remove the gloss on the surface of the foam after installation, it will have to be painted with acrylic or water-based paints.

Varieties of Styrofoam Tiles
Foam tiles on the ceiling are classified into three main types:
- Pressed plates (their maximum thickness is up to 7 millimeters).
- Injection type (thickness - 14 millimeters). This kind of product is produced by sintering polystyrene at high degrees of temperature.
- Extruded species. Created by extruding polystyrene mass. After that, the tiles are painted or tightened with a painted film.
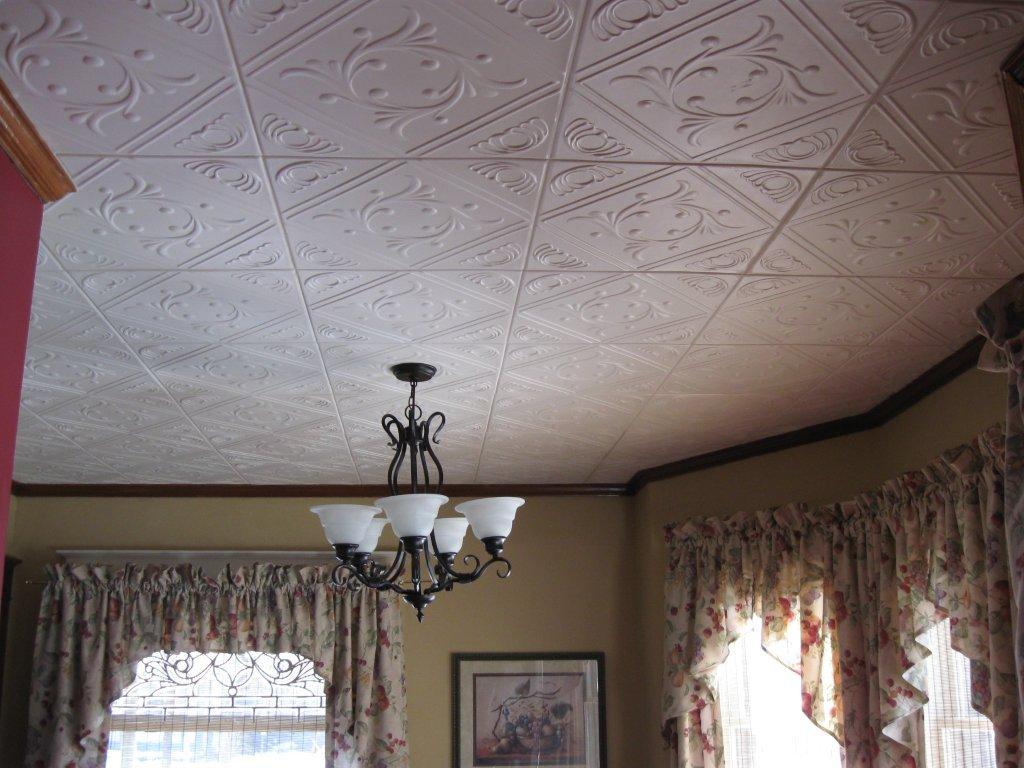
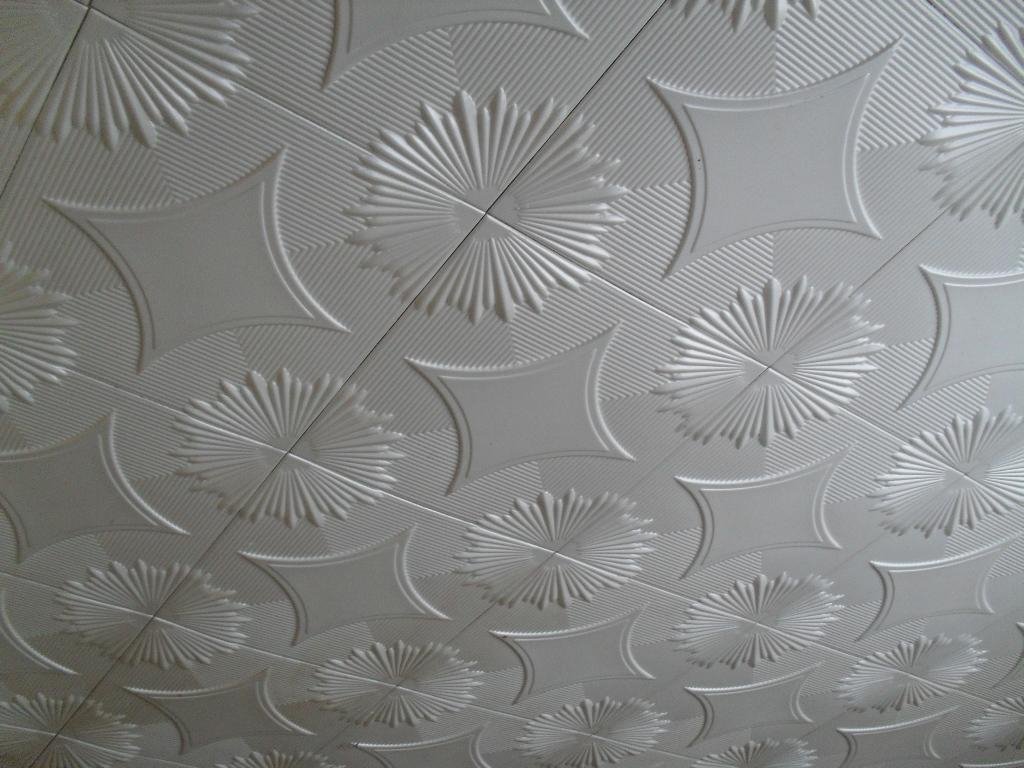
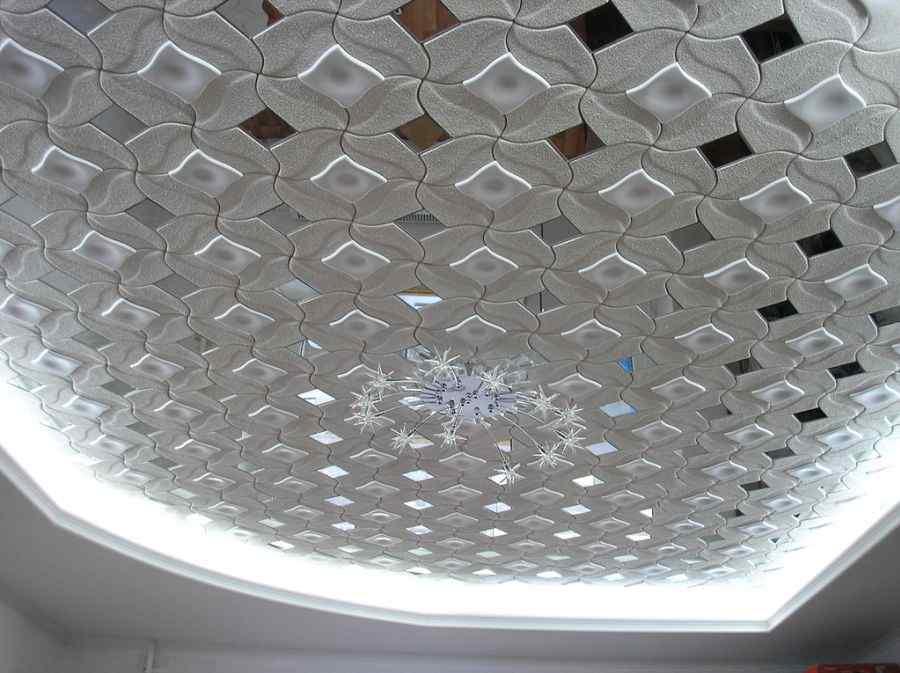
Tiles also have various shapes. In most cases, they have the shape of a square, the side of which is fifty centimeters, however, you can find rectangular tiles, diamond-shaped, hexagonal. Still very popular is a tile that simulates the lining of colors and shapes.
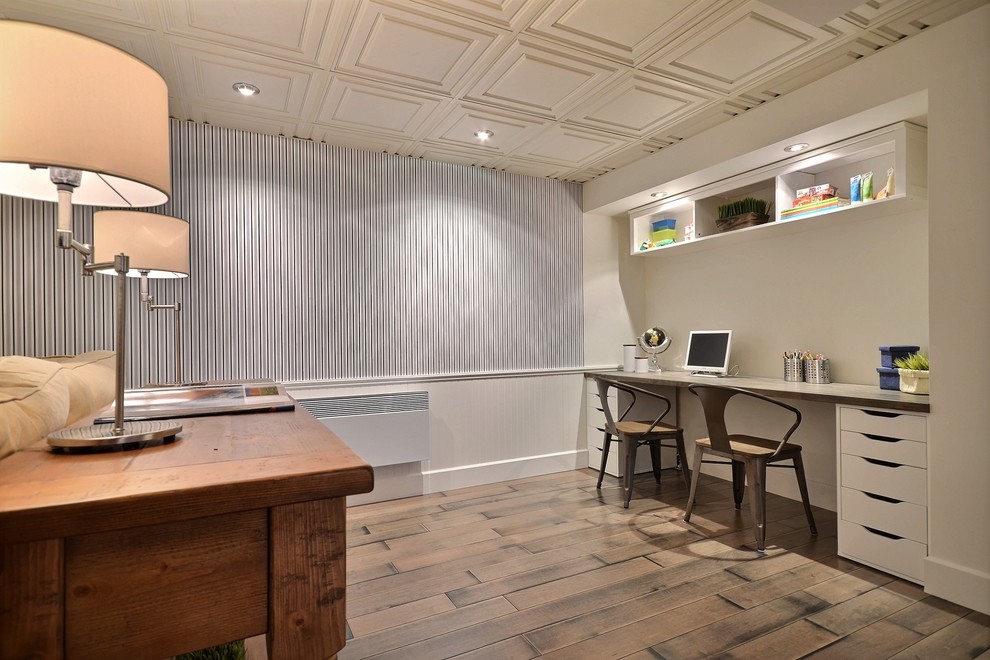
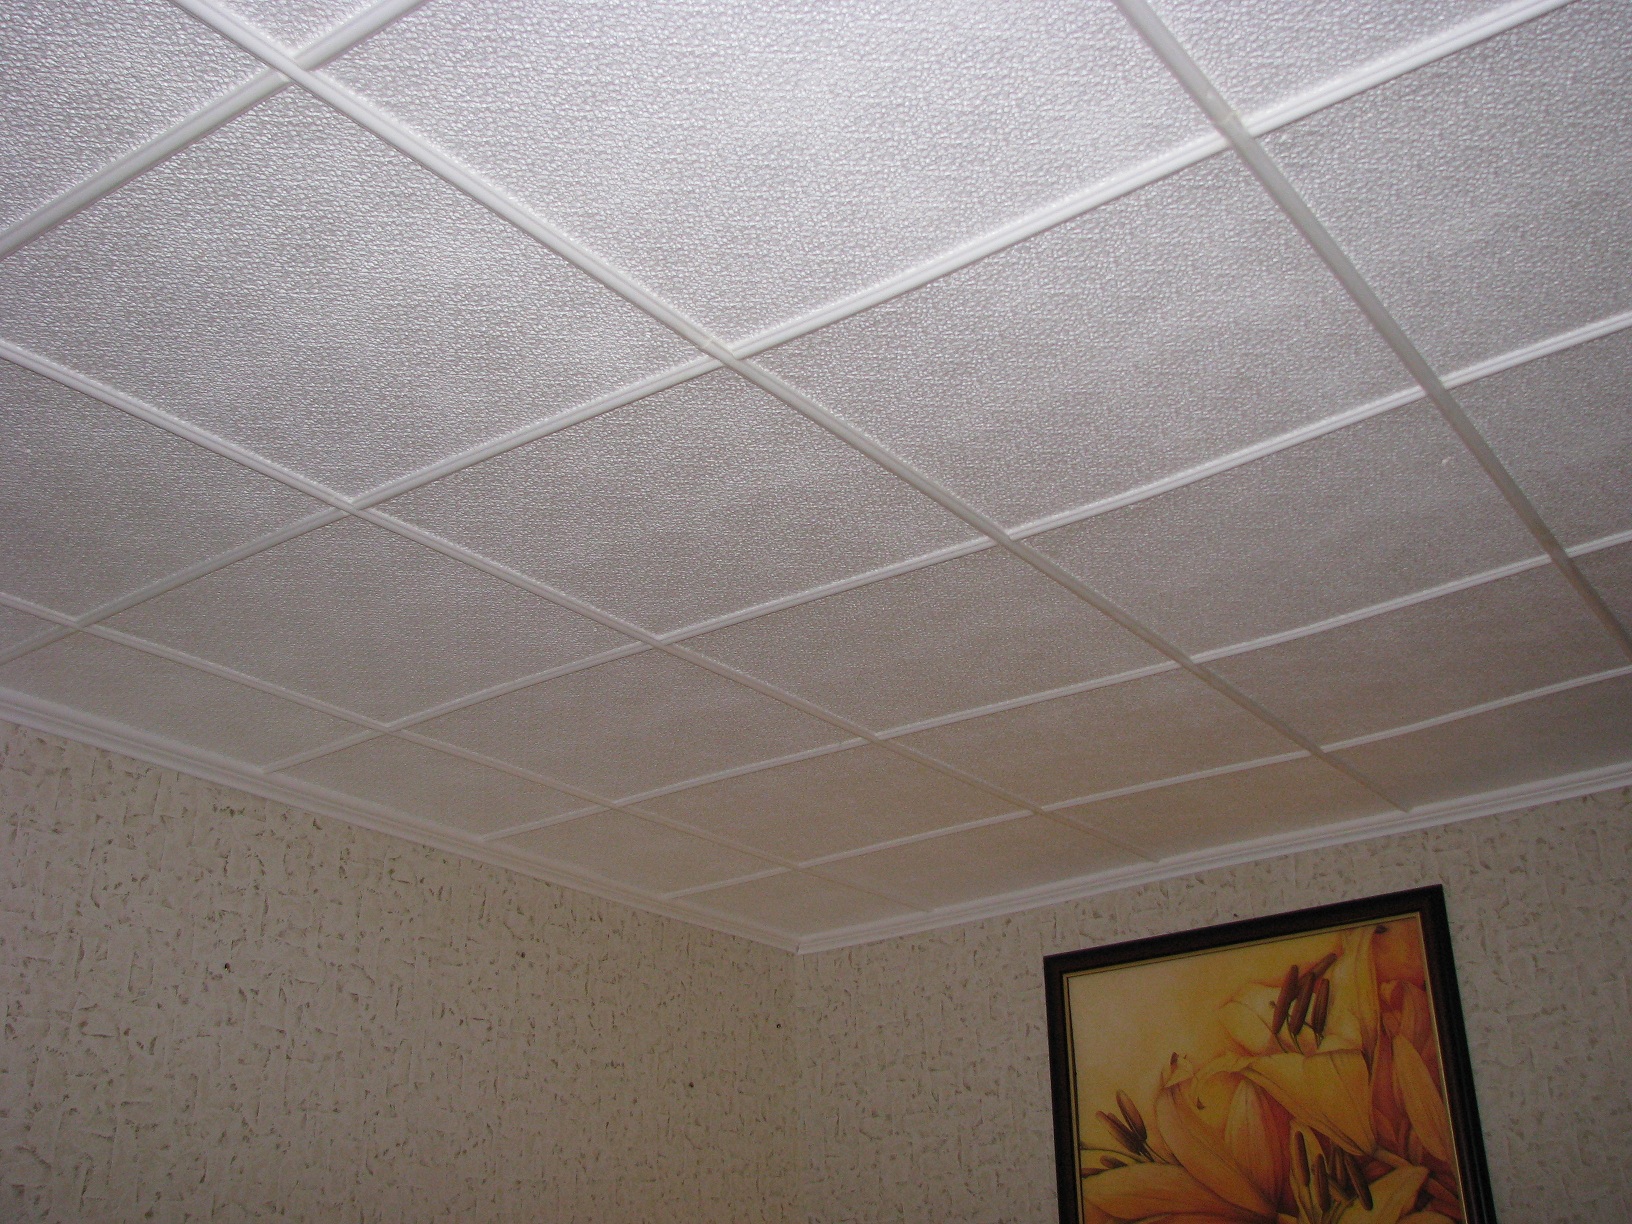
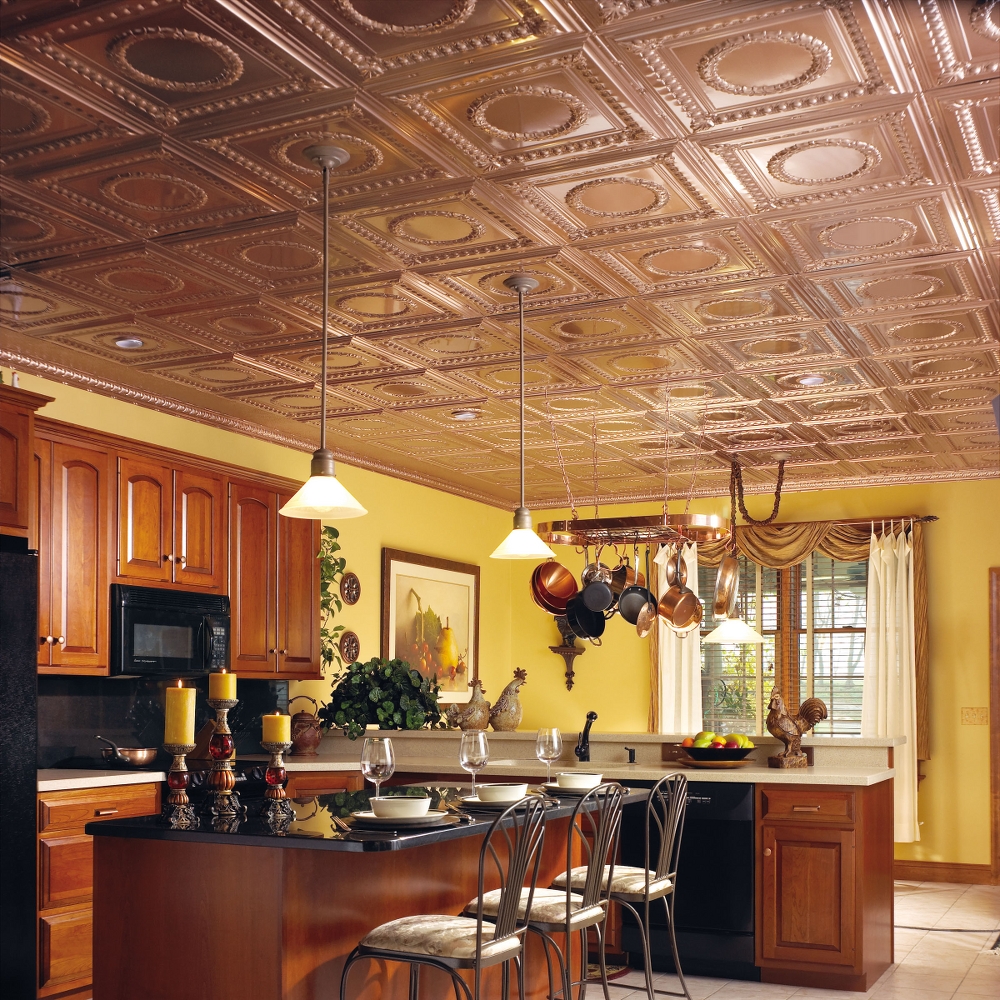
The outer part of the product can be smooth, embossed, plain or with a film, as well as laminated. Like coloring, the film is capable of imitating various textures: from stone and plaster to fabric and stucco.
Laminated boards are used in rooms that are reserved for kitchen facilities. In bathrooms and sanitary units, it is recommended to use panels with waterproof properties.
The main advantages of foam tiles
The main advantage of this ceiling decoration is that gluing the ceiling using tiles is very simple. Almost every person who does not even have special knowledge in the field of design and repair is able to cope with such a task.
Advantages of ceiling foam tiles:
- Quite small weight, which allows you to use the tile when arranging ceilings with any design features.
- Styrofoam tiles have the properties of heat and sound insulation, they are not afraid of any temperature changes, as well as high humidity.
- Due to the light weight of the tile for gluing it, you can use ordinary glue, which does not have high strength quality.
- This ceiling coating will make it possible to significantly save both on the material itself and on the work process - you can install such tiles yourself.
The main disadvantages of foam tiles
Foam tiles have differences in terms of quality, cost and production method. Inexpensive tiles can very quickly turn yellow due to ultraviolet exposure, and undergo a destructive effect due to dampness. To prevent moisture, light from entering the tile surface, it is recommended to paint the mounted ceiling section when using paint with an aqueous emulsion.
The main disadvantage is the lack of permeability to wet vapors. If the ceiling is pasted over with a foam tile, the moisture concentration can increase very sharply, and this will cause the fungus to spread.
How to calculate before gluing the ceiling?
Before you start gluing the ceiling, you need to determine how much tile you may need, how to calculate correctly, how to prepare the ceiling for installation work.
Mathematical method
In order to correctly calculate the number of products that can be useful in the process of repair work, it is necessary to determine the exact width and length of the room itself. Multiplying these figures, the installer will be able to find out what area the ceiling has, however, it is not recommended to carry out the purchase of products based only on this figure.
Since a certain number of tiles can deteriorate during the cutting process, and even the shape of the entire ceiling can have far from ideal features., Over-consumption of the material itself may occur. For this reason, it is important to provide for a total reserve, the amount of which will be at least fifteen percent of the total area.
Using paper
On the surface of the sheet, you need to depict in the form of a drawing a floor plan with the preservation of the full scale. After that, draw diagonals and determine the center of the room. When pasting the ceiling with tiles, you will move from this center to the edges of the room.
How is the markup done?
Before gluing the ceiling, you need to determine its location. This is carried out in the following form:
- The central part of the ceiling is determined.
- On all walls, you need to find the middle and mark it, and then stretch the thread between the walls located parallel to each other - you will need to connect the marks. The thread must be pulled through the center of the ceiling.
- Most likely, the walls will have different lengths, the thread itself will undergo displacement - in this case, it will be necessary to correct the situation.
- On the threads that will be in a taut position, you will have to draw straight lines - they will act as a guide during the gluing procedure.
Sticking process
The tile can be glued in rows, which will be located in a position parallel to the walls or go out in a diagonal direction. The glue is applied to the back of the tile in strips, while you need to leave a small distance of 1.5-2 cm between them, otherwise an excess amount of glue will begin to be squeezed out during pressing, and it may also appear on the front of the tile, which will spoil its appearance.
The first foam tile can be placed in any corner. She needs to be very tightly leaned against the ceiling, and then hold until gluing occurs. The second plate joins the first in the second corner from the axial intersection. Work should be carried out in a ring, starting from the central part and moving to the ceiling periphery.
How is a baseboard glued?
When the painting process comes to an end, you can begin to glue the skirting board ceiling.There are several ways that can greatly facilitate the workflow:
- It is more difficult to hold the baseboard near the wall than the tile itself, since the baseboard has a much longer length. For this reason, the product, after it is oiled with glue, will have to be fixed with small studs.
- Docking of individual fragments of the plinth is rather difficult if they converge in the corners of the room. To create an attractive appearance, you can use the miter box.
- At the end of the workflow, skirting boards can be painted with acrylic or water-based paint.