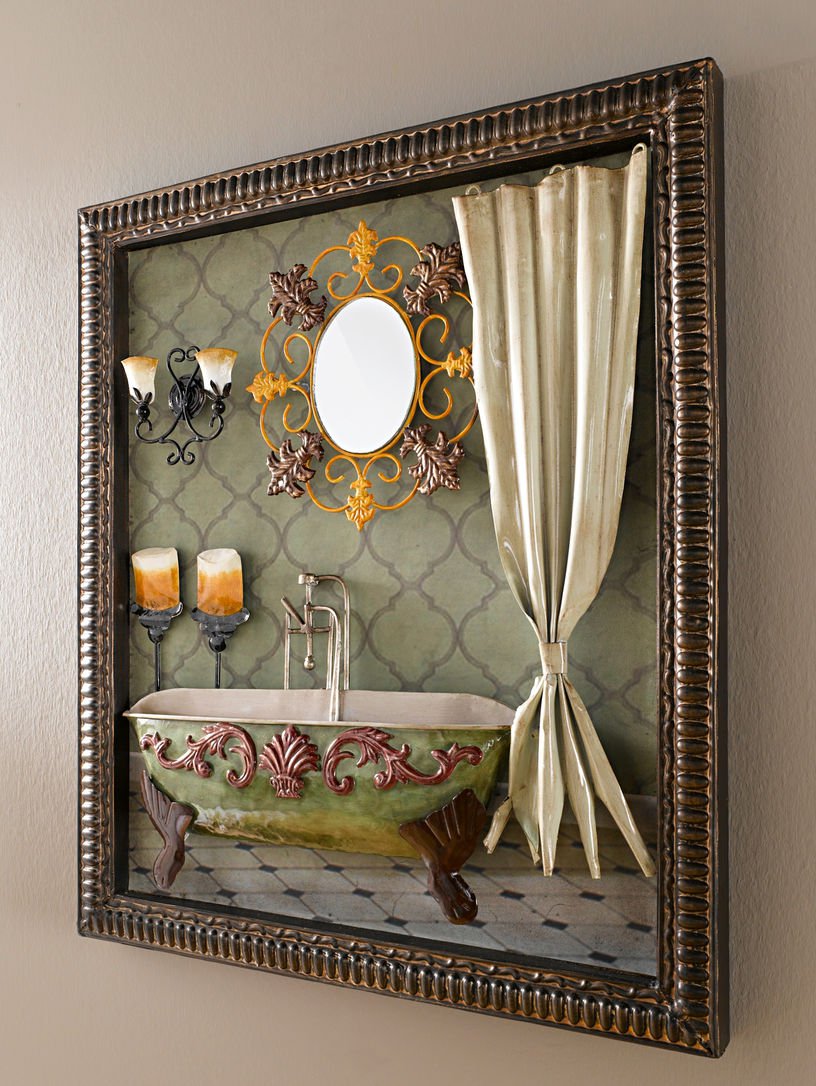
DIY 3D paintings: 3D technique in the house (52 photos)
Content
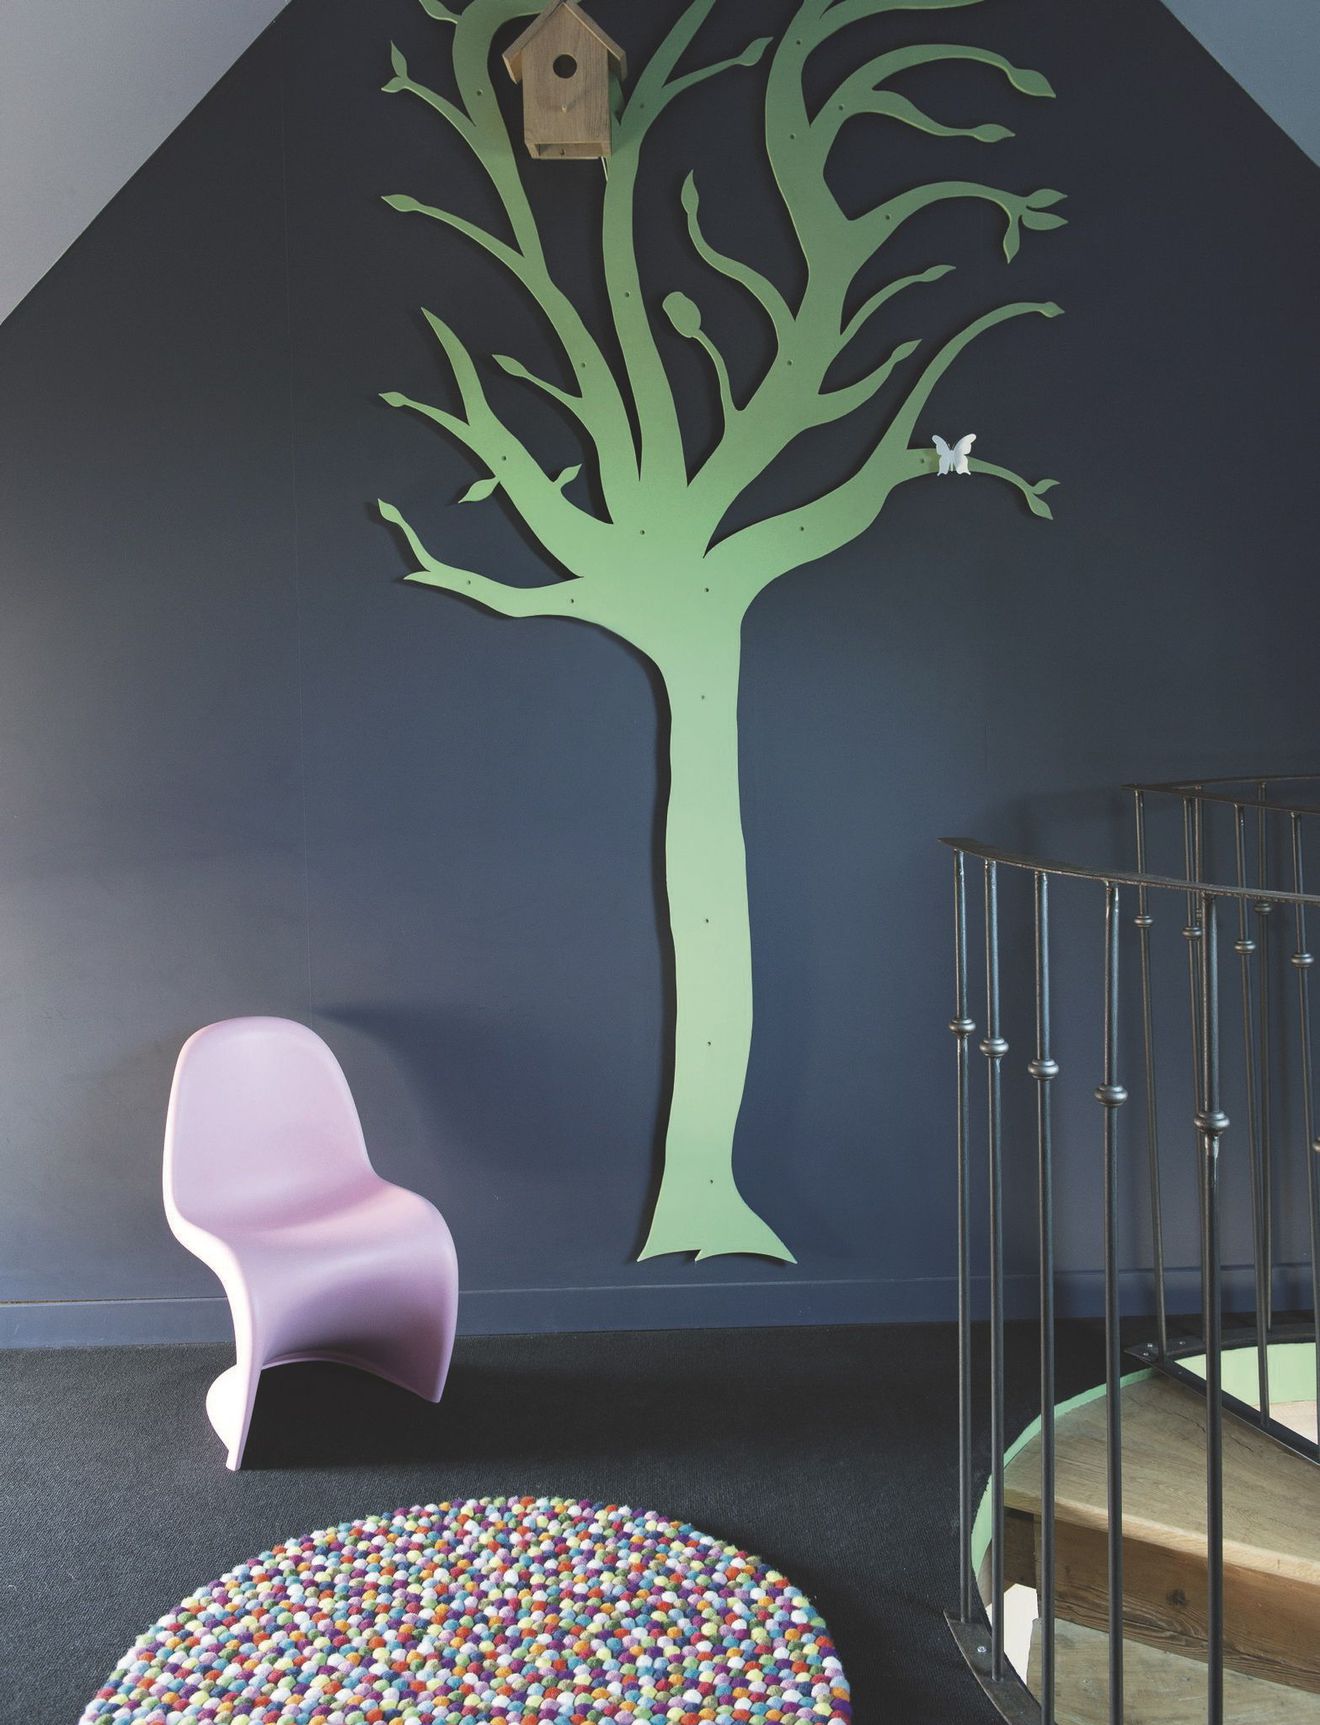
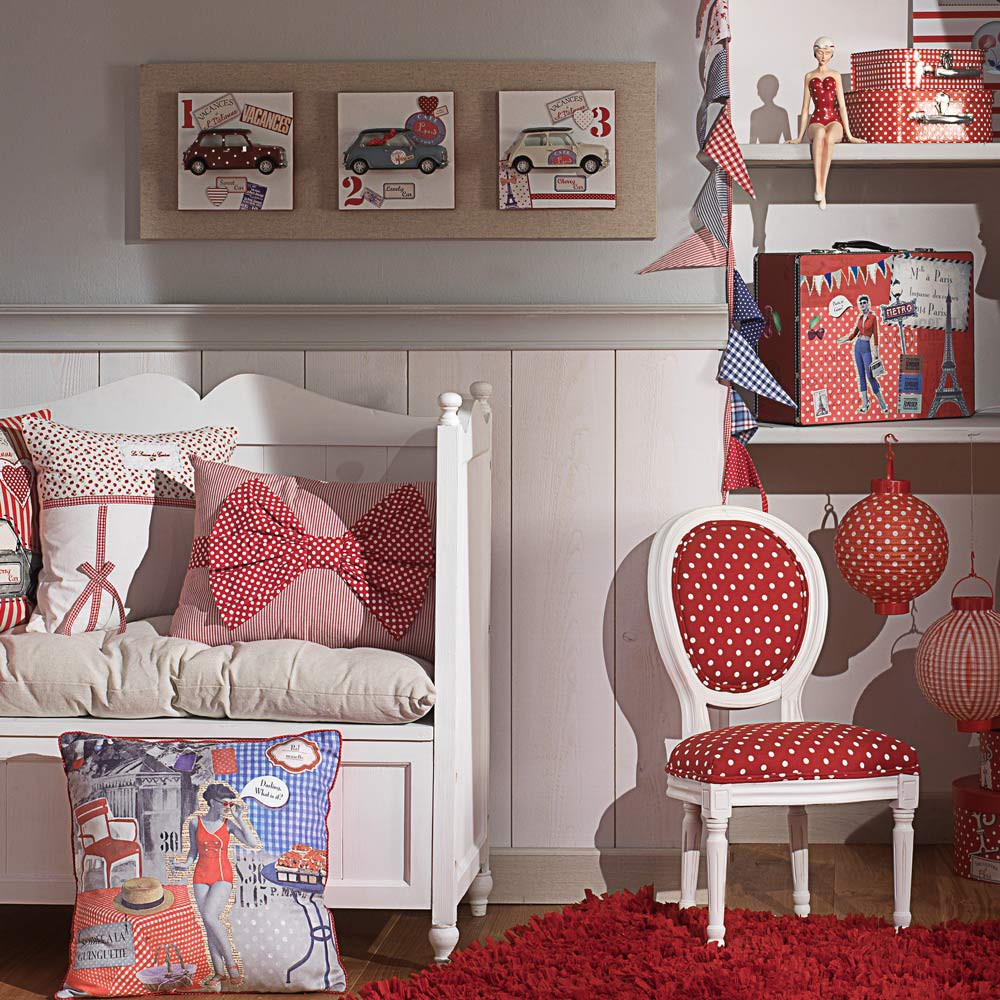
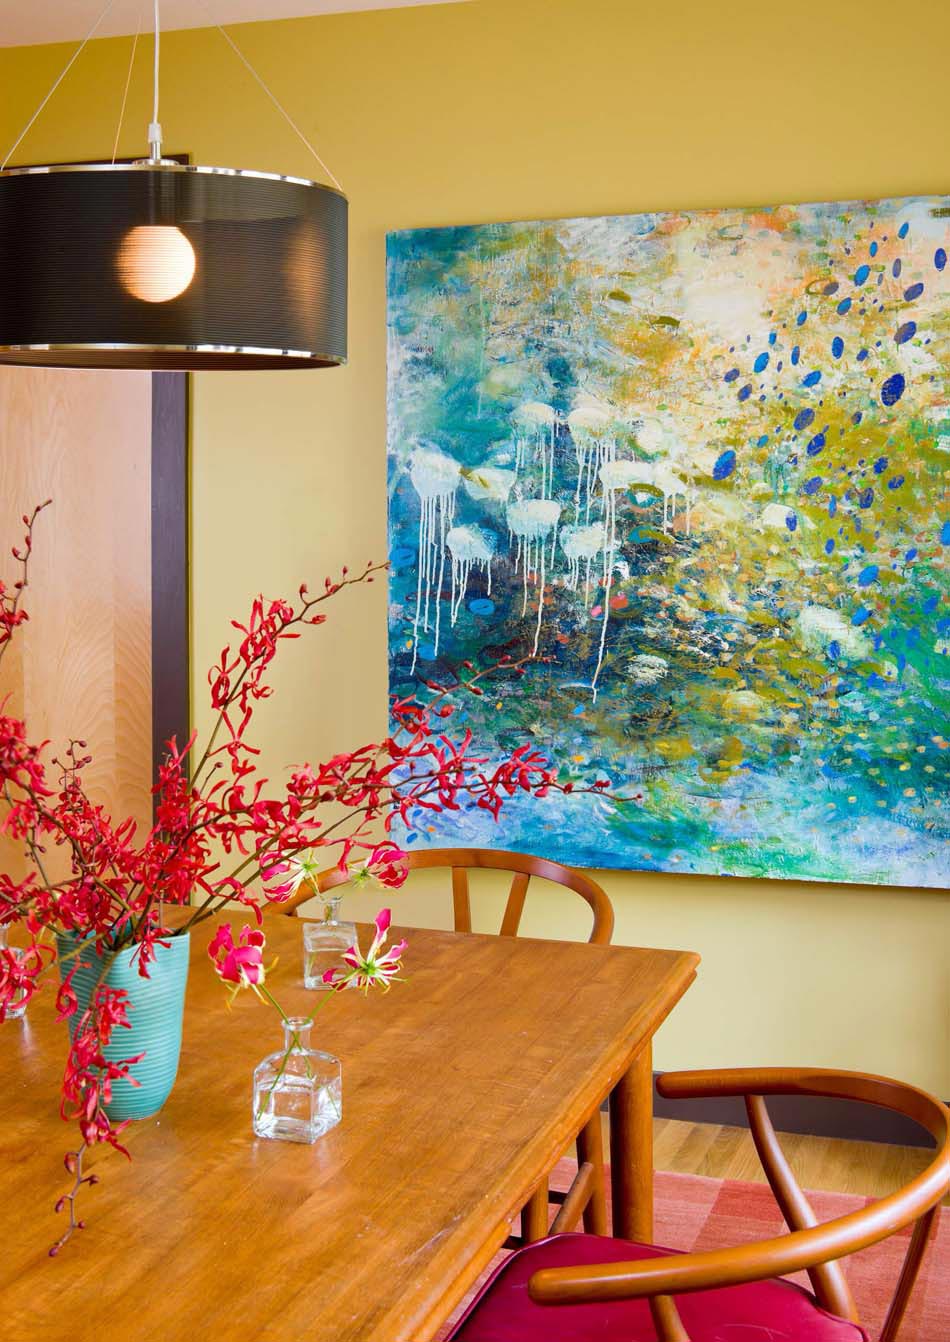
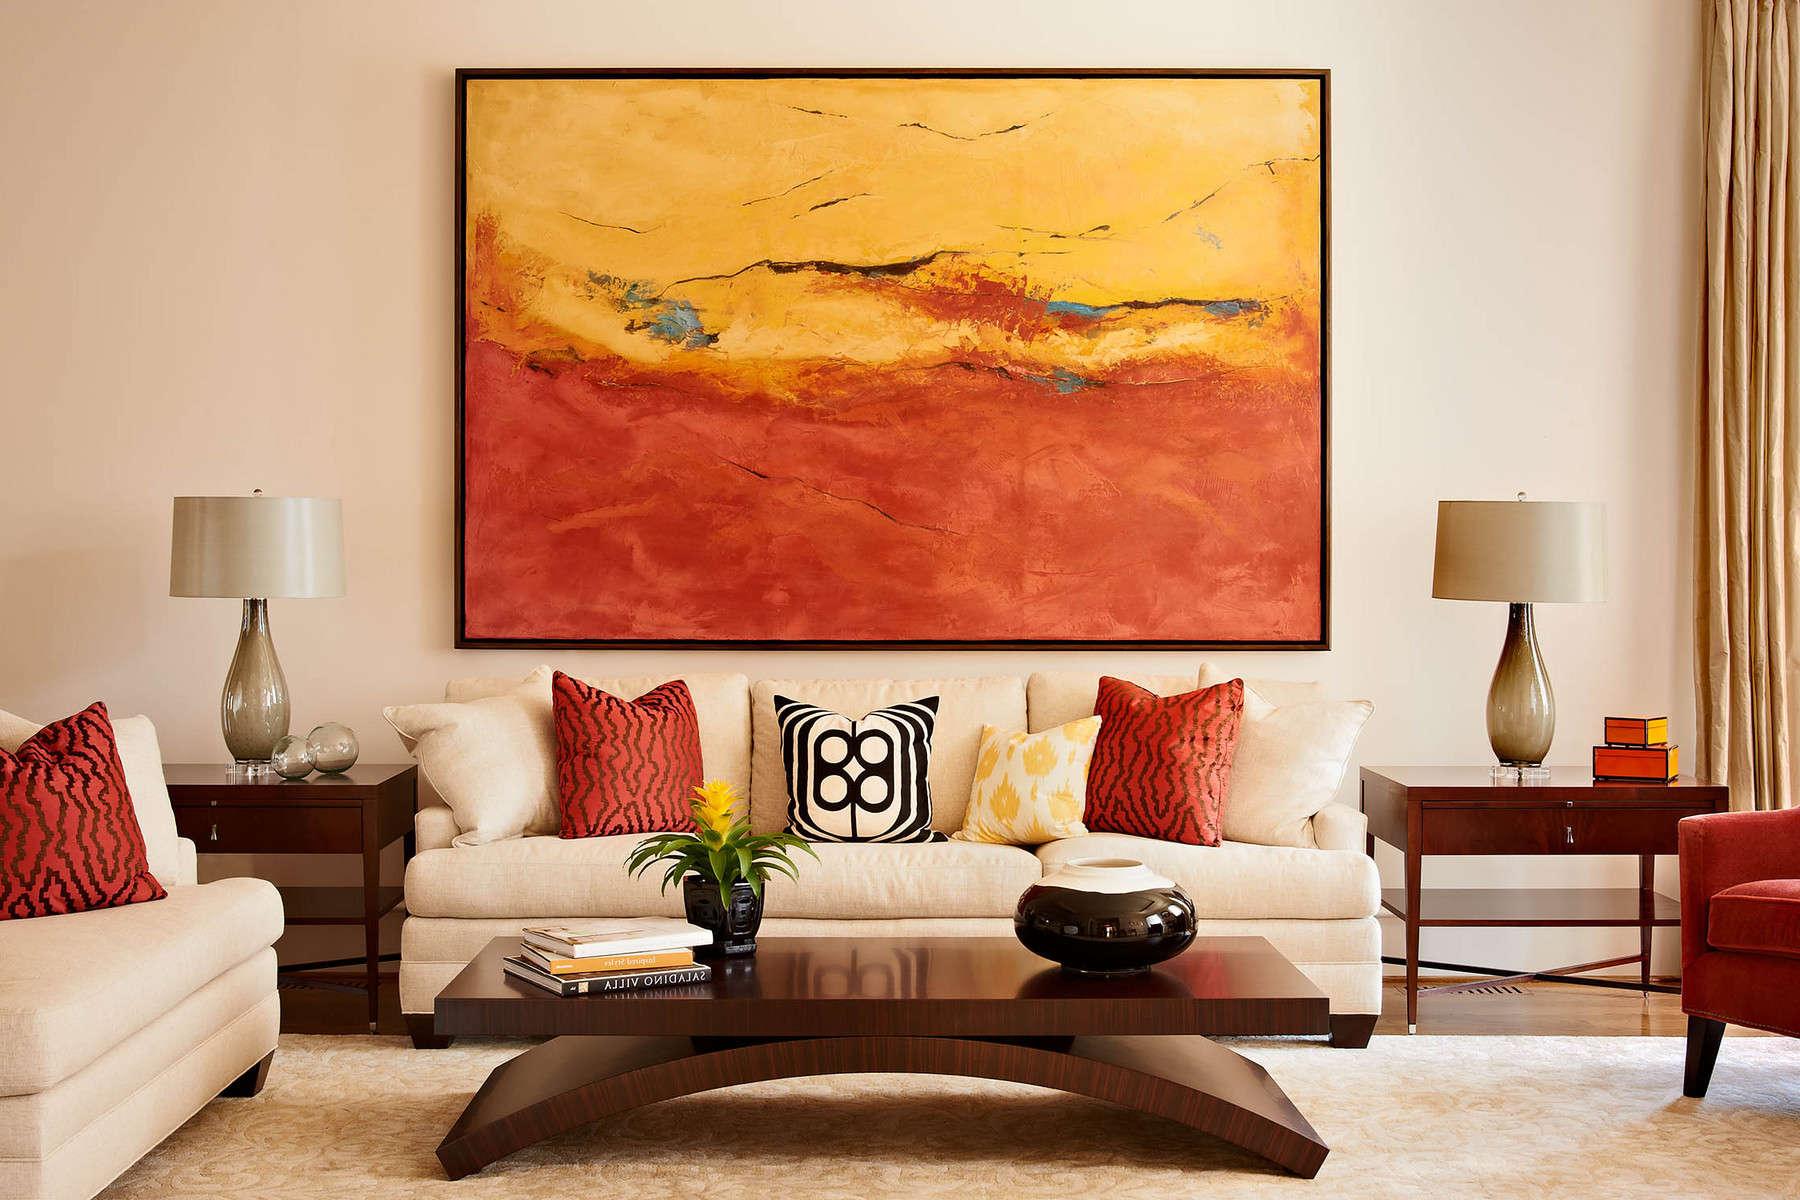
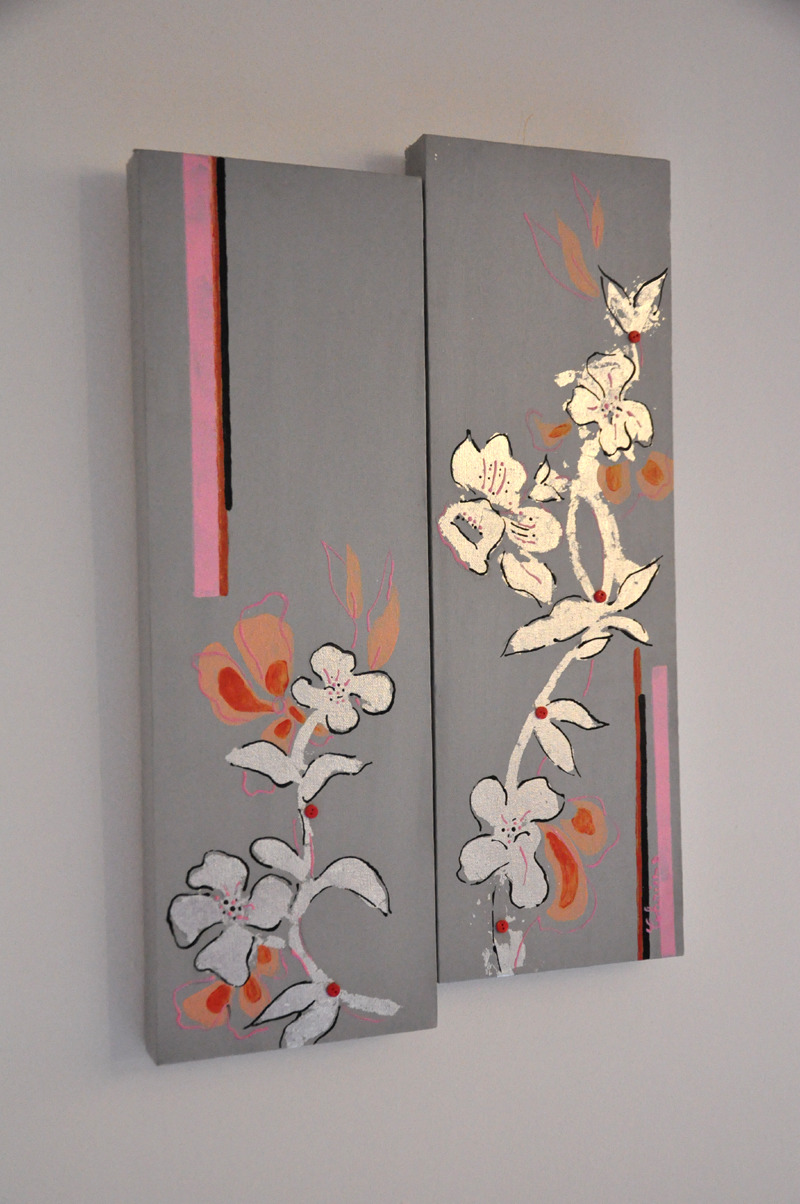
Interior decoration is the final stage of repair or a change of scenery. Of course, exclusive decorations are valued above all, but they are very expensive and do not always fit the decoration of the room. But many beautiful and modern things can be done with your own hands. For example, such a fashionable and unusual decoration as voluminous paintings. They can be made from a variety of materials: paper, cardboard, leather, wool, beads, putty. Undoubtedly, in every house there will be unnecessary leftovers from any work, and the missing ones are easy to buy in shops for creativity.
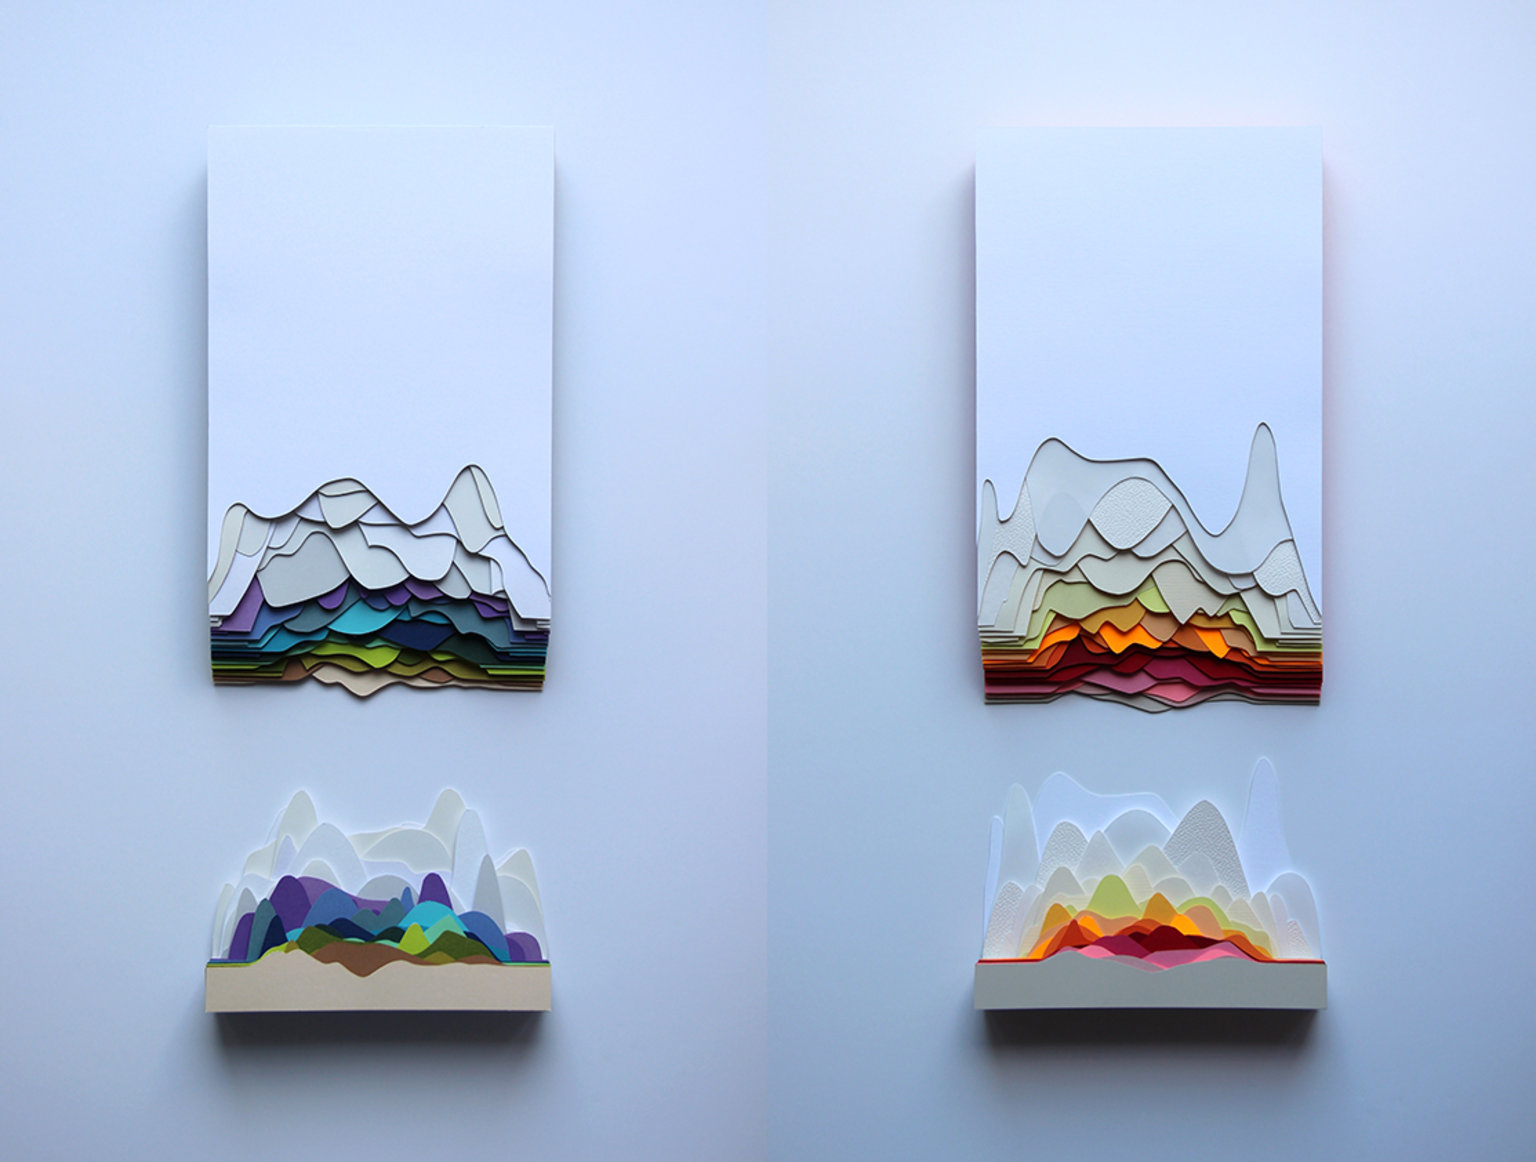


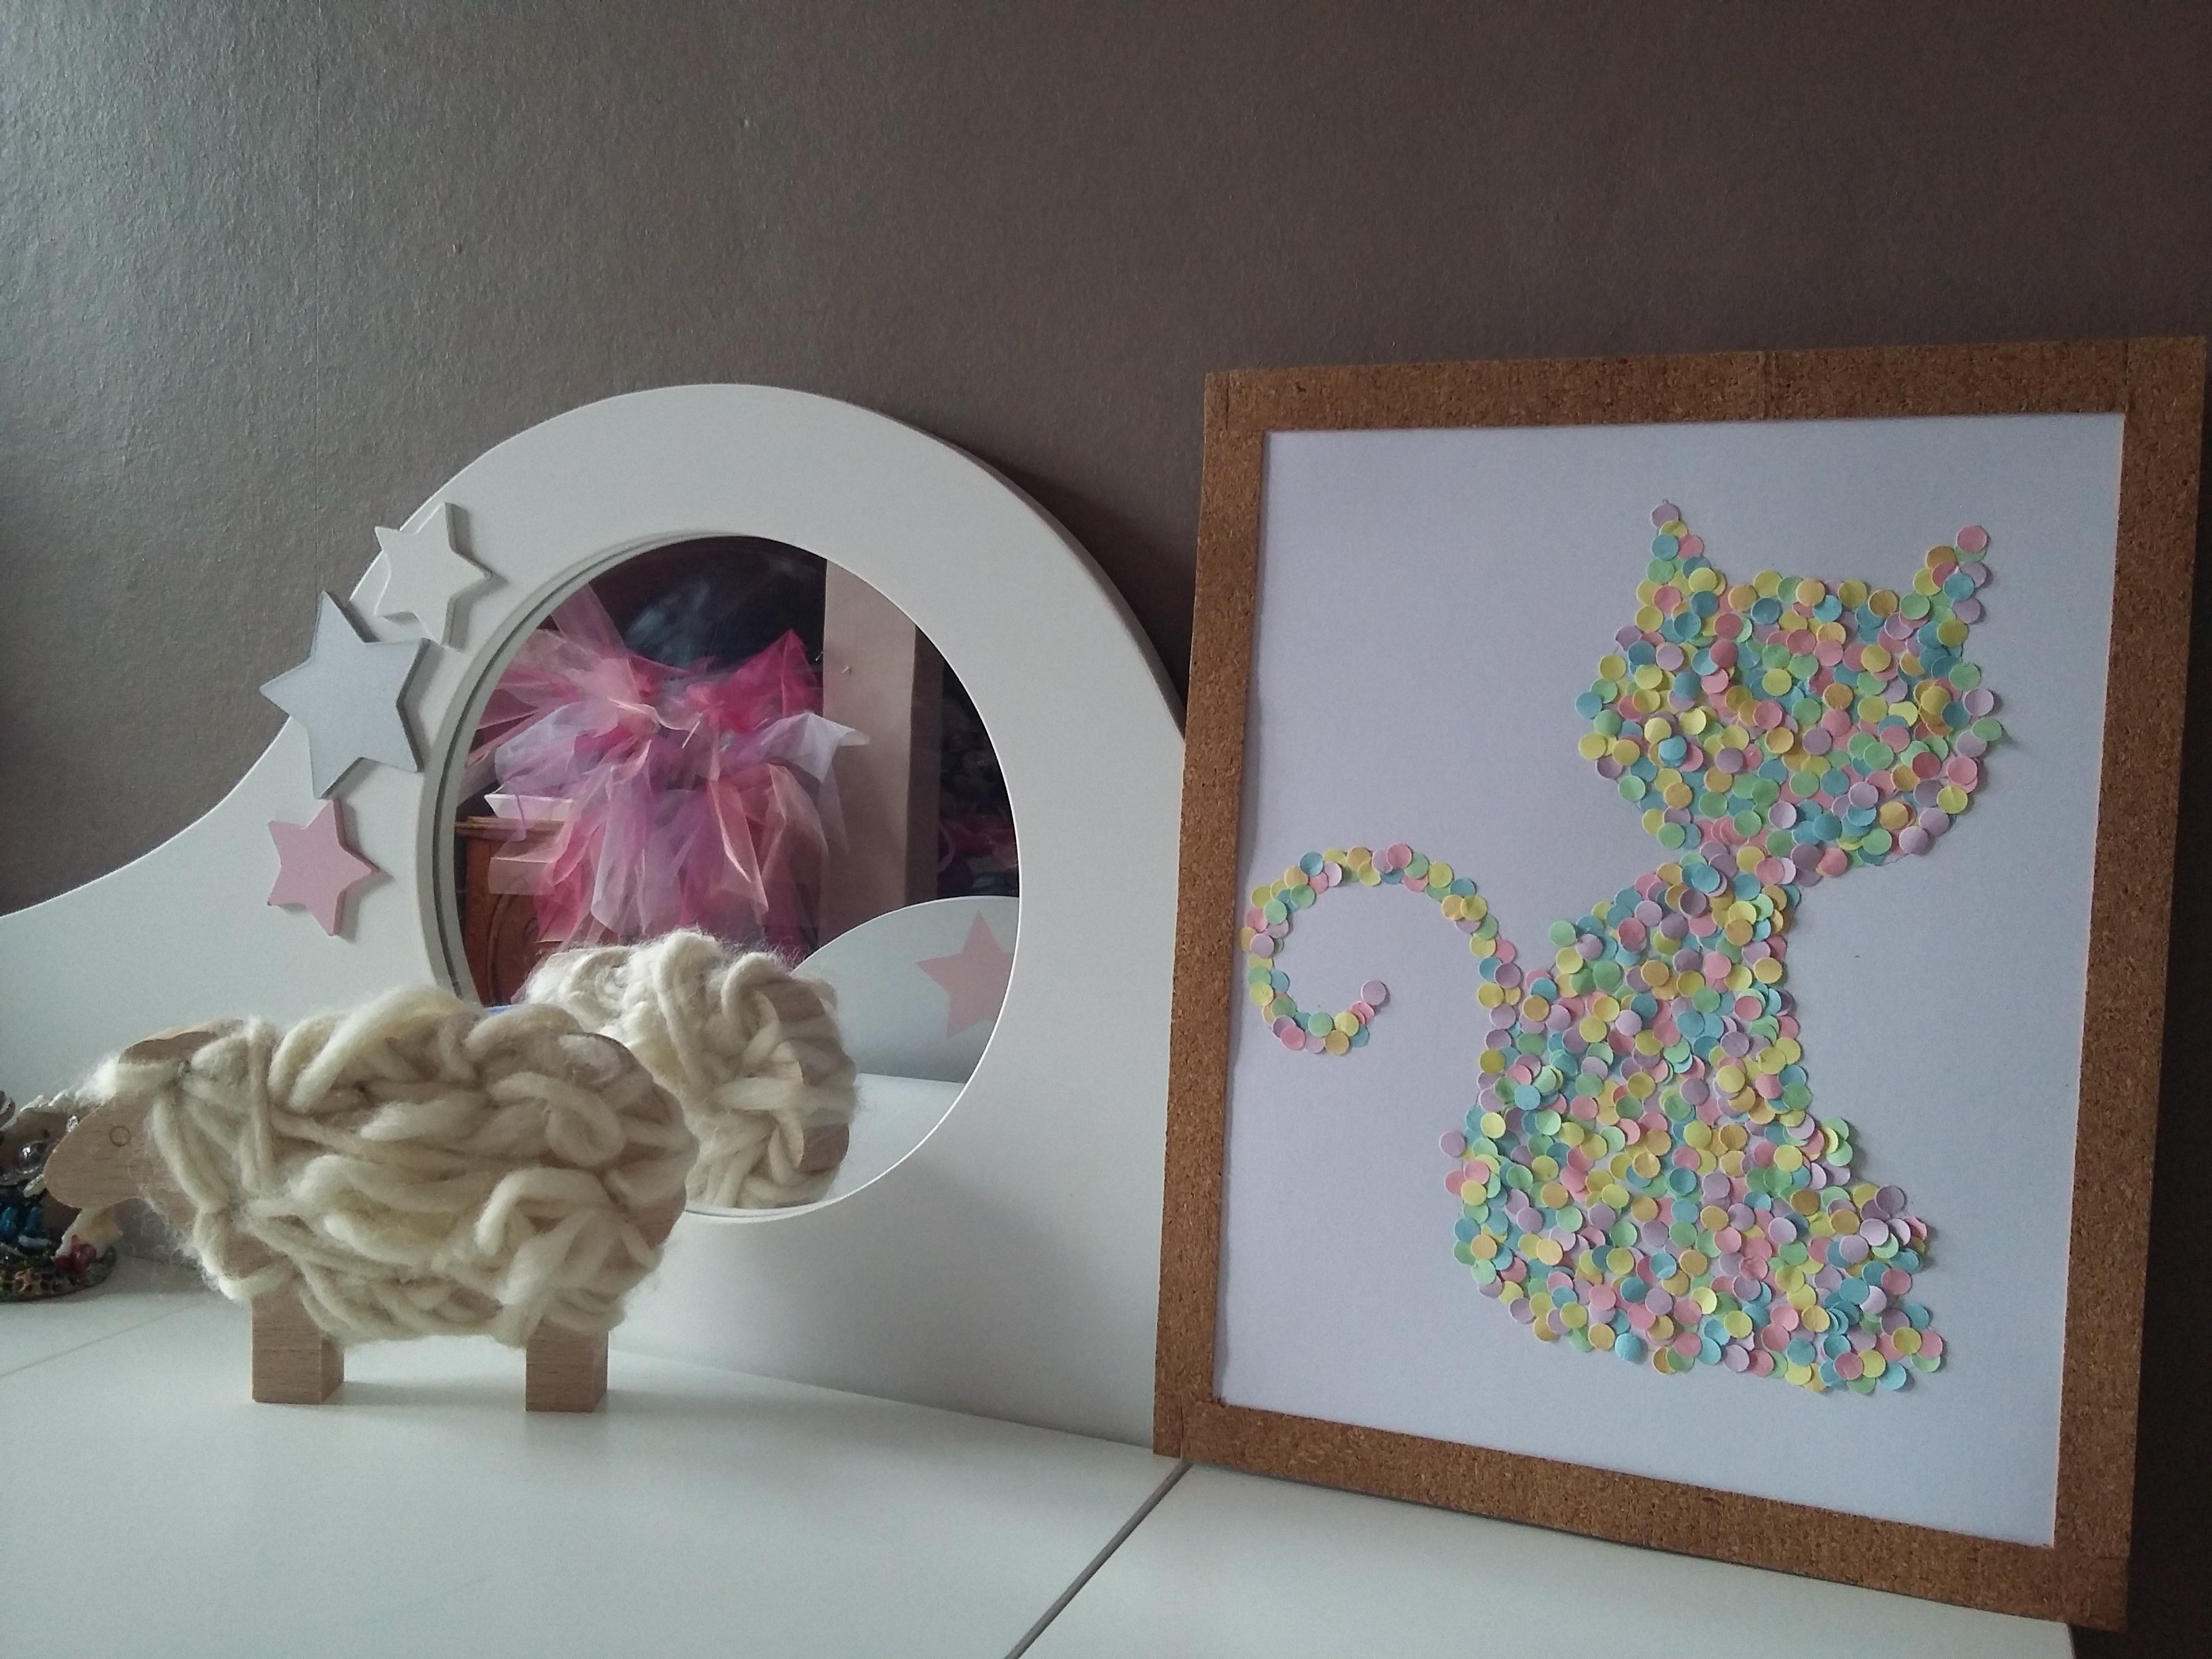
Do-it-yourself 3D paper paintings
The easiest way to start with a paper picture is the paper is cheap, it’s easy to buy, and the assortment in stores is huge. To create a three-dimensional picture, we need:
- paper;
- stationery knife;
- scissors, paints;
- color cardboard;
- PVA glue;
- frame with low sides;
- suitable plot.
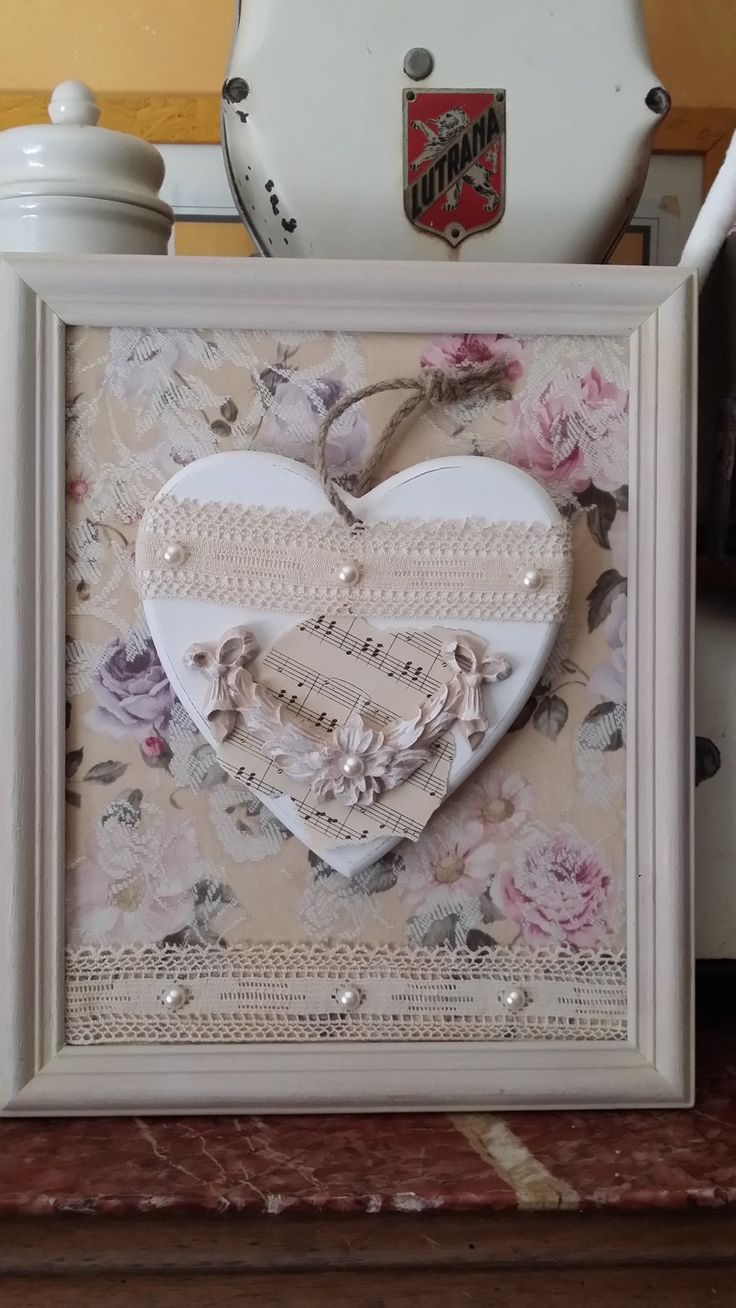
Pull out the glass from the frame and glue the backing with plain paper. She will serve as the background. The creation of volumetric parts consists in bending the part cut out of paper or cardboard and partially gluing it to the background. Before gluing, separate parts must be painted and allowed to dry.
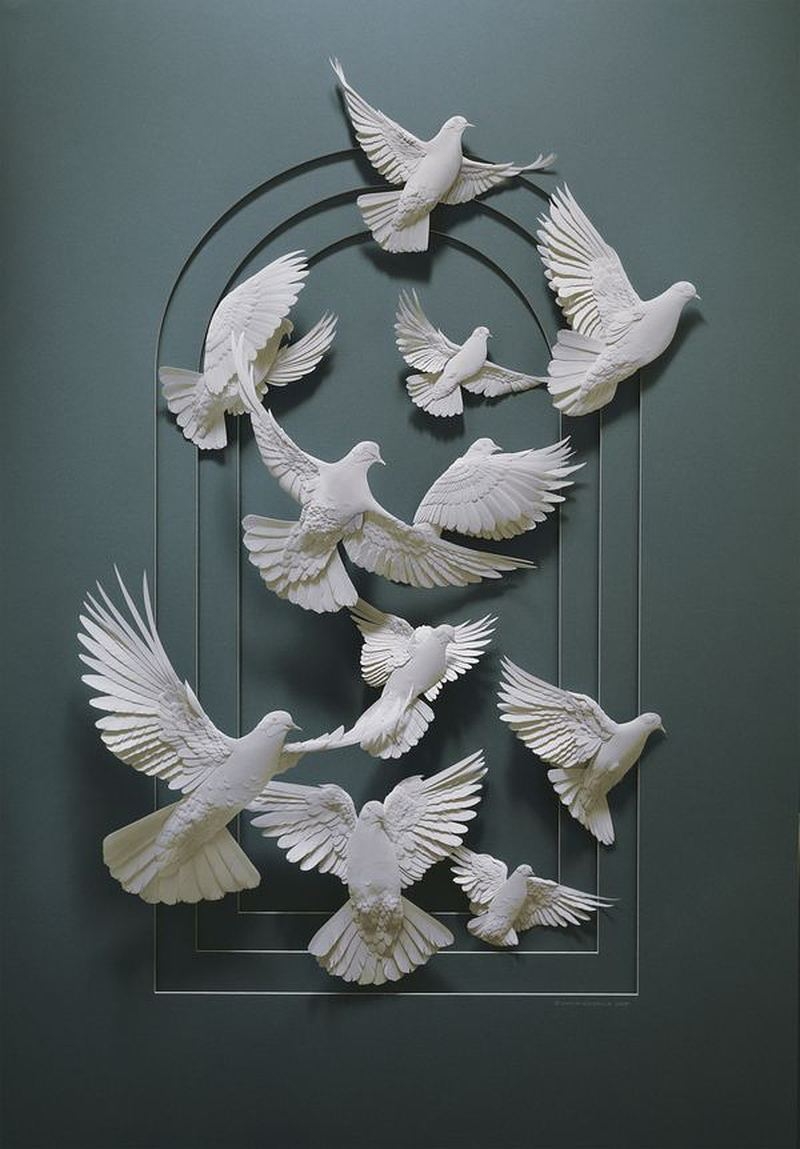


Butterflies, flowers, animal figures, bouquets glued in this way look beautiful. The application will be successfully completed by individual elements made using the quilling technique. The so-called narrow, twisted into spirals, long strips of paper made up in a composition. We will remove the finished volumetric picture back into the frame and define it in a permanent place.
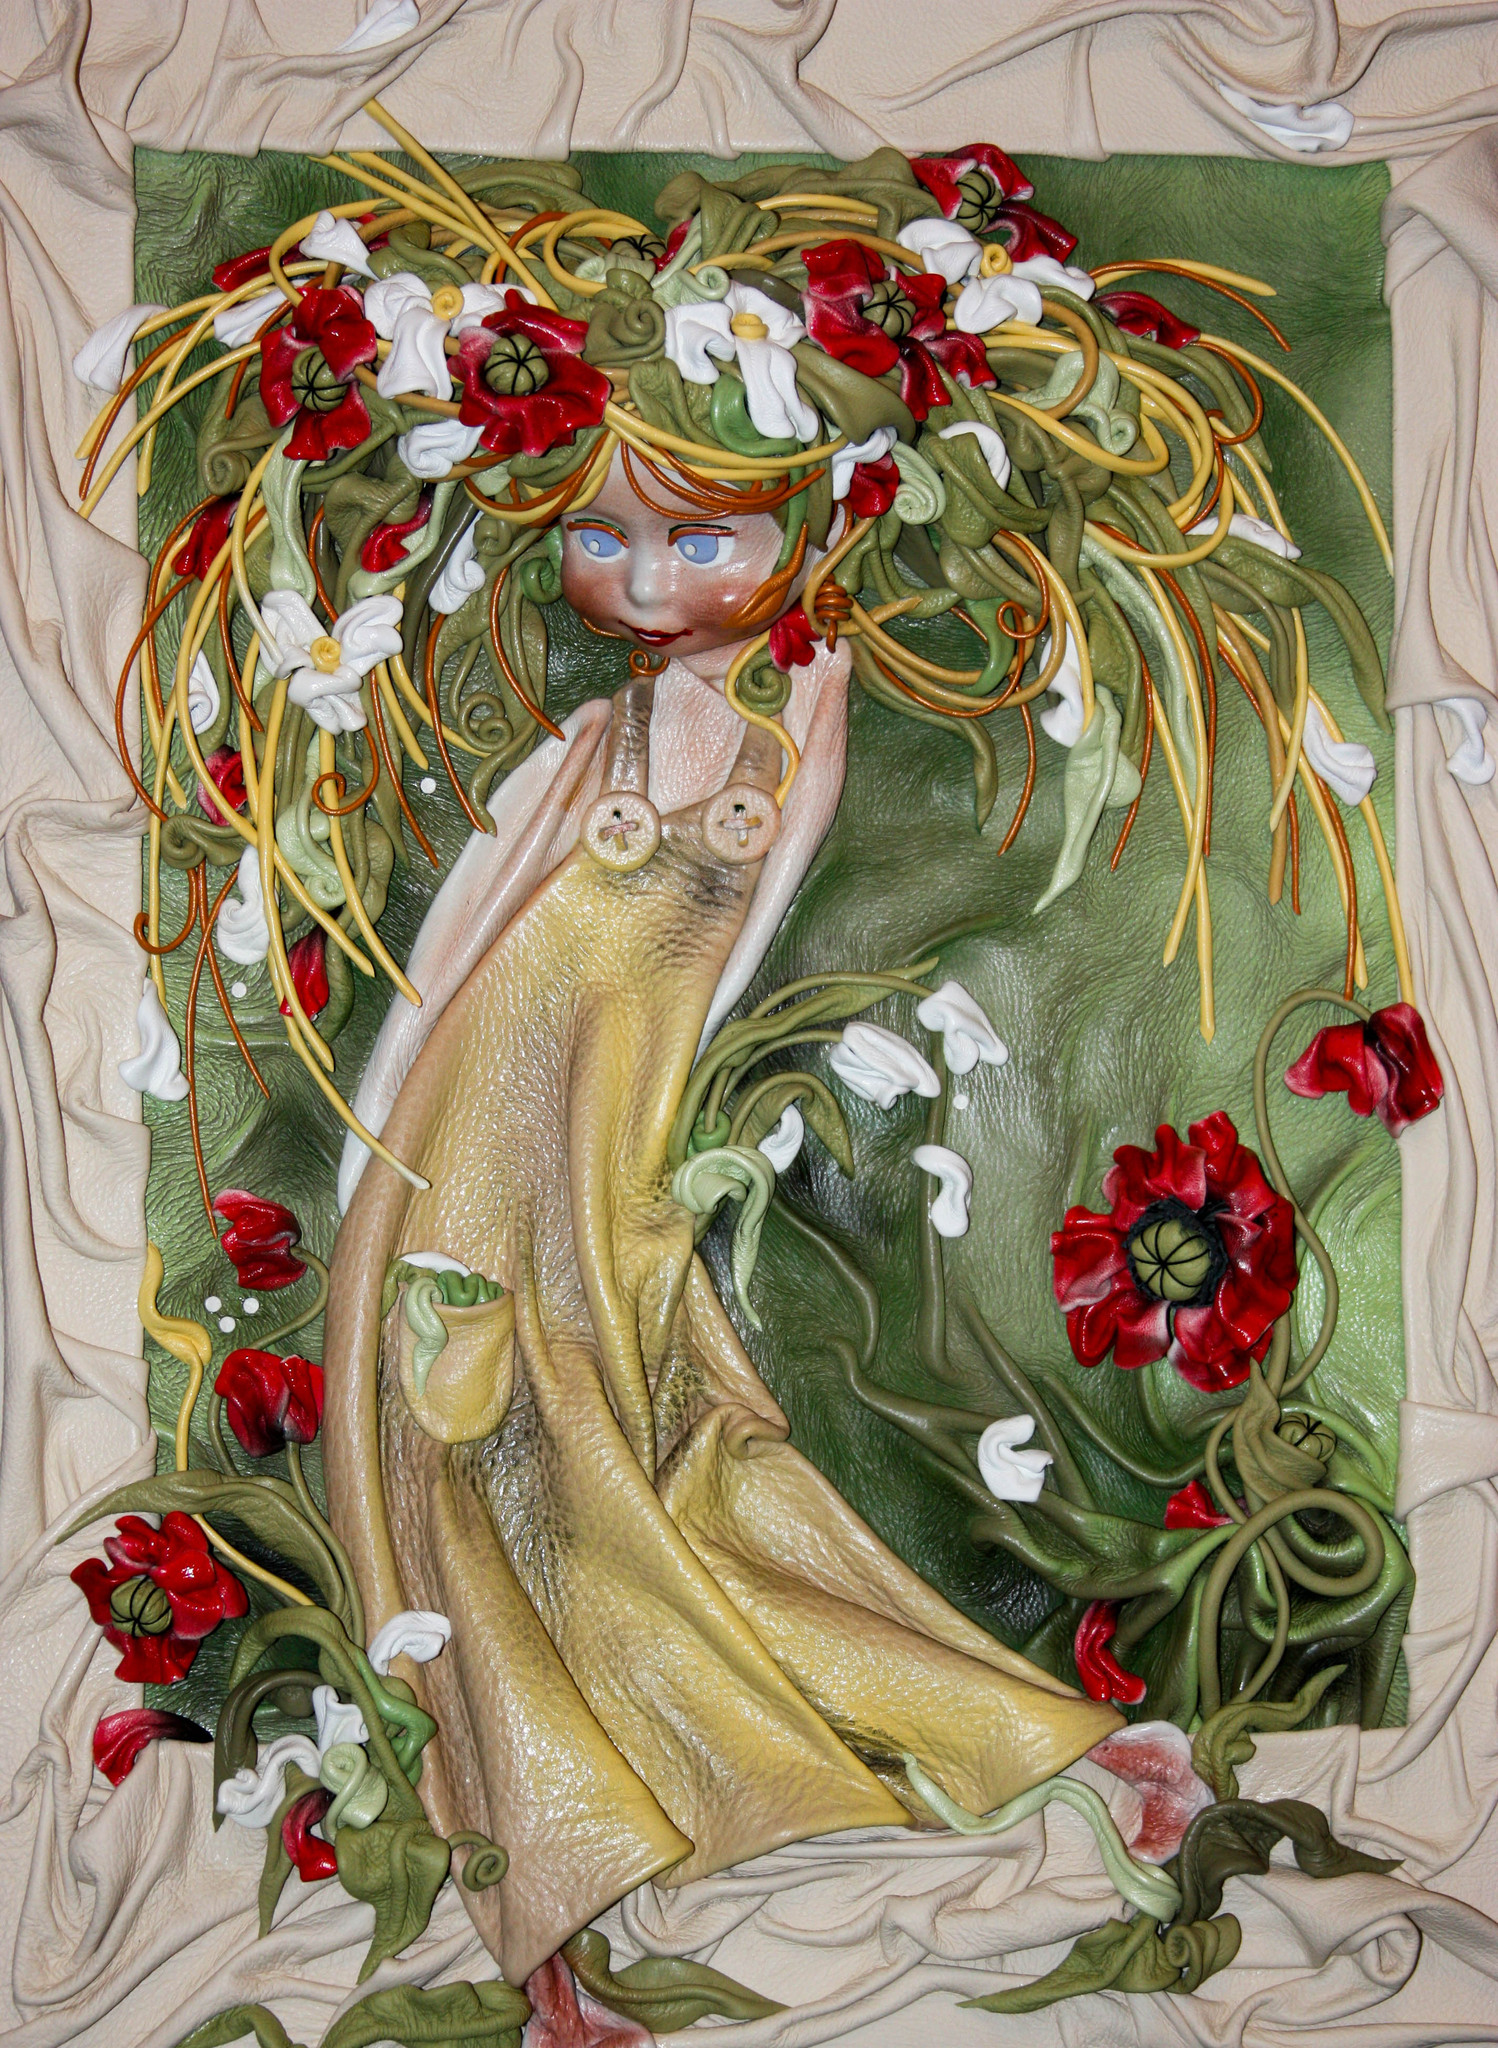

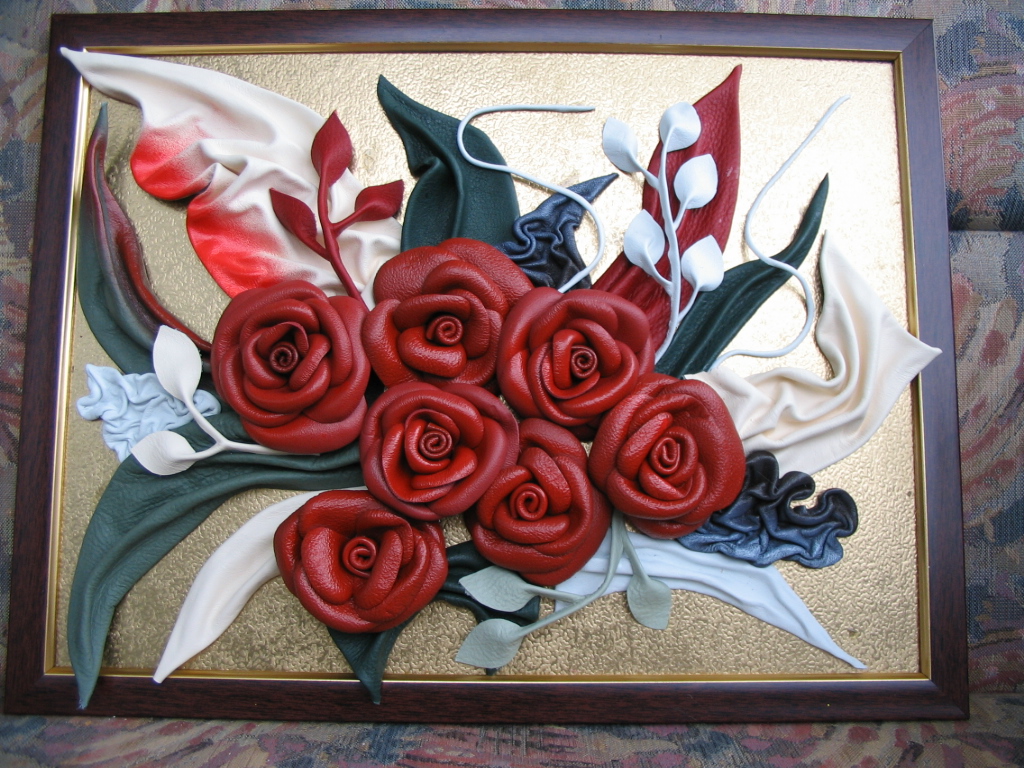
Volumetric leather paintings
To create such a picture is not necessary to buy expensive new skin. Whole pieces from worn-out things will go into action: bags, boots, a raincoat, and even gloves. The skin can be dyed with acrylic paints, if not found suitable in color. In general, the technology for creating a three-dimensional picture of leather is no different from the same of paper.
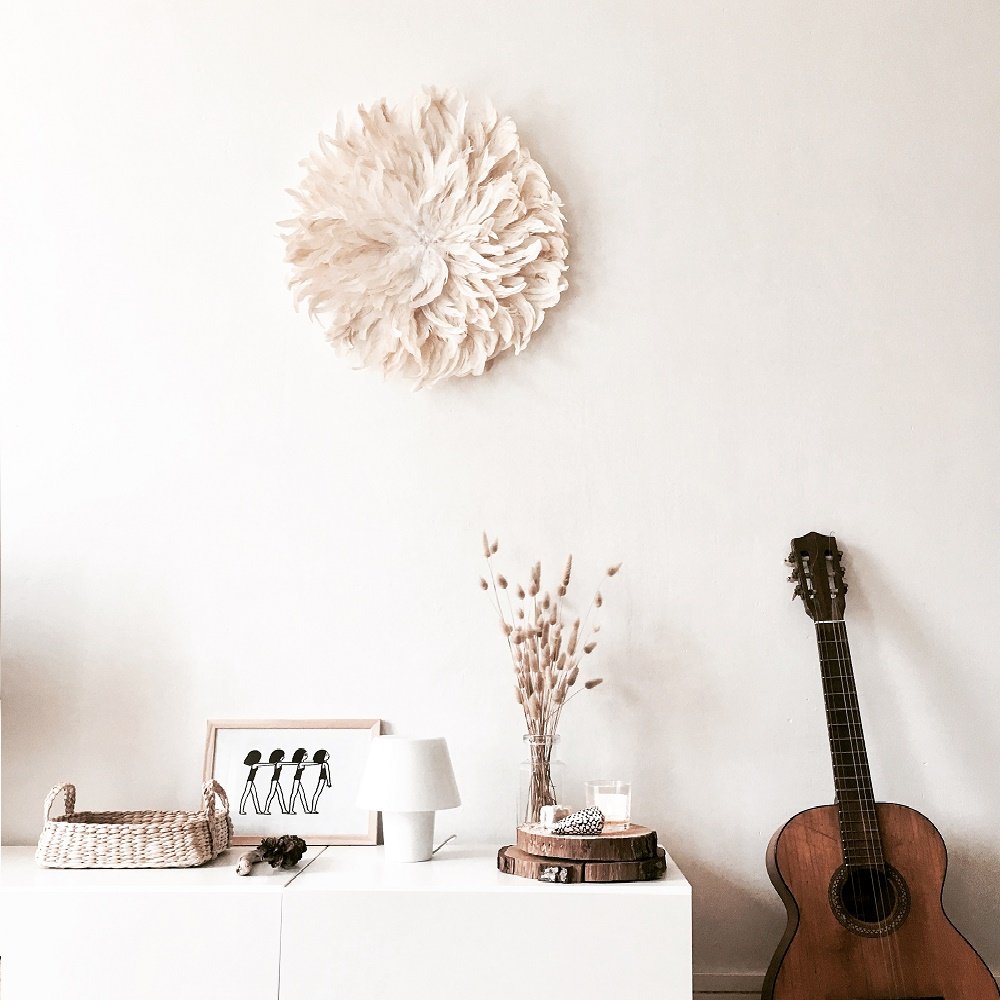
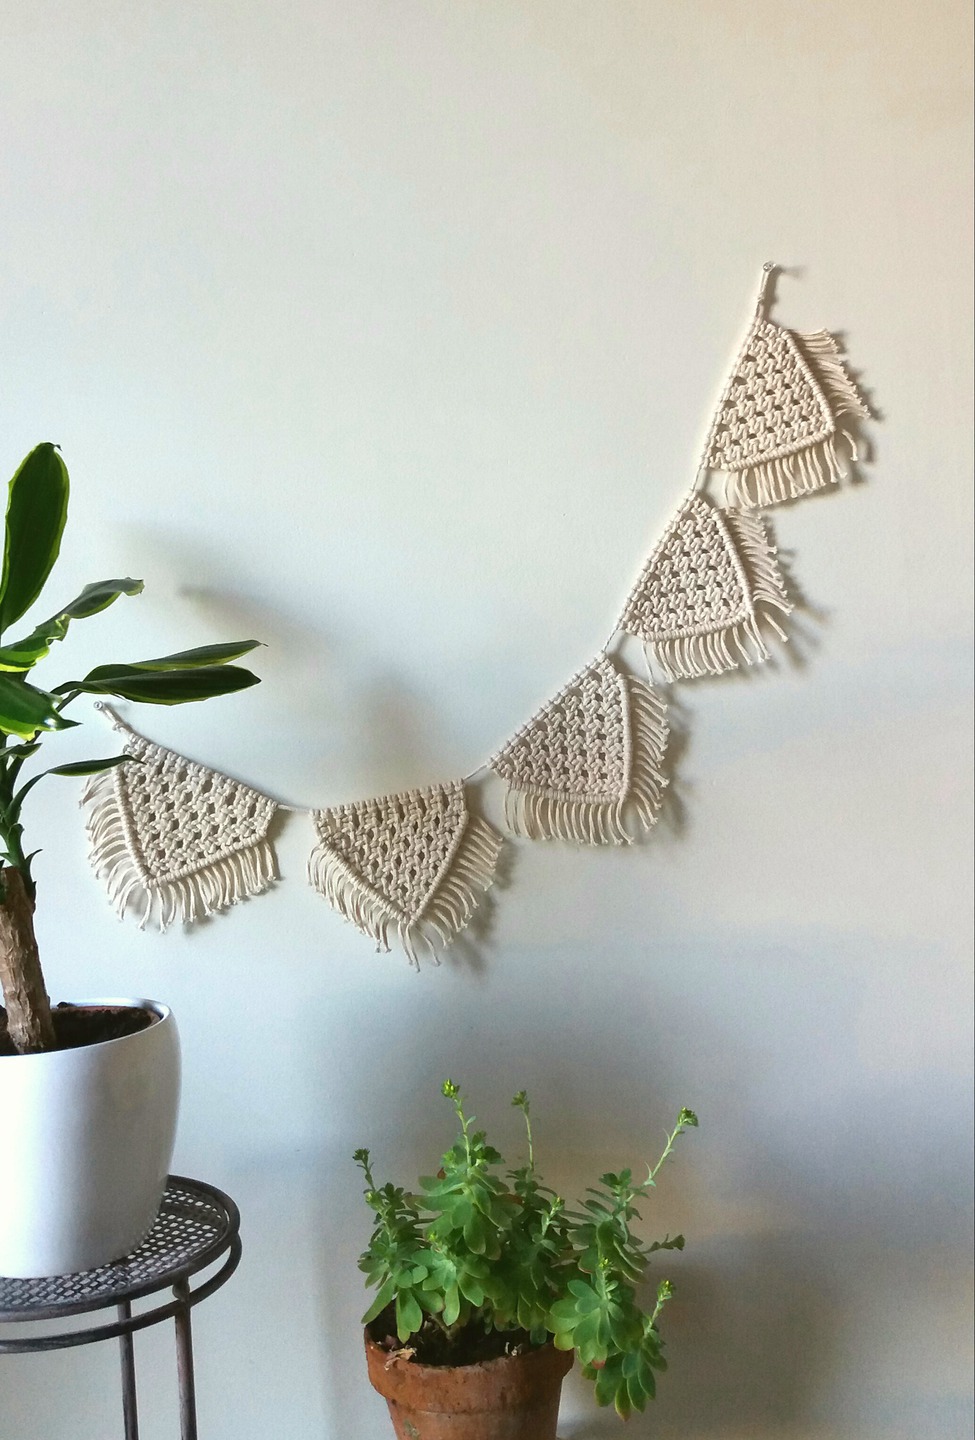
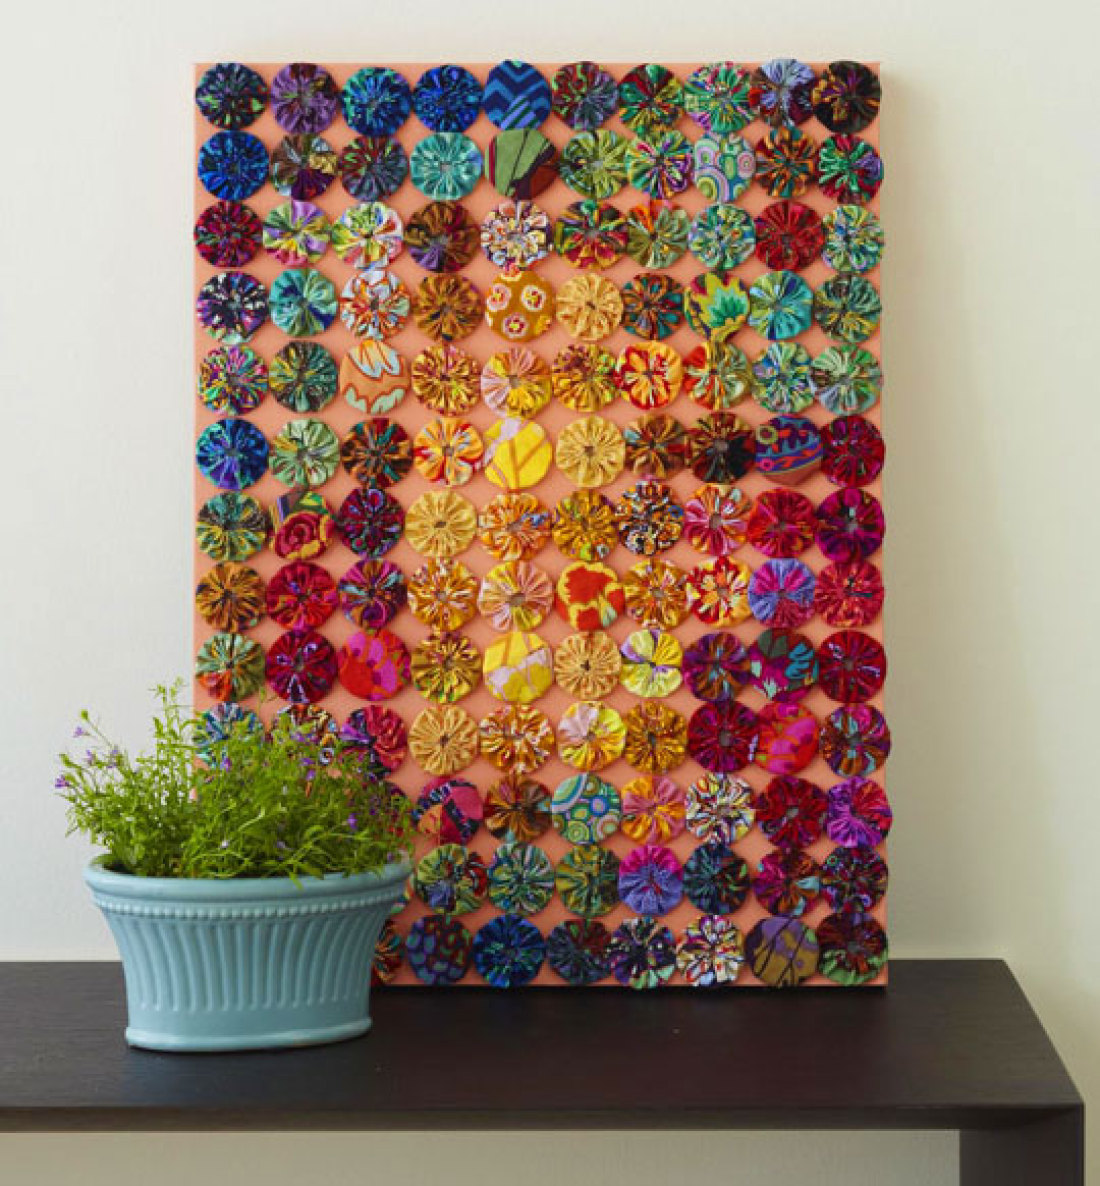
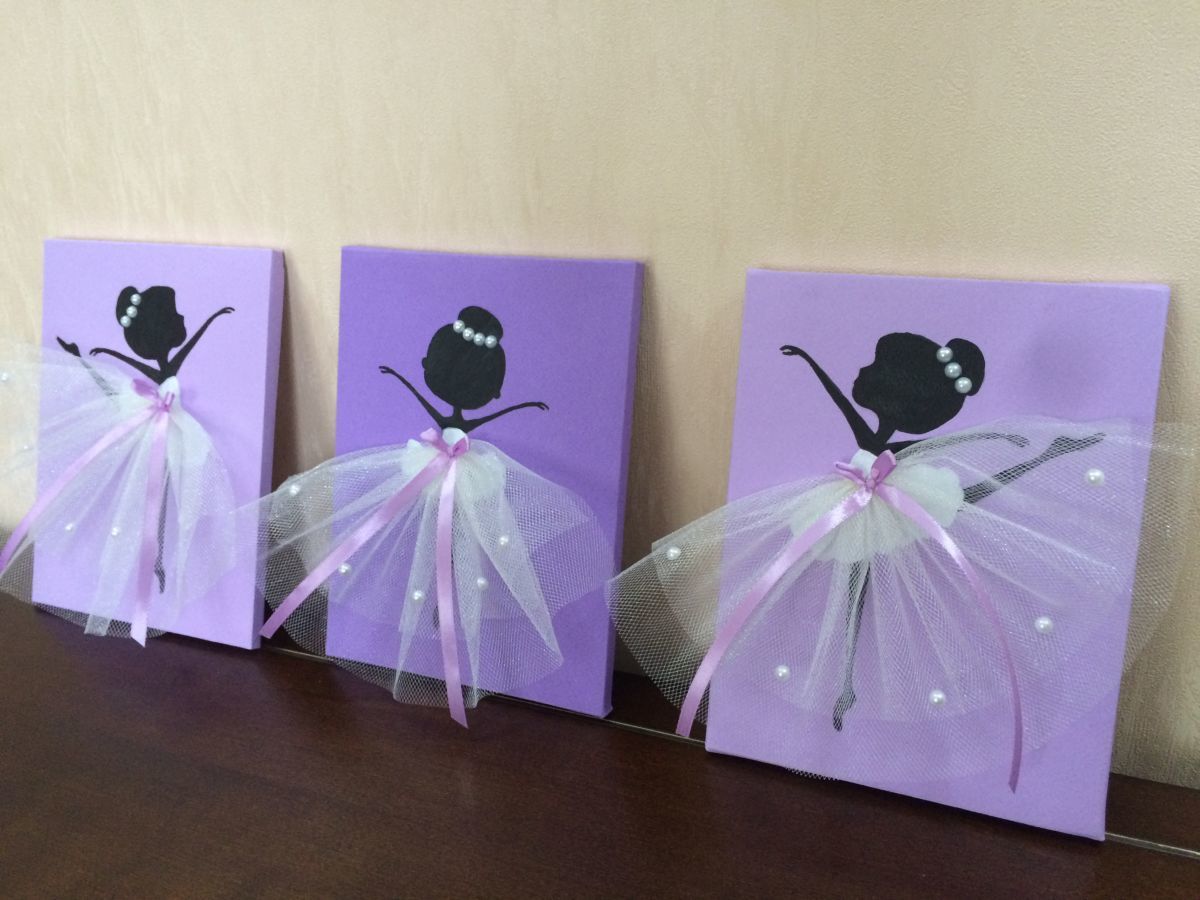
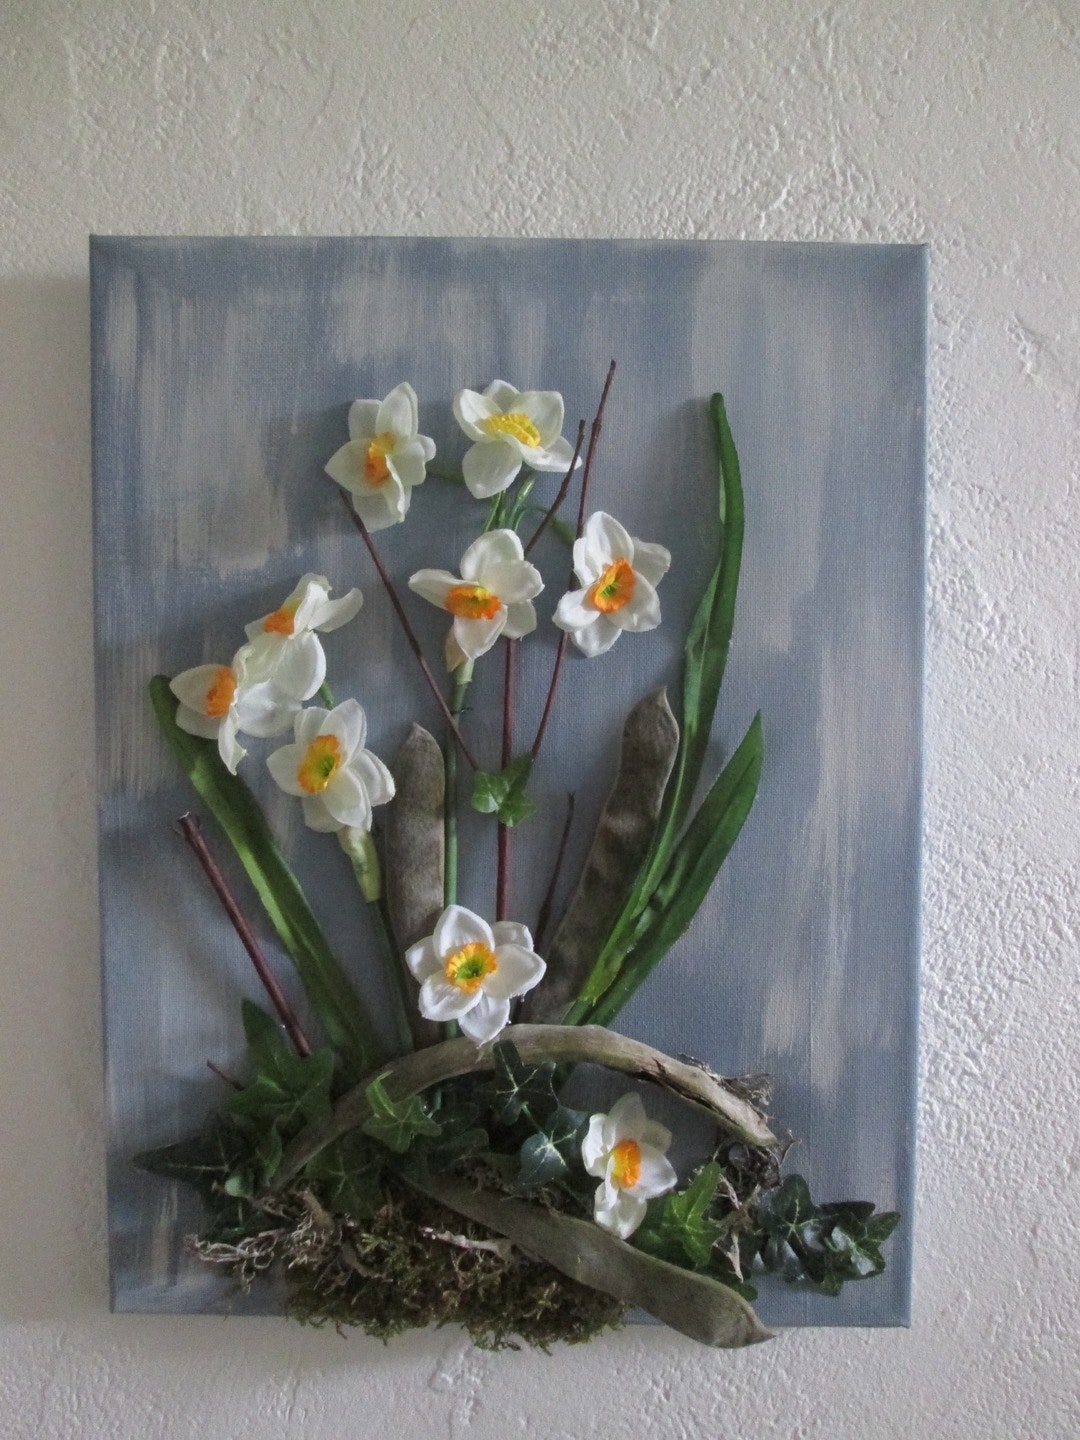
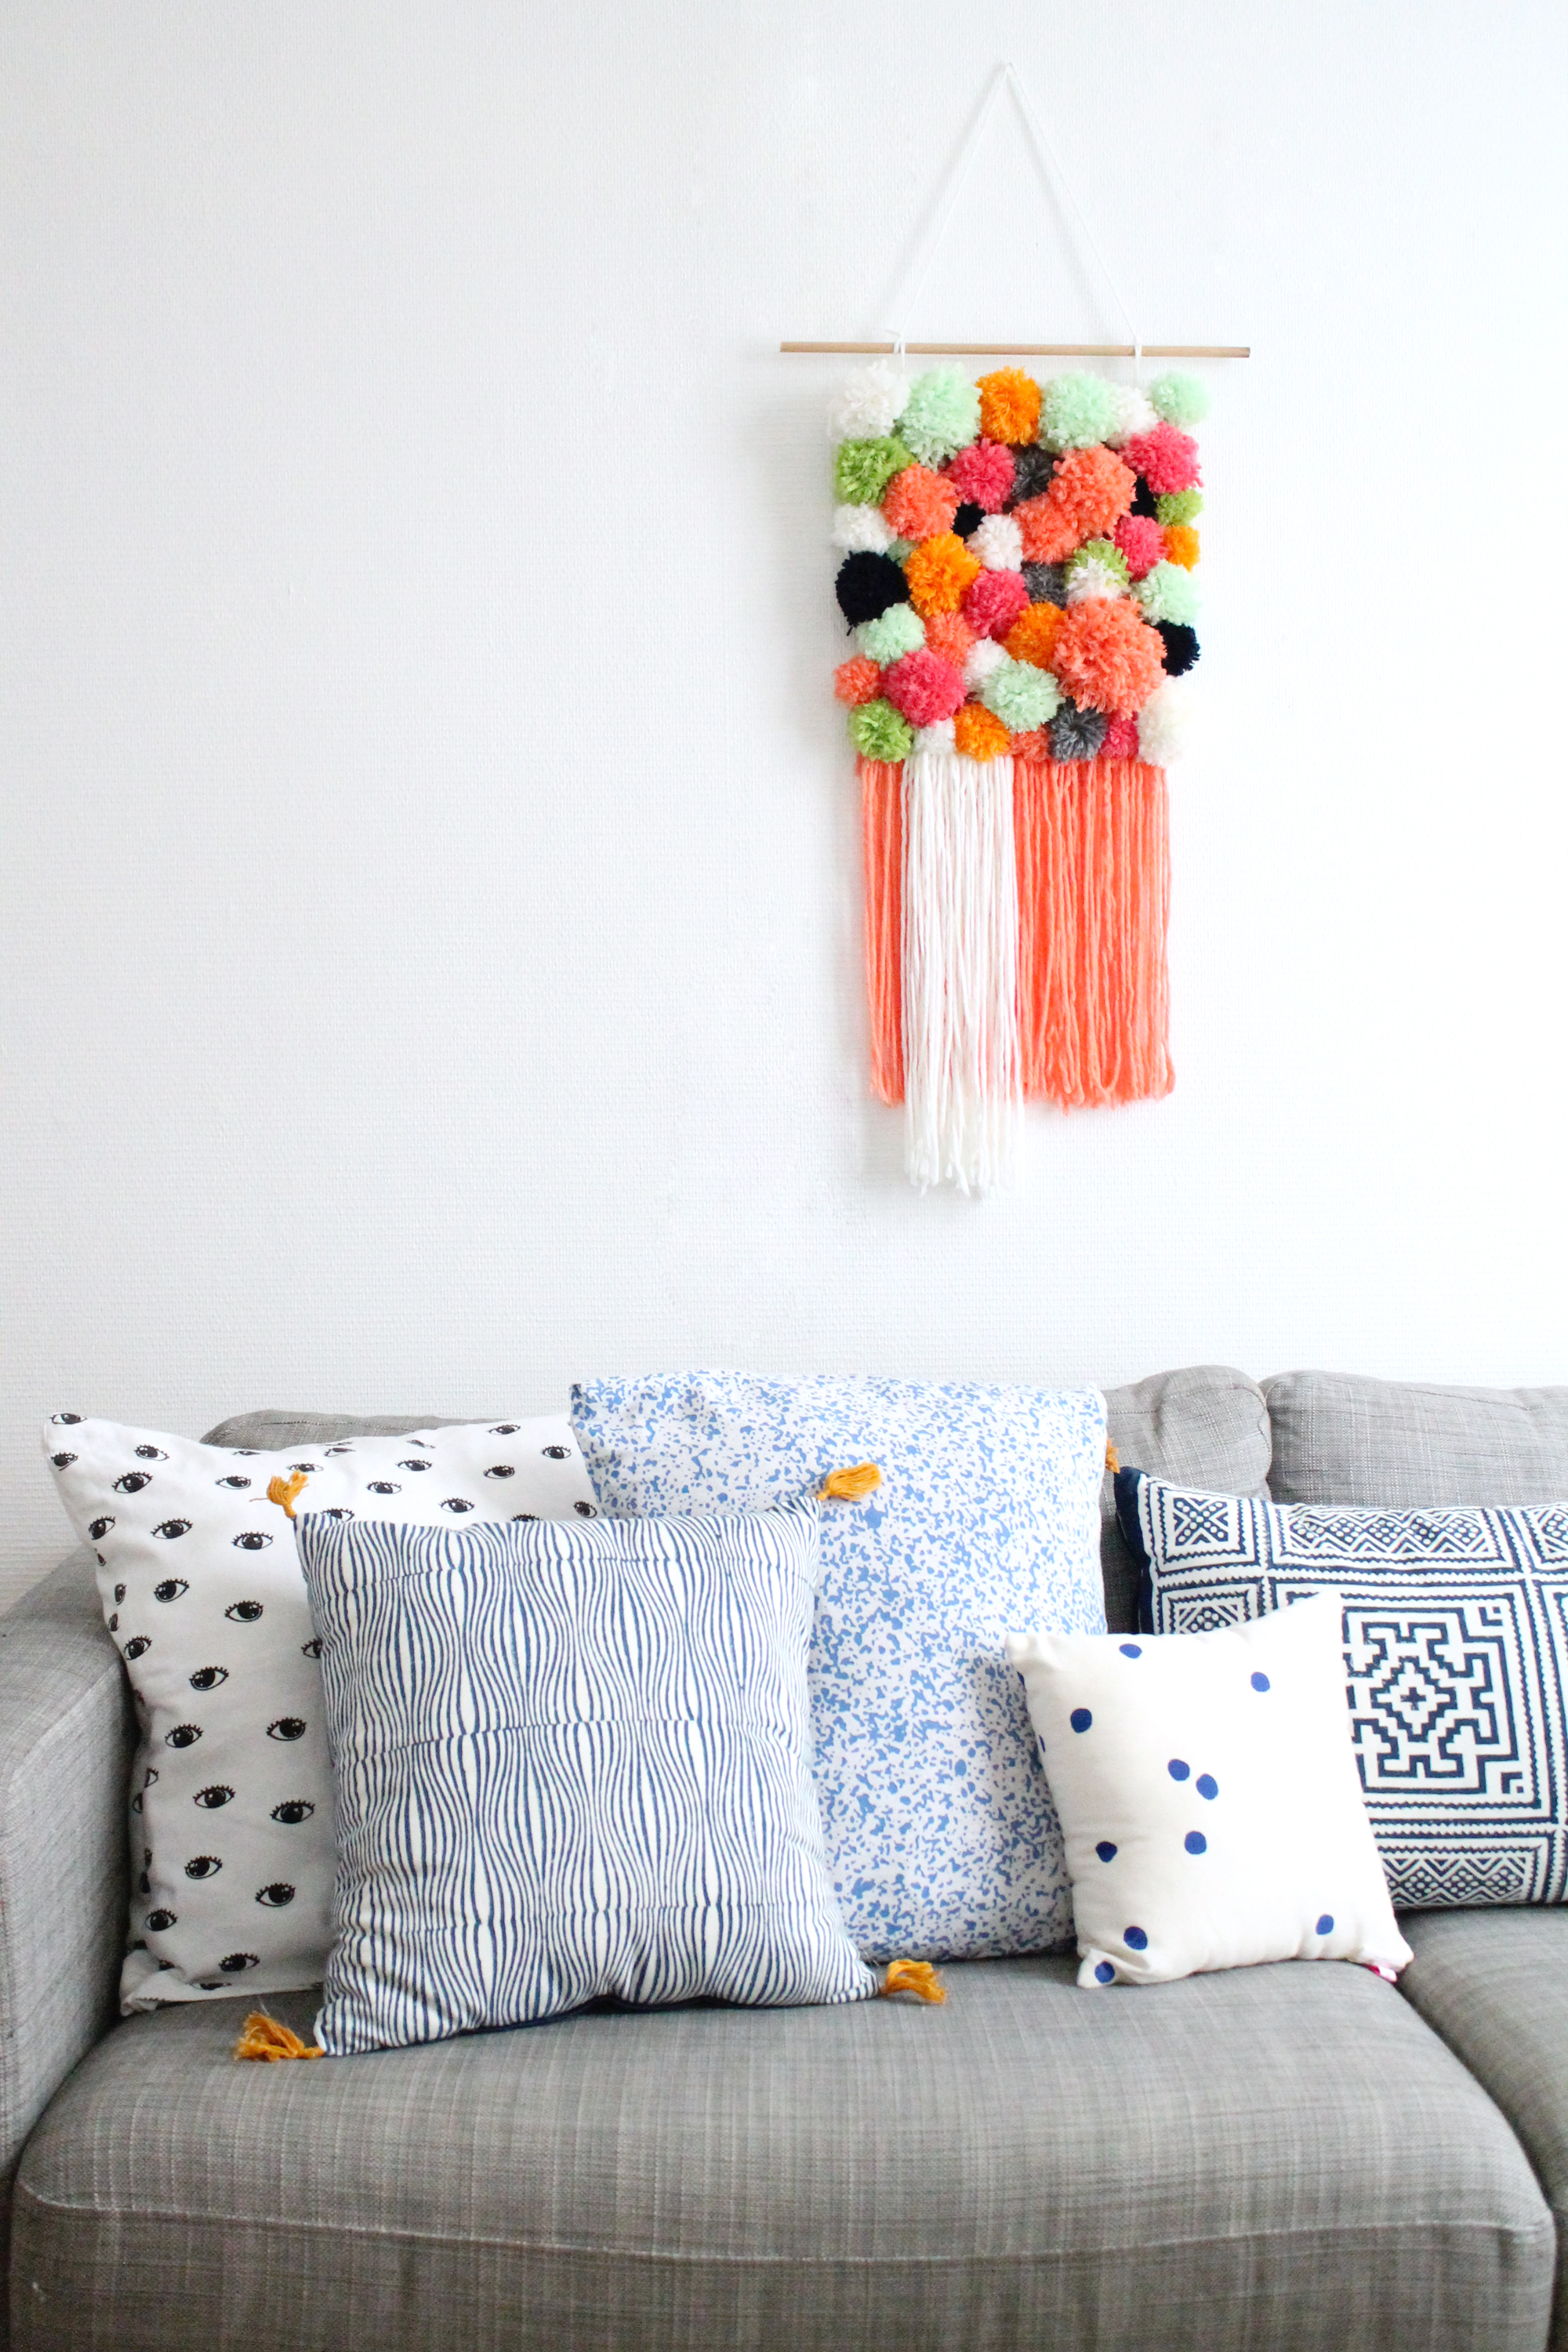
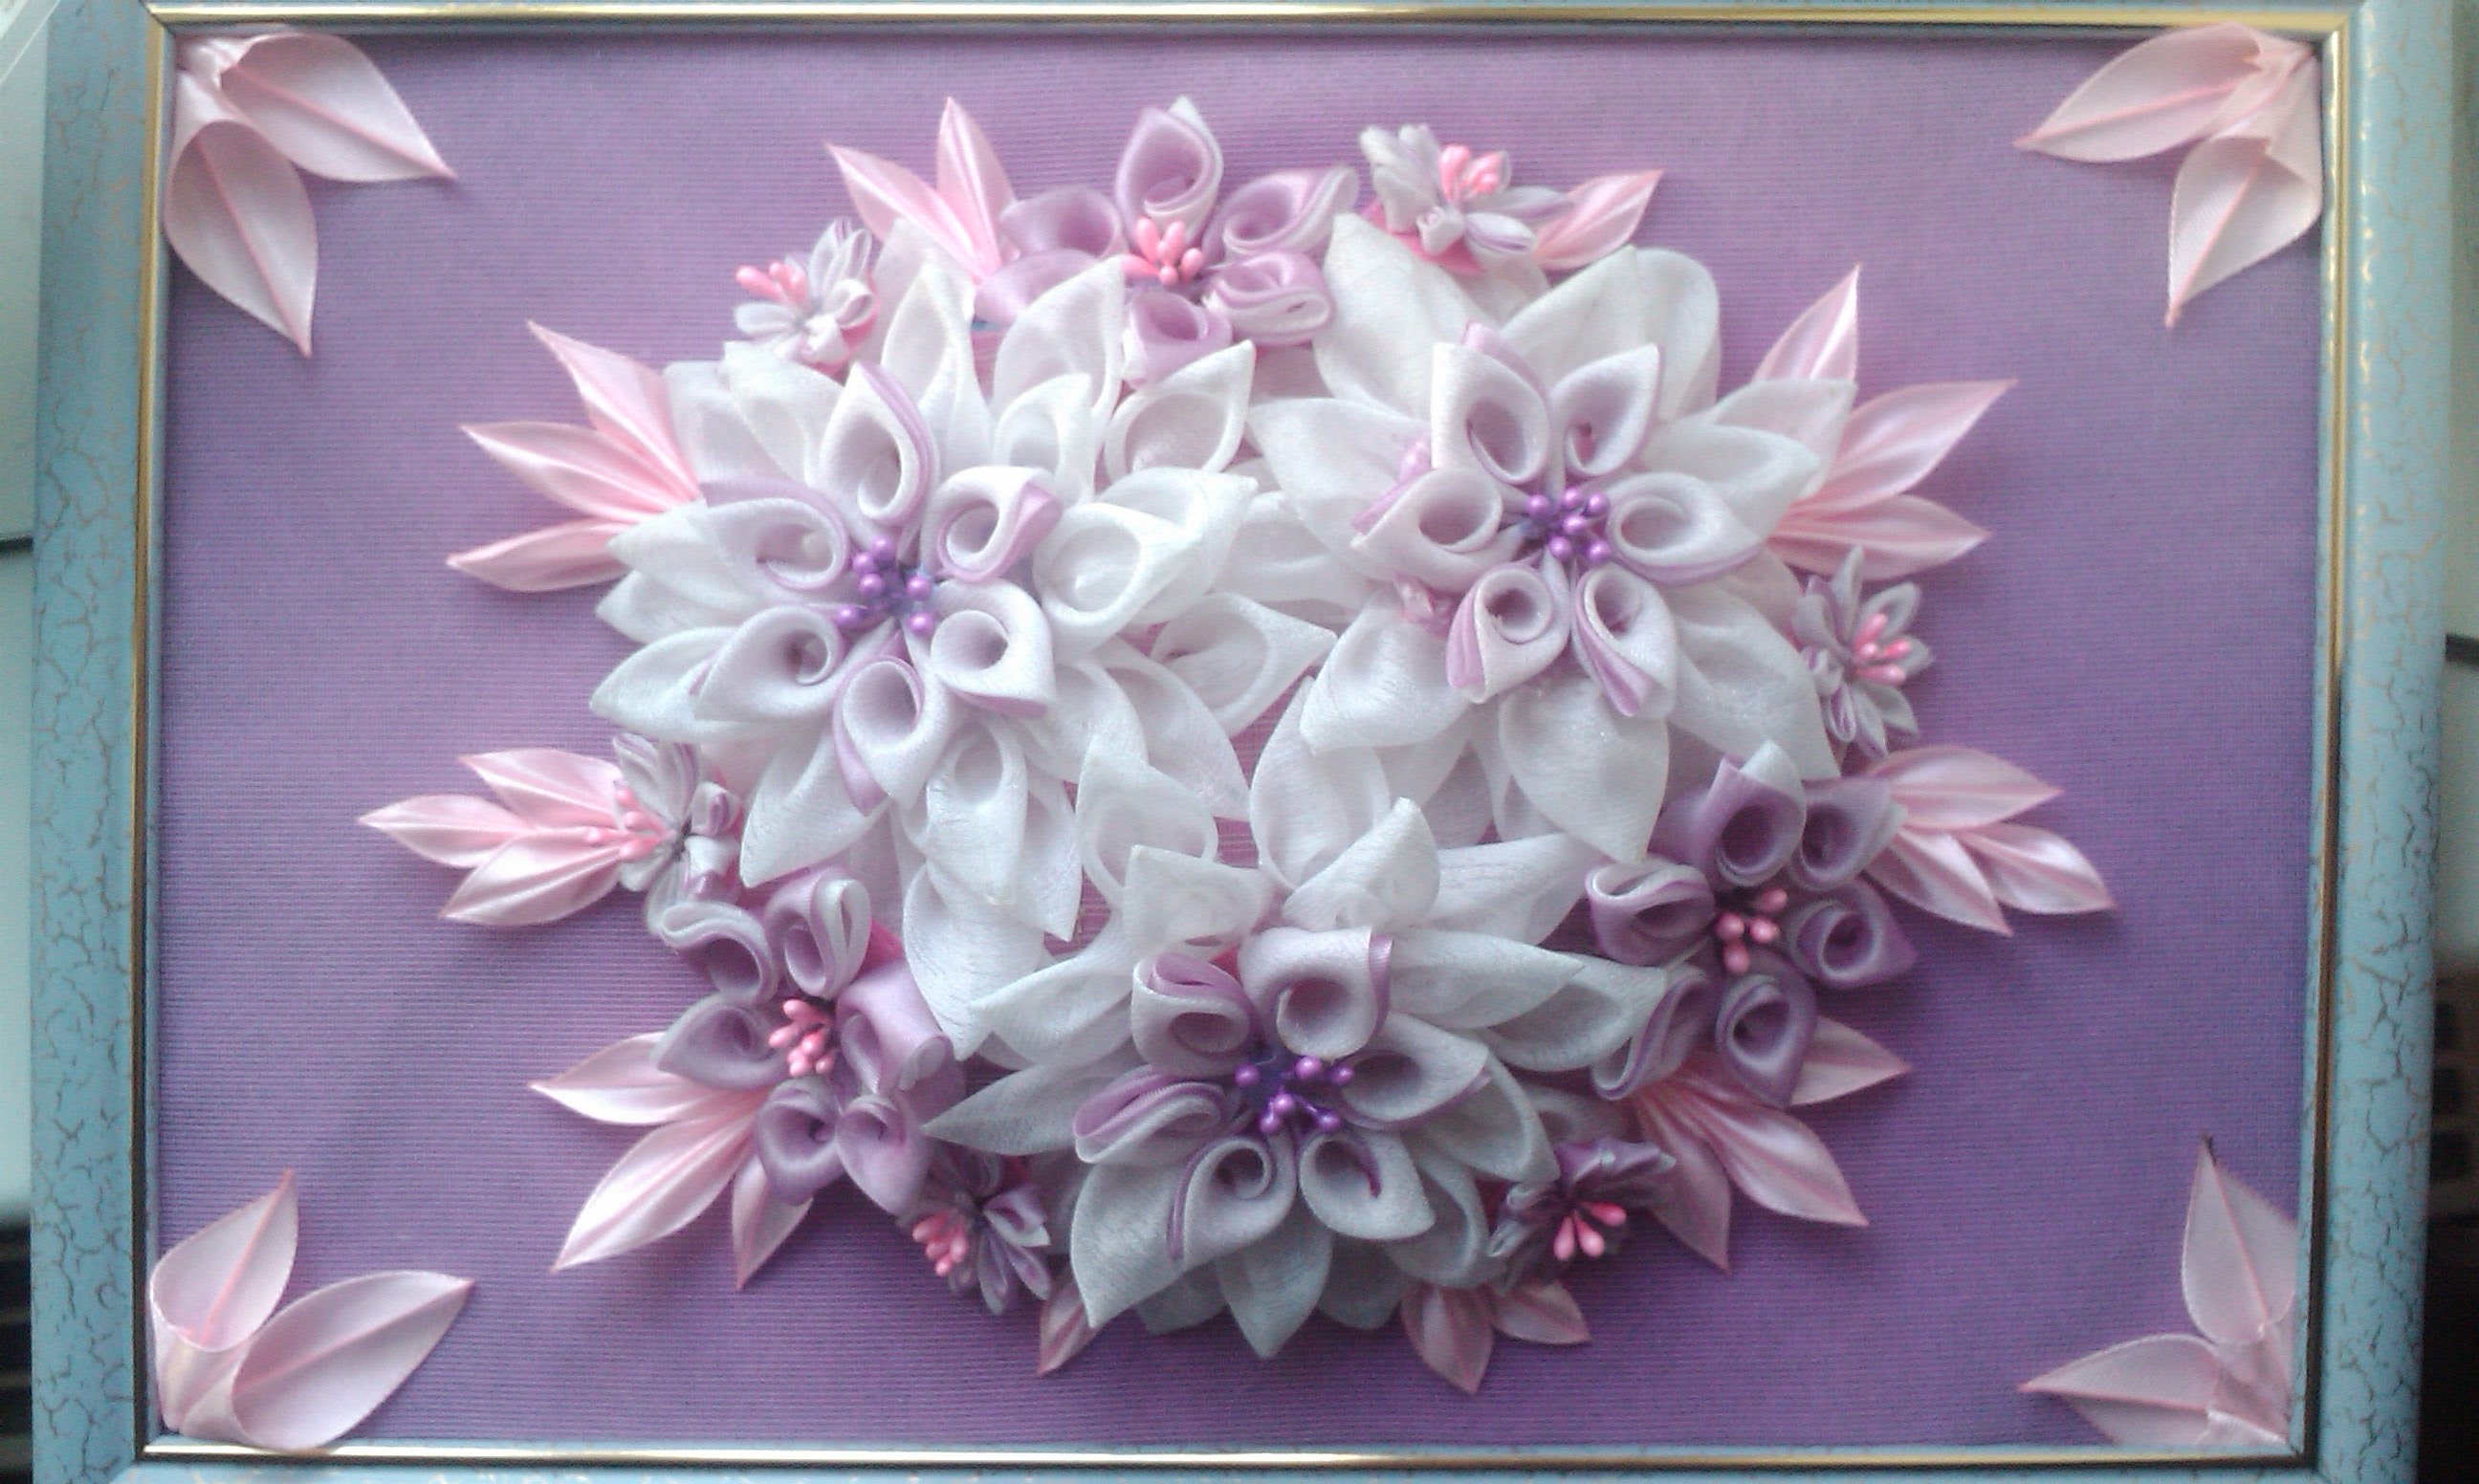
Volumetric pictures from fabric
Each needlewoman has stocks of fabrics and many shreds left over from sewing. A good housewife will always find use for them. The patchwork - the patchwork technique - has been known for a long time and combines the beauty of well-chosen shreds and practicality. A skilled seamstress will be able to create from them a real work of art that will want to be considered for a long time.

To create a three-dimensional picture of the fabric we need:
- frame;
- tissue flaps;
- batting;
- multi-colored threads;
- needles;
- sewing machine with zig-zag function;
- liked the plot.
First you need to disassemble the frame: pull out the glass and the backdrop. Cover the back with batting and leave for now. Choose a large flap of fabric that is suitable in color and size, which will be the background. On this background, you need to use the transfer paper to transfer the contours of the future picture. Then again transfer the contours to the tracing paper and cut it out. So we got a “pattern”, for which we select the shreds that are suitable in color and size. This process can take quite a while until the shreds fold nicely.


Now the particles of the picture need to be stitched onto the background on a sewing machine, using a small zig-zag and picking up threads in tone or contrasting. Separate small elements of the picture can be embroidered manually.At the end, the finished fabric applique is gently pulled onto the backdrop over the batting and secured to the back with glue. Now you can assemble the frame by inserting a glass and a backdrop with a finished picture.

Another technique for creating three-dimensional paintings from fabric is to cut out individual parts of the painting from thick cardboard, stick foam rubber of the same size onto them and cover with fabric on top. After all parts are covered with fabric, they should be assembled on a substrate and glued tightly to each other, leaving no gaps.

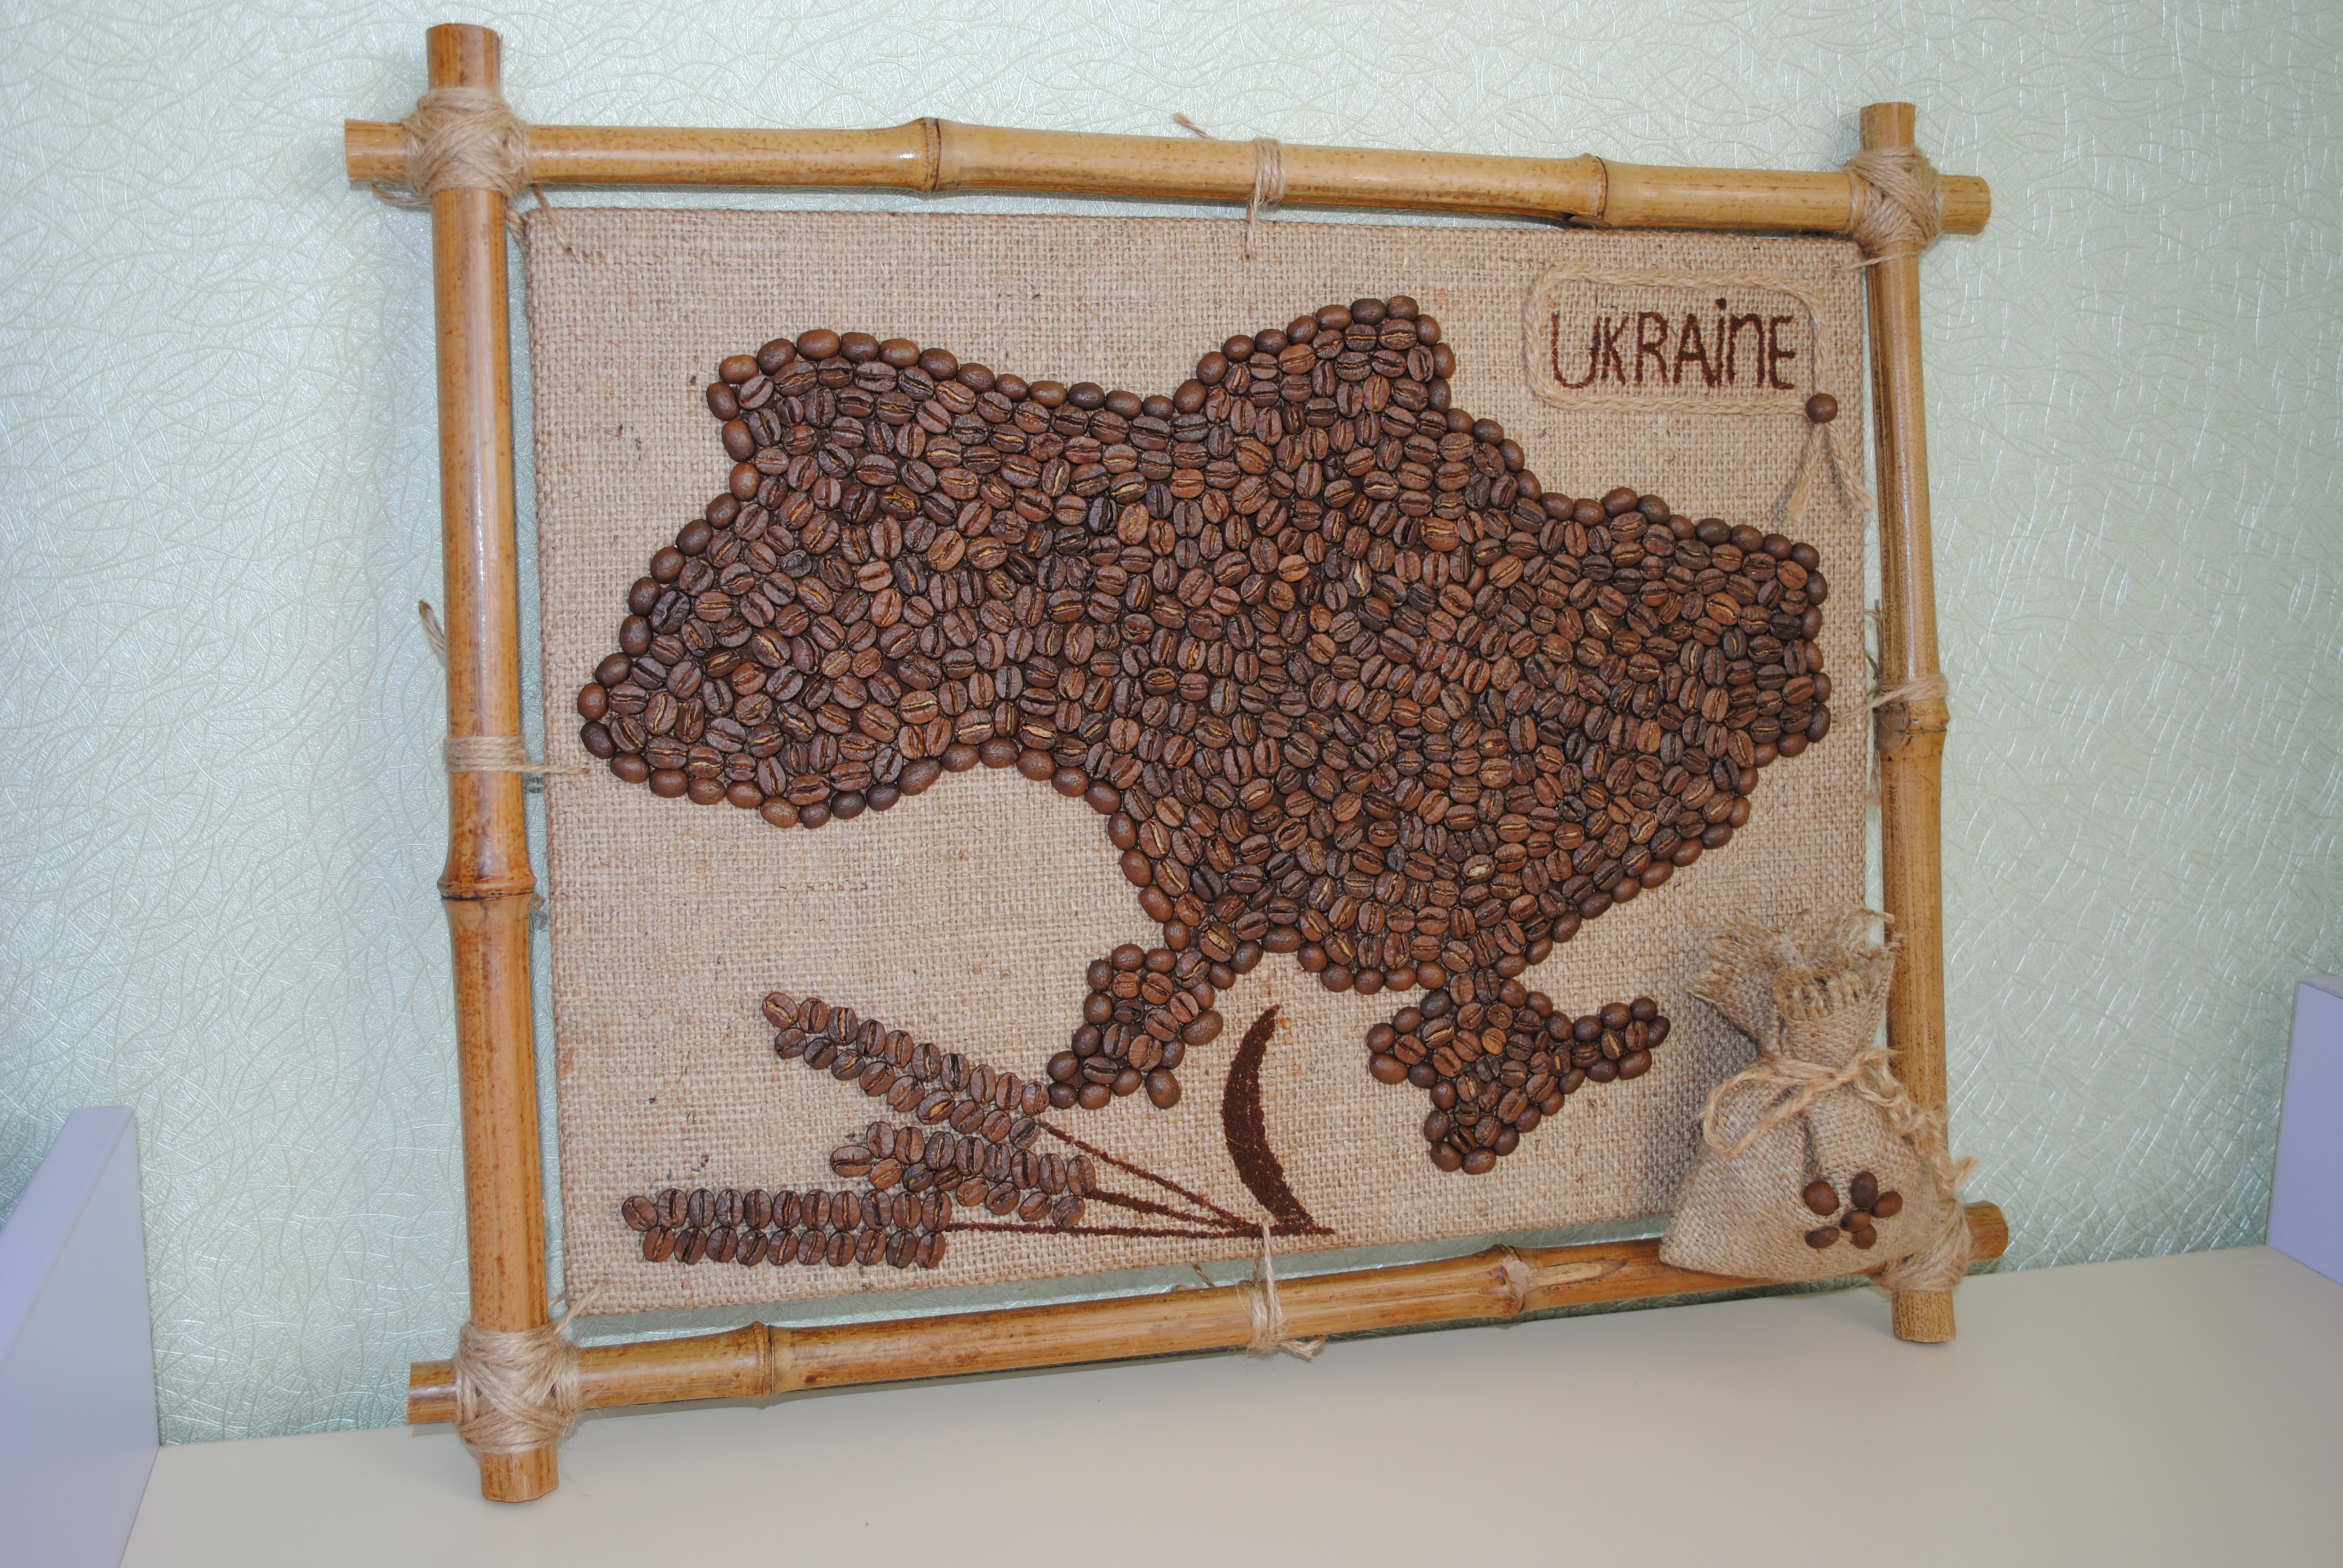
Volumetric pictures from beads
We will need:
- beads of the desired color and size;
- threads
- needles;
- ready-made plot for embroidery;
- frame.
If you have never dealt with embroidery and beads before, you can go the simple way: buy a ready-made kit for embroidery with beads. If you are ready to take on a more complicated job, you will need to choose a picture for the future picture and independently select the necessary beads for it in the store.
The work will consist of stringing beads on a needle and making bead stitches on a fabric basis with drawing lines applied to it. This work is very similar to regular stitch embroidery. At the end of embroidery, we also frame the resulting three-dimensional image in a frame.

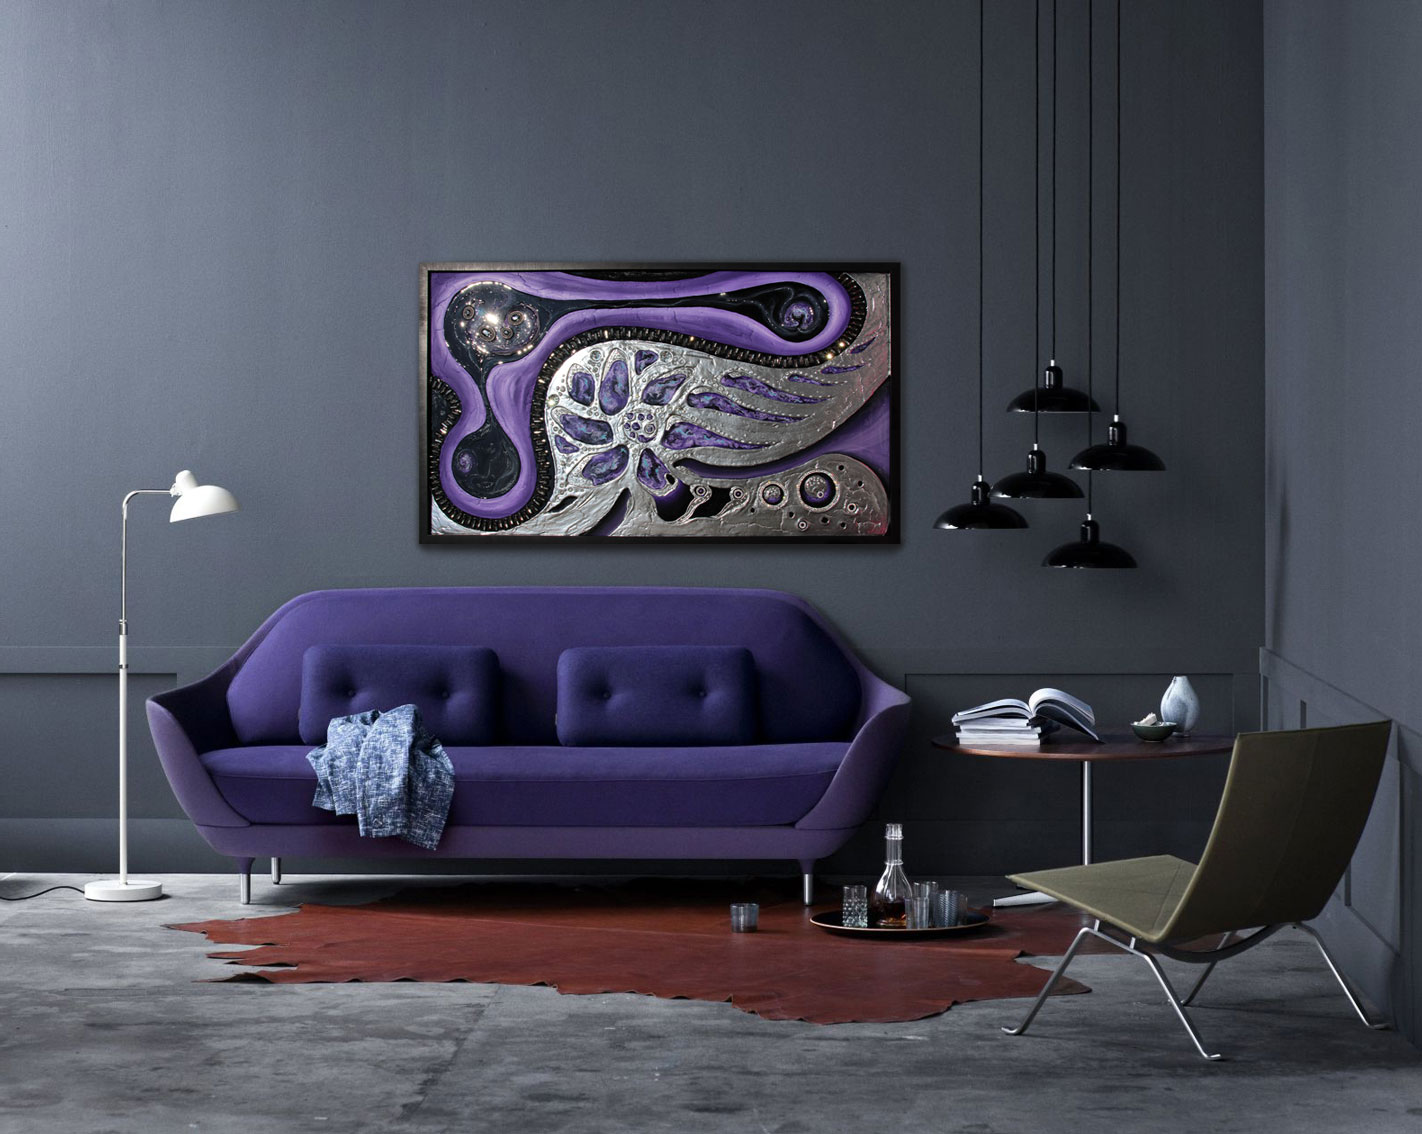
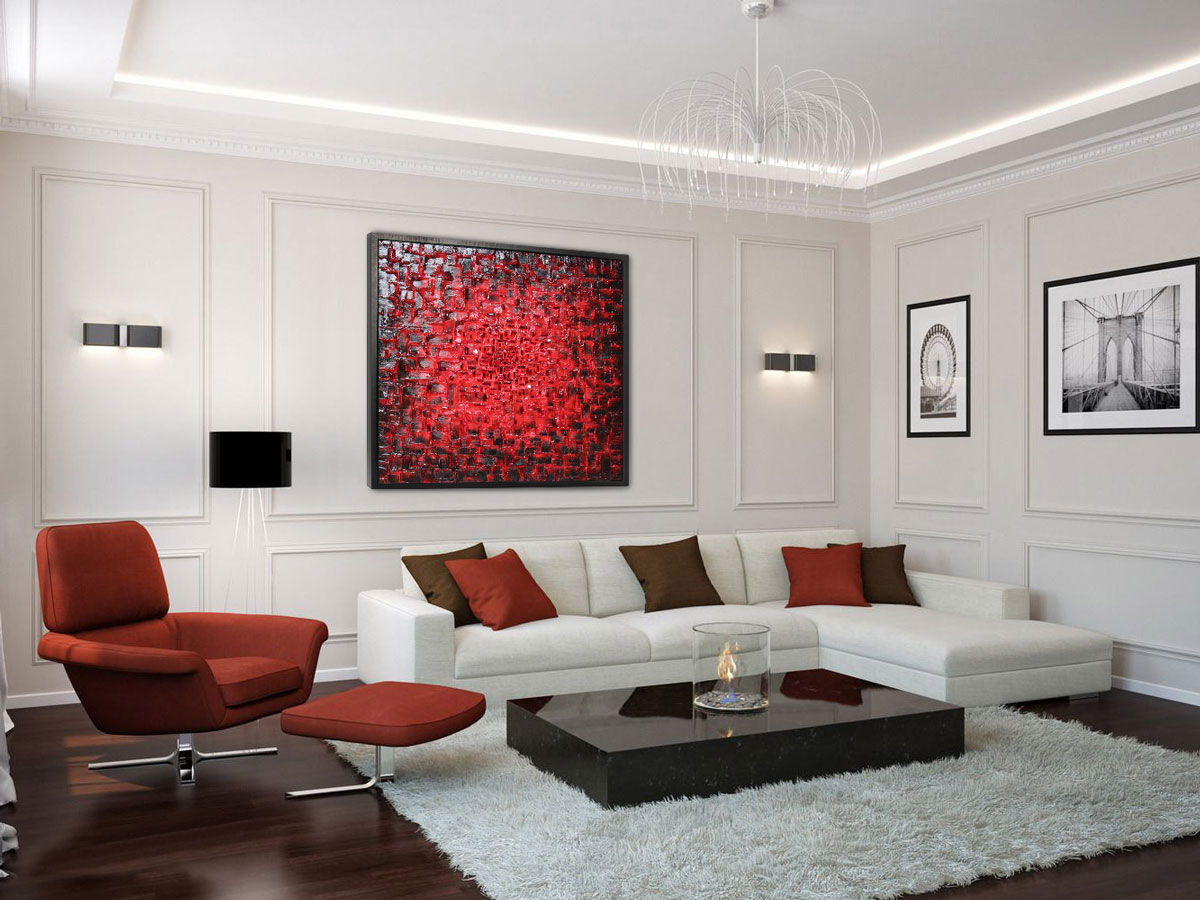
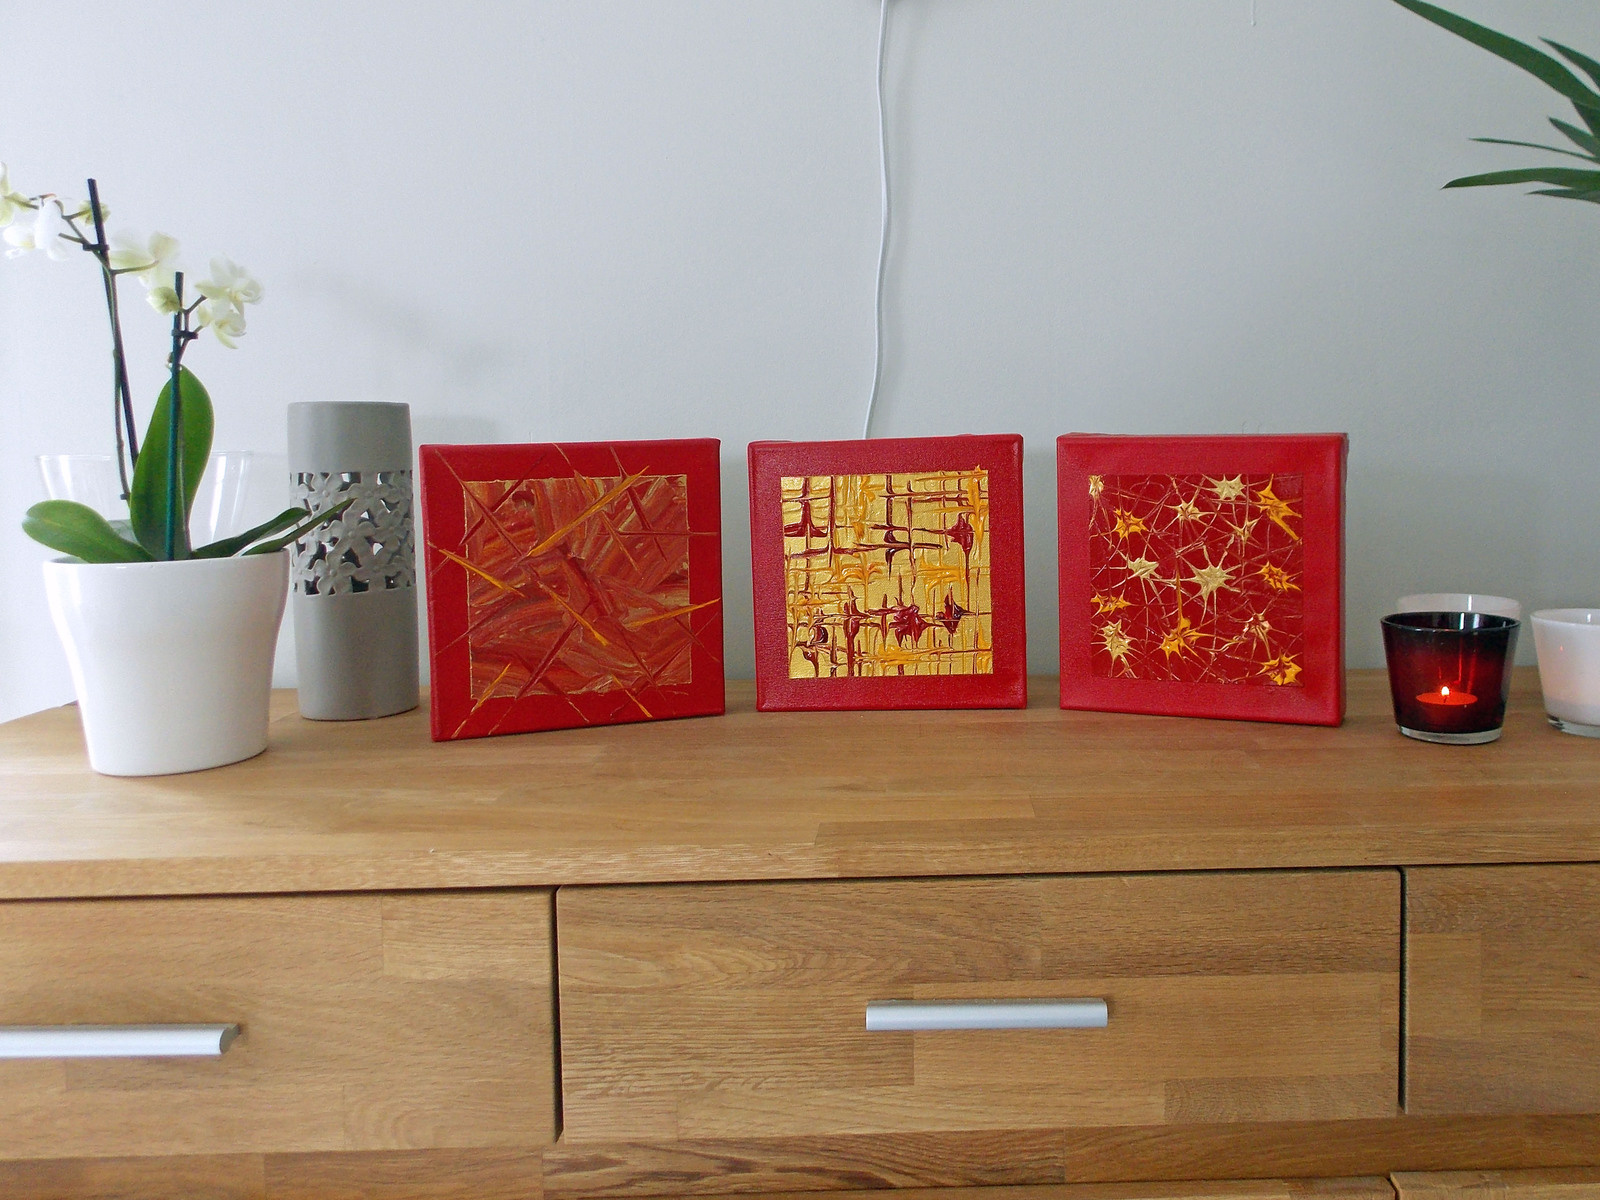
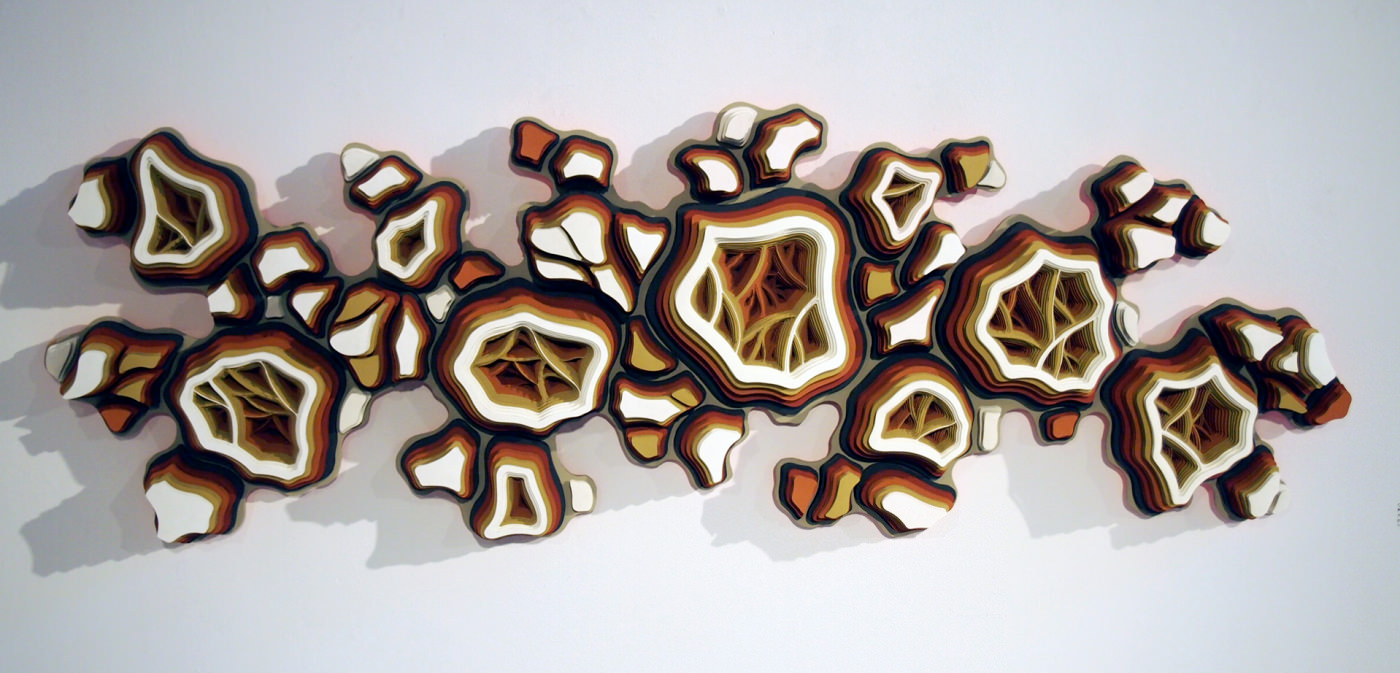
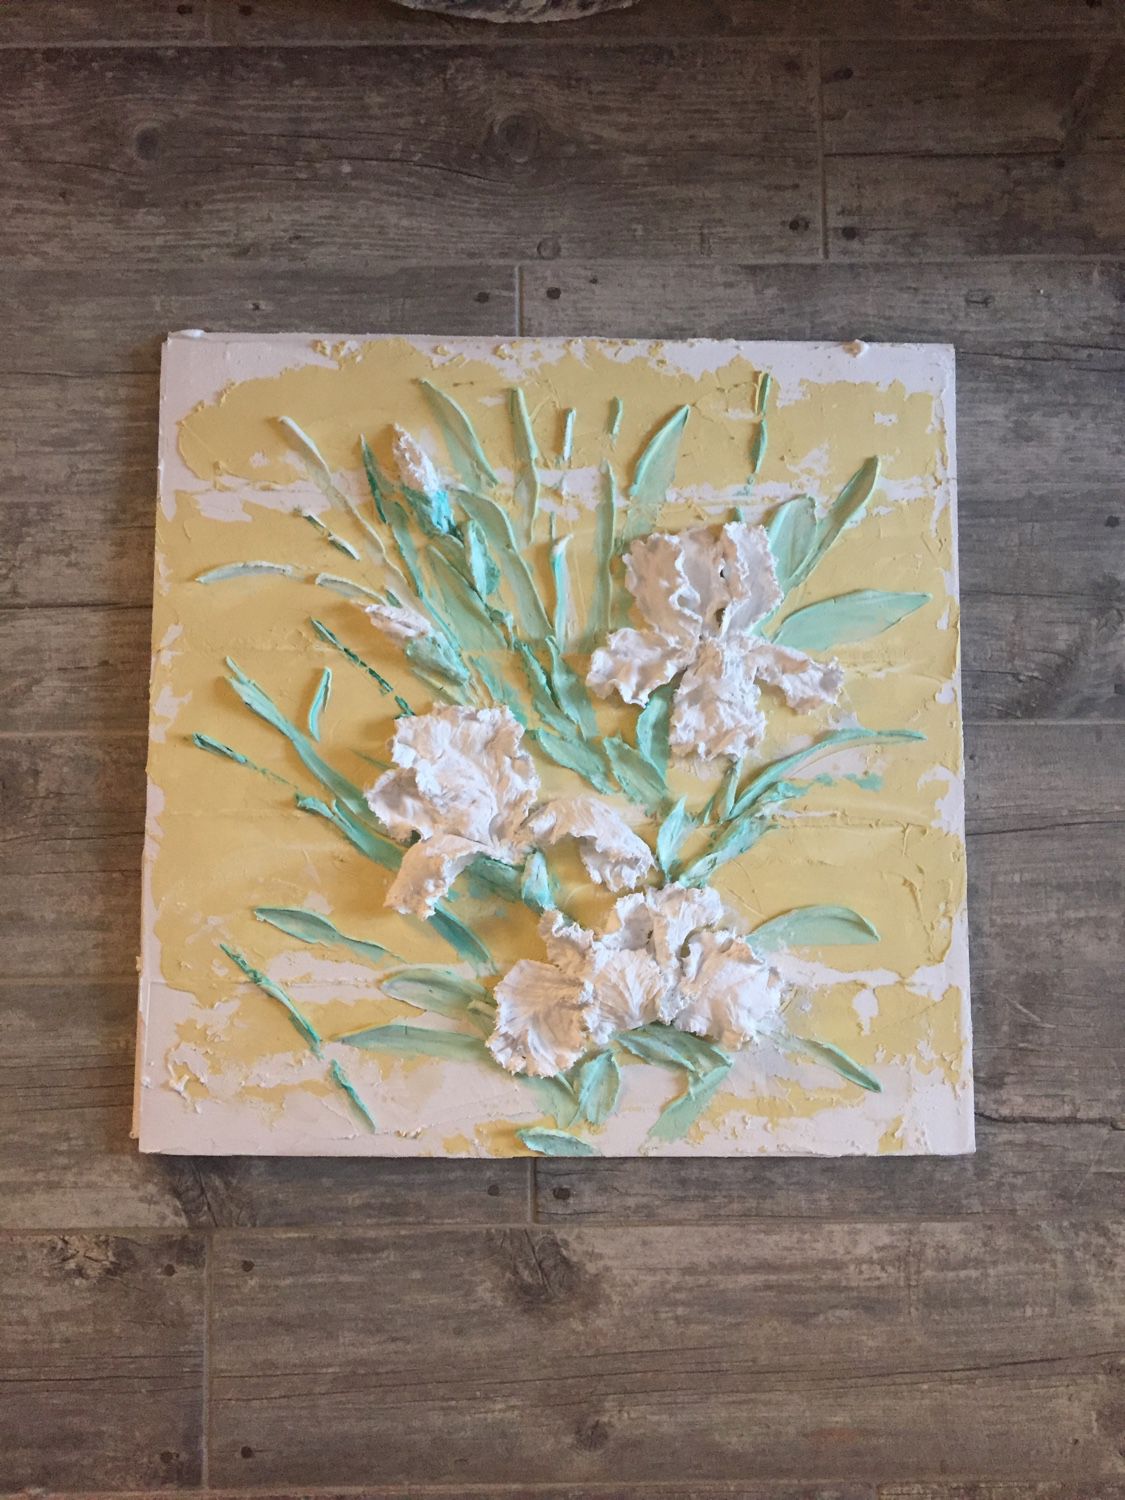
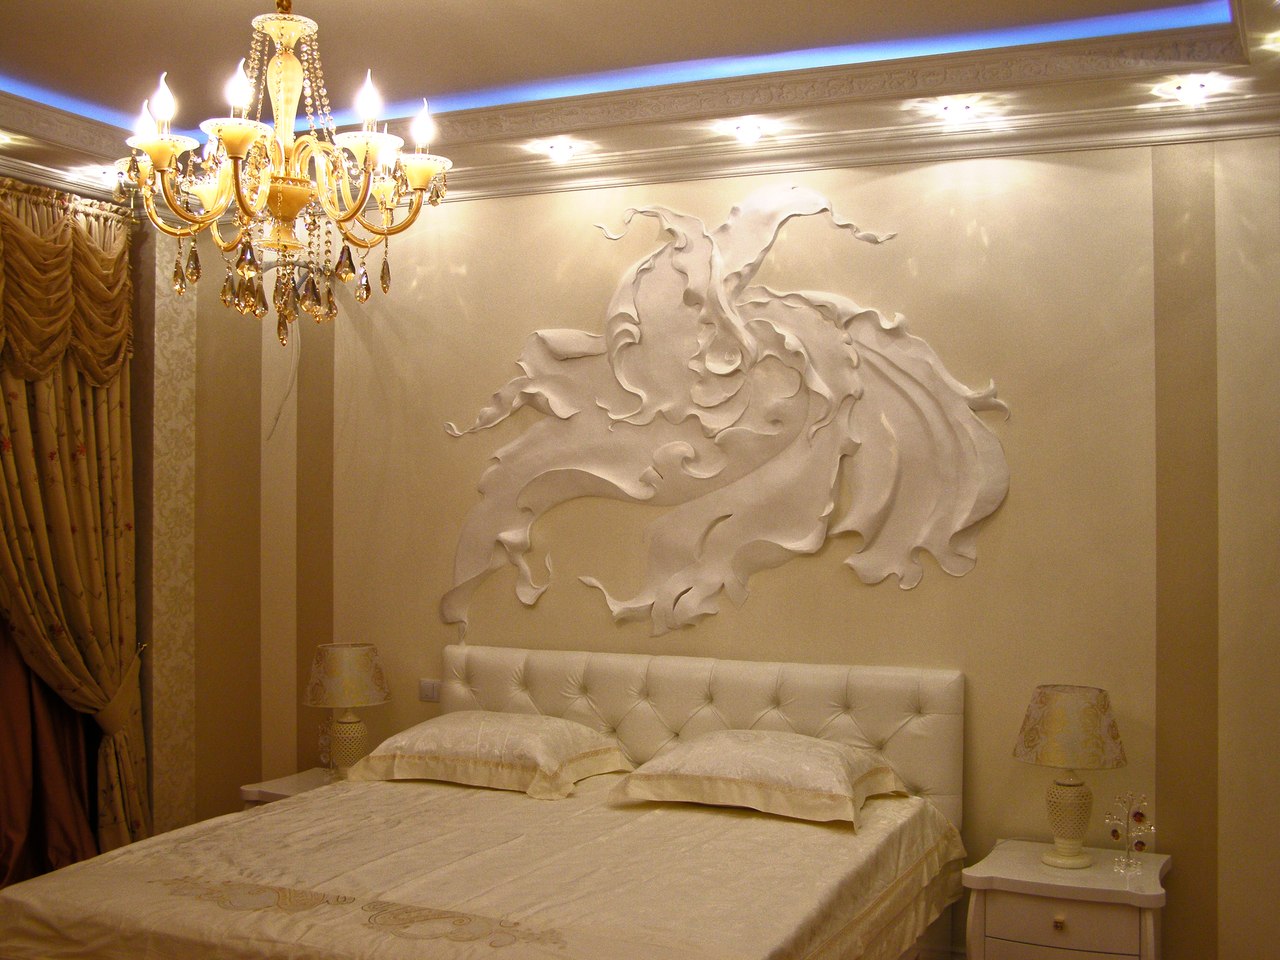
Volumetric paintings from putty
You probably already had to work with putty. For example, to close the seams before painting or to smooth the cracks in the walls before sticker wallpaper. Having minimal skills with a putty knife, you can try to make a three-dimensional picture of putty with your own hands.
We will need:
- putty;
- primer;
- spatulas of different widths;
- water-based and acrylic paints.
First of all, it is necessary to prepare the surface: to smooth, to repair cracks, to ground and to clean with sandpaper. Next, draw with the help of carbon paper the contours of the future picture. Then measure the required amount of putty, dilute with water and mix thoroughly until a homogeneous mass is formed.
The easiest option to create a 3D image of putty is work with a spatula. With its help, you can create simple ornaments, abstractions, tree branches, flowers. Type a small amount of putty on the spatula and apply in the right place.
Then you can clean off the excess, and now you need to apply the composition wherever it is needed.
After a while, the composition will harden somewhat, and it will be easier to give it the desired shape. Walk with a wet brush over the finished image, this will smooth out all the bumps and give a soft outline.
After drying, you should clean out all the excess with a piece of sandpaper, trying not to remove the excess. The finished picture is again stained with soil. Then you can begin to work with paints and a brush. Finally, apply acrylic varnish to the image. Now the picture will not be afraid of water.
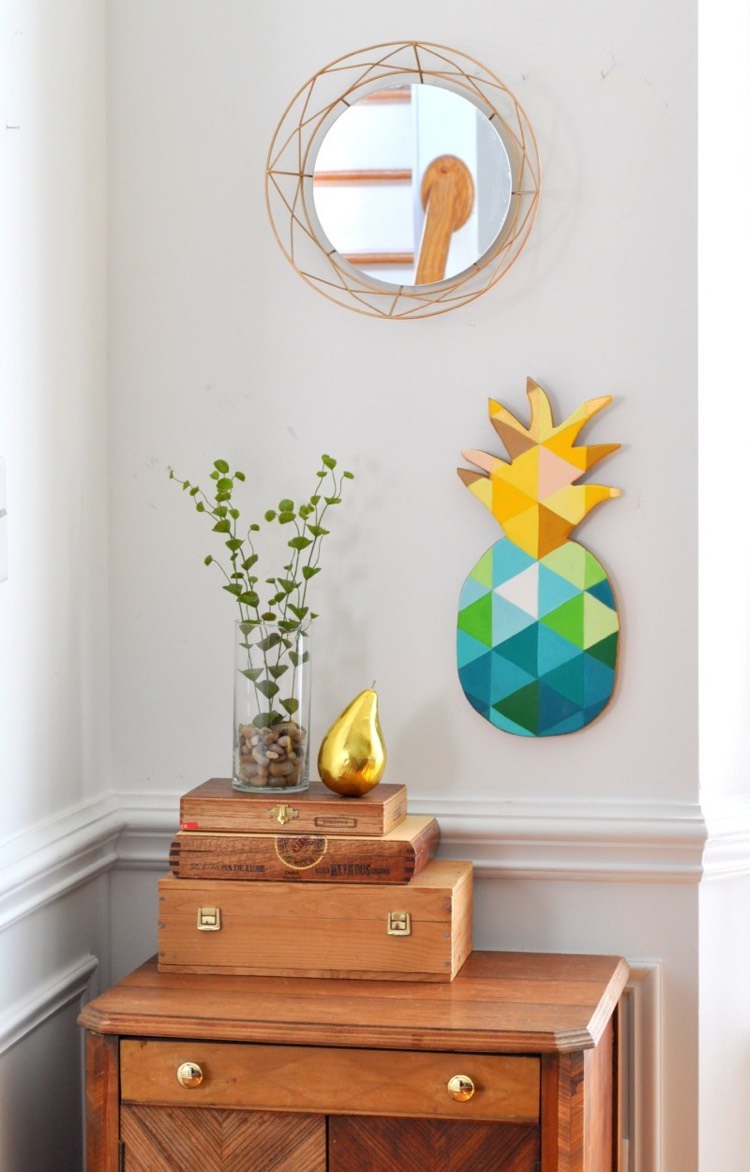
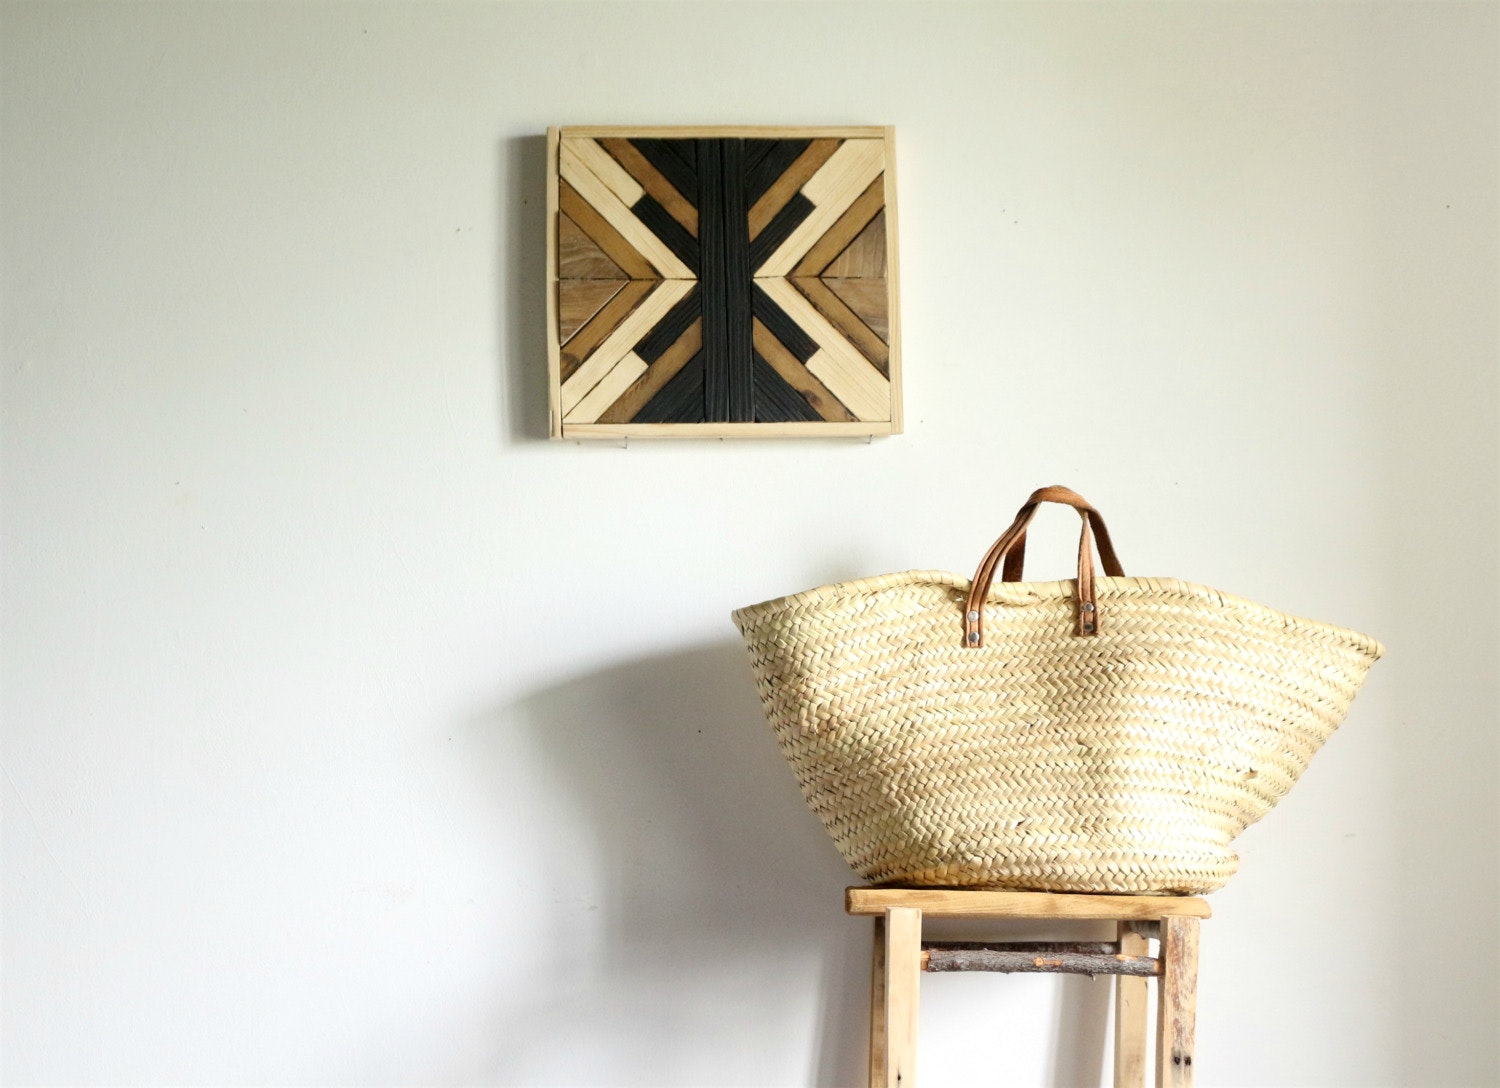
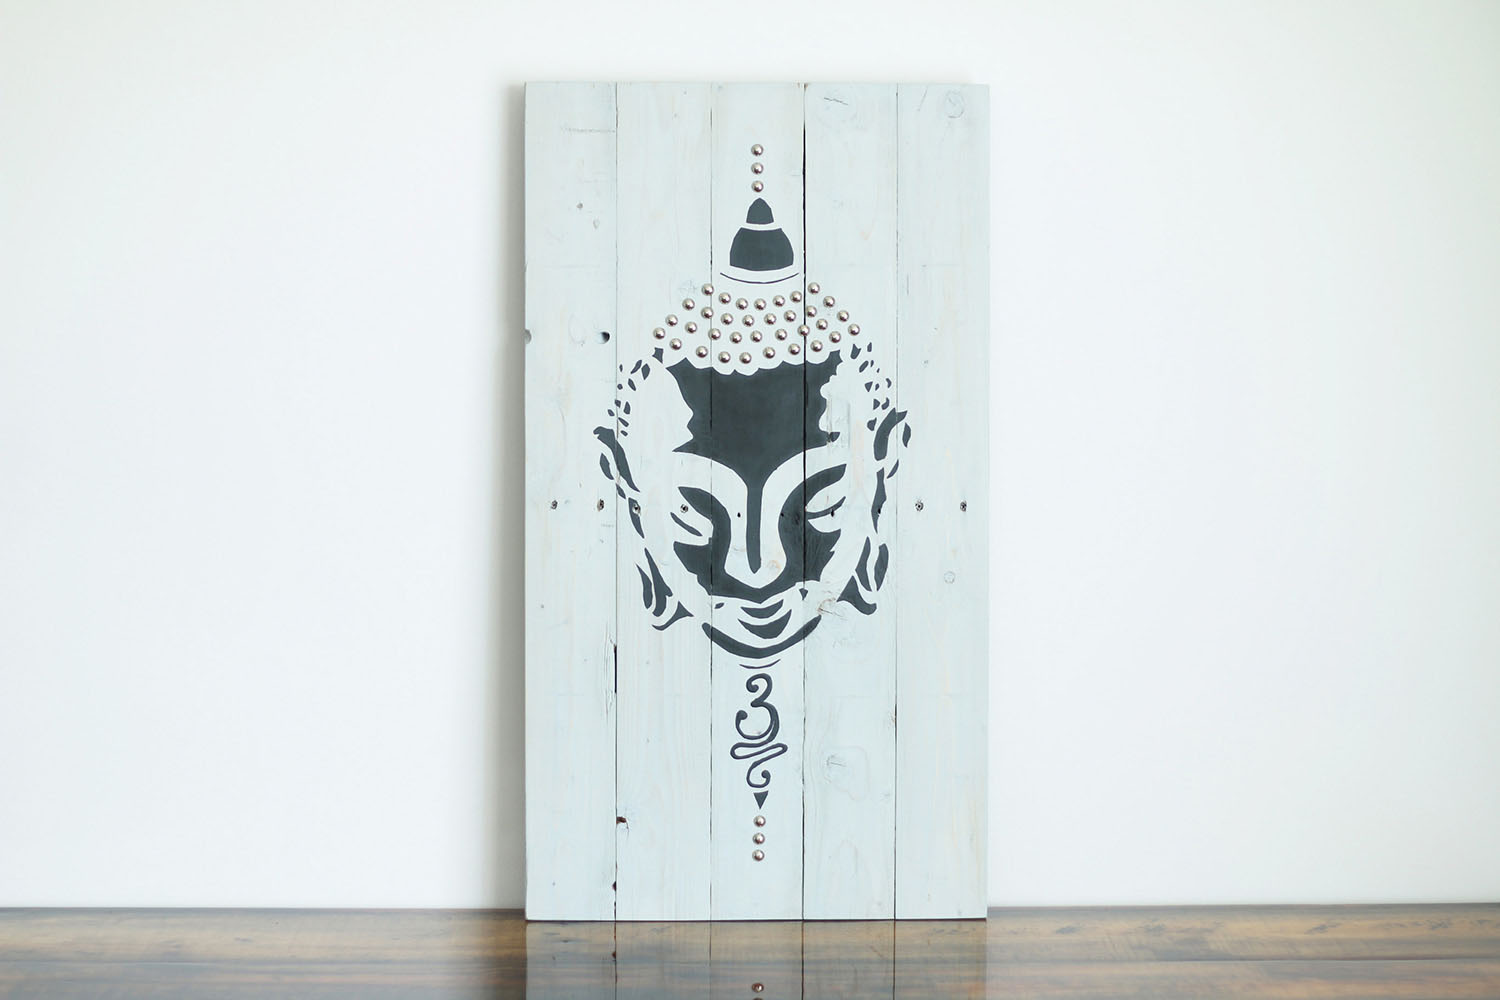
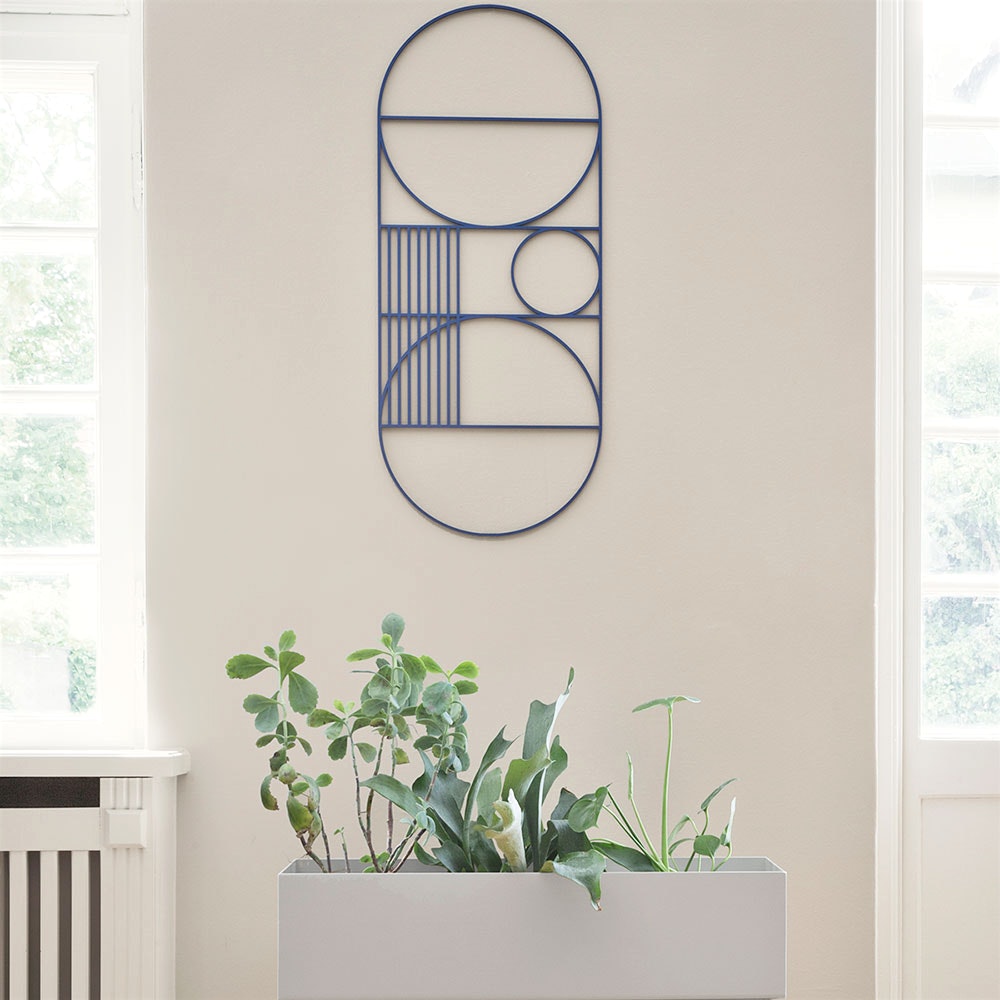
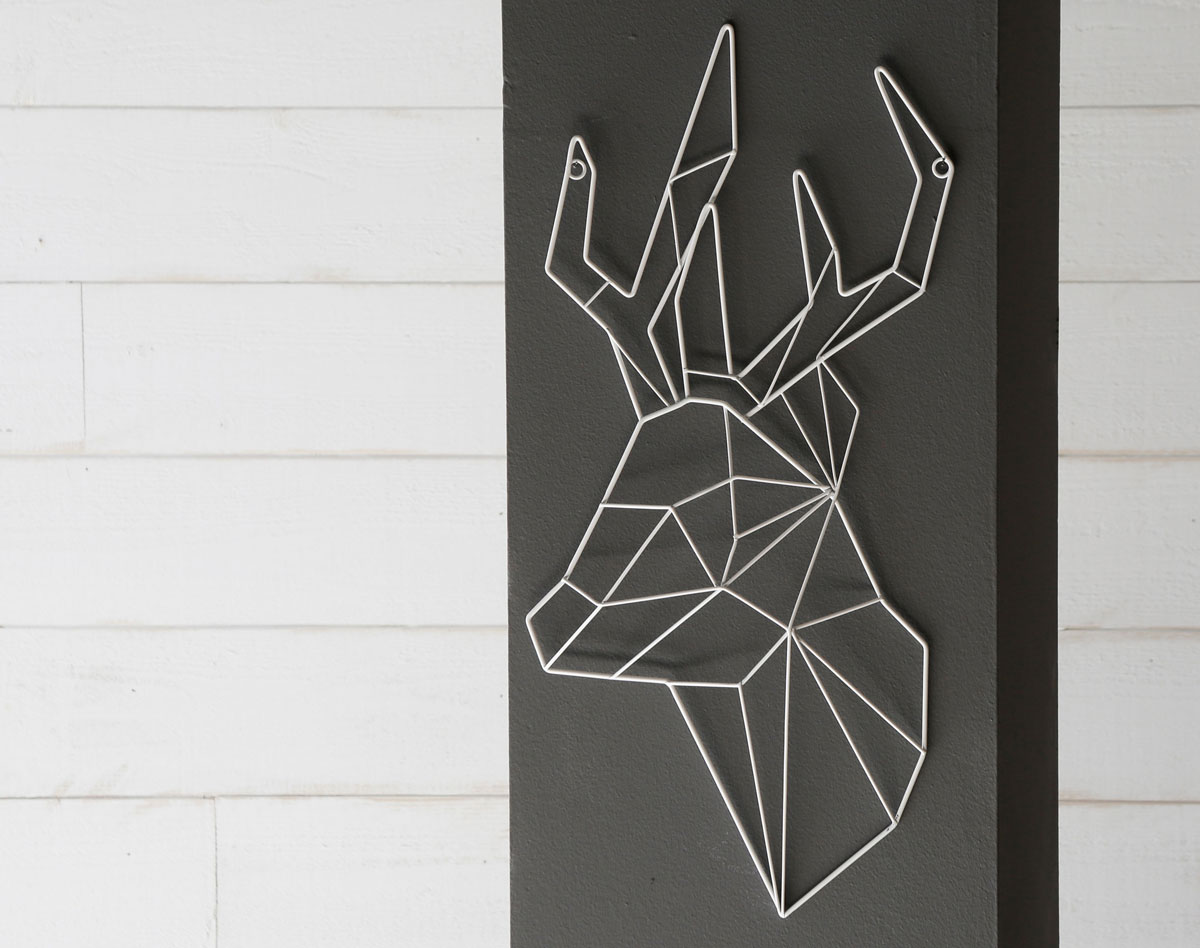
Volumetric pictures of wood
Such paintings look luxurious, but require great effort and perseverance. For work you will need chisels, a special knife-jamb, furniture lacquer, stain and wooden cloth. It is necessary to transfer the drawing to a tree and cut along the contour with a knife grooves of different depths to give the image volume. The stain of different colors will give even greater bulk. Cover the finished picture with varnish.
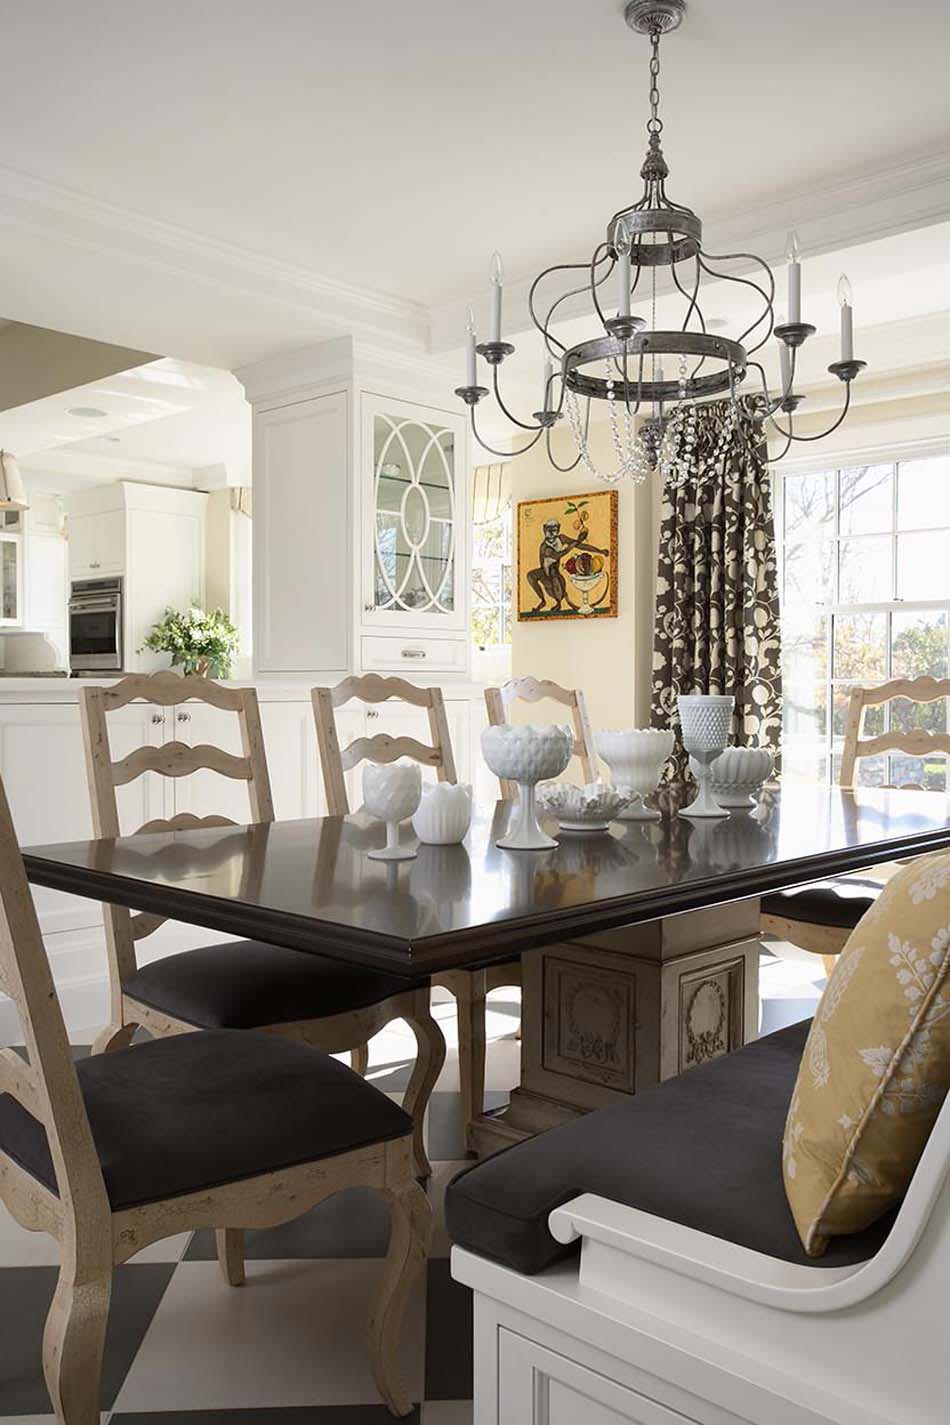
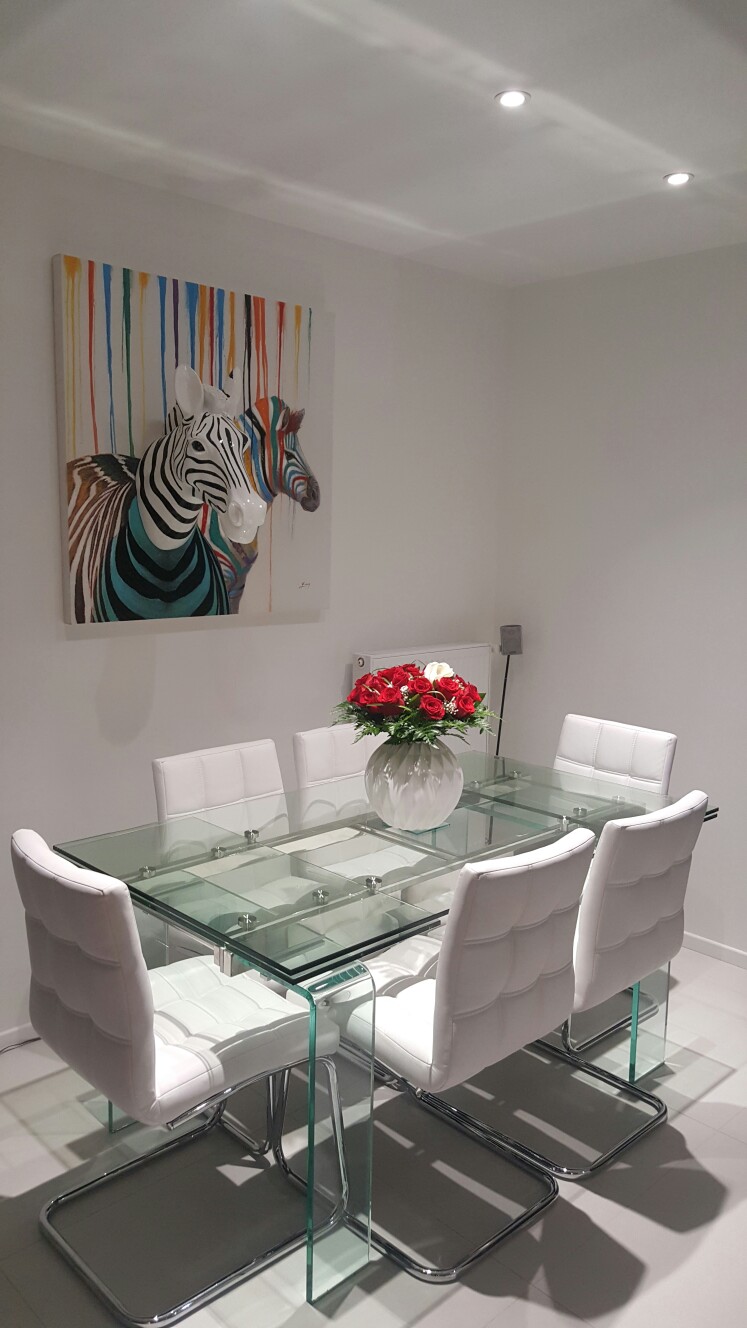
As we see, there are many opportunities to create a beautiful unique thing with our own hands. The main thing is that the work gives you pleasure, and the finished volumetric picture fits into the interior and becomes a source of pride for its skillful and hardworking hands.