Laminate on the ceiling - original do-it-yourself decor (22 photos)
Content
Laying a laminate on the ceiling is a rather complicated and costly process in terms of time and effort. But you can finish this material yourself without the help of construction crews. Let's try to learn the technique of creating a laminated ceiling with our own hands.

Advantages and disadvantages
The use of flooring in the design of the ceiling has many advantages. And although the strength and resistance to deformation inherent in a laminate is not so important in this matter, such an original ceiling design has many advantages that distinguish it from traditional versions with stucco, paint or tensile structures.
- Laminated ceiling is able to serve its owners for more than a dozen years. Due to the absence of mechanical impact, the boards retain their excellent appearance for a long time.
- Laminate dies are easy to clean. To remove stains, you need to have only water and a piece of soft tissue on hand.
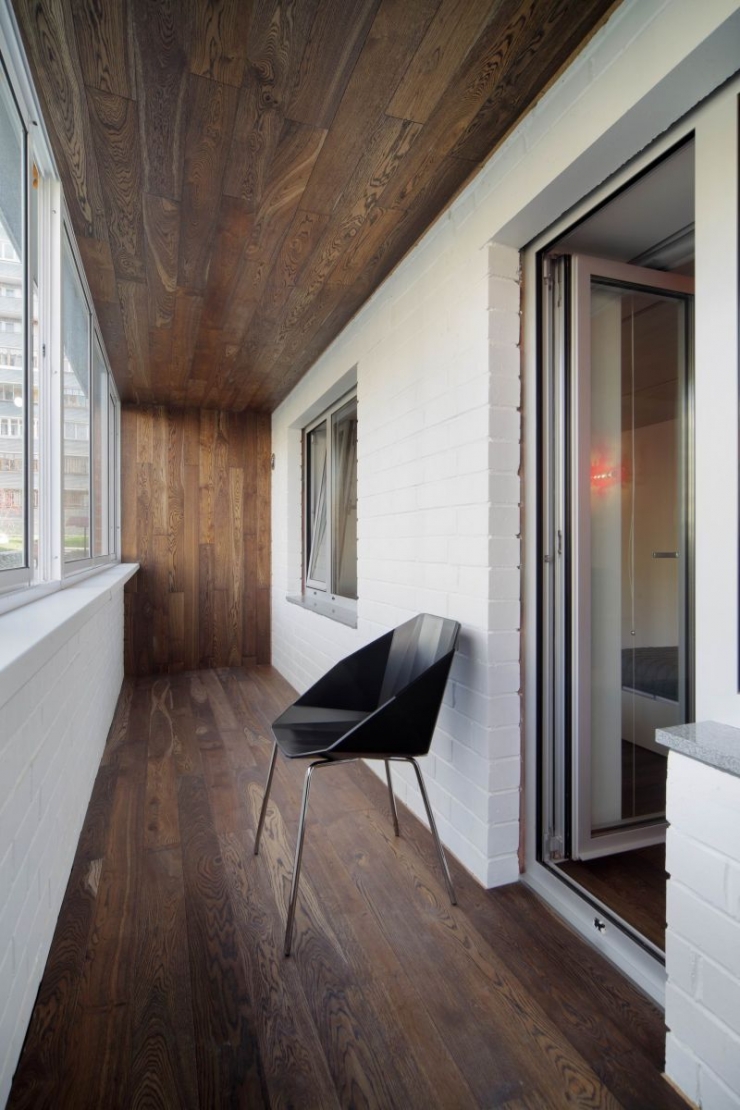
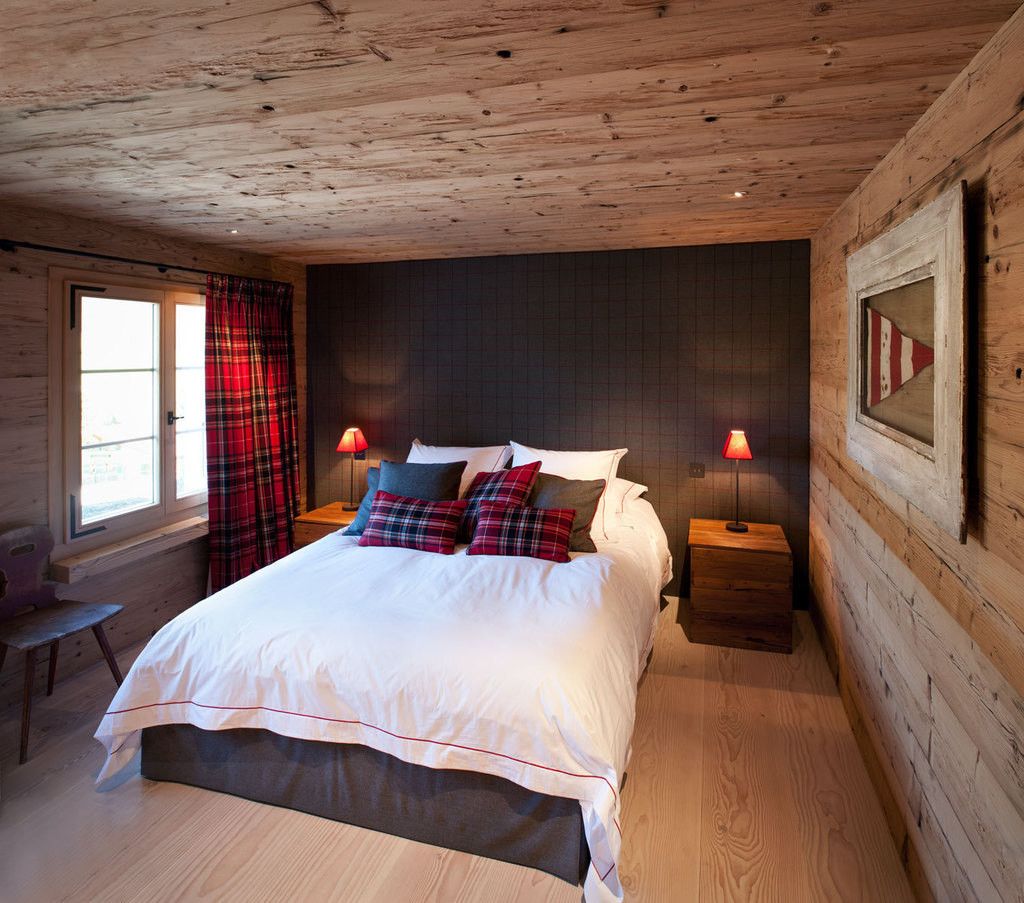
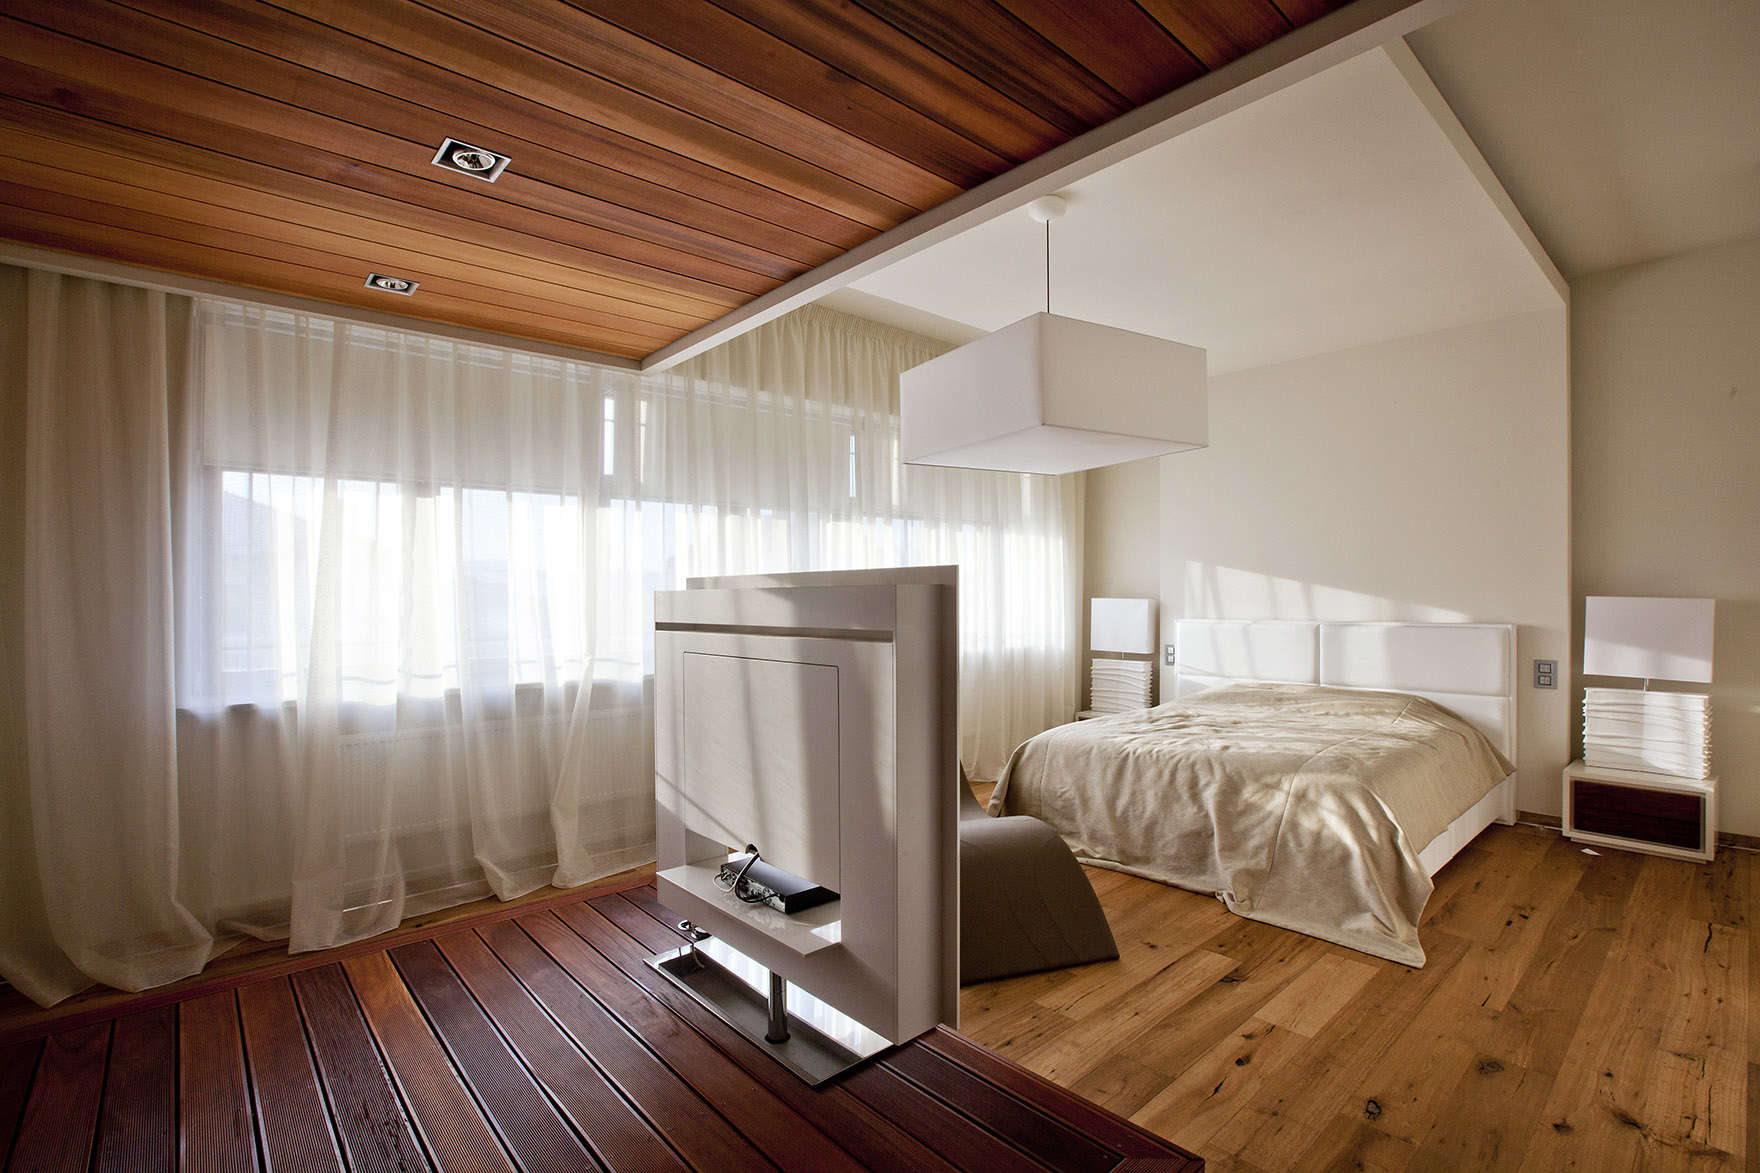
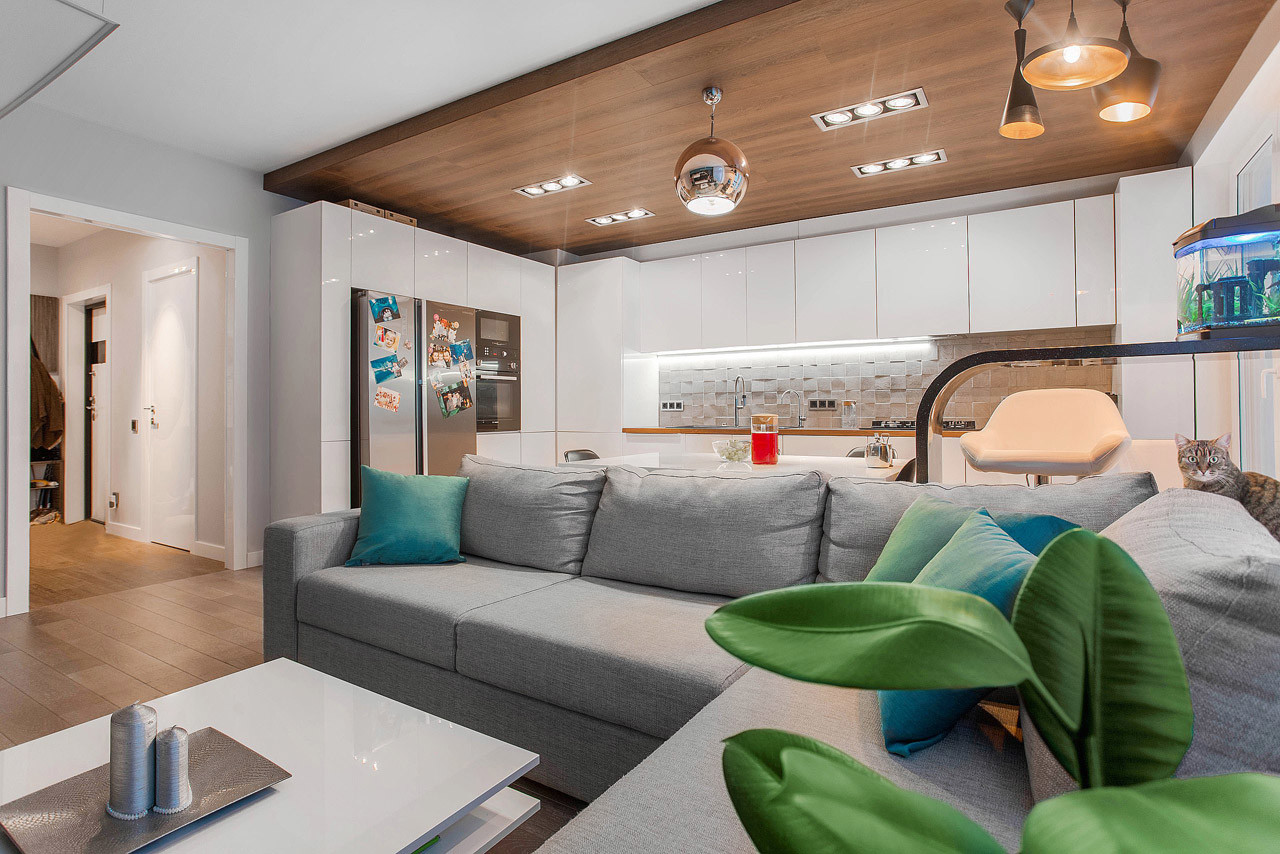
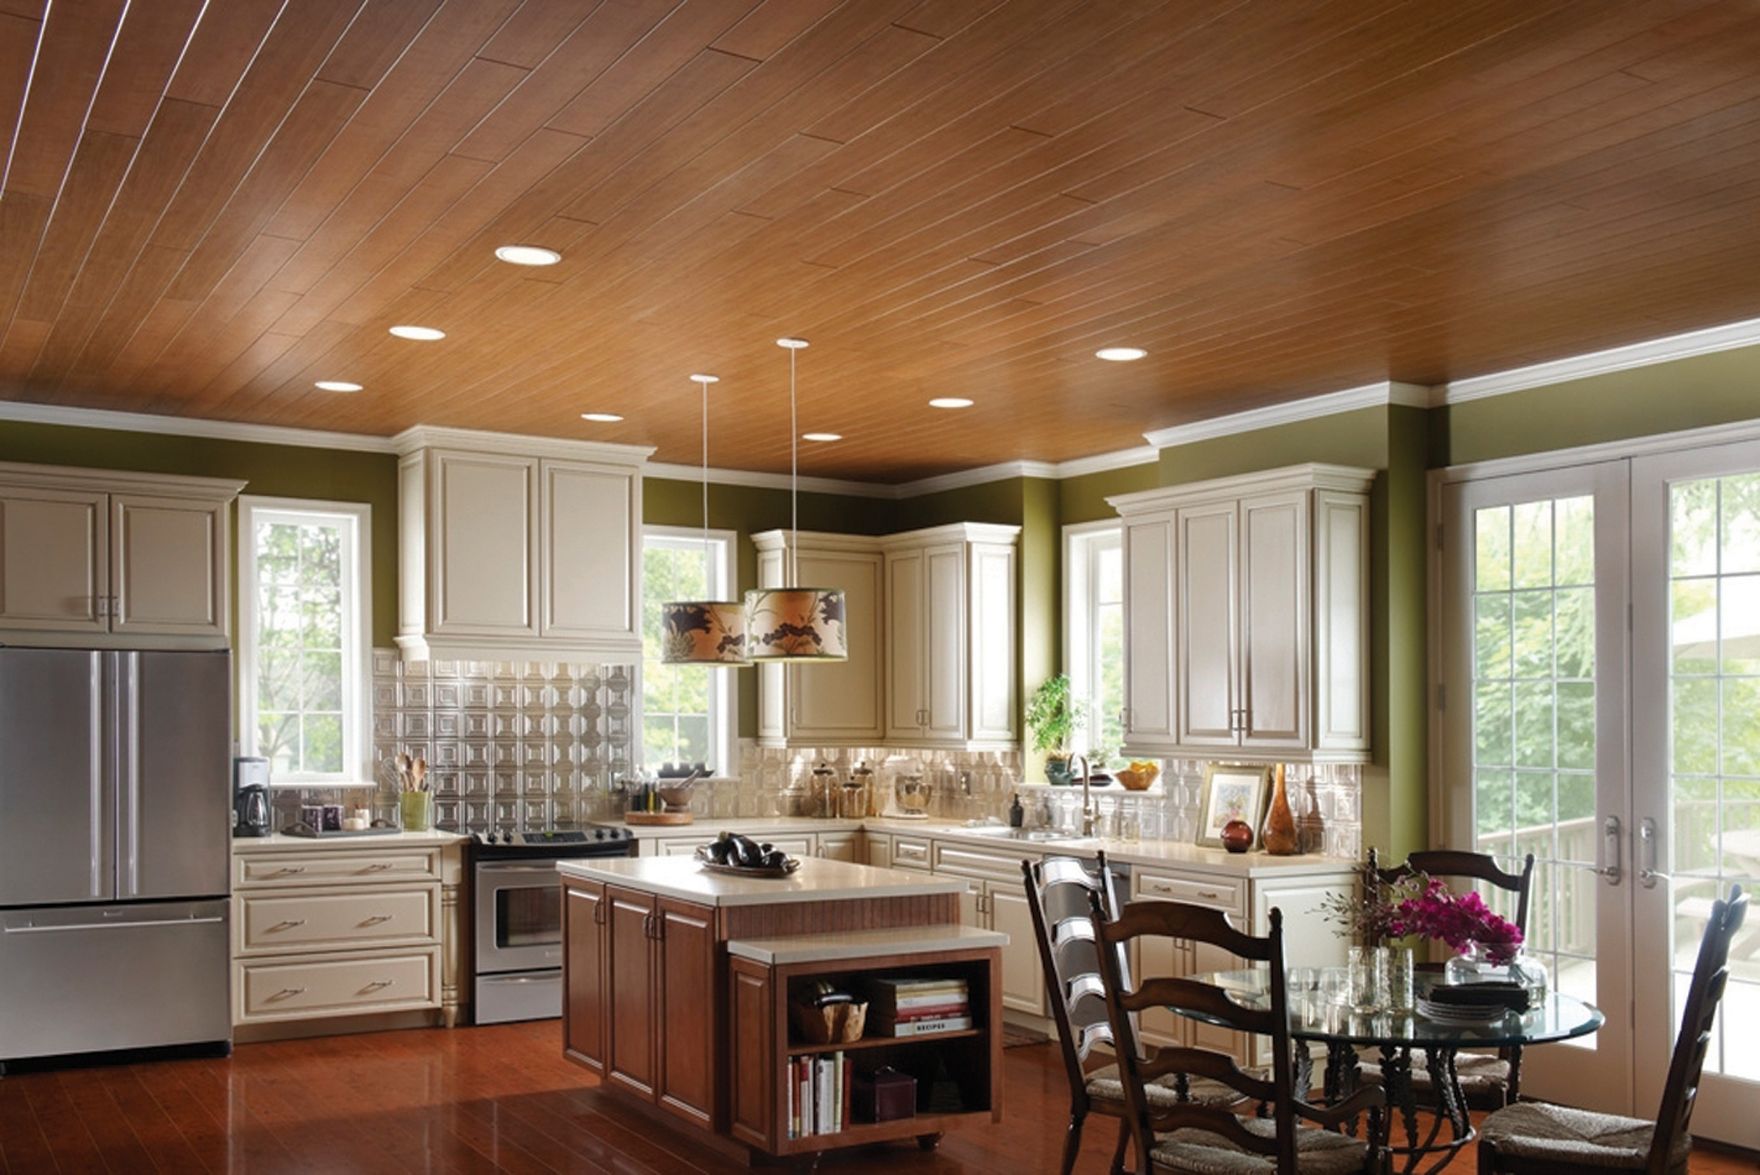
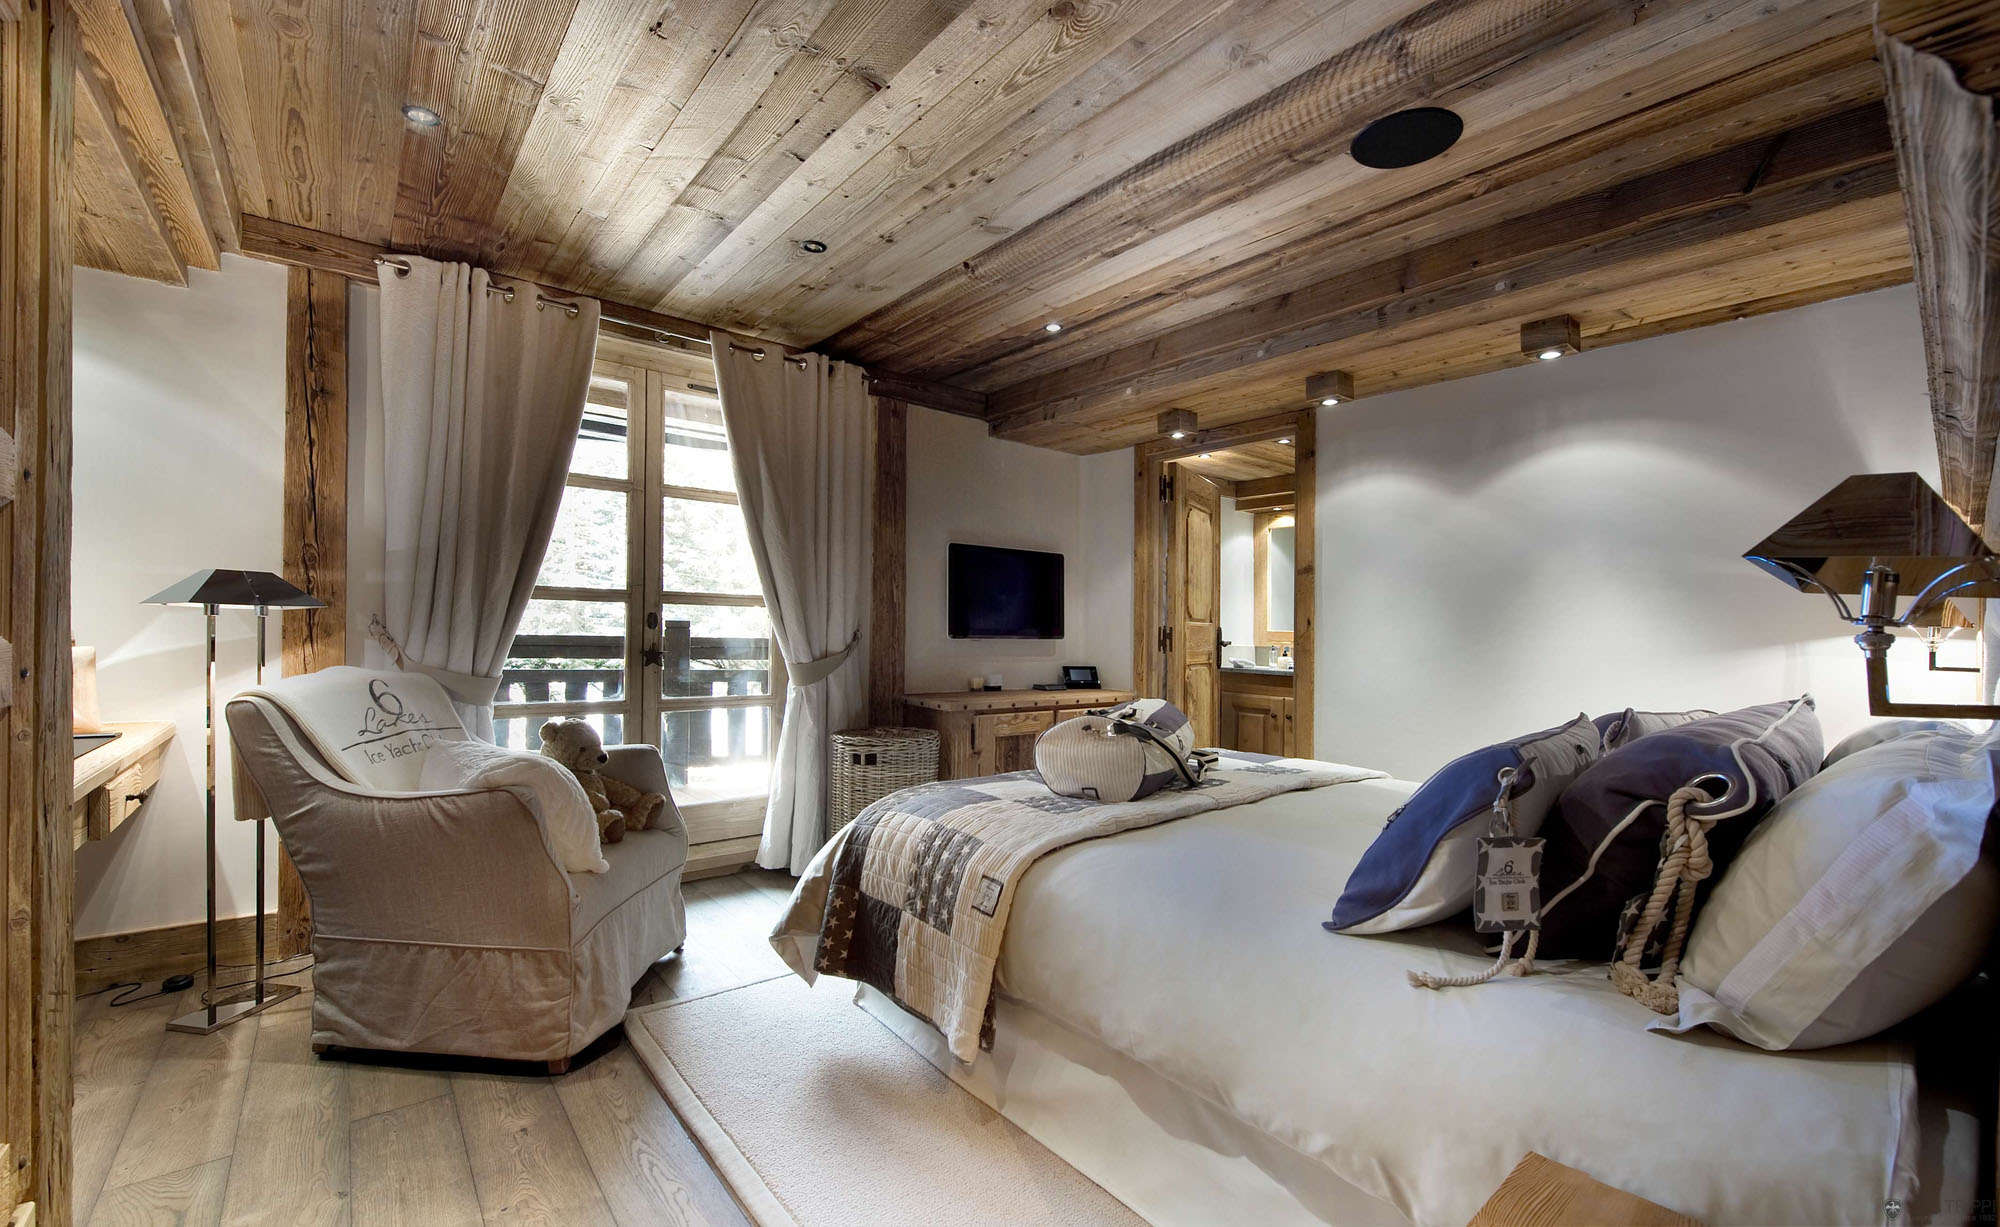
- A wide range of materials allows you to create a unique pattern and complex surface texture that can surprise even a seasoned designer.
- If you use additional sound-absorbing materials when laying the laminate on the ceiling, scandals and noisy parties of your neighbors will cease to be your cause of insomnia and bad mood.
- Laminate flooring has a reasonable price, and if you purchase it during seasonal and holiday events, you can significantly reduce repair costs.

Of course, a full assessment of the use of the laminate for decorating the ceiling is difficult to give, without knowing the disadvantages of this material.
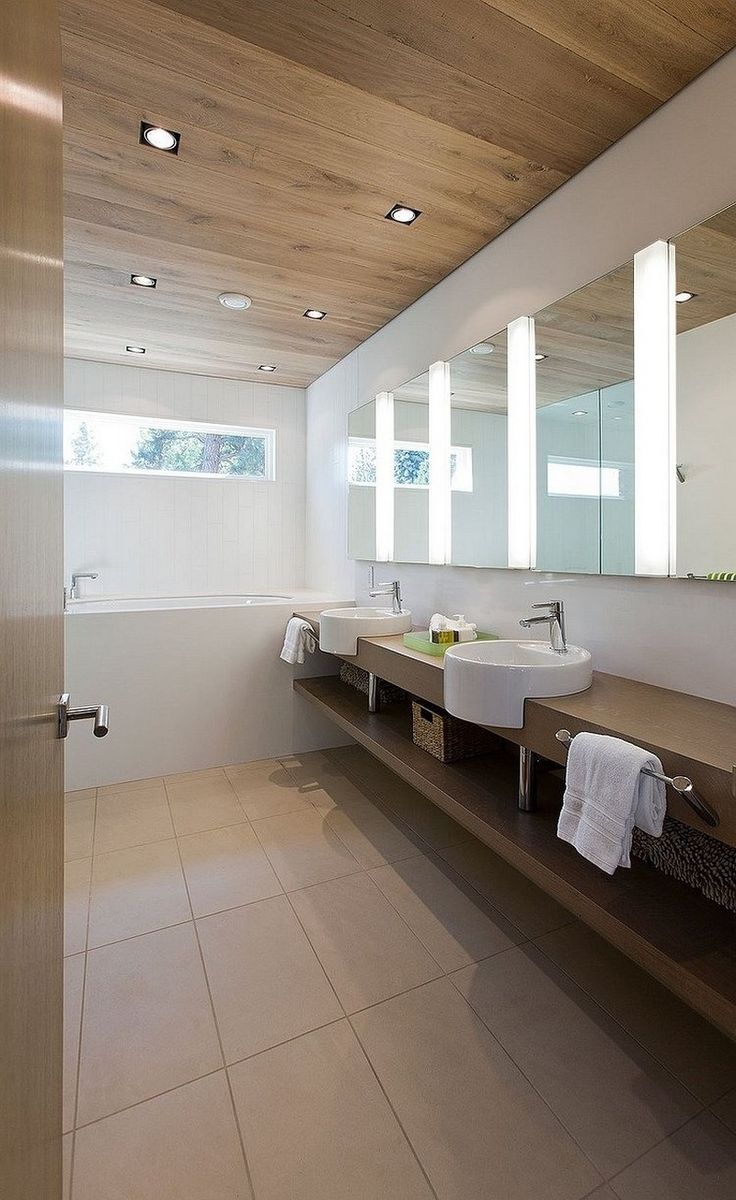
- Laminate does not tolerate high humidity, so this material can not be used in bathrooms and the working area of the kitchen.
- If you are flooded with your favorite neighbors, you will have to dismantle the ceiling. In order to avoid such troubles, it is necessary to organize a reliable waterproofing.
- Laminate is one of non-natural materials, and glue is used in its manufacture. When the boards are heated, vapors of chemicals are released. Experts recommend using the room for living only two weeks after the completion of the repair.

Laminate selection criteria
If, after reading the first section of the article, you decide to lay the laminate on the ceiling, the initial stage in the implementation of this project will be the choice of material. To date, there are no models suitable specifically for laying in the upper part of the room.
When buying material, do not pay attention to such indicators as strength and resistance to mechanical stress. Choose the lightest and thinnest boards that will not burden the structure in particular and the interior as a whole.
Choose the length of the dies depending on the dimensions of the room. Laminate on the ceiling should be laid with a minimum number of joints. Remember that too wide products make it difficult to install the ceiling, because putting such dies is very difficult.


First, determine the degree of ease and ease of installation, and from these options, choose models with the desired pattern and texture.
Buy all material in only one store.Each package must bear the same serial number.
Experts recommend buying not a measured number of boards, but 15% more than necessary. During the finishing process, dies can be accidentally deformed and they will have to be replaced.

Methods for finishing the ceiling with a laminate
It’s easy to fix the laminate on the ceiling. At the moment, there are two technologies for laying material, you just have to familiarize yourself with the intricacies of each technique and determine the most convenient way for you.
Regardless of the choice, preparatory work should be carried out in both cases. A couple of days before the project, bring the laminate in the room where the installation will be carried out, and lay out all the boards on the floor. This will help the dice to “acclimatize” and take the desired shape.

Glue the laminate
I must say that the laminate on the ceiling should have a perfectly flat surface and a minimum number of joints. Since gluing the boards to the ceiling requires its preliminary alignment, due to the complexity of the process, it is advisable to use this technique only in cases where a decrease in height is unacceptable.
Surface leveling is a very time-consuming and time-consuming process. The ceiling must be sheathed with sheet material, putty several times, and only then coated with a primer. The process uses two-component adhesive, which, until it dries completely, releases harmful substances into the environment. Having decided on this work, get ready to carefully follow the instructions for using the glue.

Step-by-step instructions for gluing the laminate to the ceiling:
- Treat the selected surface area with adhesive.
- Seal the grooves with sealant to increase structural strength.
- Start decorating the ceiling from the far left corner of the room.
- After gluing one board, treat the surface with glue, and without applying the second board to the ceiling, connect the locks and press the die.
- During gluing, use special supports that will hold the structure until the composition dries.
How to fix the laminate on the ceiling in a small room?
If you decorate a small part of the ceiling in this way or paste over a small surface, you can fasten the locks on the floor. Then you just need to apply glue to the ceiling and attach a laminate to it.
Now you know how to make a laminate ceiling with glue and supports. I must say that the process is very laborious, because for the strength of the structure and the absence of pronounced seams, it is necessary to knock the dies to each other. Such manipulations can deform the canvas, and some elements will begin to peel off. Experts recommend hammering small nails into the groove. This will help to avoid the displacement of boards and the appearance of bumps.


Installation of the laminate under the frame
This technology is used much more often, and this is no accident. Laminate is laid on the ceiling in a matter of hours, and the technique does not require preliminary surface preparation. Installation is simplified by the absence of wet and dirty processes.
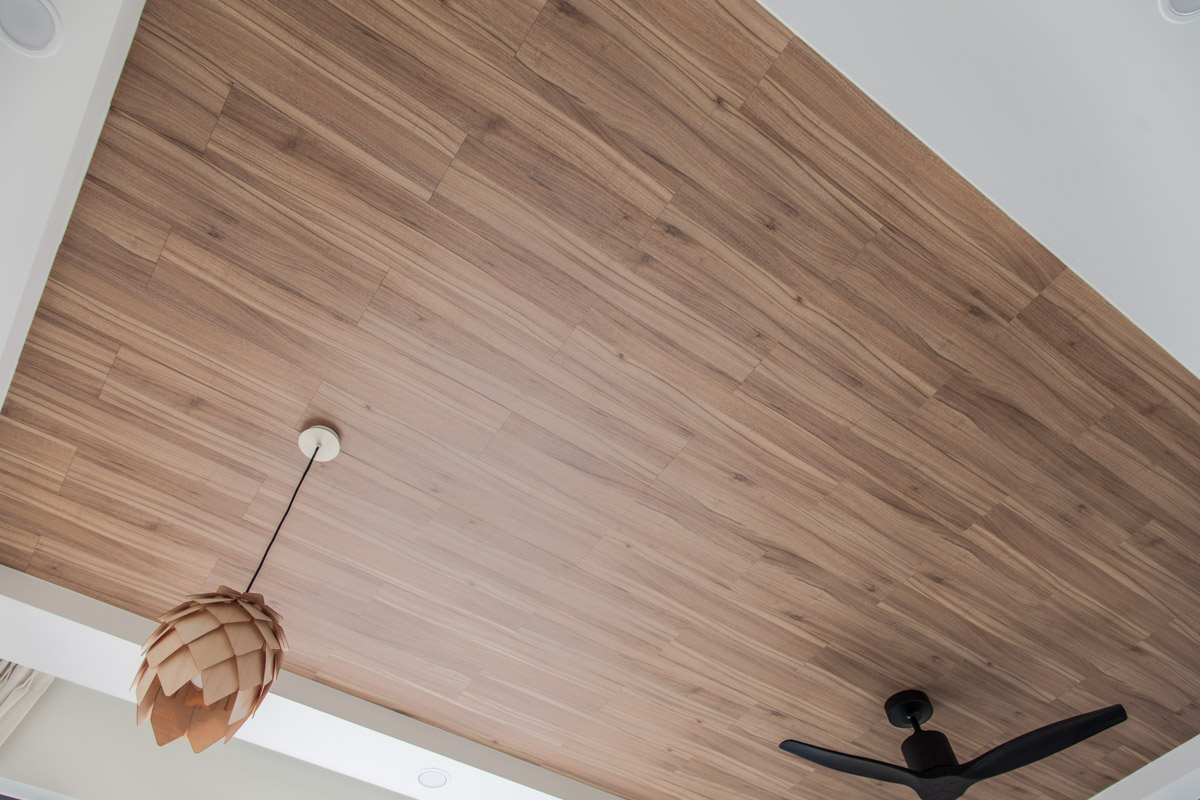
This option is convenient in that under the laminate you can hide all the necessary wires for lighting, which greatly increases the aesthetic appeal of the ceiling. Hiding everything unnecessary under the ceiling, you can install various lights, including spotlights.
To date, there are two options for installing the laminate on the ceiling. During installation, metal profiles or wooden beams can be used. Of course, environmentalists argue in favor of natural materials, but experts say that the metal structure is the key to strength and durability.


Step-by-step installation instructions
- Determine the level and hit it on the walls. This stage can be decisive in the issue of aesthetic attractiveness of the future ceiling.
- Use the laser level to determine the level.Install it to the center of the ceiling and determine the installation points of the side skirting boards.
- When covering the ceiling with a laminate, install the frame elements across the room. The first boards should be laid perpendicular to the wall on which the window is located. Connect the metal or wooden structure to the ceiling using self-tapping screws with dowels. Follow the step between the elements - it should not exceed 50 centimeters.
- Start laying from the far corner of the room, nailing the boards with small, barely noticeable nails.
- In order to avoid curvature of the structure, observe one rule: between the wall and the board of the laminate there must be an indent 1 cm long.
- Docking of elements is carried out as usual, that is, the lock is first closed, and then the laminate is leaned against the surface and the nails are clogged.
- After laying all the dice, install the ceiling skirting boards.
As you can see, the process of laying the laminate on the ceiling can be done independently. This design of a bedroom, living room or children's room will not only be a stylish decoration of the interior, but its main decor. In addition, the laminate ceiling absorbs noise, and neither you nor your neighbors will no longer wake up from extraneous noise. Now you have learned how to stack this material, and you can do it yourself. Good luck in the repair!