Paintings from fabric: from simple paintings to exquisite works of art by Japanese artists (26 photos)
Content
Creating an individual room design has become very fashionable. Any home-made item of furniture can be a highlight of the situation and give the room a unique sophistication. And this fully applies to paintings made of fabric. If you harmoniously use / combine fabrics, then the products will look expensive and stylish.
Features of paintings from fabric
Such things are very practical and low cost. Since to create a magnificent man-made work, large pieces of fabric are not required. Residues from sewing, unnecessary clothes from different fabrics - everything will go to work. If the picture is made of new material, then you should not be trifled, because a cheap fabric will look modest, and it can easily be torn.
Due to the simplicity of making a picture of a fabric with their own hands, such things can easily be created by beginner needlewomen. Naturally, patience and practice will be required, but the main component of the future masterpiece is creative inspiration, because it is the flight of imagination that will help to create an unusual picture.
Creativity is interesting and in demand at any time. Fashion and styles are changing, but individuality has always been, is and will be in price.
Making paintings from fabric is quick and easy
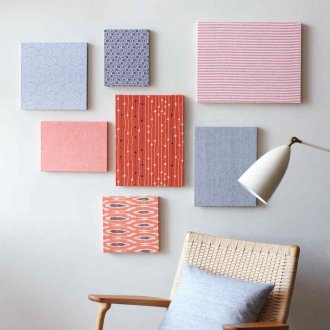
The most common options for a frame or base are wood and foam. When choosing, it is taken into account that wooden frames are even and hold fabric better. A frame is not required for a picture on polystyrene (the fabric is pressed into a soft surface). The choice is determined by the technique of making the future picture.
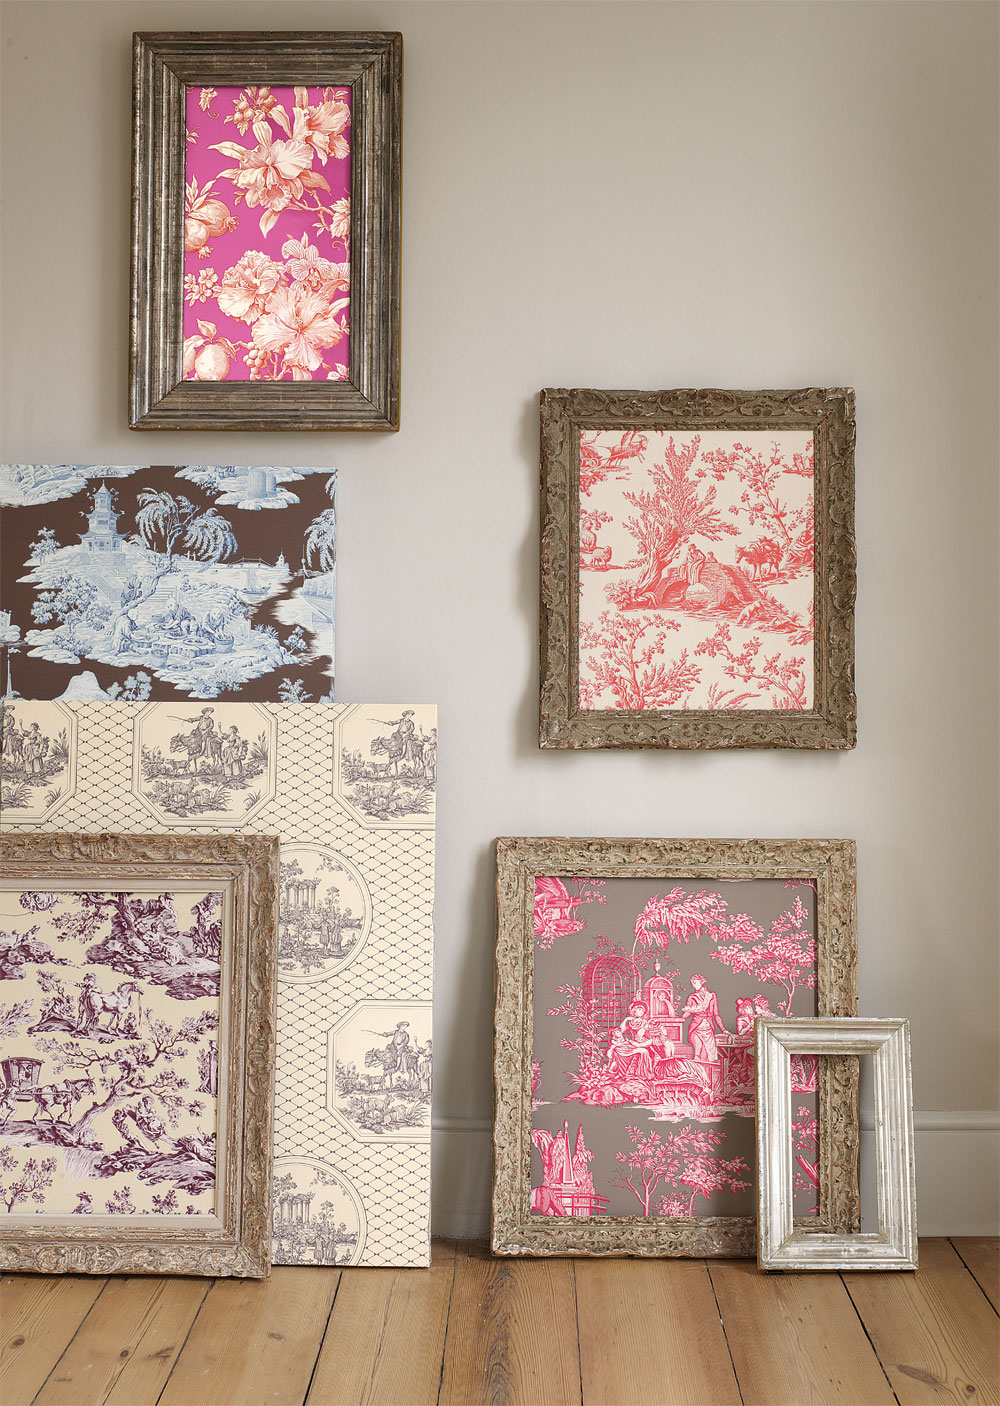
Fabric preparation is the main and special moment. What kind of textile to prefer, the needlewoman decides on her own on the basis of an idea, the future purpose of a picture made of fabric (as an interior decor or gift). As an option, you should pay attention to materials with a bright print or an unusual pattern / ornament. Sometimes drawing a fabric is already a self-sufficient topic for creating a picture, because it is not for nothing that some successful designers use such a decorative technique to create a harmonious interior.
When using a wooden stretcher, the piece of fabric should be 7-10 cm larger than the frame size (this also depends on the thickness of the wooden planks).
So, to translate ideas into reality you will need:
- frame, piece of fabric;
- scissors, furniture stapler, small nails, hammer.
A piece of fabric is carefully ironed. This will help to avoid bloating and bruising in the picture. We lay the frame on the straightened textiles, trying to leave an even supply of material from all sides.
The fabric is tucked (so as not to fray) and laid on the bar. The material is fixed with a stapler. Then the fabric is tucked and slightly stretched on the bar from the opposite side. The canvas is beaten with a stapler. At this stage, we must try to avoid the formation of "bubbles" and distortions of the fabric, so first the material is attached in the corners and in the center of the wooden battens, and then the fabric tension is additionally regulated, and it is most often nailed to the frame.
Similarly, the fabric is fixed around the perimeter of the frame. The picture is ready and can decorate the room.
After some time, cloth applications can be glued onto the canvas.So the picture will support changes in the interior or the mood of the owners and will always remain relevant.
How to make a colorful picture of the remnants of fabric?
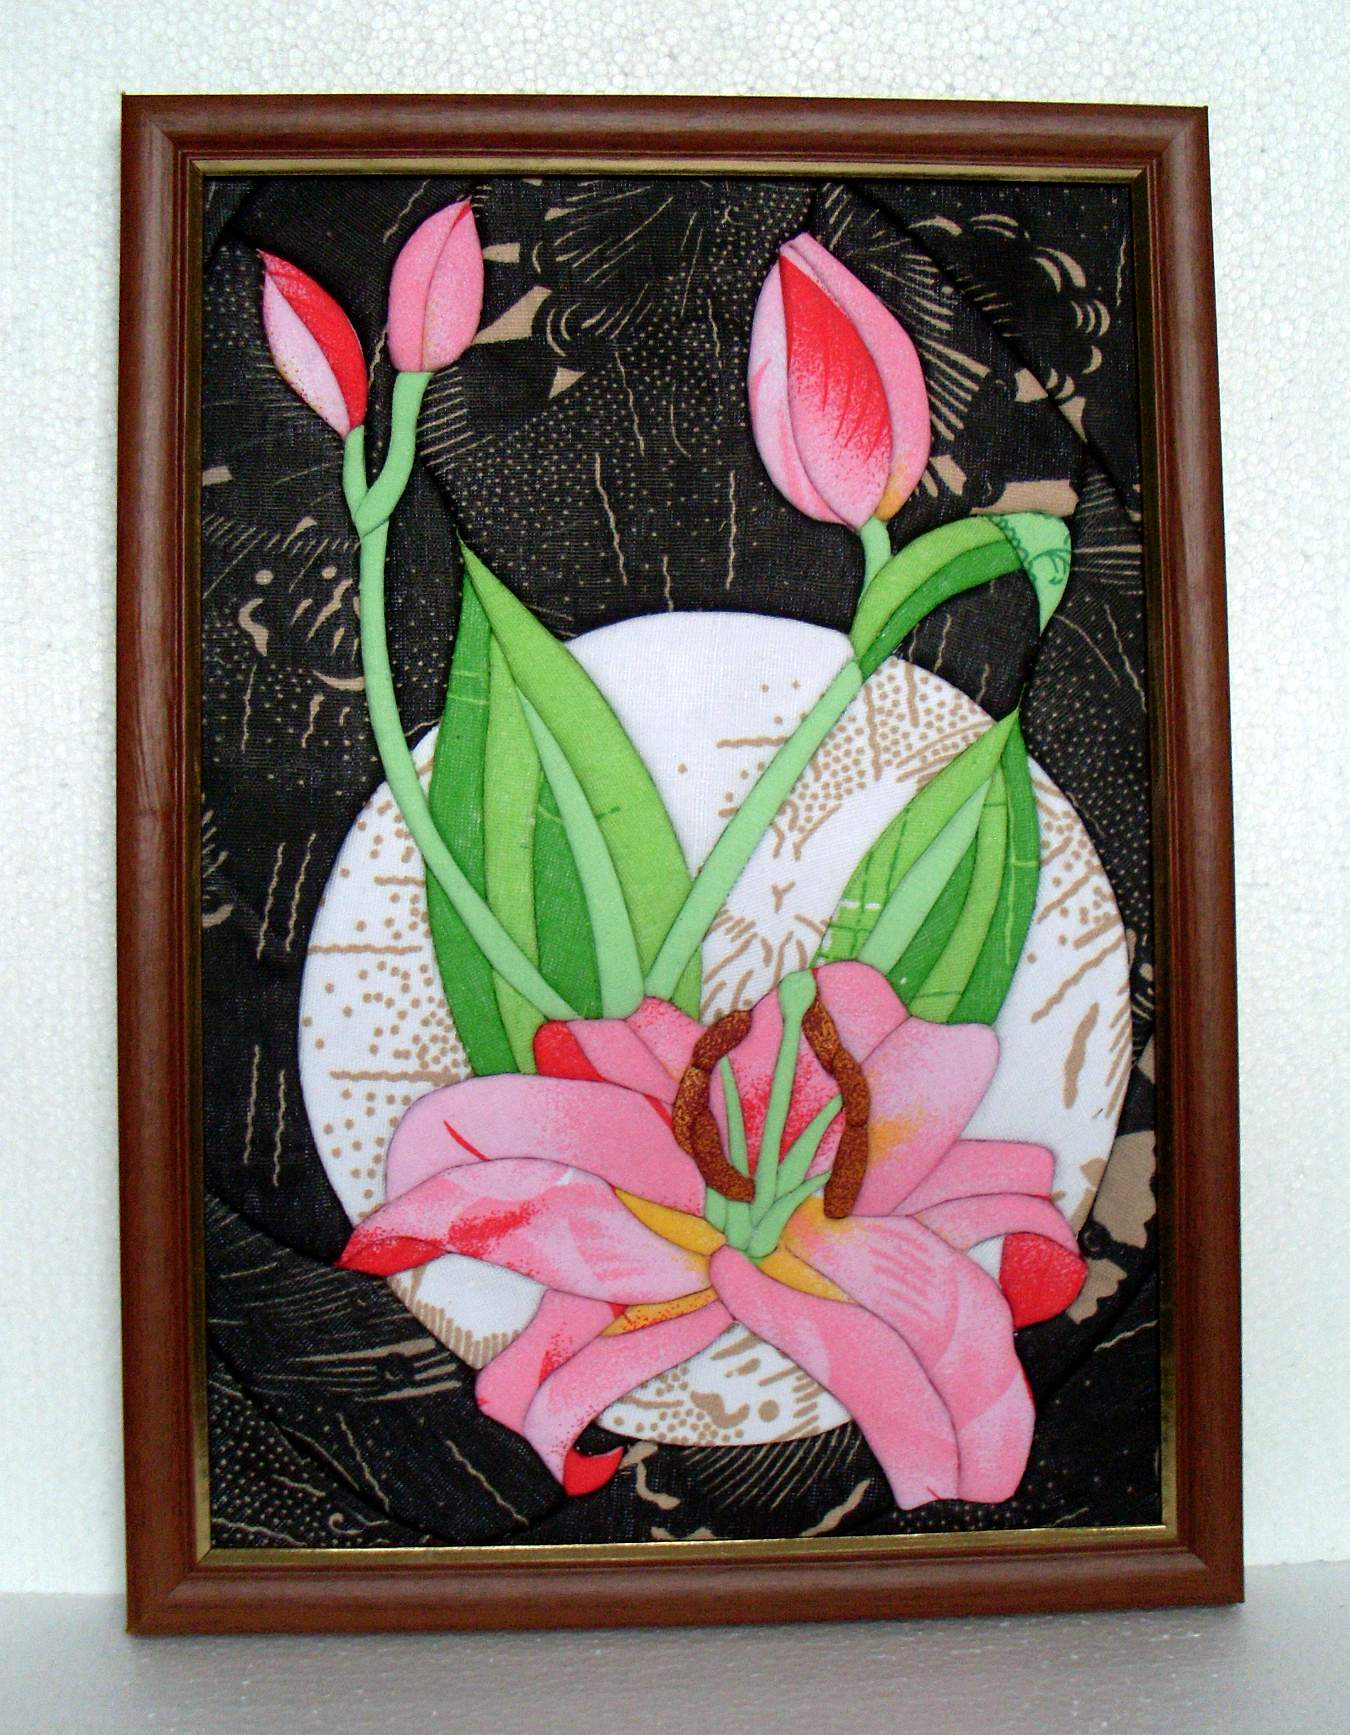
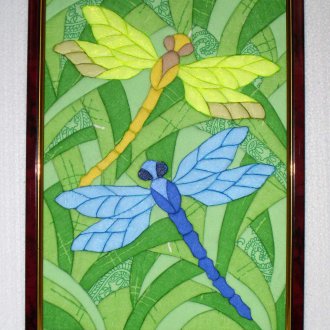
For such products, it is better to use foam. A similar technique for creating paintings came to the world from Japan and is called kinusayg (you can say patchwork without a needle). It was the desire of the Japanese to use expensive fabric from old kimonos that turned into real art.
To work, you need to prepare a drawing, a ceiling tile made of polystyrene with a flat pattern, a breadboard knife, scissors, a pencil, glue, sewing pins, a frame for photographs of a suitable size.
The cardboard base is removed from the frame and glued to the foam. The excess is trimmed, and the workpiece is placed for 2 hours under the press.
- The foam is covered with a layer of glue and a pattern is glued.
- Each line according to the drawing is carefully cut with a bread knife. We must try to ensure that the depth of the grooves does not exceed 5 mm.
- Pieces of fabric are selected from the picture. The details of the drawing are cut out of them (2 mm allowances are left along the contour of the parts).
- A piece of fabric is laid on the corresponding section of the foam and pressed into the prepared grooves. Sharp movements should be avoided so as not to cut the fabric and damage the foam layer. It is necessary to fill the picture of the shreds from the middle, otherwise the extreme details during operation may fall off.
- The entire canvas of the drawing is filled. The finished picture is inserted into the frame and hung on the wall.
In the manufacture of such works, it is not necessary to take ready-made images. You can draw patterns / ornaments yourself.
Volumetric paintings from fabric
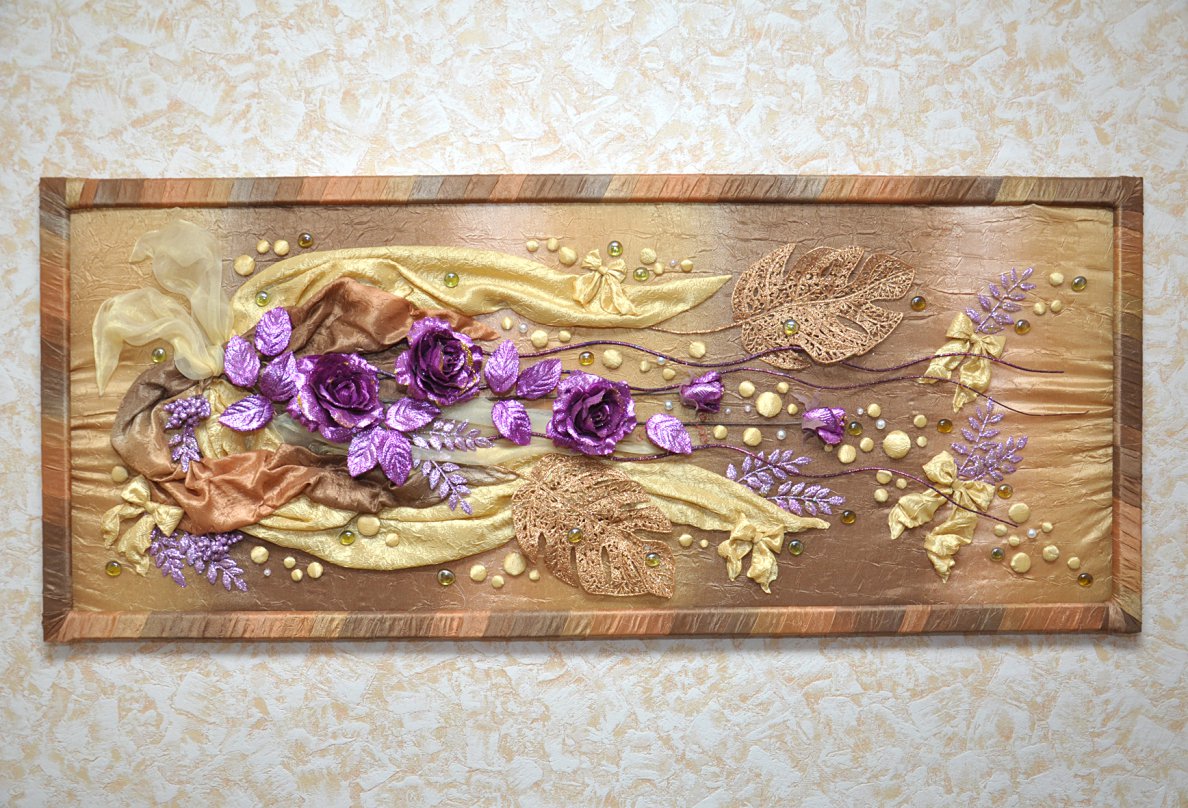
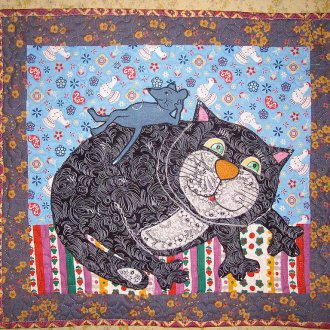
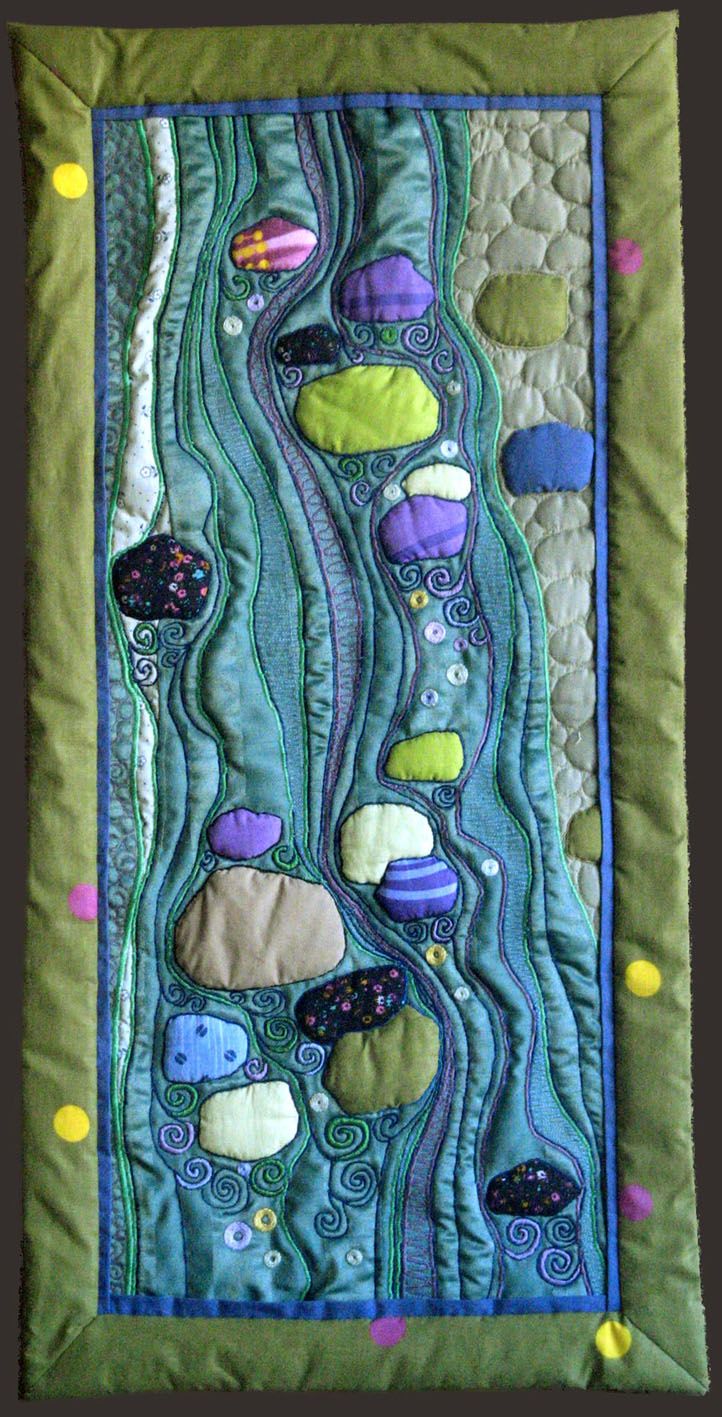
To create such products, any residual materials are used. Due to the different texture of the fabrics on the canvas creates a volumetric effect.
As the frame of the picture from pieces of fabric, you can use plywood or cardboard. An interesting pattern is selected and printed on a color printer.
The pattern is glued to the base. Parts of the picture are cut from shreds of fabric of different textures and pasted onto the drawing. To give additional volume, you can put pieces of synthetic winterizer under the material.
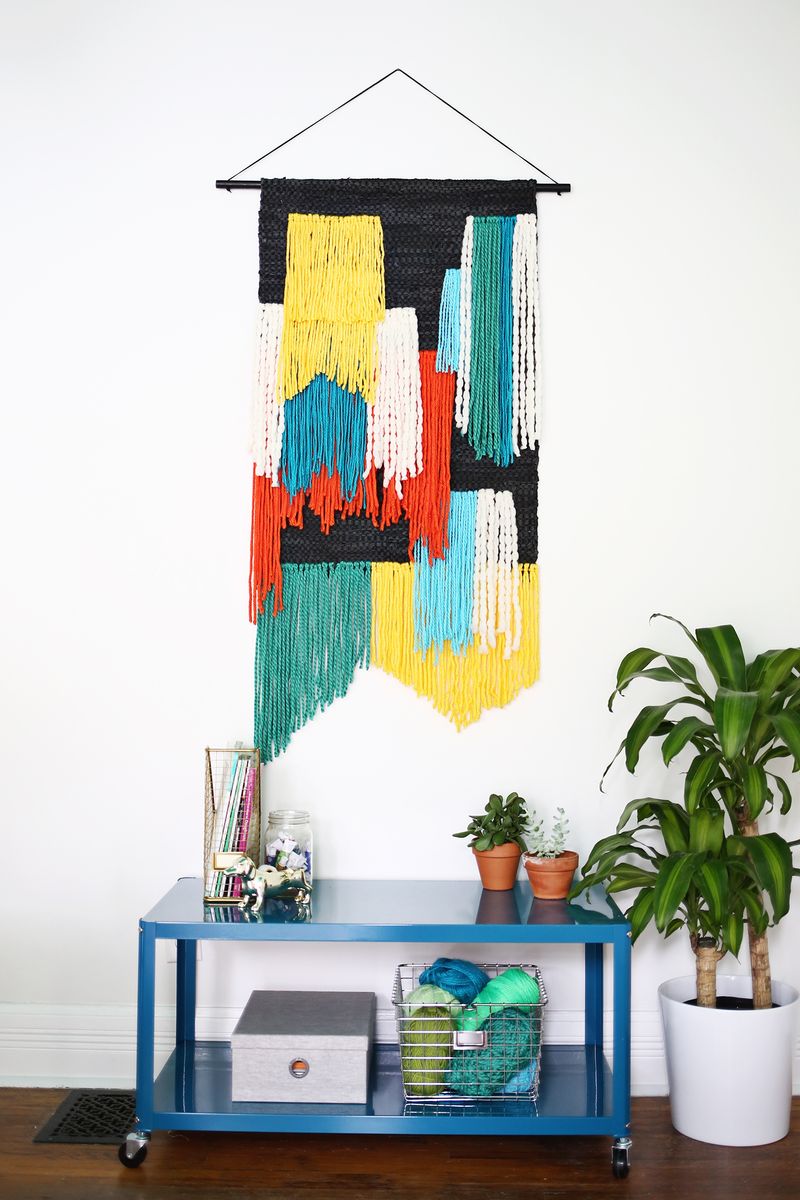
The unifying element of the picture will be the threads. Multi-colored threads for knitting are laid out along the contours of pieces of fabric and glued with hot glue. If the threads are neatly laid along the borders of the shreds, you get a dense multi-colored picture. If the plot of the figure suggests the presence of separate air-volume sections, the threads are not glued tightly.
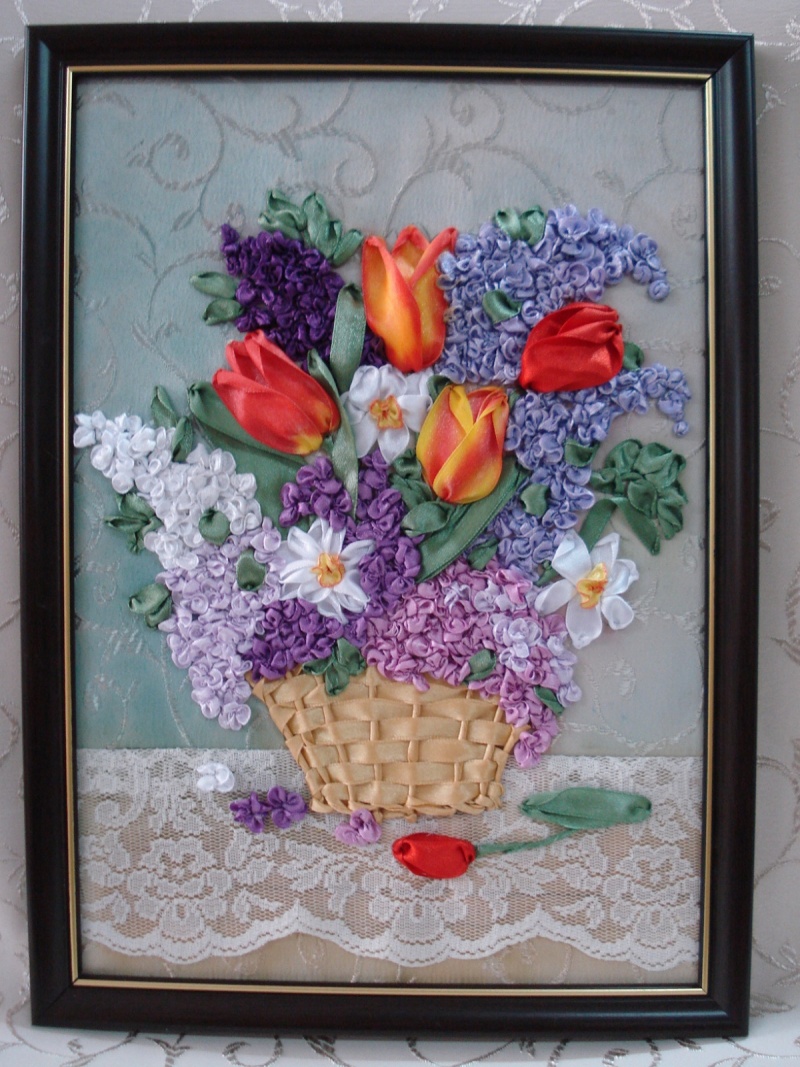
Thanks to the technique of applying fabrics, you can create colorful paintings from scraps of fabric.
Fabric Painting Tips
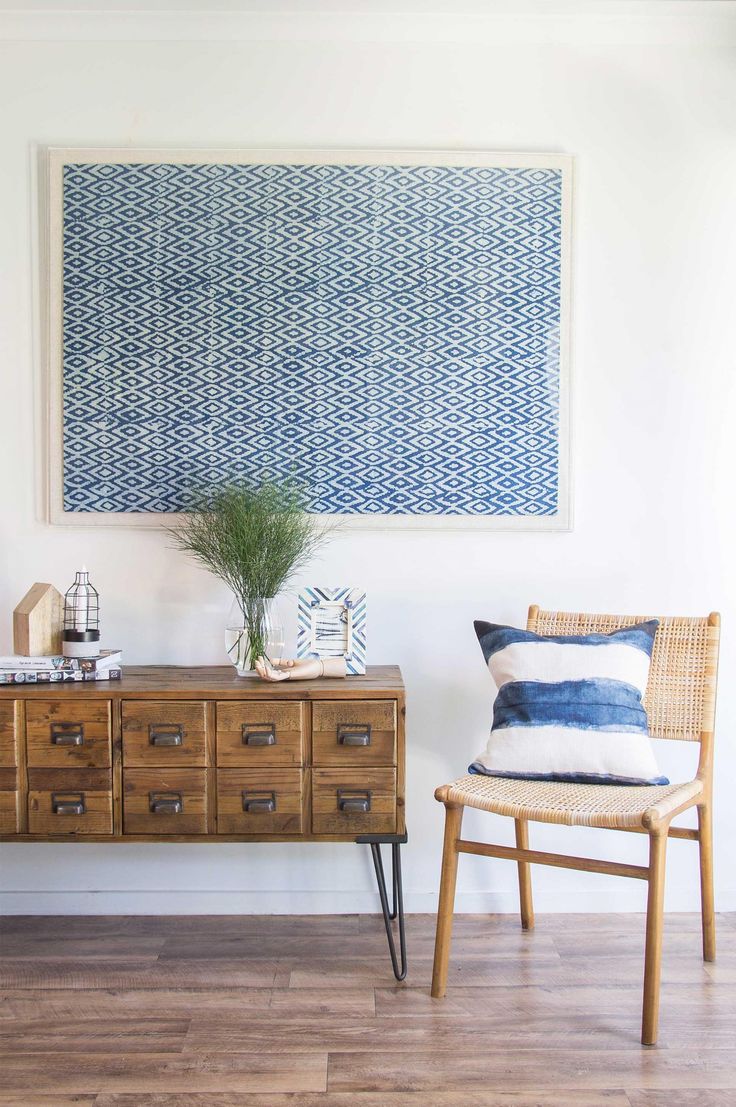
The material should be combined with the decoration of the room. If the textiles differ in the main background, then select fabric with motifs / patterns that repeat the pattern / color of the furniture upholstery. Or vice versa, if the background of the material repeats the color palette of the room's decor, then drawings / ornaments can be contrasting details of the design.
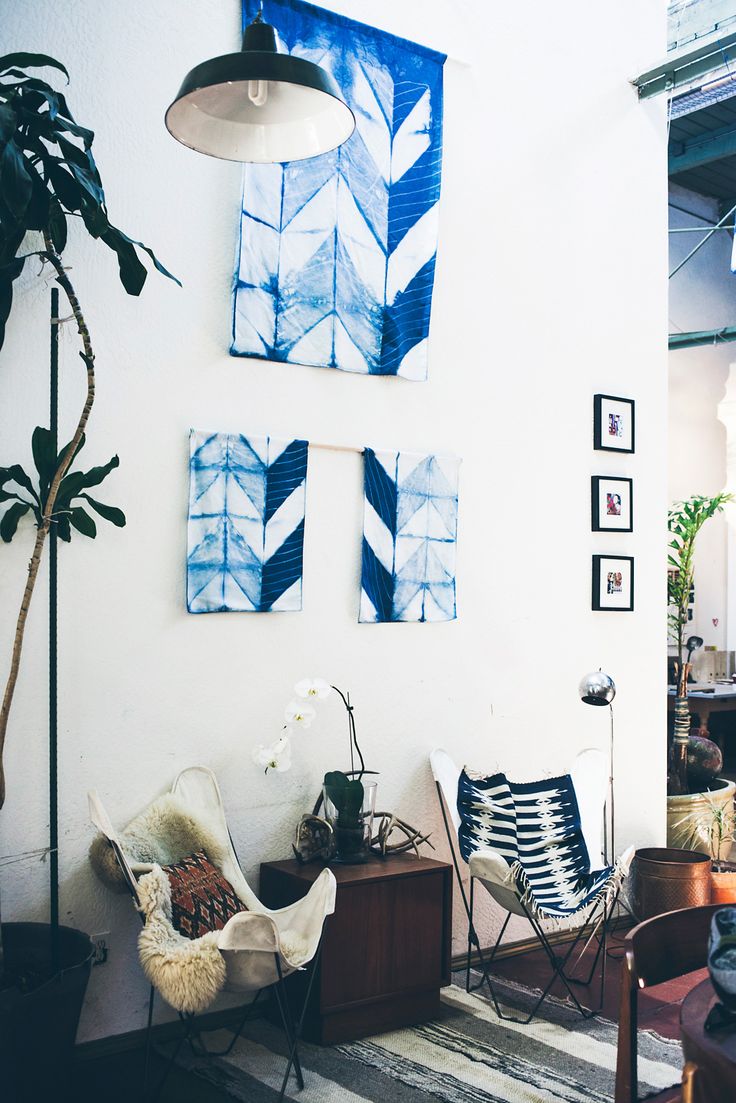
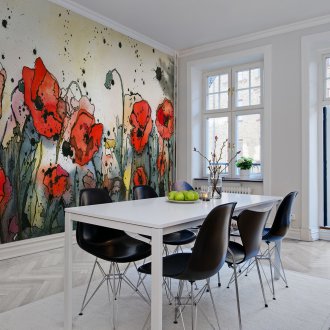
The mood of the picture must necessarily correspond to the style and purpose of the room. Denim paintings will look great in Scandinavian-style interiors. And cheerful unpretentious floral patterns are perfect for the Provencal decoration of the room. The children's room will be amusingly complemented by pictures on polystyrene foam with compositions from geometric patterns. From these pictures, you can quietly teach your child to distinguish colors and shapes.
It is not necessary to use only rectangular or square picture frames. The combination of paintings from different geometric shapes (circle, triangle, square) looks unusual.
A nice feature of creativity is the lack of boundaries of inspiration. You can use different materials and techniques, combine styles and patterns. And the longer you do needlework, the more new ideas and ideas appear.
