How to make a pumpkin for Halloween and a lamp made of paper with your own hands (54 photos)
Content
The oldest Celtic holiday Halloween has surprisingly taken root in many countries. This celebration has its own amazing history, established traditions and recognizable attributes. Interestingly, the holiday is based on a contradictory meaning: worship of saints and glorification of evil spirits.
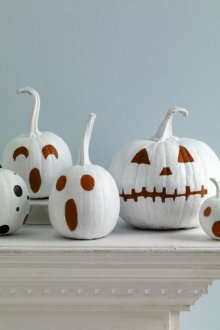
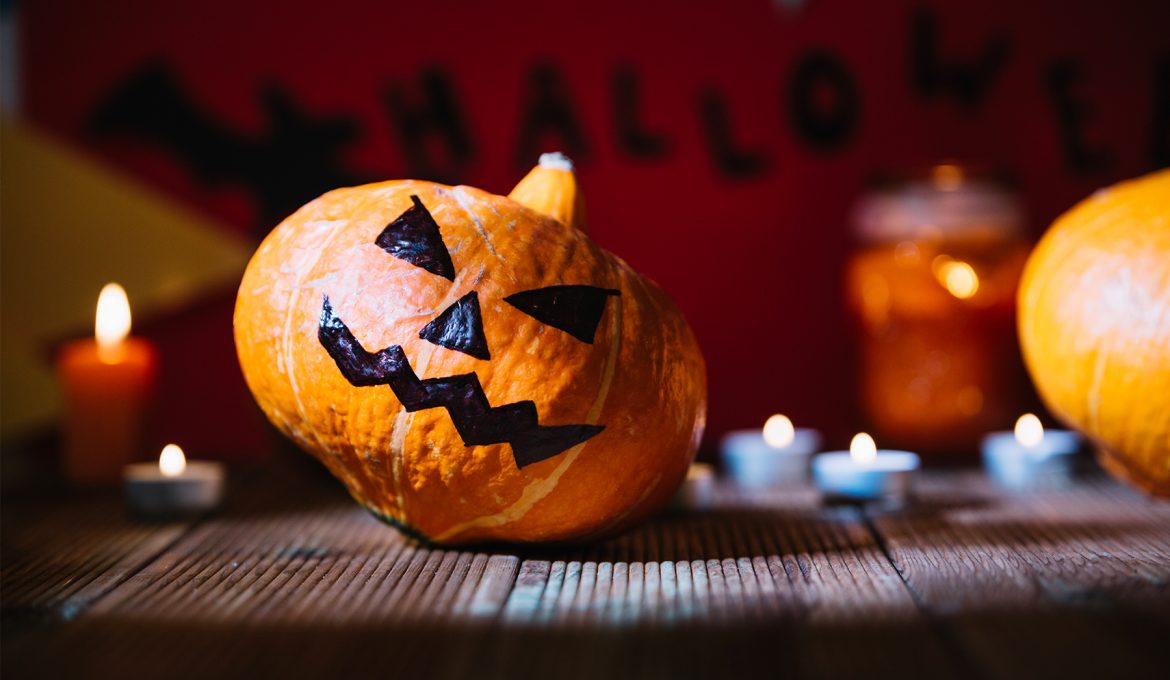
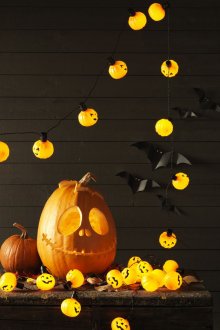
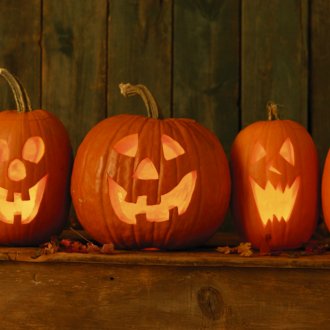
Traditionally, on Halloween everyone prepares for himself a costume of the evil spirit, witch, vampire and other frightening creatures. But the main attribute of the holiday is always a pumpkin lamp - Jack Lantern. They put him on the windows, hang him over the threshold to scare away evil spirits. How to make a pumpkin for Halloween with your own hands - read below.
Why is there a pumpkin among the whole variety of fruits?
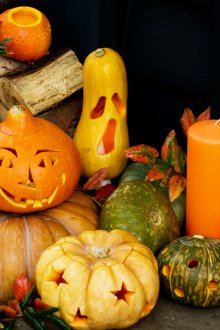
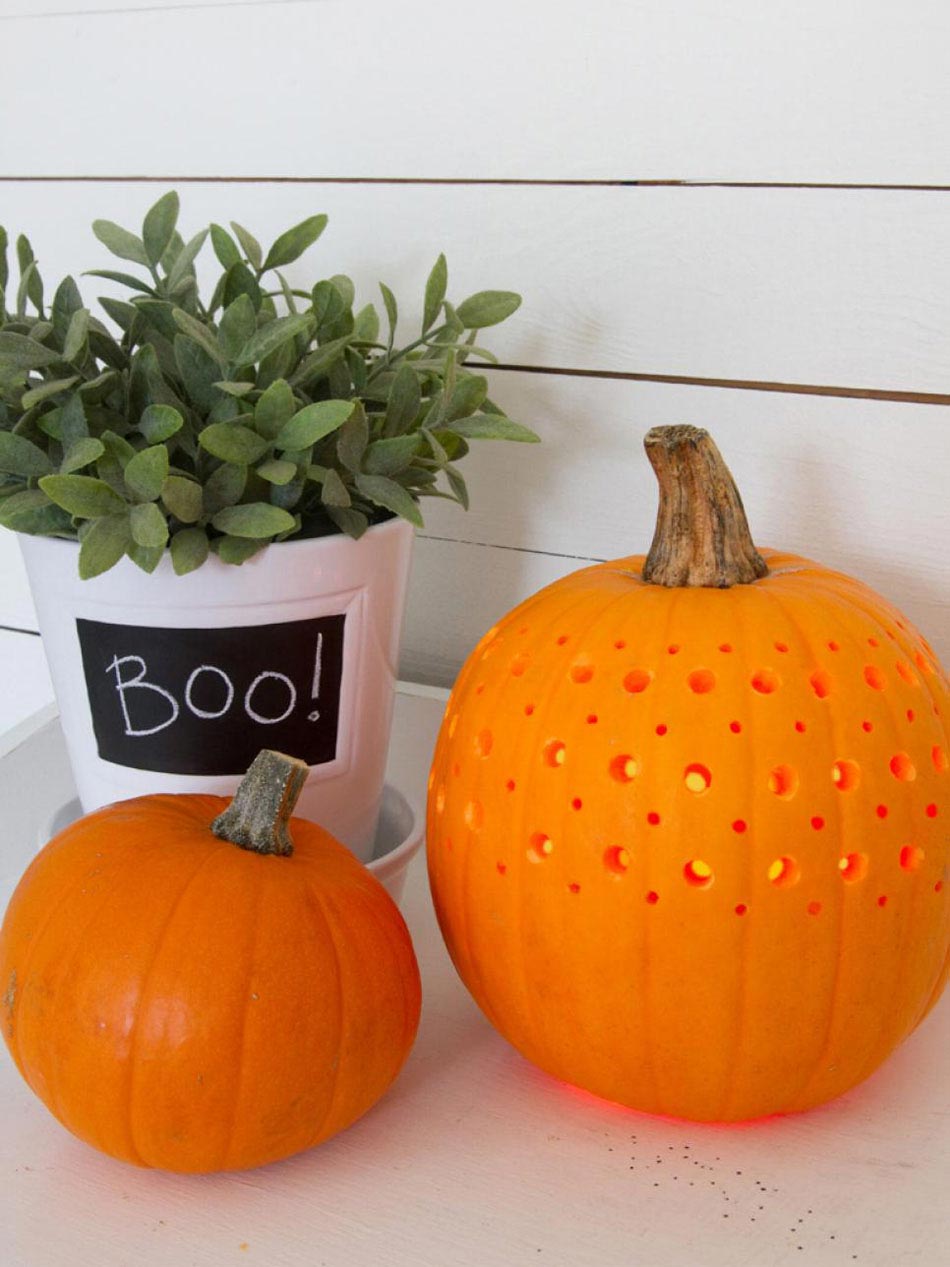
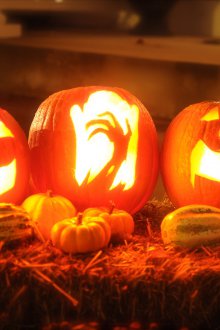
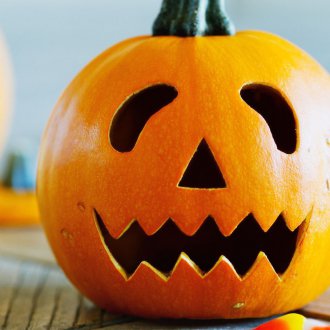
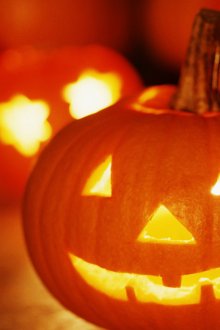
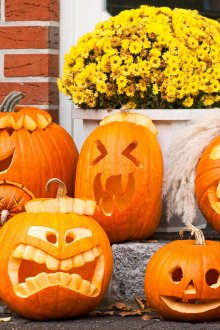
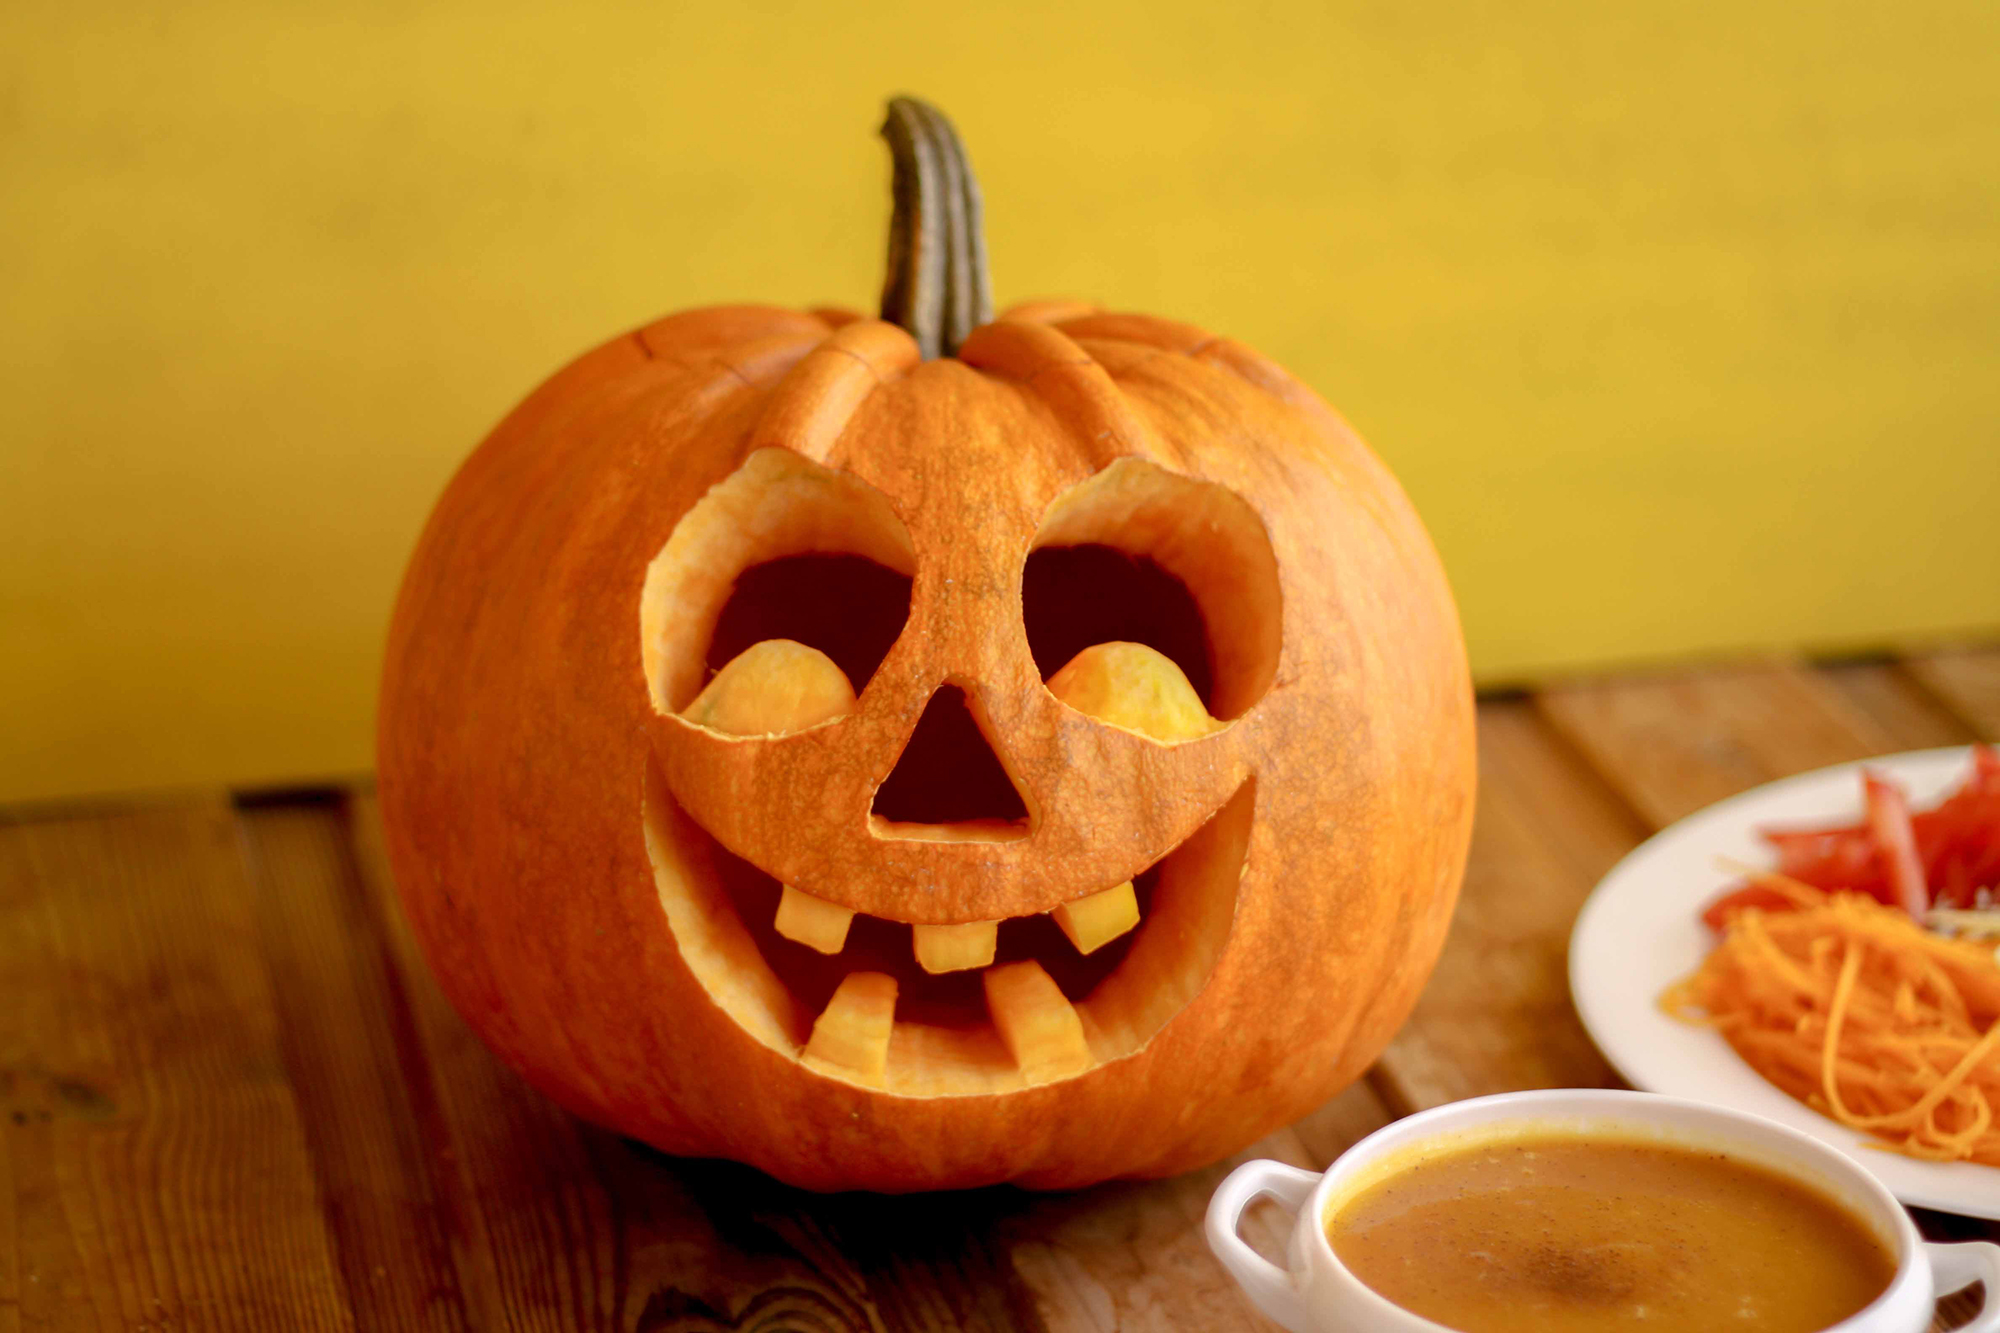
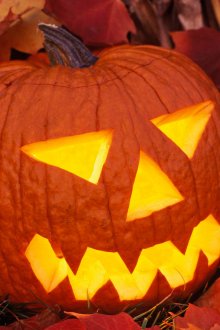
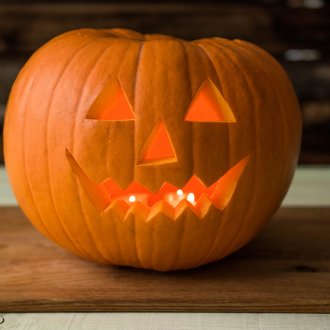
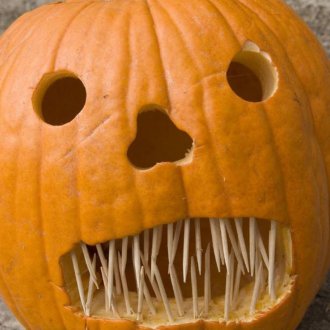
Halloween pumpkin is a ripe fruit with cut-out holes in the form of sinister faces with sharp fangs. A candle is placed inside such a pumpkin, which is why it is called a lamp. Initially, vegetable lamps were made in England and Ireland, and they did not belong to Halloween, but in the 19th century, North America adopted this tradition and introduced it into the celebration. The pumpkin was chosen as a symbol of harvesting, and the Americans called their vegetable lamp Jack-O-Lantern or Jack Lantern.
There is also a legend about Jack-lantern - a thief, a useless farmer and a noble drunkard. Once again, having picked up stolen goods, Jack ran away from the peasants and met the devil. He told him that now it was time for him to die, but Jack asked to postpone the death, and in return to commit some dirty trick - to discredit the good names of the peasants. Under the agreement, the devil became a gold coin, which Jack paid for stolen things. But at the time of the transfer of the coin, it should disappear, and the peasants have a fight, figuring out which of them stole it. The devil liked the idea and put it in Jack's pocket with a gold coin.
But it so happened that the cross was the stolen thing, so the devil immediately lost his strength, and Jack released him on the condition that he would not take him to hell. However, after death, Jack's soul was not received either in hell or in paradise. Jack was looking for a lantern on the road in total darkness, but the devil threw him only a few coals. Then he cut out a lamp from a pumpkin, put coals in it and continued his eternal wandering between heaven and earth.
Do-it-yourself Halloween pumpkin - simple and fun
First you need to choose the freshest pumpkin - it has a soft crust, which will facilitate cutting. The shape of the pumpkin is up to you, it can be an elongated pumpkin or a traditional round one. Pre-cover the work surface with paper or oilcloth, because during the cutting process, most likely, it will get pretty dirty.
You will need:
- fresh pumpkin;
- board for products;
- well sharpened long and short knives;
- sharp-edged spoon;
- marker, felt-tip pen and a stencil with a face (you can draw without a stencil);
- candle.
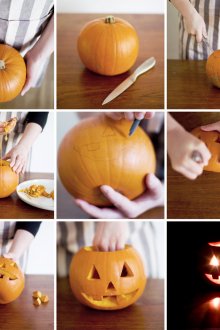
If you get the hang of it, cutting a Halloween pumpkin will be quite simple:
- In the upper part of the pumpkin, use a marker to draw a hole of sufficient diameter so that your hand crawls into it, and the pulp and seeds will be removed through it with a spoon.
- Using a sharp long knife, cut a hole while holding the knife at a slight angle, so you can put the lid back on and close the lamp from above.
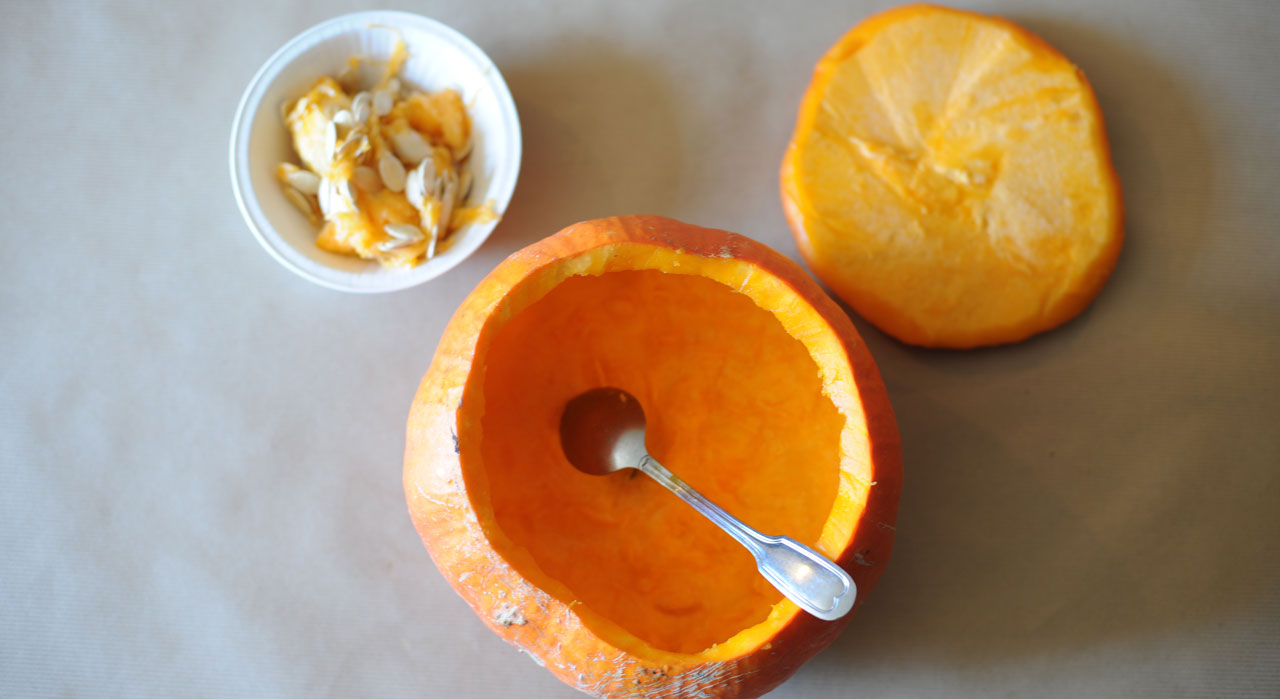
- Remove all the flesh and seeds with a spoon, especially on the front side where the mug will be. It is necessary to clean so that the wall thickness remains about 2 centimeters. You can bake the remaining seeds in the oven.
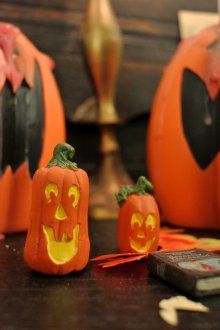
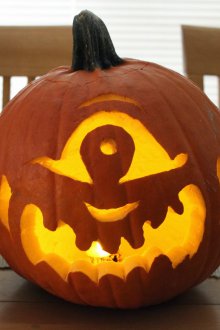
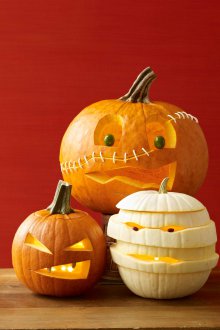
- Draw the selected face on the future lamp with a marker. Traditionally - a triangular nose and eyes and a crescent-shaped smile with sharp teeth. Or attach the template to the pumpkin and transfer the pattern. It is advisable to draw elements large enough, because cutting small elements will be difficult.
- Using a short knife, outline the contours and start cutting slowly, pieces of pumpkin can be pushed inward or hooked and pulled out. To get a sharper picture, you can use jigsaws.
- Remove the extra pieces and pulp, place the candle inside the pumpkin and cover it with the cut out lid - the lamp is ready, and now you know how to cut the pumpkin for Halloween.
Keep the pumpkin lamp for a long time
Naturally, the pumpkin lamp will soon begin to deteriorate, oxygen and various microorganisms act on it. In order for Jack to live longer, you can apply a few simple measures. You need to prepare a solution to disinfect the pumpkin and prevent the spread of bacteria:
- Take a liter of water and dilute a tablespoon of chlorine bleach in it, mixing everything thoroughly.
- Pour the resulting solution into the sprayer and completely spray the already cut lamp: outside, inside, in the places of cut. See that the mixture spreads over the surface of the pumpkin and let it dry for 20-30 minutes.
- You can also disinfect the lamp without the aid of a sprayer by dipping it in the bleach solution. In this position, he should stay for several hours, after the lantern is removed and turned upside down to liquid glass, and he dried out. After this procedure, the lamp should be dipped with paper towels.
- You can also periodically spray the lamp with a chlorine solution, moisturizing it and killing the bacteria.
- Another technique is to treat the places of pumpkin cuts with petroleum jelly. It prevents quick drying and prevents mold and bacteria from developing.
- It is best to keep the flashlight away from sunlight in a cool place.
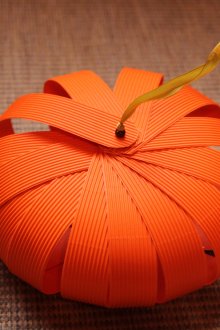
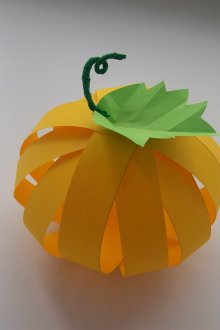
How to make Halloween pumpkin with paper
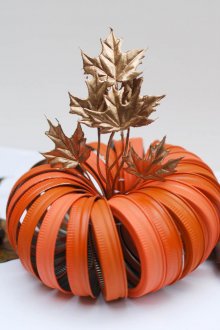
It is not always possible to get a fresh and beautiful pumpkin for making a lamp, in which case you can use paper. Prepare:
- A4 sheet of orange and green paper;
- Scotch;
- pen or pencil;
- scissors or clerical knife.
After preparing all the necessary tools and materials, we proceed to the manufacture of pumpkins from paper:
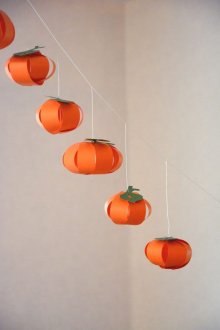
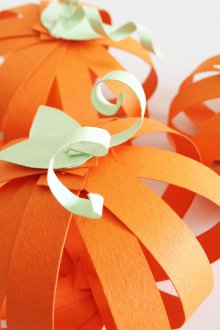
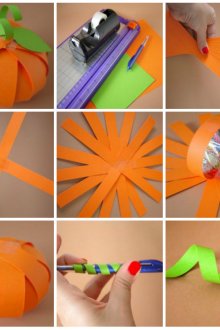
- From orange paper, cut strips about 2.5 centimeters thick.
- Fold all the strips in half and thus mark the middle.
- Two strips fold crosswise in the middle.
- The next cross is connected to the first, turning 45 degrees.
- Thus, we continue to connect the parts of the pumpkin from paper, fixing them together with tape.
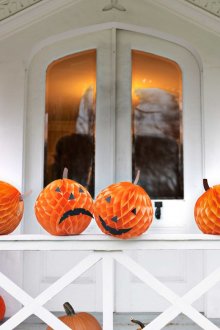
- Inside such a pumpkin you can put a sweet gift, and then connect the ends of the strips in a round shape.
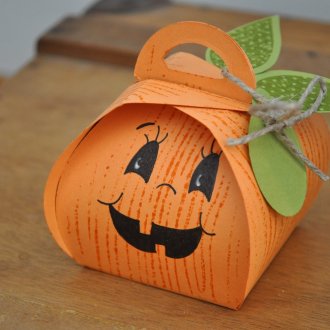
- From green paper we make a tail for a pumpkin, twisting it on a pencil, we also cut two petals;
- Then you can stick triangular black eyes and a mouth with teeth on the front part.
So, using ripe pumpkin or colored paper, you can create a unique atmosphere in your home while celebrating a mysterious Halloween.

