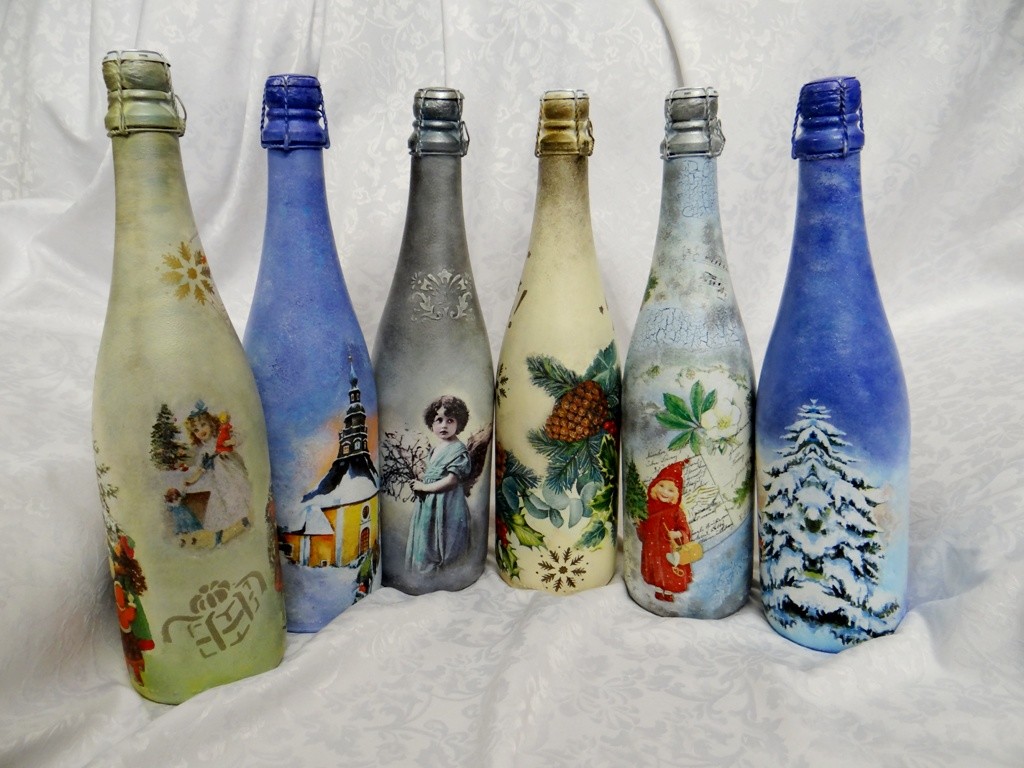
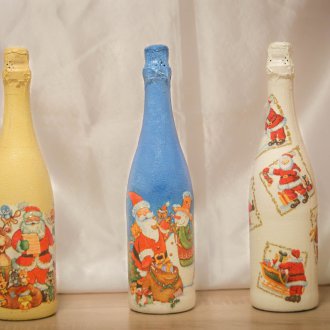
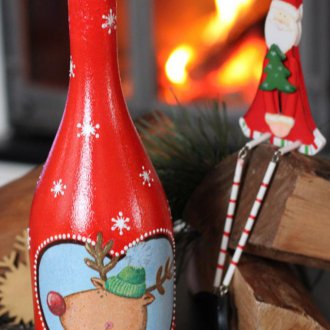
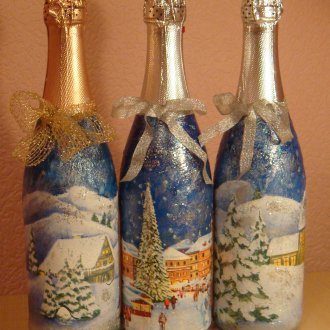
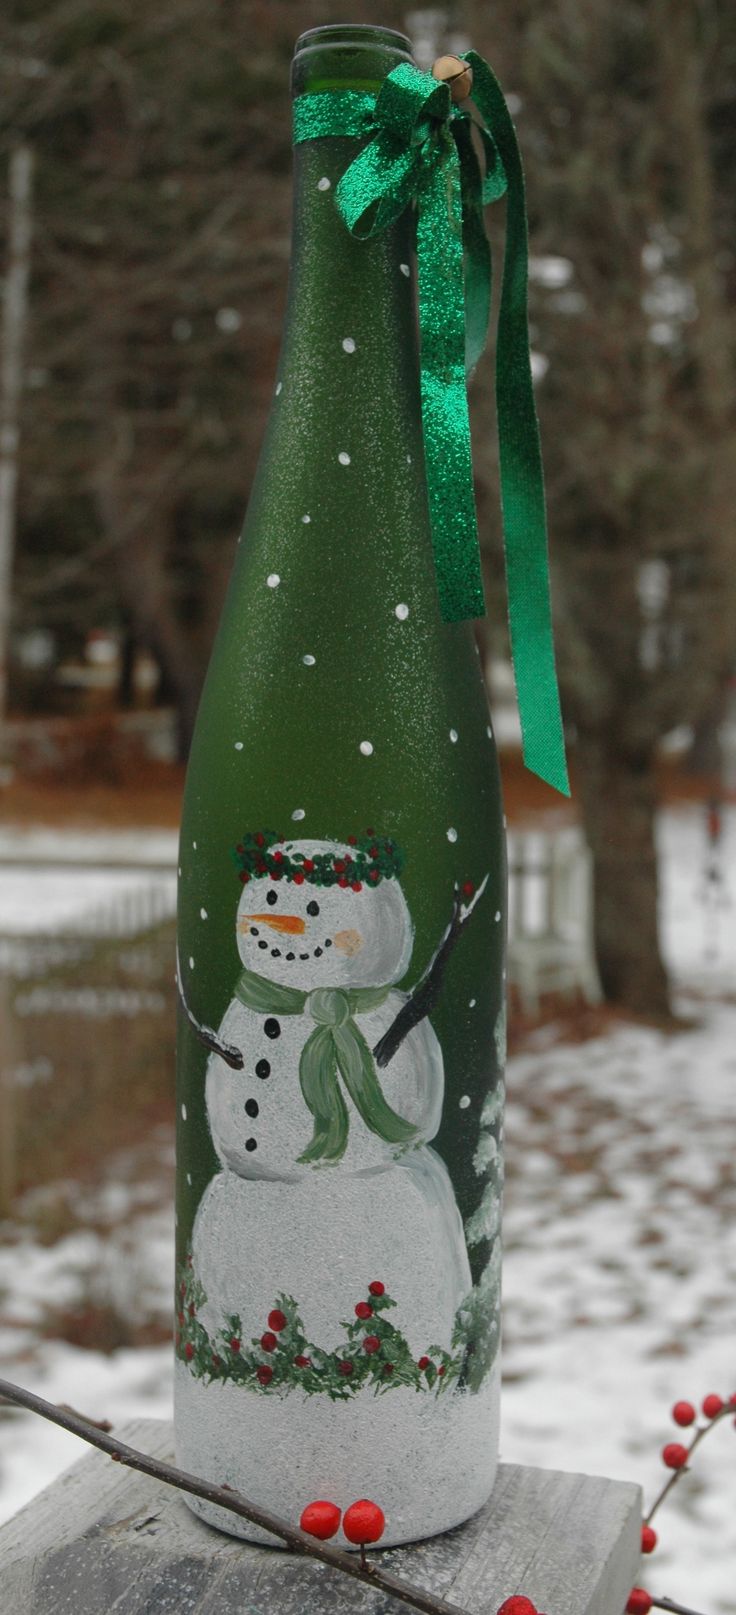
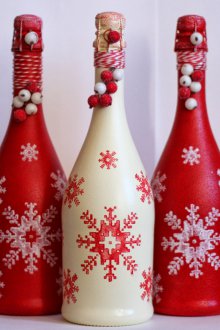
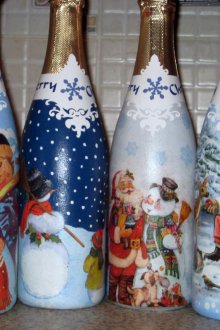
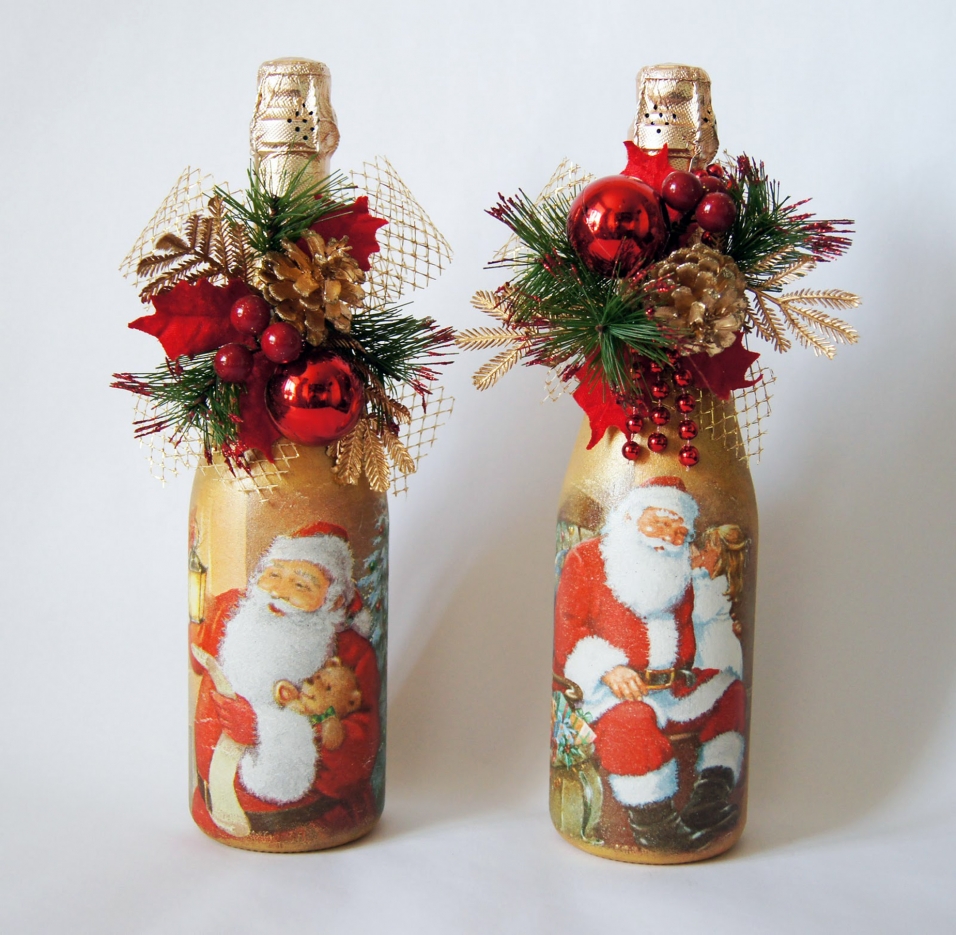
New Year paraphernalia in action: do-it-yourself decoupage of a bottle of champagne (50 photos)
Content
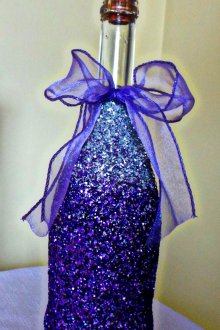
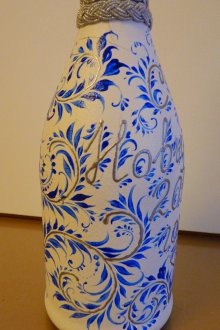
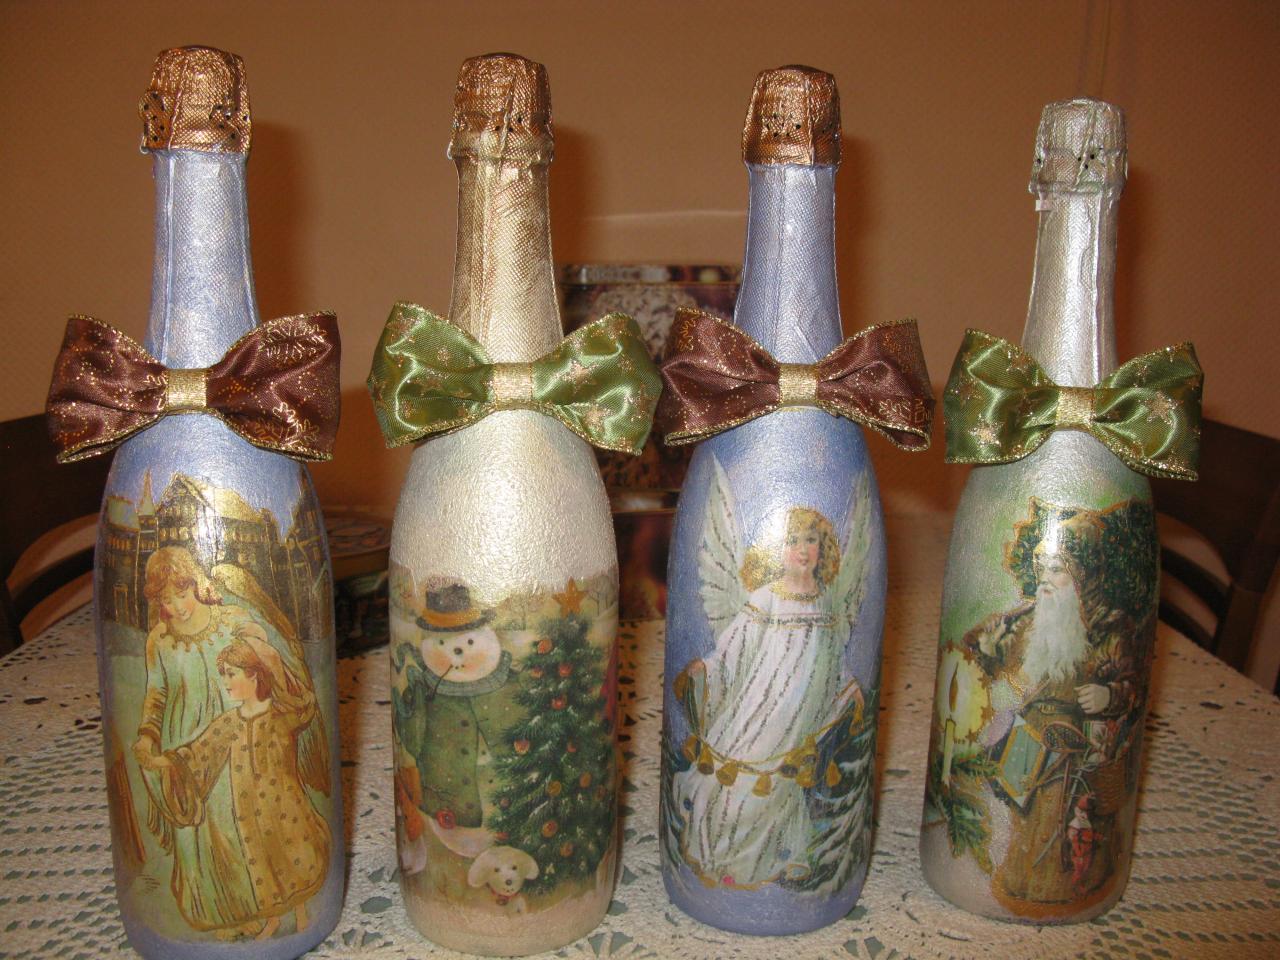
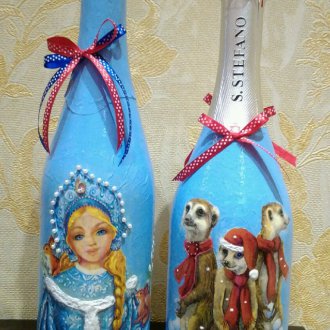
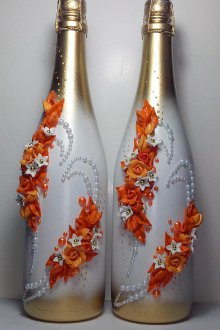
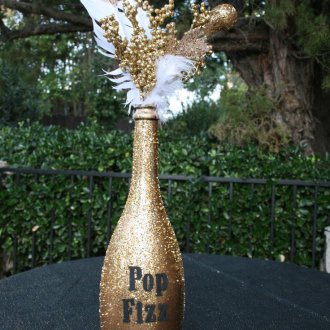
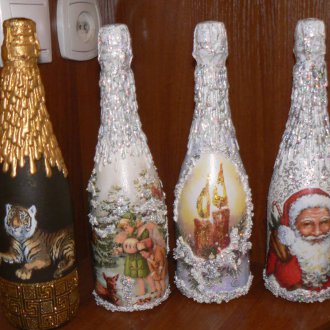
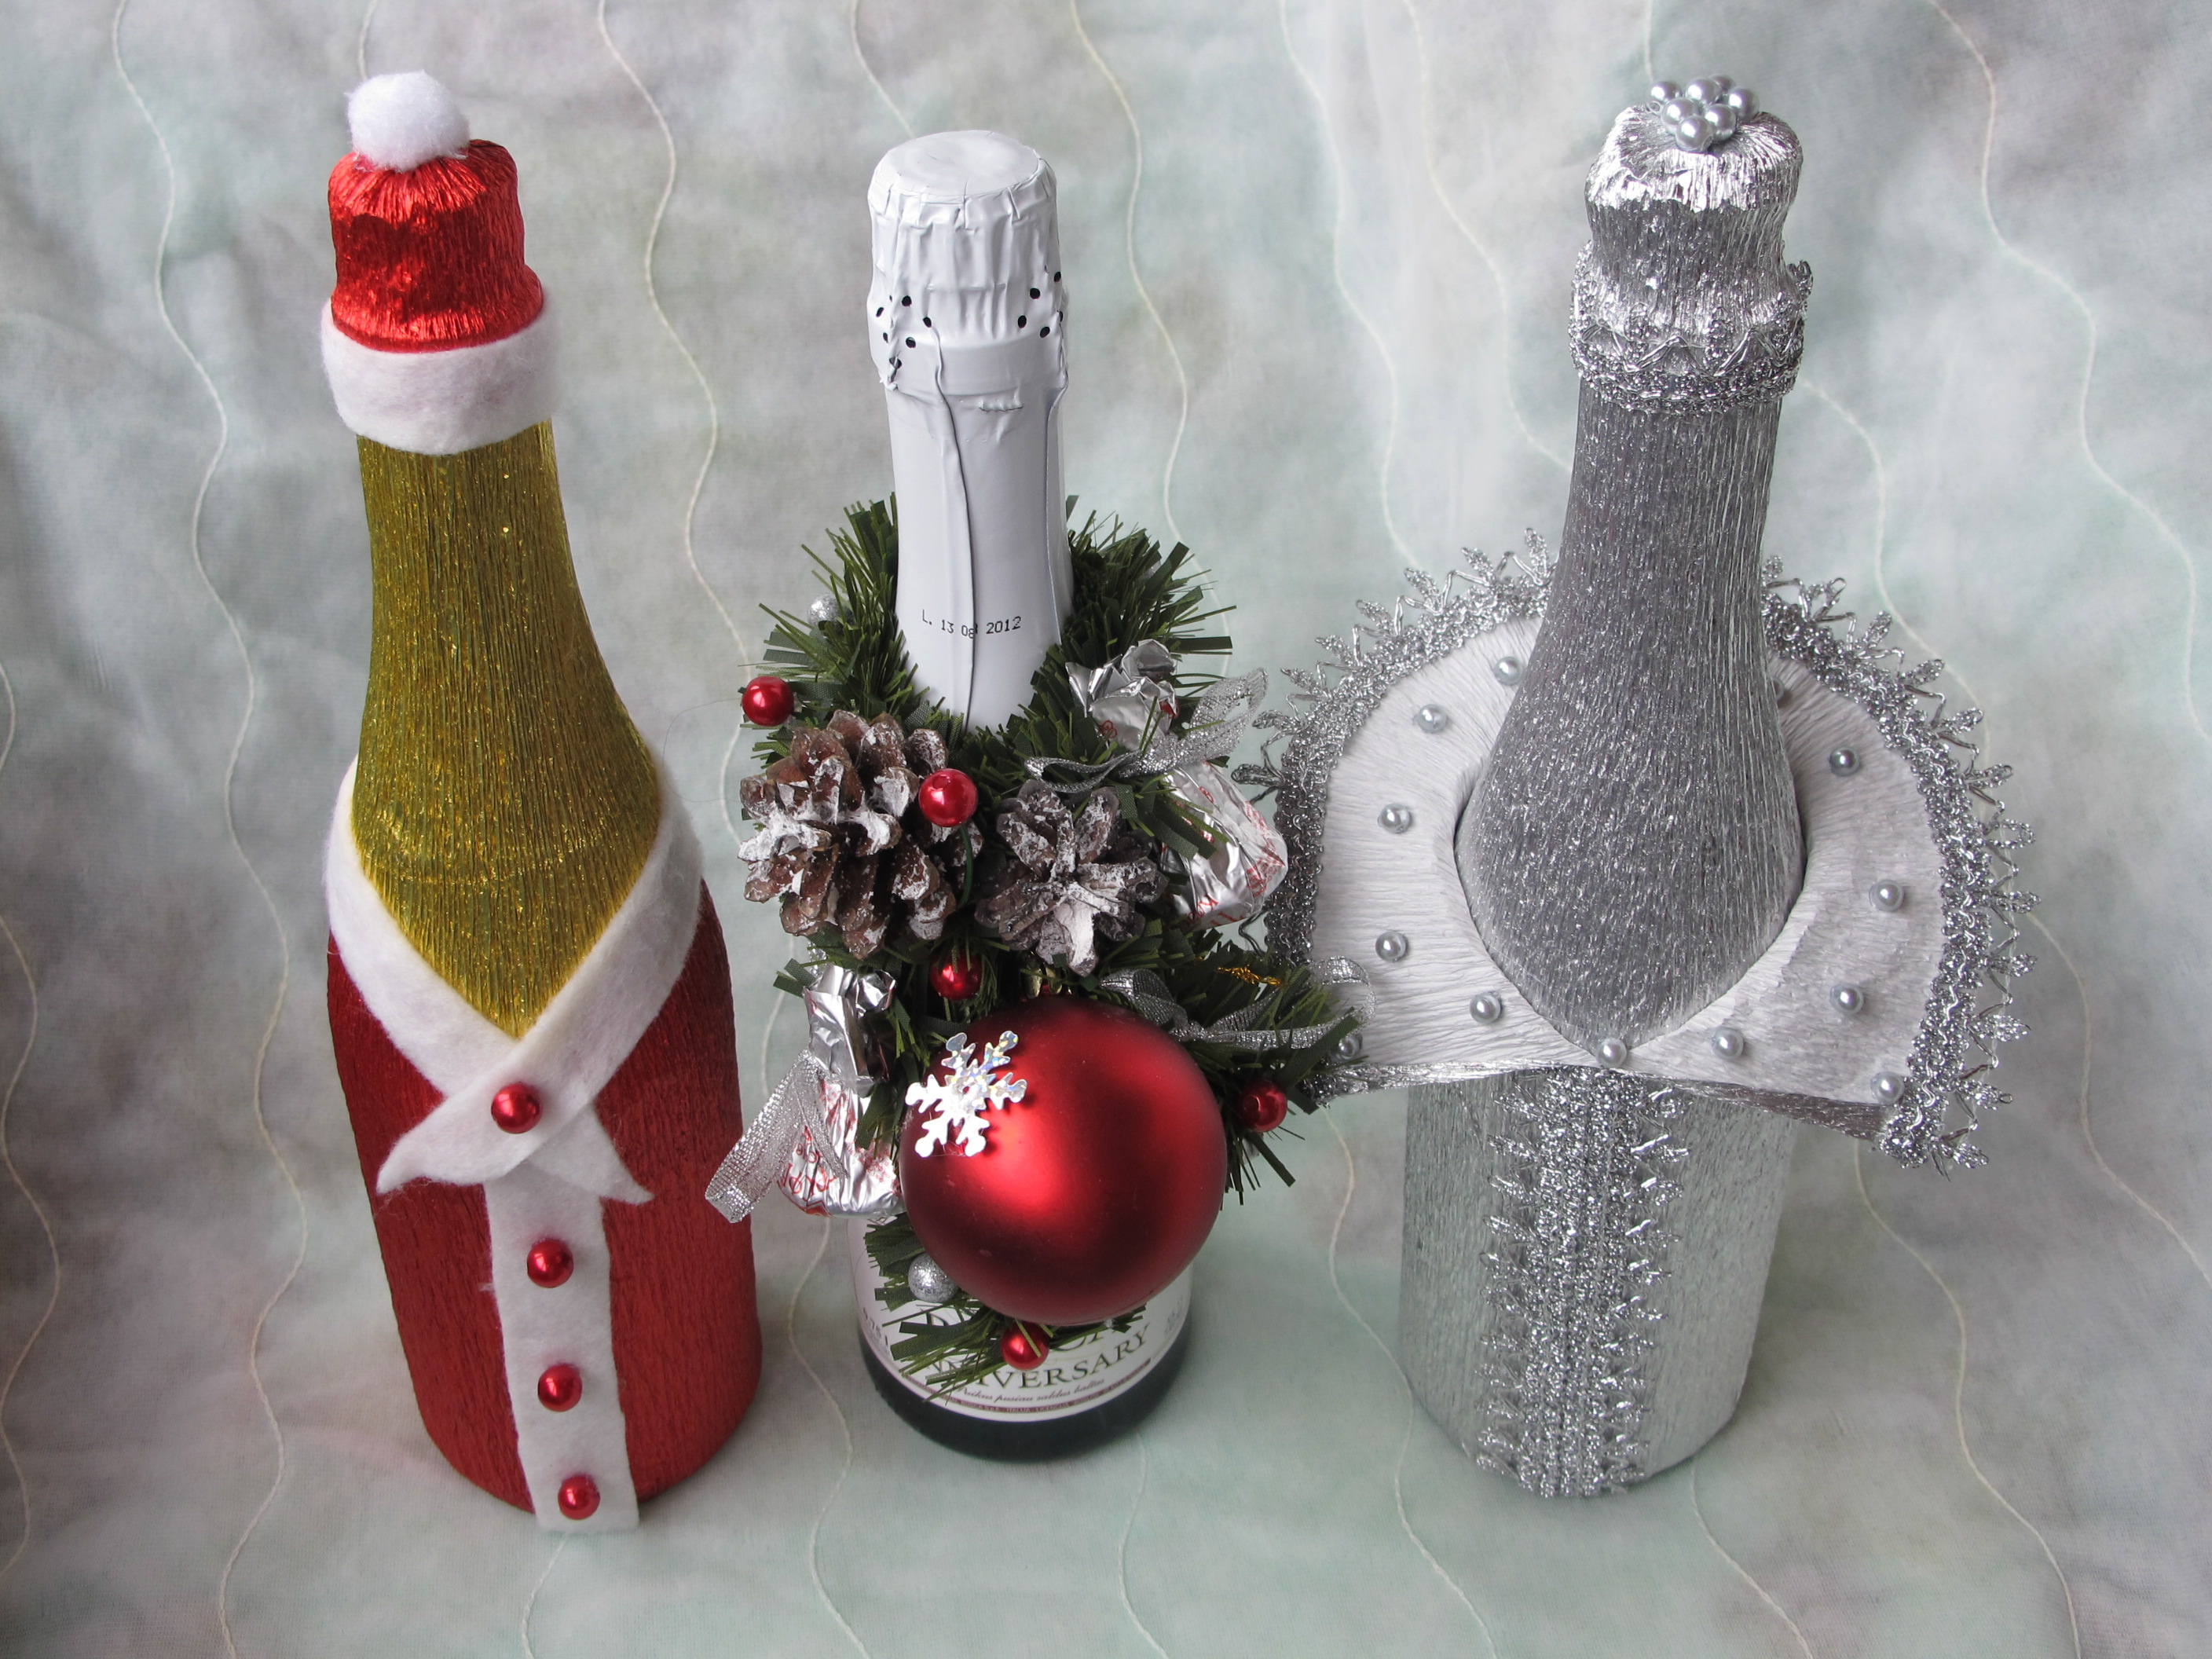
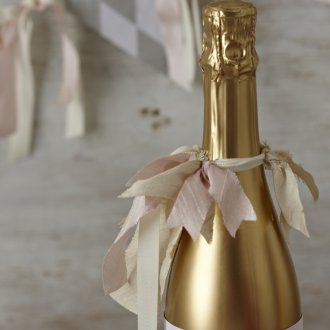
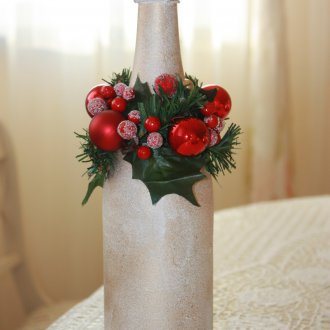
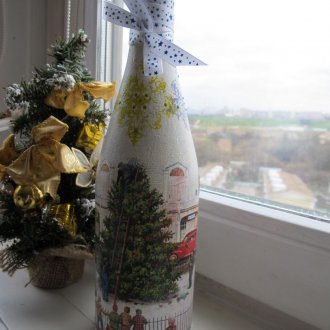
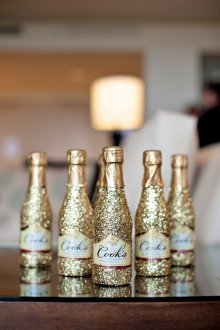
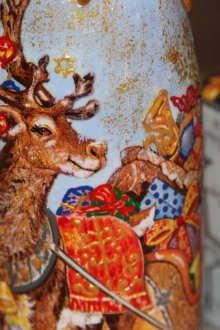
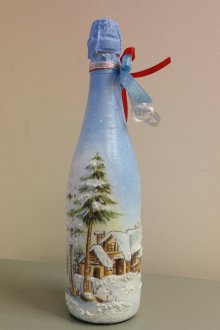
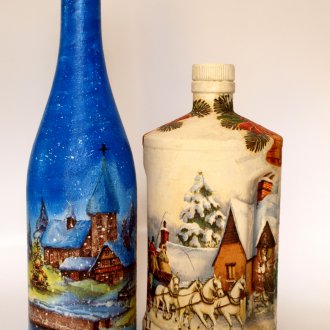
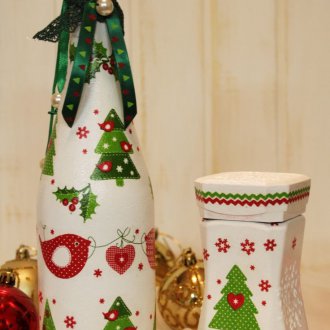
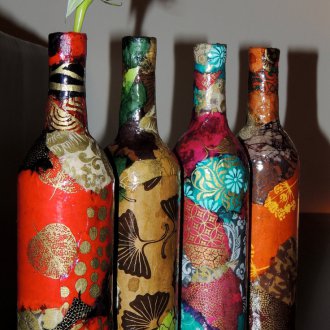
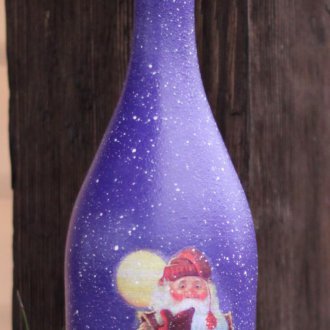
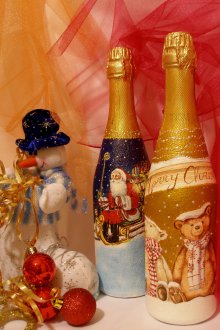
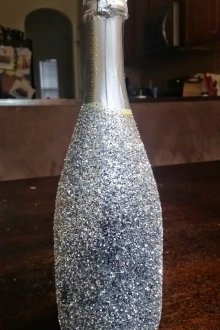
The thematic decoration of a bottle with a traditional New Year’s drink can be different: someone sews covers in the form of a Snow Maiden and Santa Claus, other craftswomen tie bows and paste over with sparkles. Decoupage a bottle of champagne can be the simplest and, moreover, effective solution - you just need to stock up on the right tools and materials.
Next, we will consider not only the list of components and key techniques, but also two decor techniques - direct and reverse.
Overview of materials and tools
To independently carry out such a gift, you should stock up on the following materials for creativity in advance:
- basis - a bottle of champagne completely cleaned from labels;
- napkins for decoupage, if they are not at hand, you can use drawings printed on office paper;
- acrylic paints, tints;
- synthetic brushes - they will not leave villi in the paint, flat fan-shaped variations are especially convenient;
- special sponges with handles, they can be replaced with ordinary ones (for washing dishes) with a clothespin for convenience;
- acetone, alcohol or nail polish remover - they will help to degrease the bottle;
- PVA or special glue for decoupage;
- glossy or matte acrylic lacquer to fix the decor.
If an ordinary printout will be used instead of napkins, the image must be prepared (made very thin): first it is coated with two layers of acrylic varnish. After the varnish has dried, the paper is placed in water for a couple of minutes to soften the bottom layer. Then gently blot the pattern with a towel and, rolling it with your fingers, remove the bottom layer so that only the front layer remains. Care must be taken so that the picture is not damaged. If there is no experience in such preparation, it is worth practicing in a draft.
The basic way to design a New Year's drink
To get a beautiful bottle of champagne using decoupage technique, you should purchase special napkins or cards - they will greatly facilitate the work. You will also need:
- gloves
- brush;
- alcohol;
- acrylic primer;
- glue for decoupage;
- matt acrylic varnish;
- scissors;
- white paint (priority is acrylic);
- sponge.
The glass must be treated with alcohol in order to remove residual grease and labels, apply acrylic primer to the entire area. After it has completely dried, the bottle should be painted white. If the tone is not uniform, you will need a second (possibly third) layer.
While the container dries, you must carefully tear off the drawing with your hands (if there are small parts, you will still have to use scissors).
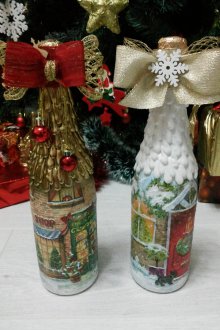
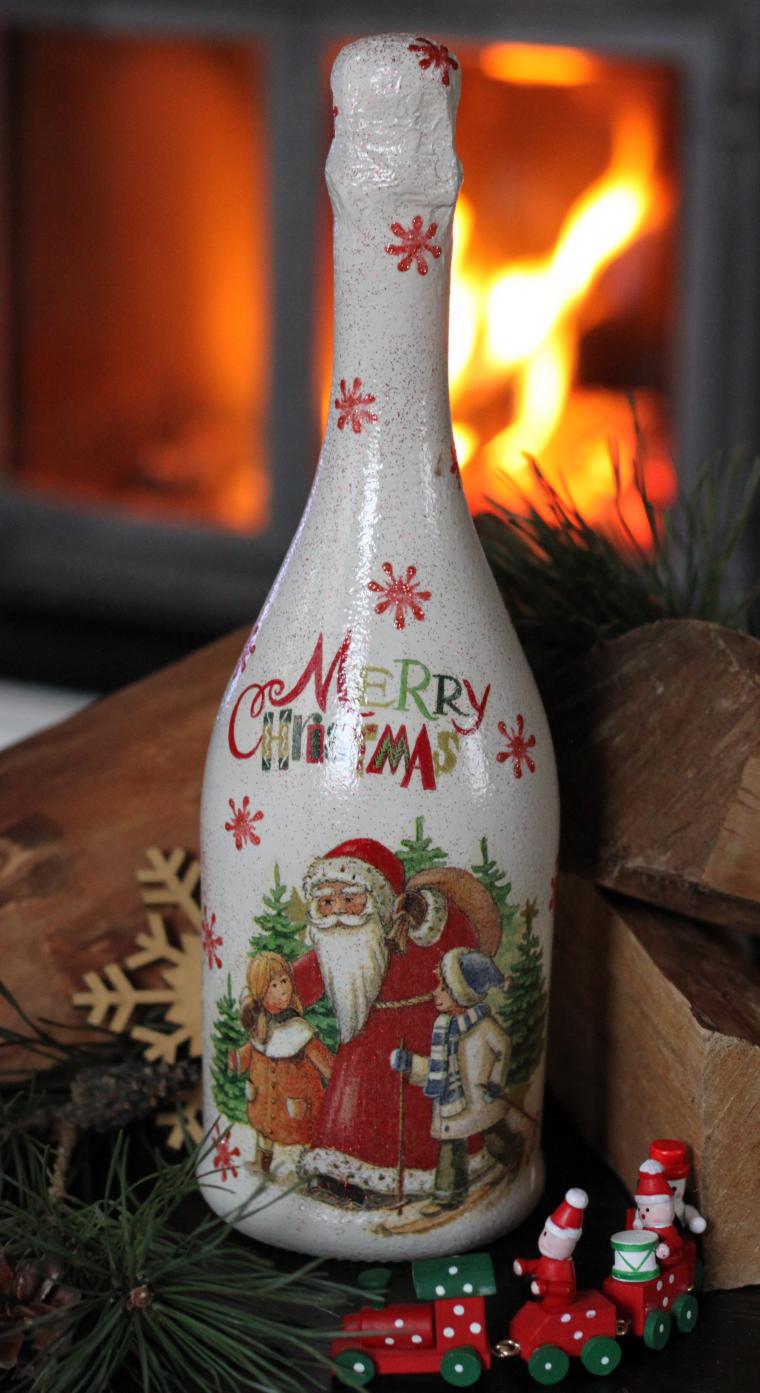
Now you can proceed directly to the decoration of champagne - attach the selected fragment to the glass and start gluing it. The napkin must be gently smoothed away from the center in order to systematically expel all the smallest air bubbles from under it. The composition can occupy only the front section or cover the bottle in a circular fashion, in the second case, you need to choose an ornament so that the joint area is not evident. It is better to “try on” a napkin in advance and adjust the image.
To mask the transitions, white paint is also used: it is applied to the lap pattern on all sides, including the bottom. Fix the decor with a double layer of acrylic varnish.
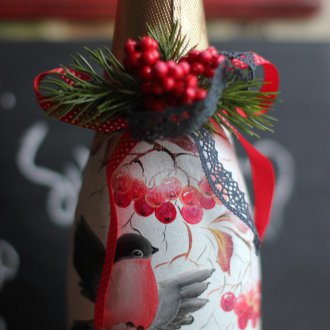
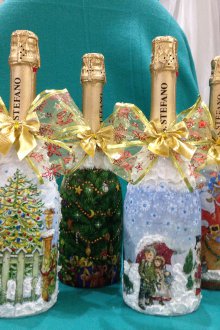
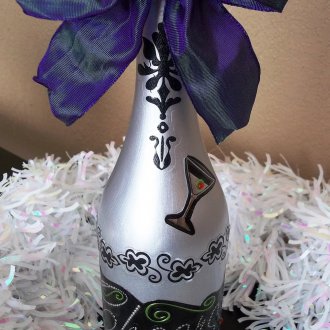
The neck and cork can be left as is - in most cases, the factory foil fits quite naturally into the composition. Otherwise, trimmed decoupage napkins will save the situation - they can be glued in a couple of layers to the neck and cork, forming subtle folds, and covered with paint. This area looks beautiful, decorated with satin ribbons, lace, bows and bells.
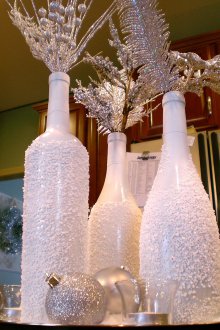
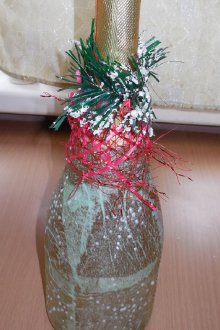
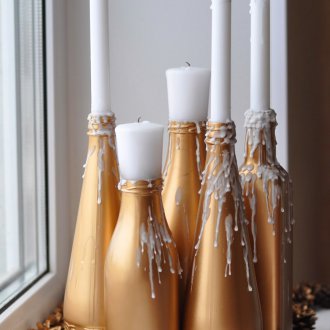
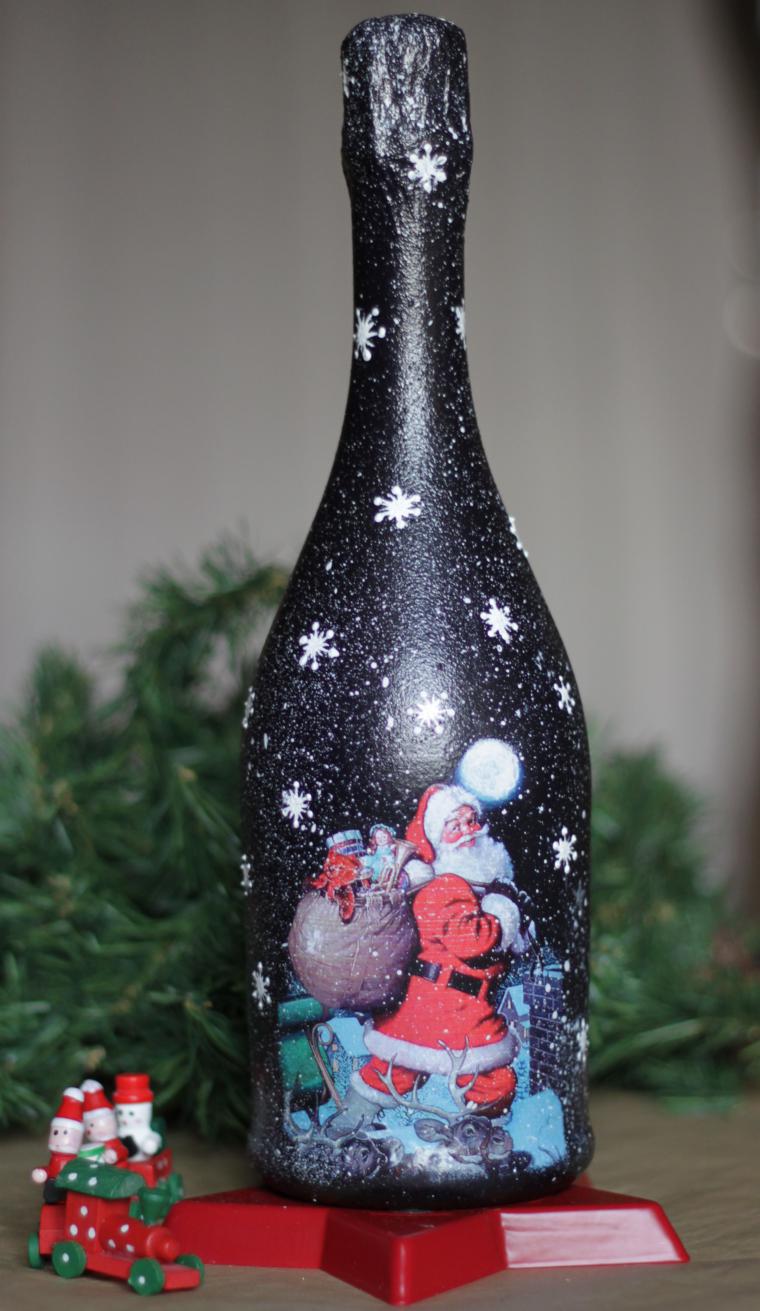
Another option is bulk drops flowing down the neck sprinkled with artificial snow. It is skillfully applied glue, dried and decorated in the form of an imitation of frozen water. You can do it easier - paint this area, varnish and glue a miniature cap of a Christmas elf with a small soft pompom and a fluffy rim on the lower edge.
The technology described above is the most primitive, it is suitable for those who do not know at all how to make decoupage on a bottle of champagne. In master classes from people with great baggage in this type of creativity, you can find dozens of techniques for additional surface decoration.
Take, for example, a picture with New Year's attributes - sweets, spruce branches, gingerbread house, red berries, snowflakes. Branches and snowflakes can be covered with a shiny gel (it is sold in a convenient package with a narrow nose), when it dries, it will gain the effect of volumetric snow. On the berries should be applied a drop of transparent glue or a special gel - so they literally become semicircular, come to life.
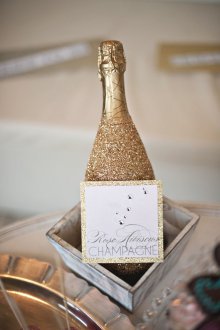
The roof of the gingerbread house should be covered with a primer or similar decorative white mass. If you use a small spatula (you can find it in stores for decoupage), you will create a noticeable layer of snow, convex, realistic. The top of the bottle and the area closer to the bottom should be trimmed with golden or silver sequins / paint to emphasize the elegance of the product.
Thus, it is possible to beat any festive pattern favorably, the main thing is not to forget to fix everything as a result with varnish in 1-3 layers, depending on the thickness of the decor.
Features of reverse decoupage technique
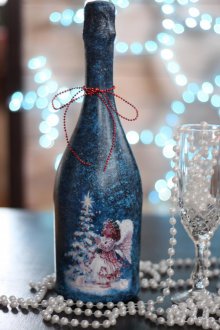
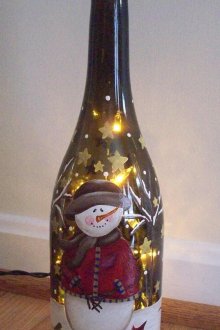
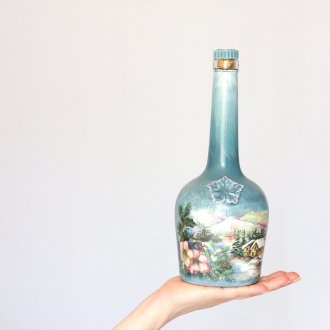
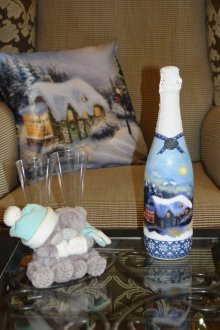
The reverse decoupage of a bottle of champagne for the New Year looks very impressive: a window forms in it, that is, a pattern is visible through the thickness of the drink. The simple instructions below will allow you to do such a decor with your own hands literally in the evening. As materials and tools useful:
- bottle with a drink;
- priming;
- a napkin with a picture (you can take more than one);
- acrylic lacquer;
- decoupage glue;
- self-adhesive film, for example, construction adhesive tape;
- white and blue acrylic paint;
- imitation of snow;
- sparkles;
- fan-shaped brush;
- sponge with a pen;
- degreaser;
- thin brush for painting;
- Toothbrush.
After cleaning the bottle of the remnants of the label, glue and grease, you need to outline the internal pattern: separate the desired area of the napkin for decoupage and attach it to the glass with the color side inward. If the zone is selected successfully, the image is glued and allowed to dry completely.
Opposite this picture, you should fix the window: glue the oval cut from the self-adhesive film. The glass must be thoroughly primed, after the base has dried, coat blue (or any other suitable) paint in a couple of layers with a sponge. The oval will protect the glass, you can not be afraid to cover it. If it seems that the surface is too uneven due to the sponge, you can sand it with fine sandpaper. Caution: the paint for this must be completely dry!
On top of the image, which was fixed with the bright side inward, you can glue another thematic picture or ornament in the usual manner described in the previous section.
To easily remove the protective film, you can slightly cut the paint along the contour.The edges of the oval should be decorated with imitation of snow, sparkles.
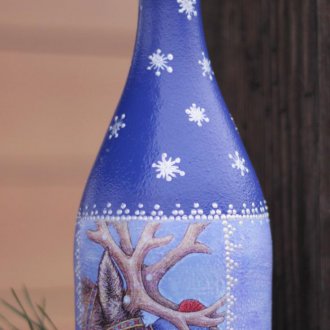
In order that the field covered with monophonic paint does not look boring, you can take a white acrylic composition and paint it with elegant snowflakes. In the core can be put on the glue placer sprinkles. Between snowflakes, you should leave a multi-sized spray: dip the tips of the bristles of the toothbrush in white paint and slide your finger to yourself.
Possibilities of using fabric
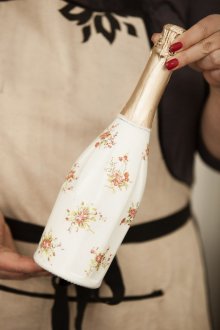
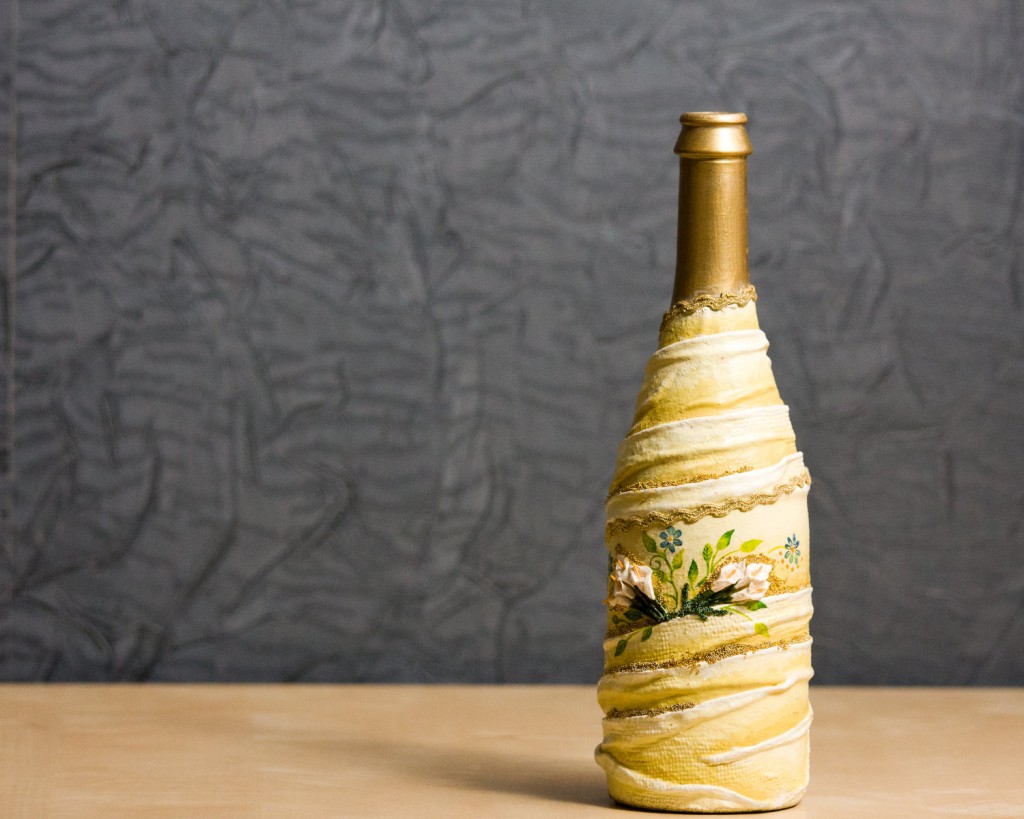
Matter in this case serves only as an additional background - in the future it must also be decorated. Here, natural variations are best suited - linen and cotton. The first step is to dilute the PVA glue with 1: 1 water. The fabric is placed in the solution until completely saturated, then it is squeezed and the container is wrapped, simultaneously forming beautiful creases and folds. After the surface has completely dried, you can proceed to the usual stages of decoupage.
Tip for beginners: you can cover the creases with paint in different shades of the same color to get the visual depth of the surface. The final step is to apply several layers of varnish.
Success Techniques
The craftswomen offer a list of universal tips by which the result of decoupage of champagne bottles with their own hands will definitely be colorful and attractive:
- the base surface must be thoroughly cleaned and degreased - these stages cannot be neglected;
- all areas that, according to the original idea, should in no case be allowed to get paint, can be protected with masking tape;
- each new layer should dry completely, do not rush;
- no need to cut out fragments of the picture, it is better to tear them off gently with your hands - if the edge is torn, it is easier to smooth and mask.
Finally, air bubbles must be completely removed from under the cloth or napkin.
Handmade materials as decorative elements
To expand their own capabilities, the decoupage of New Year's bottles can be made using the following materials:
- rice and semolina will help to give the image a special texture - after gluing they need to be coated with paint;
- to decorate the neck, you can use ribbons - wrap them, tie a bow and fix with glue;
- lace is a convenient material for giving an elegant style;
- shell - indispensable for craquelure technique;
- threads, twine, twine;
- neat spruce branches and cones are necessary to give a festive flavor, when gluing them you need to be careful that they do not fall behind the surface in the future.
The finishing touch in the decor can be the use of coarse salt - if you cover it with a portion of paint that has not yet dried, the effect of snow is formed (it is often enough to sprinkle it on the table and roll a bottle on it). To get a complete snow pattern, it is worth applying transparent glue to the decorated surface and sprinkle with salt. Next, gently brush off the excess - this will reveal a frosty ornament.
