Do-it-yourself coffee table. Coffee table: 5 unusual workshops
In modern stores, there is undoubtedly a huge selection of a variety of designer coffee tables. Of course, the price tag for such products is sometimes surprising and even shocking. Therefore, we recommend trying to make an interesting, stylish option with your own hands. Thanks to this, you will not only save a decent amount, but also realize your creative potential.


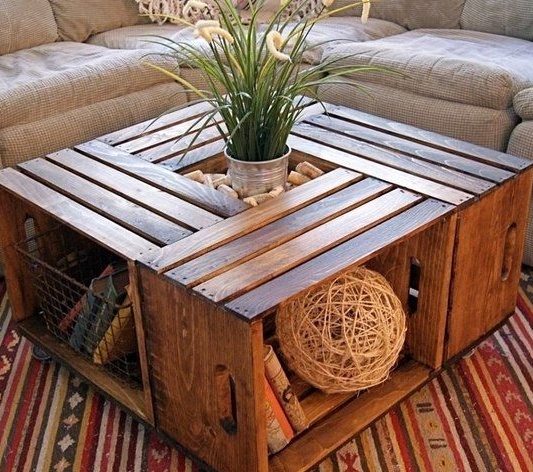
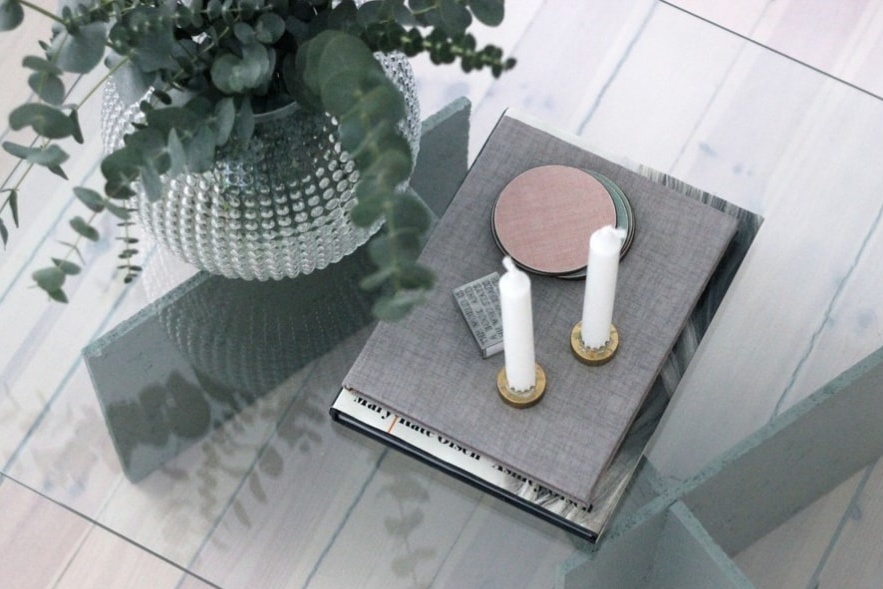
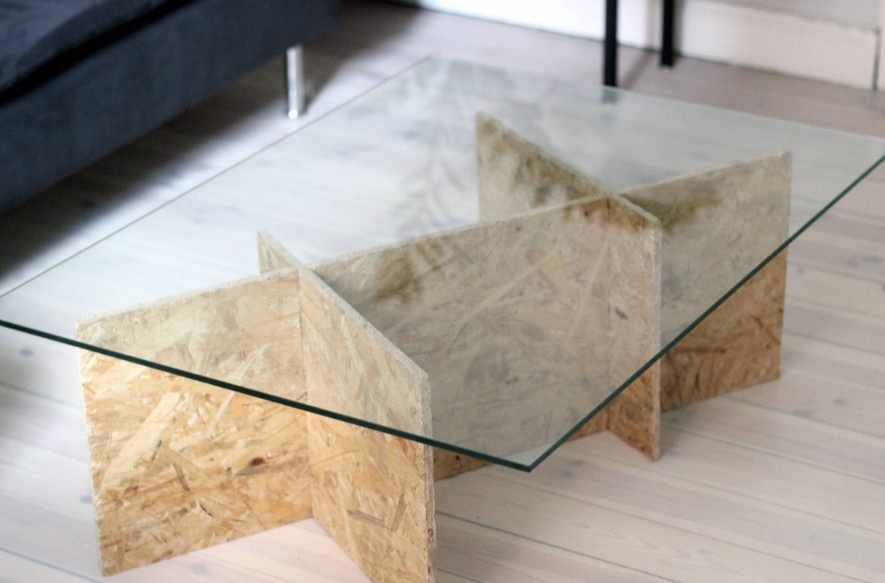
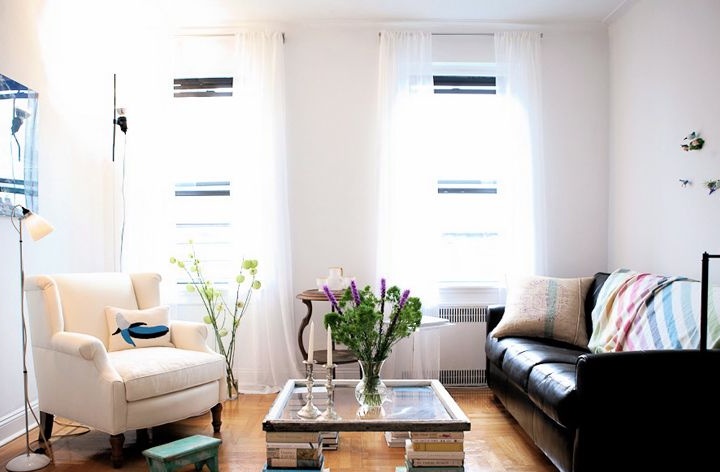
Glass coffee table
When it comes to a coffee table, first of all, an association with a glass product arises. This is not surprising, because before they were especially popular. But still, we propose to make a slightly more modern version, which will become a stylish decoration of your home.
We will need:
- glass plate;
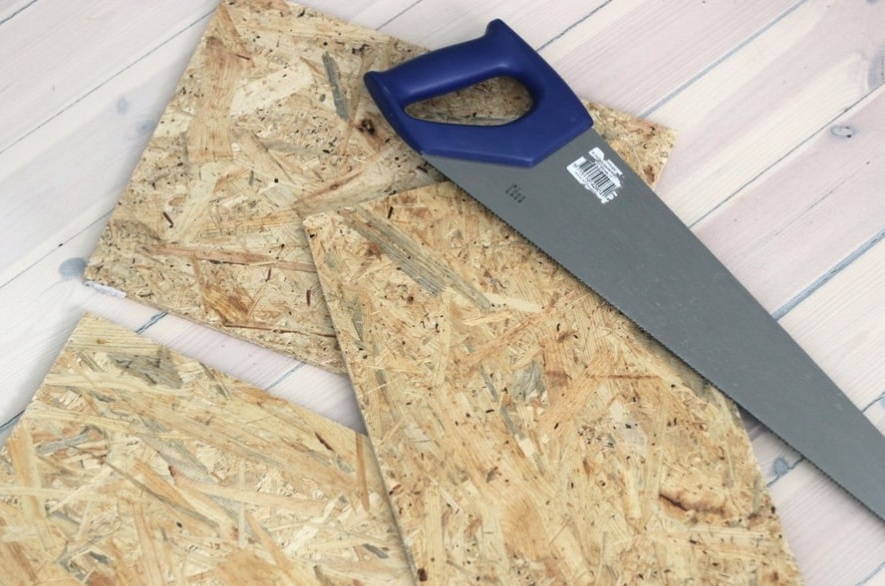
- sheets of plywood or OSB boards;
- saw;
- roulette;
- a pen;
- paper;
- sandpaper;
- glue for glass and wood;
- brush;
- paint.
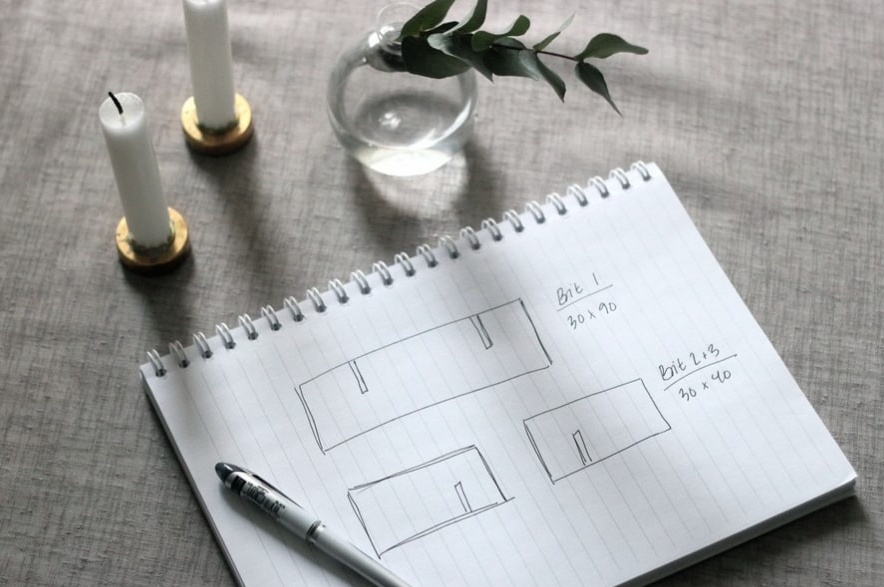
On a sheet of paper we make a schematic drawing of a table. Dimensions must meet your requirements and the size of the room.
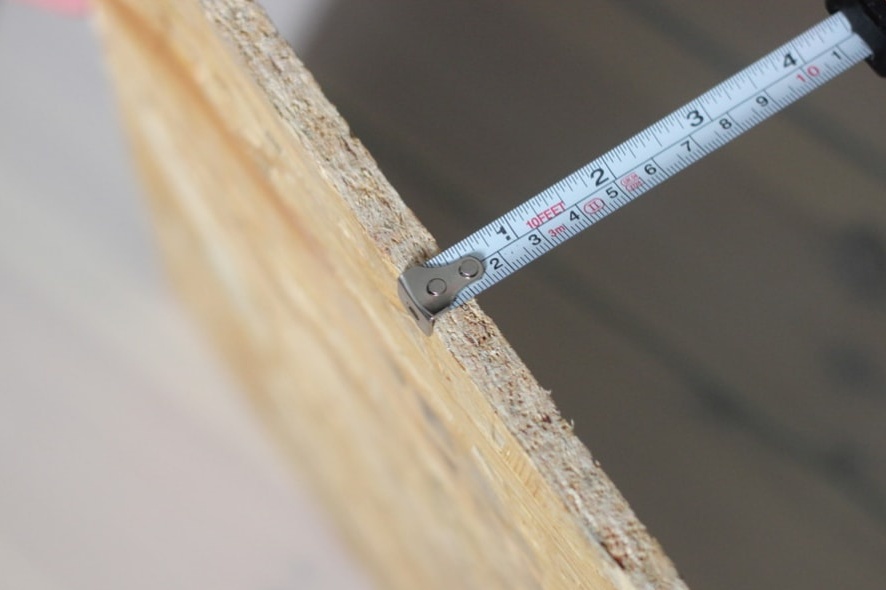
We measure the thickness of plywood or OSB-plate.
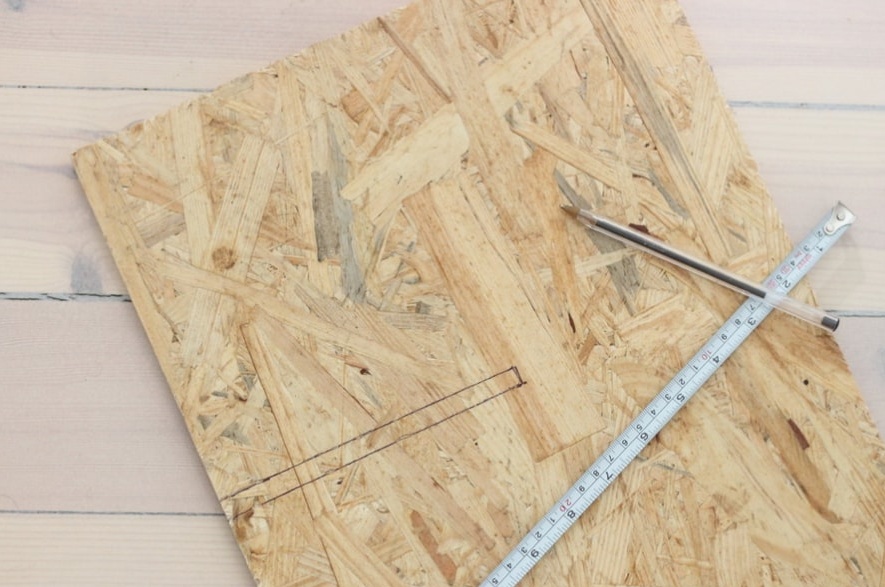
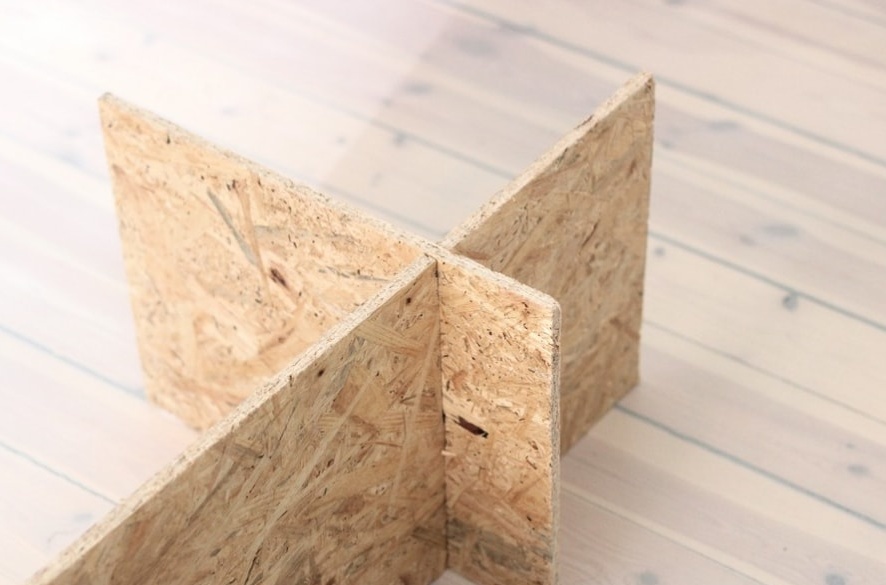
In this case, the plywood sheets are interconnected using cut gaps. Therefore, they must have a width that matches the thickness of the wooden blank. For convenience, make marks with the correct sizes.
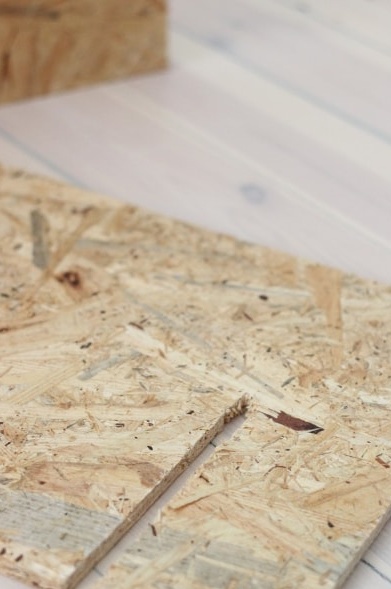
We cut gaps according to the marks.
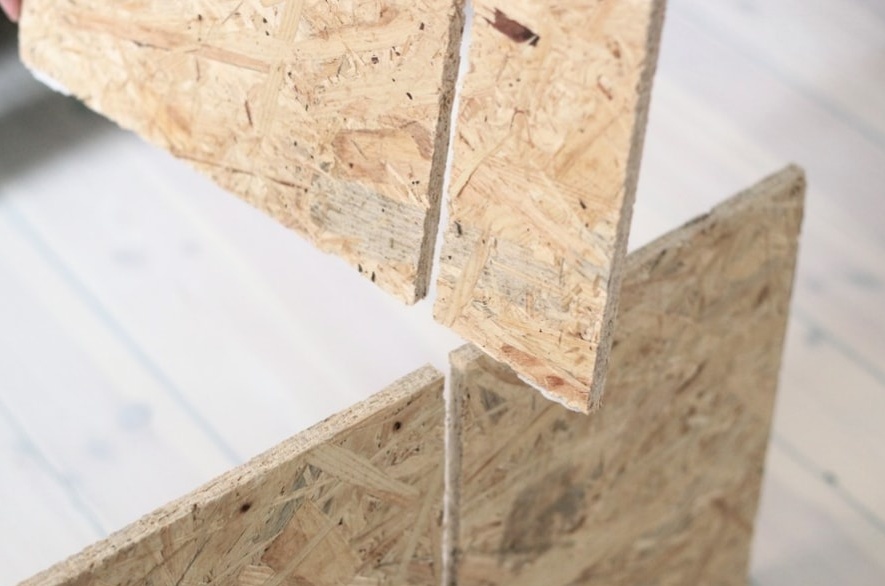
We connect the frame parts together. Please note that it should be level on the floor and not stagger.
We put a glass plate on top of the wooden frame. You can also fix the parts with glue for glass and wood.
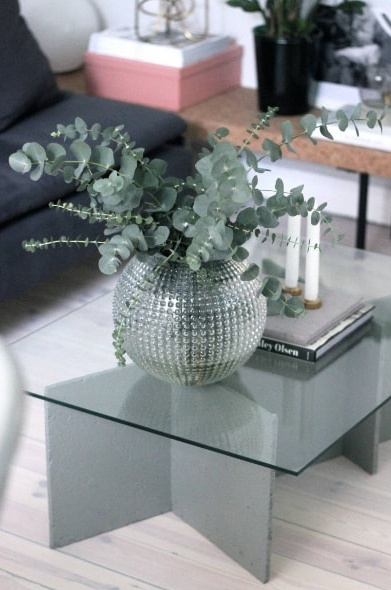
If desired, you can treat the coffee table with sandpaper and paint in a shade suitable for the interior.
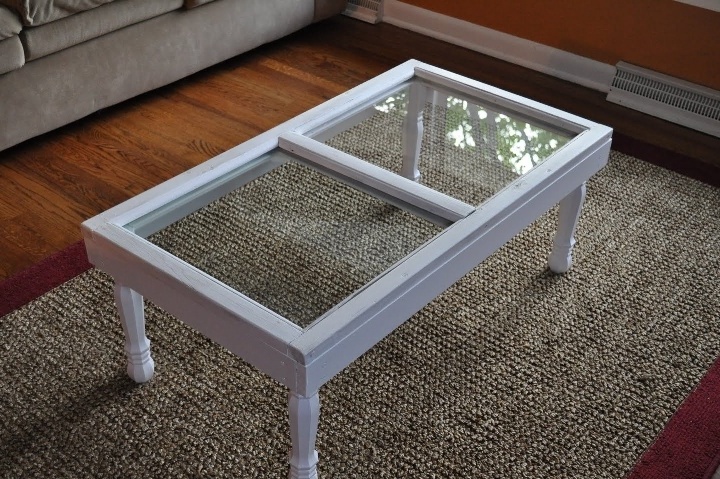
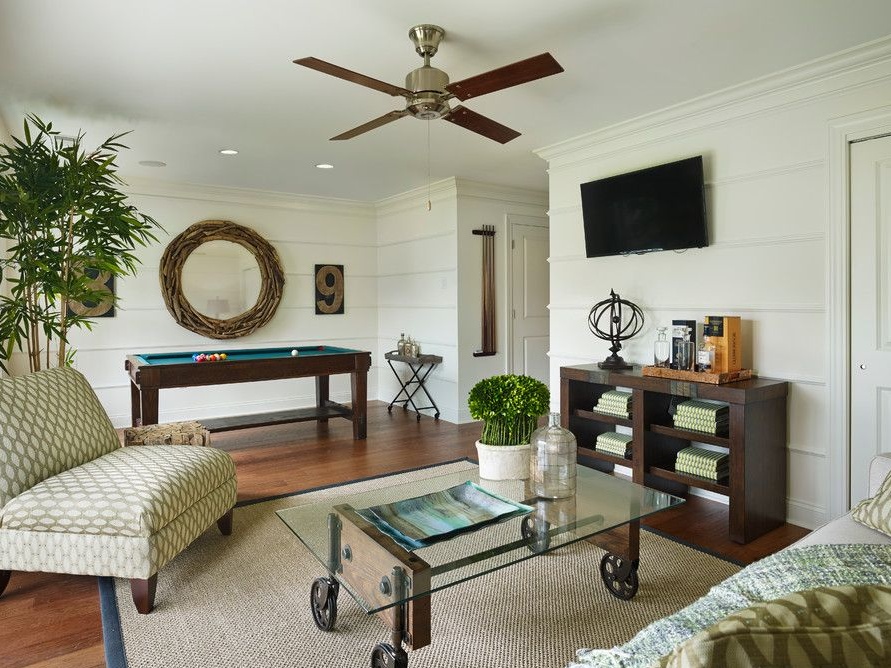
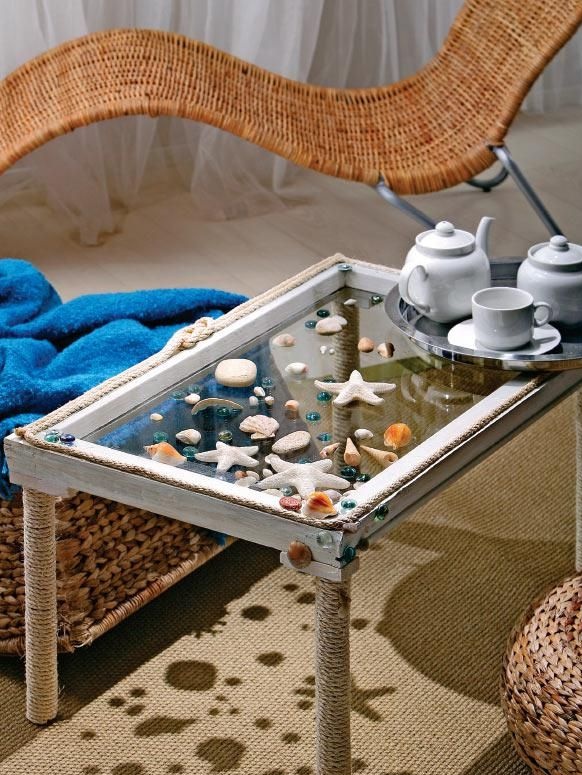
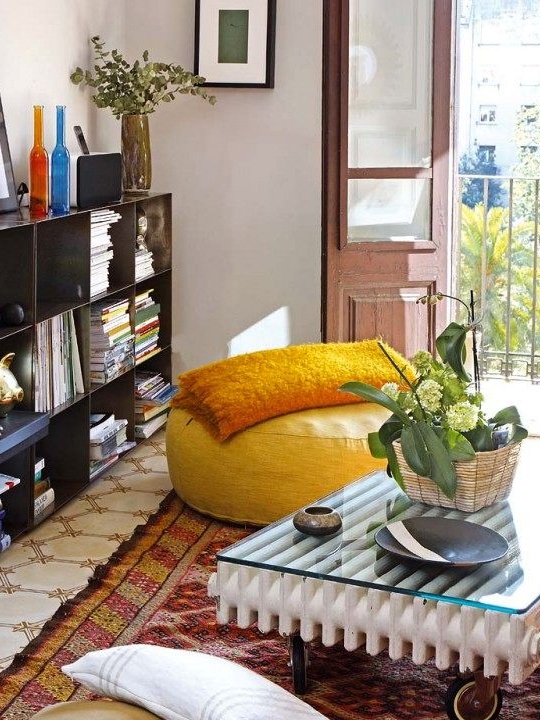
Glass tables can look completely different, depending on what materials you plan to use in your work.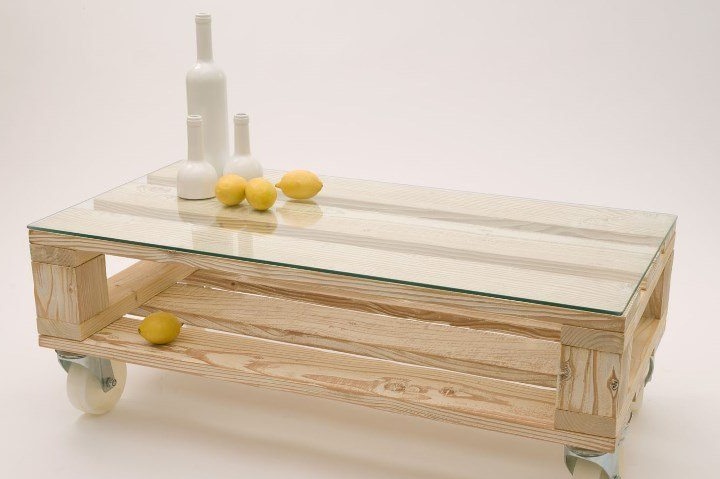

Wooden coffee table
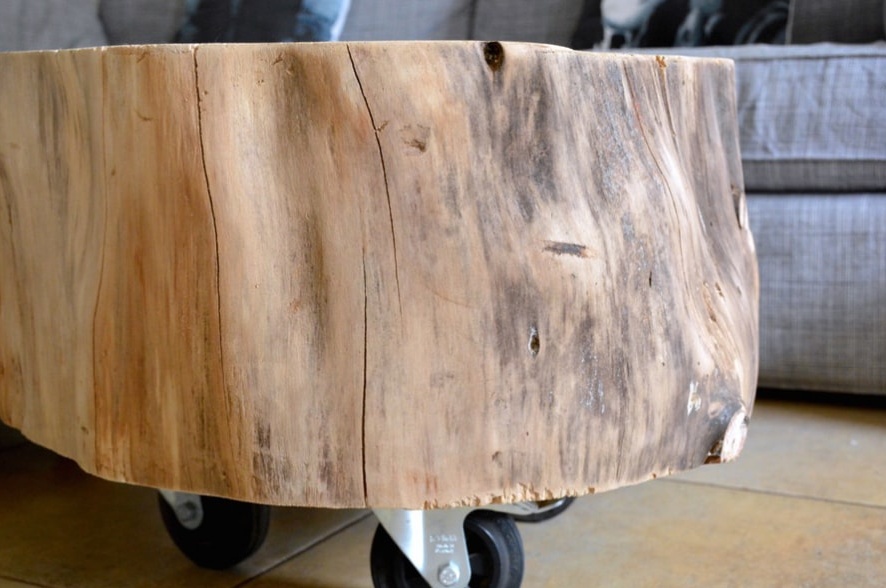
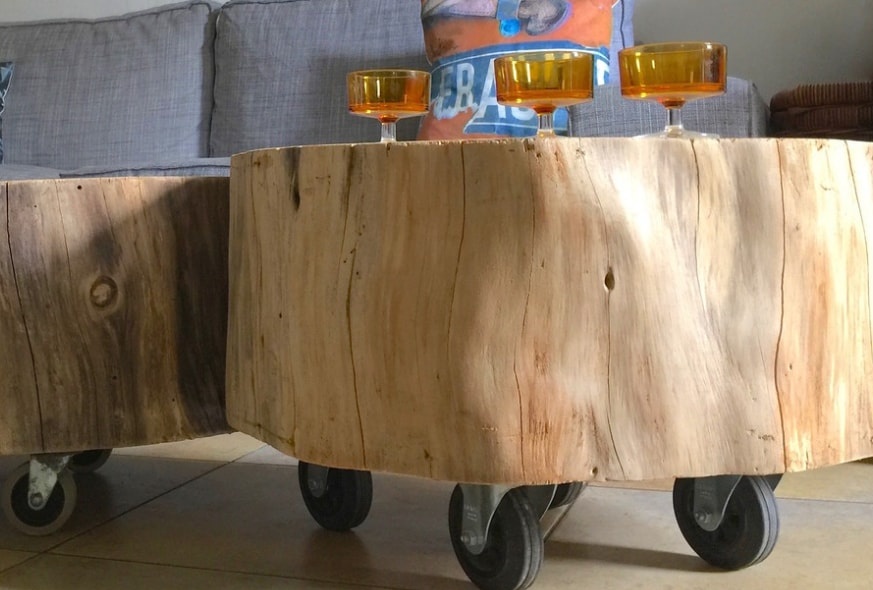
Fans of wooden objects in the interior are invited to pay attention to unusual coffee tables. They look truly luxurious despite being made with their own hands.

Necessary materials:
- logs;
- a knife for a tree;
- sandpaper;
- Sander;
- screws;
- drill;
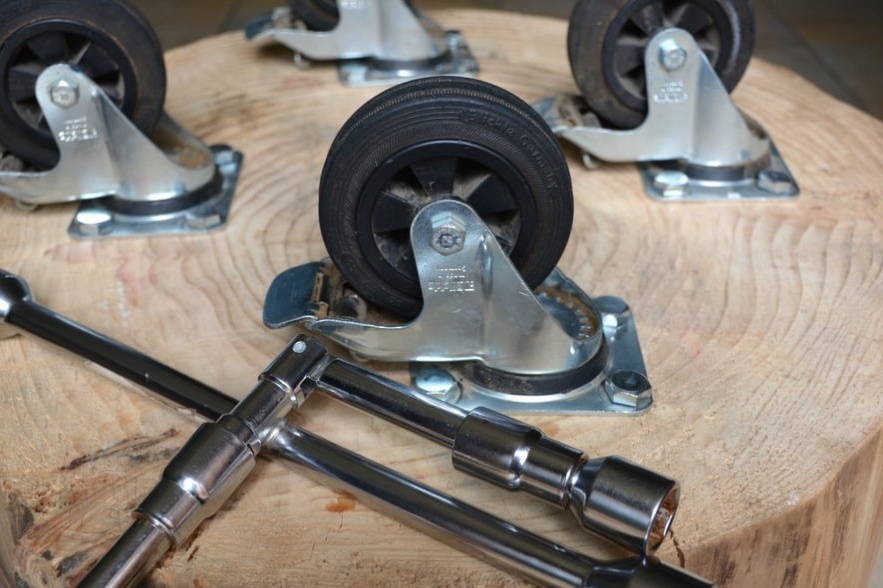
- small wheels - 4 pcs.;
- wrench;
- primer;
- roller;
- brush;
- pencil;
- parquet lacquer.
To begin with, it is worth noting that before working, the tree must be dried. After that, with the help of a knife, we separate the bark.
Since there are always quite a few roughnesses on a tree, it must be processed. To do this, use sandpaper and a grinding machine. We remove sawdust and dust with a wet rag.
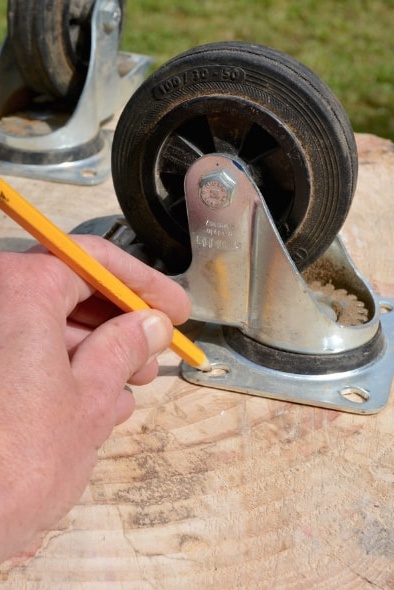
Turn the log from the bottom to the top. Evenly distribute the wheels and make marks in those places where the screws should be.
We select a suitable drill bit and make holes according to the marks. 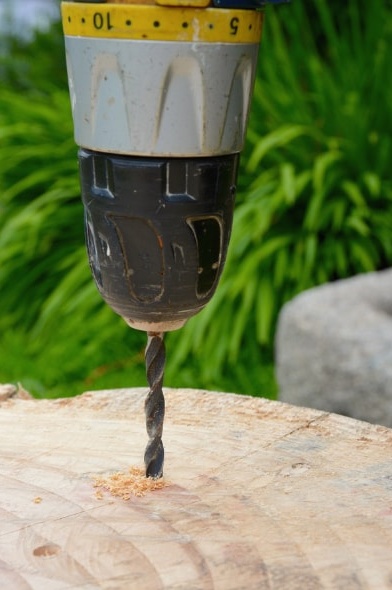
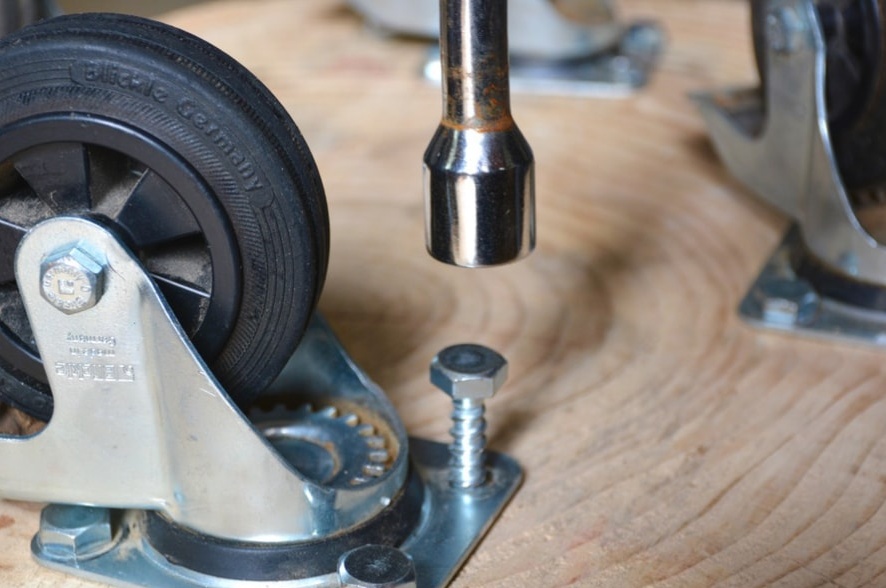
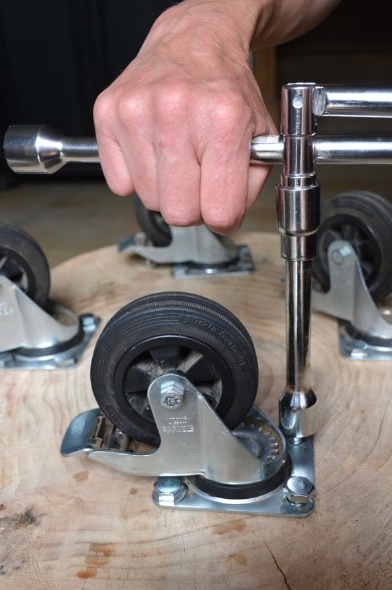
We distribute the wheels and all the screws. After that, we fix each of them with a wrench.
Turn the wooden table over and check its stability. 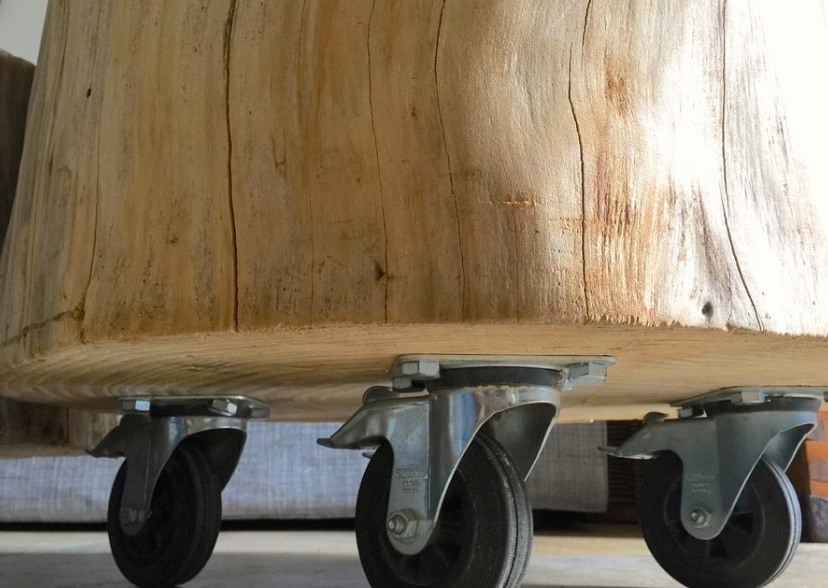
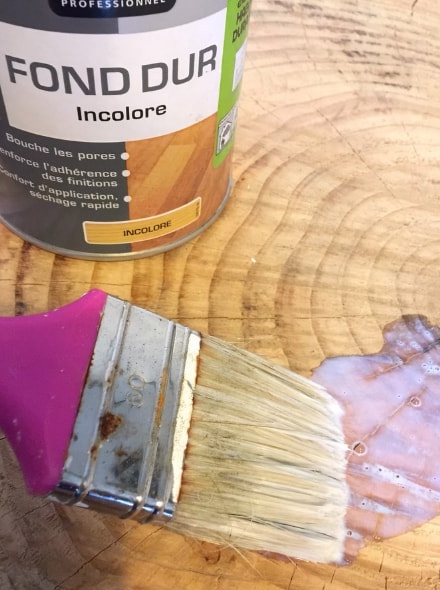
We cover the wood surface with a primer.
We apply parquet lacquer using a roller and leave to dry completely. 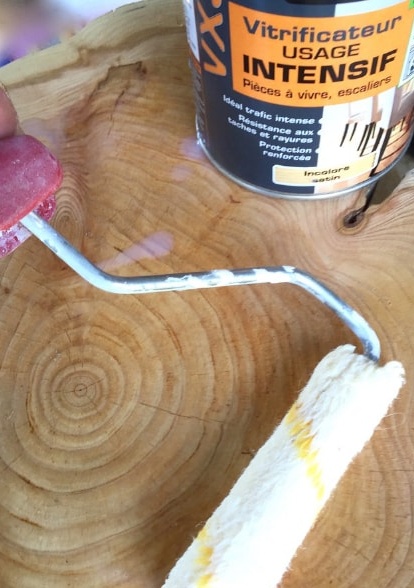
A beautiful wooden table is ready.
If desired, it can be painted in any shade.
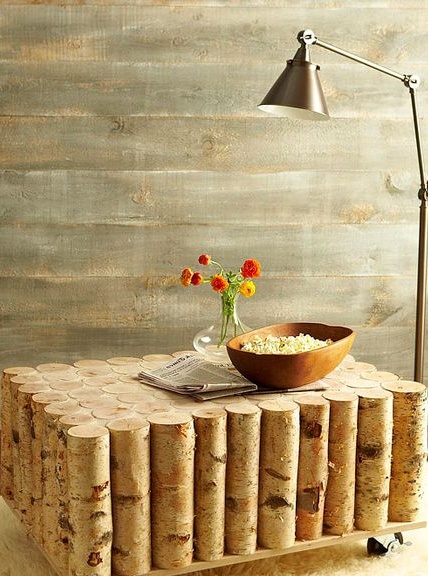
If this option seems too cumbersome to you, then we offer another master class. With it, you can make a beautiful coffee table from birch.
We will prepare such materials:
- plywood sheets;
- birch logs;
- wood glue;
- saw;
- putty knife;
- screws;
- screwdriver;
- castors;
- plaster.
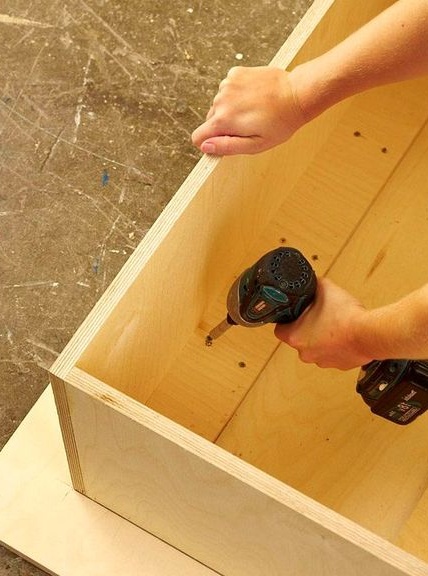
From plywood, cut out the base for the table, as well as the sides and countertop. We collect the sides and set them in the center of the base. Keep in mind that the base must necessarily protrude, since it is to it that the logs will be attached.
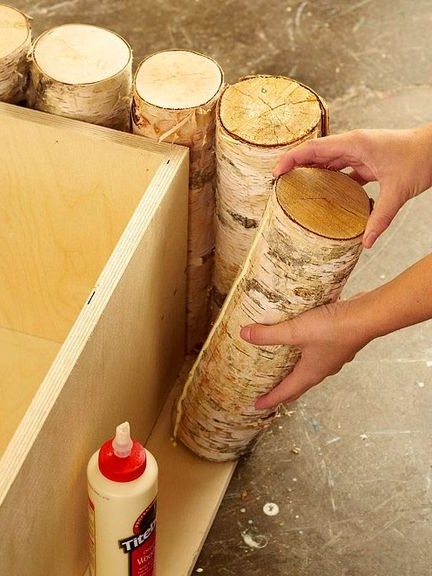
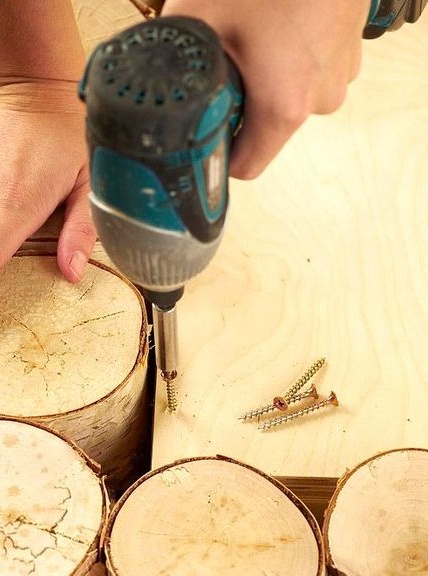
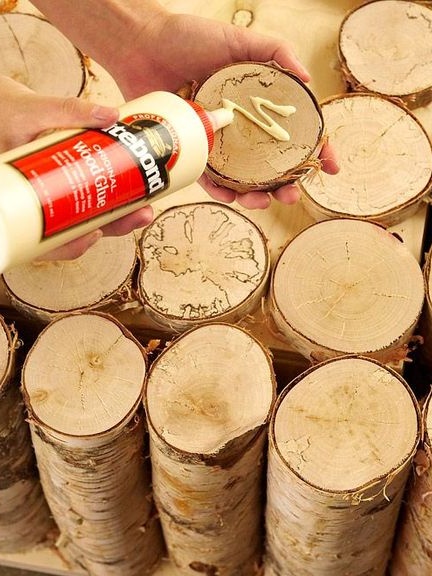
Glue prepared logs to a wooden blank with wood glue.For reliability, they can be additionally fixed from the inside of the box with screws.
We attach the countertop to the drawer.
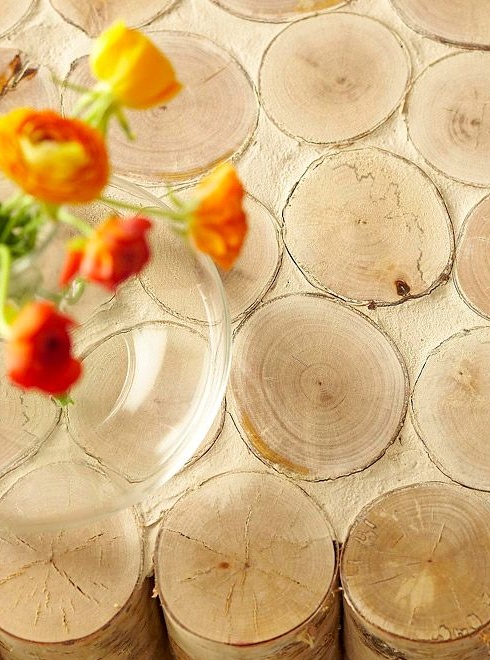
We saw a few logs into pieces of small thickness. Glue them to the countertop using wood glue.
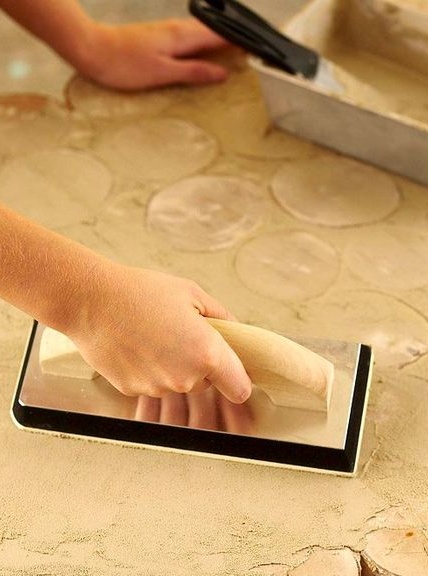
Fill the empty space with plaster. Remove excess and leave to dry.
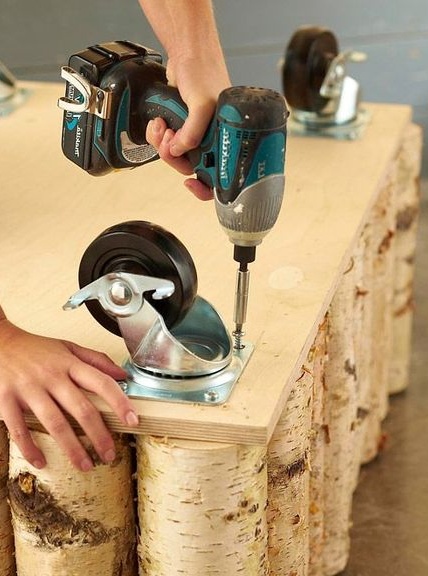
We attach the wheels to the bottom of the table and turn the structure back. Stylish coffee table is ready!
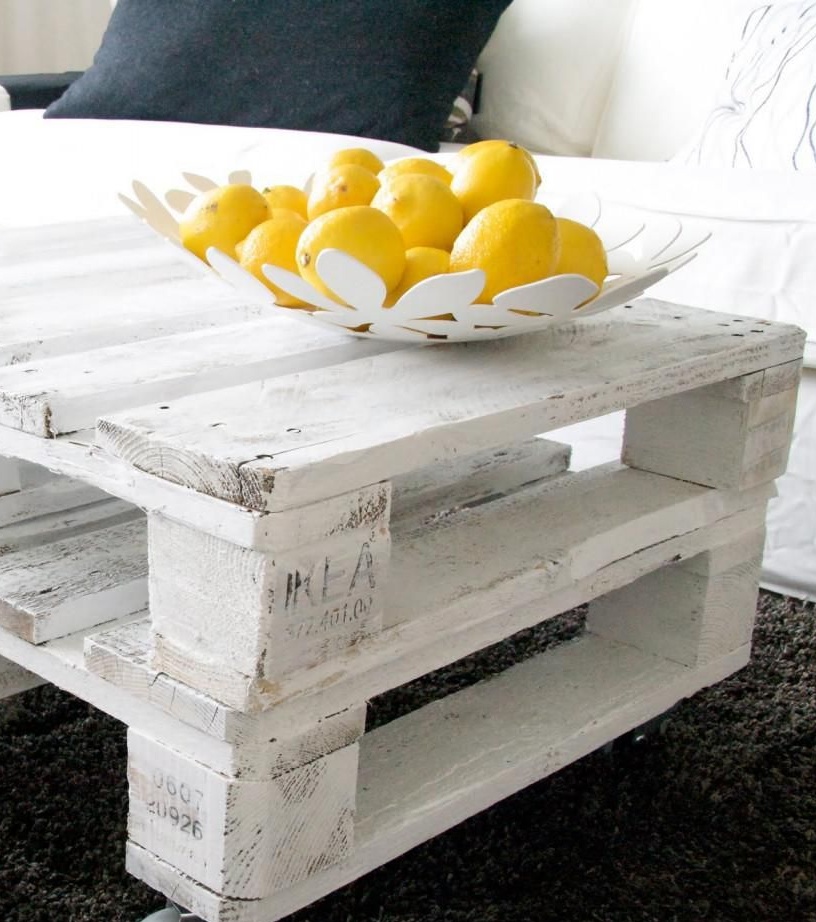
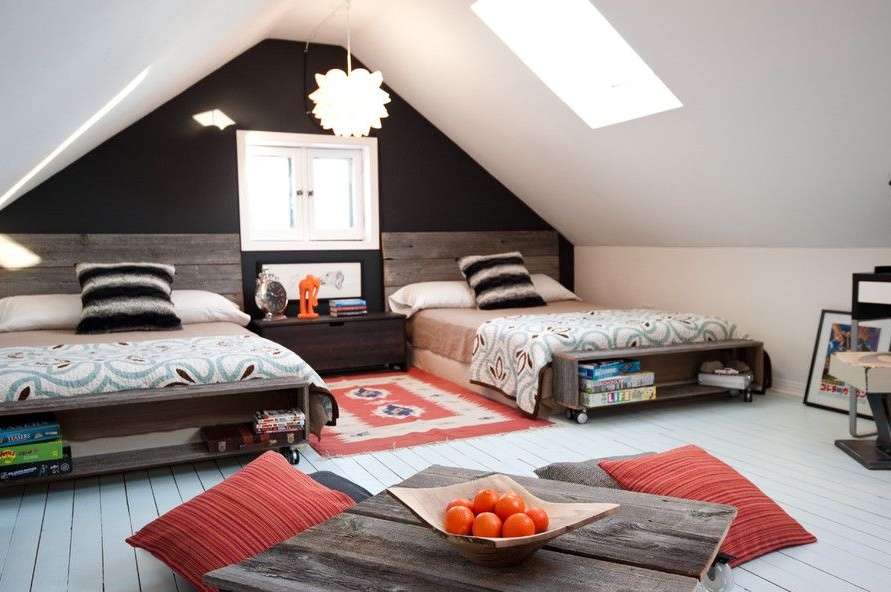
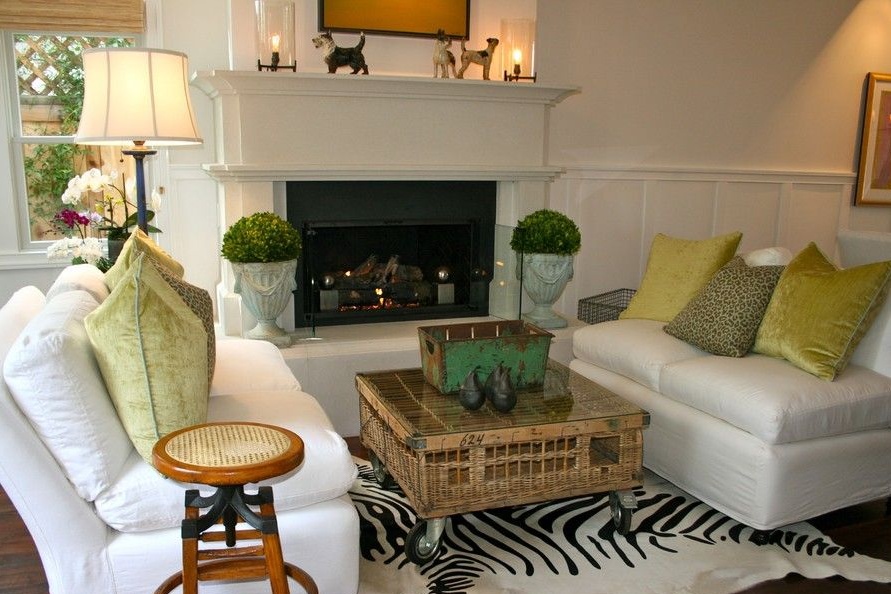
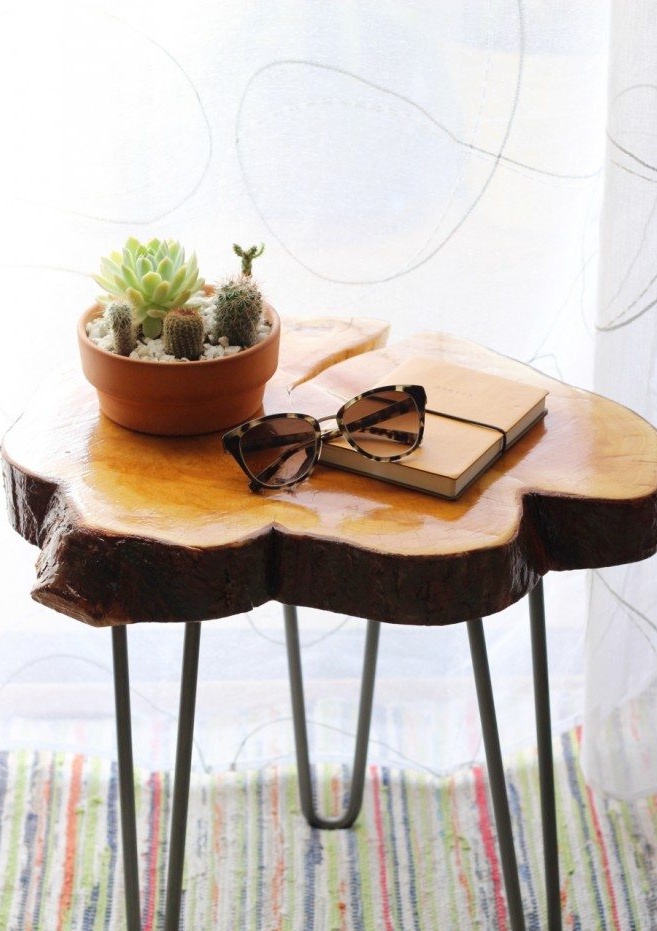
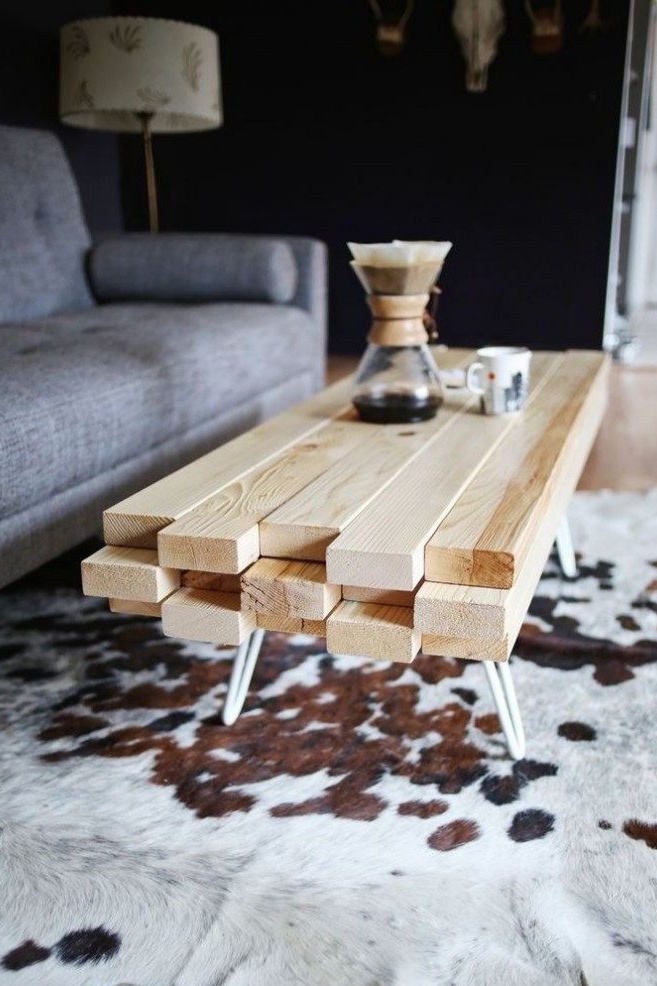
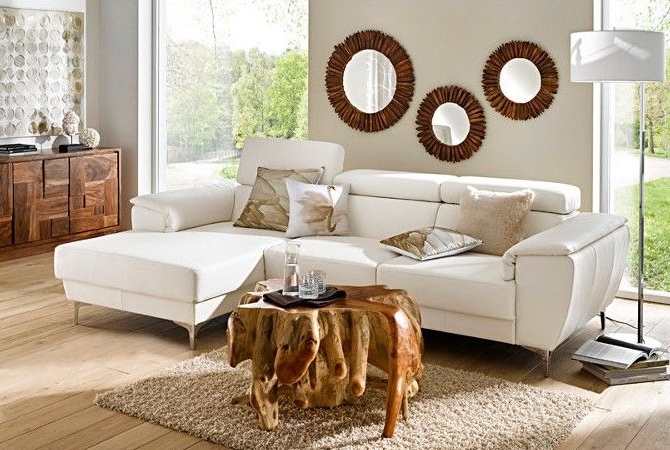
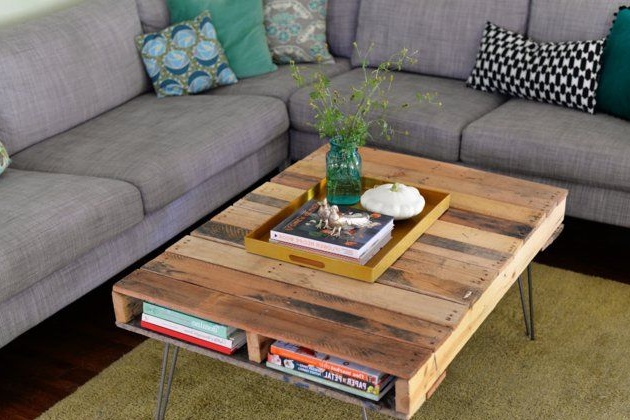
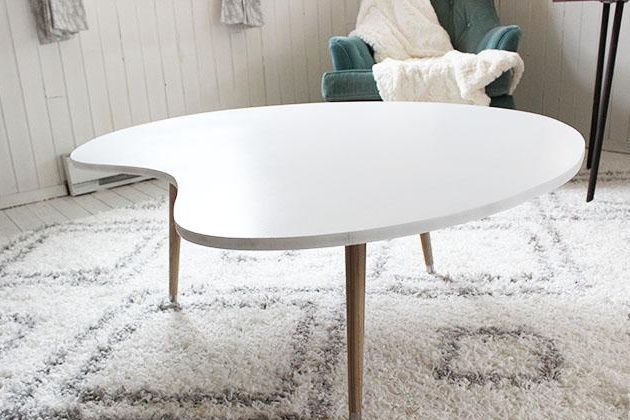
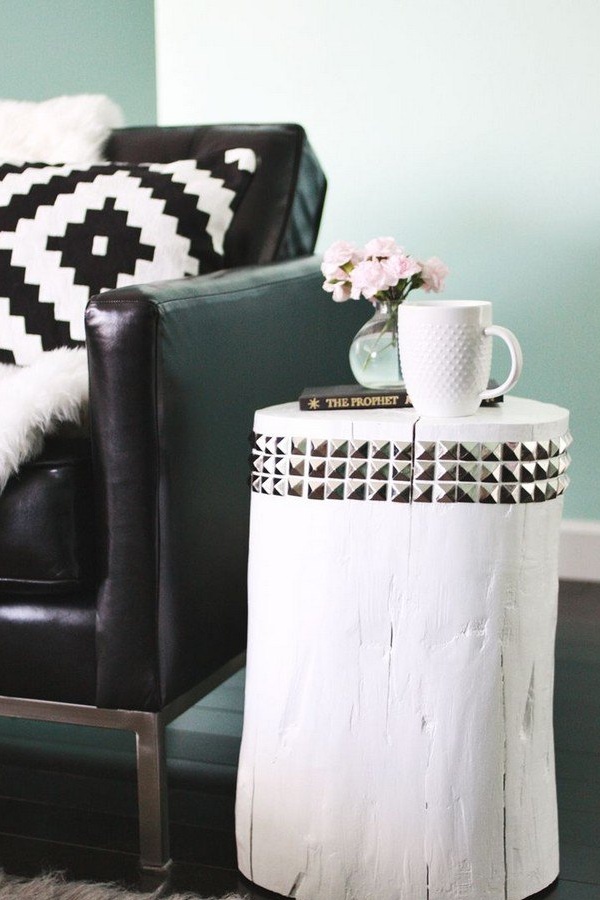
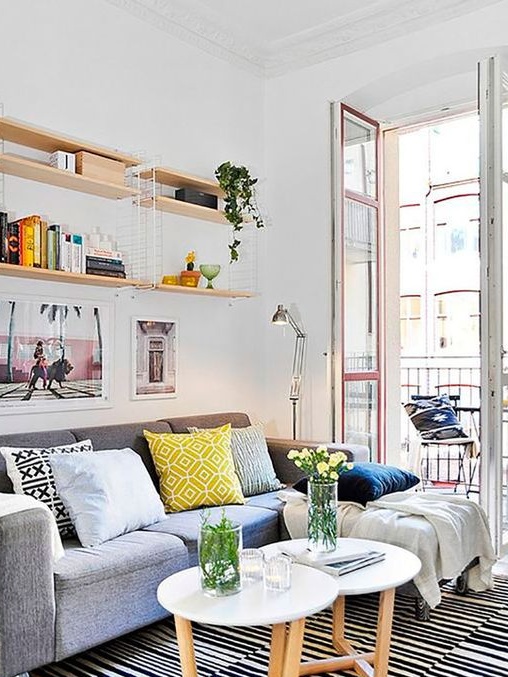
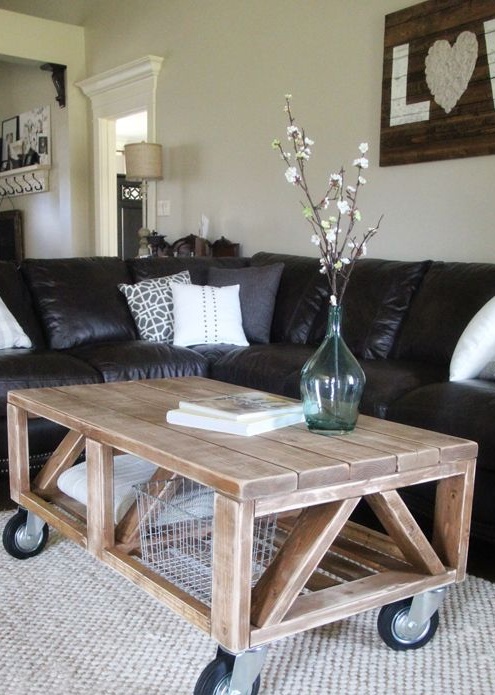
In fact, there are many options for a coffee table made of wood.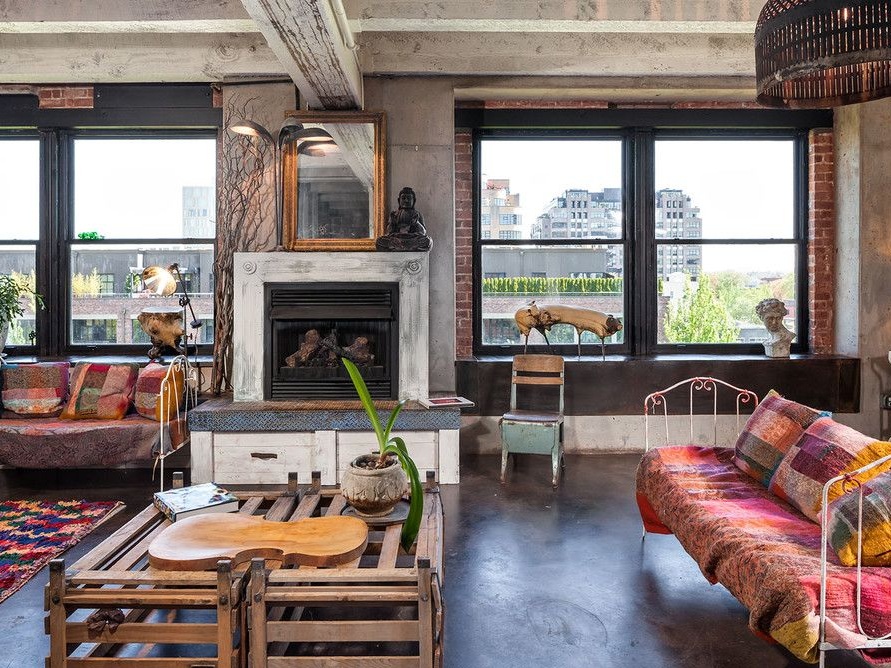
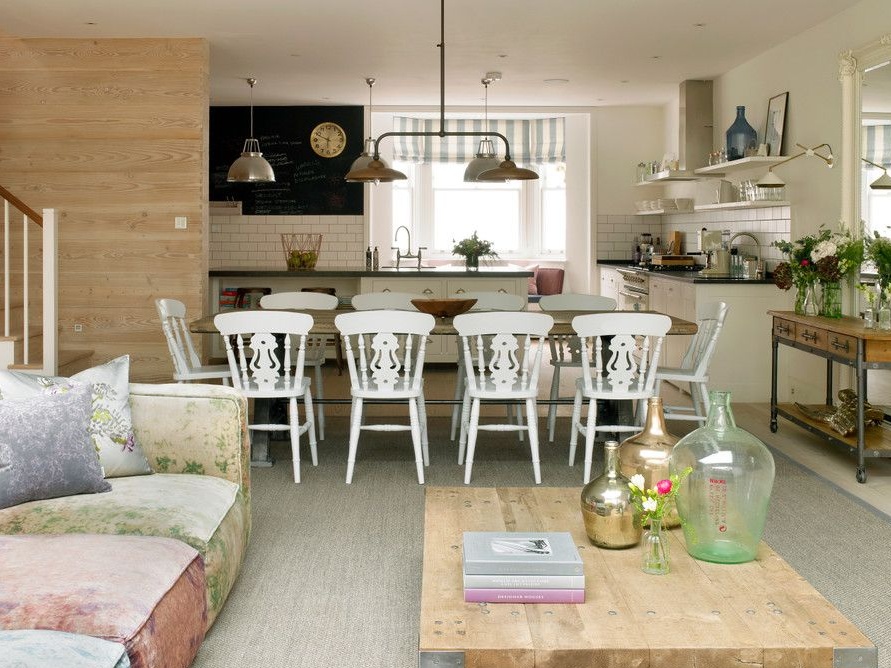

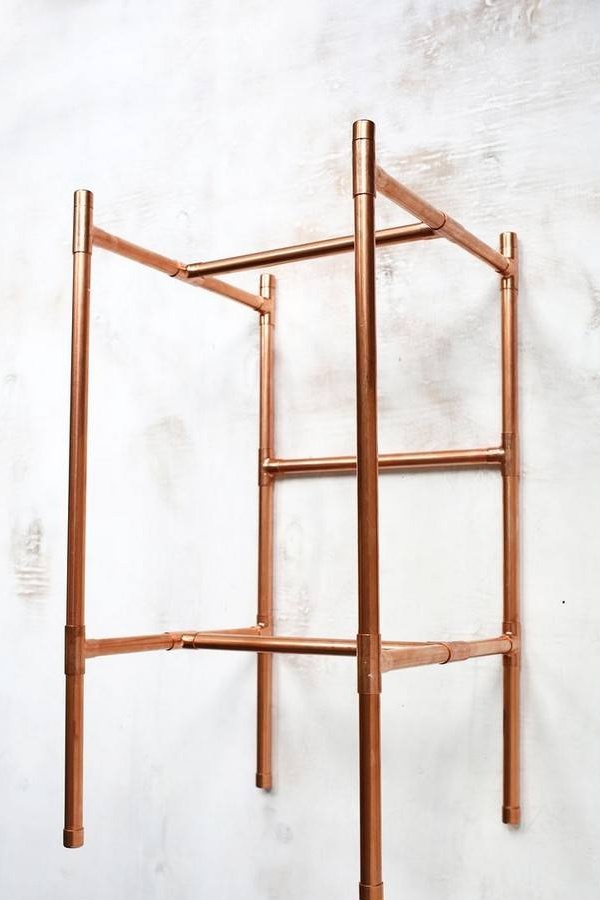
Laconic table made of pipes
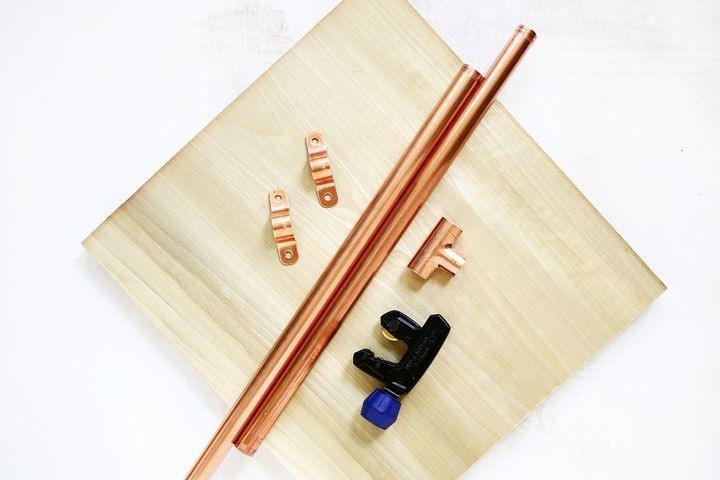
You will need the following:
- copper pipe;
- pipe cutter;
- clamps for fastening;
- epoxy adhesive;
- copper caps;
- boards;
- copper tees.
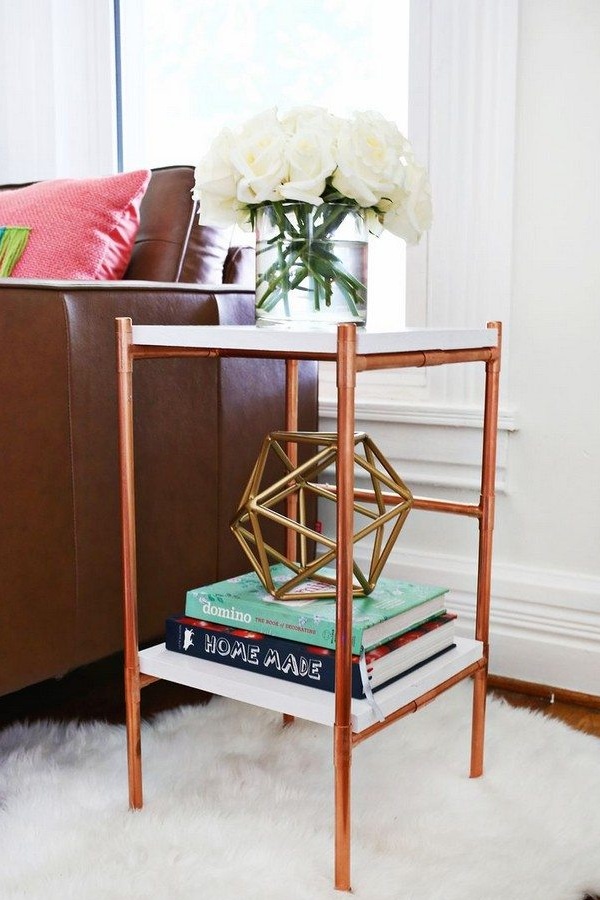
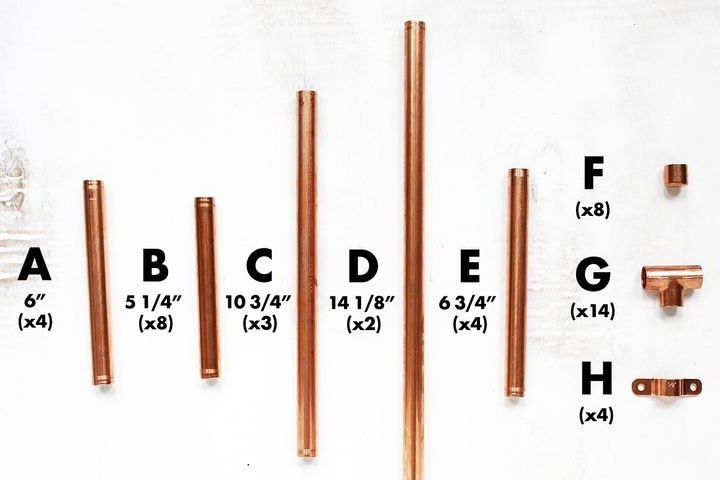
First you need to prepare parts from the pipe. You can use the sizes indicated in the photo or use the parameters that are suitable for you.
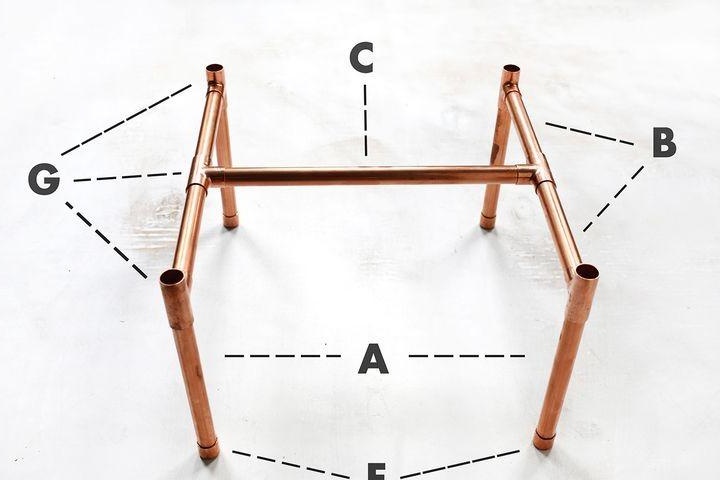
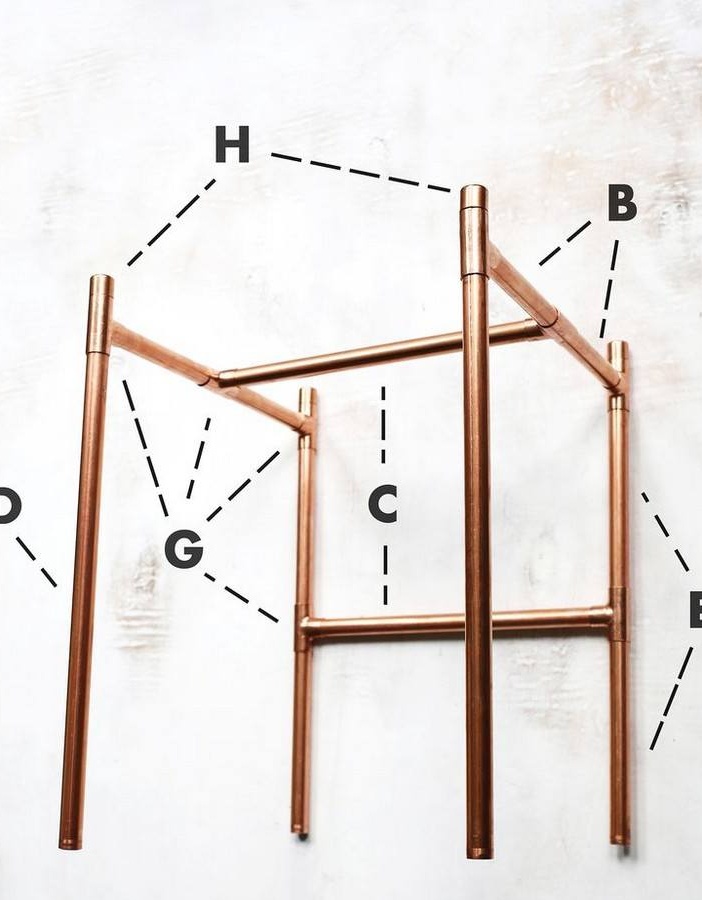
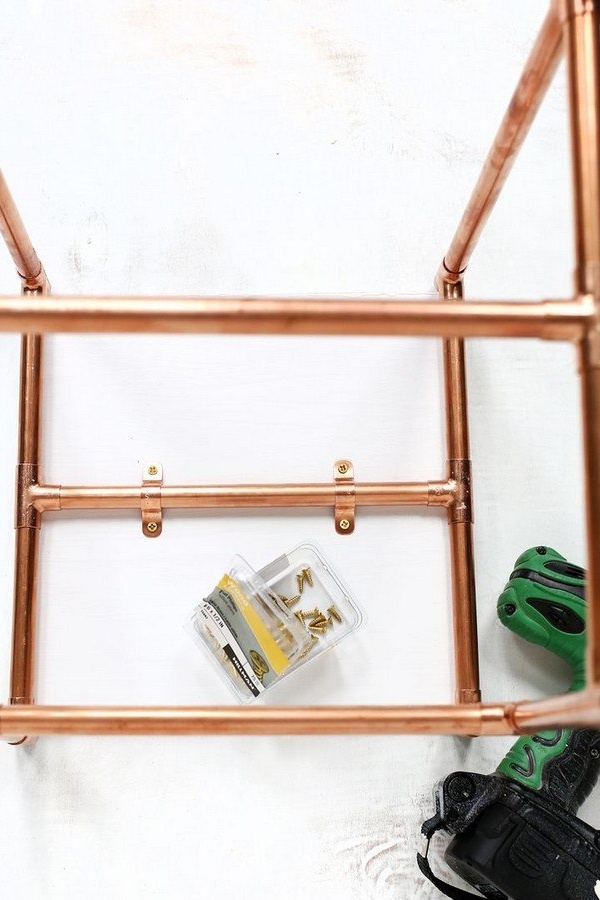
After all the parts are ready, you can safely proceed to the assembly of the lower part. In the process, focus on the diagram that is shown in the photo.
Gradually collect the blank for the table.
If you are sure that all the parts are well connected to each other, then for reliable fastening, you can use glue.
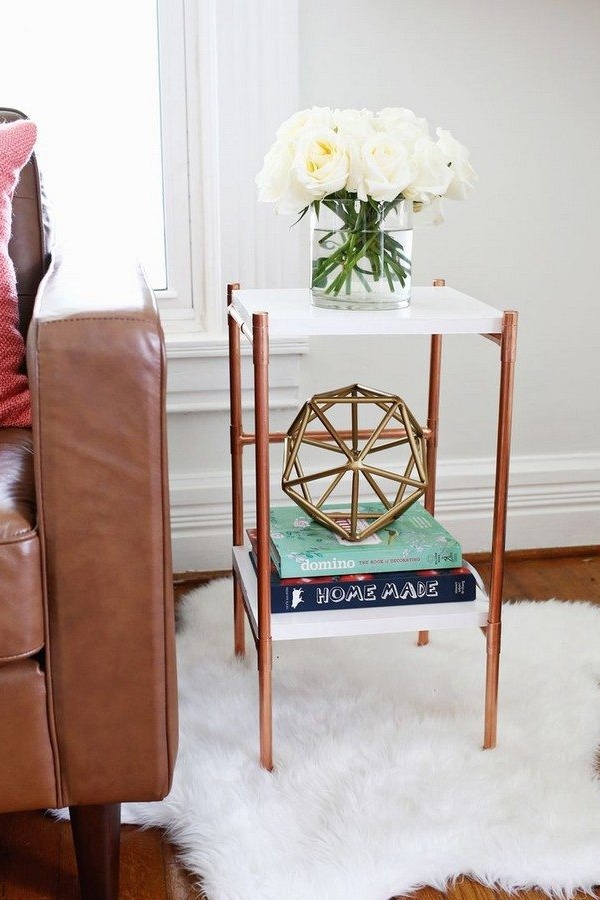
We attach the boards to the coffee table.
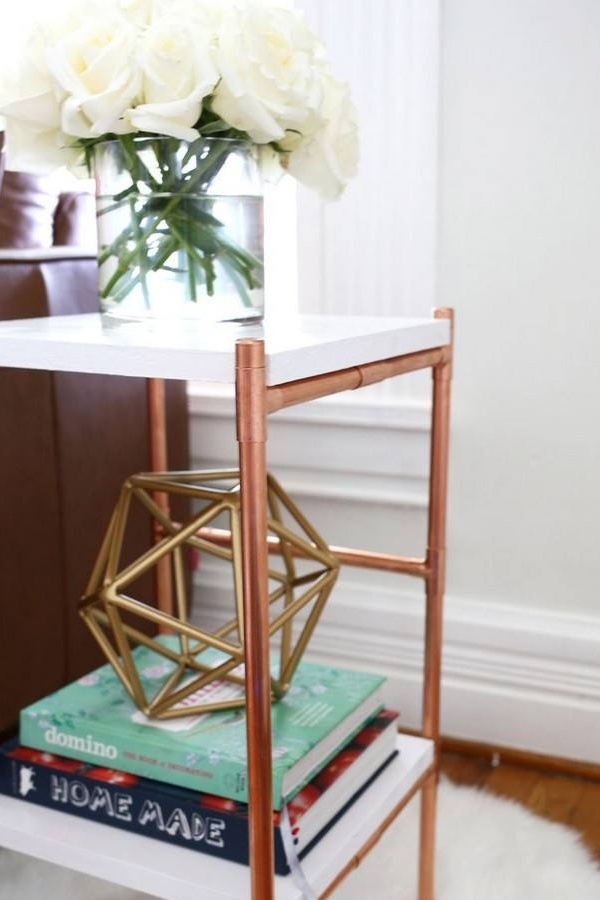
A beautiful, unusual, concise little table with your own hands is ready!
Fancy Styrofoam Coffee Table
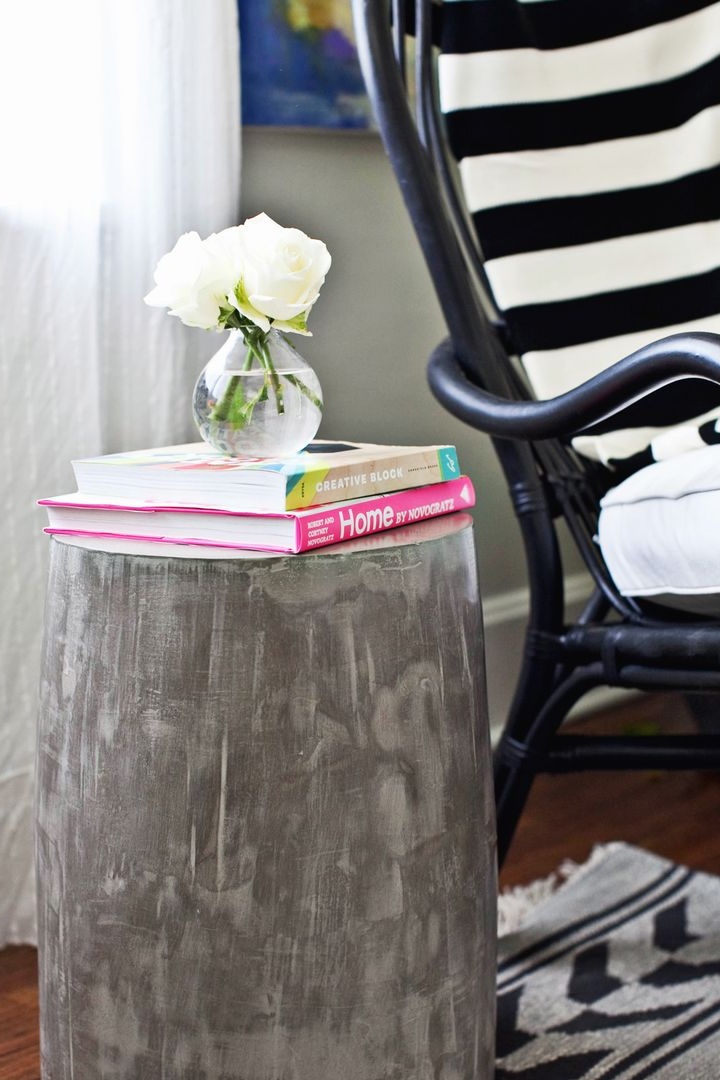
Unusual designer tables are becoming more and more popular every year. For example, the concrete option looks very nice, but at the same time it has a number of disadvantages. Of course, it has a high cost. It is also incredibly heavy, which is not always convenient. Therefore, we propose to make an alternative option from foam.
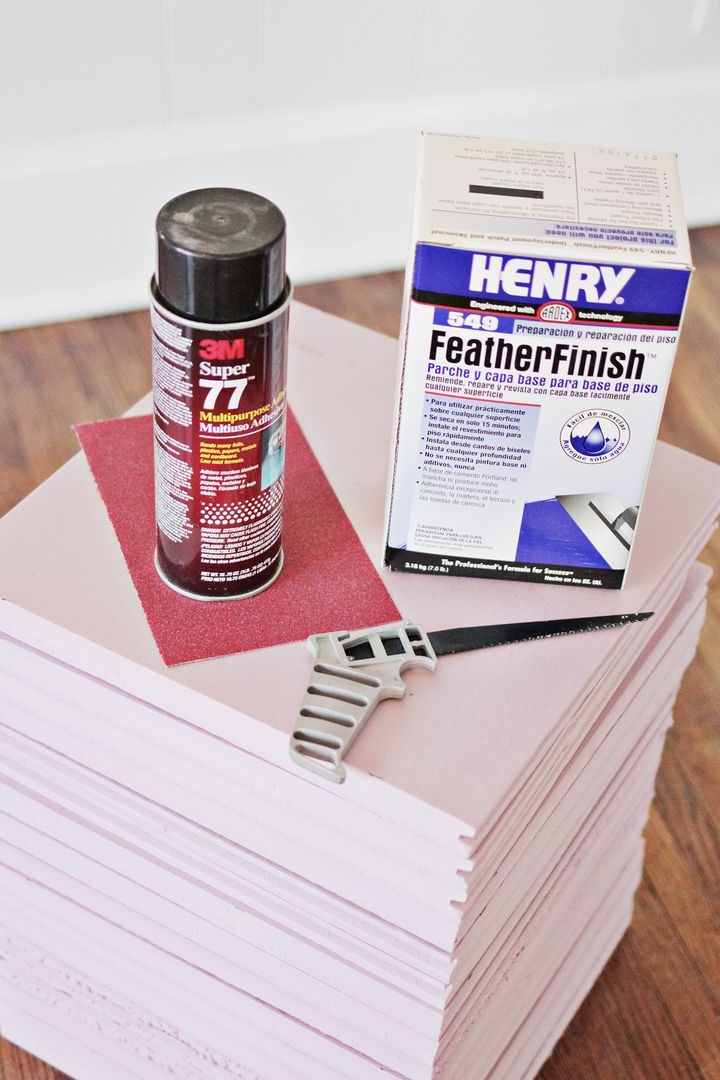
Necessary materials:
- Styrofoam;
- Sander;
- cement;
- putty knife;
- aerosol glue;
- sandpaper;
- hacksaw;
- paint;
- knife.
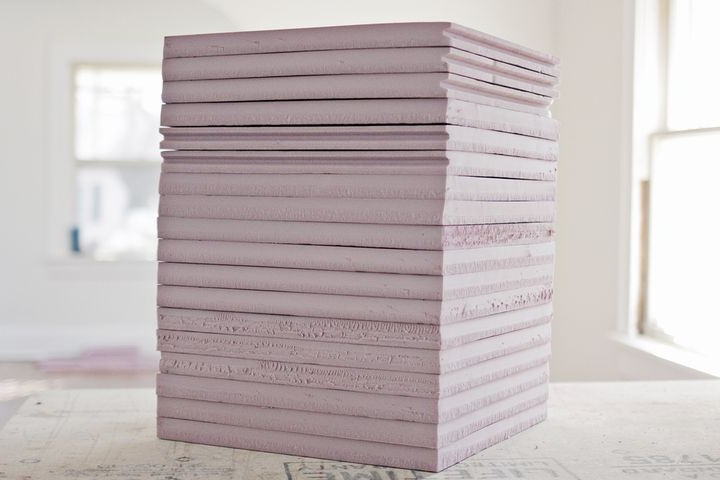
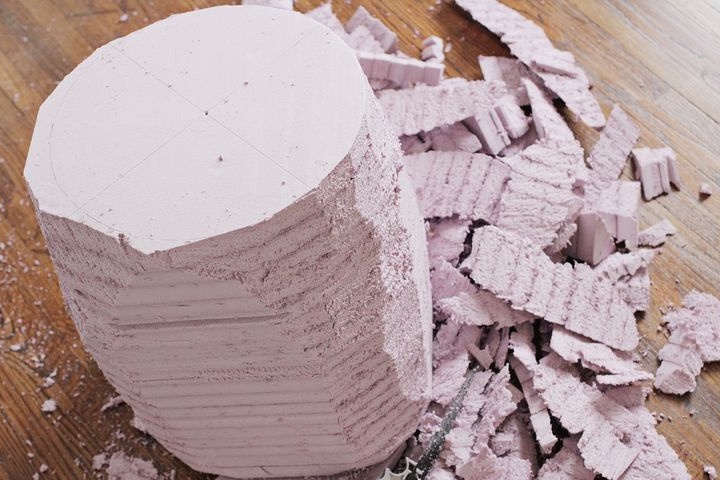
We cut the foam into squares of the same size and stack them on top of each other.
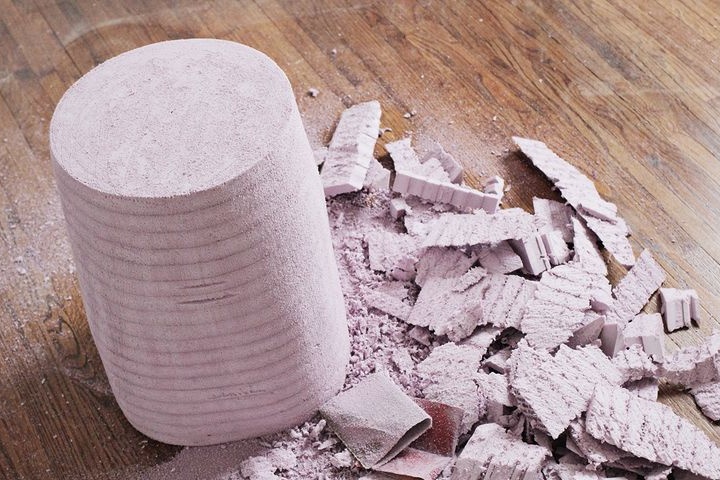
We glue the blanks together with aerosol glue. We give the workpiece the shape of a cylinder, cutting off the corners.
We grind the surface with sandpaper so that the cylinder has a more regular shape.
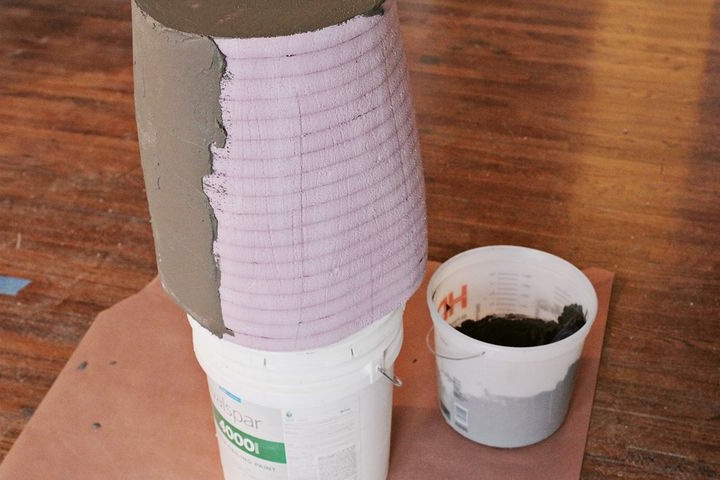
We apply cement mortar on the entire surface of the foam blank. After drying, apply another coat. Keep in mind the number of layers depends on how smooth you want the coffee table to be.
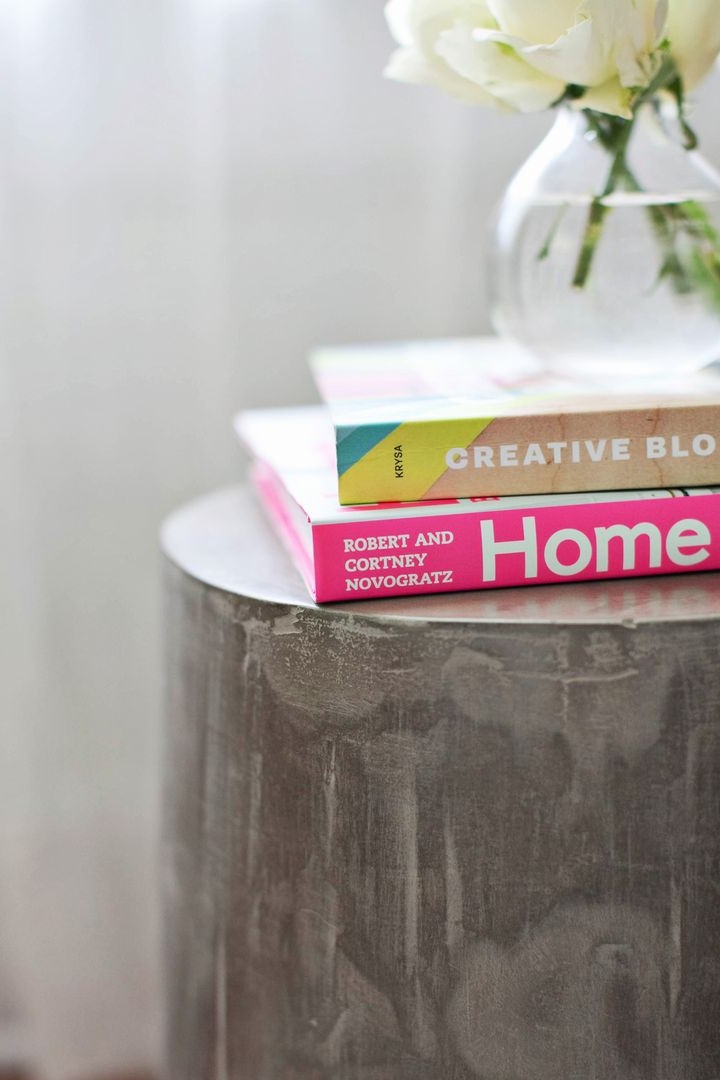
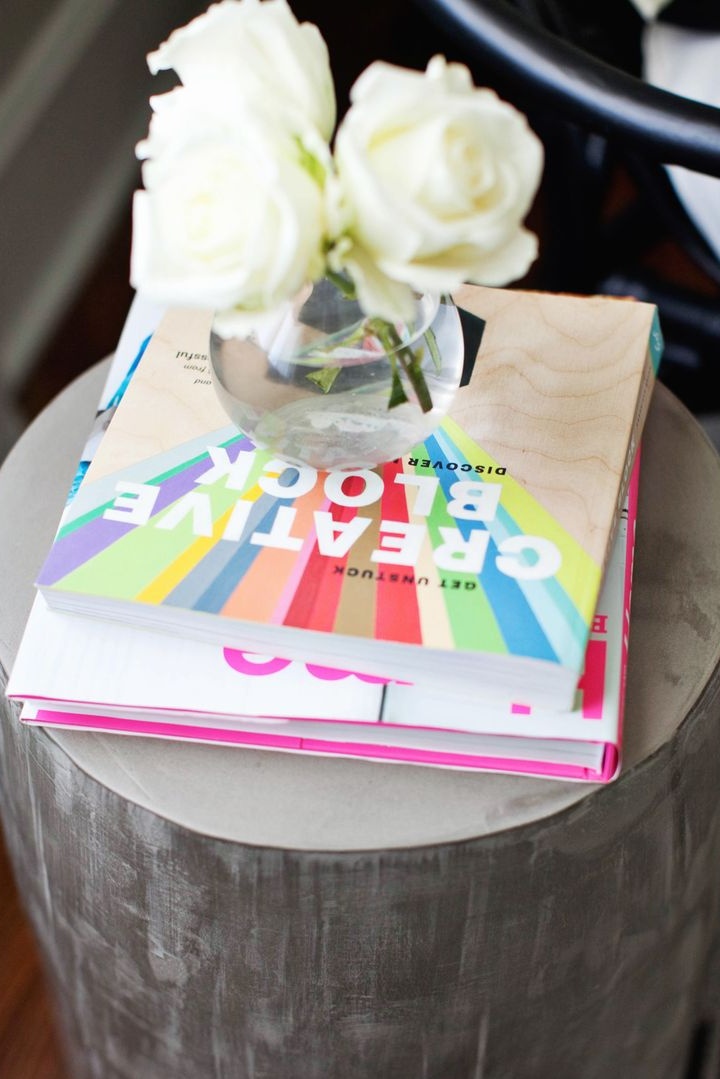
After drying, we process the table with a grinding machine to achieve smoothness. Stylish, original foam table is ready!
Coffee table: unusual ideas with your own hands
Coffee table: unusual ideas with your own hands
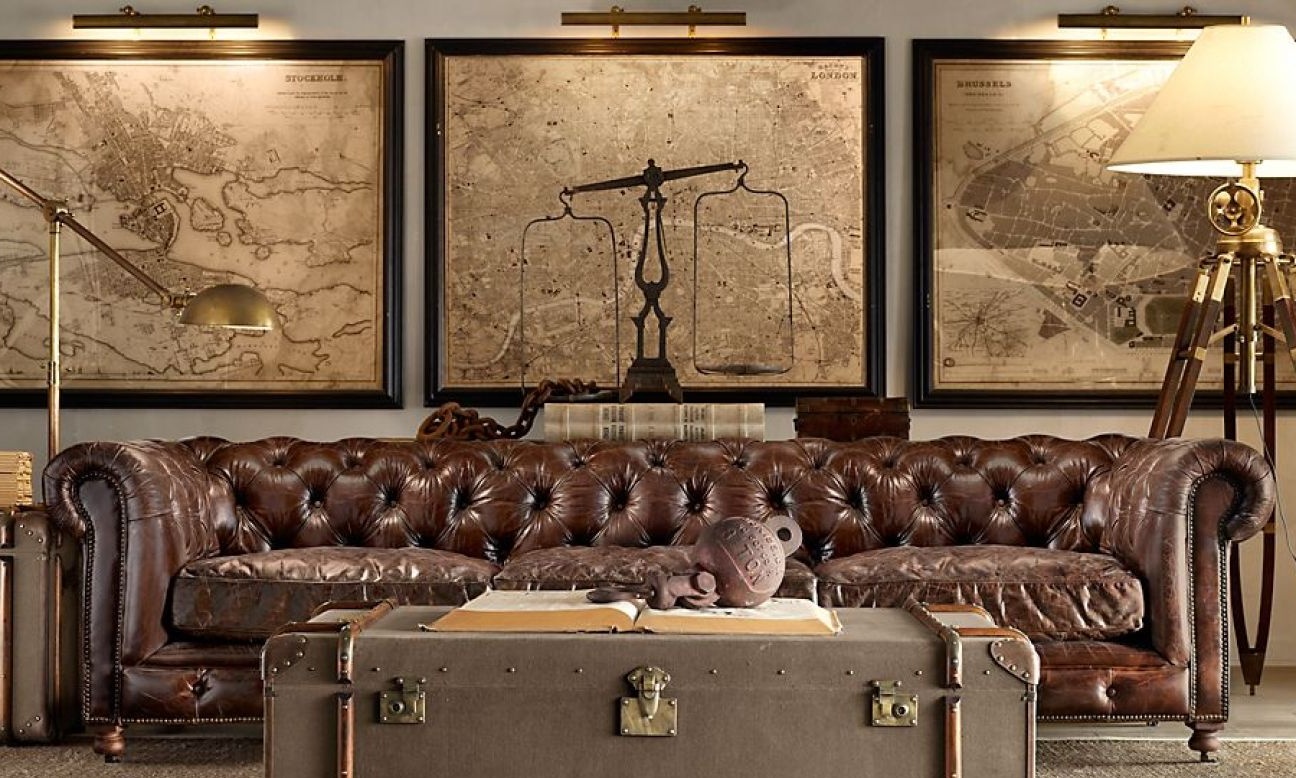
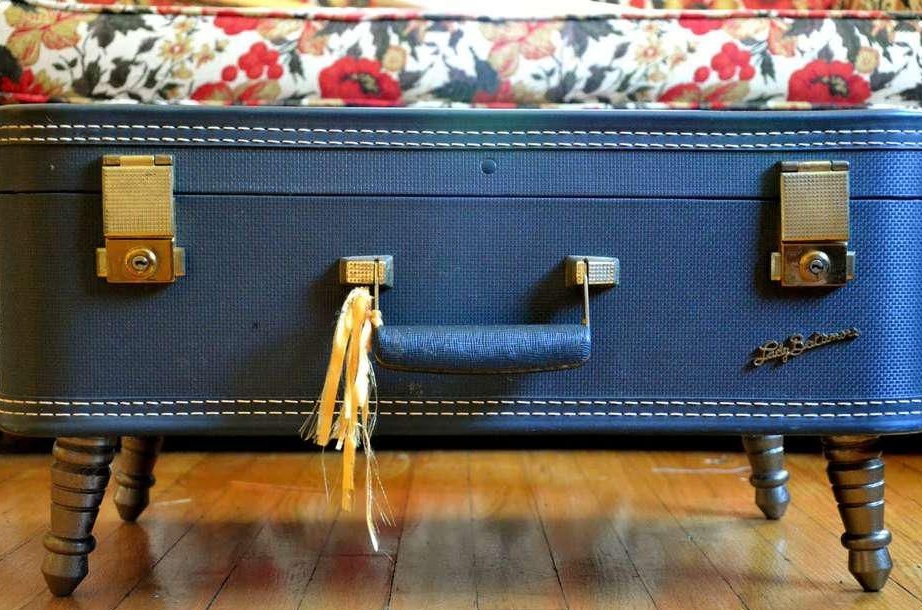
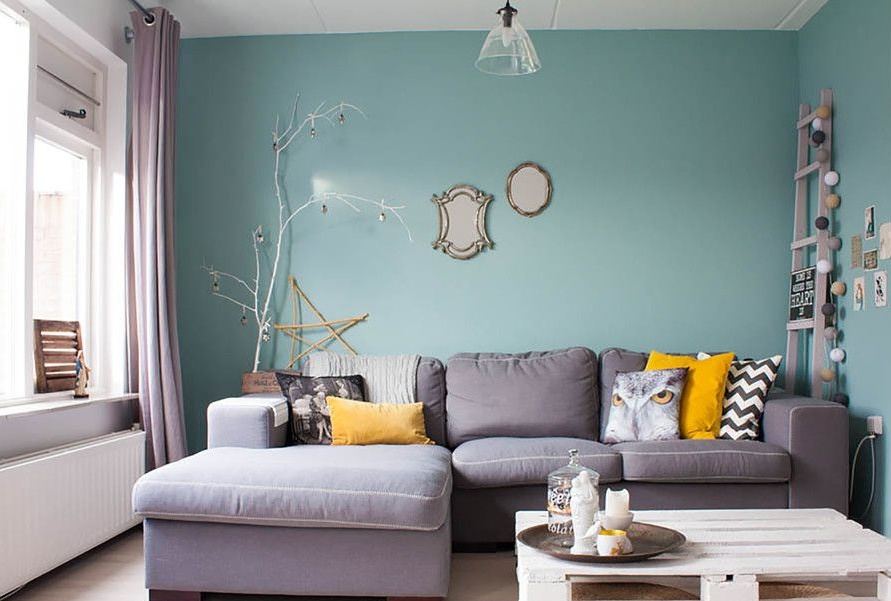
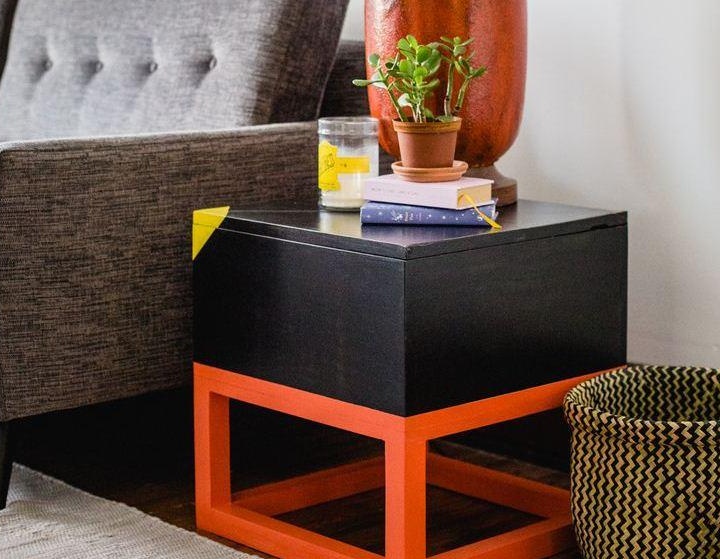
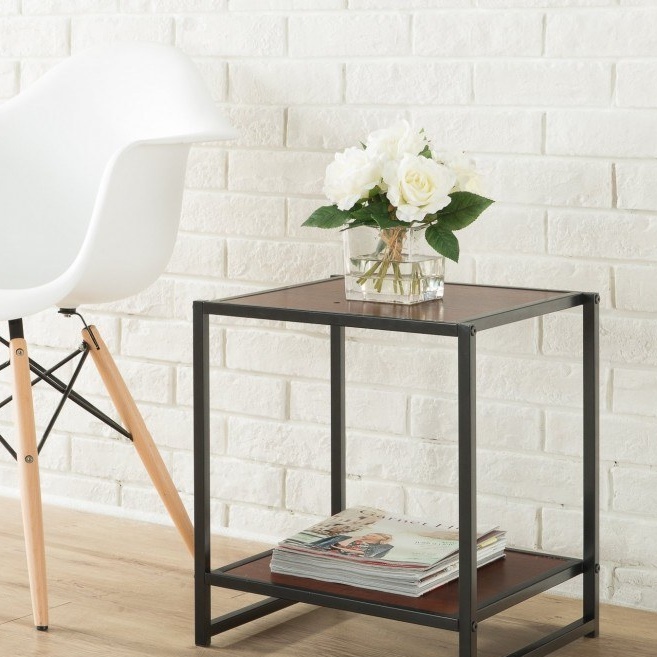
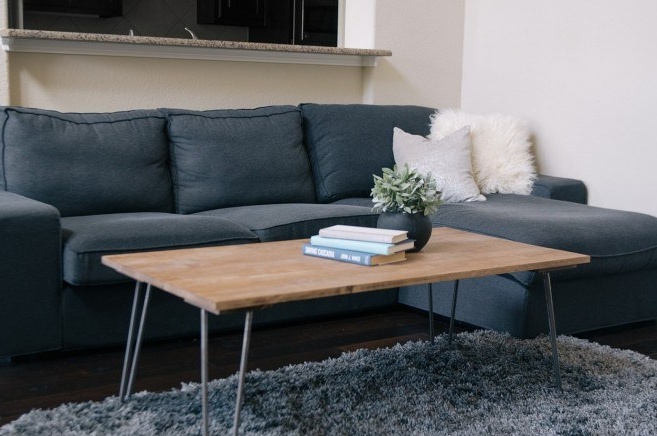
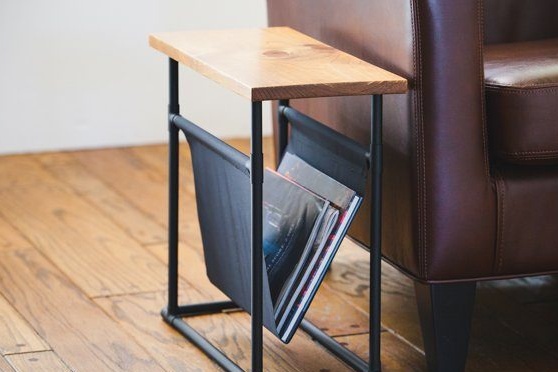
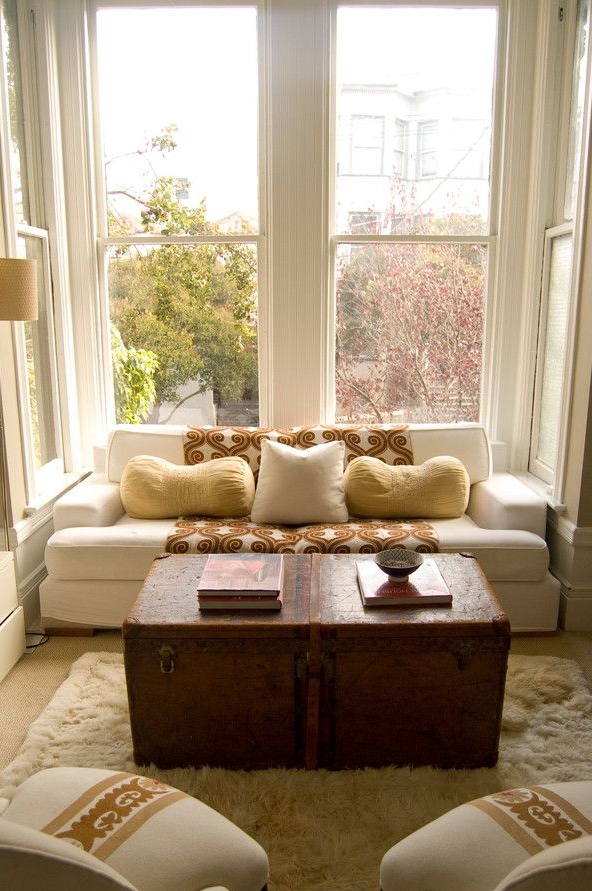
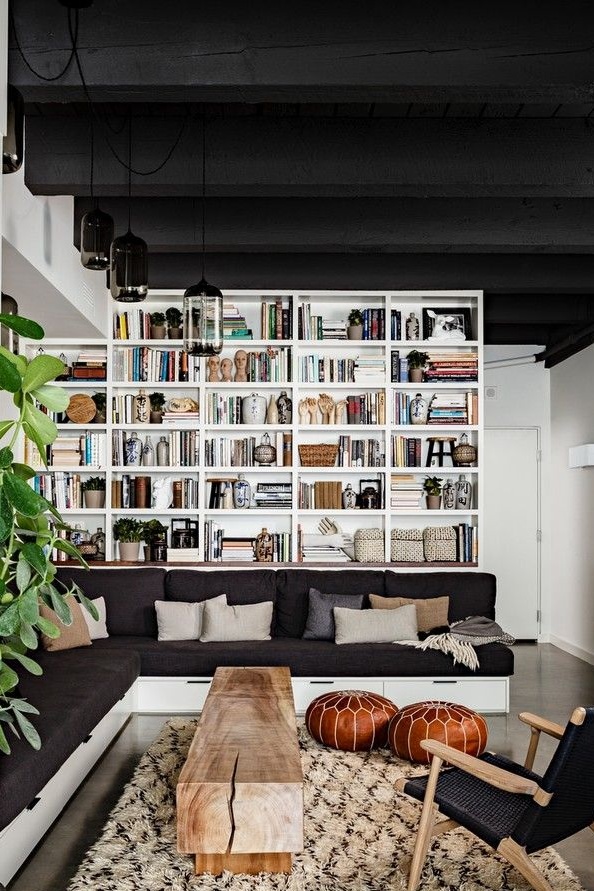
The process of creating a coffee table is quite complicated, sometimes even too much. But the result is definitely worth it. After all, such home-made interior items always look especially beautiful.


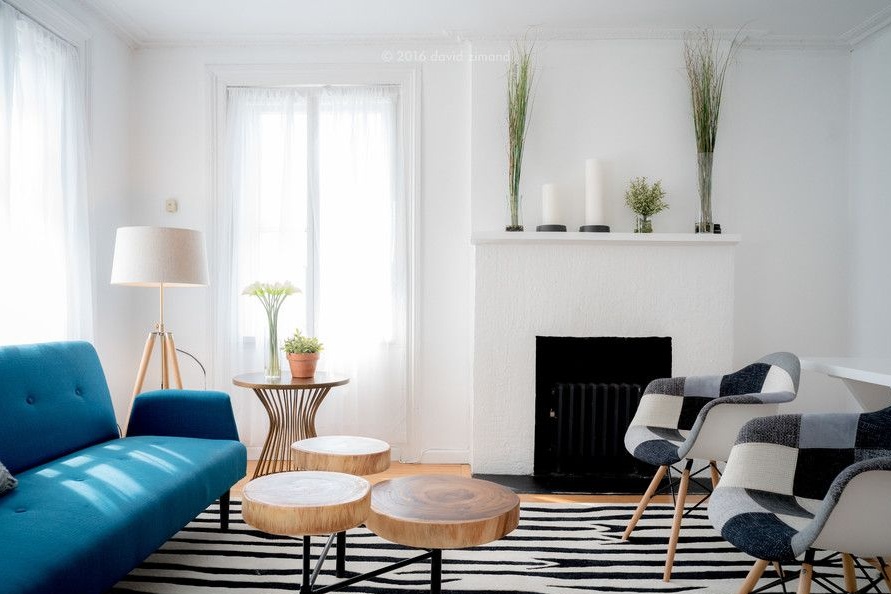
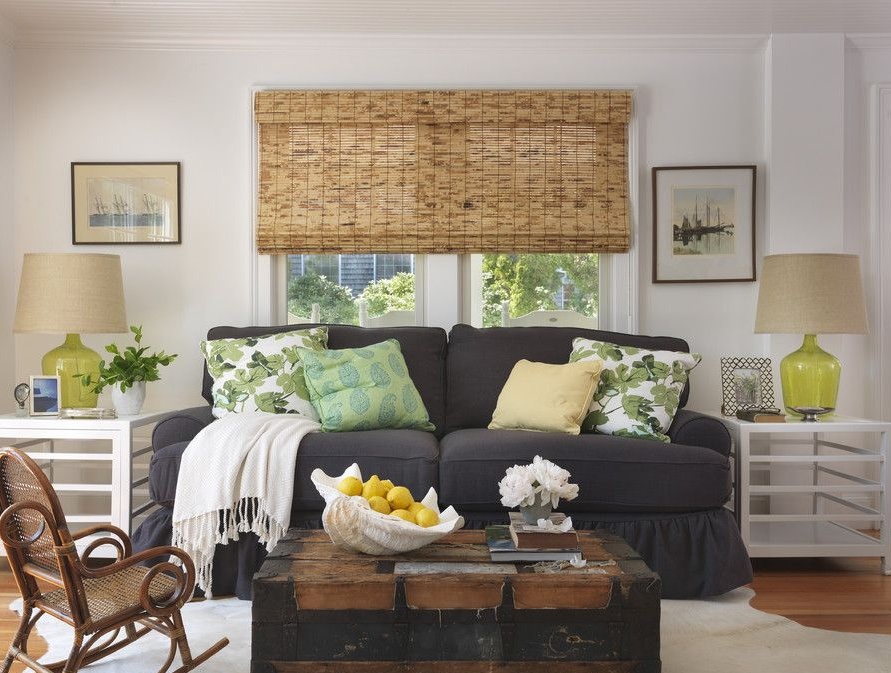
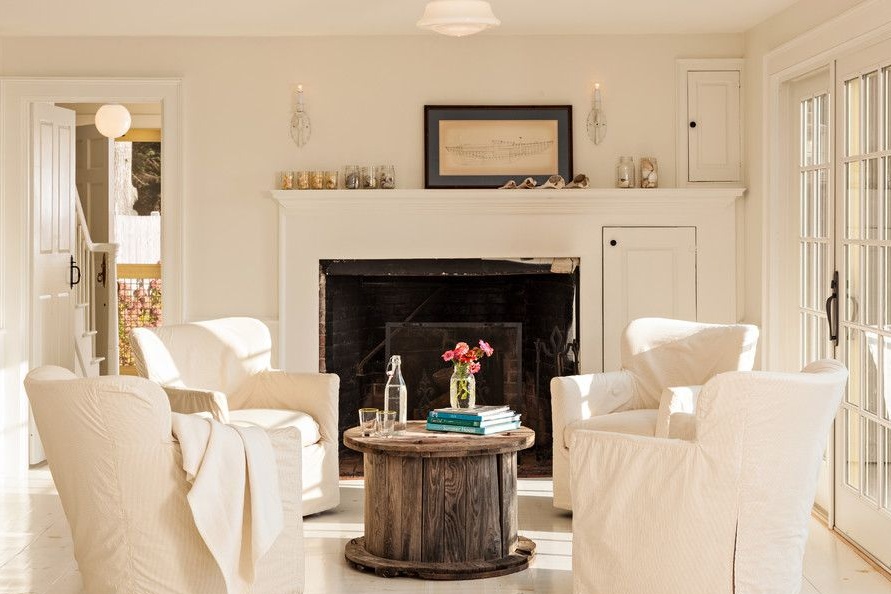
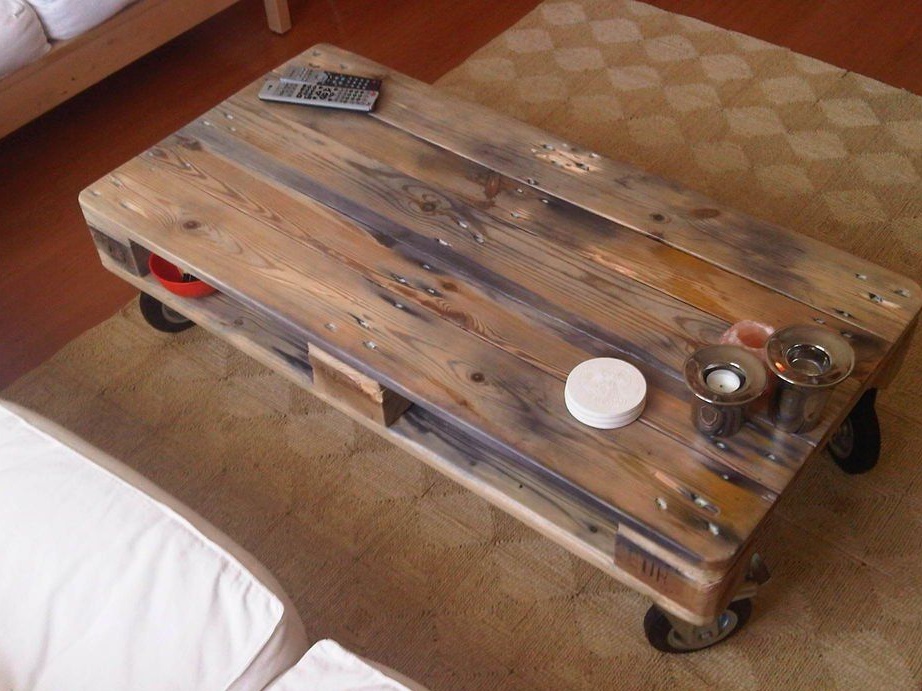


The process of creating a coffee table is quite complicated, sometimes even too much. But the result is definitely worth it. After all, such home-made interior items always look especially beautiful.

