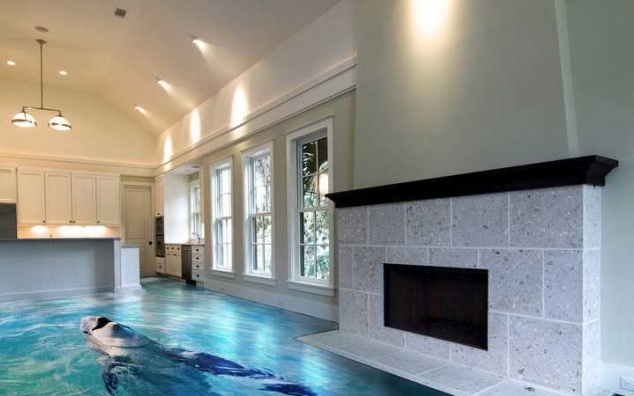
Magic floor - 3D
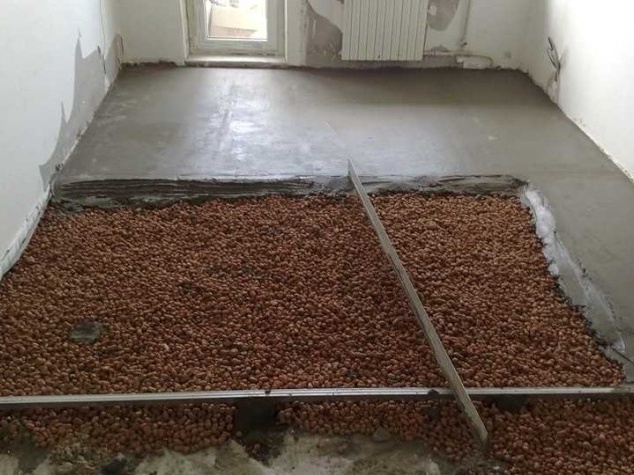
Preparation and leveling of the base of the room
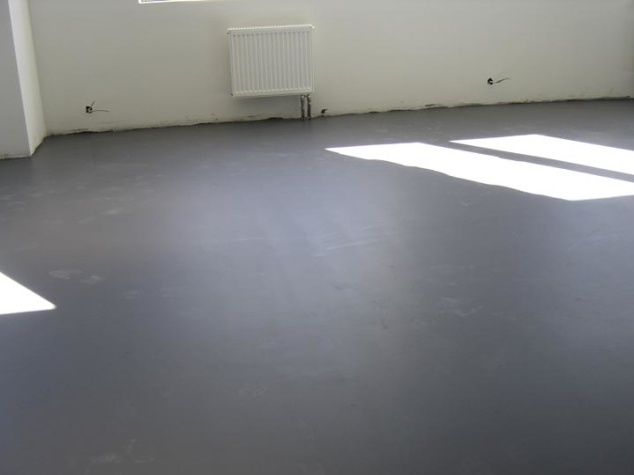
Mixtures for floor screed: types and consumption

Types of bulk floors
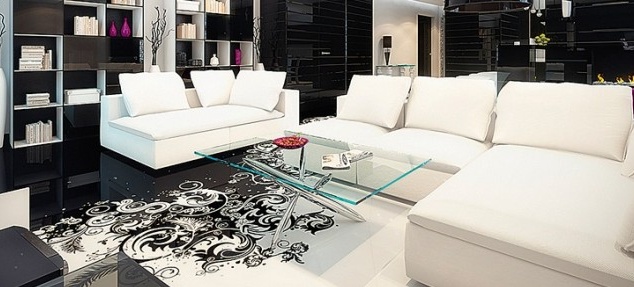
Do-it-yourself 3D floors
Tools and materials ...
Calculation of bulk floor
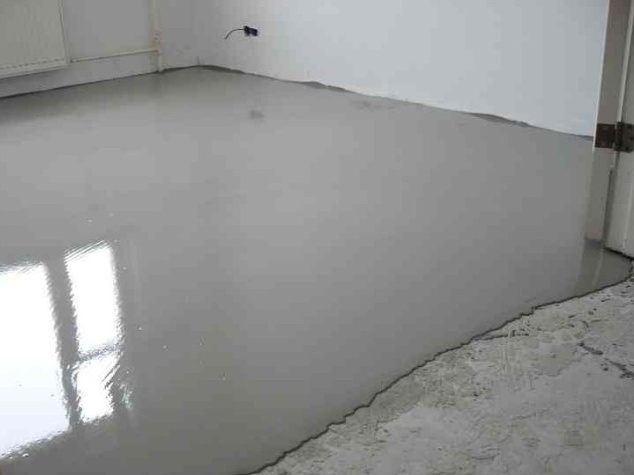
Self-leveling floors for the home are a modern type of screed based on a self-leveling mixture. The main feature is its minimum thickness of 3.5 mm.
Self-leveling floors are divided into two types:
- Preparatory screeds for subsequent finishing: laminate, parquet, linoleum, etc.
- Finish - is a finished floor covering, includes the application of a 3D banner or colorization.
Self-leveling floors for the home: main types
- Based on polymer compounds (polymer);
- Based on cement (cement-containing);
- Special self-leveling floors (industrial for extreme loads).
Bulk floor is used both for simple apartments and offices, and for industrial and specialized premises. Material is selected depending on the load.
Preparatory work before pouring
1. Remove the old cover from the floor, door and baseboard in the room.
2. We clean the surface of the floor with a metal brush: glue, fragile concrete, peeled paint must be removed. We clean all the dirt from the cracks, make them “open”.
3. The floor must be checked with a long level. The clearance between the floor and the rule should not be more than 3 mm.
4. Mark the line of the future floor on the walls and remove 25mm of plaster above this level.
5. Using a vacuum cleaner, we clean the floors of dust and degrease with detergents.
6. Carefully putty on deep cracks and crevices with adhesive or mortar.
7. If the difference in floor level is more than 30 mm, we level the floors with a mortar or use special mixtures for this thickness, you can use a mixture of bulk floors and sand in a ratio of 1 to 1.
Directly pouring the bulk floor
1. The contents of the package are added to the water in the proportion specified in the instructions. Mix with a drill equipped with a mixer tip until smooth without lumps. Leave the solution for 3 minutes and mix again.
2. The solution must be used immediately, since the interval between subsequent pourings should not exceed more than 15 minutes, so it is recommended to work with a partner.
3. We start from a remote wall from the entrance, pour the solution in strips of 40 cm parallel to the wall. We distribute the solution evenly using a needle roller and a T-shaped “mop”.
4. We continue to fill until the surface is completely covered so that there are no drops and seams.
5. Exposure to sunlight, drafts, a sharp drop in temperature, are not permissible until completely dry. Moderate load is acceptable after 1-2 days. The underfloor heating system can be turned on after 7 days with smooth transitions of 3-5 degrees for several days.

Kitchen floor: tips for choosing the most suitable cover for you
Light laminate - a wide field for creative solutions in interior design
Gray laminate: photos of beautiful and practical interiors in different styles
White laminate - lightness, airiness and positive emotions in every room of your house
Floor skirting boards - beautiful and practical completion of repairs
The kitchen with dark floors is a beautiful, interesting and stylish solution in a classic and modern design.
Carpet - warmth and comfort in your home at an affordable price
Laminate on the wall: the best design ideas
Dark laminate flooring
Kitchen floor tile design
Kitchen floor: beauty or practicality
Sex color wenge