DIY stool. How to make a stool with your own hands?
Regardless of the style of the interior and colors, there are certain objects that must be in every home. For example, small stools are just one of them. They are very convenient to use, so they are often purchased in case there are too many guests in the house. Moreover, if desired, they can be done independently. Of course, this process will not be too simple and quick, but the result is really worth it.
DIY wooden stool
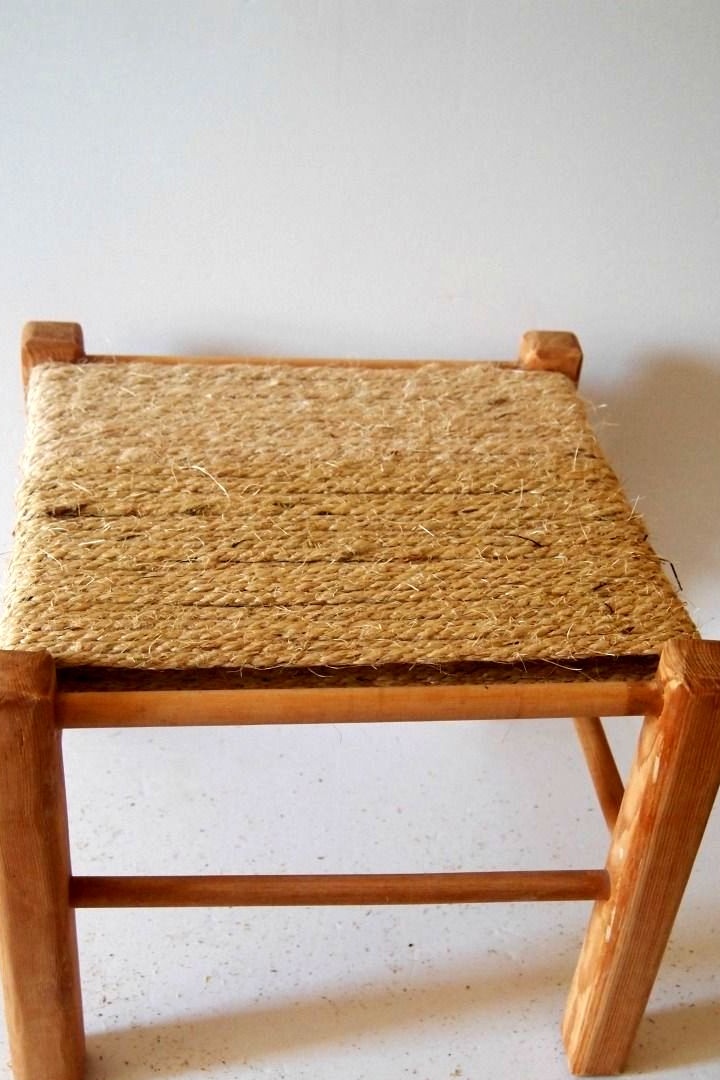
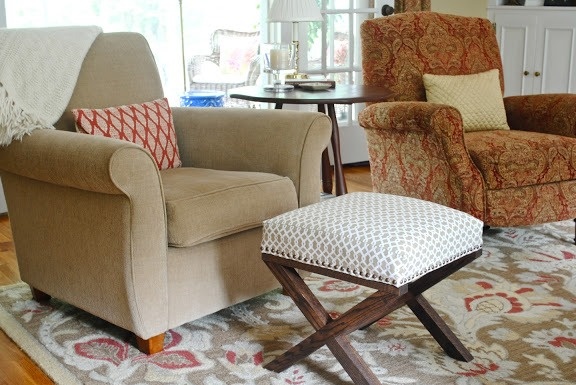
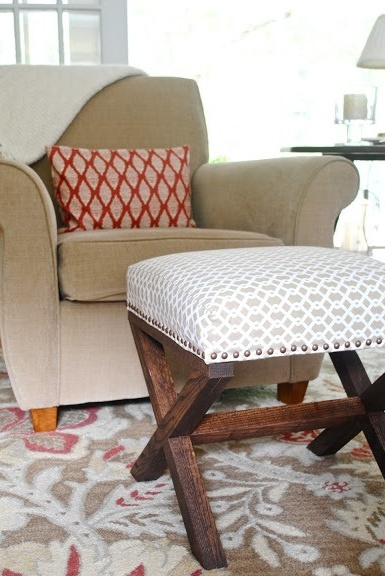
A beautiful, stylish stool with padded seating is a great alternative to chairs that take up too much space.
For work, we will prepare the following materials:
- rail;
- screws;
- timber;
- plywood;
- nails
- foam rubber;
- buttons
- marker;
- a circular saw;
- roulette;
- varnish;
- screwdriver;
- lining fabric;
- the cloth;
- brush;
- stain.
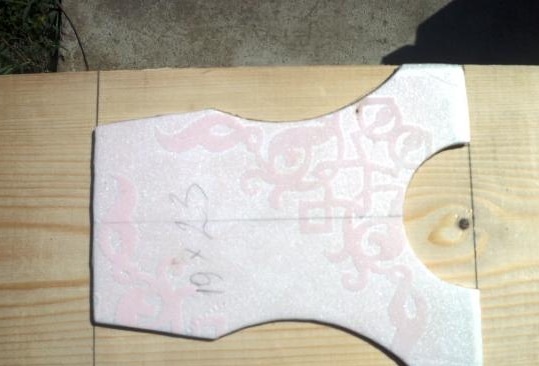
Before you begin, we recommend that you draw a diagram of a future stool on a piece of paper. You can also use the drawing shown in the photo.
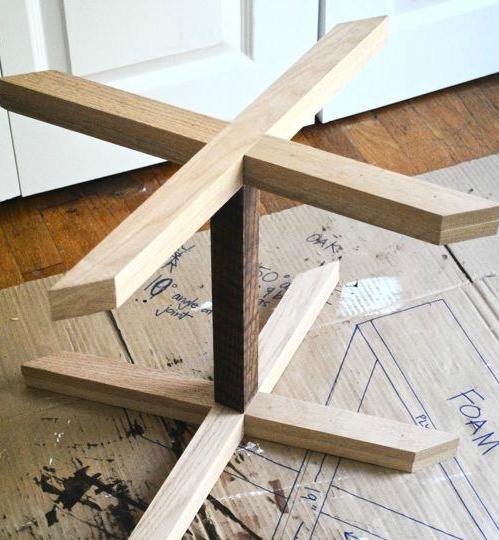
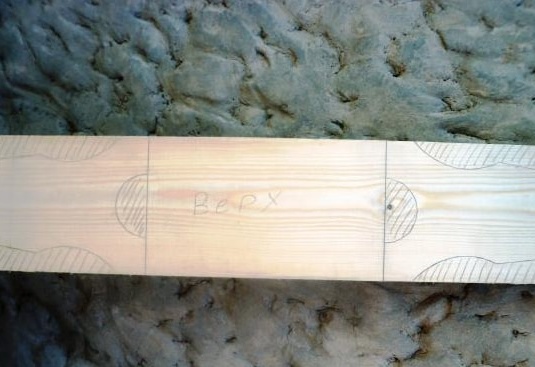
We saw off four blanks from the timber, according to the drawing. When they are ready, we interconnect in pairs.
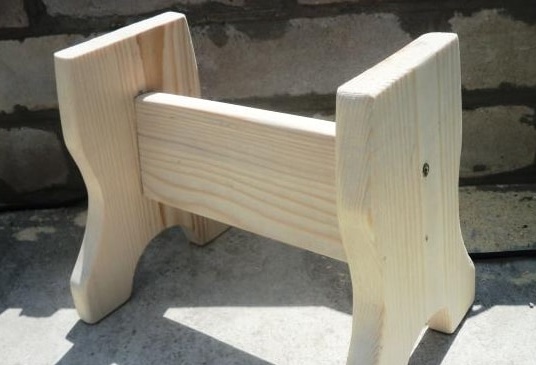
Saw off one more blank from the beam. It is necessary so that the stool is more stable. We attach the beam to the cross-shaped workpieces with screws.
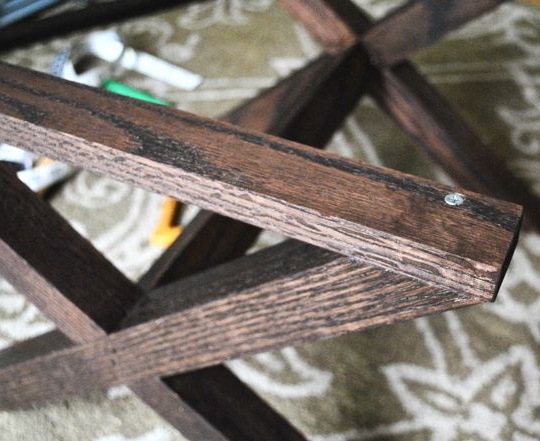
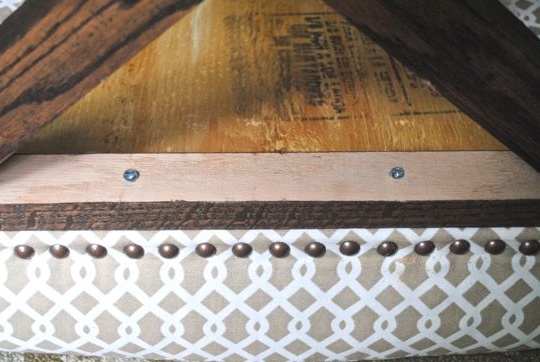
We proceed to the last step in preparing the foundation. That is, we saw off two more blanks from the timber and attach them on top to the legs, as shown in the photo.
We paint the base with stain or paint in a suitable shade, then varnish and leave for a day until completely dry.
We recommend choosing plywood as the basis for seating. Thickness is not fundamental, but do not get too thin. Otherwise, there is a risk that the stool will break too quickly. We saw off the necessary segment and prepare foam rubber of the same size. We also cut the lining material with a margin for each side.
We put lining material on the working surface, and on top we place foam rubber and plywood, as in the photo.

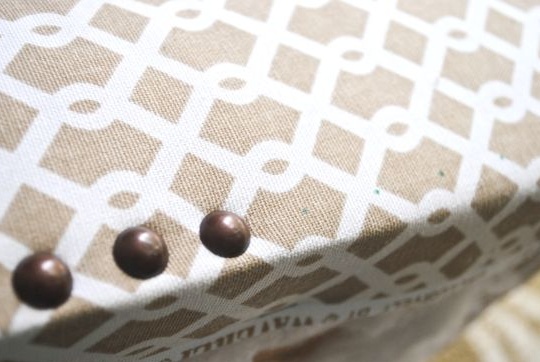
Based on the size of the seat, we cut off a fairly large piece of fabric for stool upholstery. We put it on top of the lining material and level it so that there are no wrinkles. We fix the fabric using simple buttons. They look pretty attractive, so they will be used not only for fastening, but also as an additional decor.
We interconnect two workpieces with screws.
We interconnect two workpieces with screws. Turn the stool over and set it in a suitable place.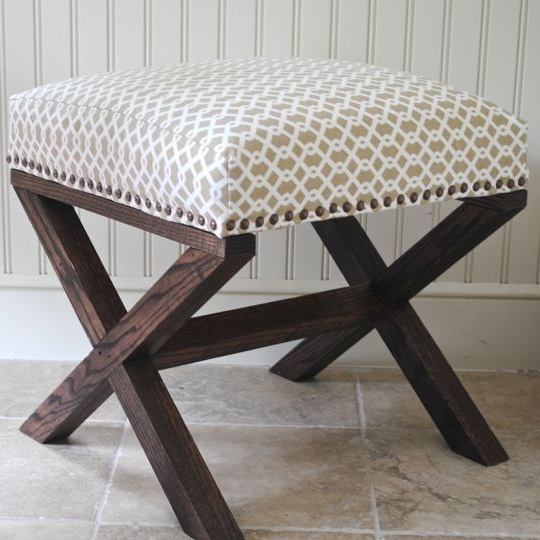
Such a stool looks great in any interior. Therefore, choose the right upholstery fabric for your colors and feel free to get to work. The result of this is really worth it.
Do-it-yourself simple stool
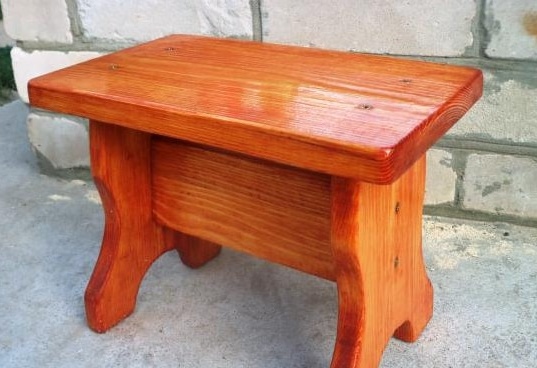
A simple, concise stool of a small size will be needed in every home. Therefore, we propose to do it yourself, using a limited number of materials.
In the process we need:
- board;
- jigsaw;
- screws;
- a screwdriver or a simple screwdriver;
- sandpaper;
- roulette;
- paint;
- brush;
- varnish;
- pencil;
- corner;
- cardboard.
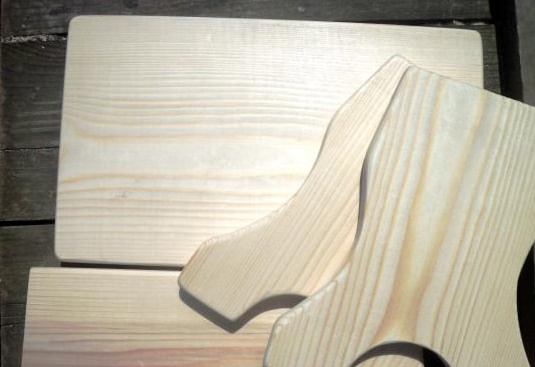
Using a pencil, tape measure and corner, mark the rectangle on the board. This will be the top of the future stool. On the sheet of cardboard we mark the sides and cut out the stencil. We apply it to the board and circle it with a pencil.
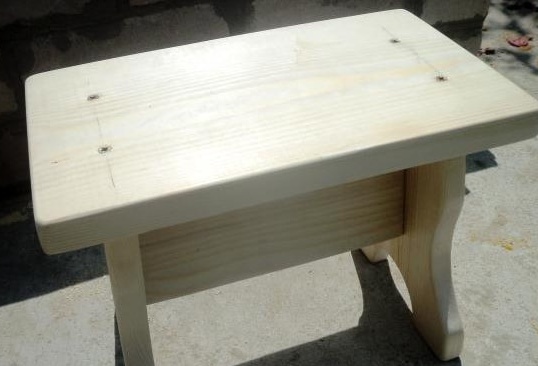
Thus, the board will look like in the photo.
We cut out all the details as accurately and evenly as possible with an electric jigsaw. 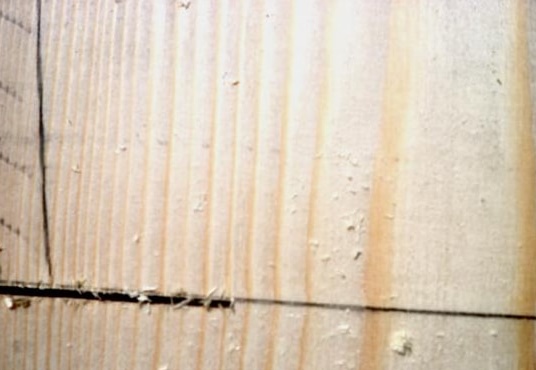
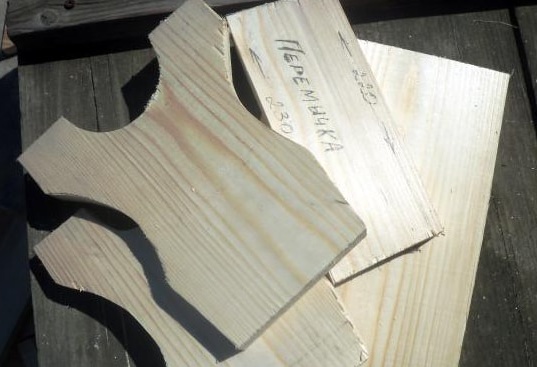
We process the surface of each workpiece with sandpaper. Particular attention should be paid to the ends and corners.
Thanks to this treatment, the wooden blanks will be smooth, without clings and irregularities. 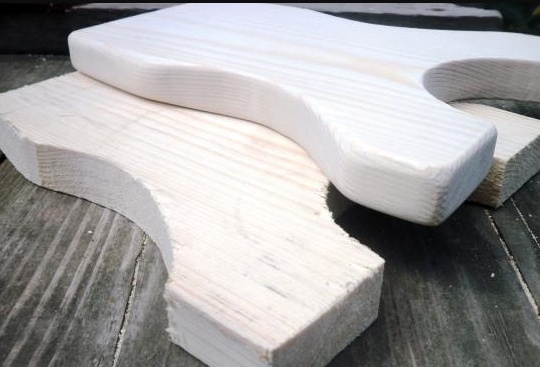
We proceed to the assembly of the stool. To do this, we connect the jumper with the side parts using screws. After that we attach the upper part.
At this stage, the stool should look like the photo.
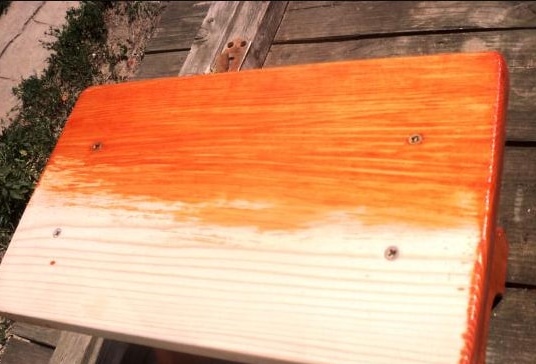
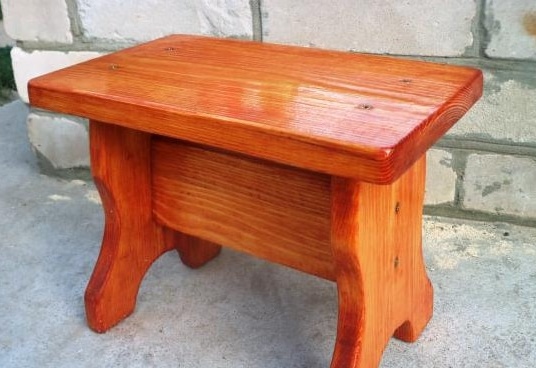
We paint the finished structure with paint of a suitable color. After drying, lightly treat the surface with sandpaper, after which we apply a layer of varnish. Due to this, the stool will be more glossy.
The result is a beautiful, but at the same time simple stool.
Stool Decor: Step-by-Step Master Class
If you already have a stool, but want to make it more original, then follow the step-by-step master class and the result will pleasantly surprise you.
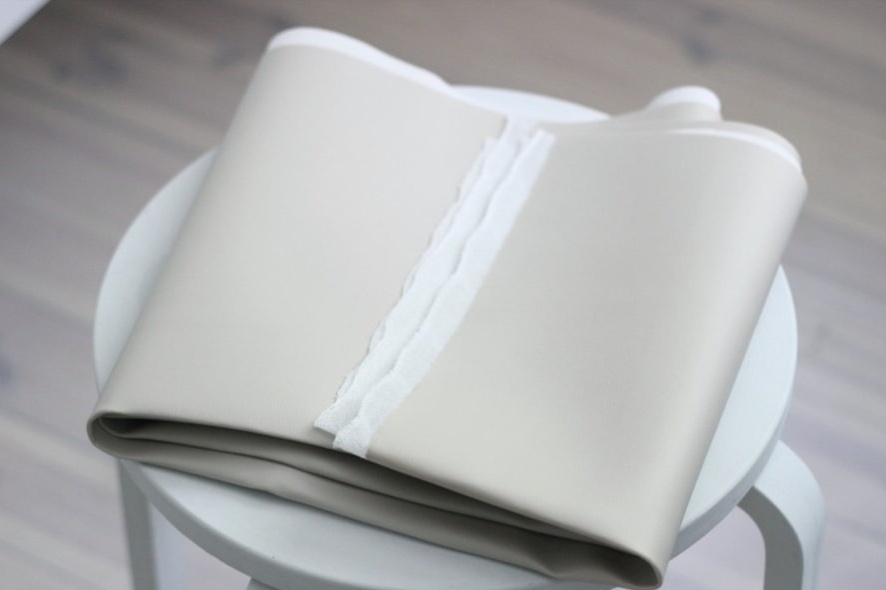
We will prepare such materials:
- stool;
- artificial leather;
- pencil;
- construction stapler;
- stationery knife or scissors;
- ruler.
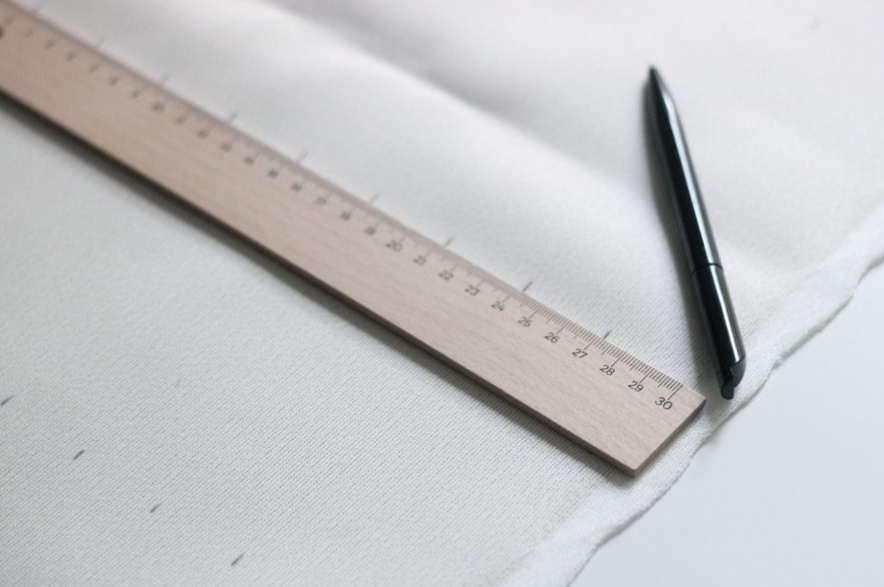
On the work surface we put artificial leather. We draw marks at the same distance from each other. This is necessary in order to cut the material into strips for decor.
Using a long ruler, connect the marks in a line, as shown in the photo. We cut the material into strips using an office knife or simple scissors.
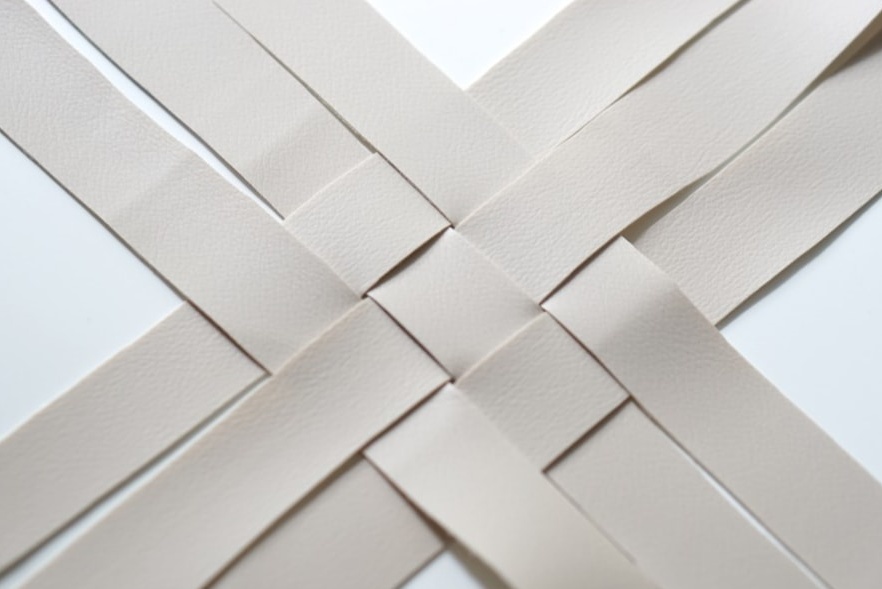
Unscrew the legs at the stool and get to work. We put two strips on the surface of the seat and fasten it with a construction stapler on the back side.
Weave two more strips and fix them in the same way. 
We continue to weave strips of artificial leather until the seat is completely covered.
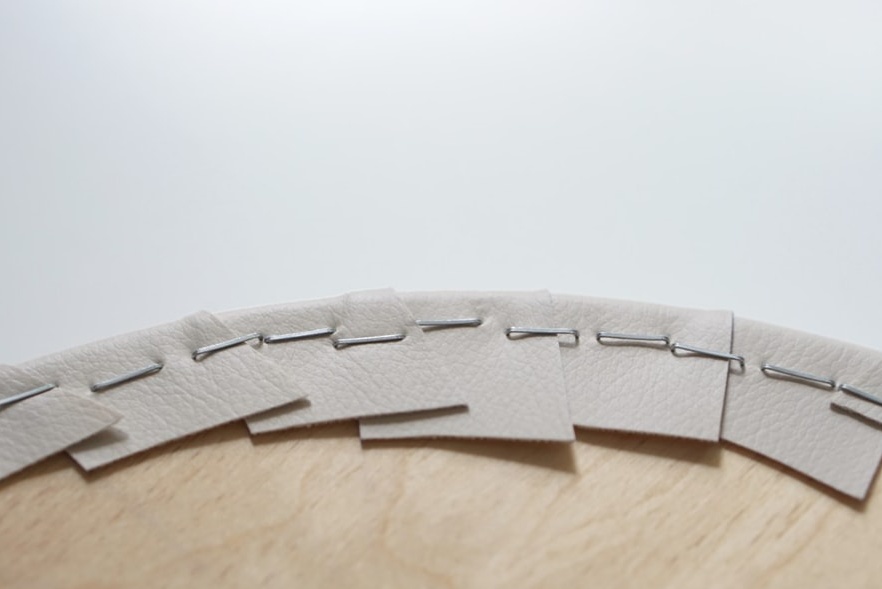
Turn the seat over and, if necessary, cut off excess parts in the form of material. It is best if the back side will look like in the photo.
Stylish, original decor for the stool is ready. It's time to screw the legs back and you can safely put it in a suitable place.
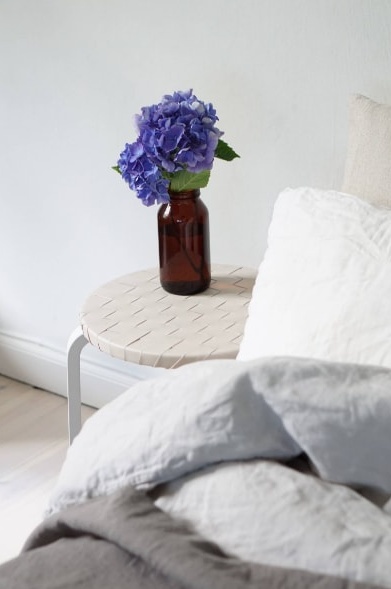
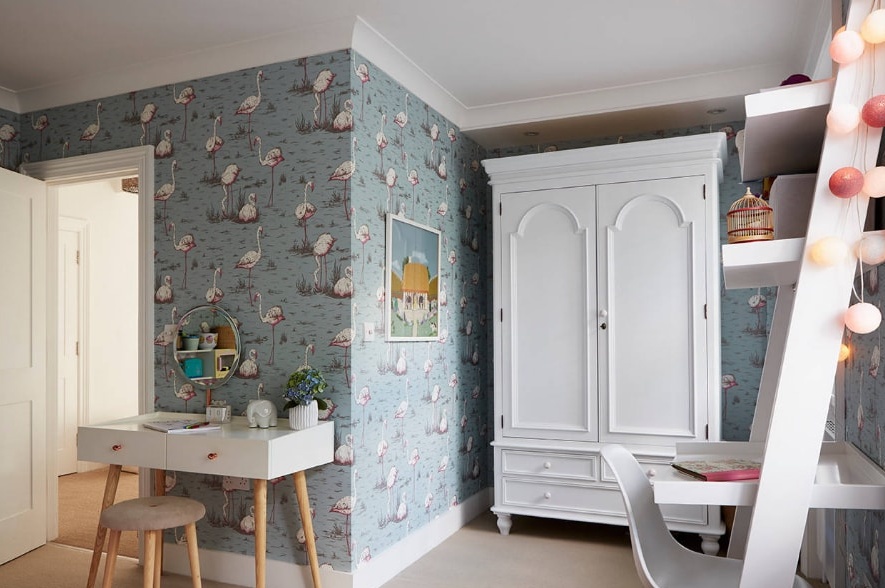
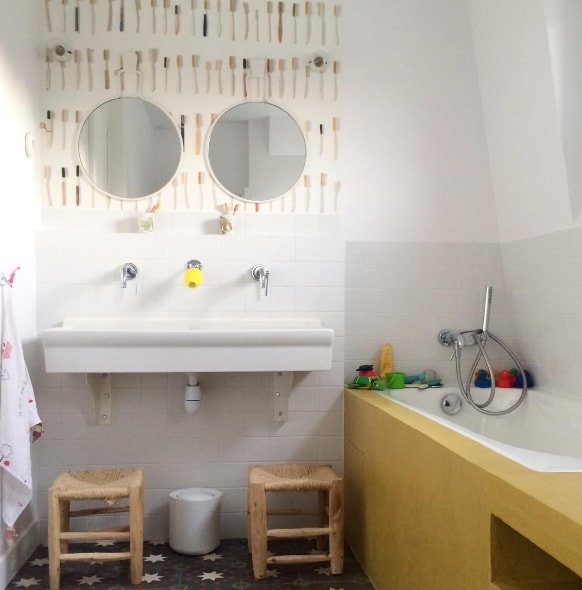
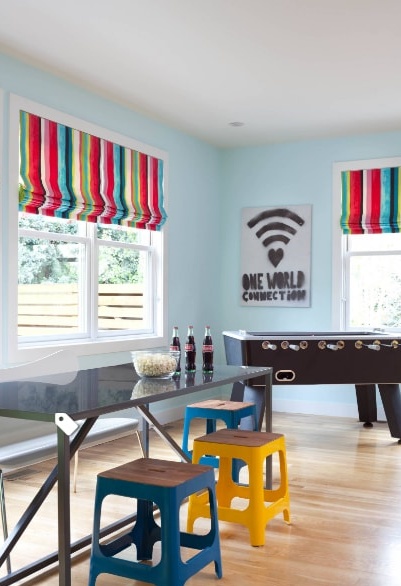
Stool in the interior: stylish ideas in the photo
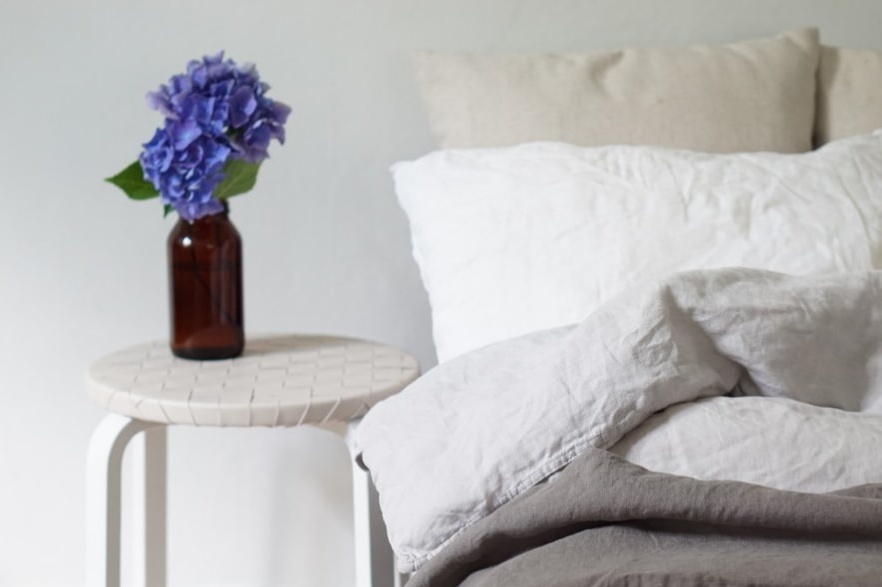
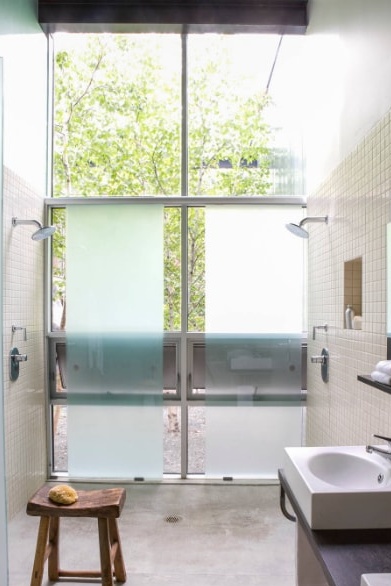
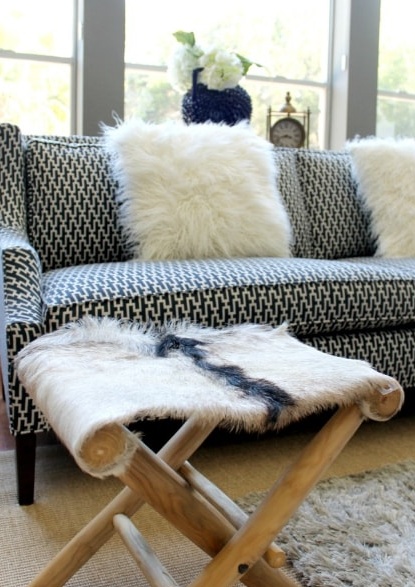
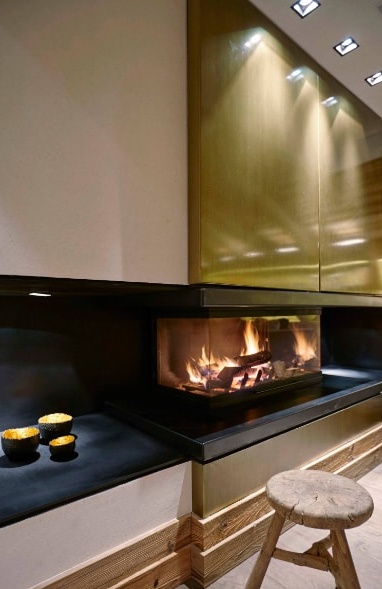
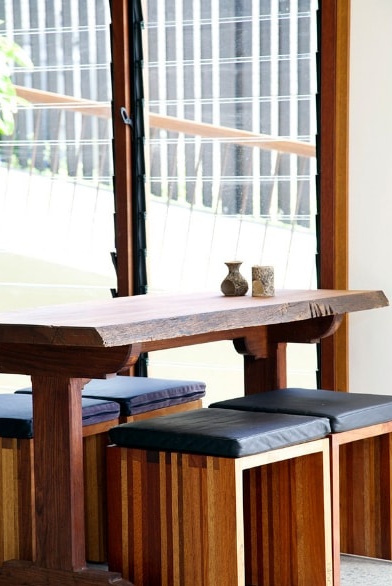
Despite the fact that the stools are quite functional, many still do not know how to combine them correctly in the interior. In turn, designers regularly prove that even such a simple piece of furniture can become a stylish, modern decor in any room.
As you can see, a stool is a great option not only for the house, but also for the apartment. Indeed, depending on the chosen design and form, it looks completely different. Therefore, before you go shopping, we recommend that you choose the right option for photos on the Internet. Then you will be sure that all the furniture in the house blends well and emphasize the chosen style.


