
Shelves for shoes with their own hands. Modern, original do-it-yourself shoe shelves
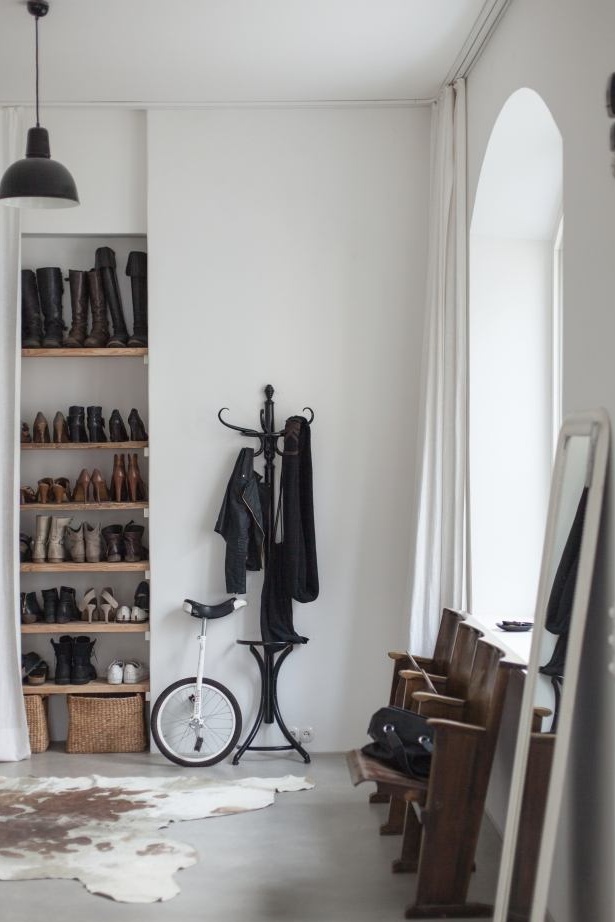
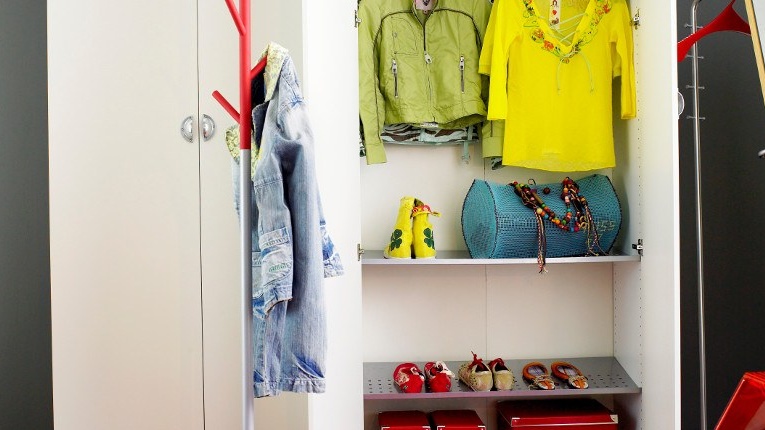
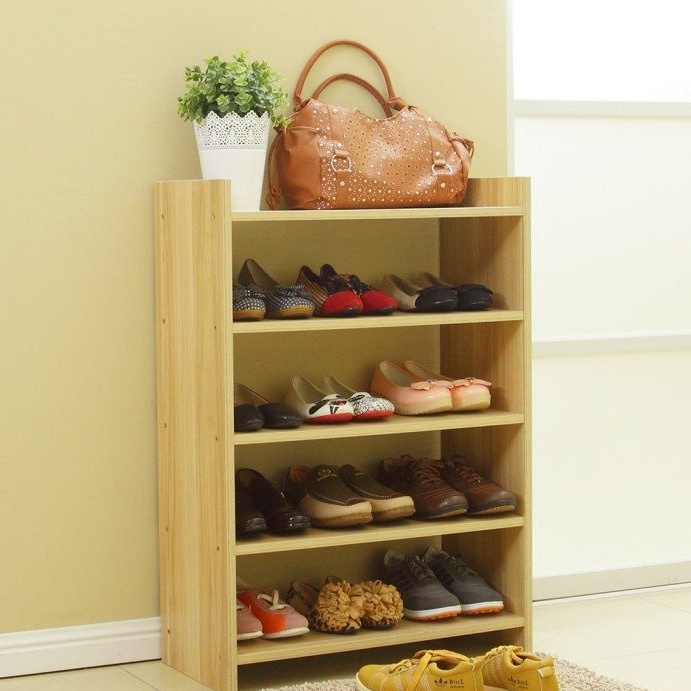
Regardless of the size of the hallway, in this room everything should be organized as comfortably as possible. Of course, for outerwear you should definitely buy a special wardrobe. At the same time, for shoes the best option would be a shelf. With its help, you can not only properly organize the space in the hallway, but also save the space that is needed for storage.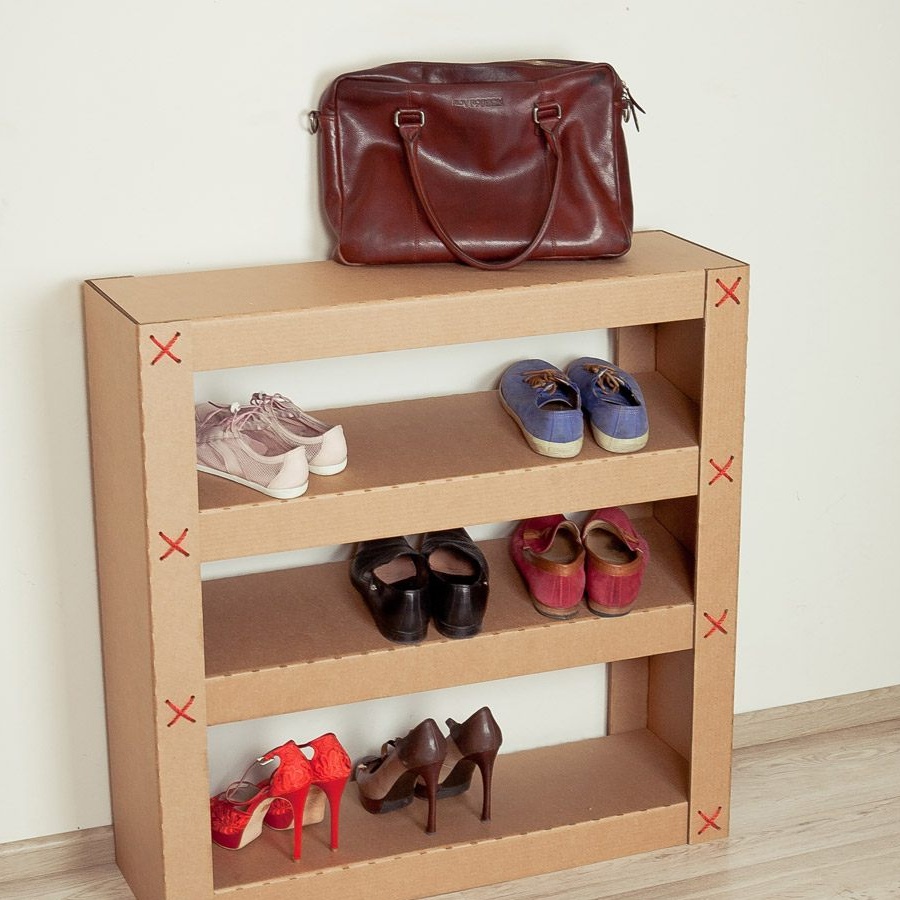
DIY shoe shelves: key benefits
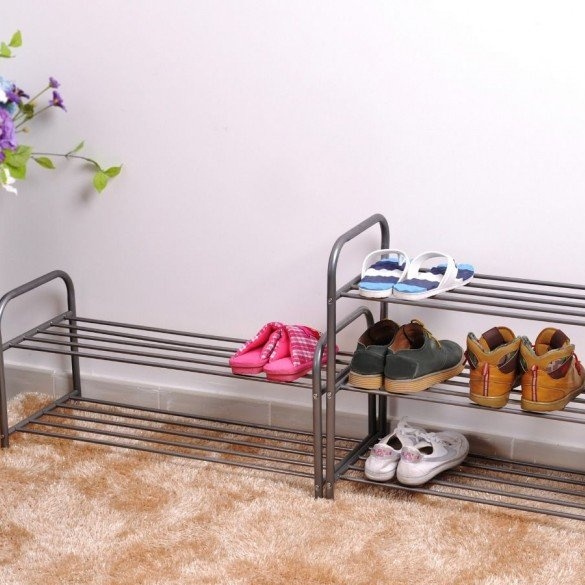
Of course, there are many options for storing shoes, but nevertheless, classic shelves still remain relevant. All because they have a number of advantages. First of all, this is the cost of such products. Of course, the design may have an impressive price tag. But do not forget that a shelf for shoes can be made with your own hands. This is a great alternative in a cost-saving environment.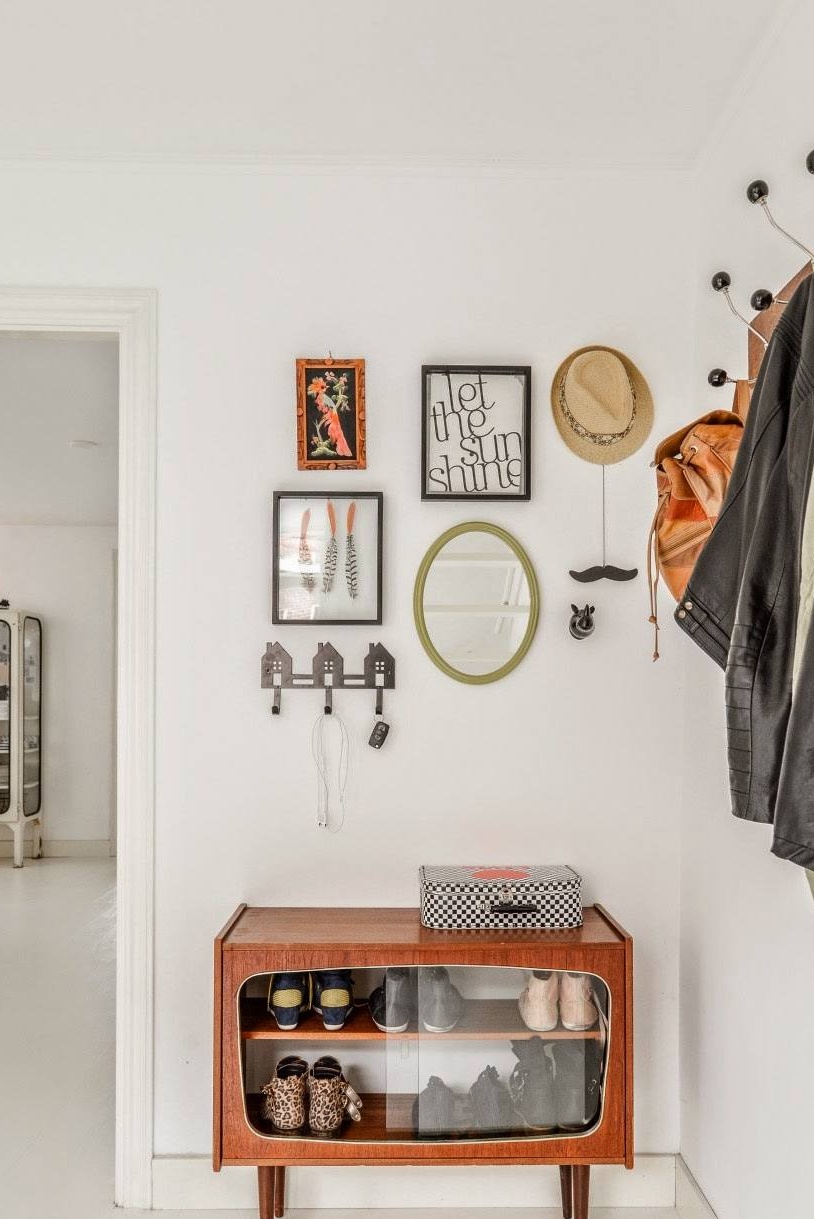
It should be noted that in the interior design it is very important to select parts similar in style. Only in this case the room as a whole will look harmonious. The same goes for shoe racks. If you plan to do it yourself, it will be possible to take into account all the nuances, including the color scheme and even the shape of the structure. For example, Provence style lovers should pay attention to wood as the main material. In a room in the style of minimalism or hi-tech, constructions made of modern materials will be much more appropriate.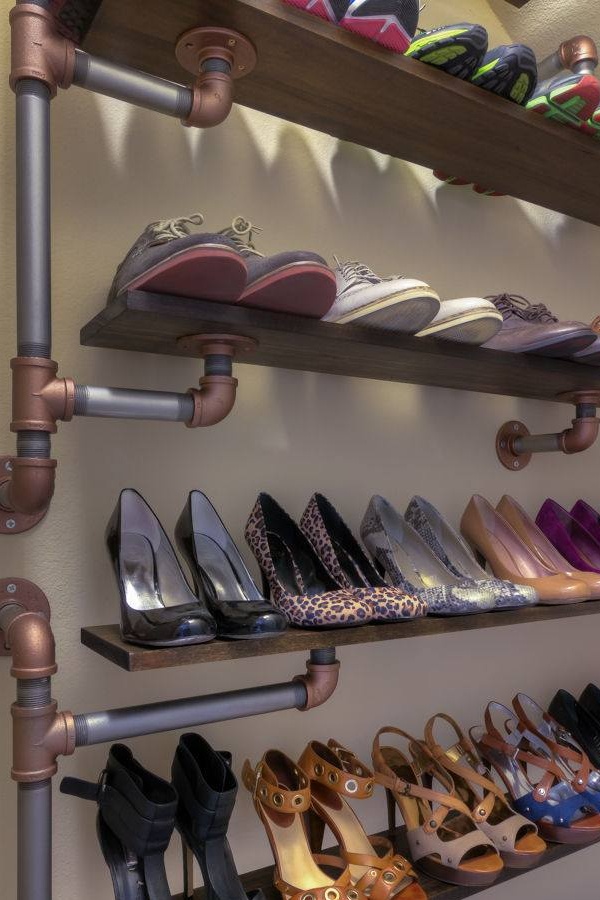

 If you wish, you can use only environmentally friendly and safe materials in the creation process. After all, you yourself will purchase them in a specialized store. In addition, the shelf can be made not only classic, wooden, but also metal or even cardboard. It all depends on your personal preferences and financial capabilities.
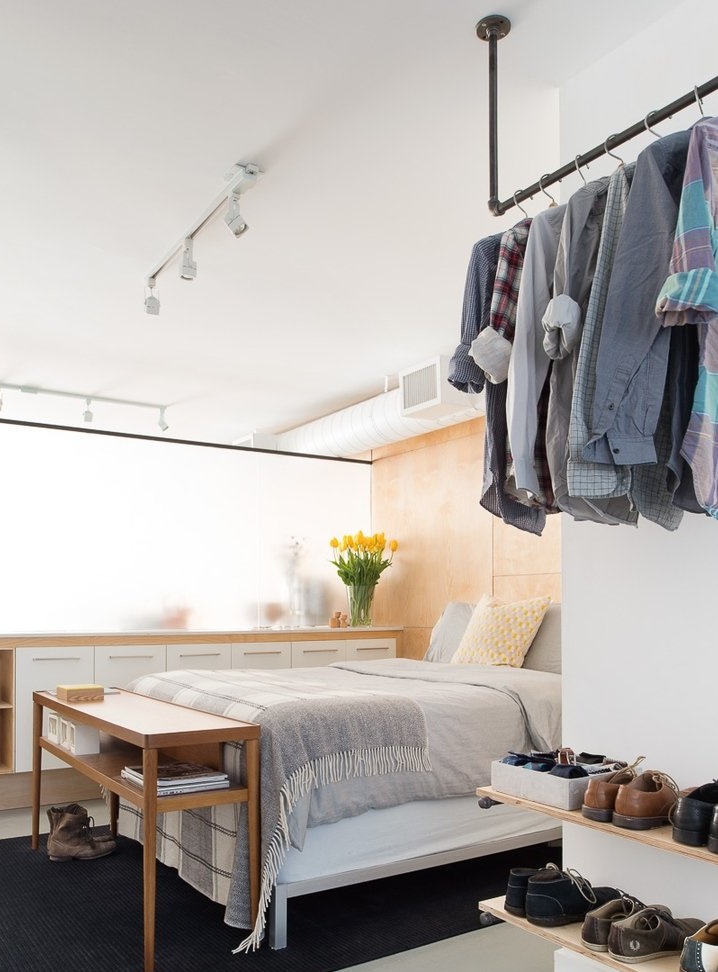

The undoubted advantage of independent work is the ability to carefully think through all the details. For example, a shoe shelf will be open or closed. You can also make fewer or more additional bays. All this is very important, especially if the hallway is not too large.
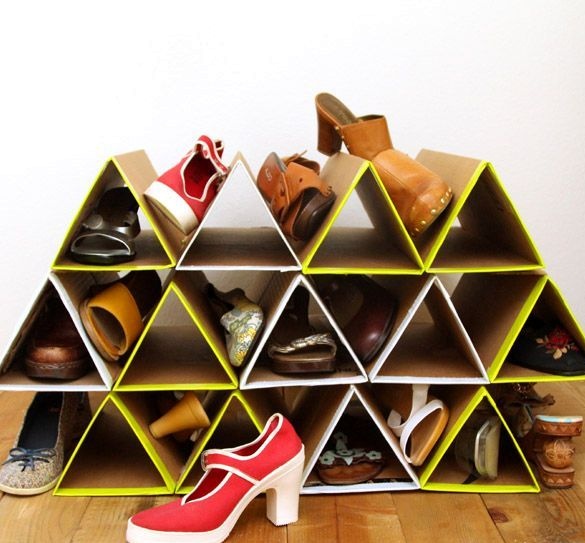
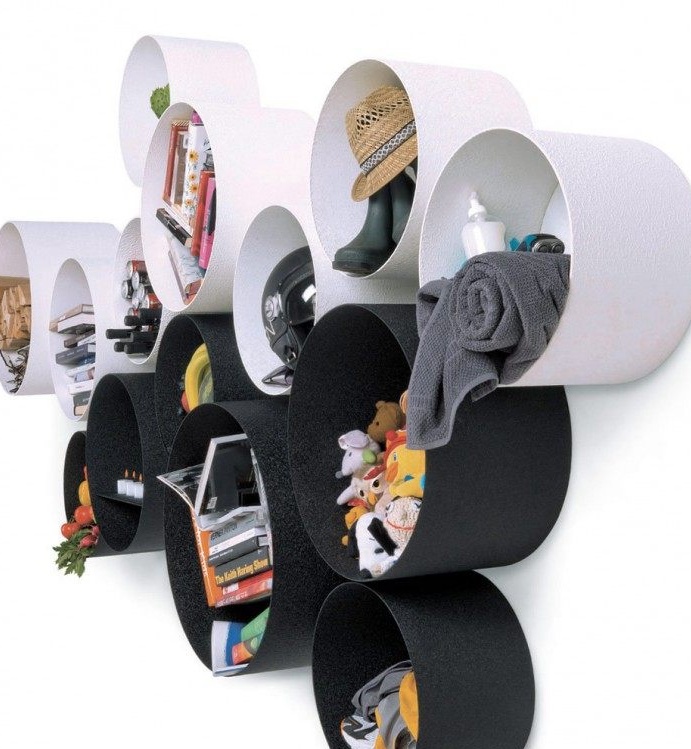
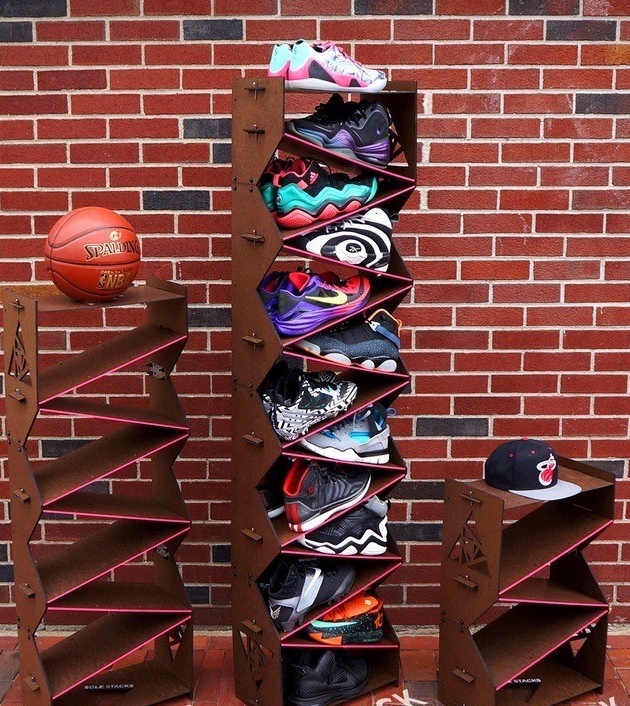
Unusual cardboard shoe rack
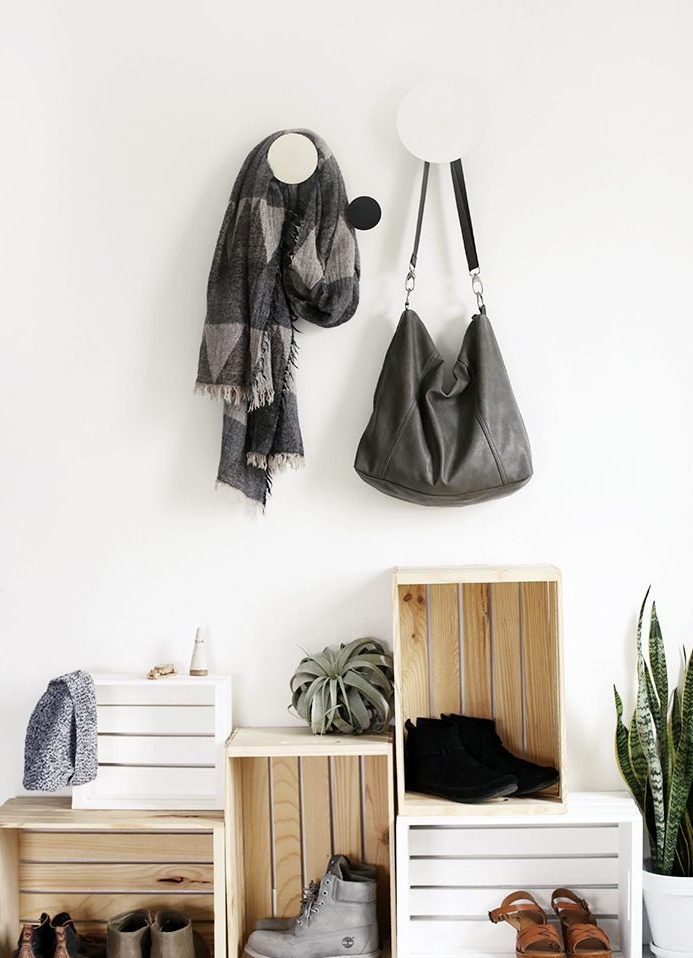
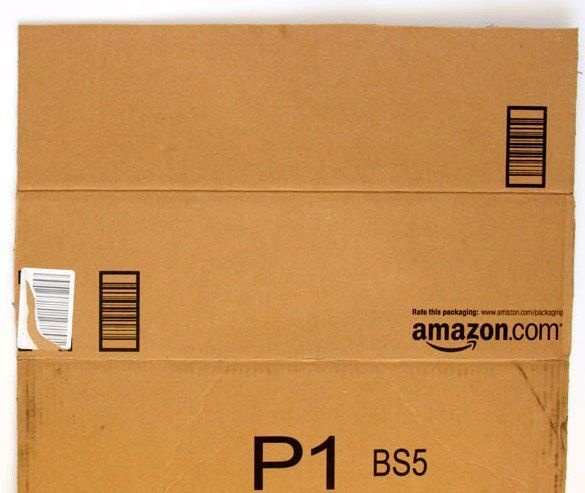
Standard boxes take up a lot of space. Therefore, we propose to convert them a little and make an unusual shelf for shoes with your own hands. Unlike the classic version, in this case it will be possible to store much more pairs.
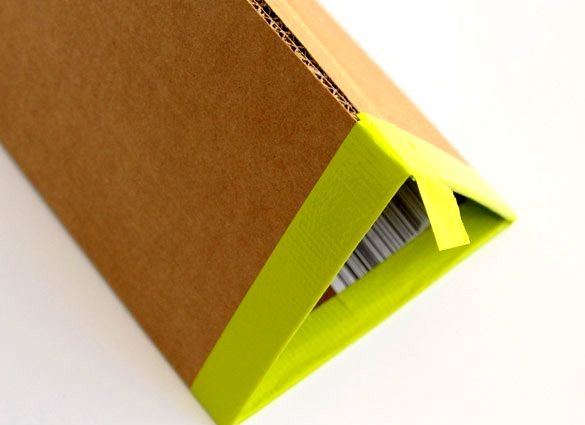
First, cut the boxes into squares of the same size. We also make two bends at an equal distance on each workpiece.
On the front side, glue a piece of tape of bright color.

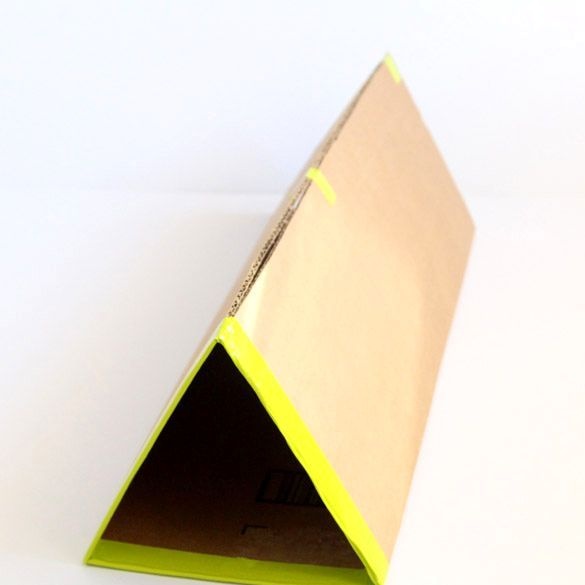
We fold the cardboard blank along the folds and fix with tape on top.
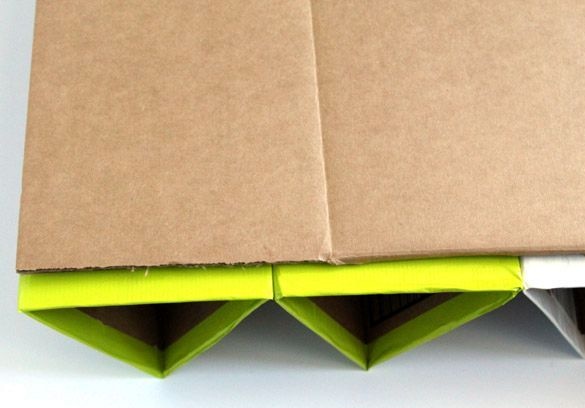
In the same way, we make several triangular blanks and put them in a row. We glue together with tape, and on top we put a sheet of cardboard suitable in size. We place one more row of blanks and a sheet of cardboard on top. The number of rows depends only on the desired height of the shoe rack.
In this embodiment, in each triangle, one piece of shoes can be placed. If desired, larger blanks can be made to fit a whole pair of them.
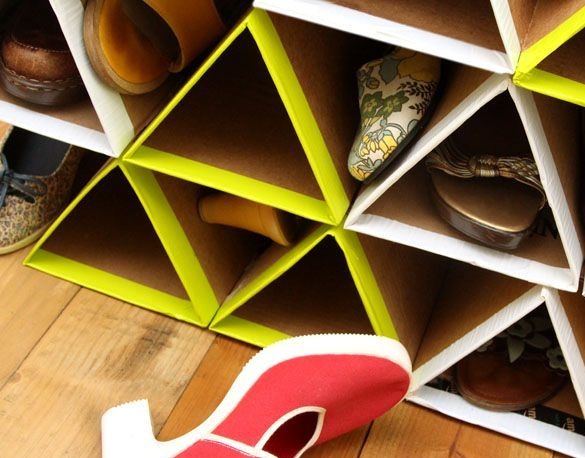
In any case, such a shelf for shoes looks fresh, bright and unusual. Therefore, it certainly will not go unnoticed by your guests.

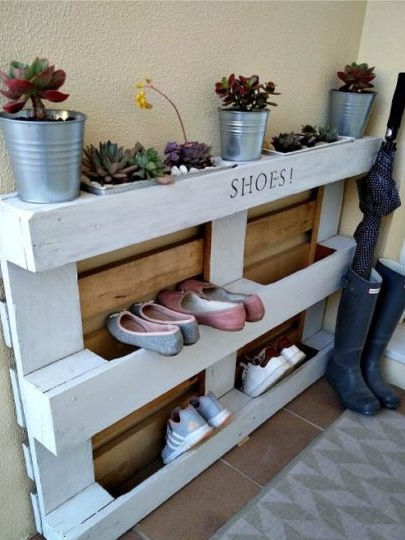
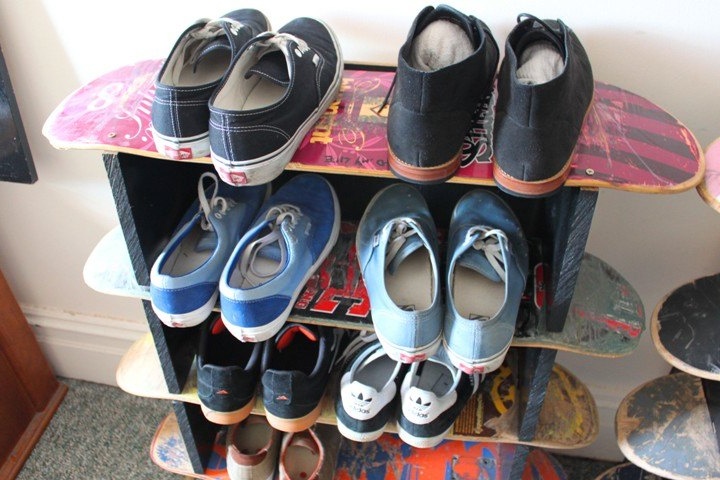
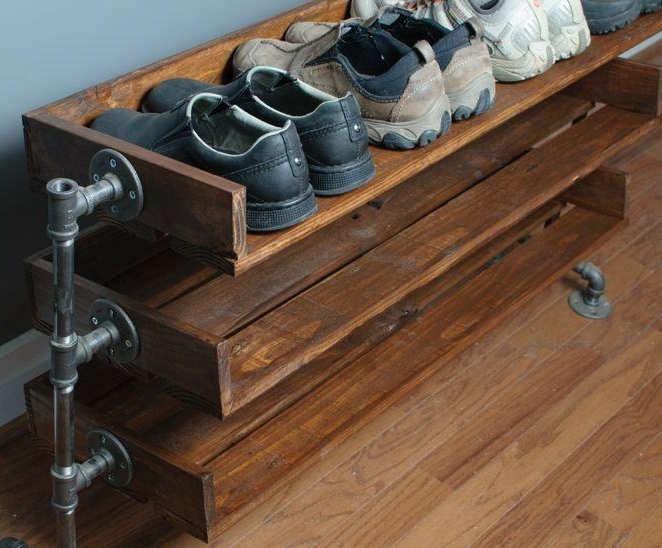
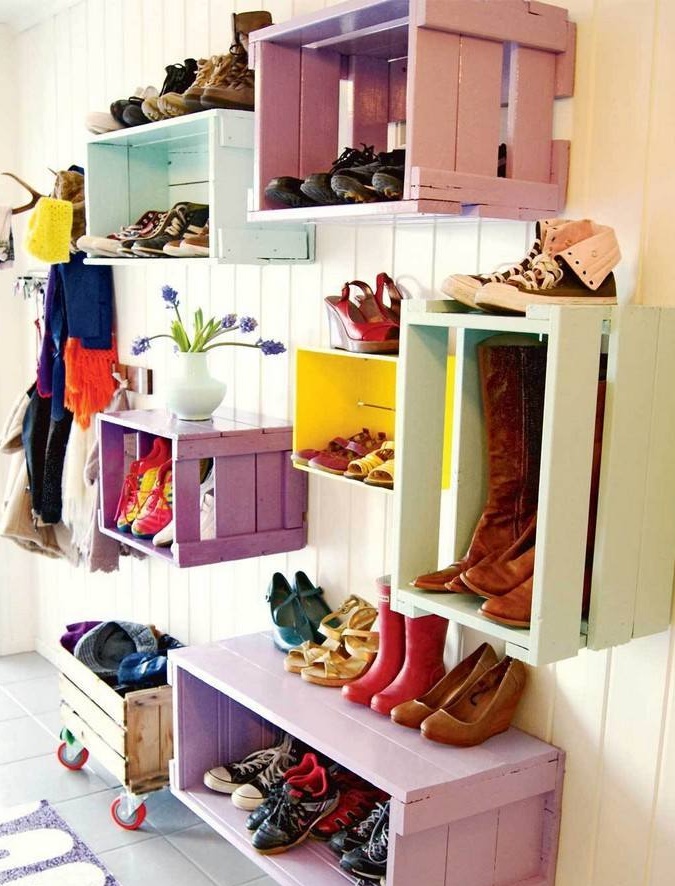
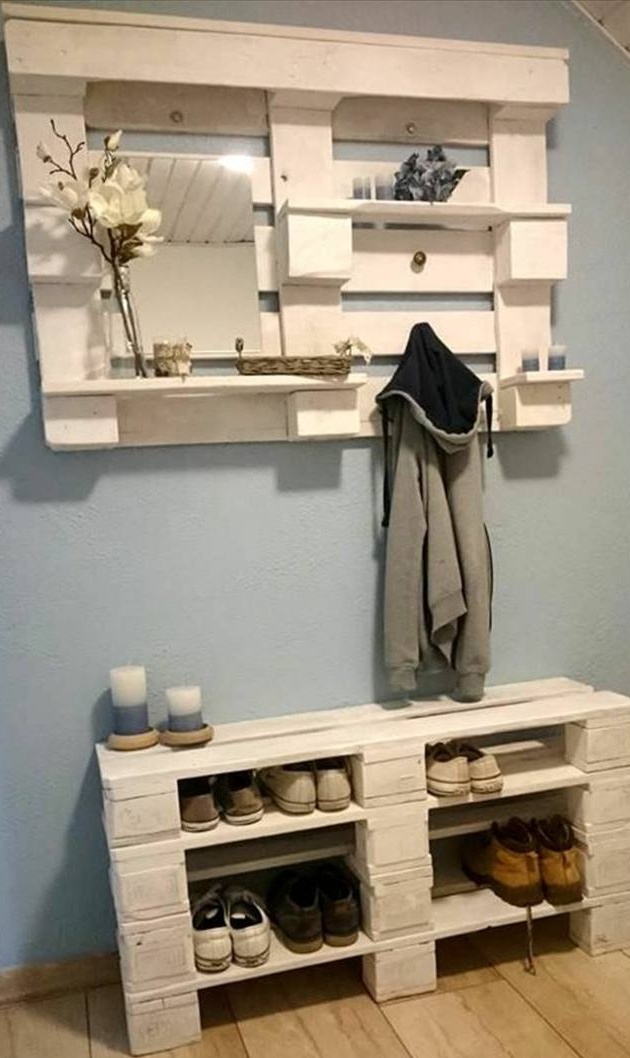
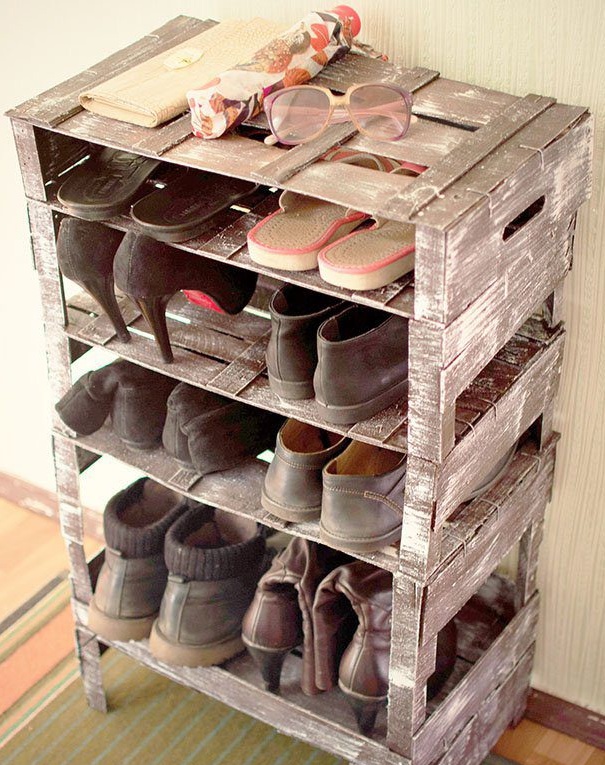
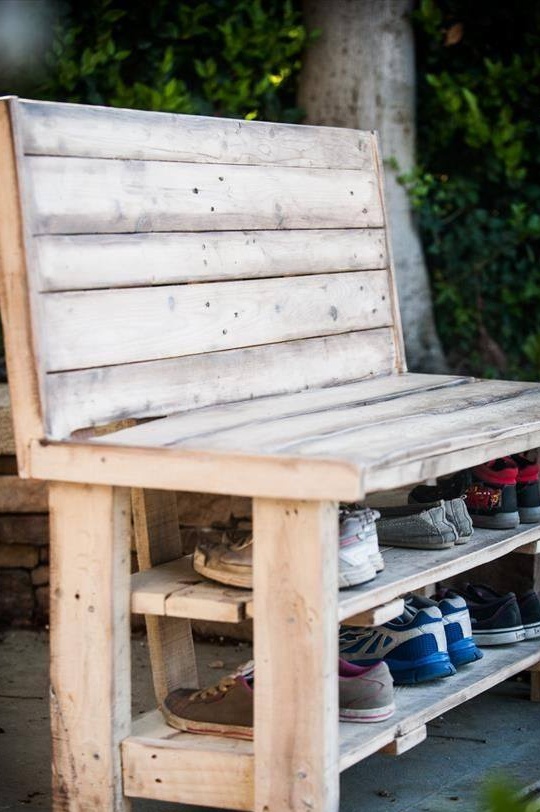
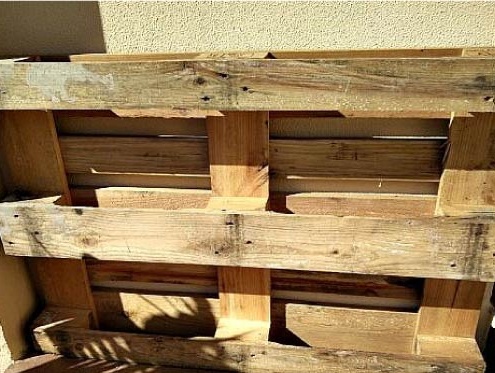
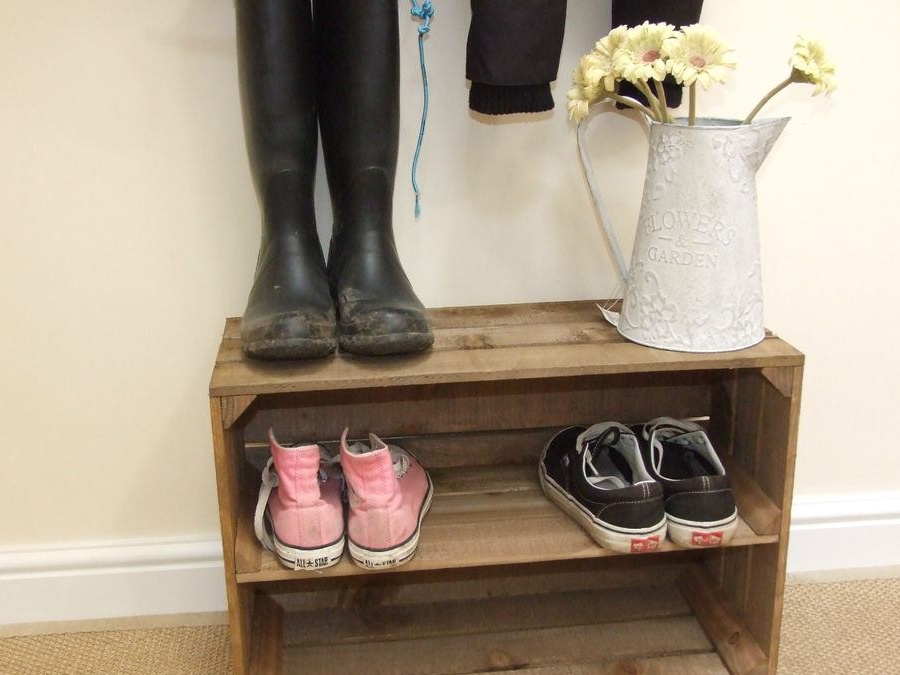
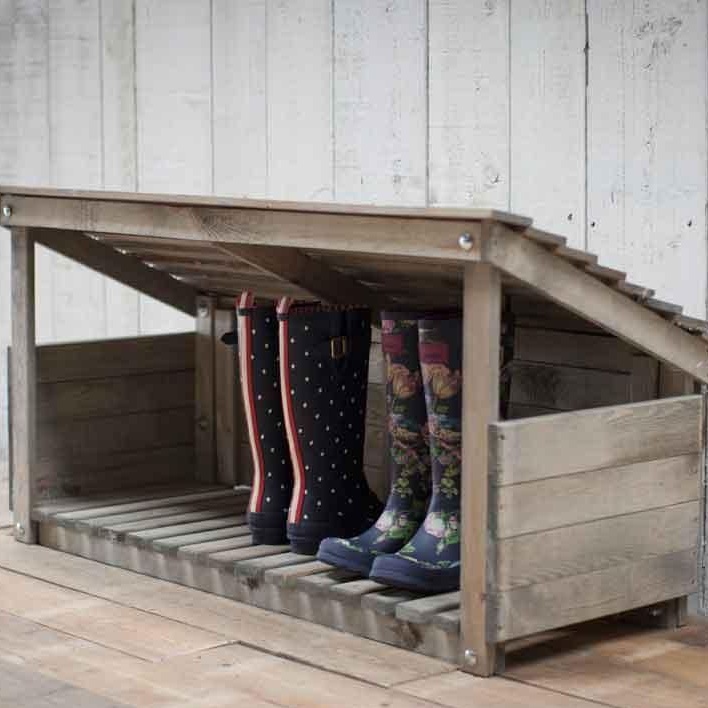
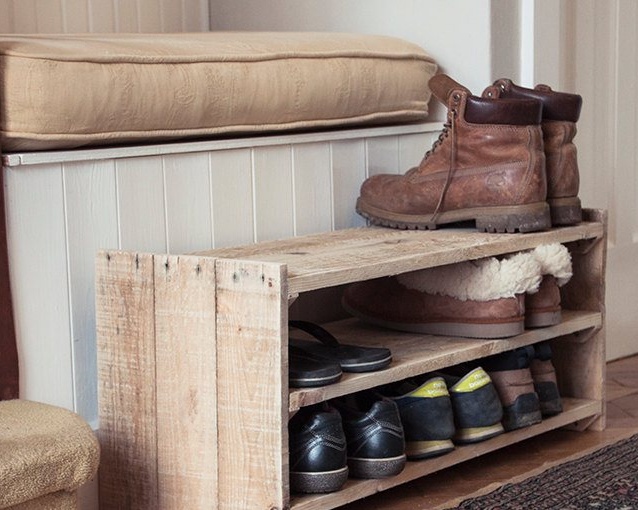
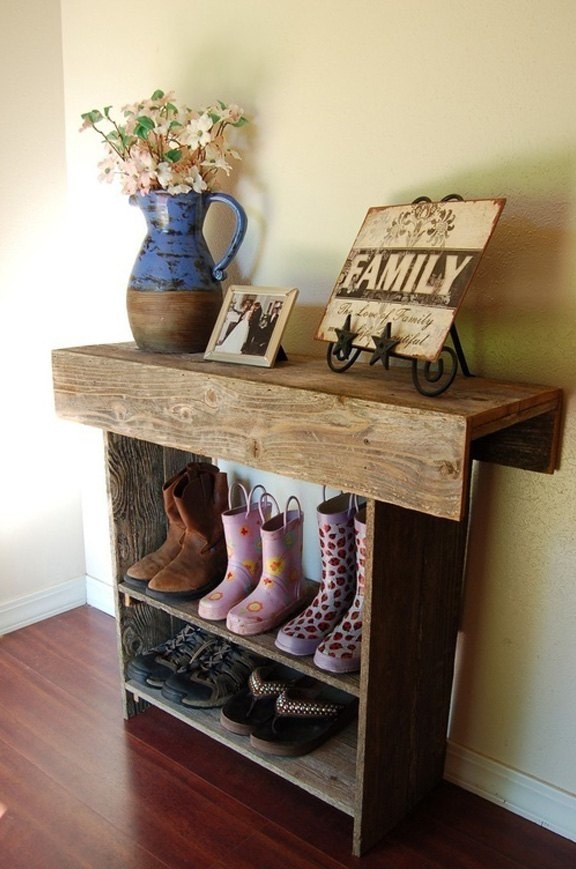
Shelf for shoes from the pallet
Unusual furniture and decor items made from pallets are gaining more and more popularity every year. It would seem that a simple transportation material, but nevertheless, much can be made of it, even a shelf for shoes.

Necessary materials:
- wooden pallet;
- Sander;
- sandpaper;
- protective mask from dust;
- primer for wood moisture protective;
- gloves
- stain or paint;
- brush;
- soft rags;
- Matt lacquer;
- brush.
If necessary, clean the pan from dust and dirt.After that, we process it with sandpaper to remove irregularities. Brush off all the dust and wipe the pan with a damp cloth.
We apply a primer on the entire surface of the pallet. This is necessary in order to protect it from moisture and prepare for painting. After complete drying, apply a thin layer of paint and leave for several hours.
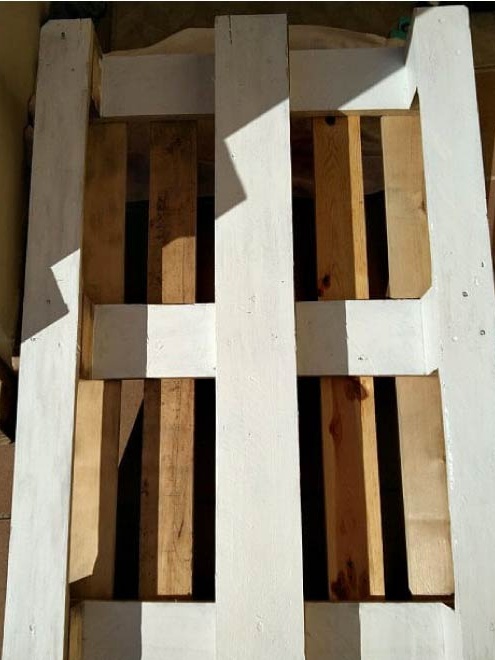
We cover the pallet with matte varnish. After drying, you can apply a drawing or text using a stencil, paint and brush.
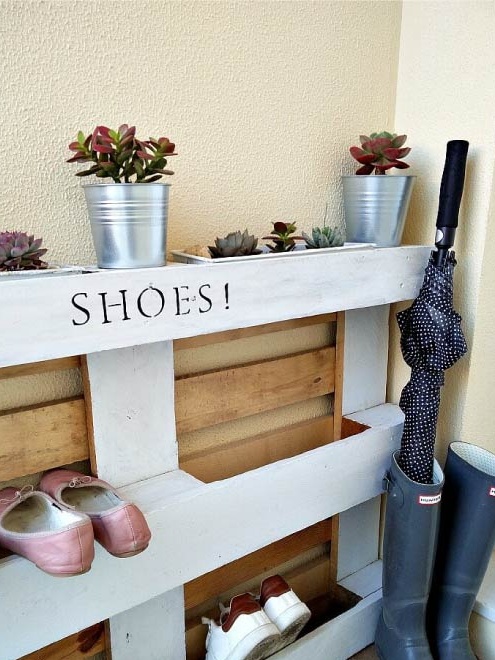
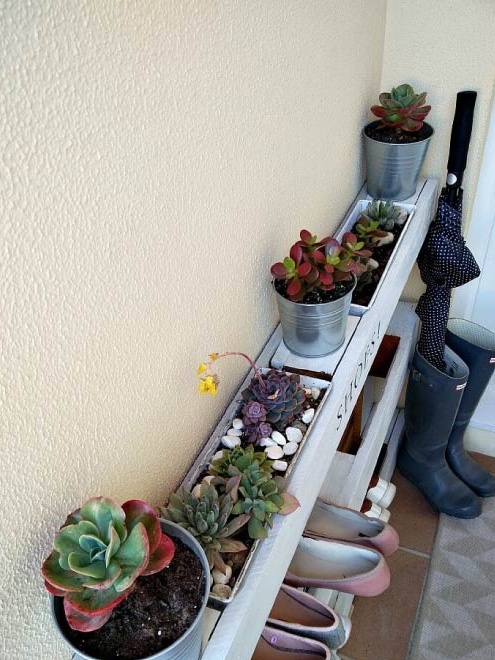
If desired, the upper part of the shelf can be decorated with stones, plants or other decorative elements.
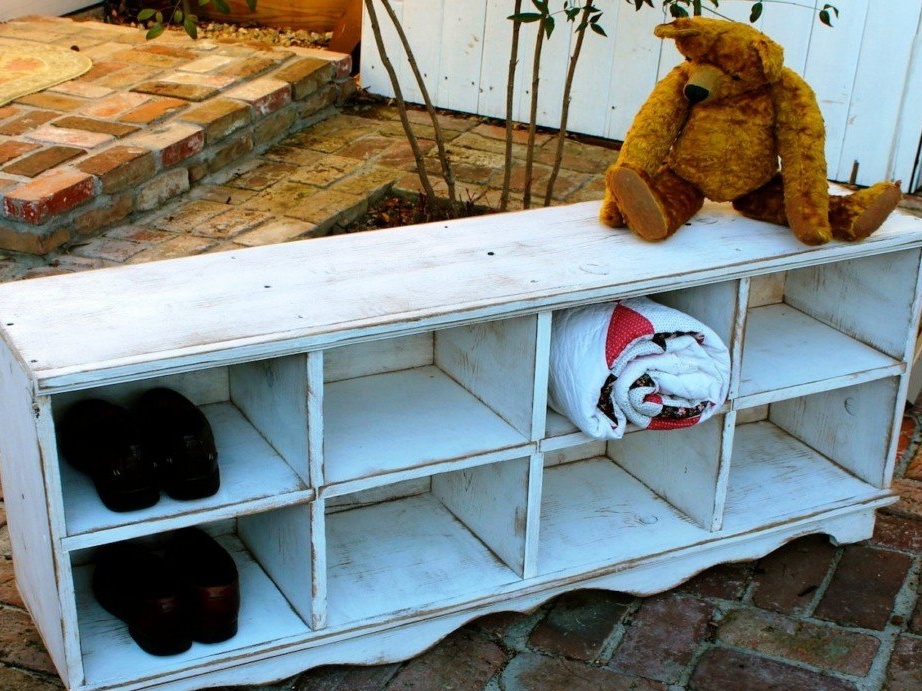
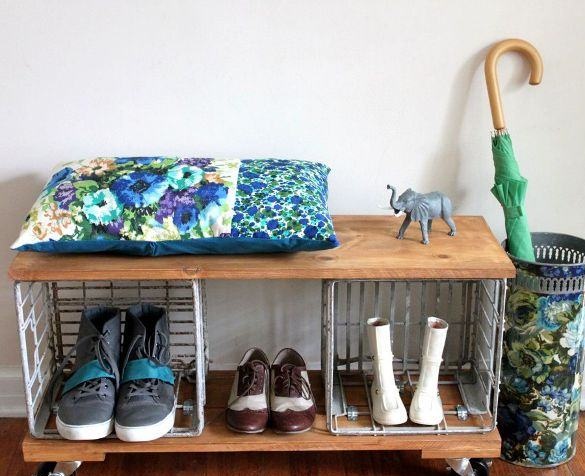
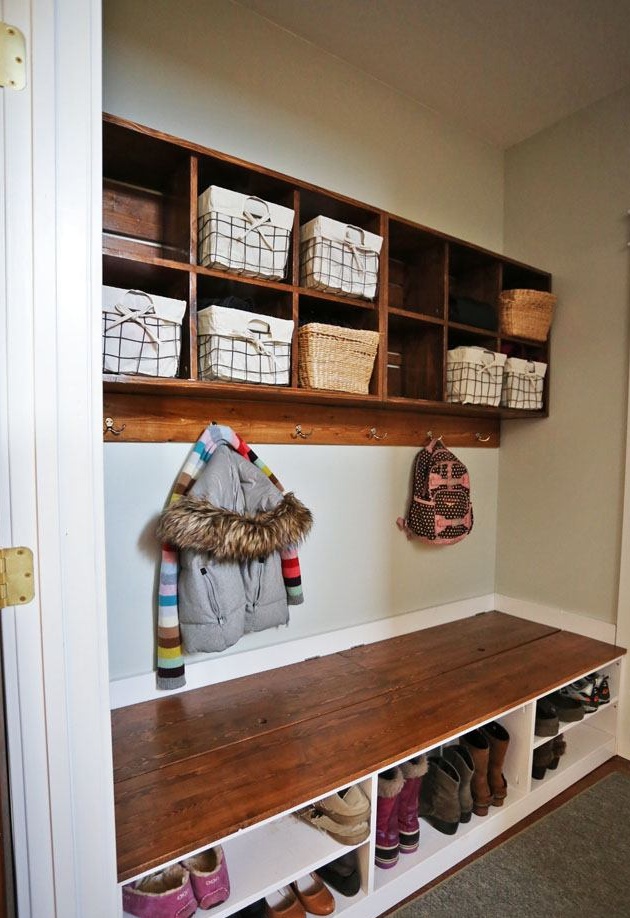
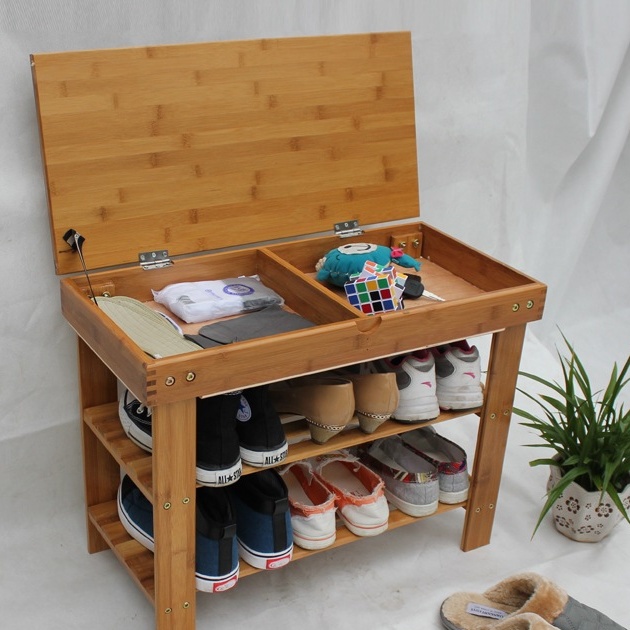
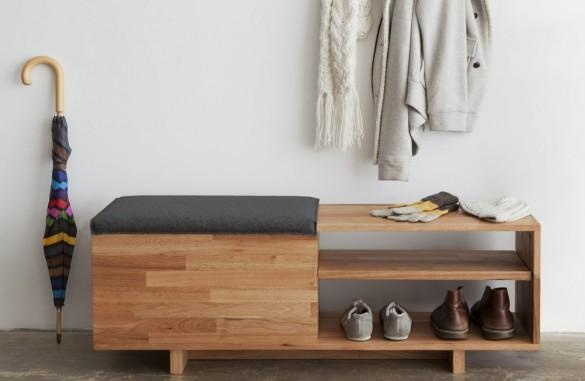
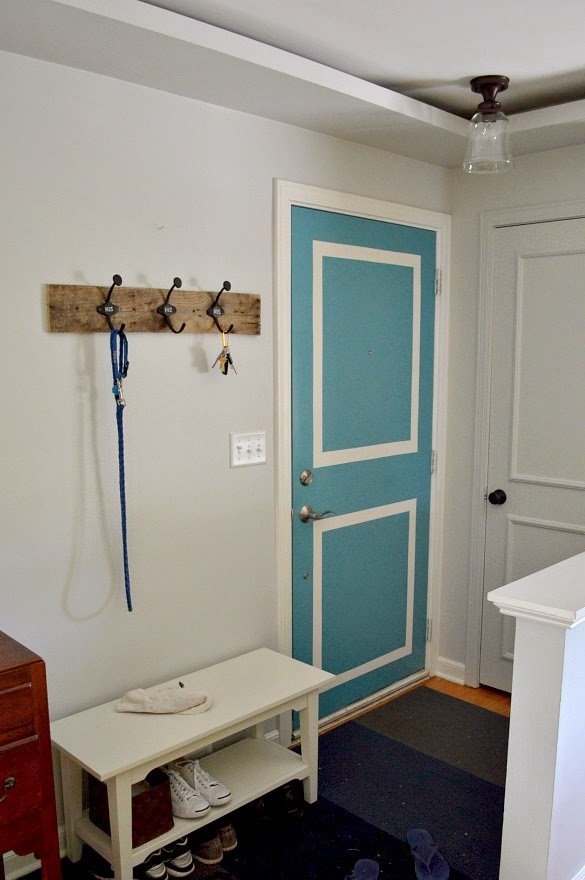
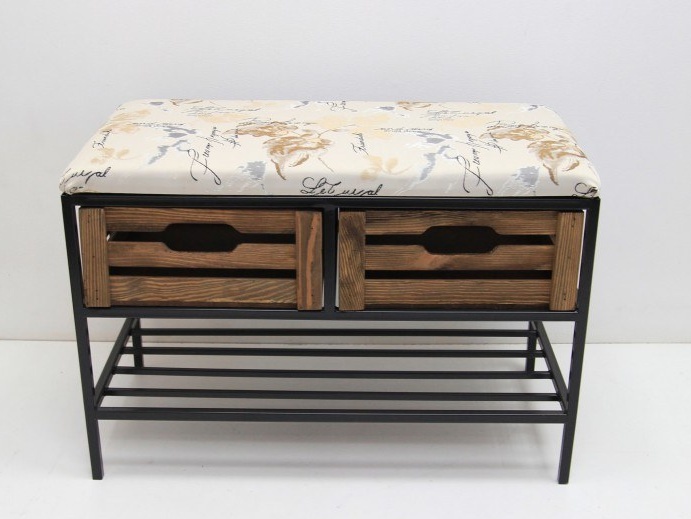
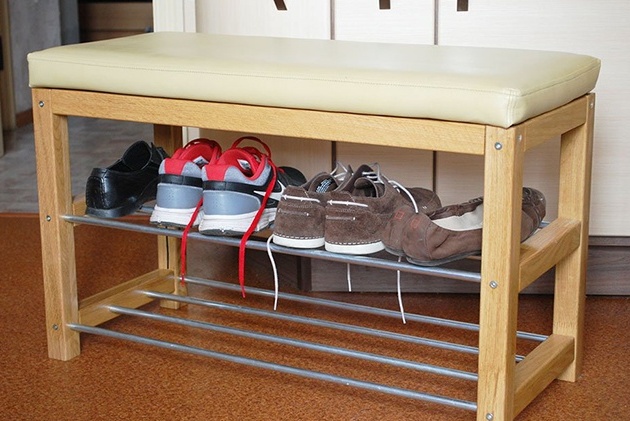
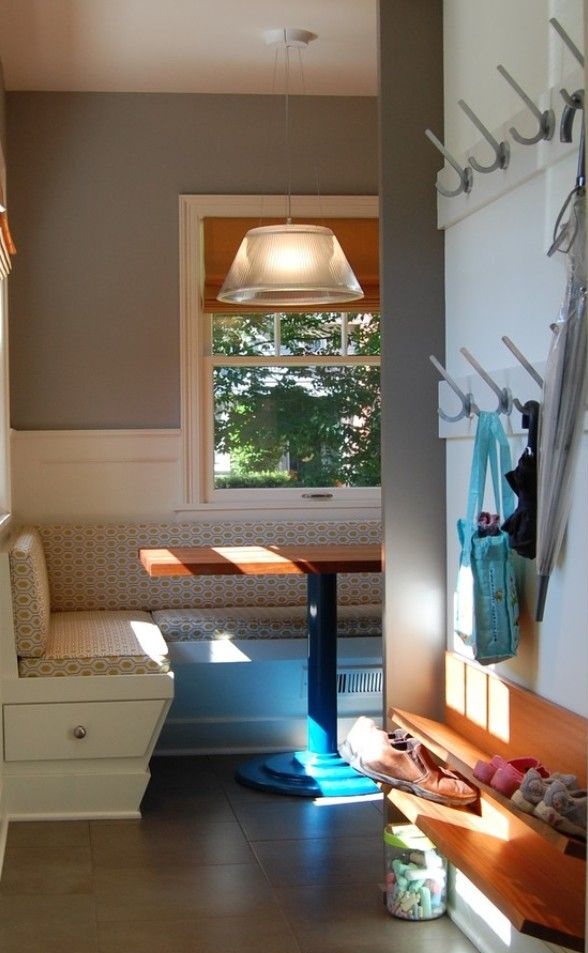
Bench bench for shoes
If desired, even old things can be transformed and give them a second life. In this case, we propose to remake a simple bench into a more modern design for the hallway.
In the process you will need the following:
- bench with a shelf;
- paint;
- brush;
- batting;
- foam rubber;
- knife;
- furniture stapler;
- upholstery fabric;
- buttons (optional);
- hammer.
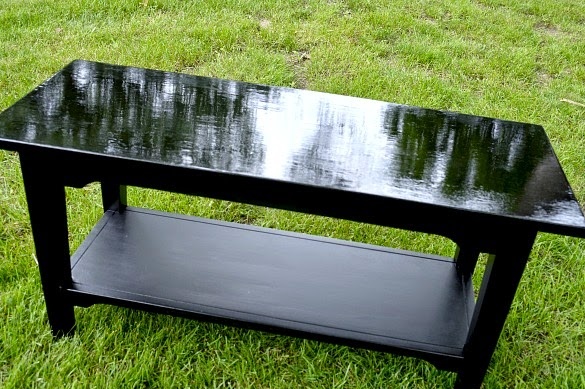
We paint the bench surface with black paint and leave it for several hours until it dries completely.
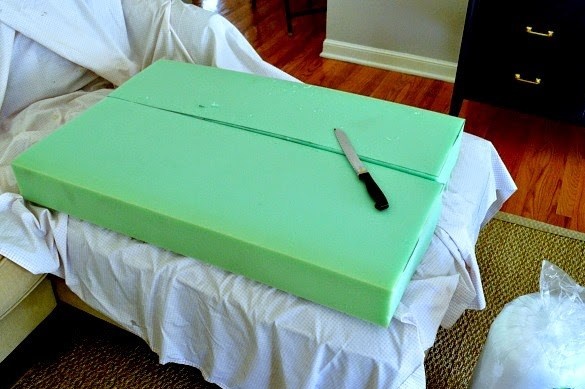
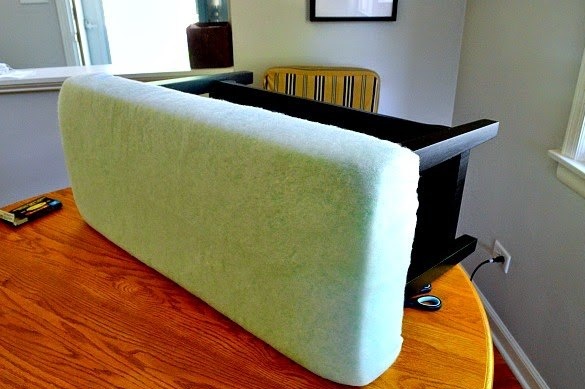
Cut off a piece of foam based on the size of the bench. Keep in mind that the size should fit perfectly.
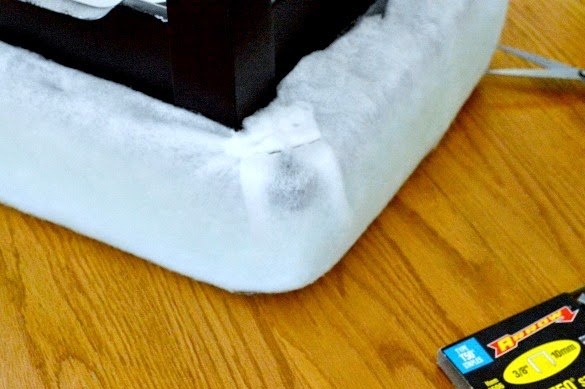
On the working surface we put a rather large piece of batting. We place foam rubber on top and put a bench on it. We pull the batting and fix it with the help of a construction stapler. 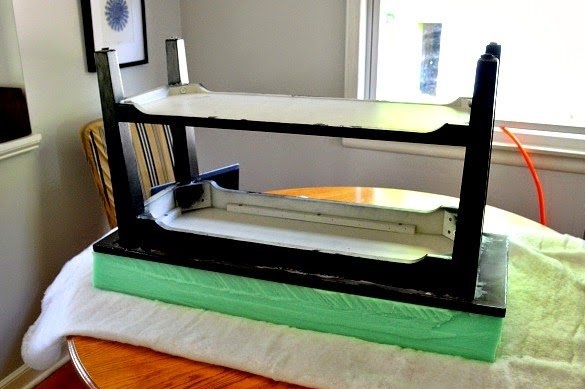
This should be done especially carefully so that there are no extra folds on the surface.
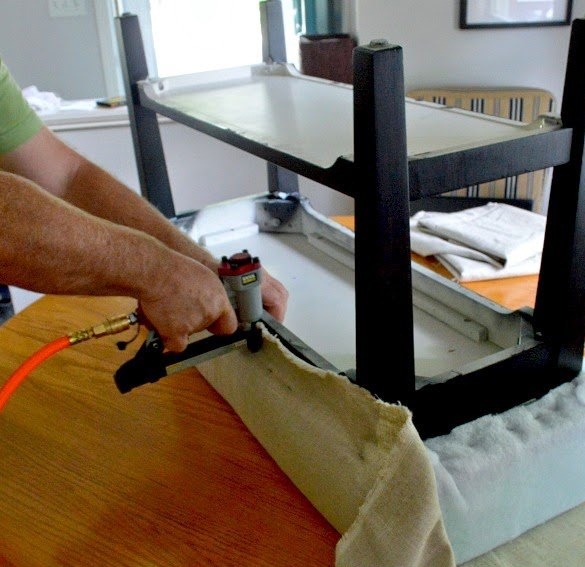
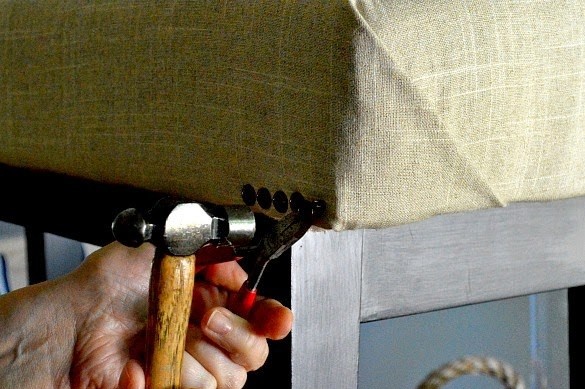
We put upholstery fabric on the working surface, and a bench on top. At this stage, do not rush so that the main fabric is as even as possible, without creases and well stretched. We fix it with a stapler.
The corners look best when wrapped in an envelope. If desired, the bench-shelf can be decorated with black buttons.
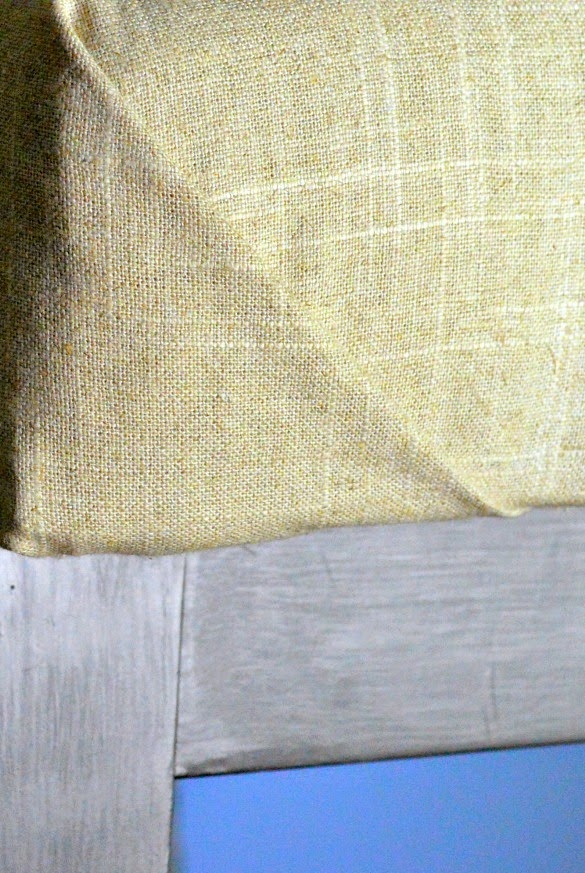
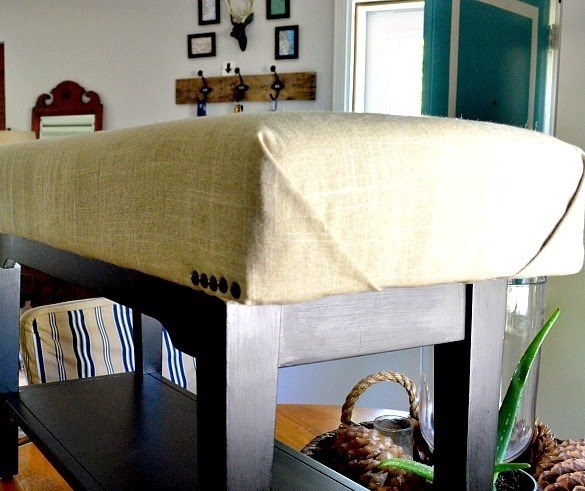
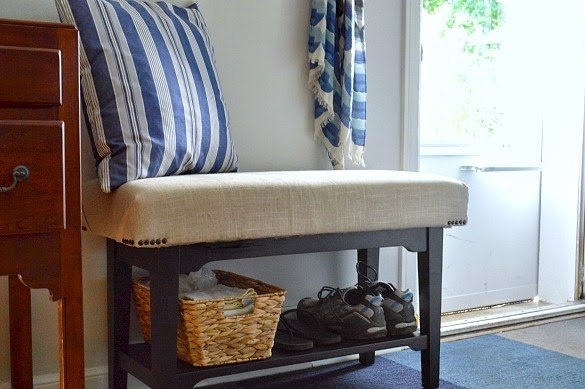
The result is an original and functional bench-shelf.
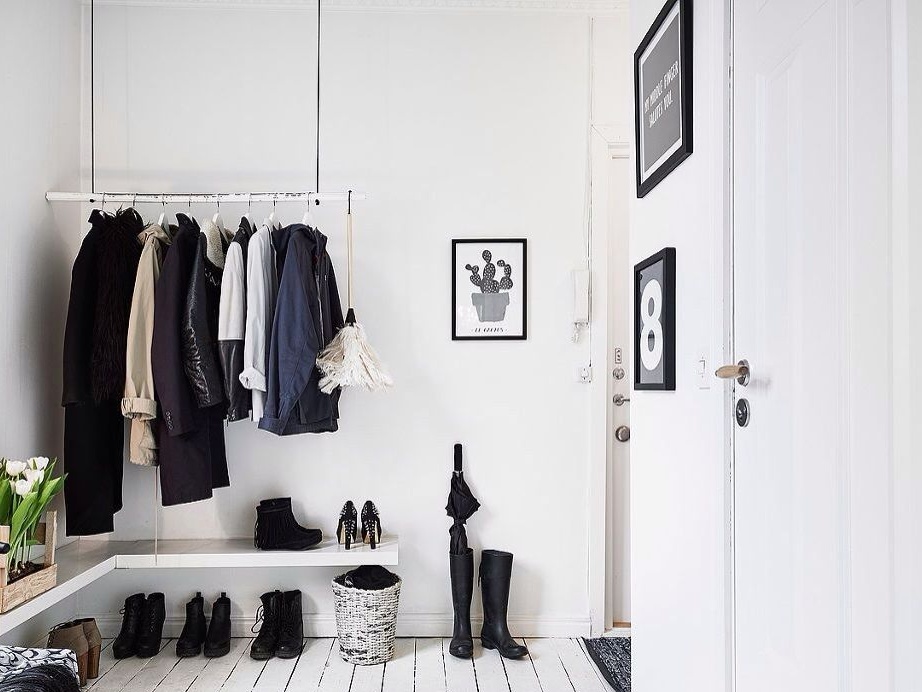
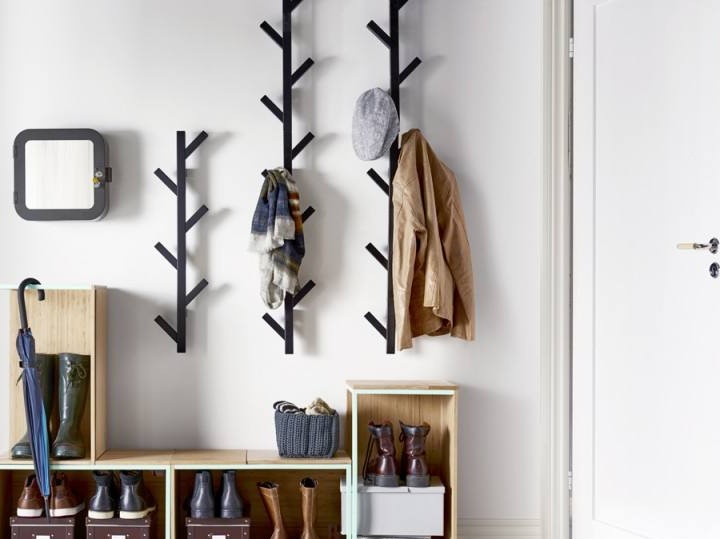
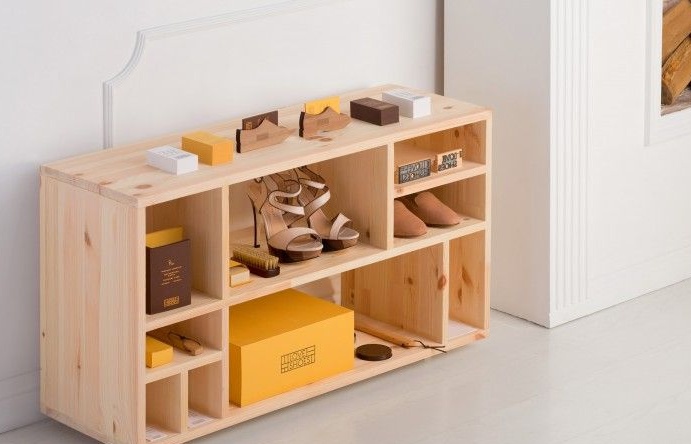
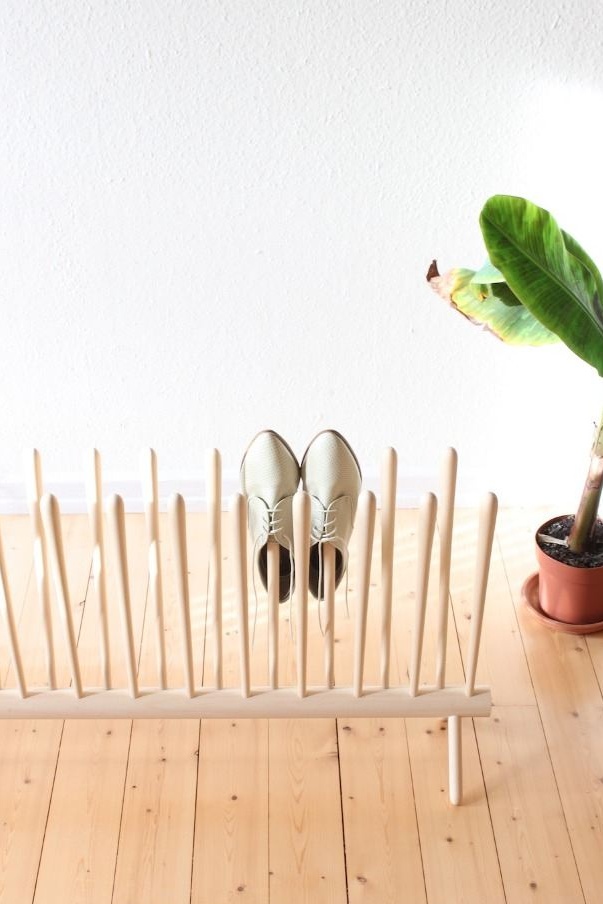
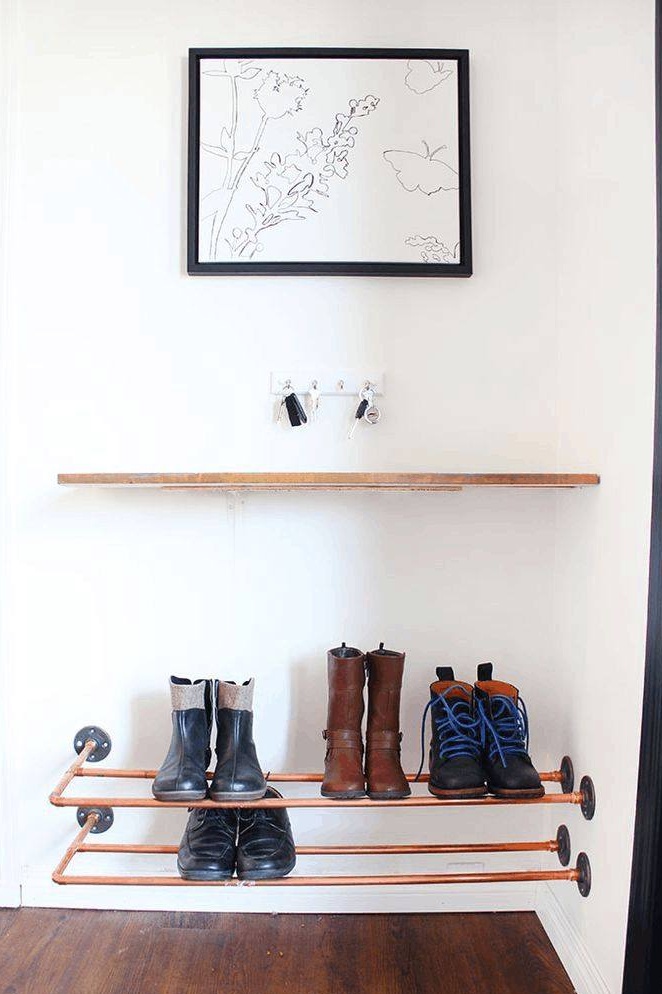
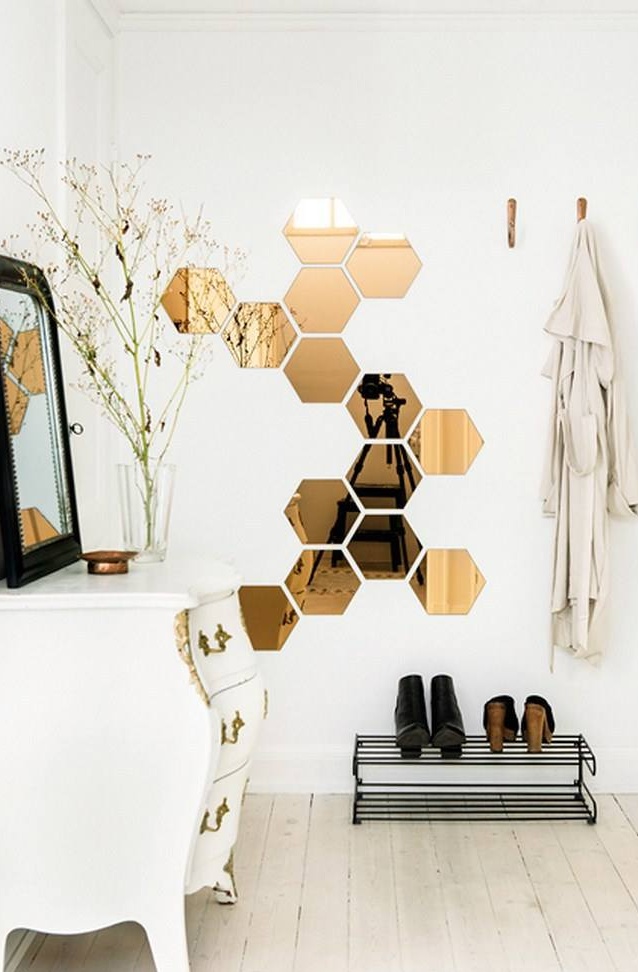
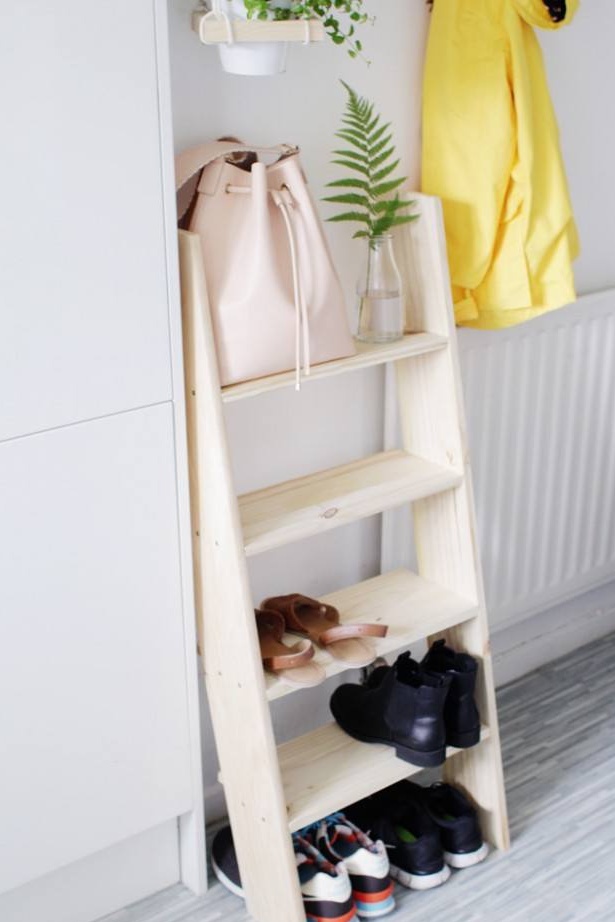
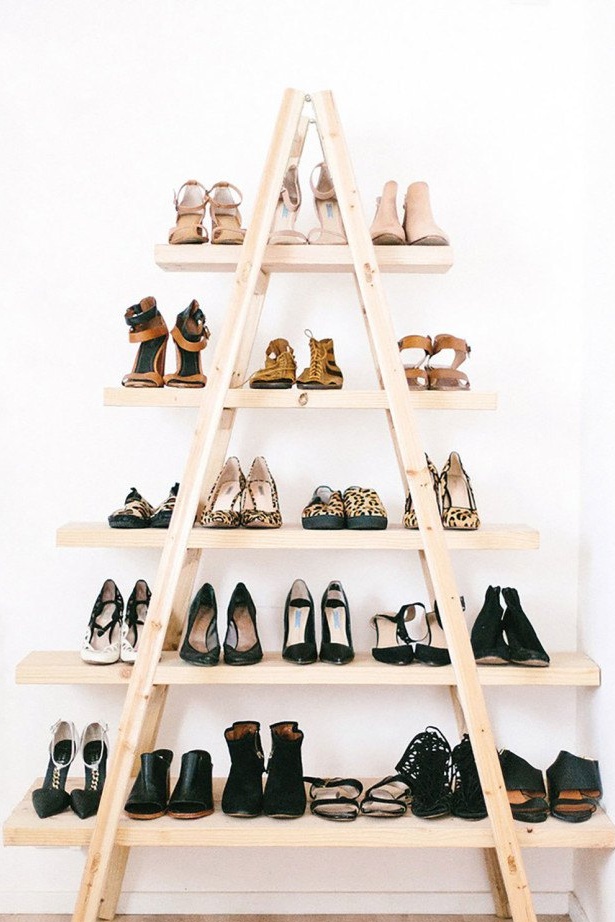
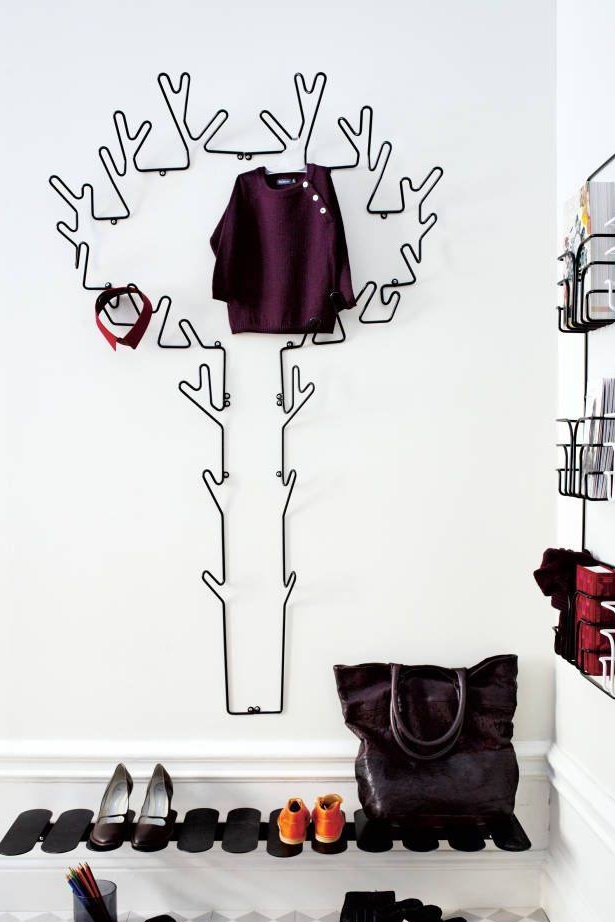
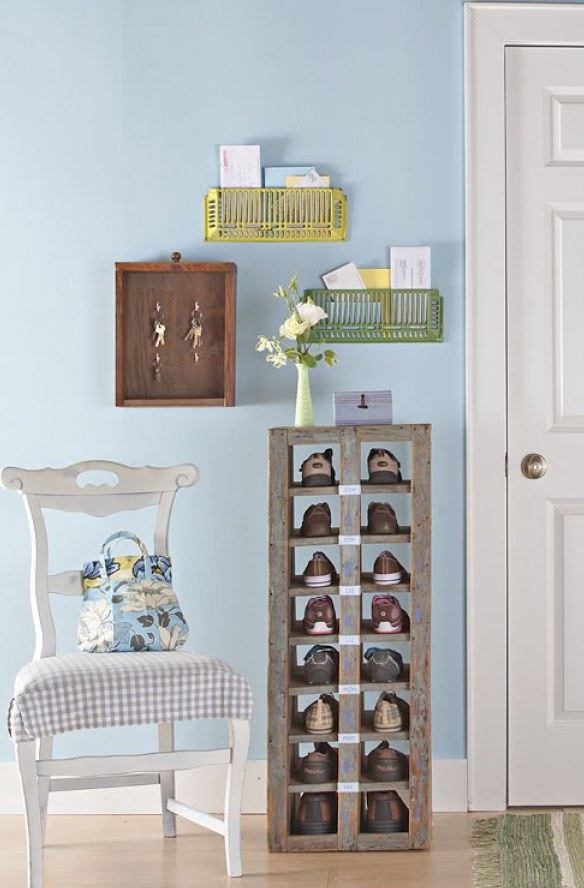
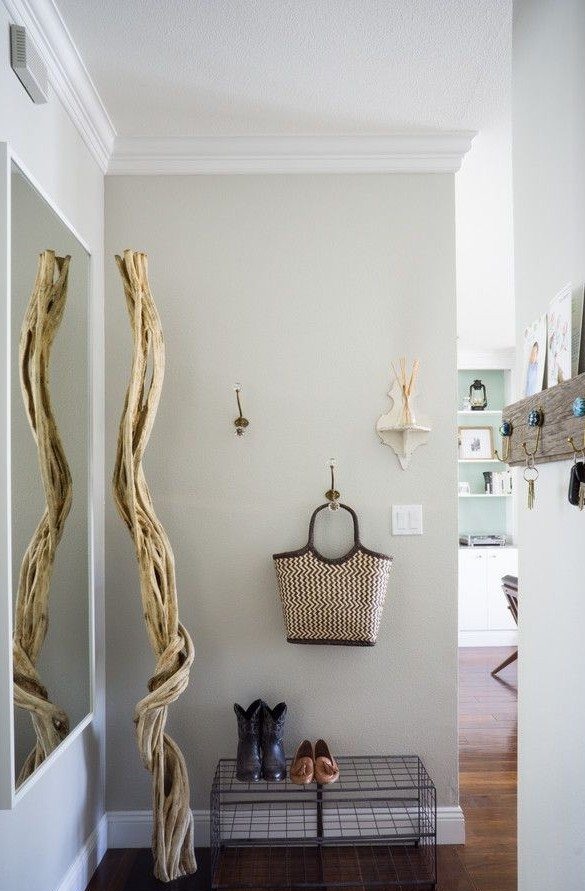
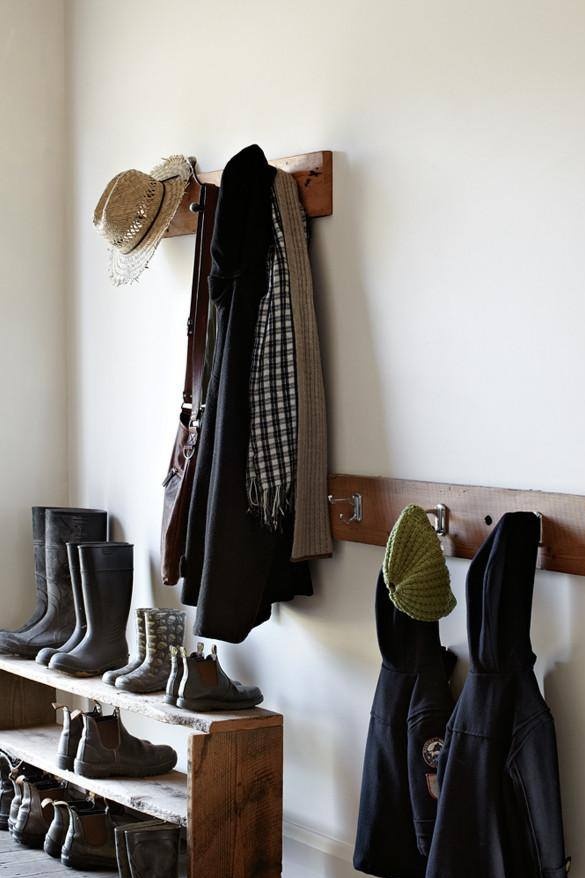
DIY shoe racks: best ideas


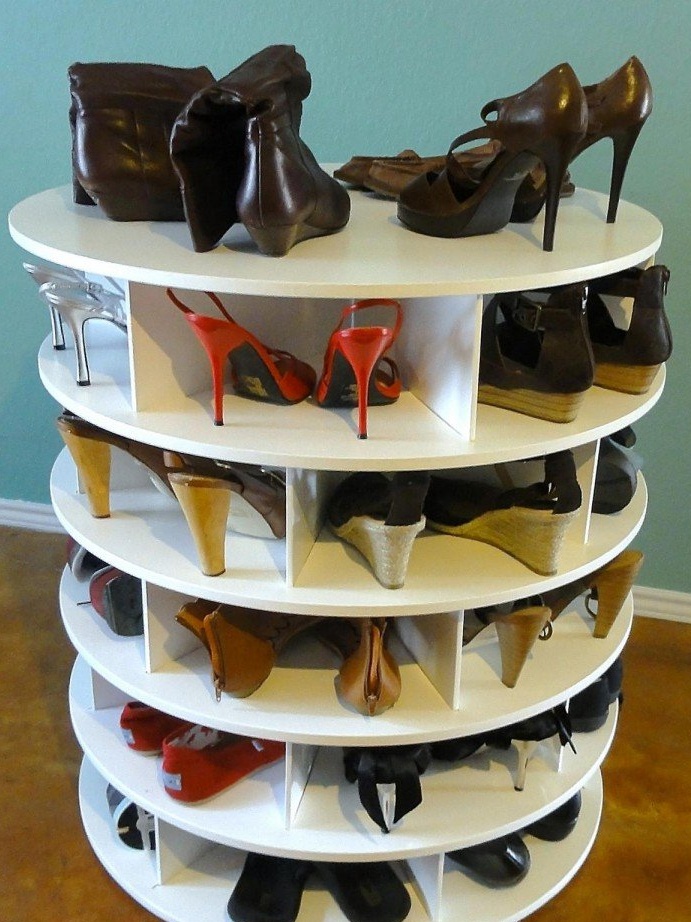
 Thanks to a wide variety of ideas, everyone will be able to choose the most suitable option for themselves. In addition, it is not necessary to repeat it completely. Add your details and experiment with the decor.