Original do-it-yourself cork mat
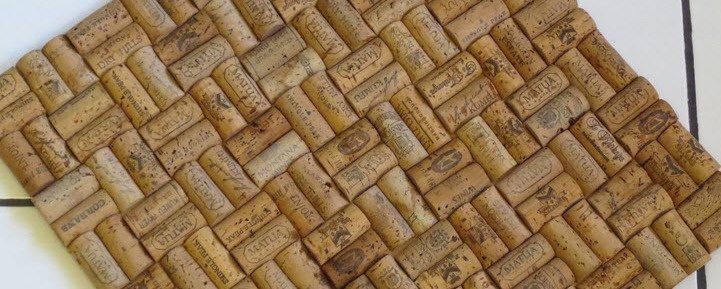
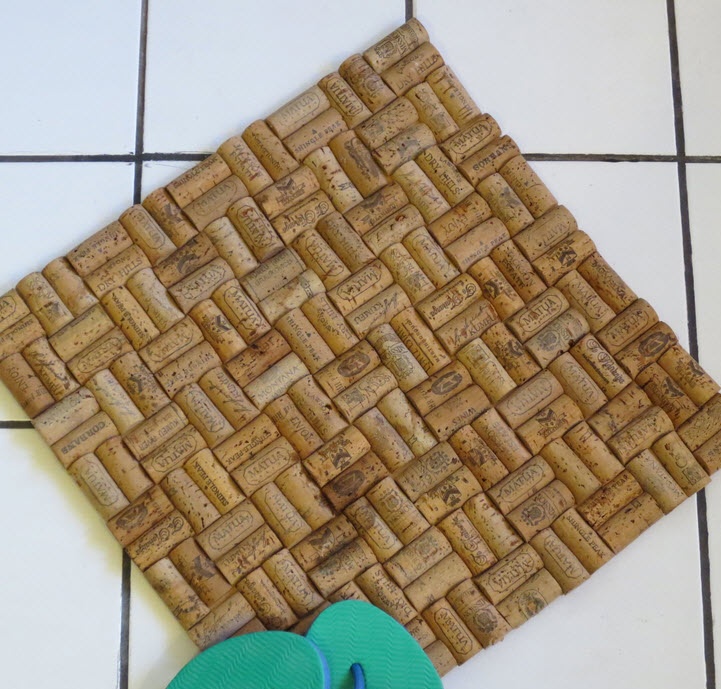
Wine corks can be used to make many interesting things. One option is to make an original rug. The cork absorbs liquid perfectly, so this mat can be put in the bathroom or at the front door.
Creating a rug from corks does not require much time and effort, moreover, this item will fit perfectly into any style of interior - from country to modern.
1. Prepare the material
Collect enough traffic jams. For a small rug, 100-150 pieces will be required. If you do not have the required quantity, plugs can be purchased at the online store.
Thoroughly wash the material in warm water and soap. To remove wine stains, simply leave the cork in water with a little bleach overnight. Then rinse in running water and dry thoroughly.
2. Cut the cork
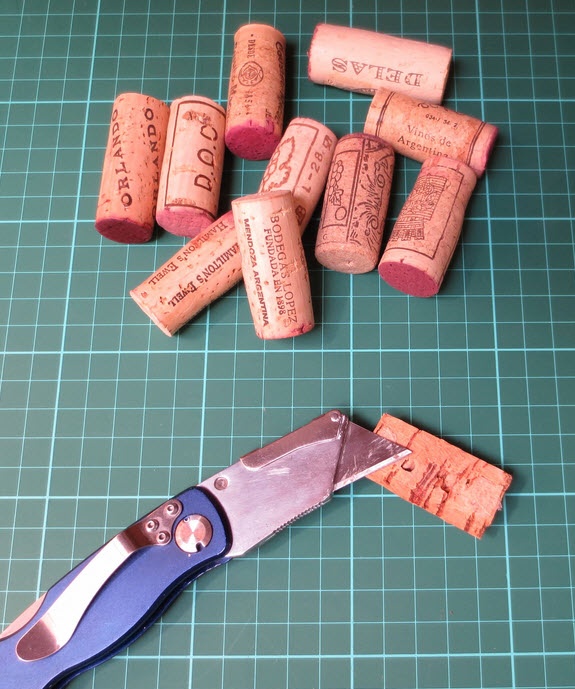
Cut each cork lengthwise into two parts. It is more convenient to do this on a cutting board. To protect your fingers, you can wear special gloves. Since you have to cut a large number of traffic jams, it is better to work intermittently.
Cutting the cork on the board, it is not recommended to place them on the side: in this way it is very easy to get hurt.
Uneven surfaces after the cut need to be sanded.
3. Prepare the basis for the mat
Take the basis for the future rug: it can be an old shower mat, rubberized fabric, any soft plastic. You will also need a soft cloth for the middle part of the mat:
- determine the size of the future rug: here everything completely depends on your desire;
- cut the required size of the base;
- cut out a dense fabric the middle part of the same size.
4. Put the cork on the base
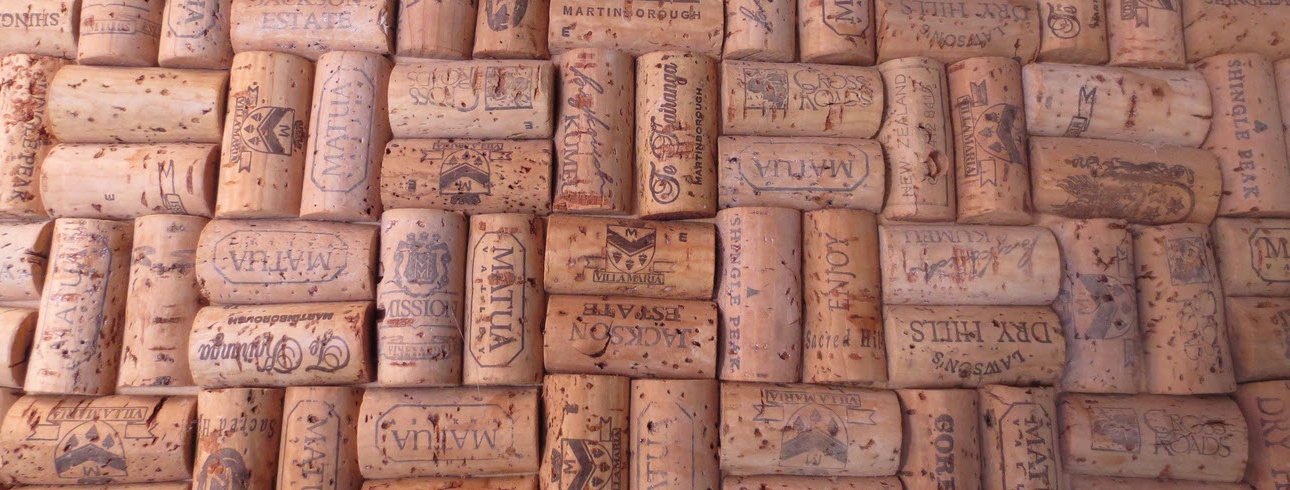
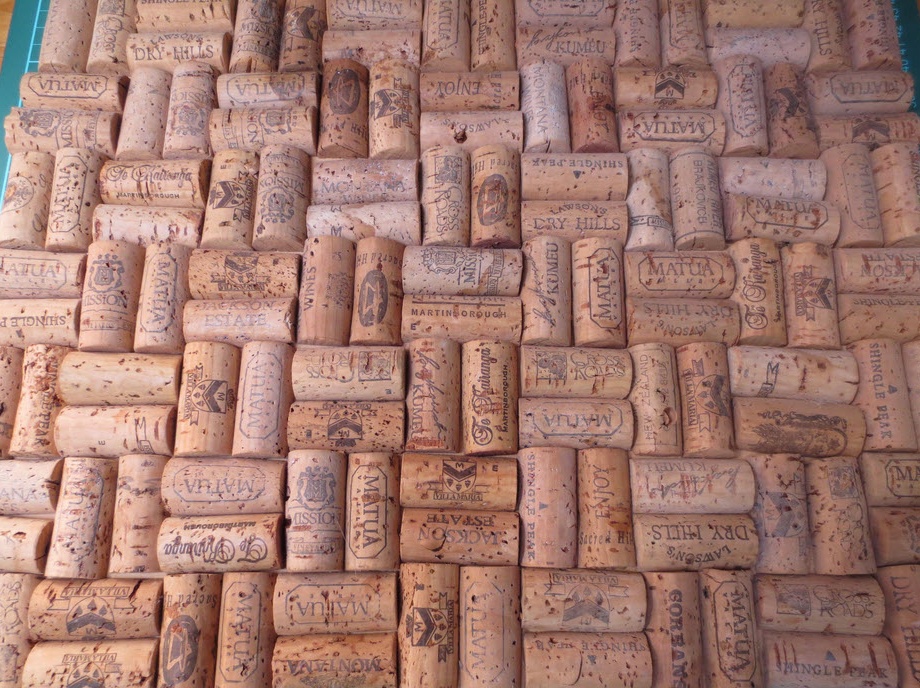
Now you need to lay out the corks on the basis of how they will be fixed in the future. You can start by filling the mat around the perimeter, gradually moving towards the center. If the corks are not sized at the end, they can be cut. You can lay out traffic jams as shown in the figure below (alternating horizontally and vertically) or in the same sequence, without a pattern.
5. Glue
Glue two parts of the future mat. Glue the halves of the corks to the base with hot glue, also moving from the edges to the center. Remove excess glue immediately with a soft cloth. Since previously you already laid out the corks in the right shape, there is no doubt that some details will not fit, or they will not fall correctly.
6. Dry
Let the rug dry thoroughly. In order to prevent moisture from passing through, you can treat the edges and bottom with sealant. If you decide to place the mat in the bathroom to prevent mold, it is recommended to dry it in the sun at least once a month.

