
Do-it-yourself round table
A round table is able to fill the atmosphere of any room with comfort. This form promotes warm communication and creates a zone of psychological comfort. If you wish, you can make a beautiful round table with your own hands, complementing the interior with an exclusive piece of furniture.
1. Prepare the countertop
If available, you can take a ready-made tabletop. If this is not possible, you can make it yourself with a jigsaw. On the material you need to draw a circle, saw it out, and then carefully sand it.

2. We make parts for the base
For the manufacture of the upper and lower bases, a total of six parts (two types of three pieces) will be needed. Please note that the dimensions in the figures are in inches, that is, for conversion to centimeters, each value (excluding degrees) must be multiplied by 2.54. The upper part of the figure shows how the part should look from above, and at the bottom - from the side.
- Make three identical parts according to the parameters in the figure.

- And three more of the following:

- Then use the screws to fasten the parts as follows:

- The result should be two blanks for the base.

3. We make legs
To make the legs, you will also need three parts. As in the previous case, to convert to centimeters, the length and width should be multiplied by 2.54.

4. Putting the bottom of the table
- Fasten the legs with screws first to the smaller of the workpieces.

- Then we attach the legs to the base.

5. We paint preparations
Choose a paint color if desired. If possible, paint work should be carried out on the street. Spread something underneath the structure so as not to stain the surrounding surface.


6. Fasten the tabletop
- Drill a hole in the upper base of the bottom of the table.

- Mark the center on the countertop: for this, draw several arcs using a centimeter tape (a fixed value is taken, one end of the tape is attached at the edge of the tabletop, and the arc that the tape creates when moving is marked with a pencil). The center is at the intersection of the arcs.

- Drill a hole in the center of the countertop.

- Fasten the screw in the center.

- For greater reliability, secure the countertop with screws in several more places.

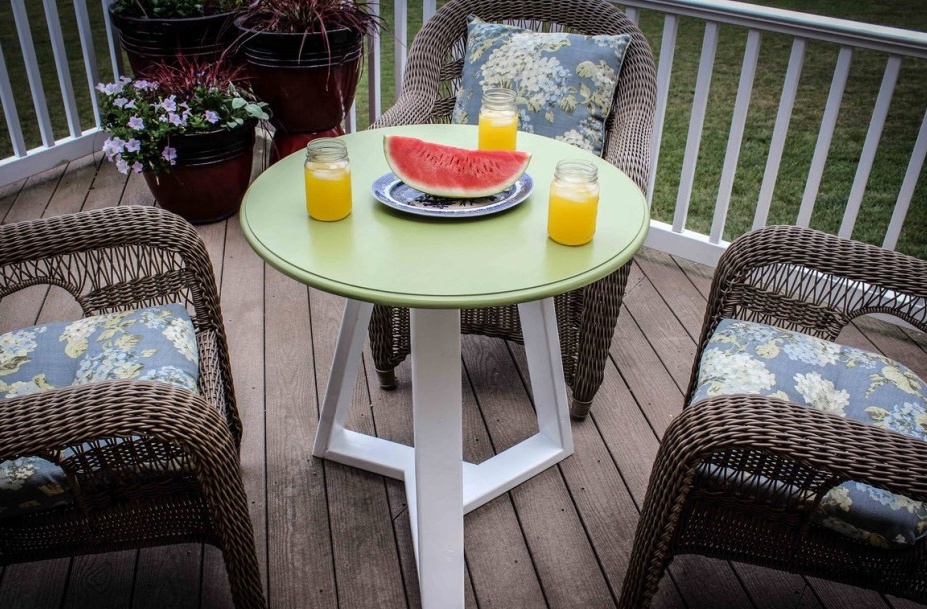
7. Done!
An excellent table for home or garden at your disposal!

