
DIY basket: 4 simple workshops
A small basket is simply an indispensable item in modern housing. Small, cute items look great as decor in the hallway or bedroom. Larger baskets are ideal for storing things and organizing space. That is why we offer you several step-by-step master classes, following which you will definitely be able to make the original product with your own hands.


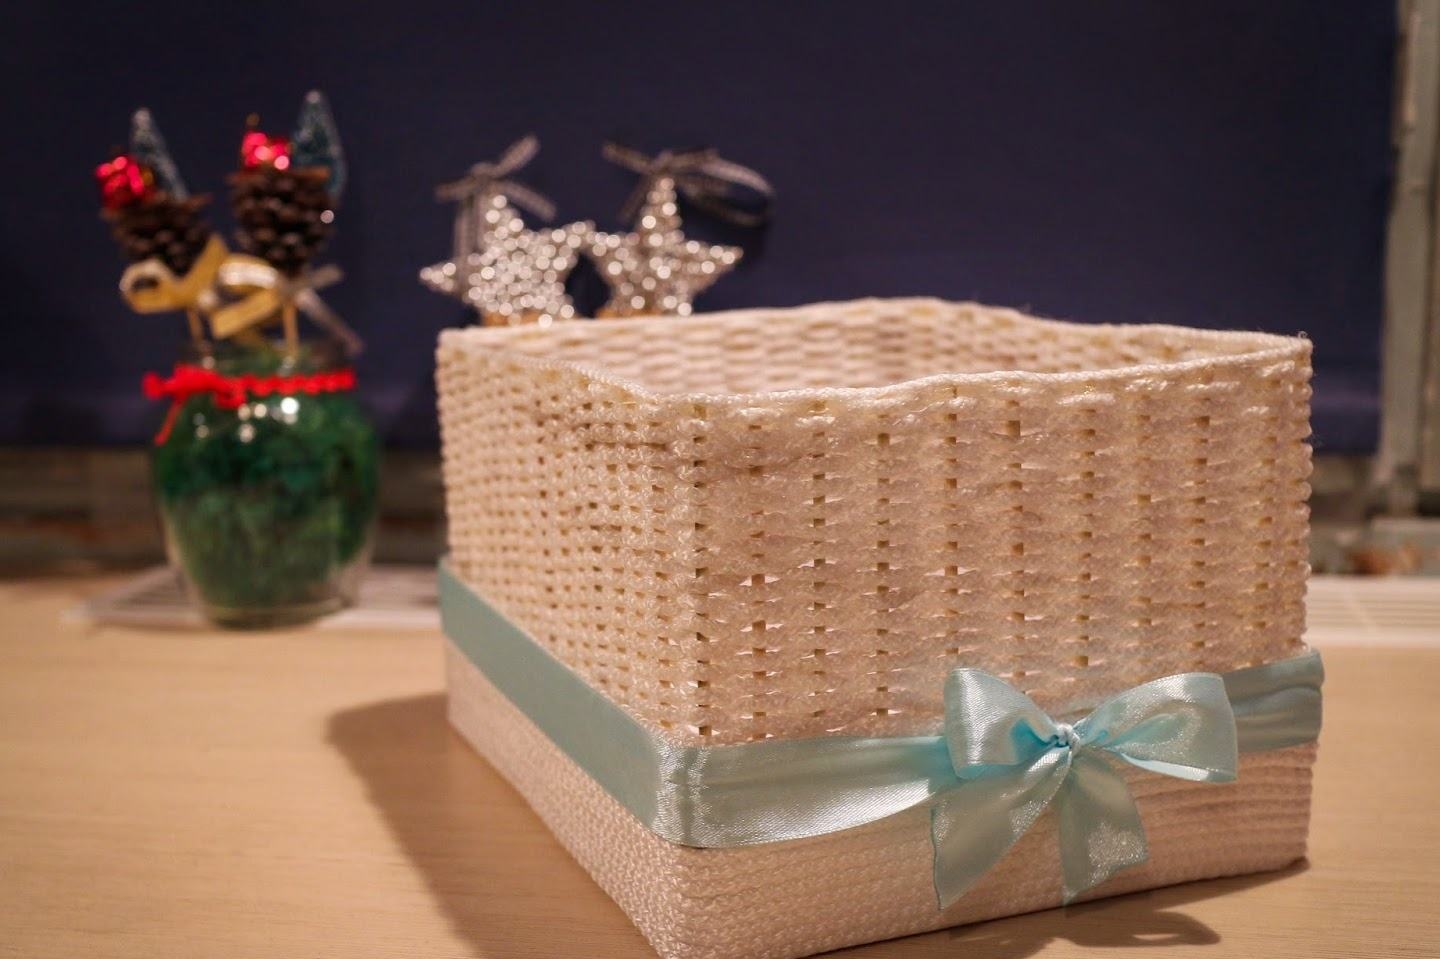
DIY basket of threads
Such a cute basket is ideal for storing various little things and looks great as a decor.
Necessary materials:
- wooden skewers;
- clothesline;
- cardboard box;
- glue gun;
- nippers;
- paper;
- Double-sided tape;
- ruler;
- scissors;
- pencil;
- ribbon.
Glue double-sided tape on the side walls of the box.
Gradually glue wooden skewers to the tape. If necessary, they can be shortened to the same size. The height of the basket depends on this.

When one wall is ready, on top of the skewers we glue another piece of tape.
Repeat the same for each side of the box.
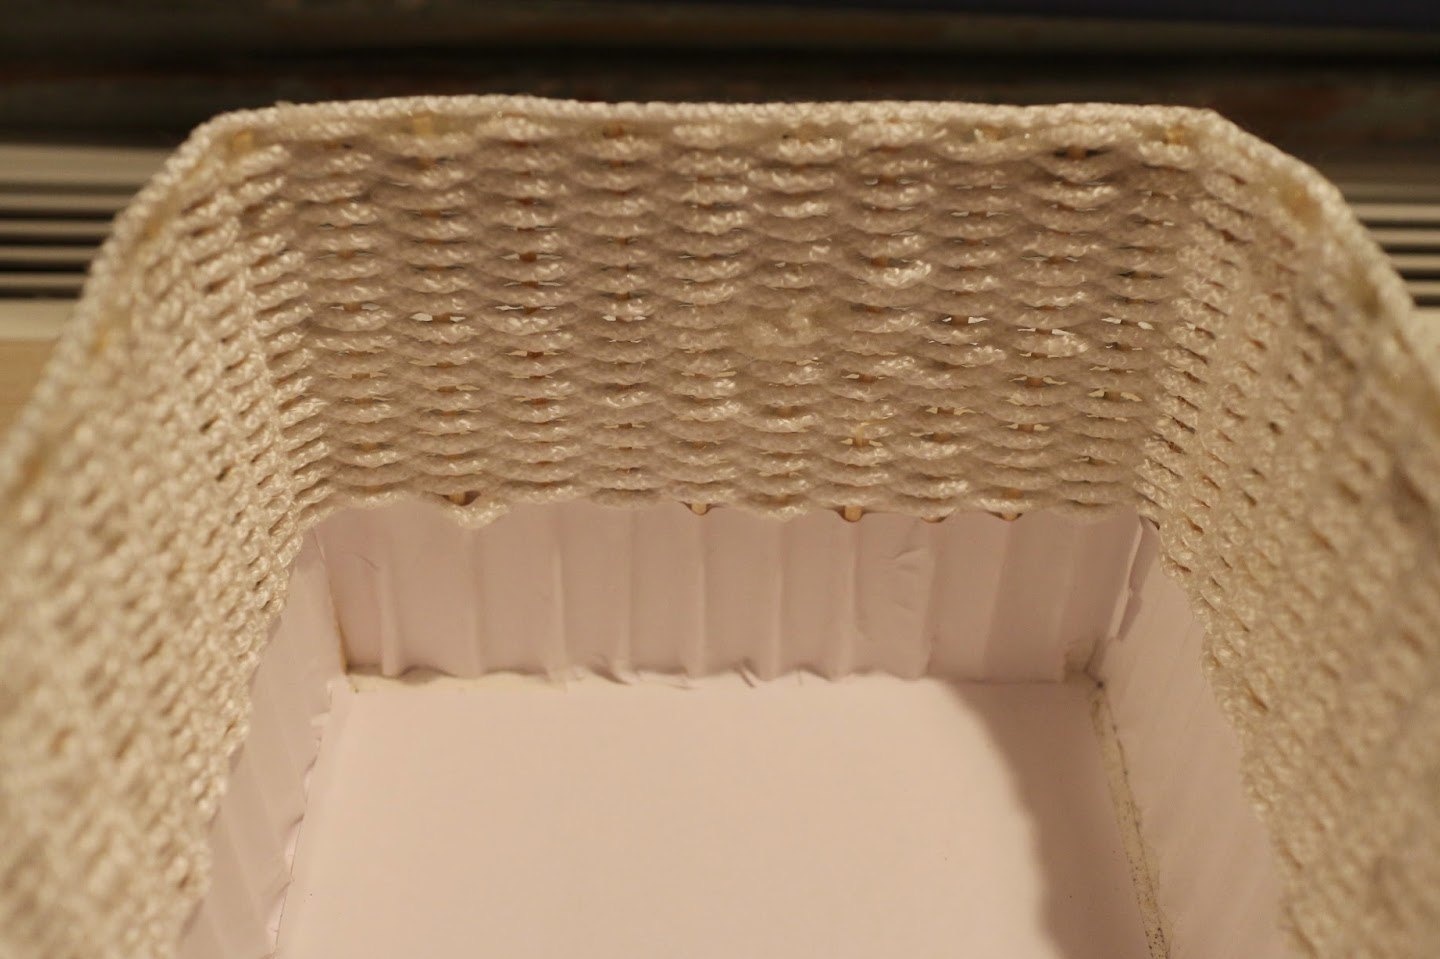
Glue a sheet of white paper to the bottom of the workpiece.
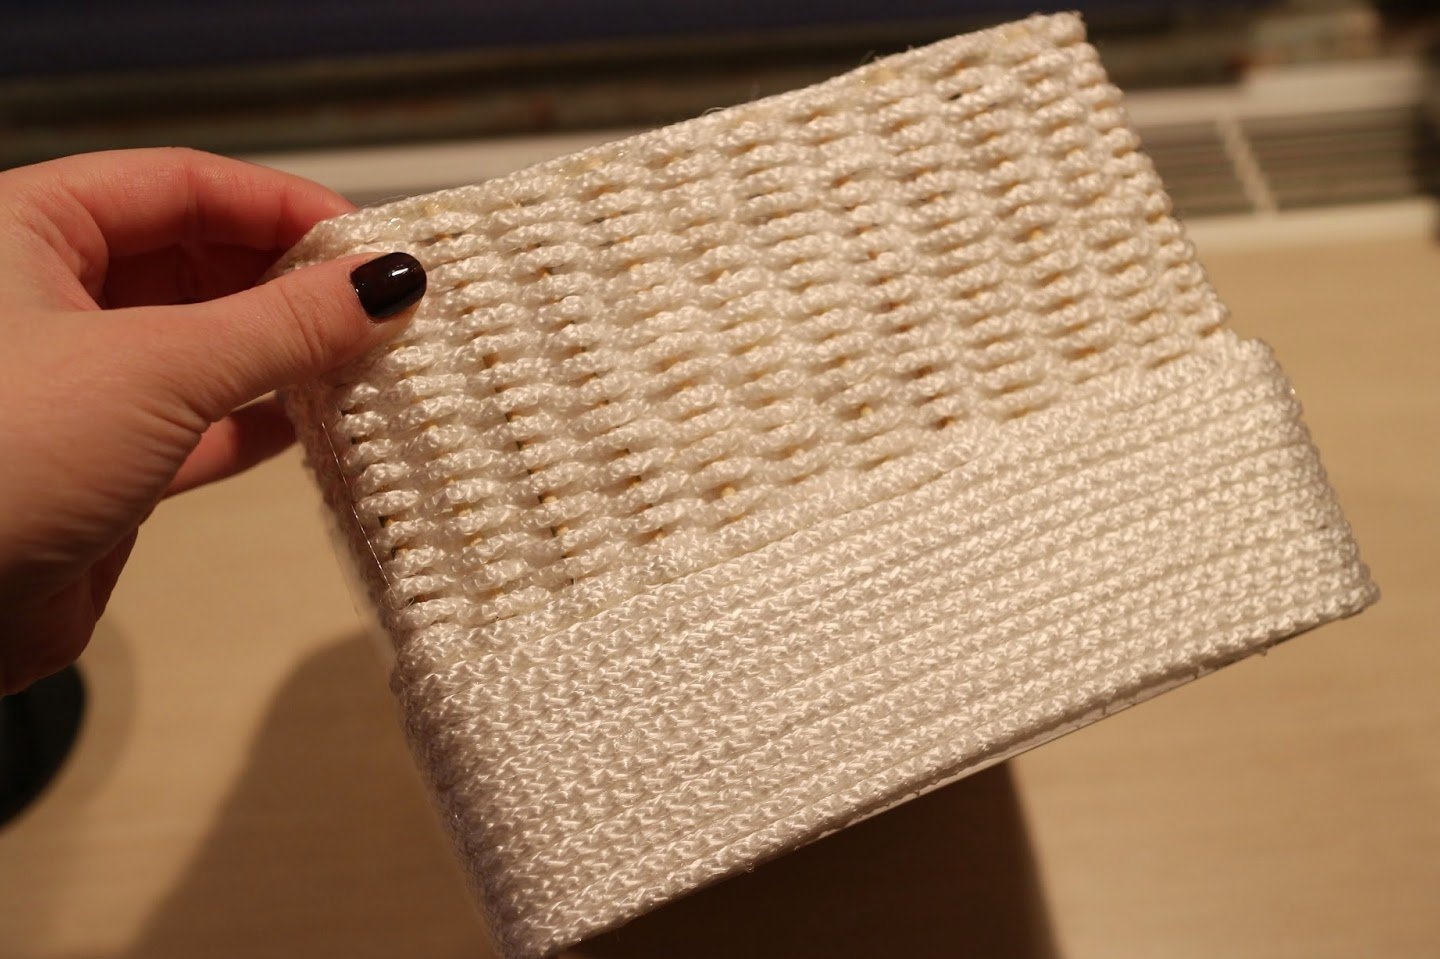
We fix the end of the thread with hot glue and start weaving, as shown in the photo.


The last few rows are best fixed with hot glue.
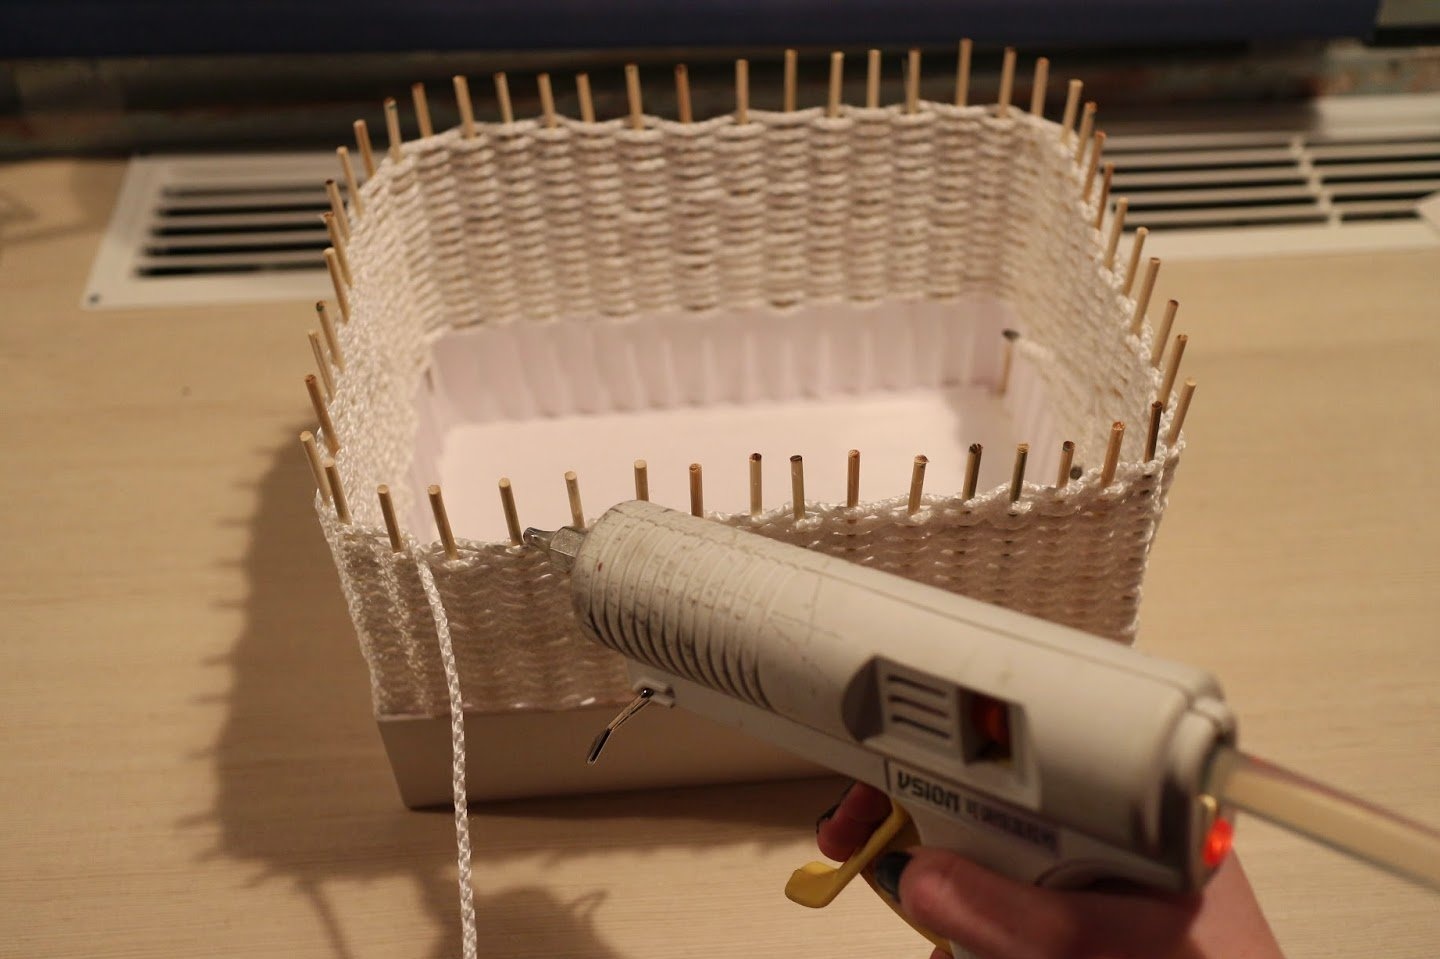
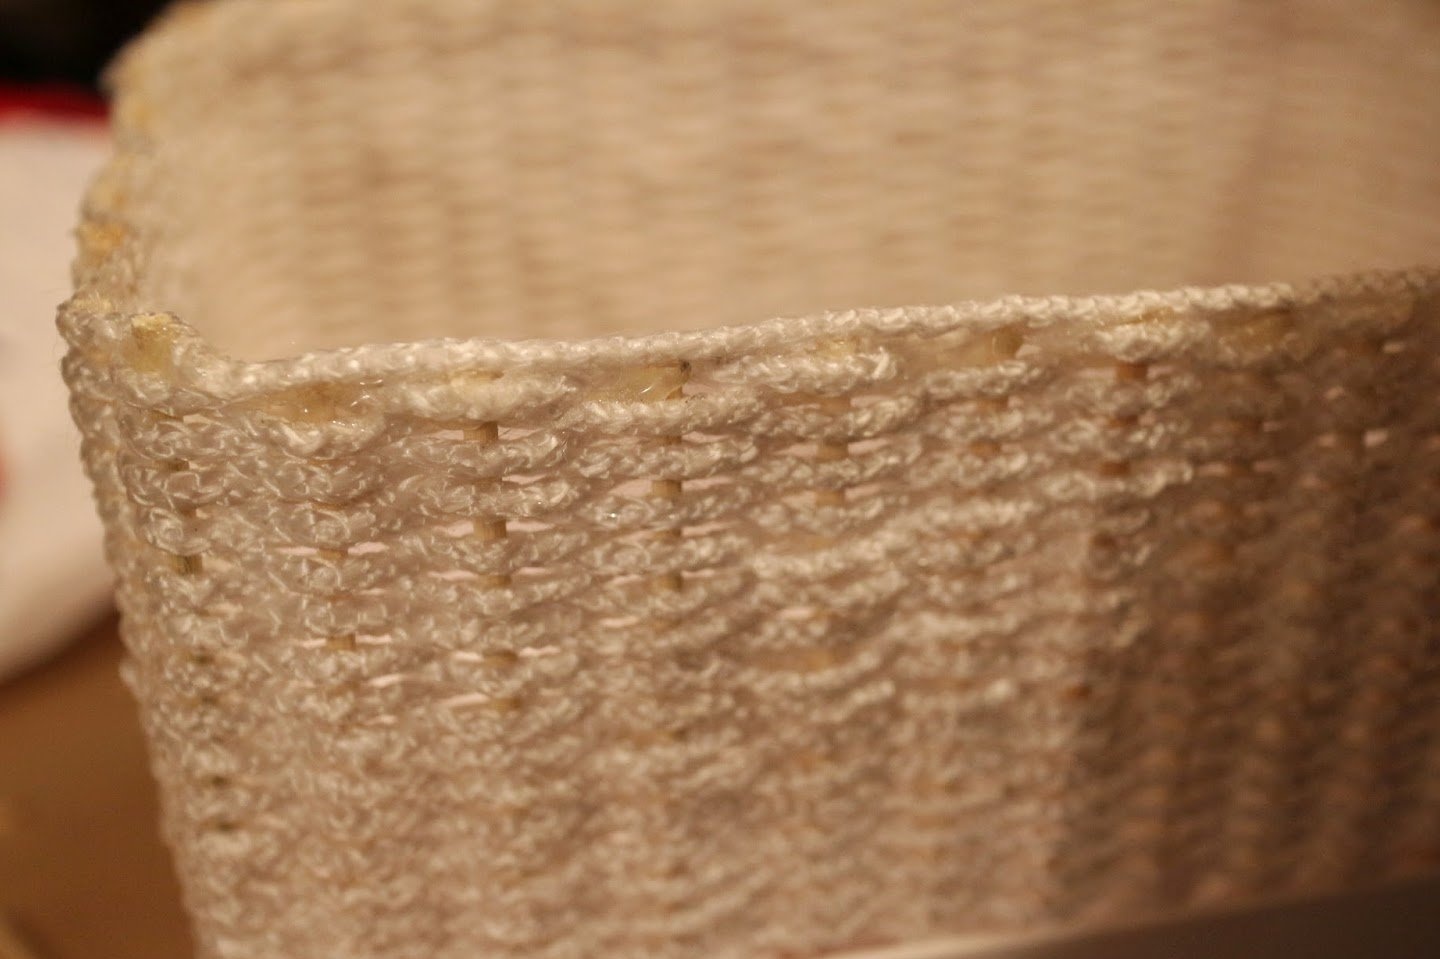
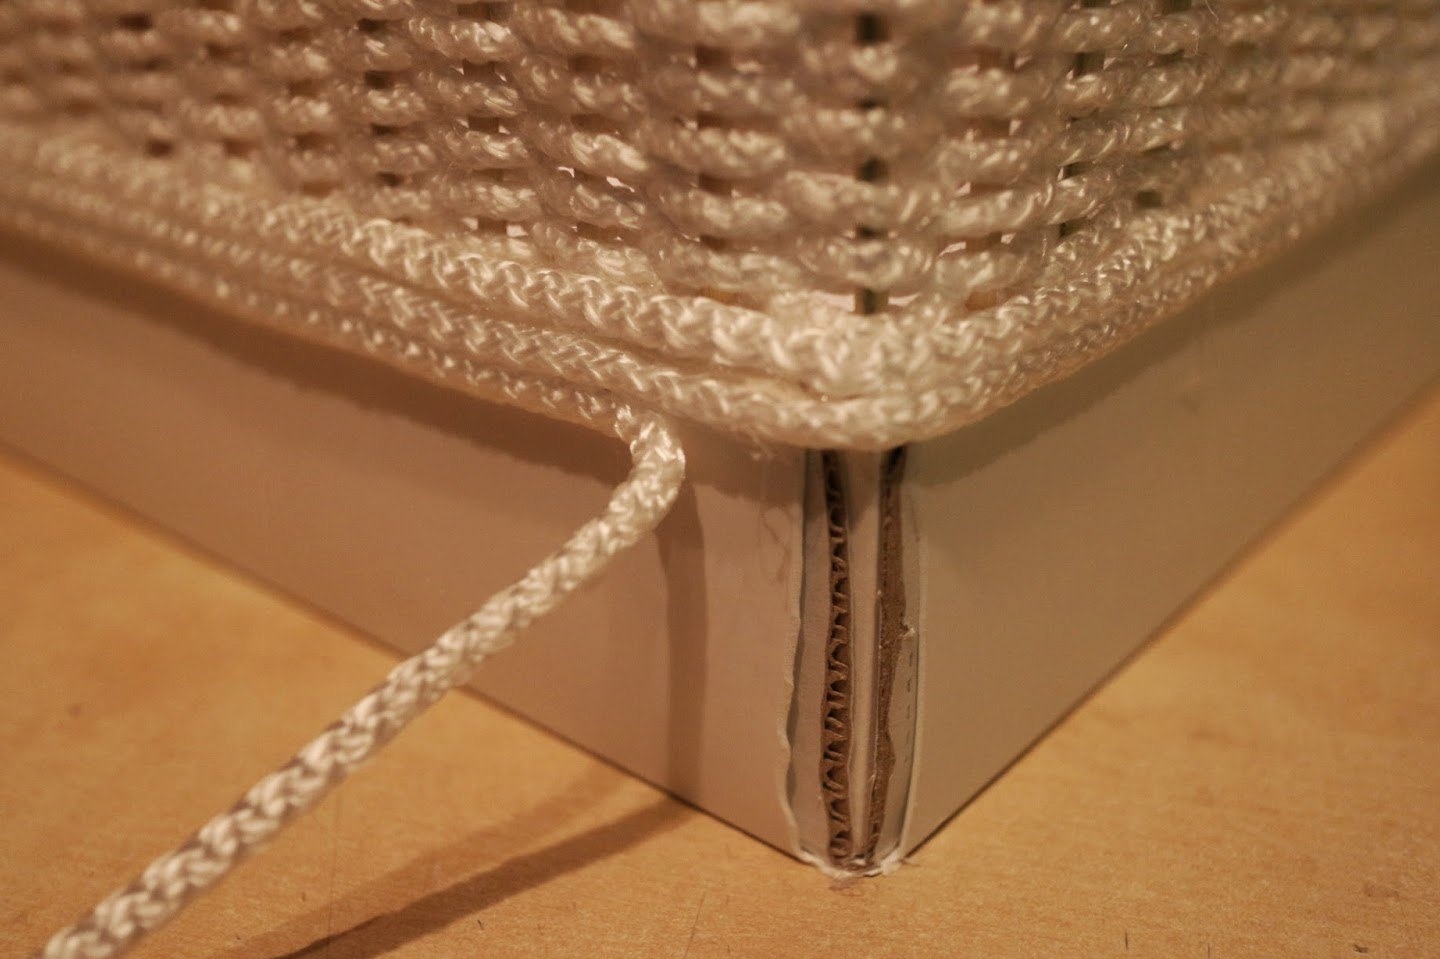
Carefully remove the excess part of the sticks with the help of nippers. Glue the thread on top to form the edge of the basket.
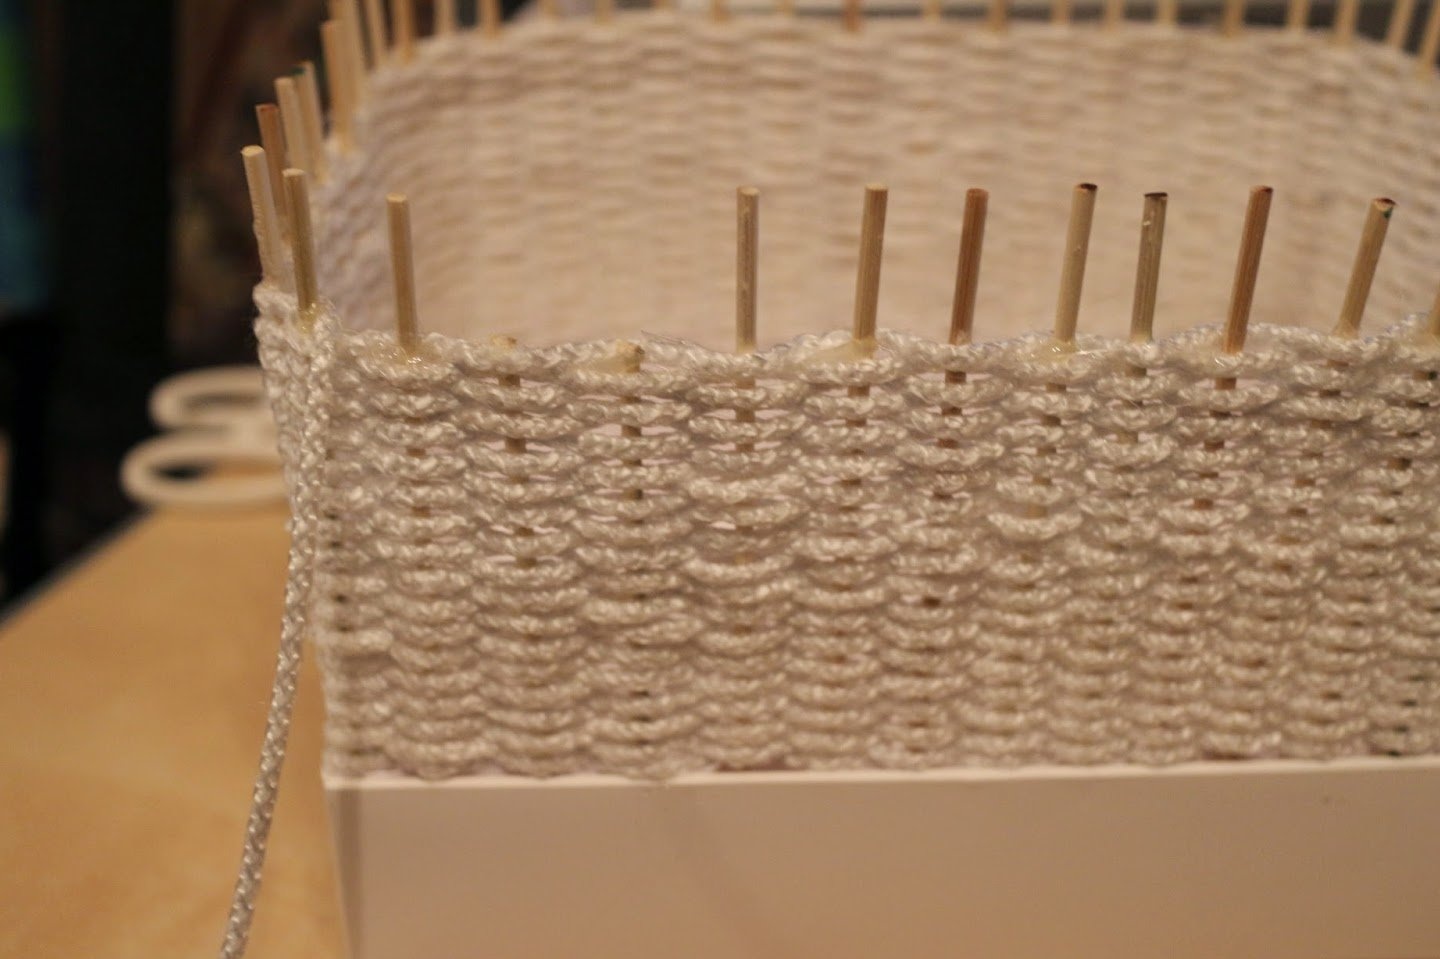
If necessary, fix the ends of the rope from the inside.
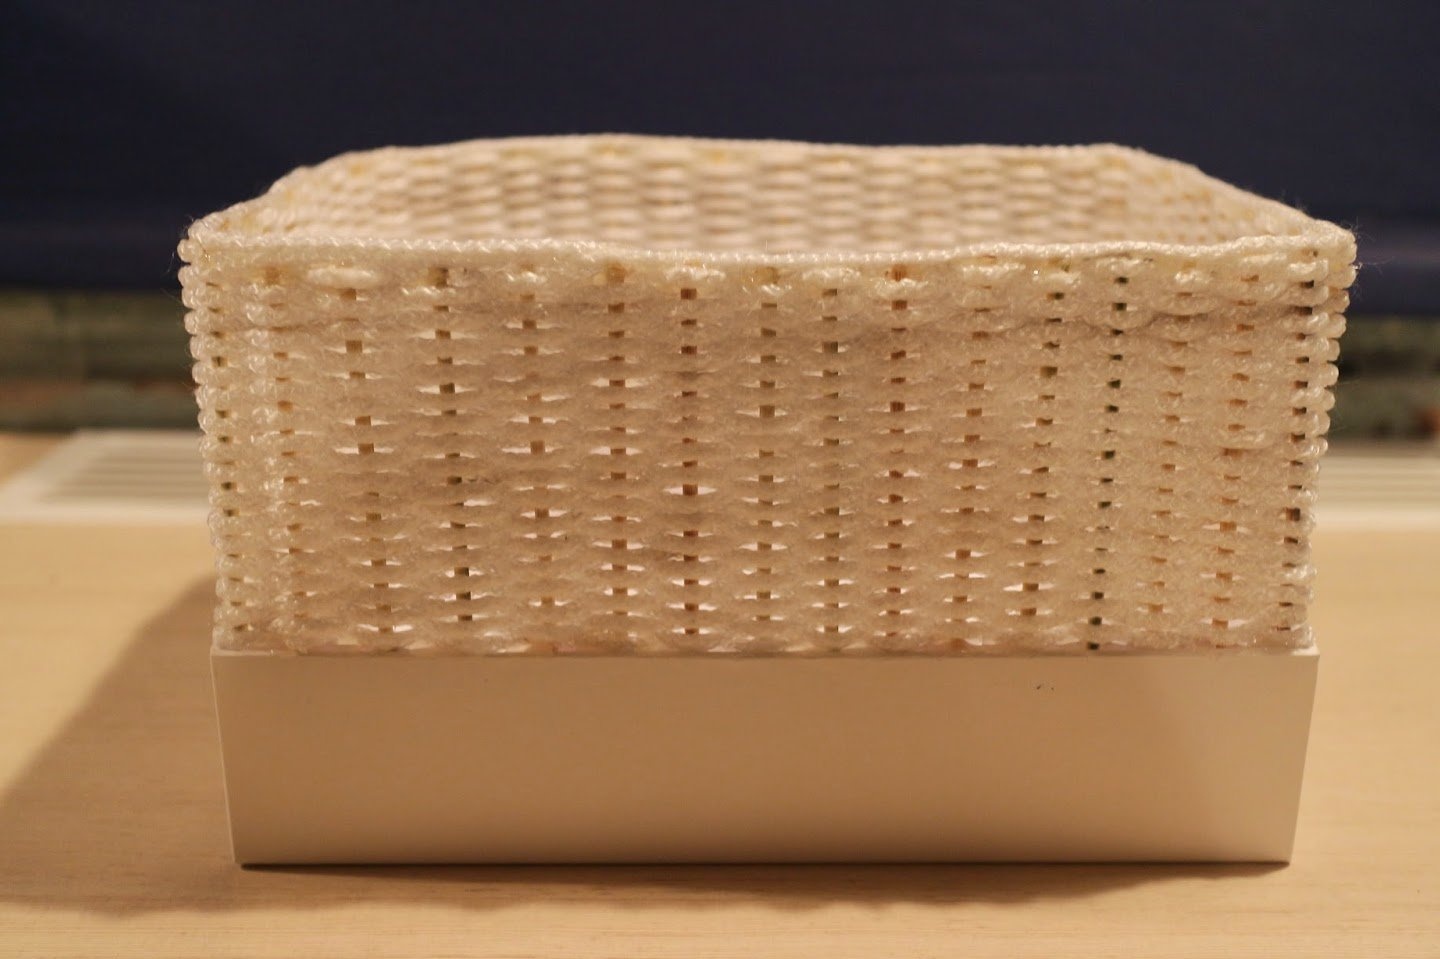

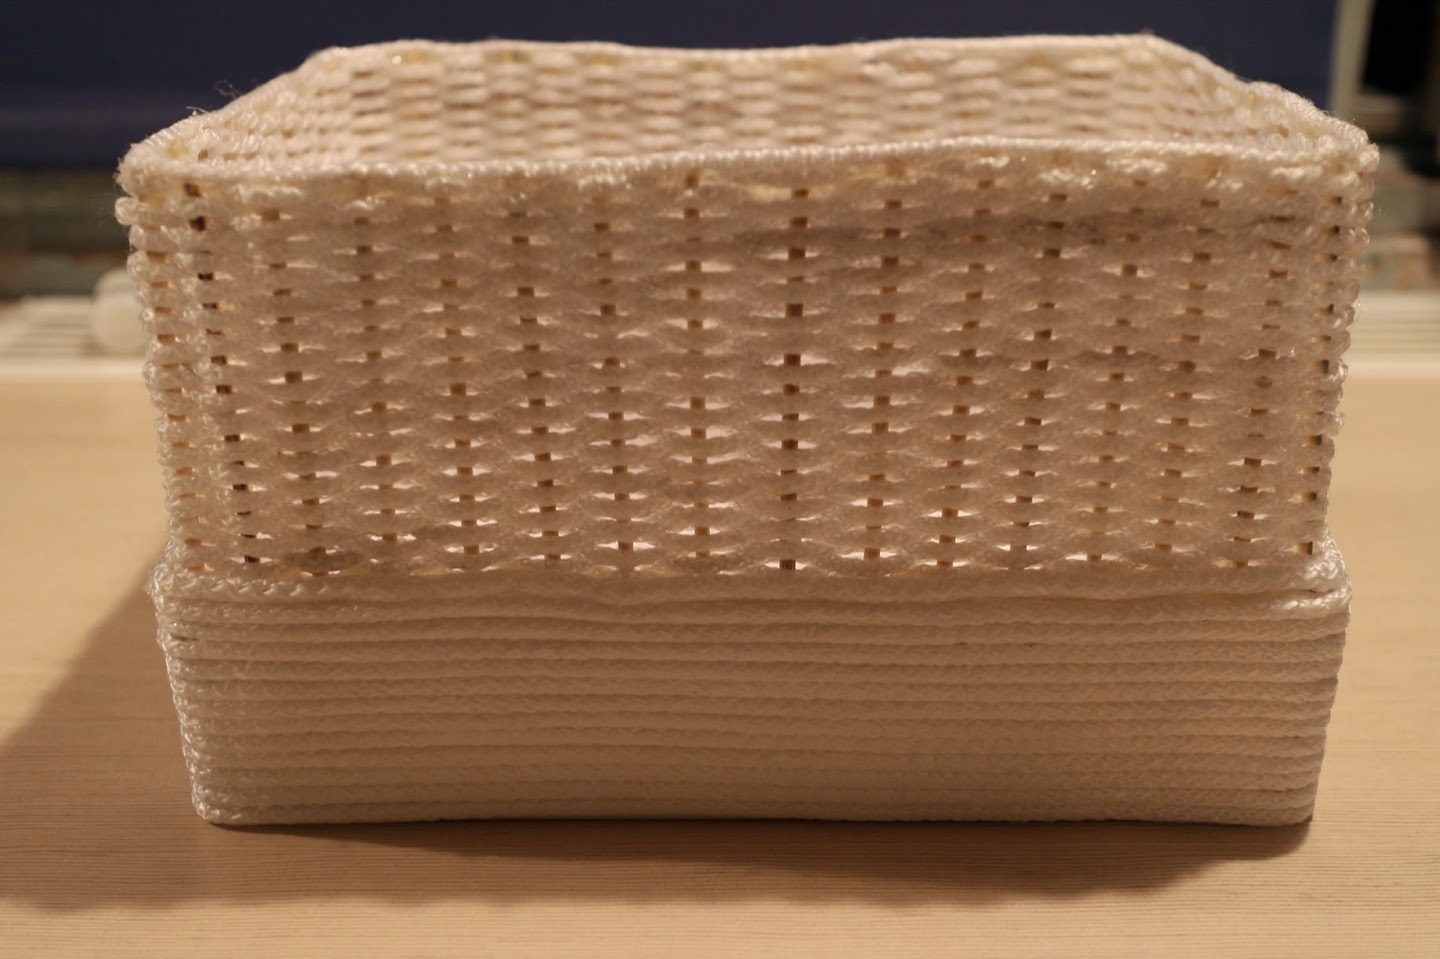
We proceed to the design of the base of the basket. Cut the corners of the cardboard box a bit. This is necessary so that they are rounded.
We wrap the basket around the perimeter with a thread and periodically fix it with hot glue for reliability.
We decorate the basket with a beautiful ribbon or lace. It all depends on your desire. In this case, a tape in a blue tint is used.
Wicker paper basket
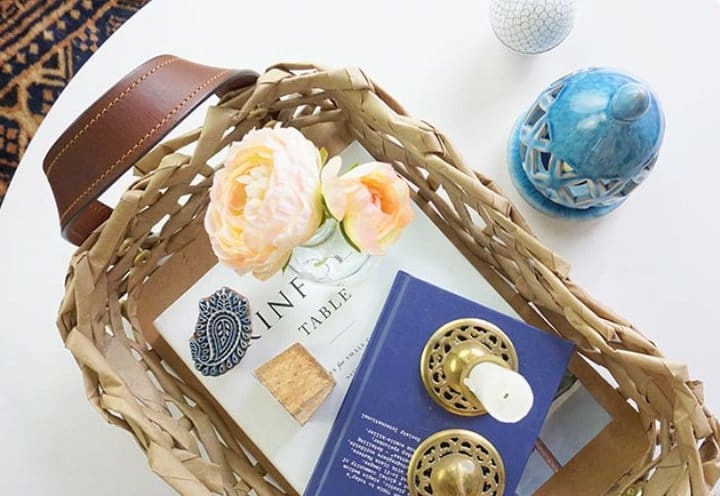
If you are fond of photography or just love beautiful home decor, then we suggest making a stylish basket with handles right now.
We will need:
- kraft paper;
- scissors;
- thick cardboard;
- wooden skewer;
- nuts, screws and washers;
- glue for paper;
- leather belt;
- acrylic lacquer;
- marker;
- drill or awl.
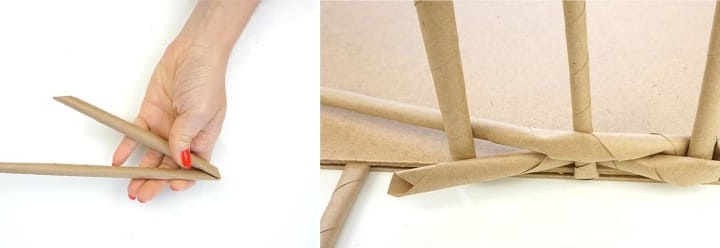
We cut the paper into several identical parts and start twisting the tubes, as shown in the photo.

We put a piece of cardboard on the working surface and glue the tubes to it, as in the photo. For greater reliability, fix them with tape.

Glue another piece of cardboard of the same size on top.

We bend one tube in half and wrap a vertical tube with it. Cross the ends and wrap the next tube. We continue to weave until the horizontal tubes run out.
We cut the tubes, twist the ends and fix them with glue.

We cover the basket with acrylic varnish and leave it to dry for several hours. 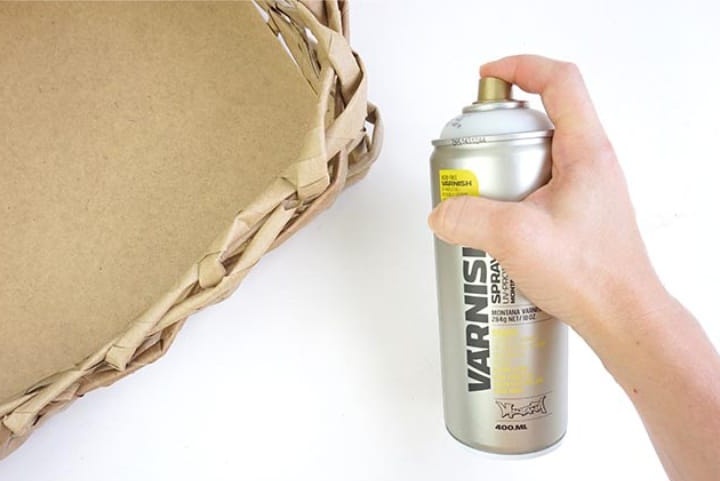
We cut off the part with holes and the buckle from the belt. After that, we cut the length of the belt in half.
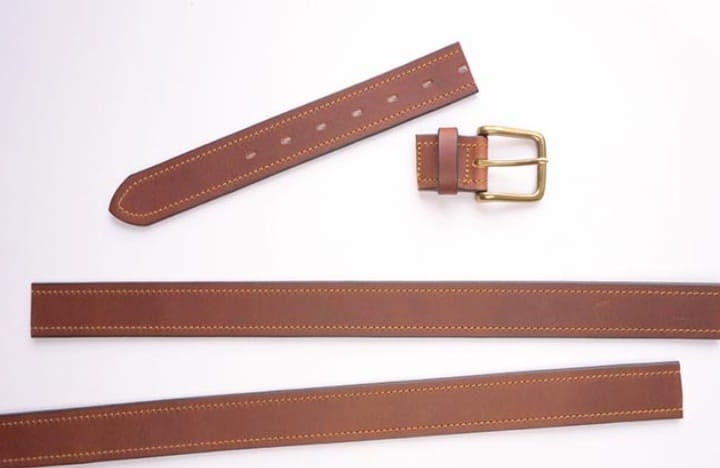
From the wrong side we make marks for the cogs.

We make holes according to the marks with an awl or drill.

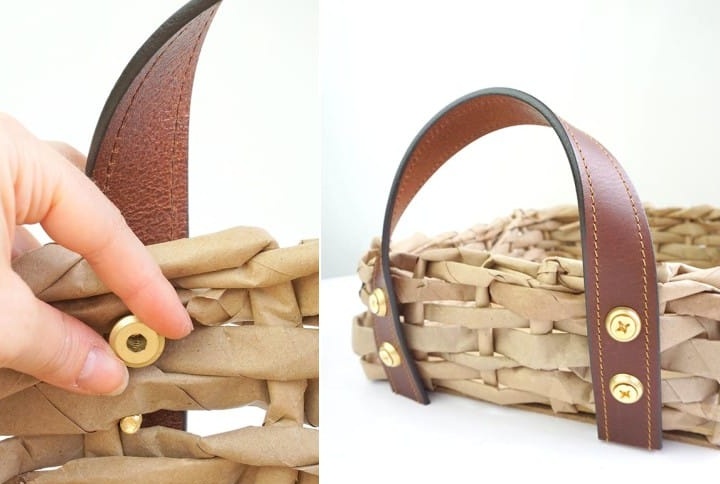
Put the washer on top and screw in the screws with a screwdriver.

We attach handles on both sides to the outside of the basket.
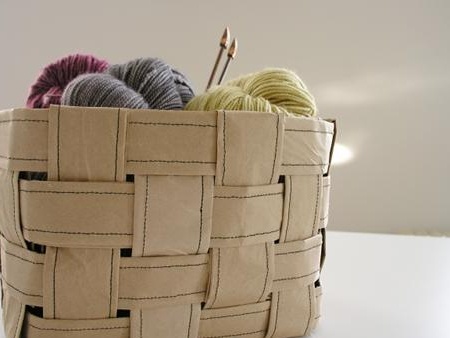
A beautiful, stylish basket is ready!

Cloth basket: step-by-step workshop
An attractive basket for clothes or for storing toys is quite difficult to find. Often they are shapeless or plastic. And this, you see, does not look very beautiful in a modern room. Therefore, we propose to make a simple, but at the same time, an original version with your own hands.
We will prepare such materials:
- linen;
- metal grid;
- cardboard;
- pencil;
- sewing machine;
- needles
- nippers;
- pliers;
- a thread;
- wire;
- scissors.
We prepare the metal mesh of the desired size and cut off the excess with nippers.This will be the basis for the basket. Connect the edges of the grid, as in the photo.

Cut the flax of the required size and fold it with the front side inward. We sew the blank on a sewing machine.

Cut a circle of flax, which will be used as the bottom of the basket.

We fold the blanks with their faces to each other and sew them together on a typewriter.

We put the cover on the mesh and bend the top edge.

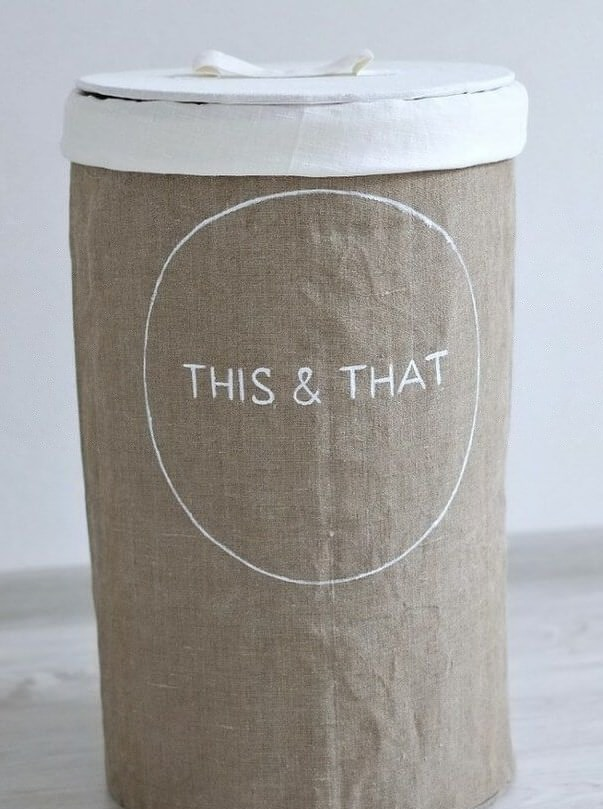
Cut the flax of a different color, sew the edges together and put on the basket, as shown in the photo. If desired, you can use additional decor in the form of braid or lace. An original, modern storage basket is ready.

DIY paper basket
In the process, you will need the following:
- wrapping;
- sewing machine;
- paper clips;
- glue for paper;
- scissors;
- glue gun;
- threads.

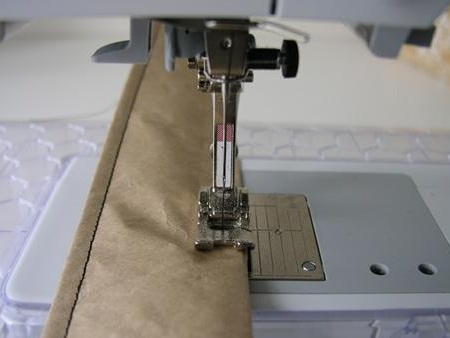
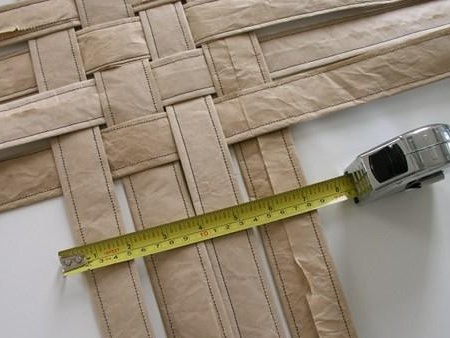
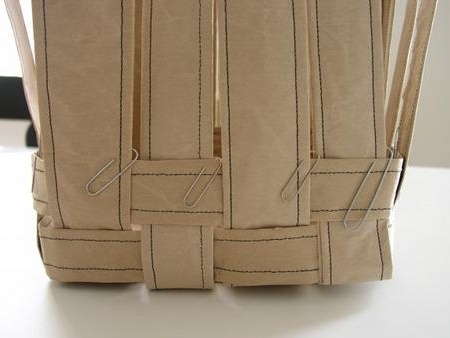
We cut the paper into eight identical parts. In turn, we turn each of them two to three times and flash it on a sewing machine from two sides.


Weave the stripes together, as shown in the photo. This will be the bottom of the future basket.

For reliability, we fix them with a glue gun.

We begin to form the walls of the basket. To do this, weave a new paper strip and fix it with paper clips.
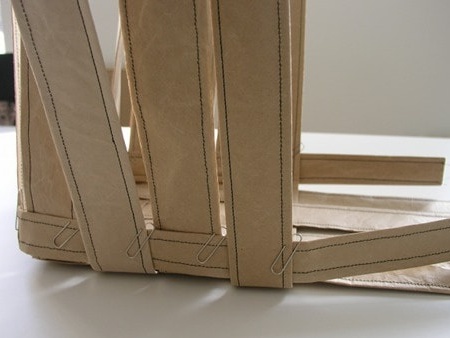
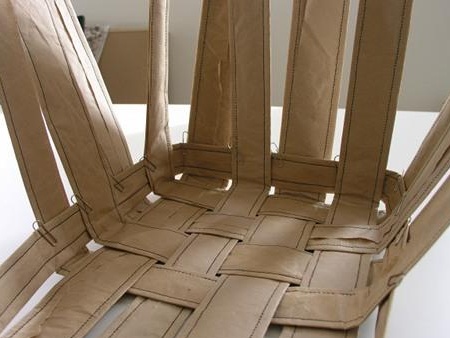
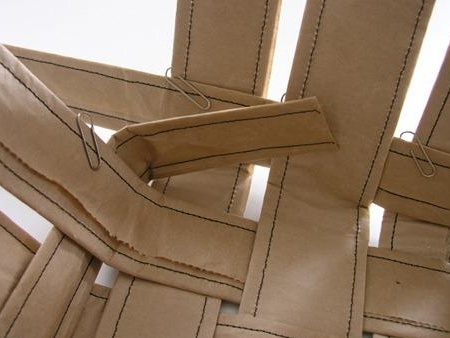
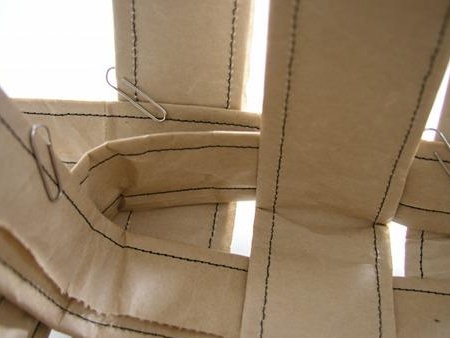
Gradually weave other stripes and continue until the basket is of sufficient height.

Gently bend the strips on the same level.
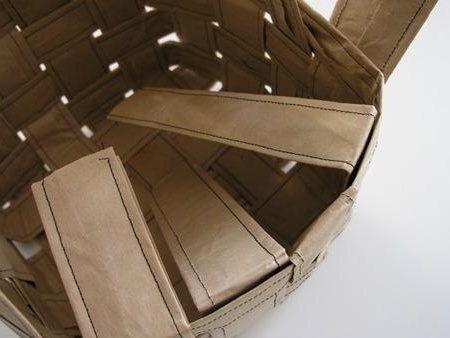

A rather unusual, beautiful basket for storing the right things is ready.

In fact, such a product can be used even in the kitchen. For example, store fruits or berries in a basket. It looks very beautiful.
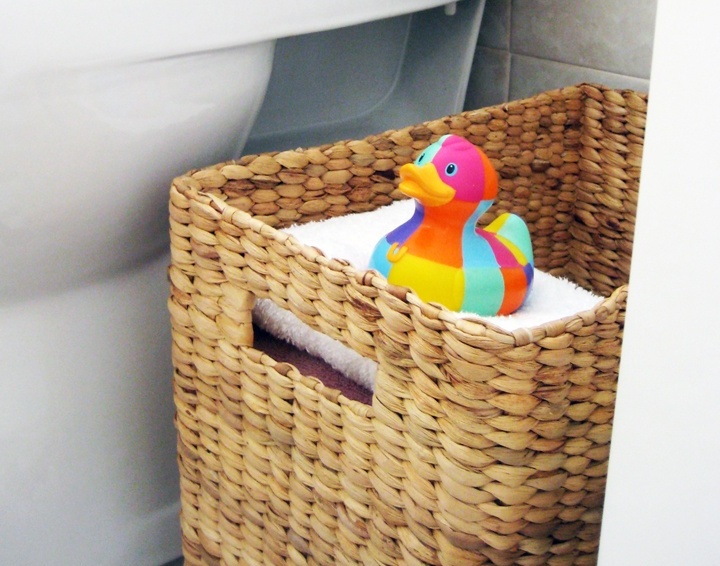
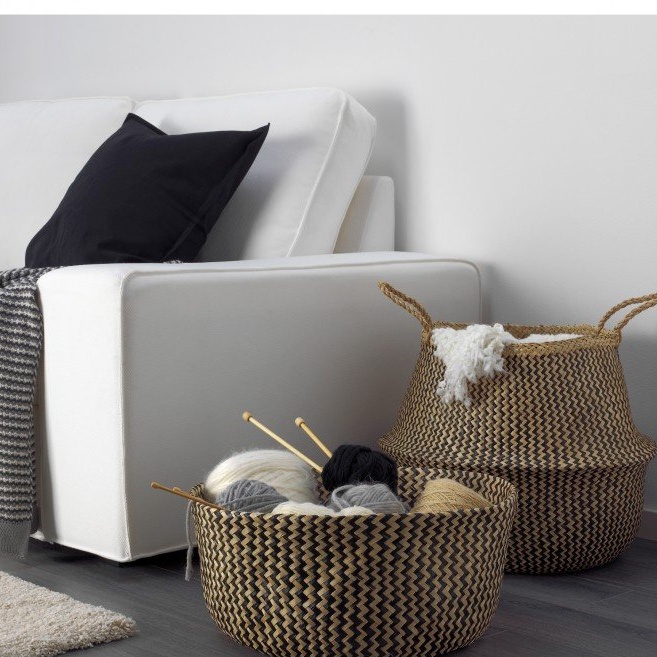
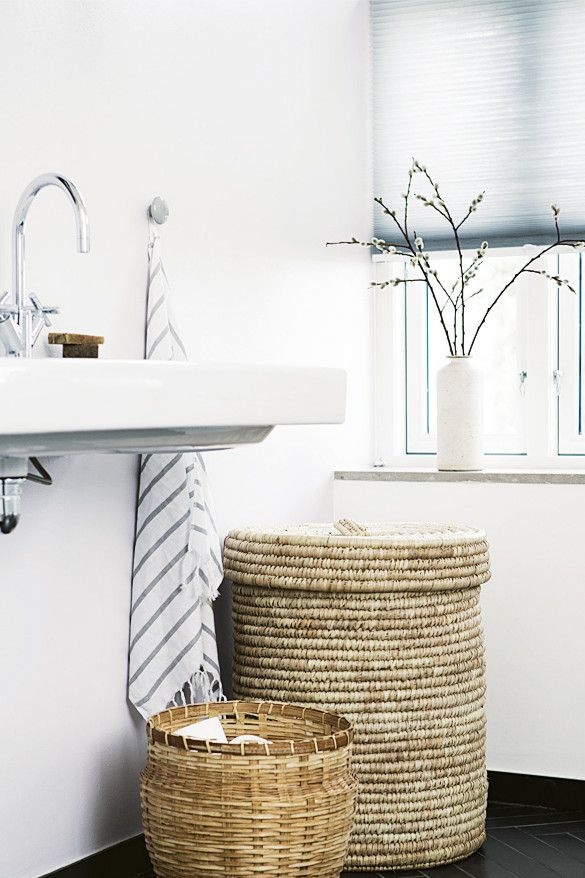
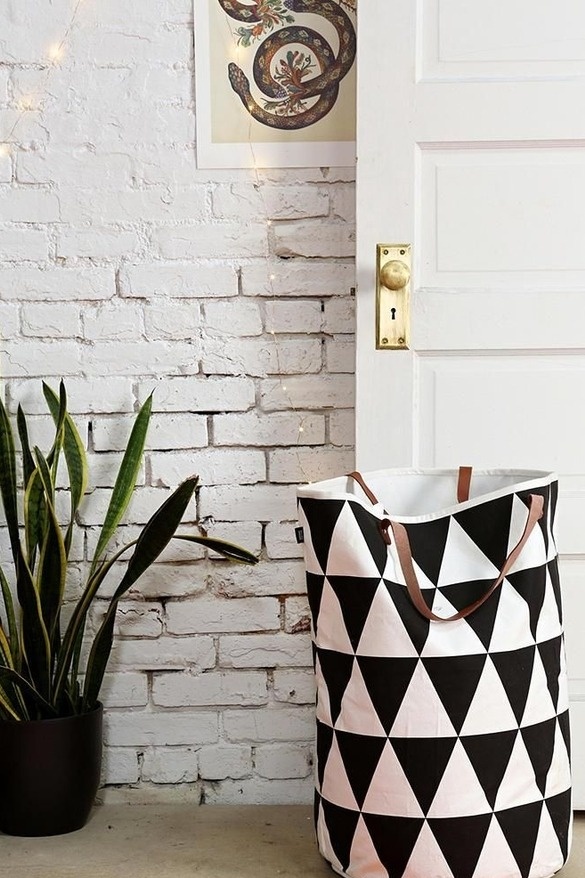
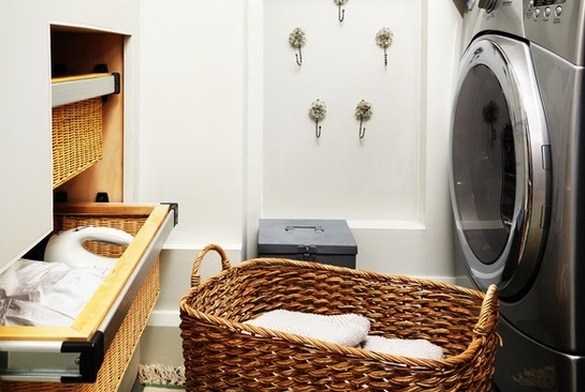
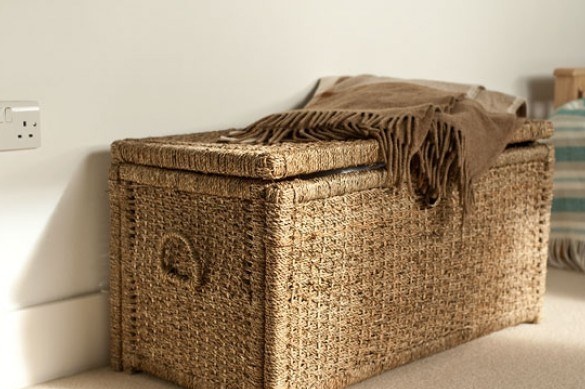
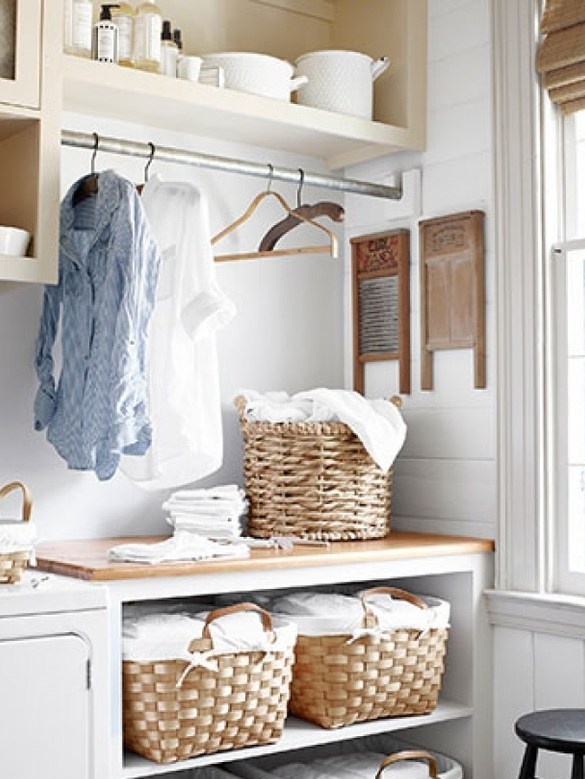
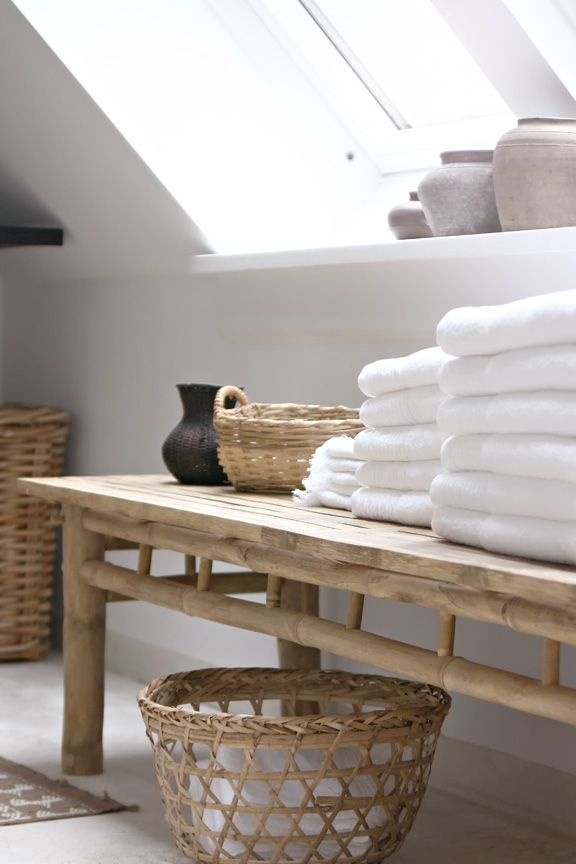
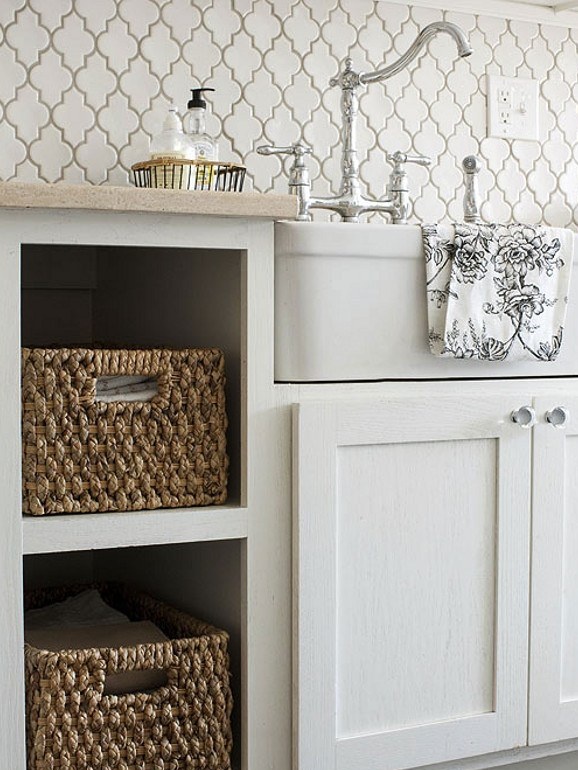
DIY basket in the interior
Despite the popularity of baskets, many still have no idea how they can be used in a modern interior. Nevertheless, it looks really beautiful, so we made a small selection of photos.


The process of creating a basket is very time-consuming and therefore requires a lot of time. However, the result is worth it, because this is the only way to make do-it-yourself products that are ideally suited to the shape and size.
Have you tried to make baskets or prefer to buy them in specialized stores?