Cache-pots, flowerpots and pots: master classes in manufacturing and unusual ideas
Beautiful fresh flowers and plants must be in every home. They favorably affect the well-being of family members, and are also a wonderful decoration. So that they look as harmonious as possible in the interior, we recommend paying attention to the pots. The standard options in which plants are sold often look as simple as possible. Therefore, we propose to make interesting flowerpots, pots and even flowerpots with your own hands that will become a stylish decoration of your home.
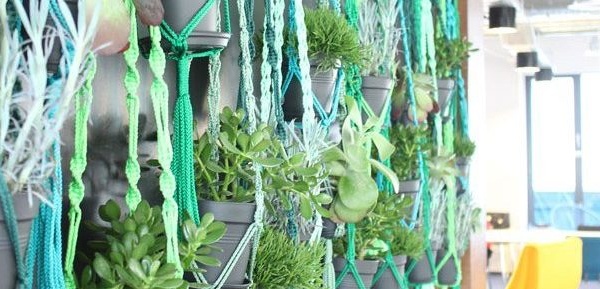
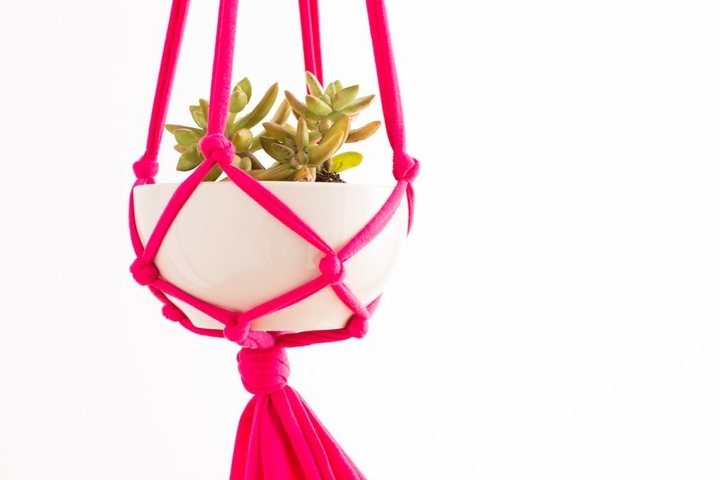
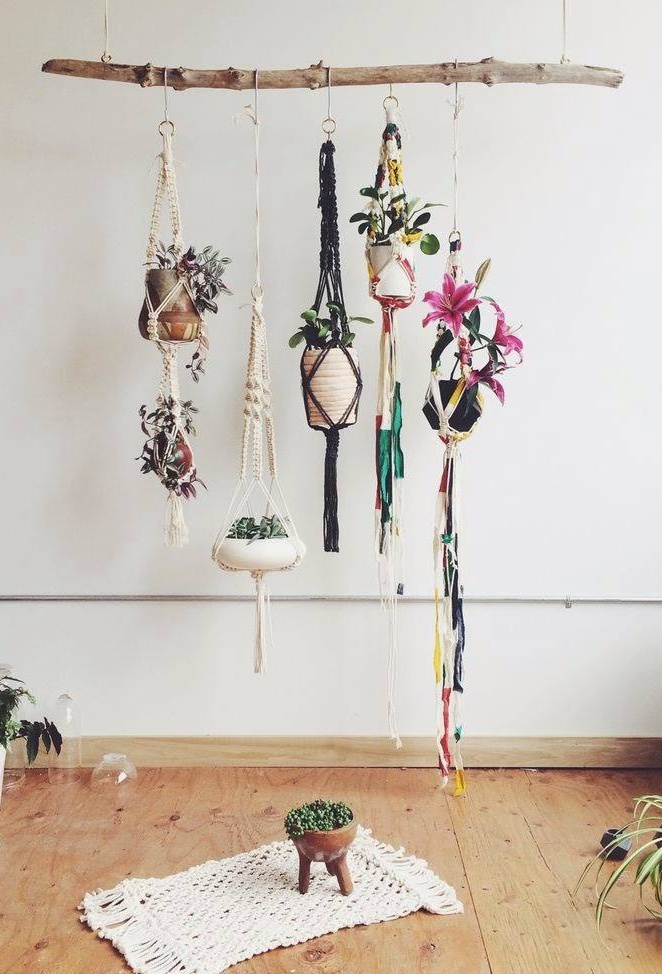
DIY hanging pots
If the flower pot is completely happy with you, then you can make a beautiful, bright flower pot. It looks great as an additional decor, and also allows you to more original place the plants in the house.
To work, you will need the following:
- a small piece of fabric;
- scissors;
- metal hook;
- centimeter;
- a ceramic pot or a flower pot.
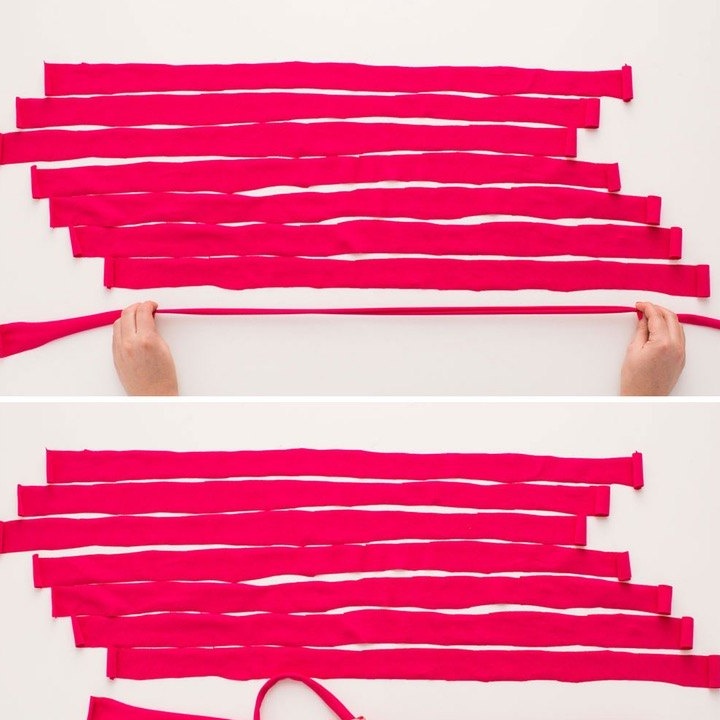
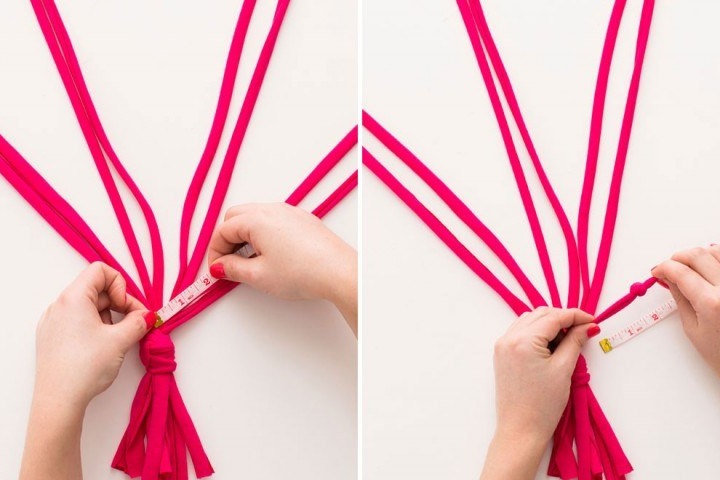
On the working surface we put a piece of fabric. We place a centimeter on the underside and thus cut the fabric into eight strips of the same width.
Roll up each strip, as shown in the photo.
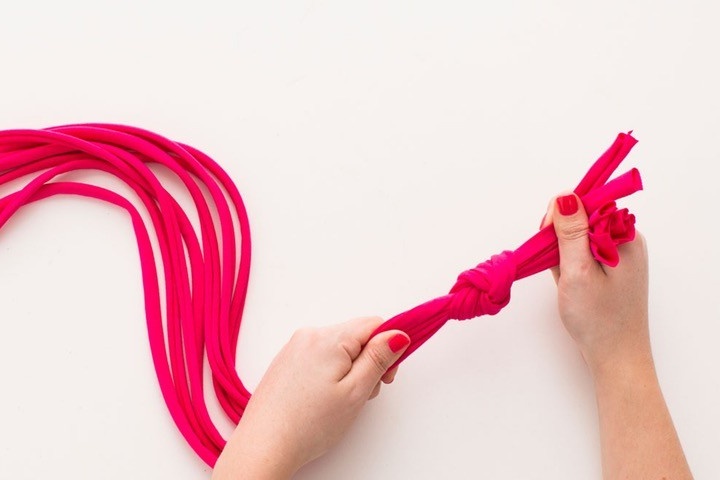
We knit all the blanks in one strong knot.
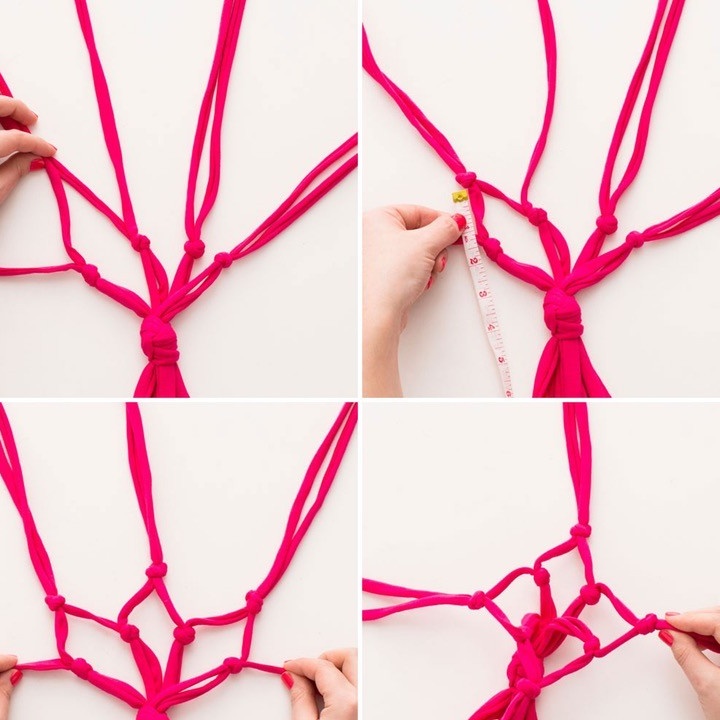
We divide all the blanks into four parts, two in each of them. With the same distance, we knit two blanks into knots.
Again we divide them into four parts and tie knots, but already in a checkerboard pattern.
Repeat this step several times to get a matching pot size.
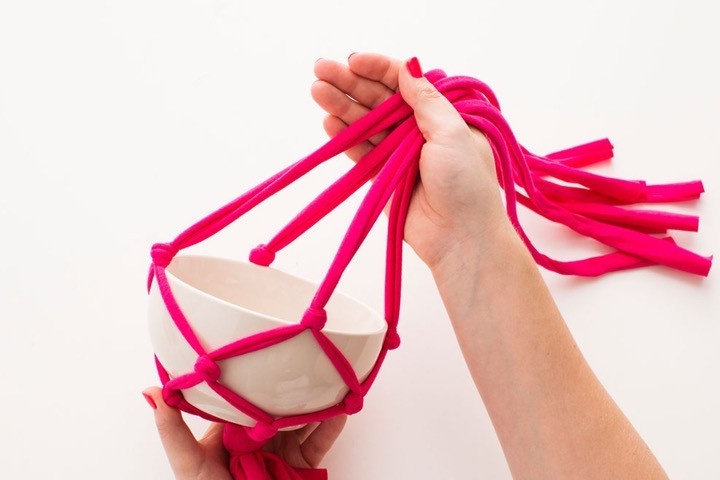
We put a ceramic pot or flower pot in the blank. In the distance we tie all the strips into a knot.
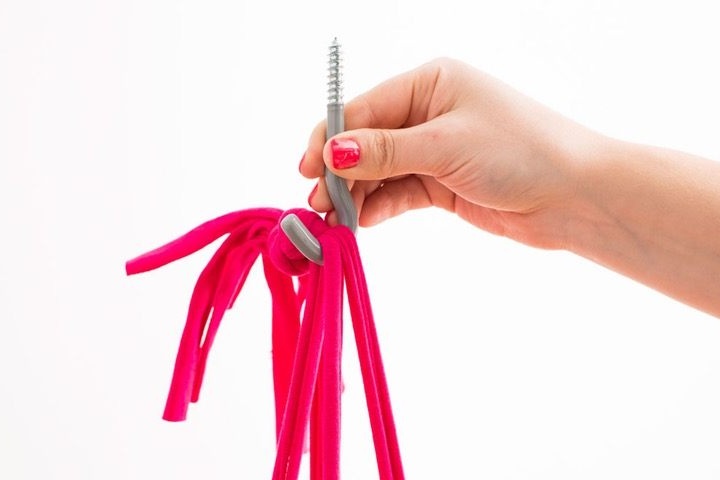
We hang the pots by the metal hook and place them in a suitable place.
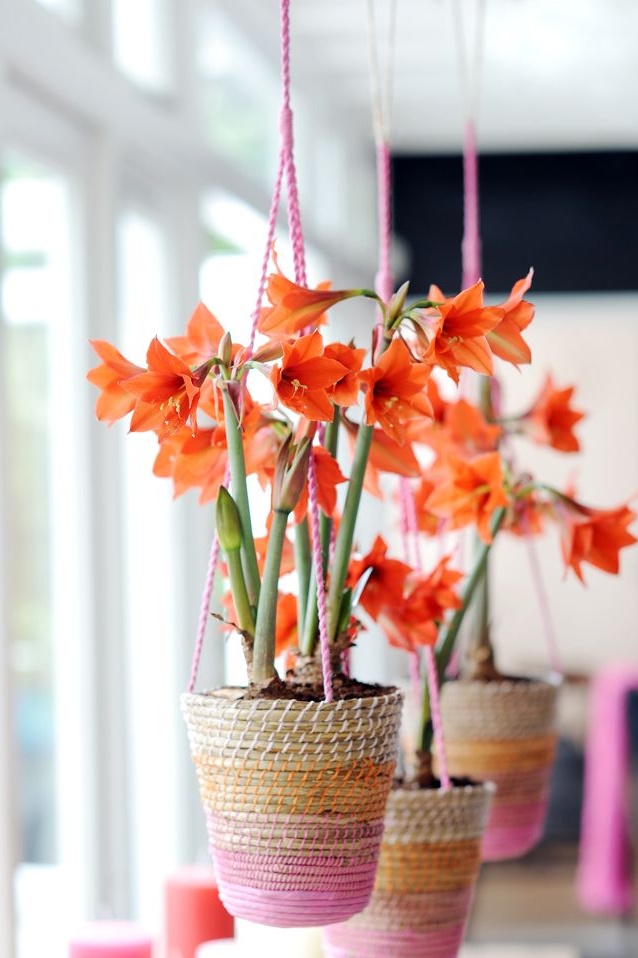
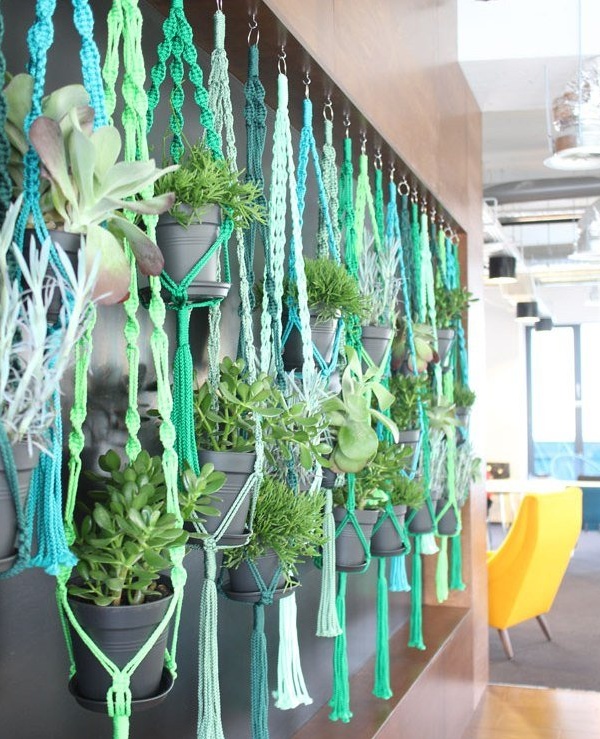
In fact, such flower pots can look completely different. Nevertheless, each option is interesting and unusual in its own way.
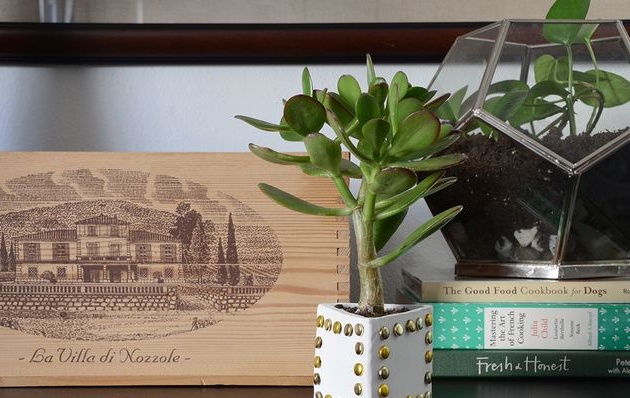
Polymer clay flower pot
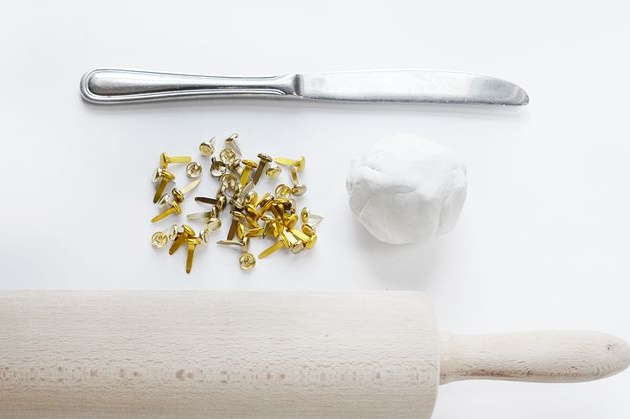
Necessary materials:
- polymer clay (baked);
- knife;
- metal push pins;
- rolling pin.
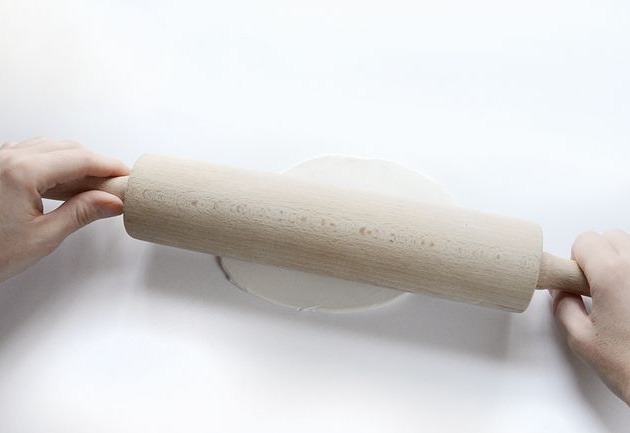
First, slightly knead the polymer clay with your hands. Then we put it on the work surface and roll it with a rolling pin into a very thin layer.
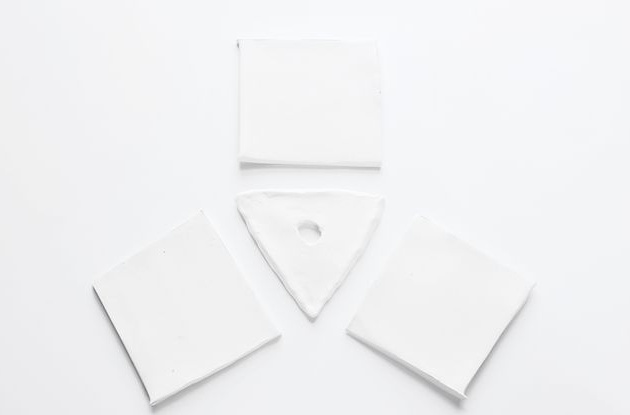
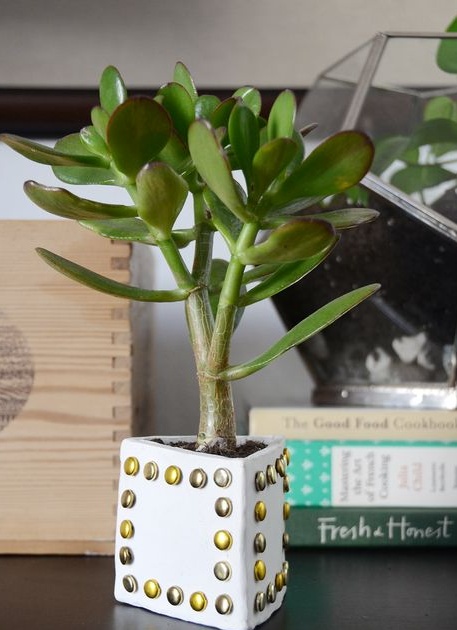
Carefully cut out four squares of the same size. We make a triangle from one part, and cut a hole in the center in it. This is necessary in order to provide drainage for the plant.
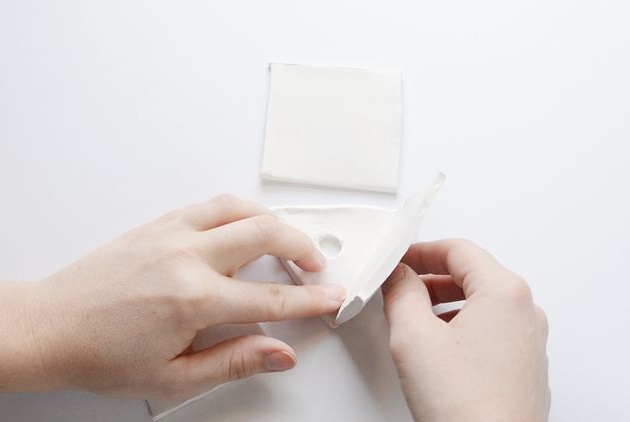
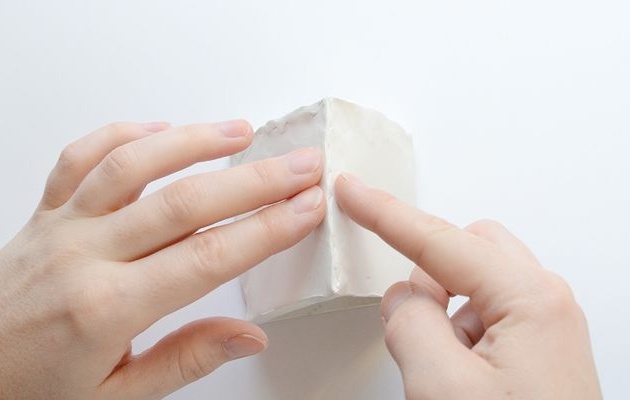
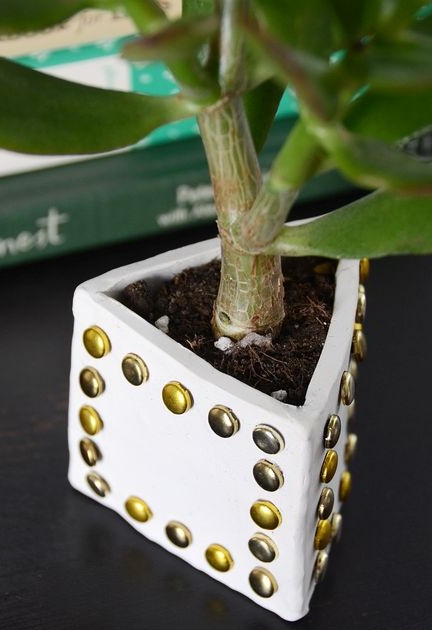
A triangle is the base of a flower pot. On its sides we place the sides and connect with your fingers. This should be done as carefully as possible, smoothing the seams. Remember that on the front side they must be invisible.
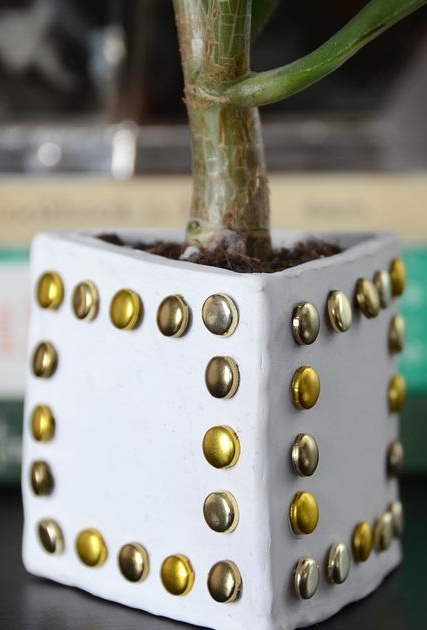
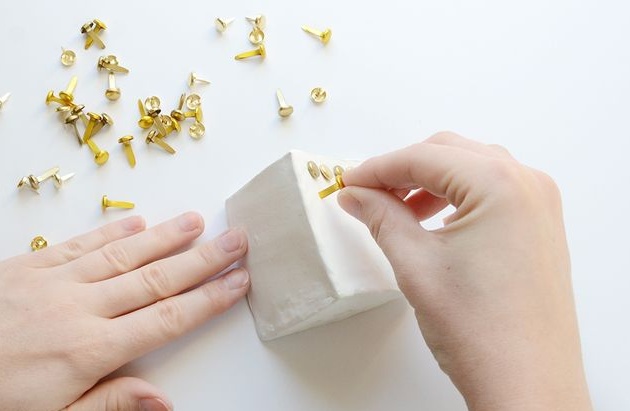
We decorate the pot with clerical buttons in a chaotic manner or adhering to a certain pattern.
Preheat the oven and bake the pot for no more than half an hour. Carefully read the instructions for using your polymer clay to find the right temperature.
After complete cooling, transplant the plant into a pot and put in a suitable place.
Concrete flower pot
Fans of unusual products in the interior will definitely like this solution. Flowers in concrete pots look very unusual.
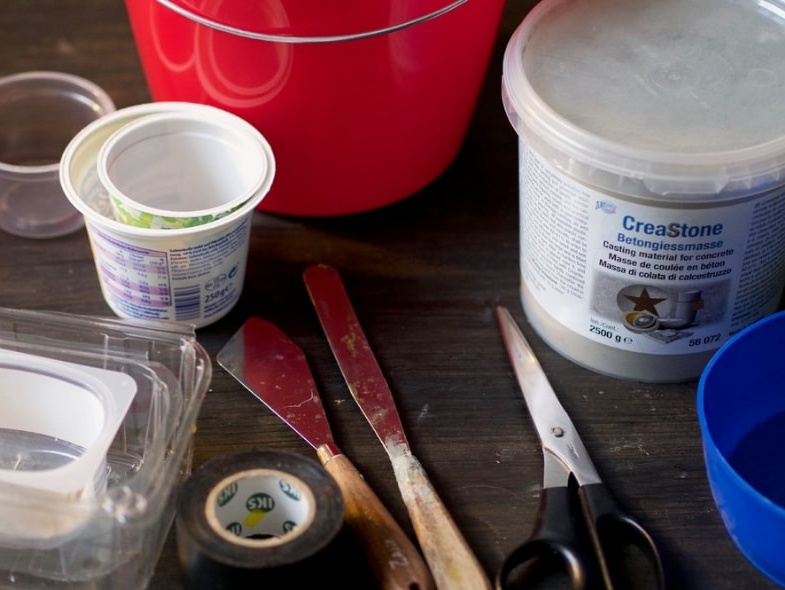
Such materials will be needed:
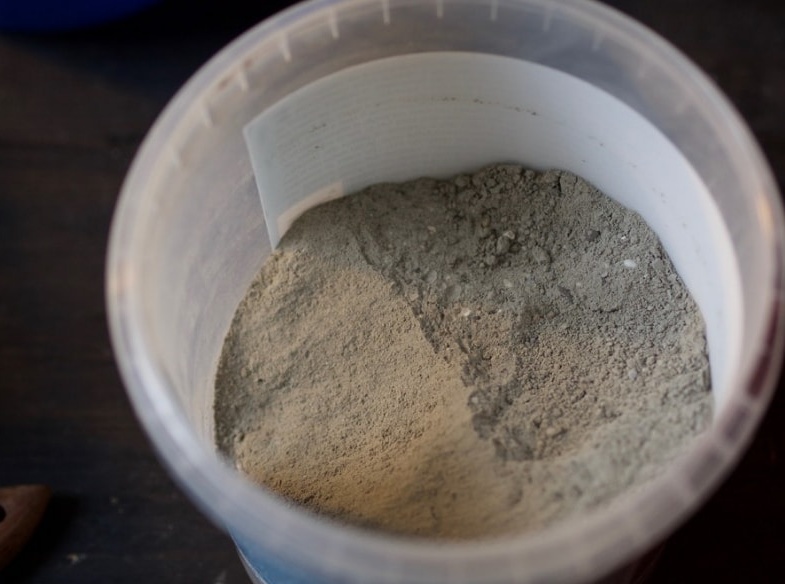
- dry concrete mix;
- plastic molds;
- scissors;
- water;
- bucket;
- putty knife;
- duct tape;
- sandpaper.
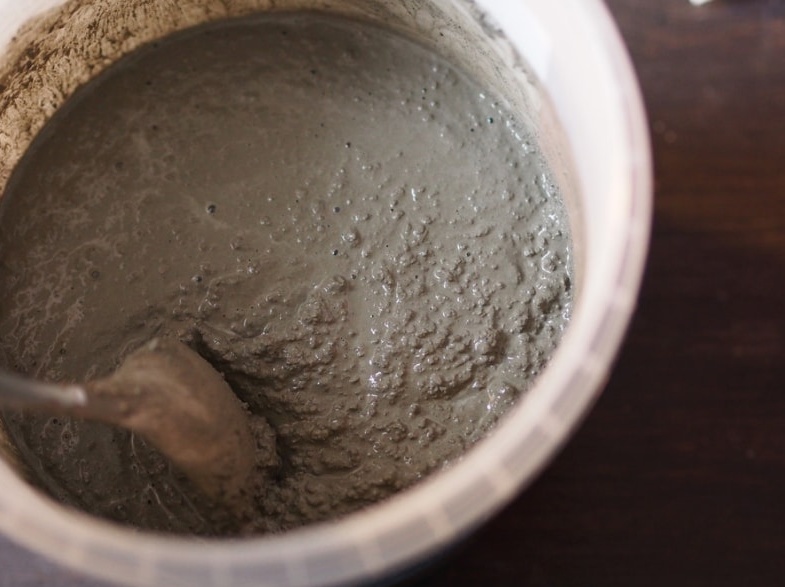
In a bucket or any other container, mix the dry mixture with water. The proportion can be found in the instructions on the package.
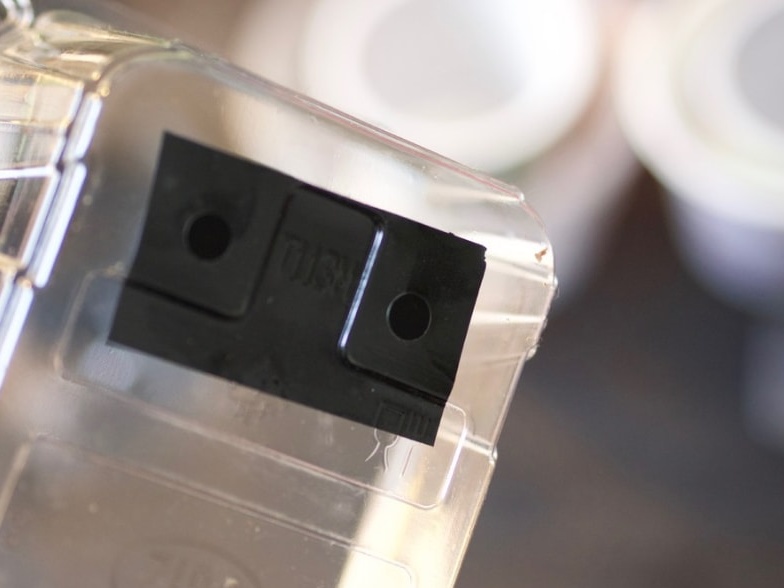
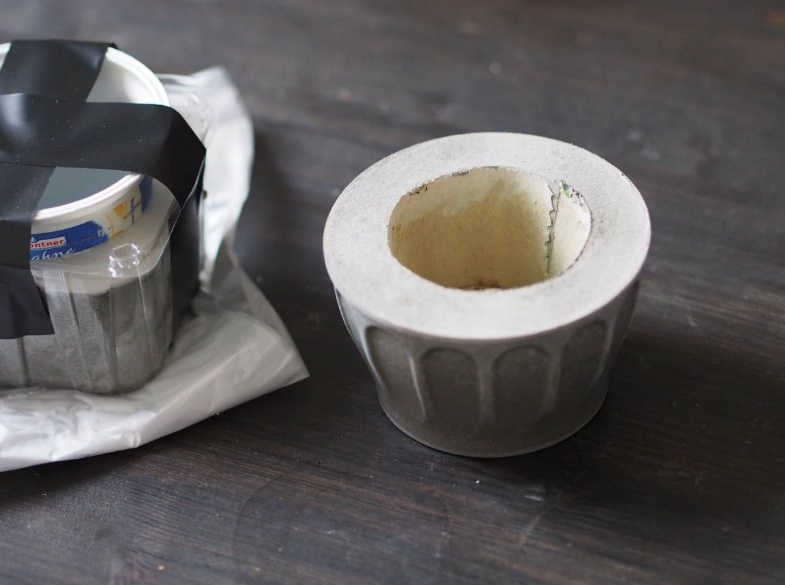
We proceed to the preparation of plastic molds. It can be yogurt cups, sour cream and other options. If there are holes on them, then they must be sealed.
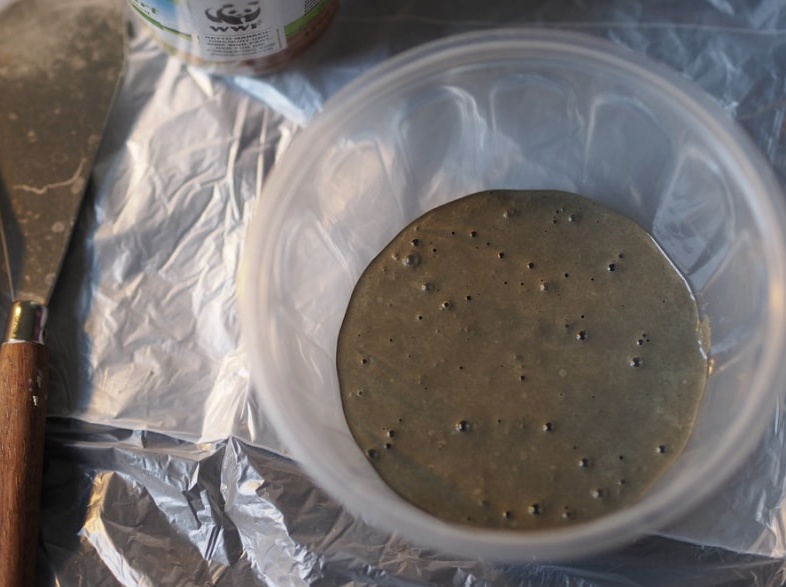
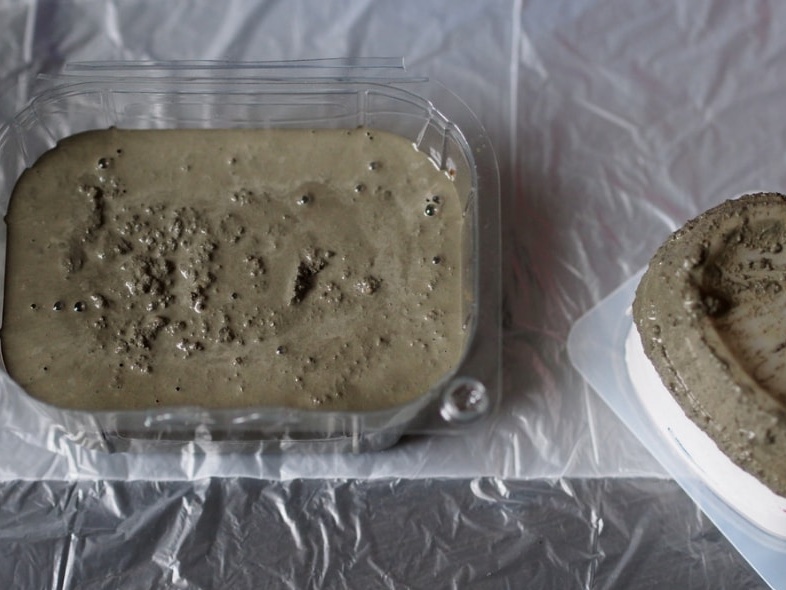
Pour the concrete mixture into the prepared molds by about half.
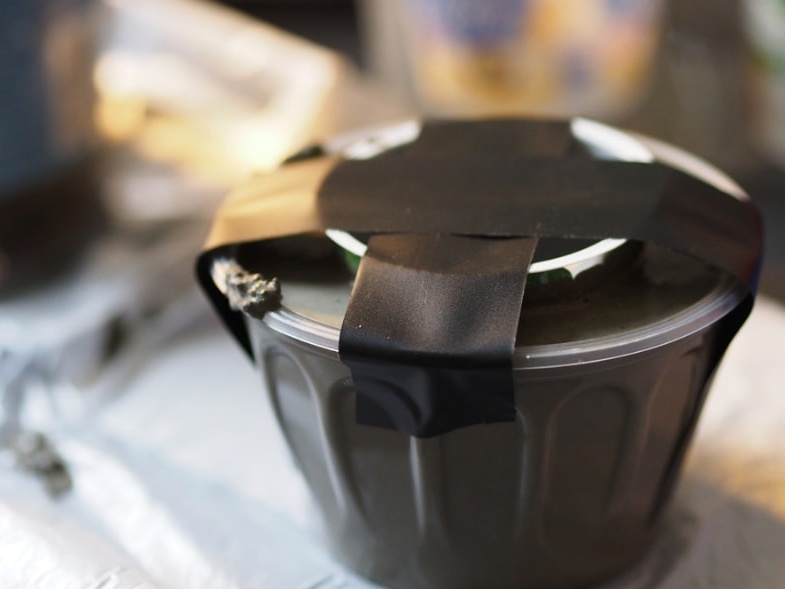
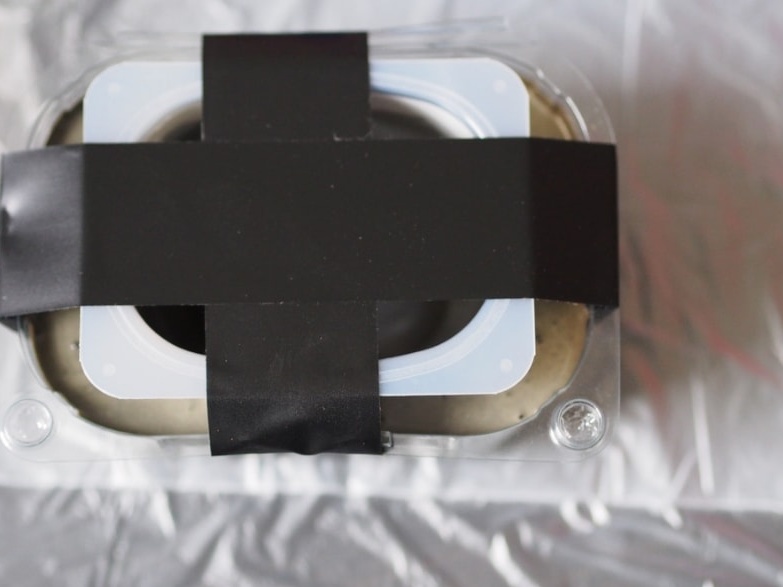
Immediately in each mold we insert another mold of a smaller size. This is necessary so that there is a depression in the pot. We fix it with adhesive tape, as shown in the photo.
Repeat the same for each mold.
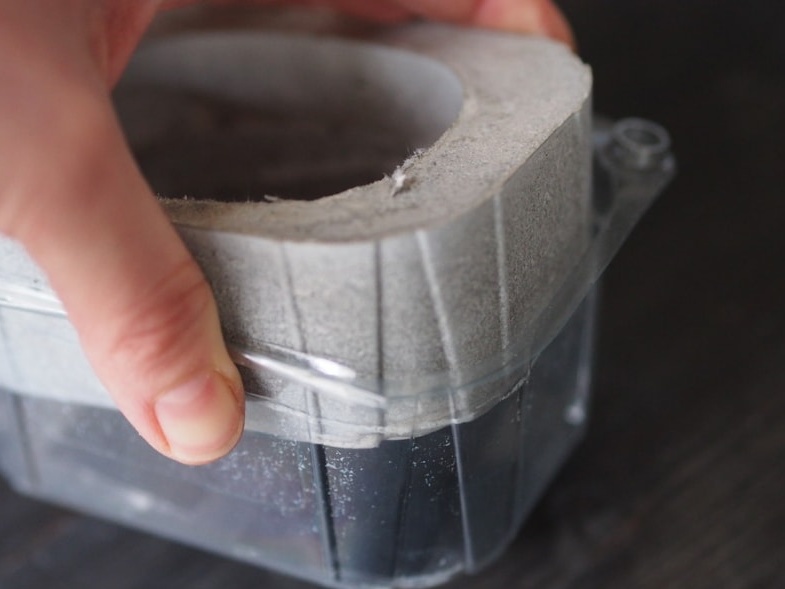
Leave the blanks for several days until completely dry. Only after that take them out of the plastic molds.
We repeat the same with internal molds. Grind the surface of each pot with sandpaper so that there are no roughnesses.
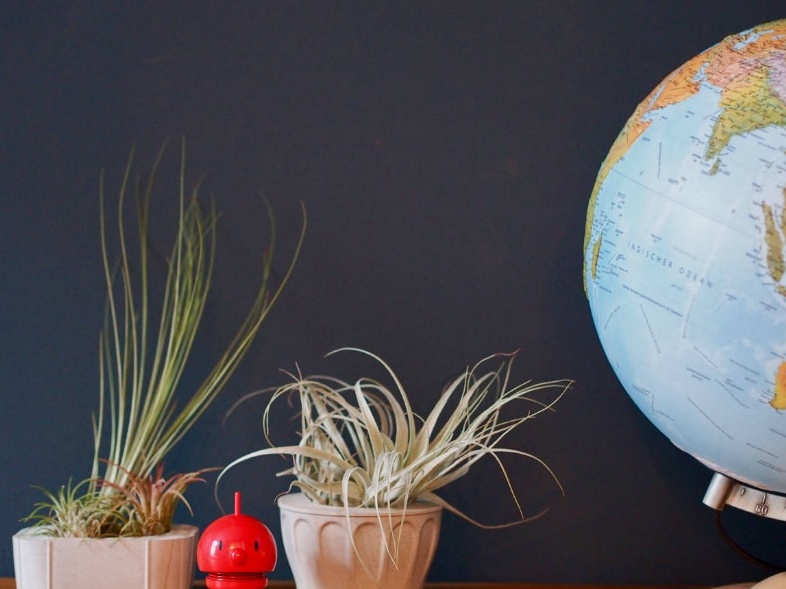
We transplant not too whimsical plants into concrete pots and decorate the room with them.
DIY flower pot
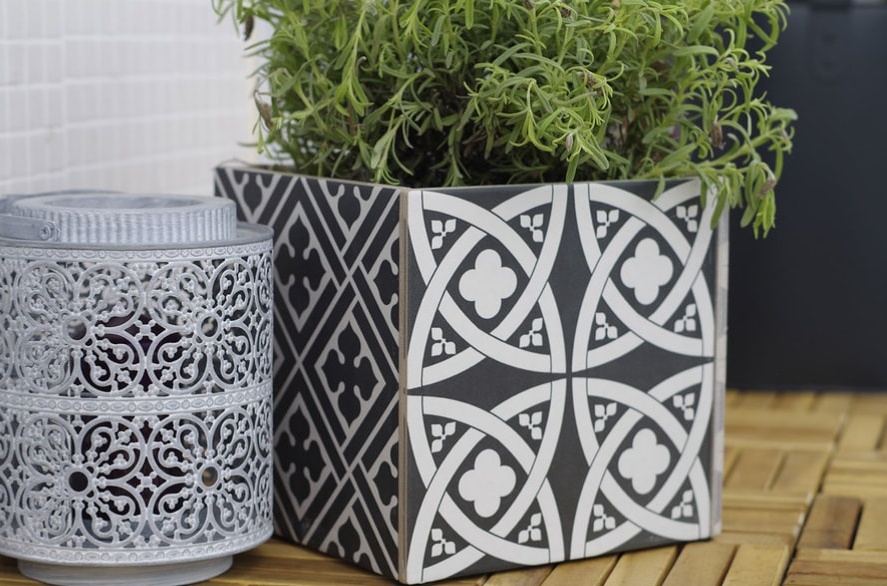
Very often, after repair, various building materials remain. It’s not necessary to throw them away. For example, tile is perfect for creating a beautiful flowerpot with your own hands.
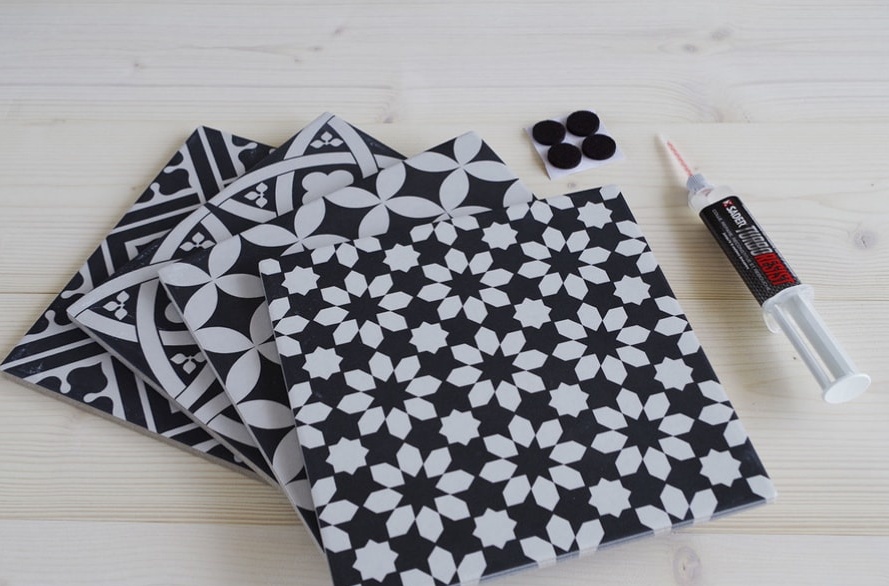
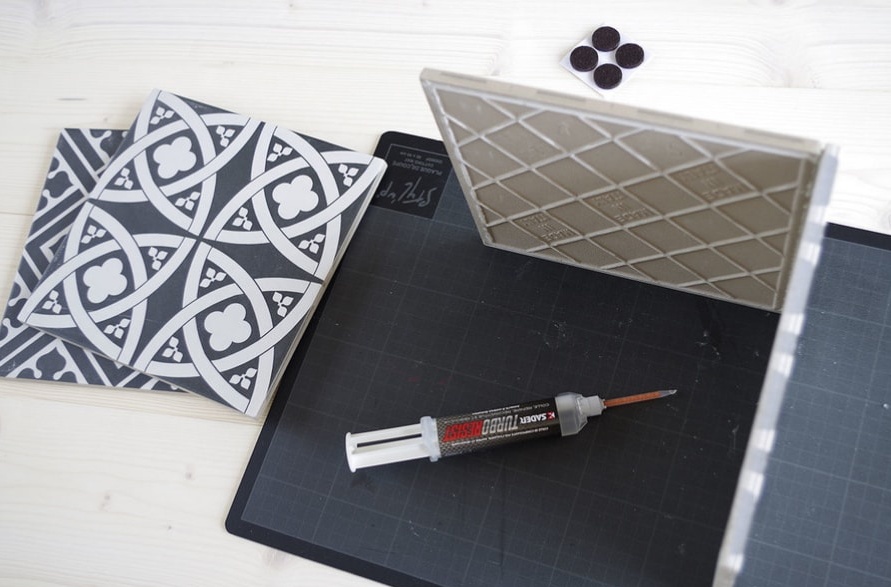
Necessary materials;
- tile;
- glue;
- felt;
- scissors.
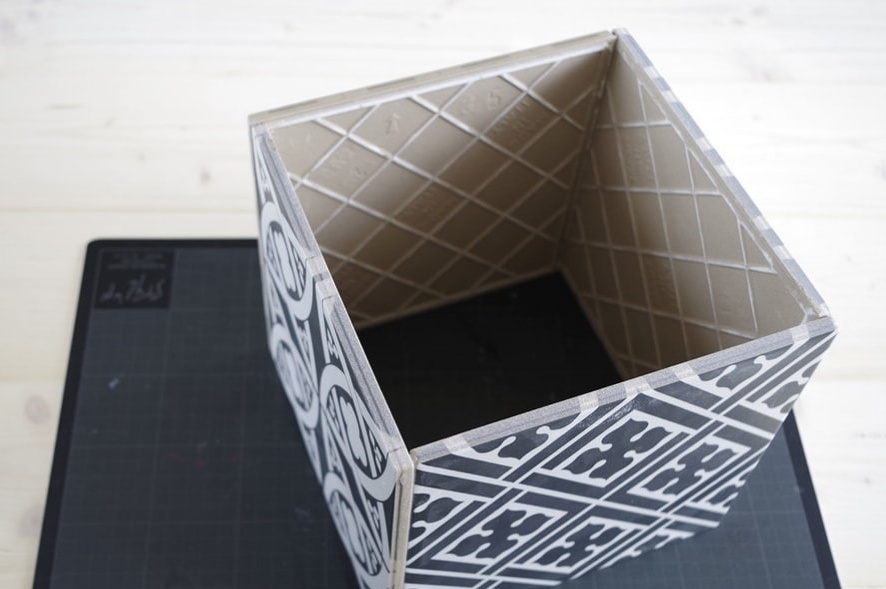
Apply adhesives to one edge of the tile and glue the second tile.
In the same way we fix two more tiles.
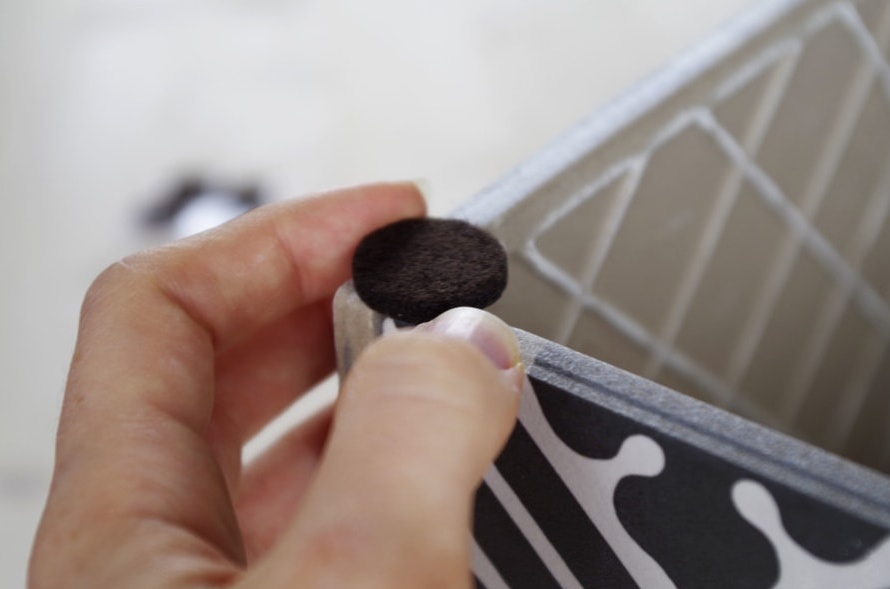
From felt we cut out circles or squares that are suitable in size. Glue them to each corner on the bottom of the flowerpot.
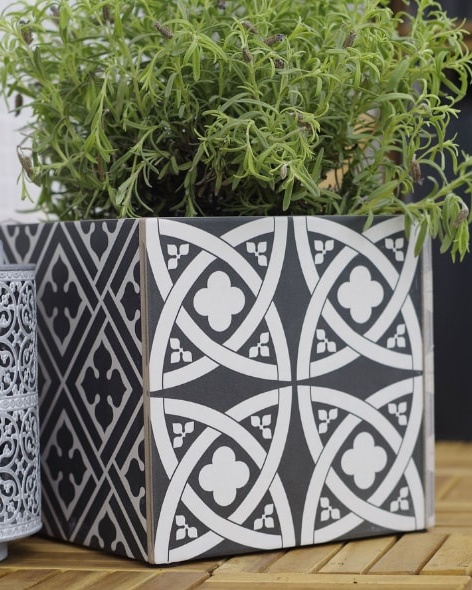
Turn the product over and set the pot with the plant inside. Such flowerpots are very often used for decor in the country or in a private house.
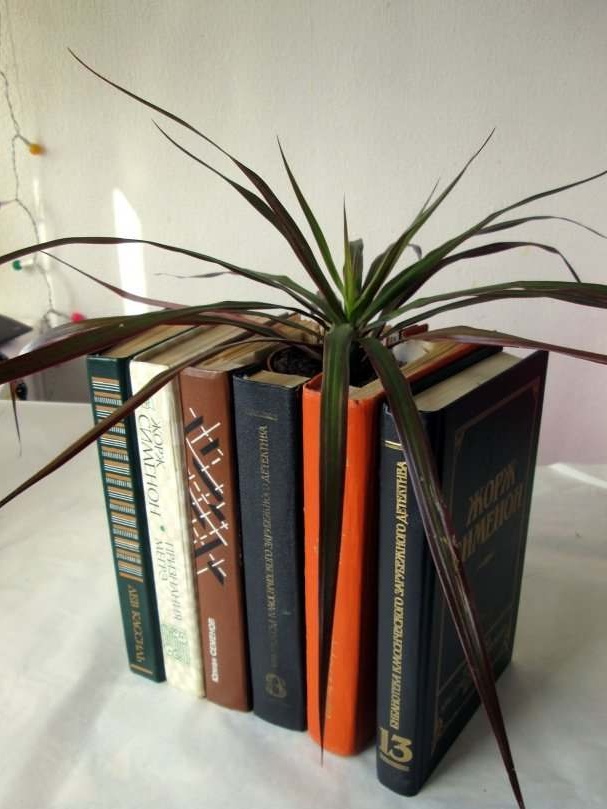
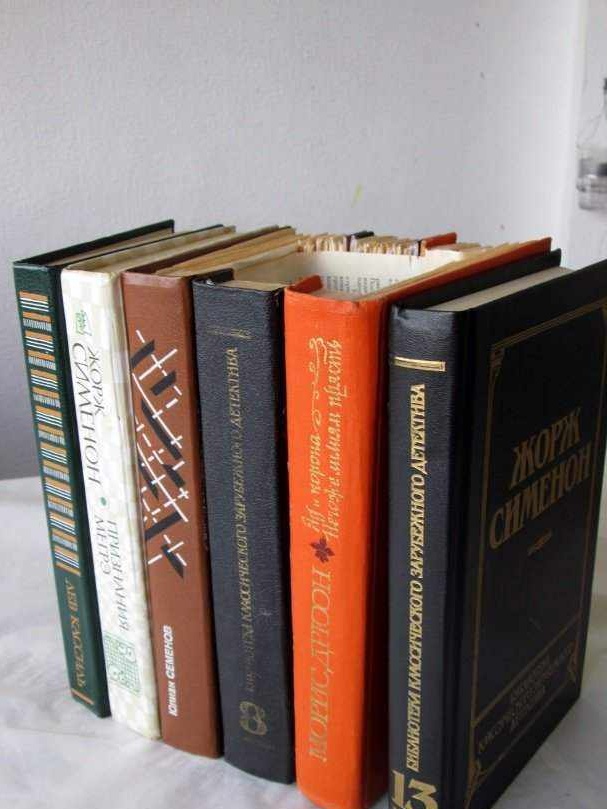
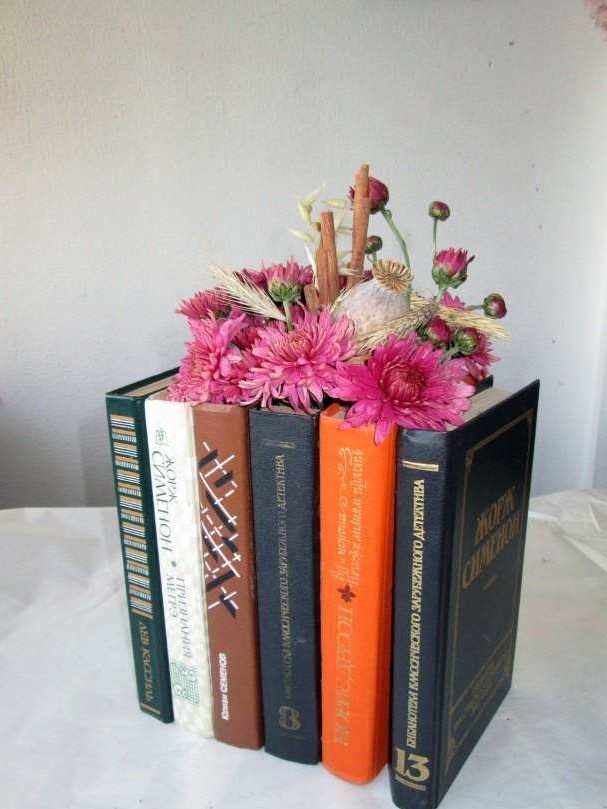
Unusual flowerpot from books
The popularity of unusual, original products is increasing every year. If you like this decor, then be sure to try making a flowerpot of books with your own hands.
To create such a flowerpot you will need:
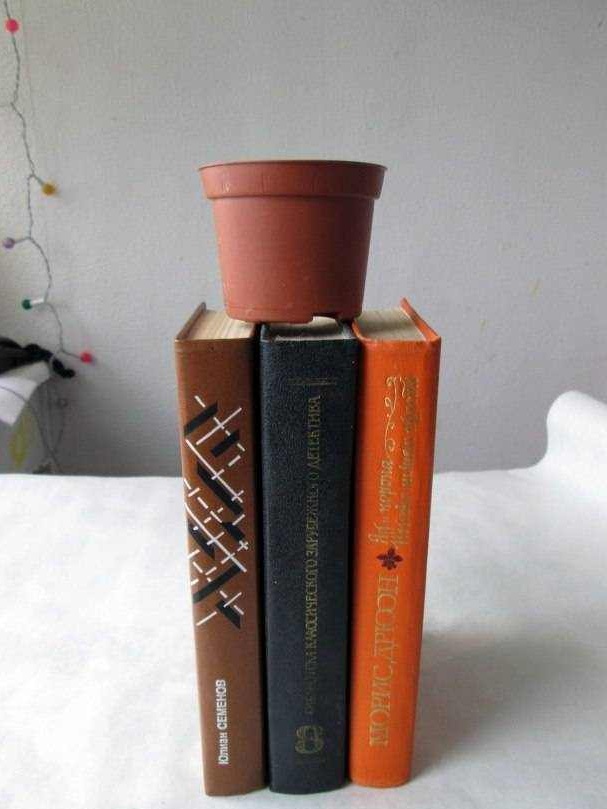
- a small pot;
- books
- stationery knife;
- pencil;
- glue gun;
- glue moment;
- scissors;
- ruler.
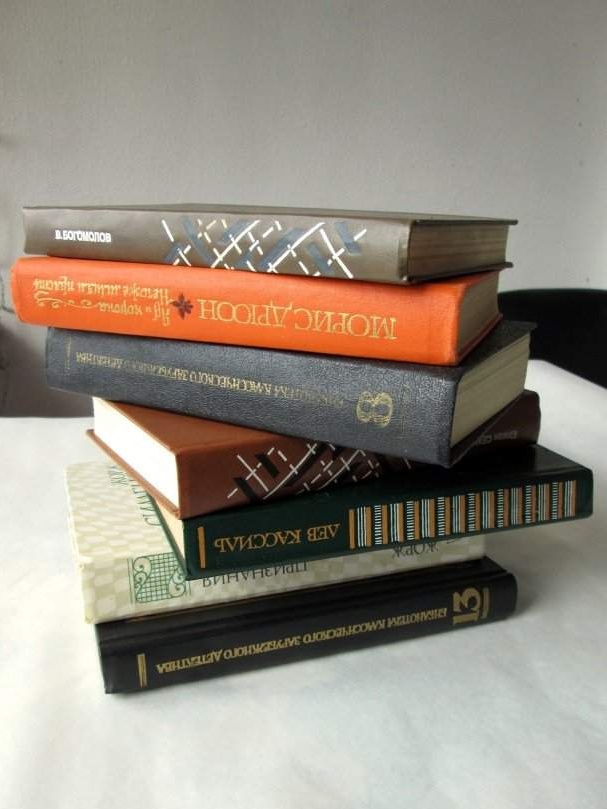
We select books of the same size so that it is convenient to make a flowerpot.
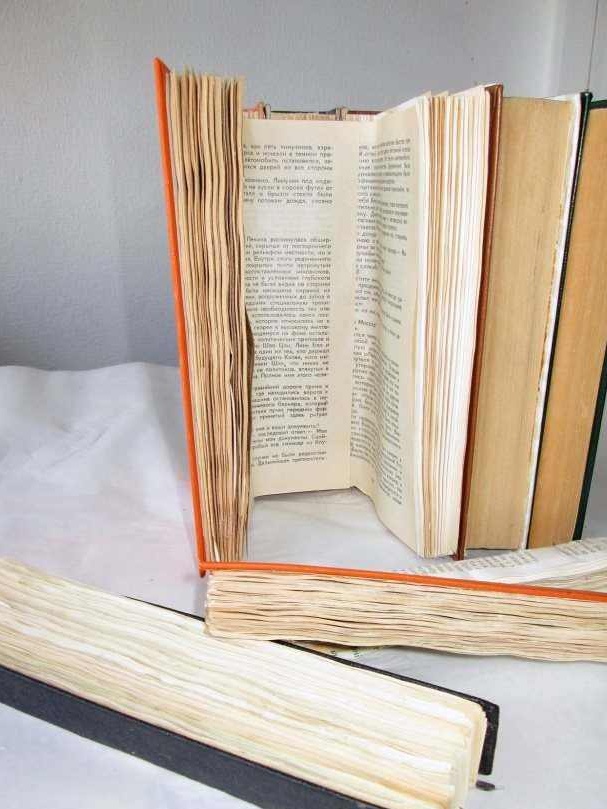
Depending on the required size of the flowerpot, we cut out the inside of the books, as well as the cover.
In the remaining books we glue the pages. Only after that we glue the books on one and the other side of the main blank.
After everything dries, you can safely put inside a pot or vase with flowers and plants.
Planters, flowerpots and pots: original ideas
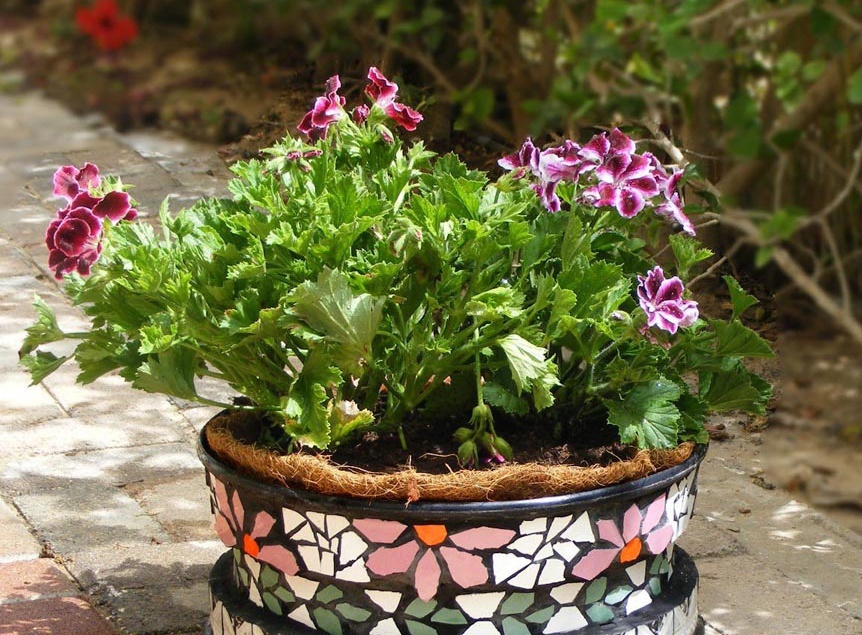
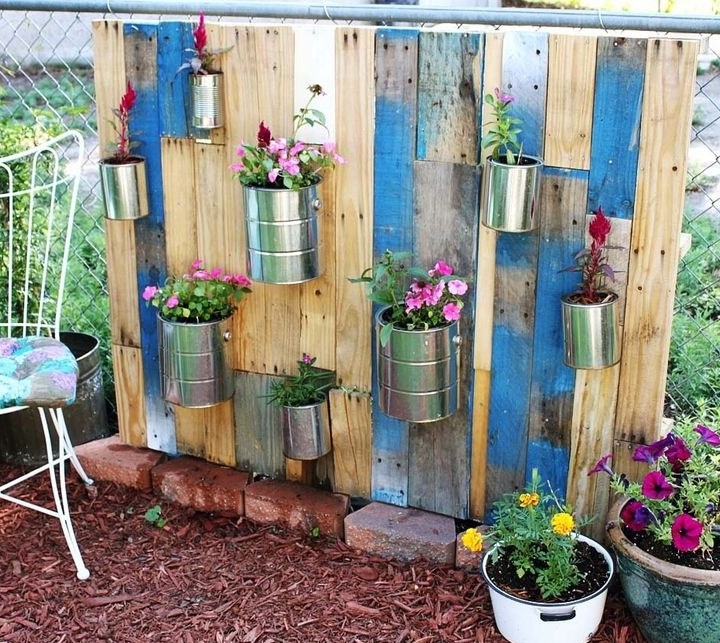
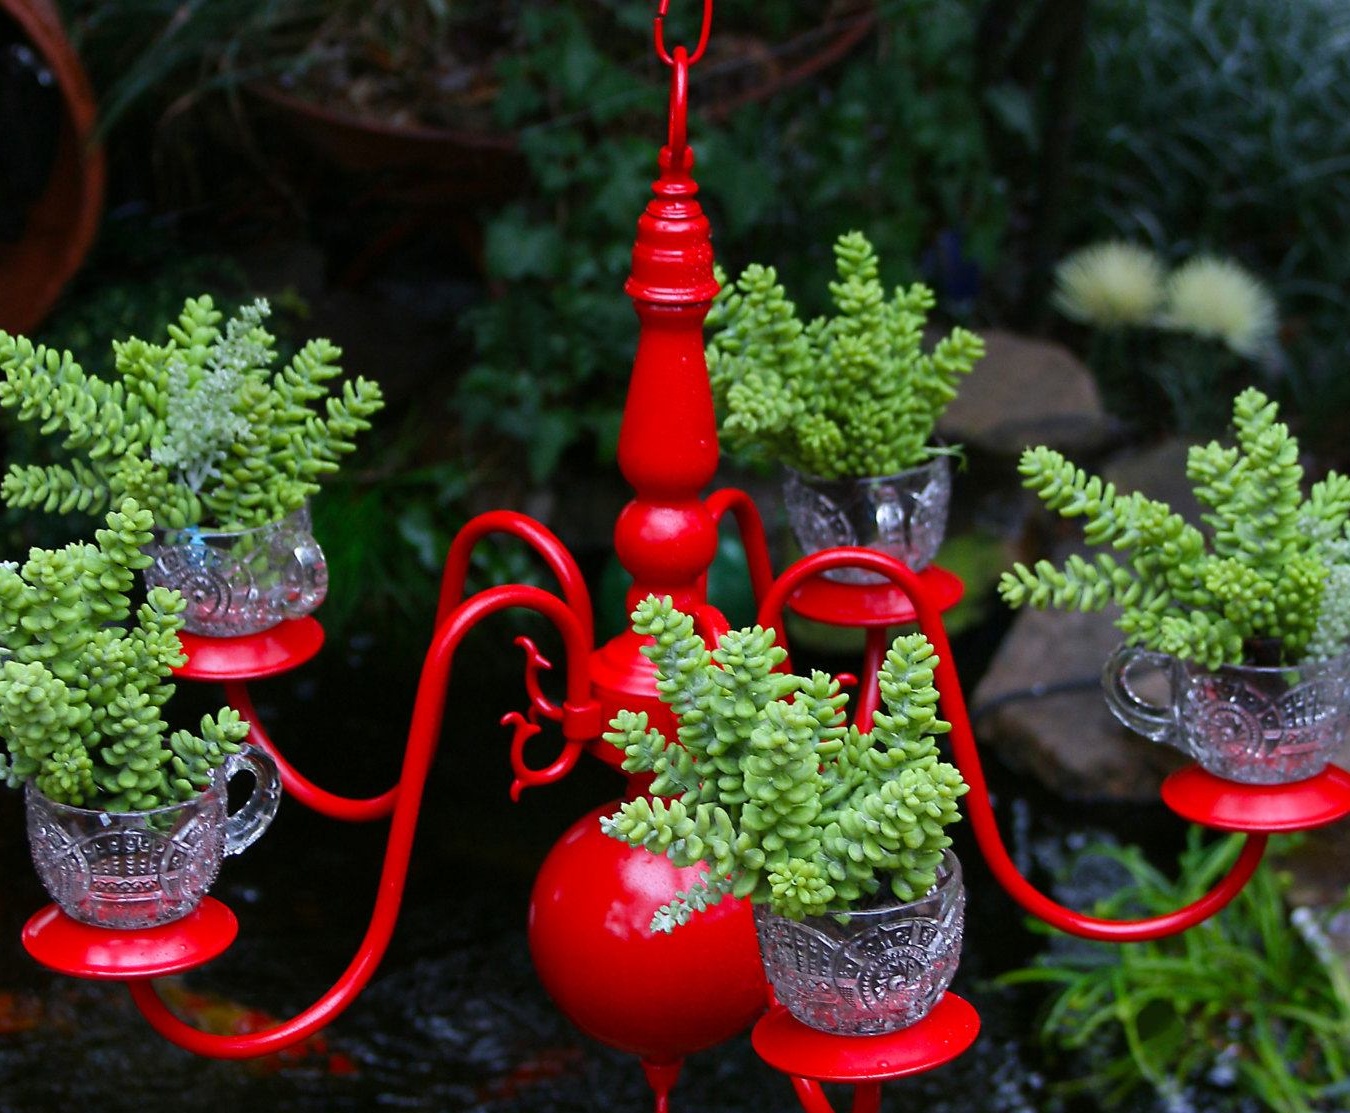
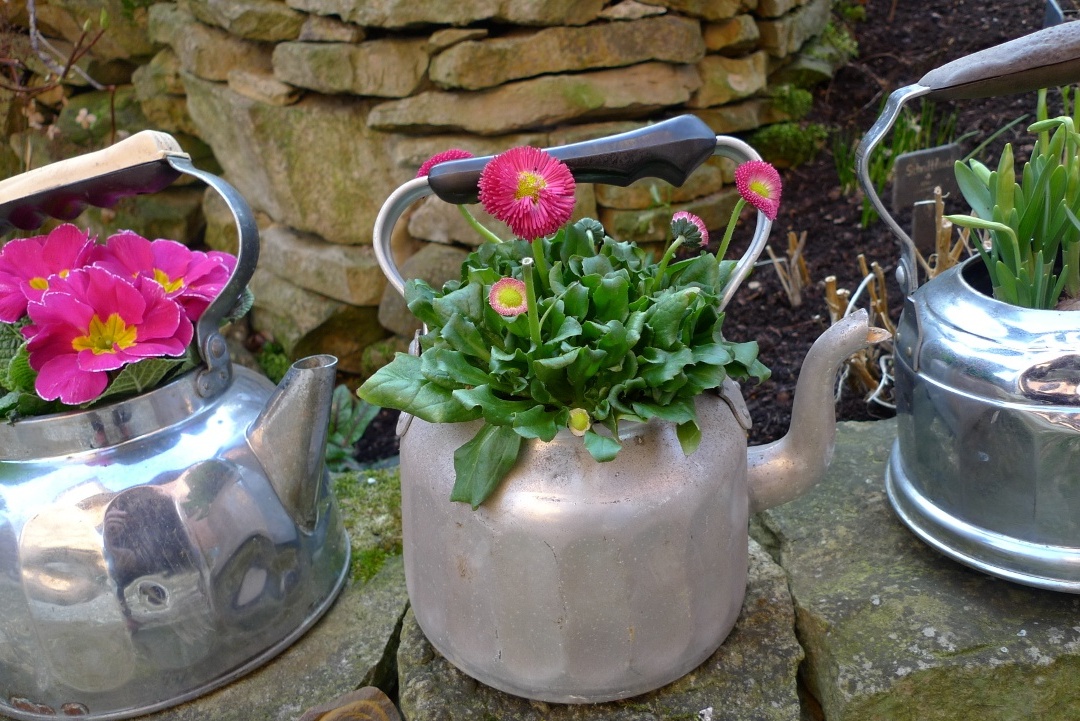
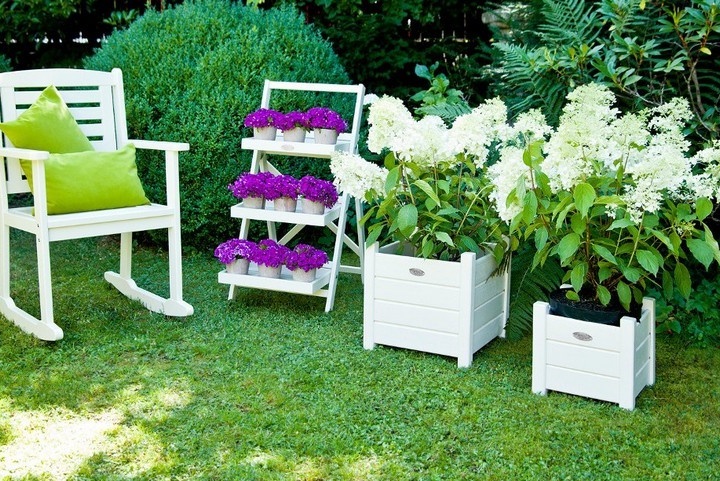
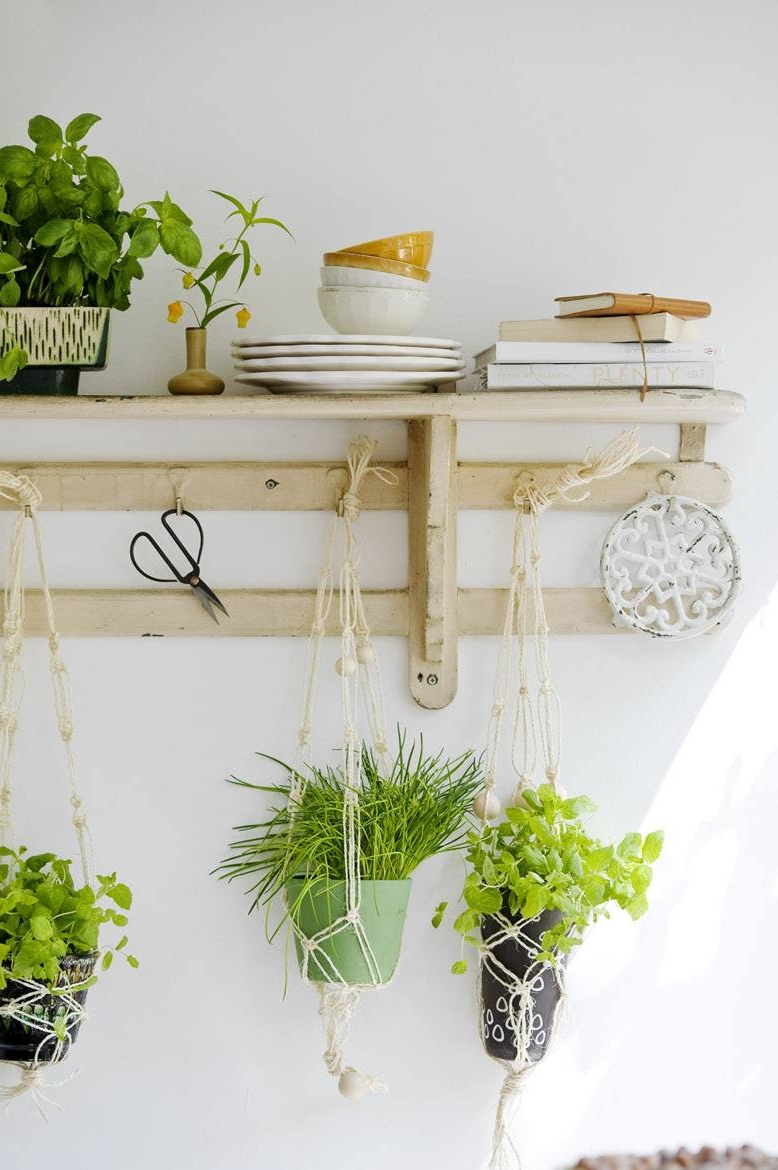
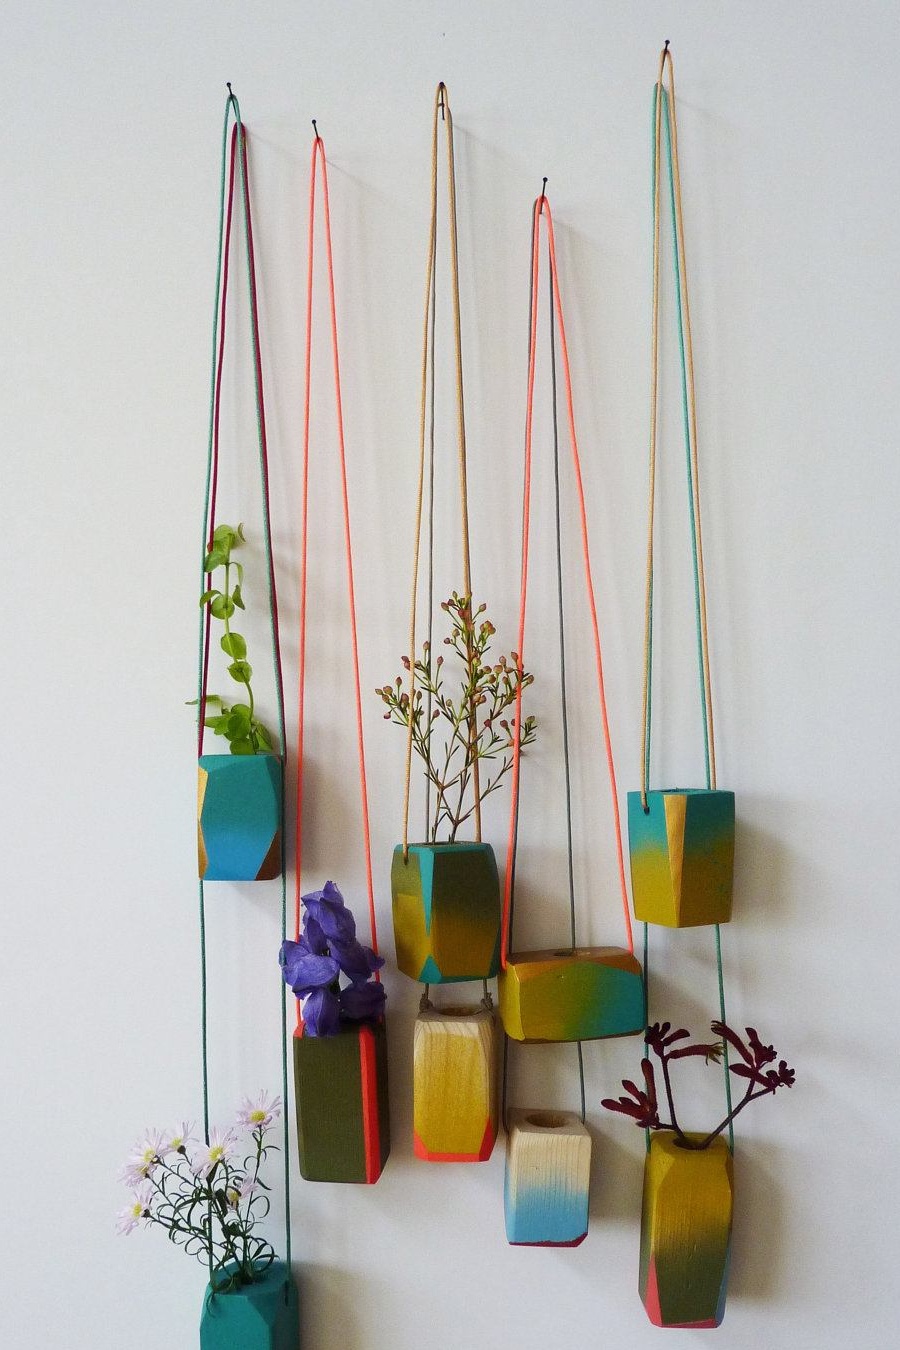
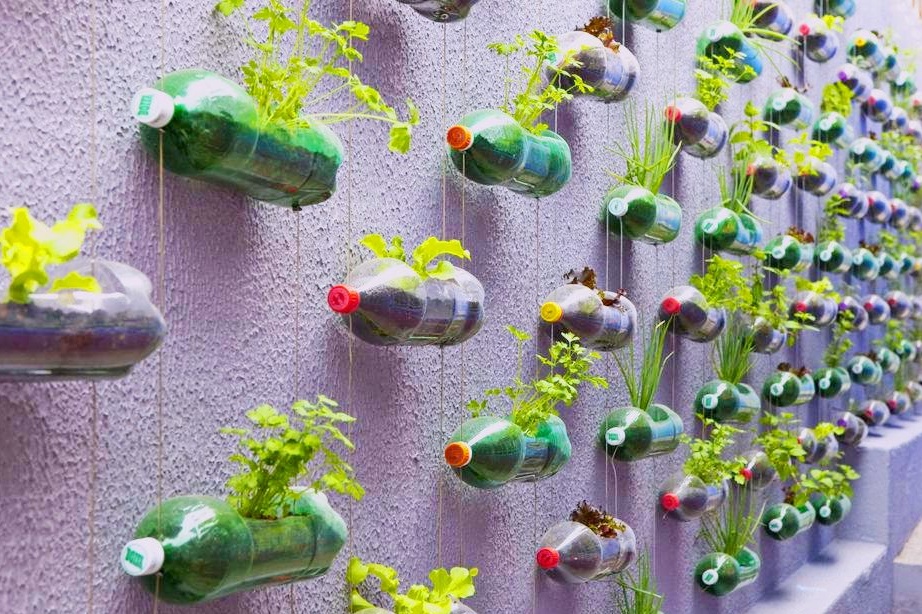
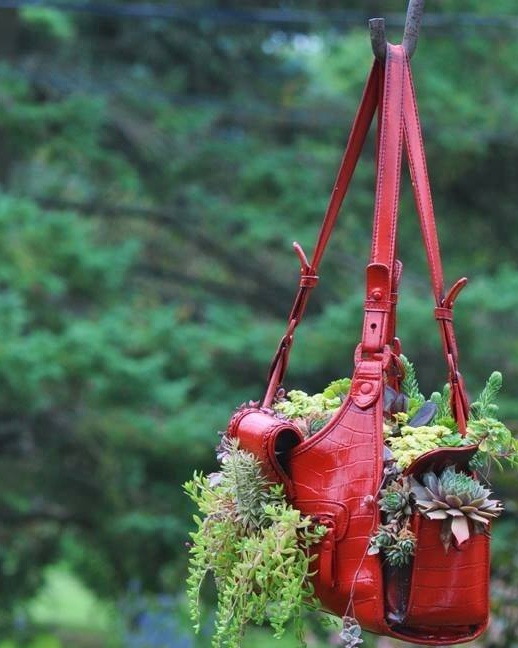
If you wish, you can make other unusual products with your own hands. Get inspired by the selection of photos below.
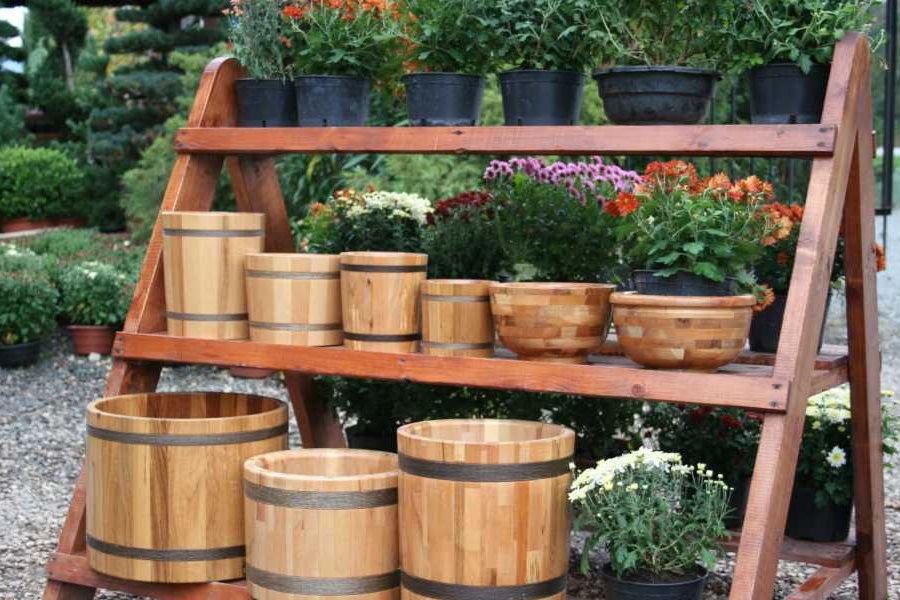
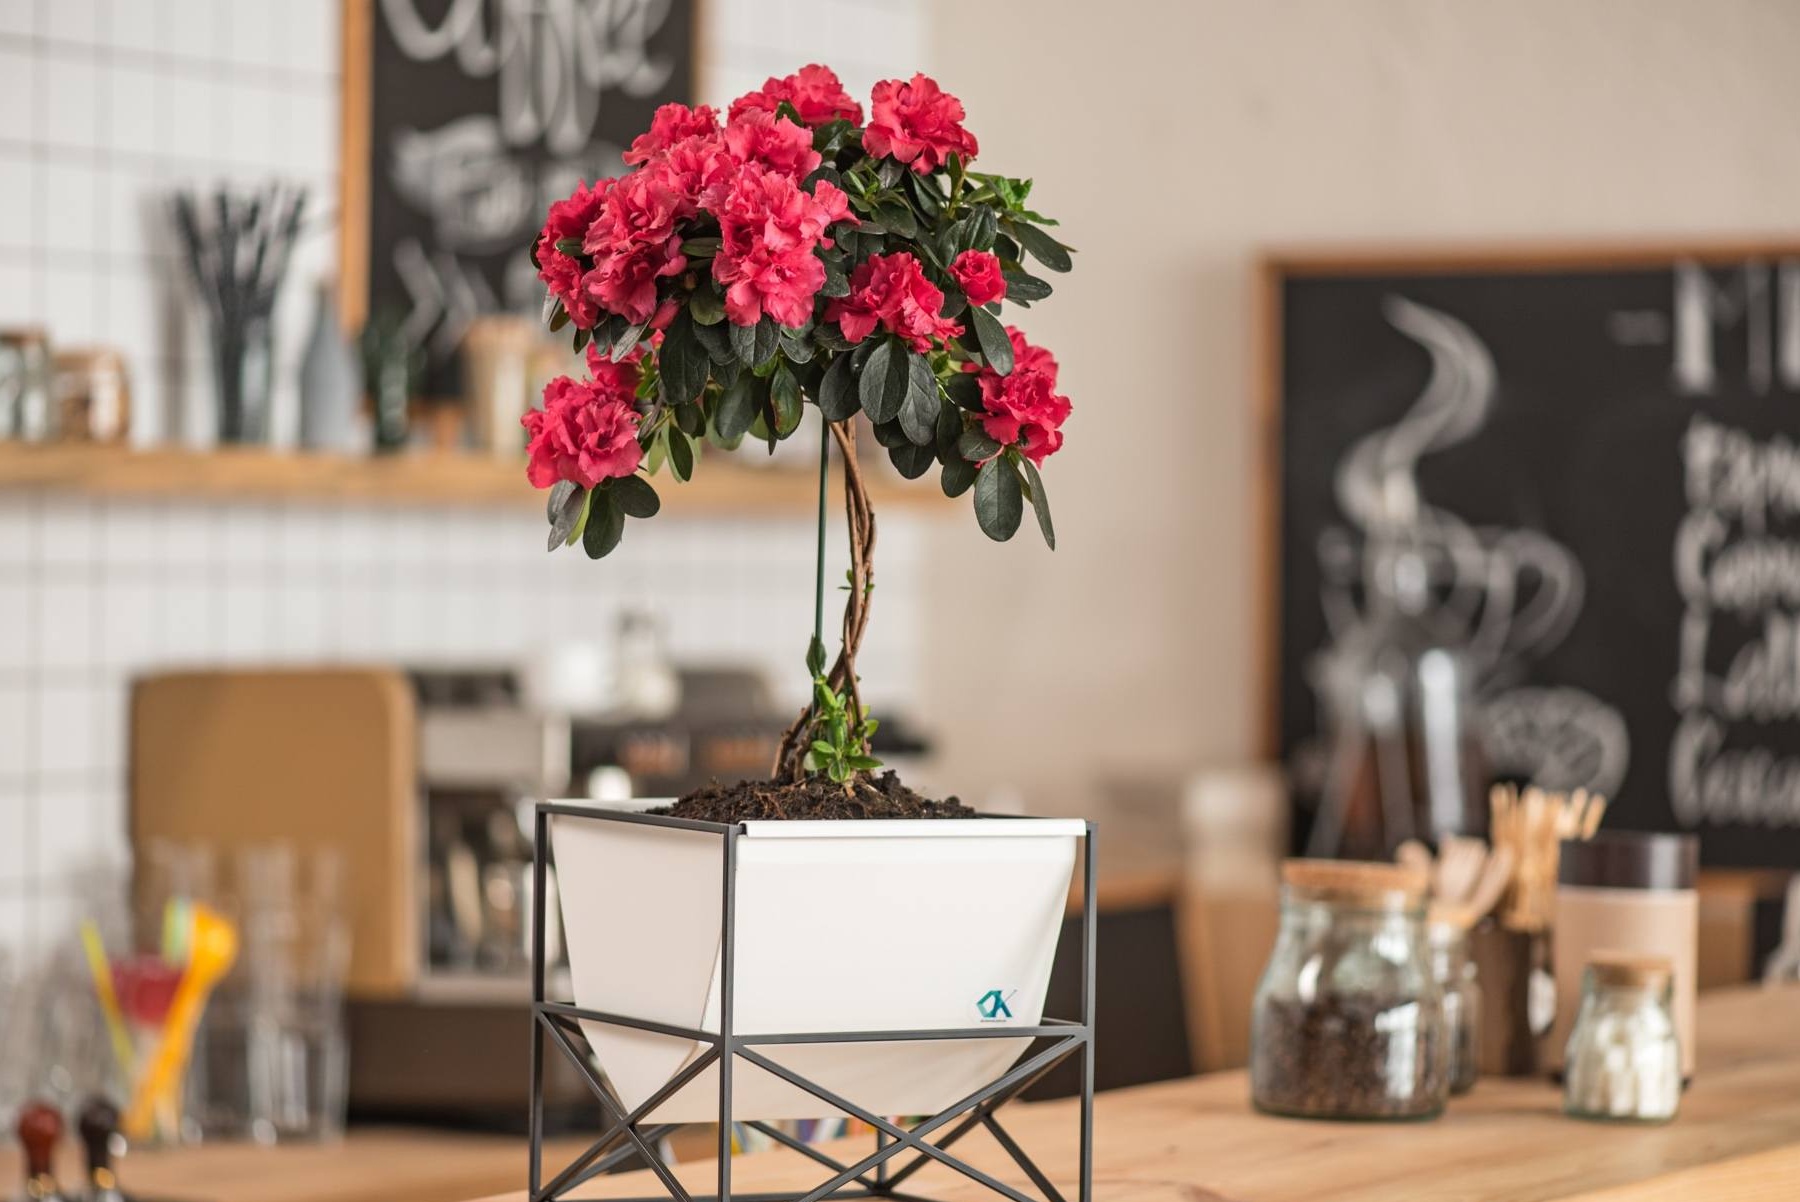
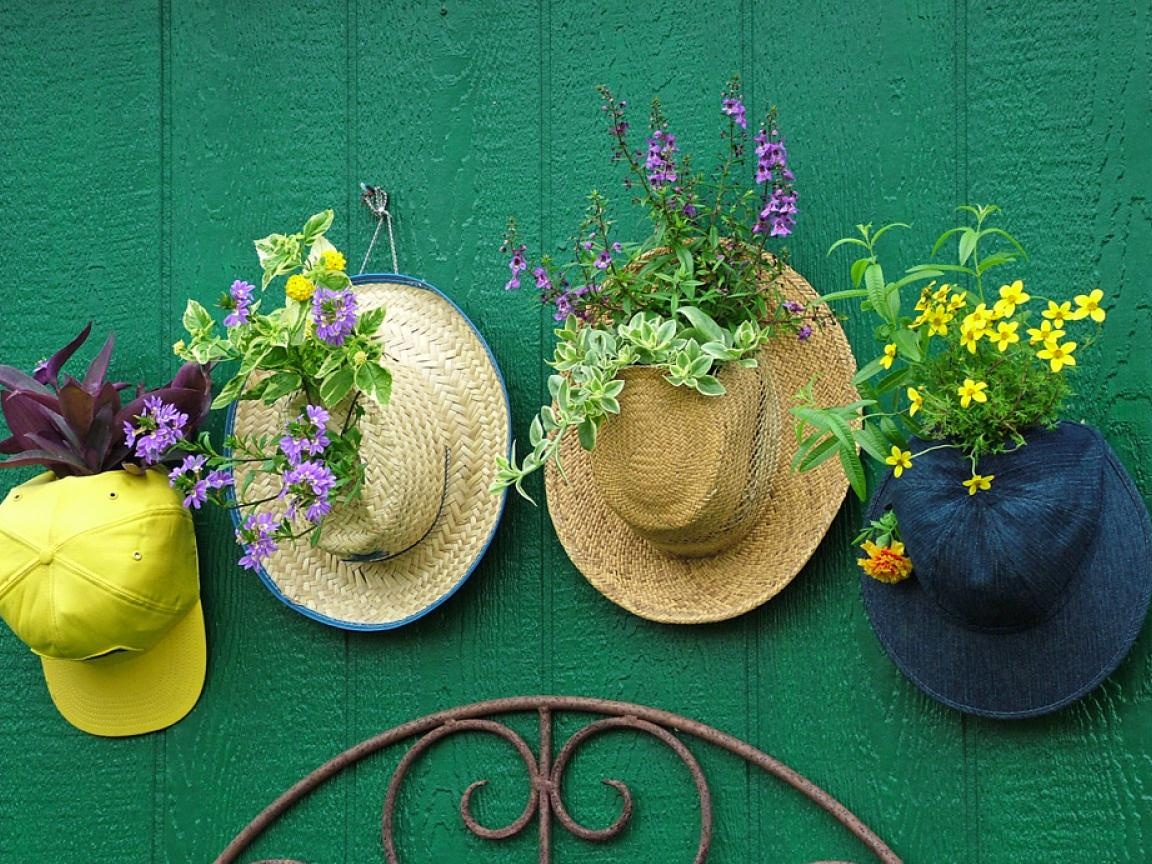
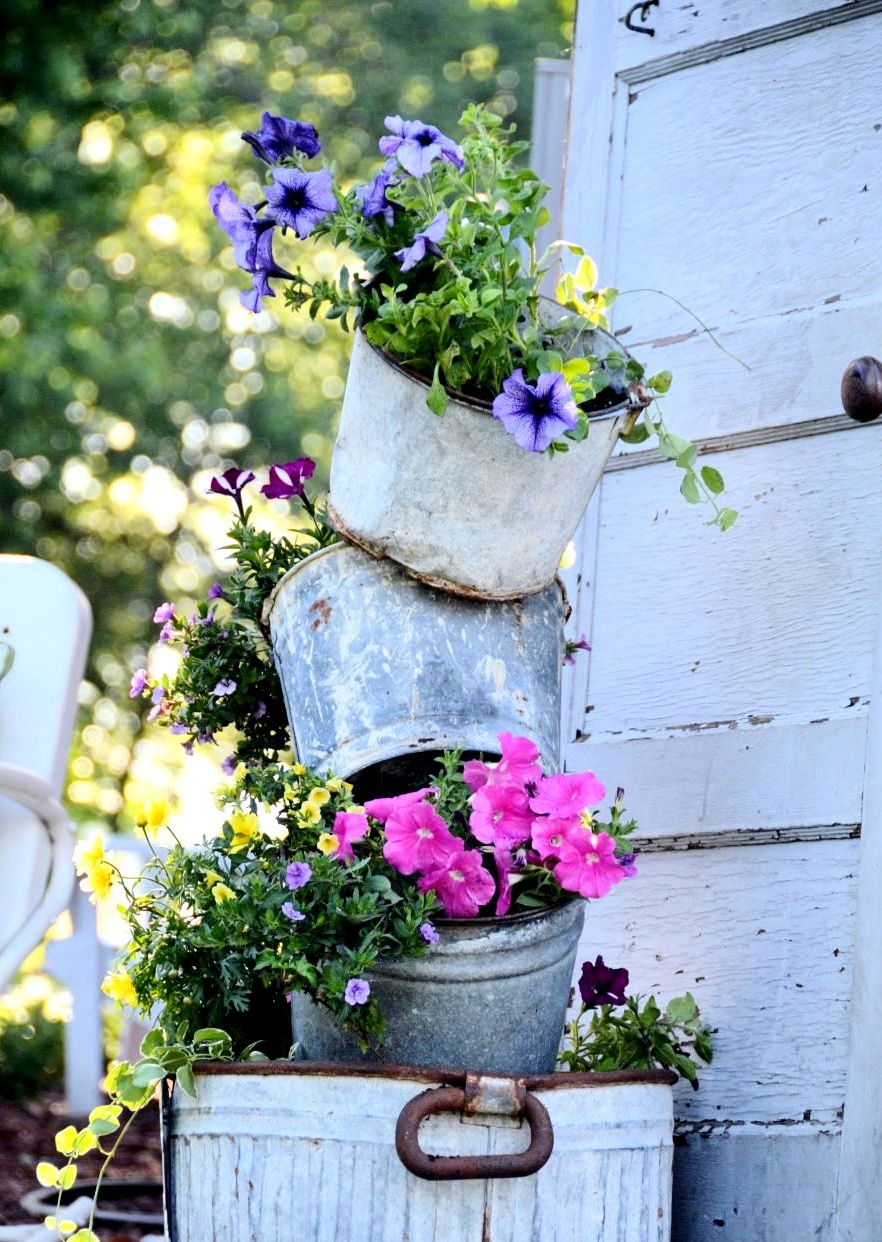
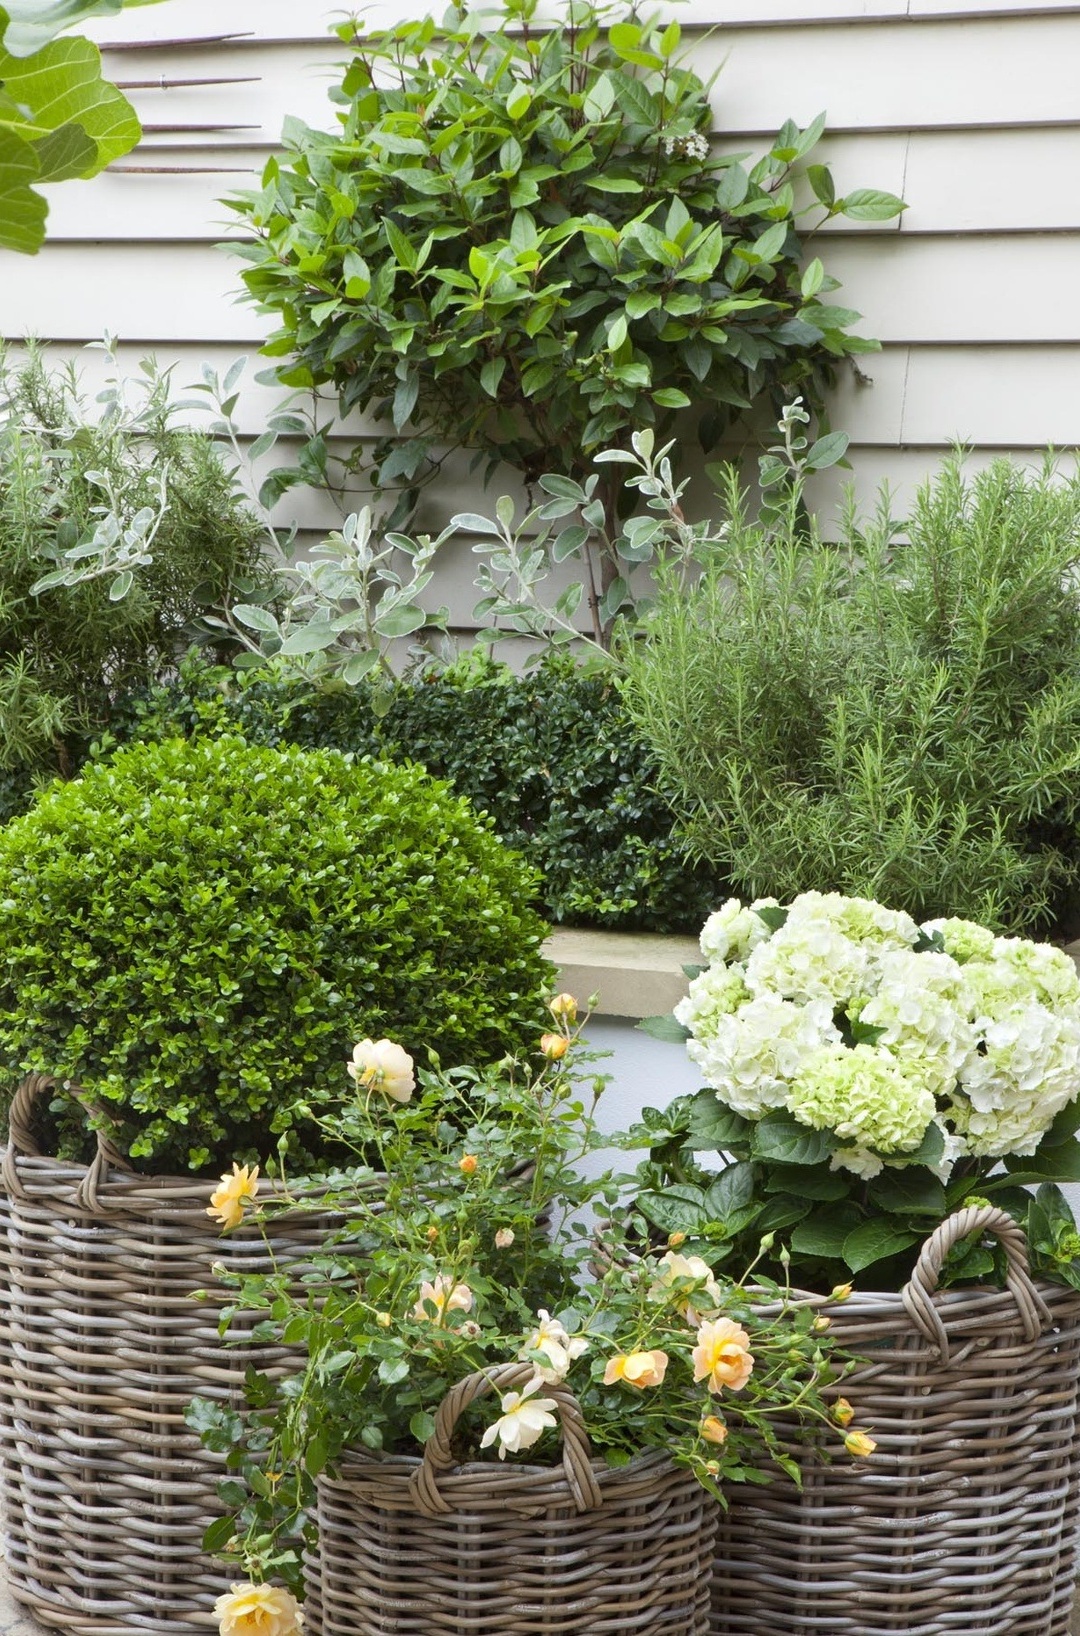
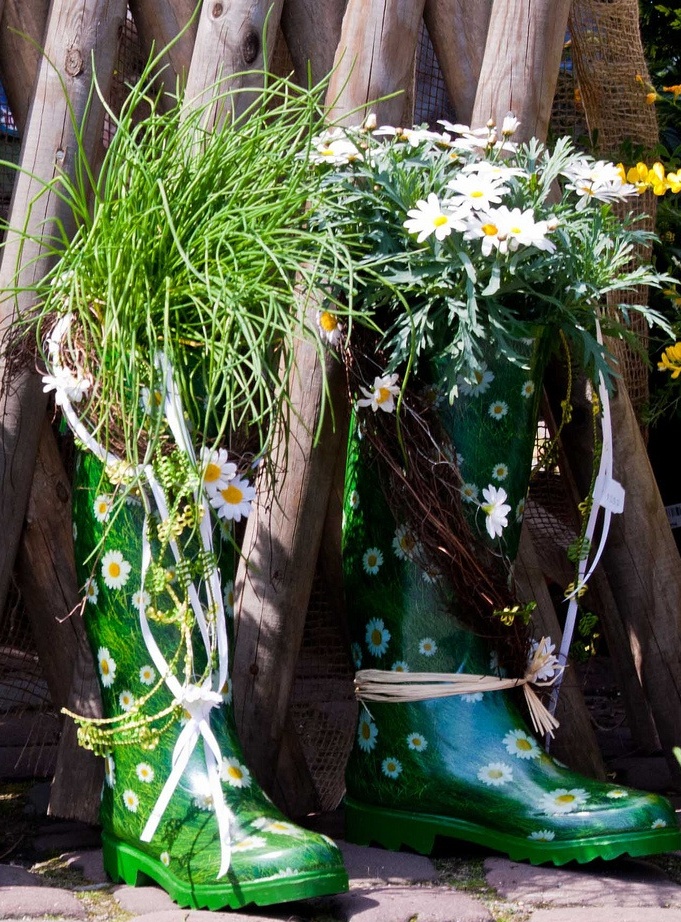
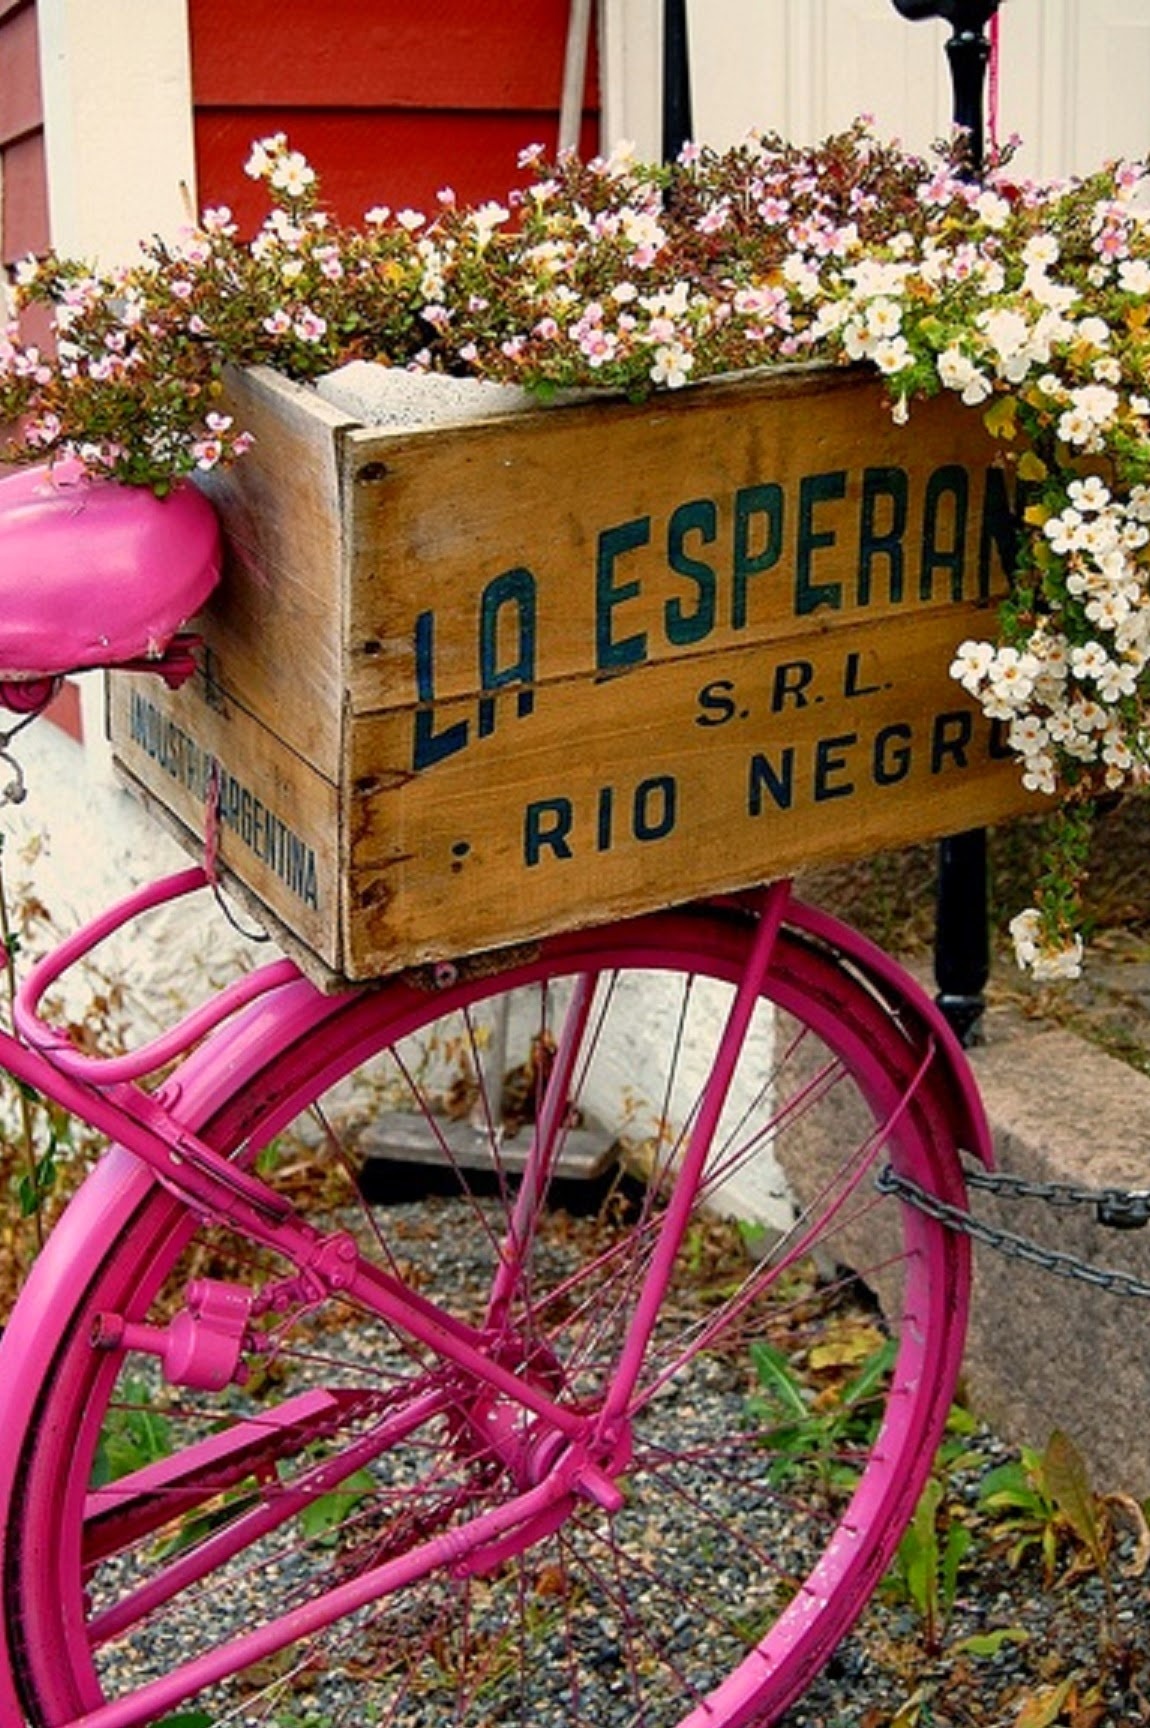
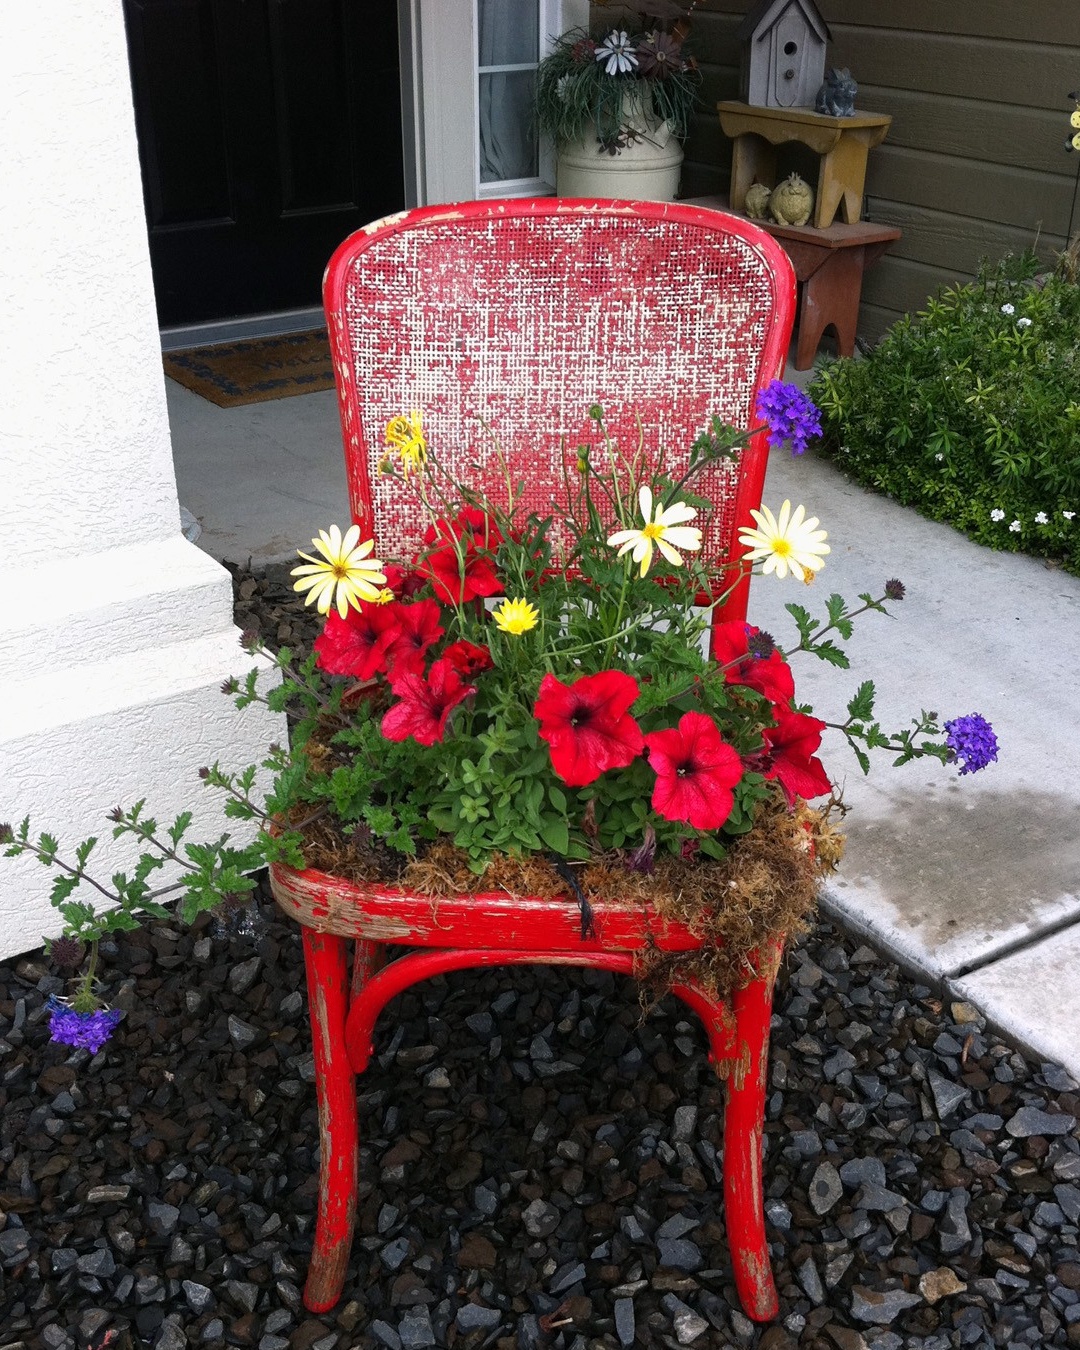
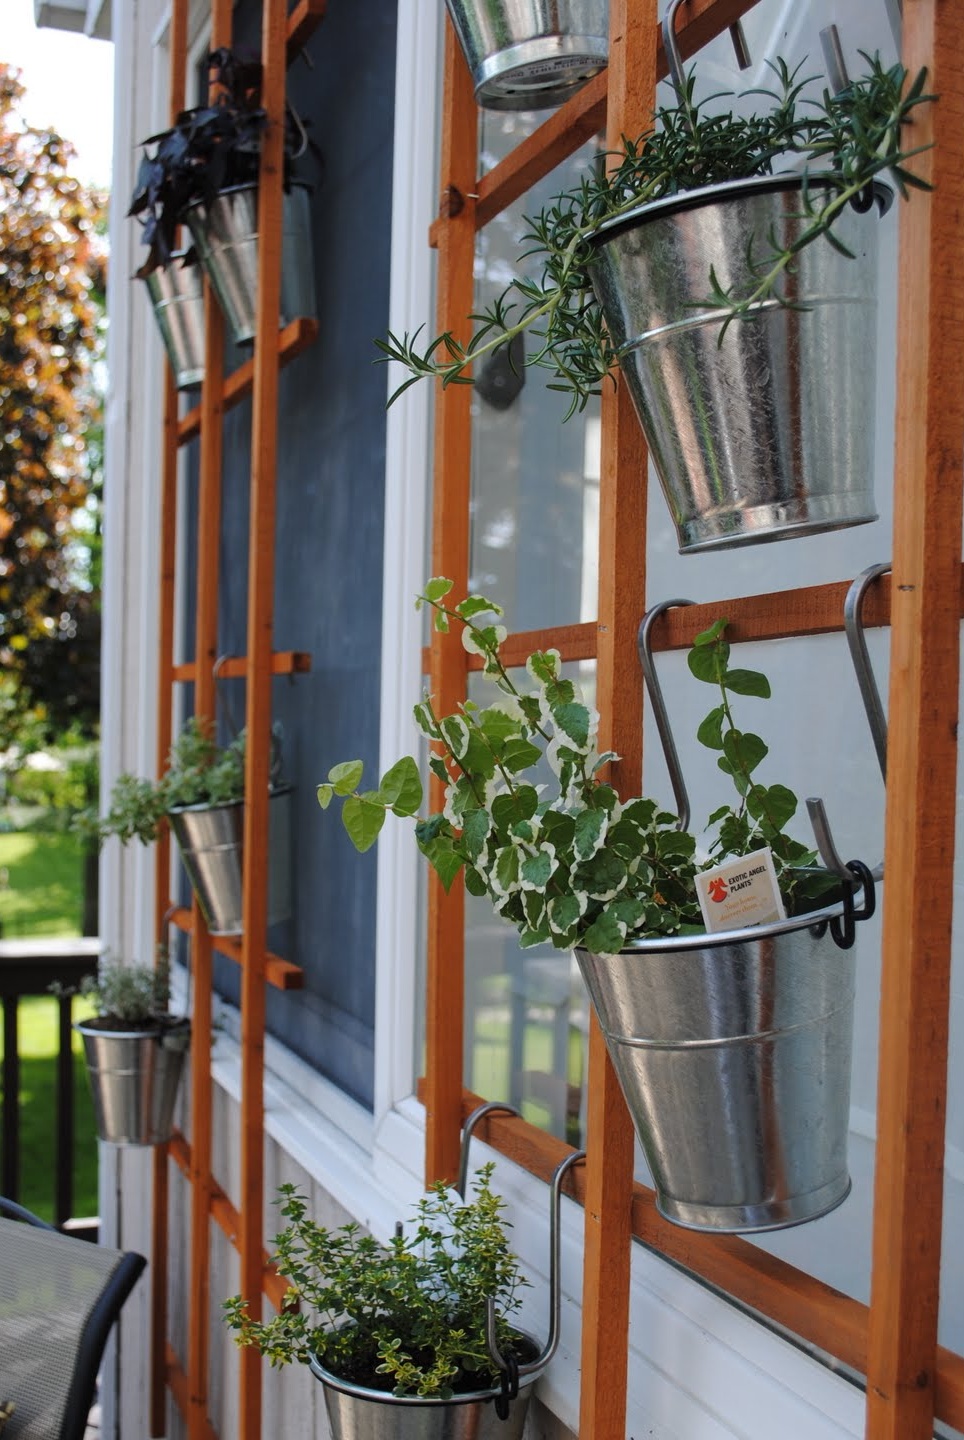
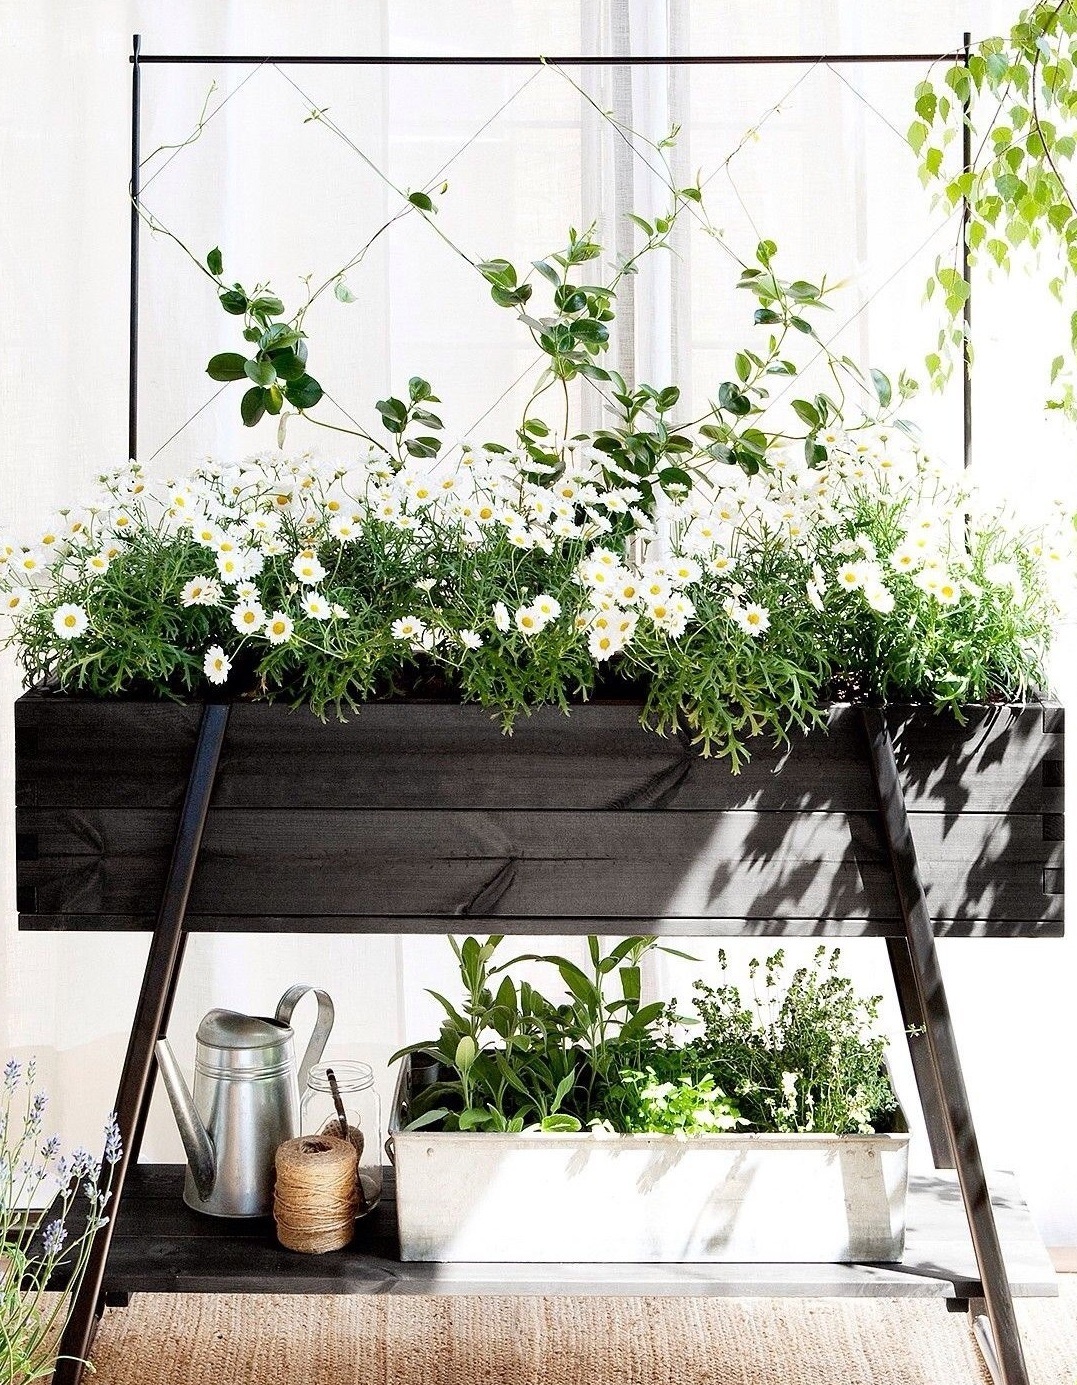
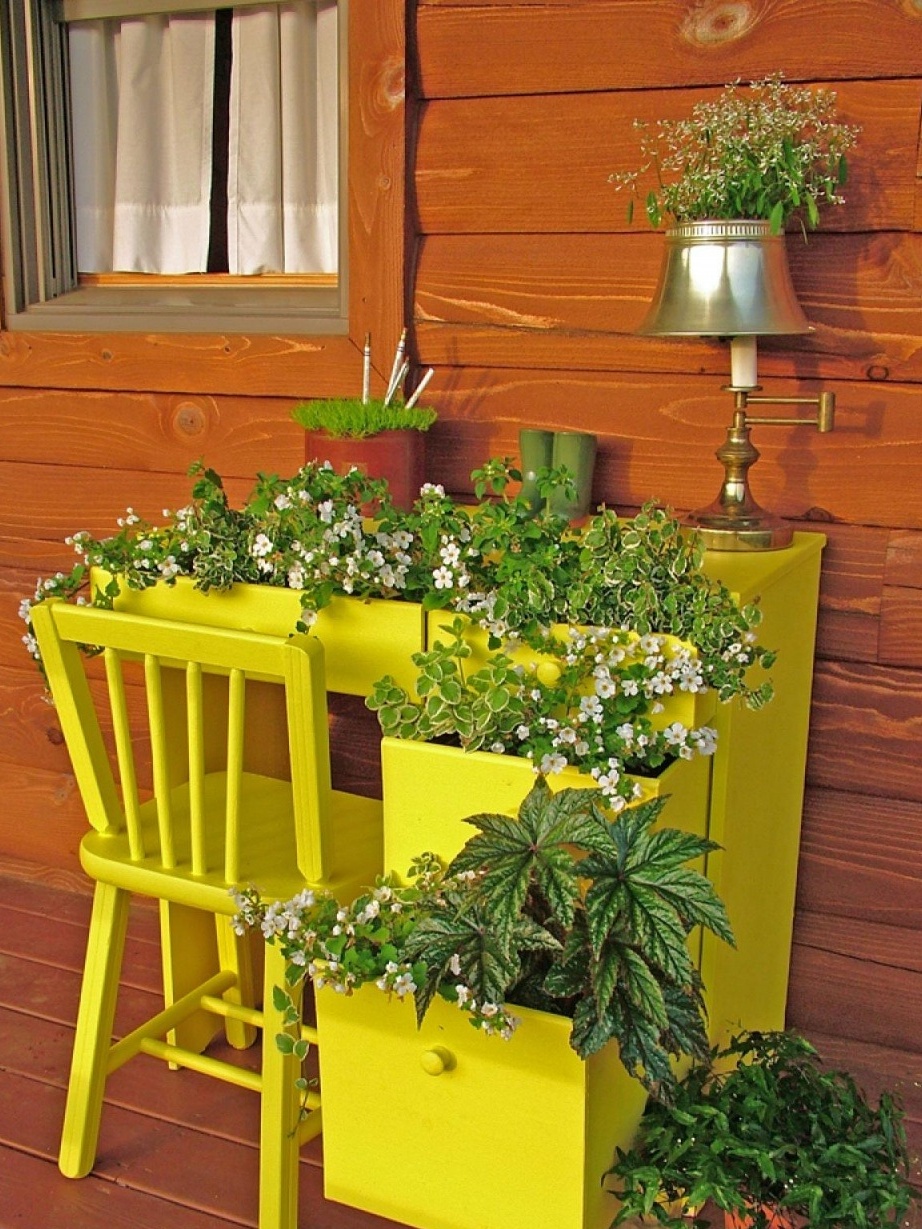
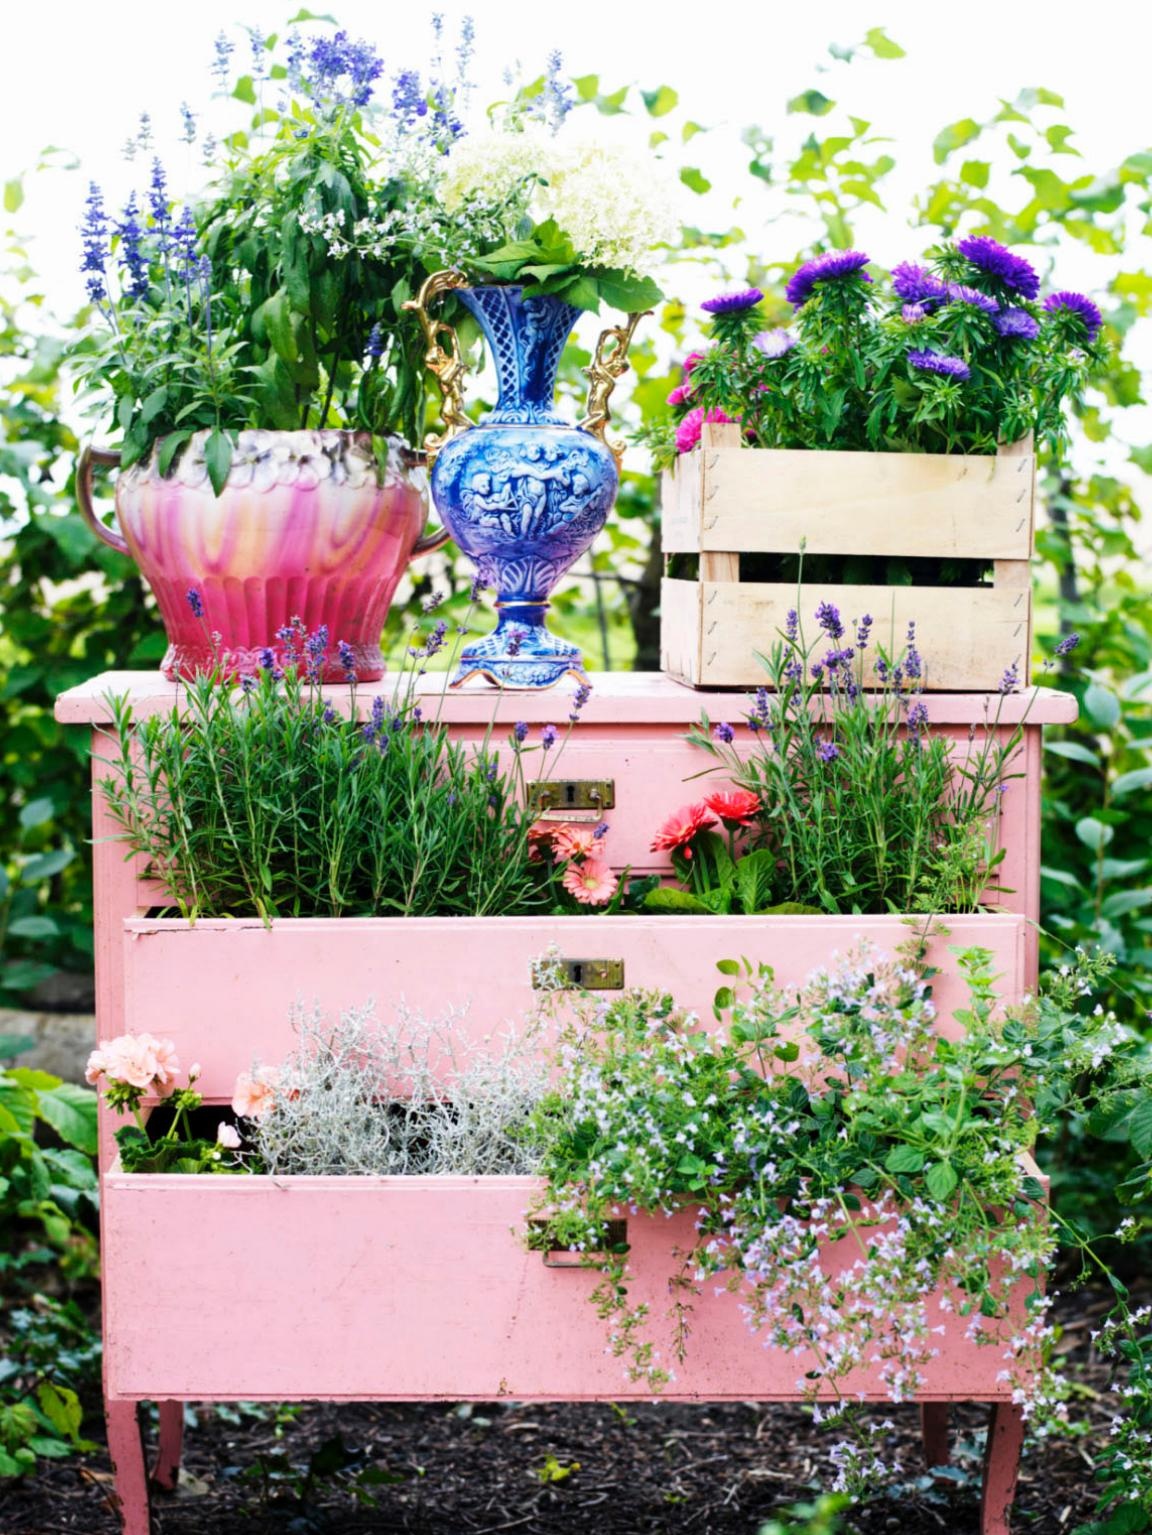
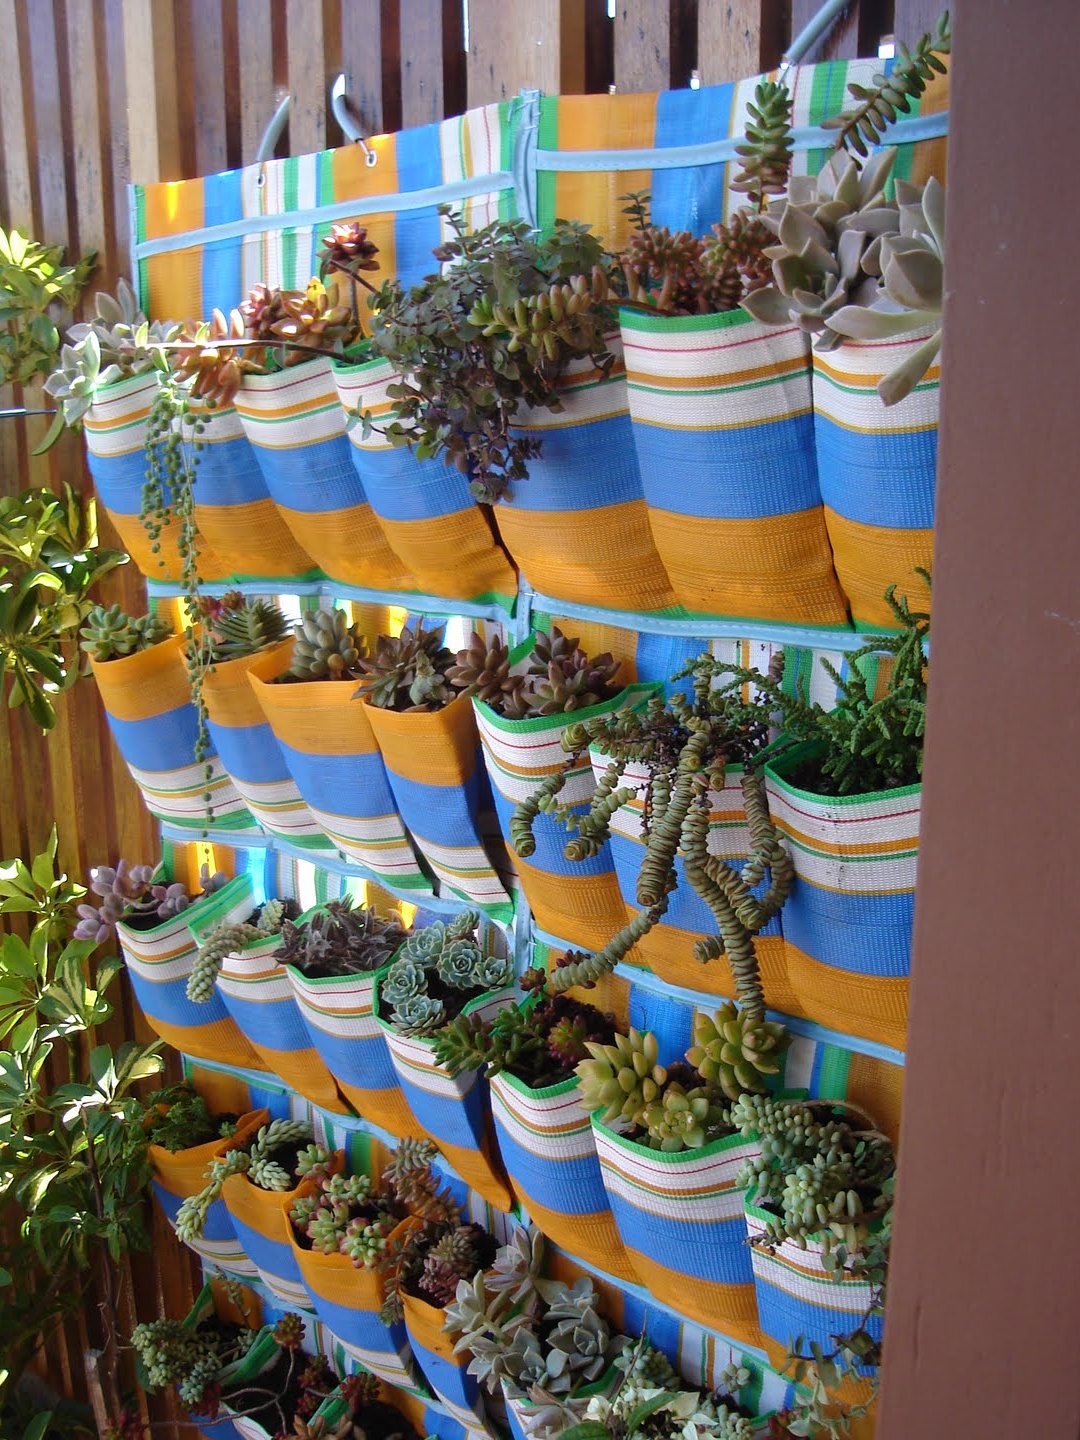
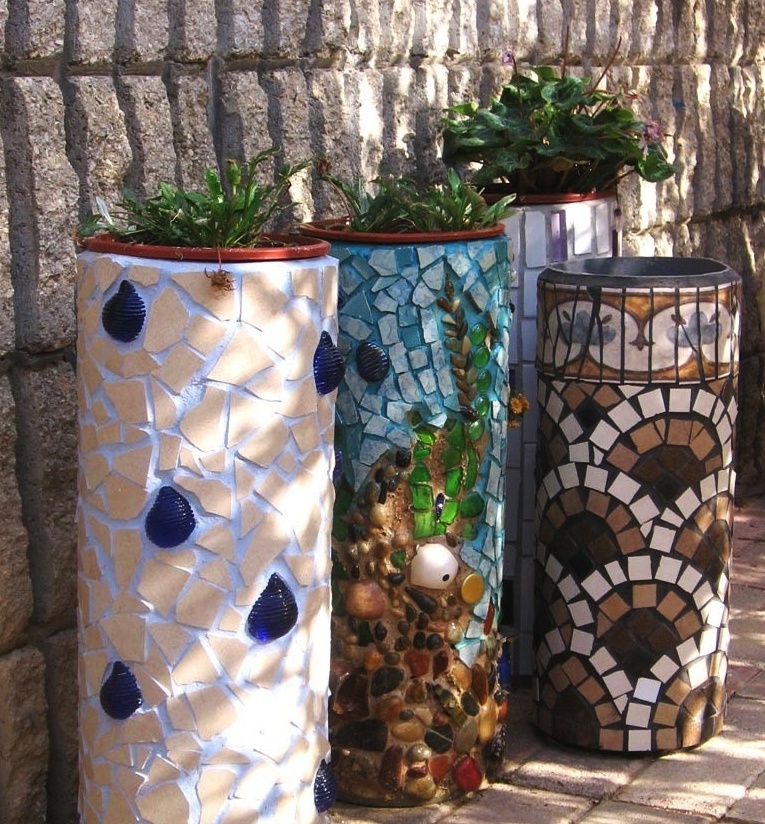

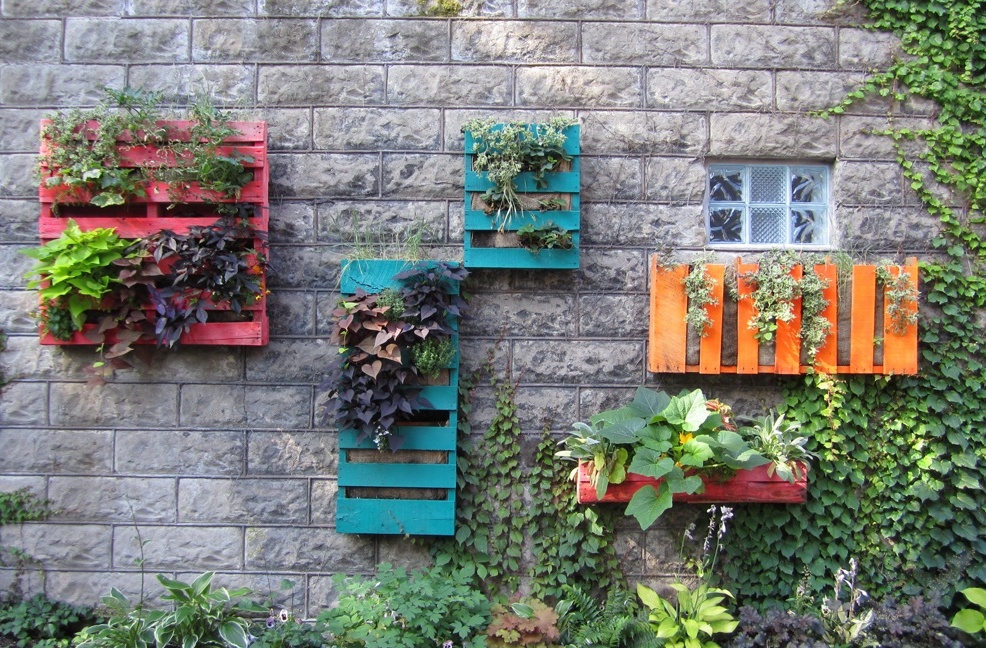
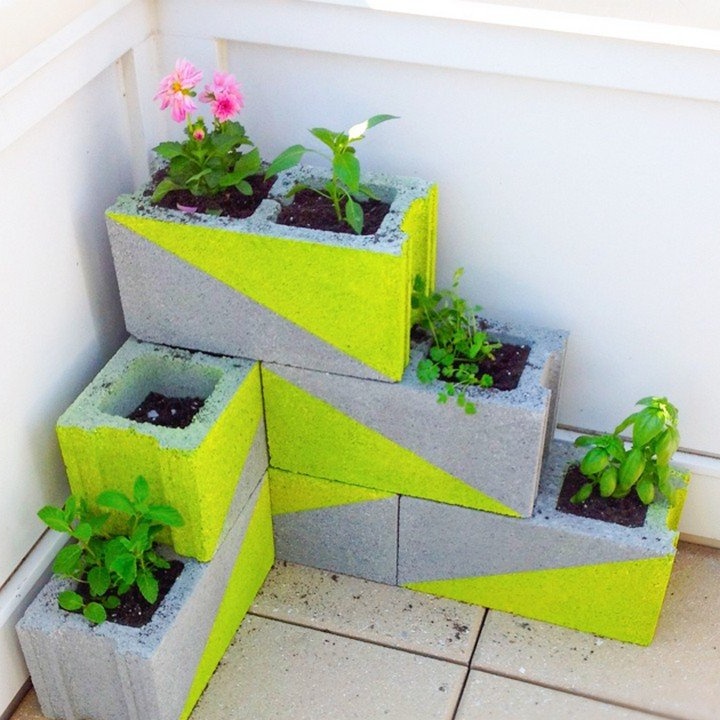
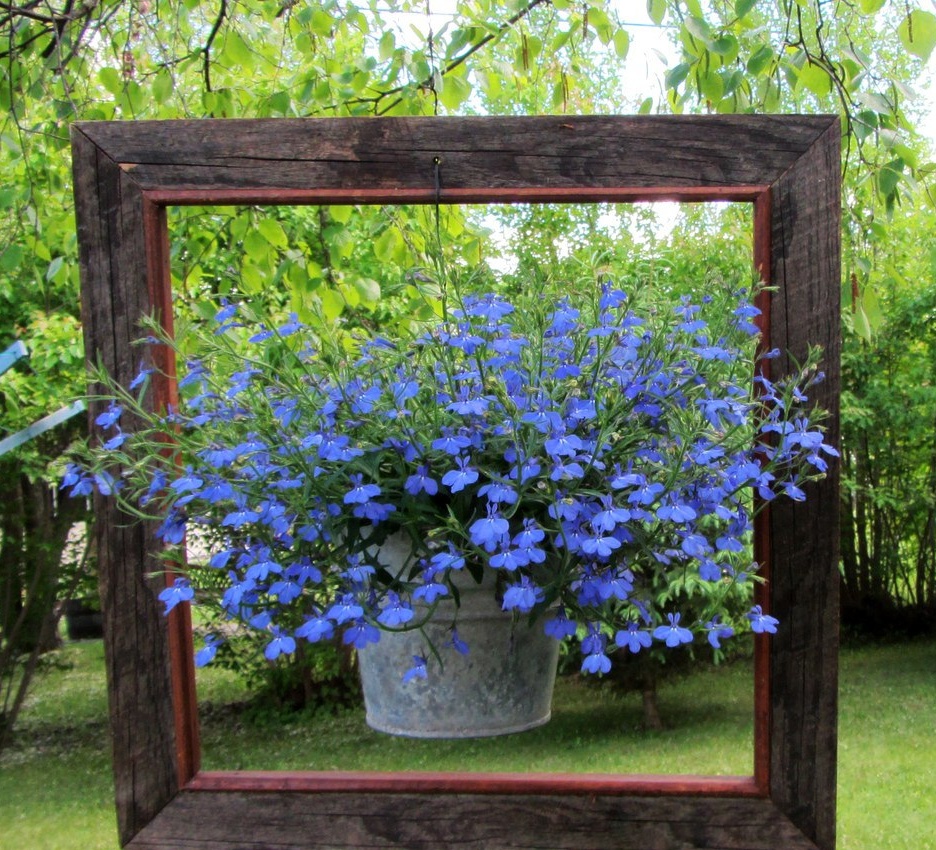
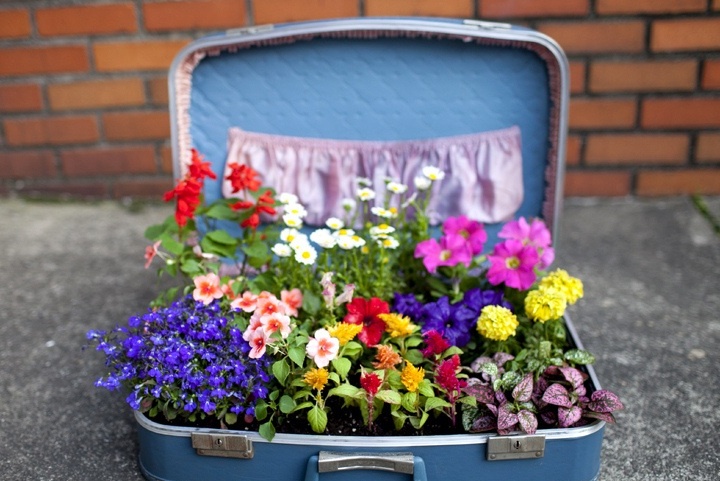
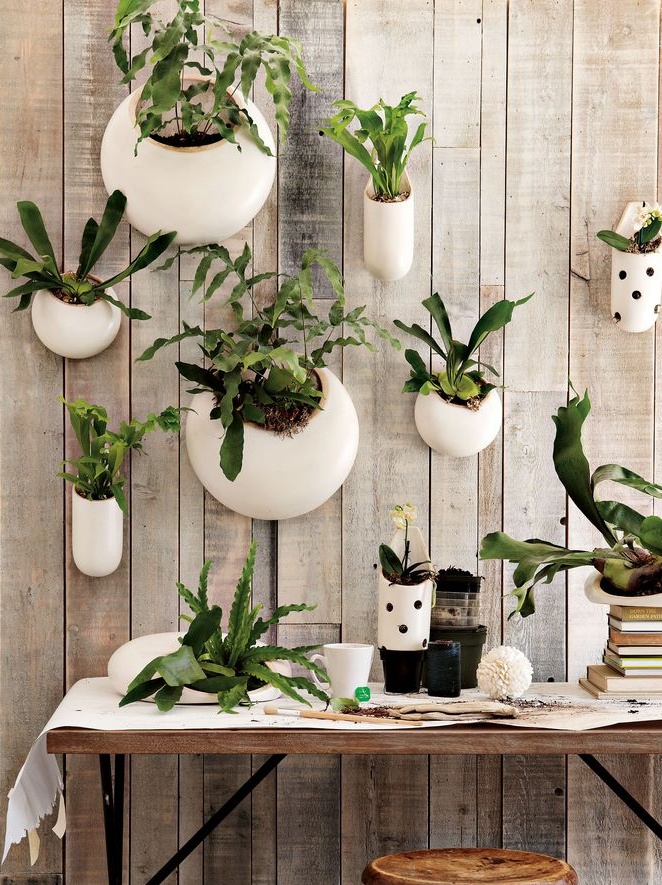
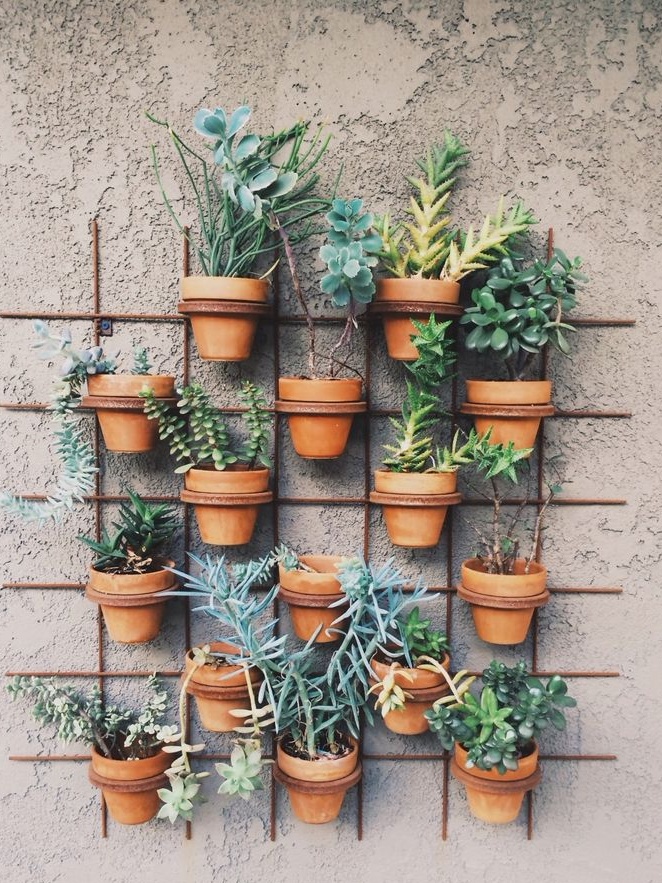
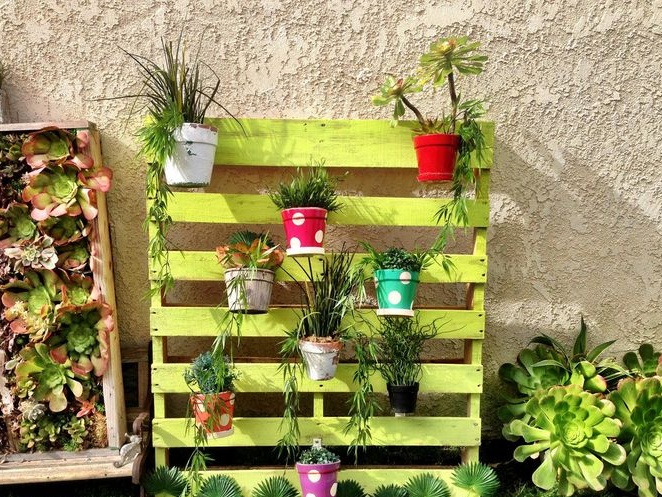
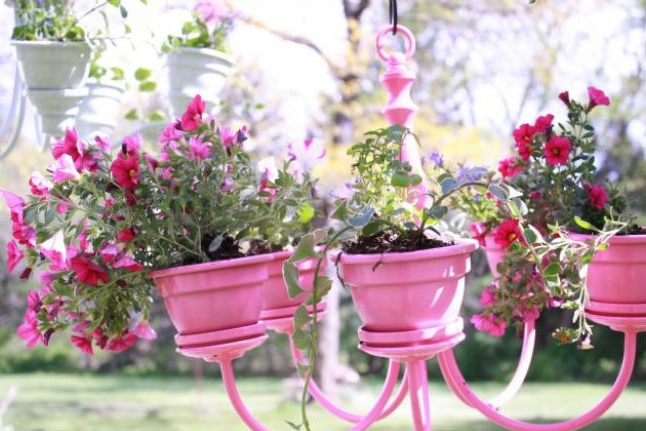
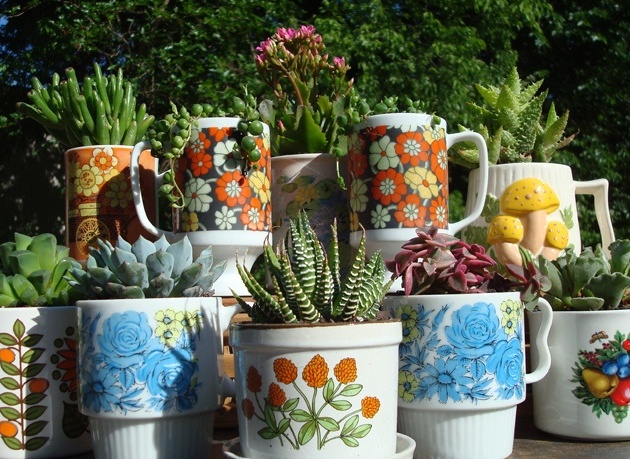
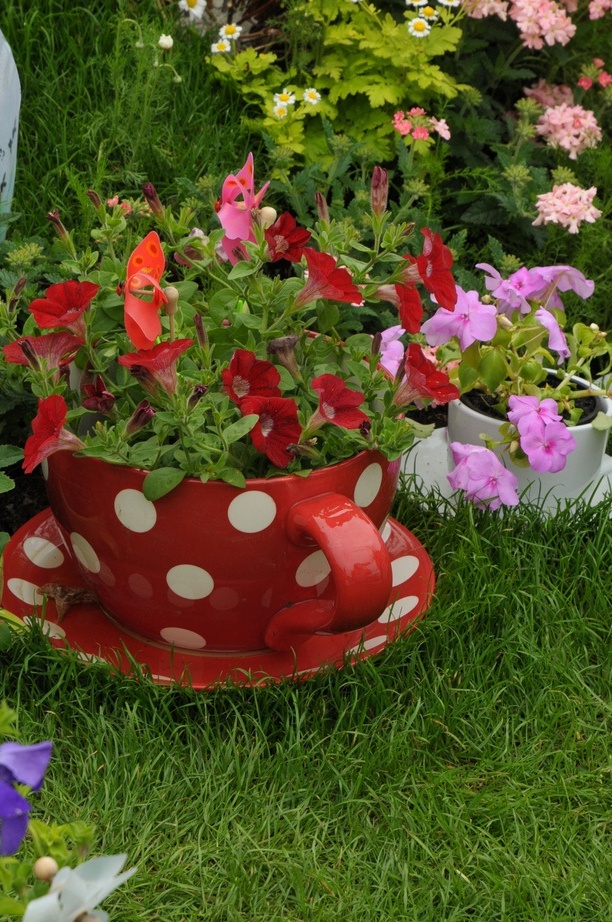
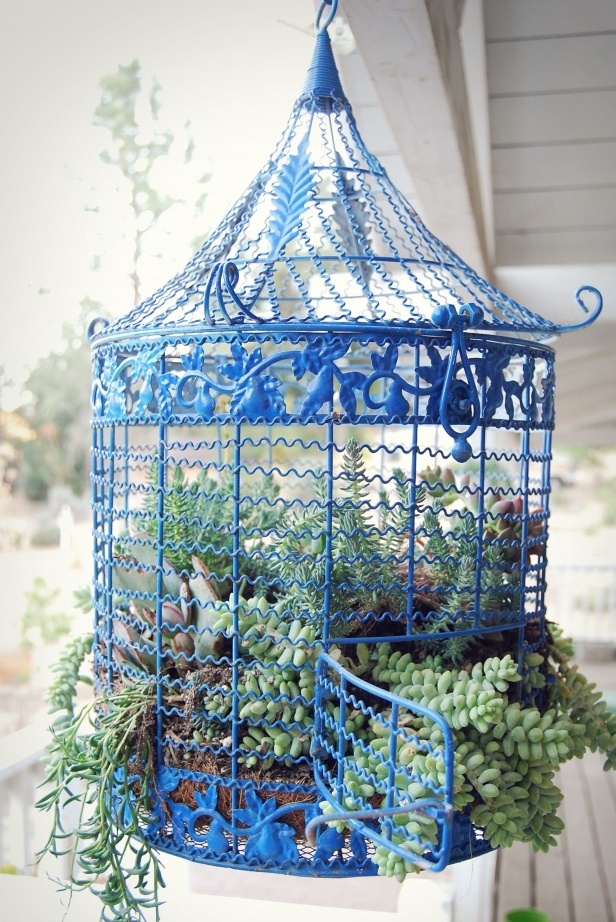
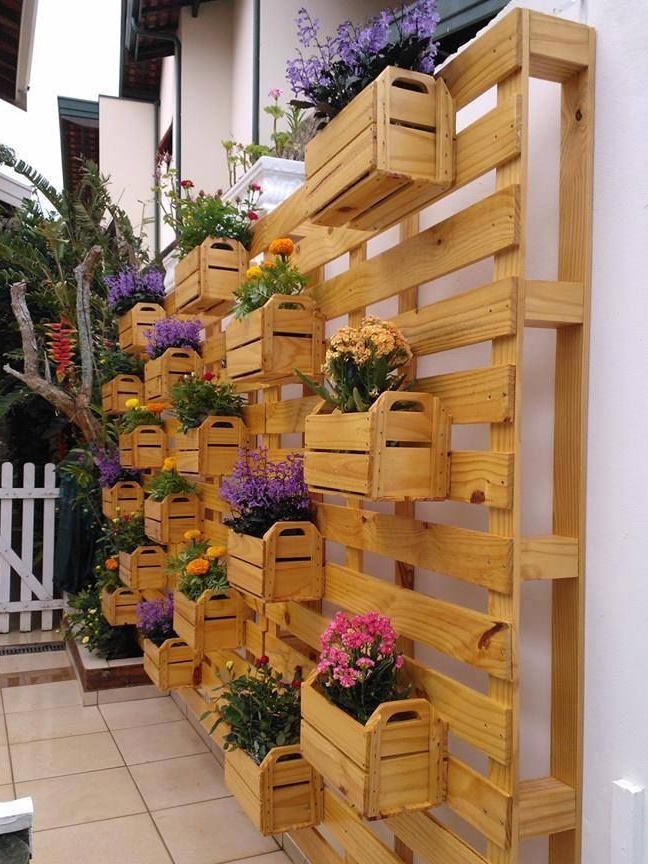
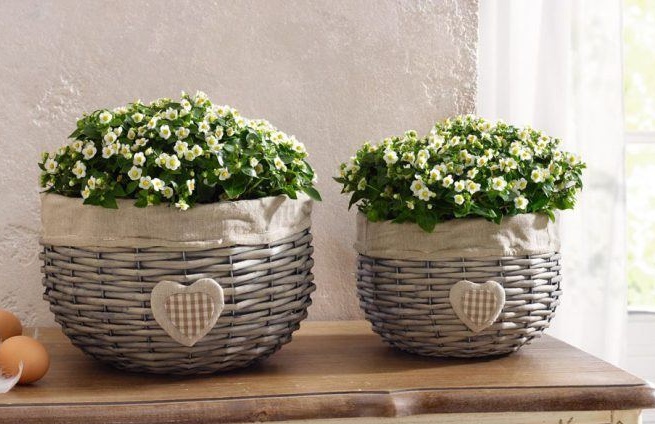
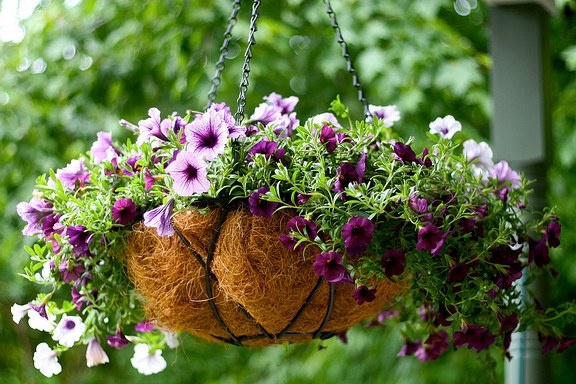
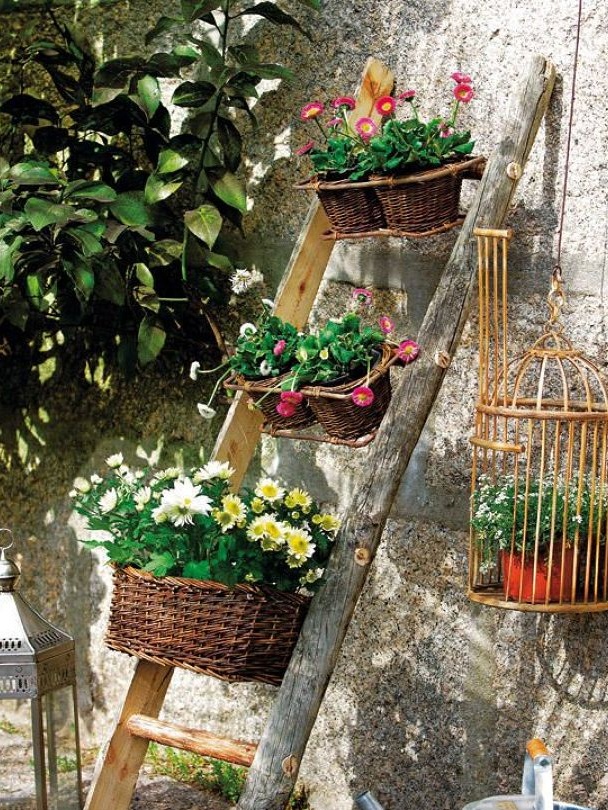


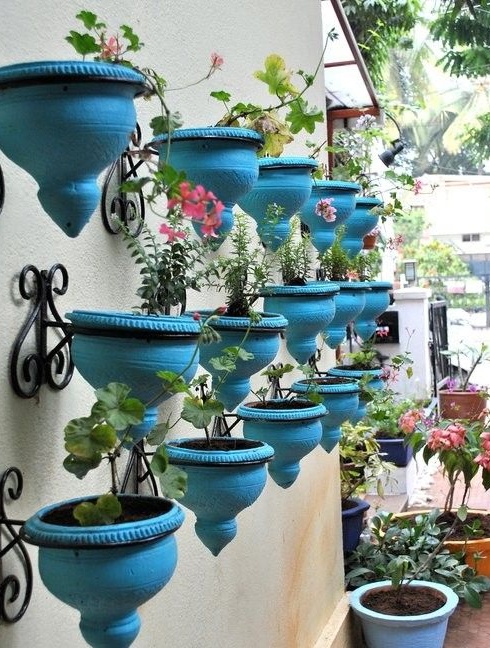
 As you can see, there are many different options for flowerpots, pots and flowerpots that you can do yourself. Unusual, classic, amazing, concise - they all look amazingly beautiful. Therefore, do not be afraid to experiment and bring your ideas to life.

