
How to paint wooden furniture
Painting wooden furniture is another way to transform your home interior. The painting process itself is quite simple. Here you will need some free time and some tools. Such an activity can be a fascinating weekend project, when all the households will get down to business with great interest. Everyone can make their contribution and desire regarding the color, texture or pattern.
Materials and preparation

Stage 1
Buy gloves and a protective bandage on your face and prepare the space where the furniture will be painted. Cover the floor with an old dense cloth so as not to stain it with paint, and make sure that the room is well ventilated.
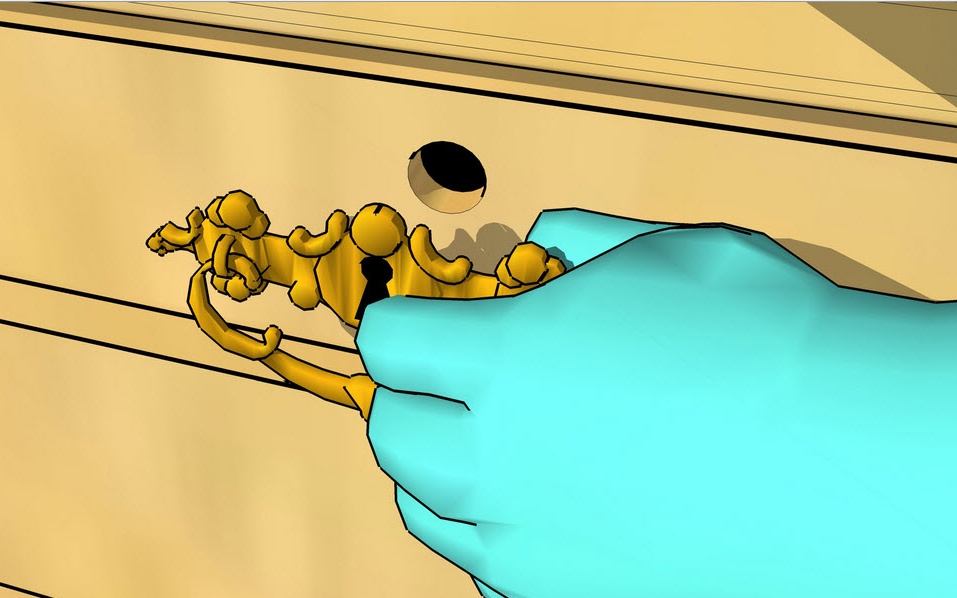
Stage 2
Before you start painting, free furniture from handles and all excess equipment. So you carefully process all inaccessible places and possible gaps, eliminating unpleasant surprises in case you want to change the lock, pens or any other accessory.
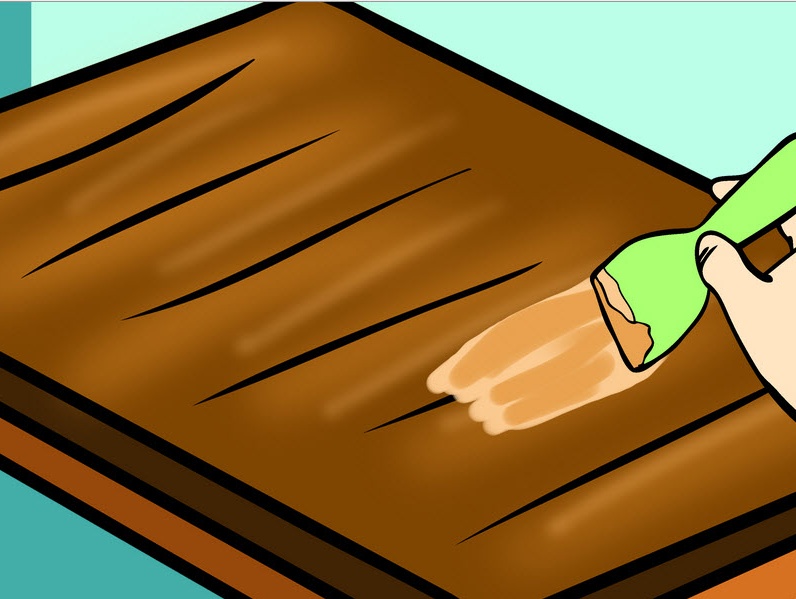
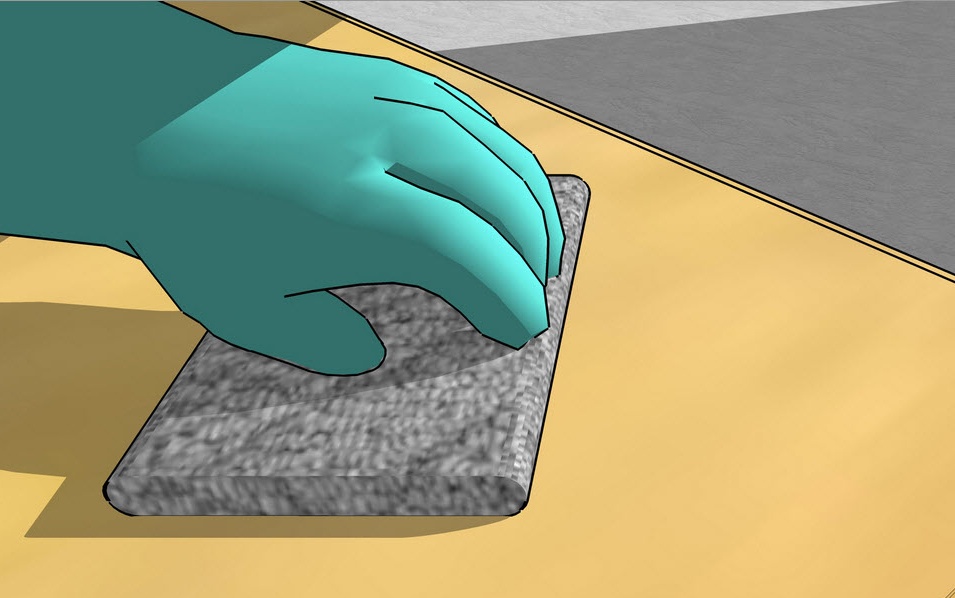
Stage 3
Align wood fibers, fill cracks and holes with wood filler. By consistency, it should be thick enough, but the treated coating must be properly prepared. Treat damage with sandpaper to remove any residual protective varnish, and then remove any remaining dust. Using a spatula, fill the cracks with wood filler, then remove the excess mixture, thoroughly smoothing the surface, and leave it to dry completely.
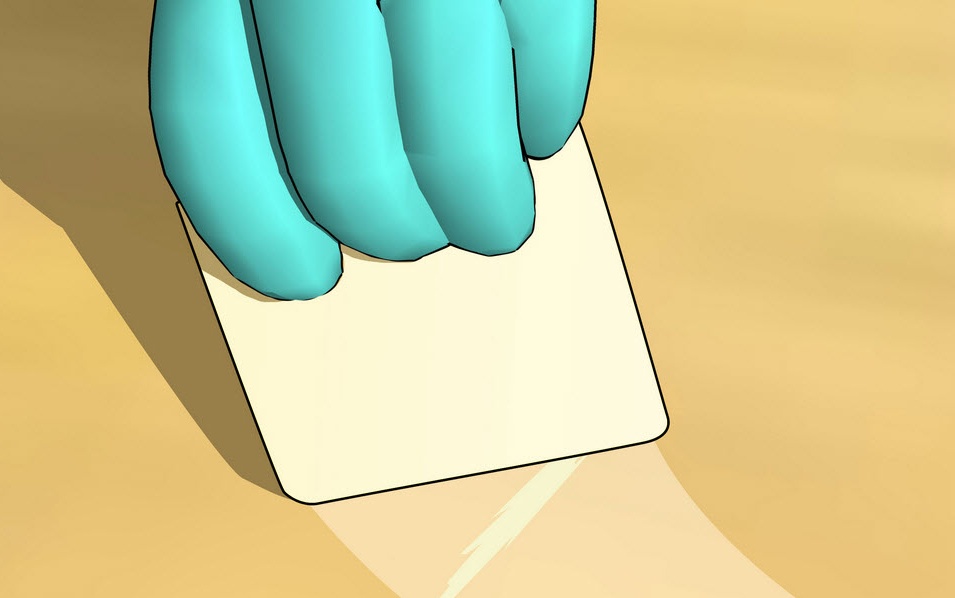
Stage 4
Use a soft, clean cloth to remove any marks after surface treatment of the furniture. If necessary, use a special detergent and wipe the wooden surface with a dry cloth.
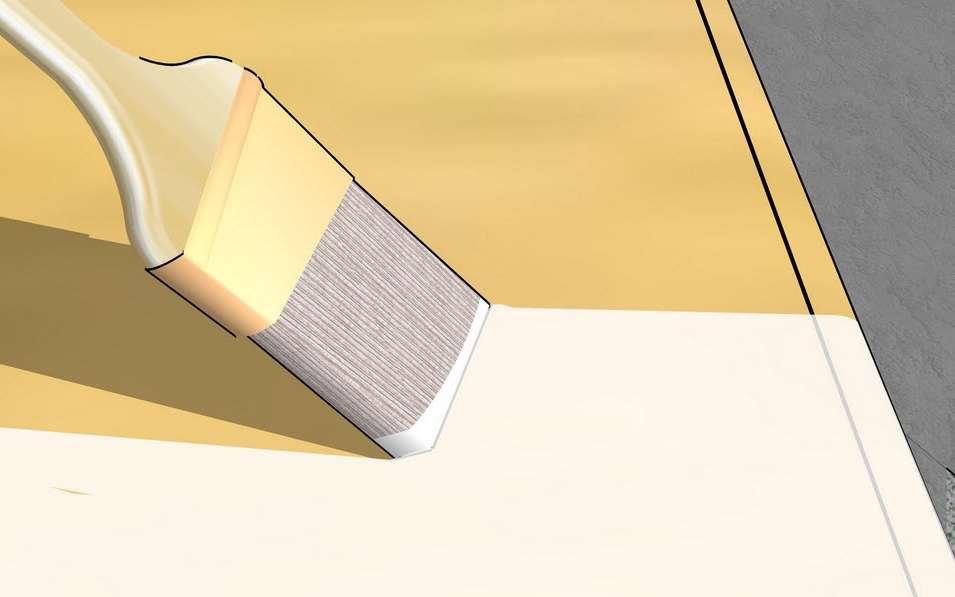
Primer and painting
1. To paint lay down easily and last as long as possible, use a primer. Gently brush with a uniform coat of primer on the wood surface. Carefully paint over corners and hard to reach places. For a smoother surface, use a roller. Allow the primer to dry before proceeding to paint the furniture.
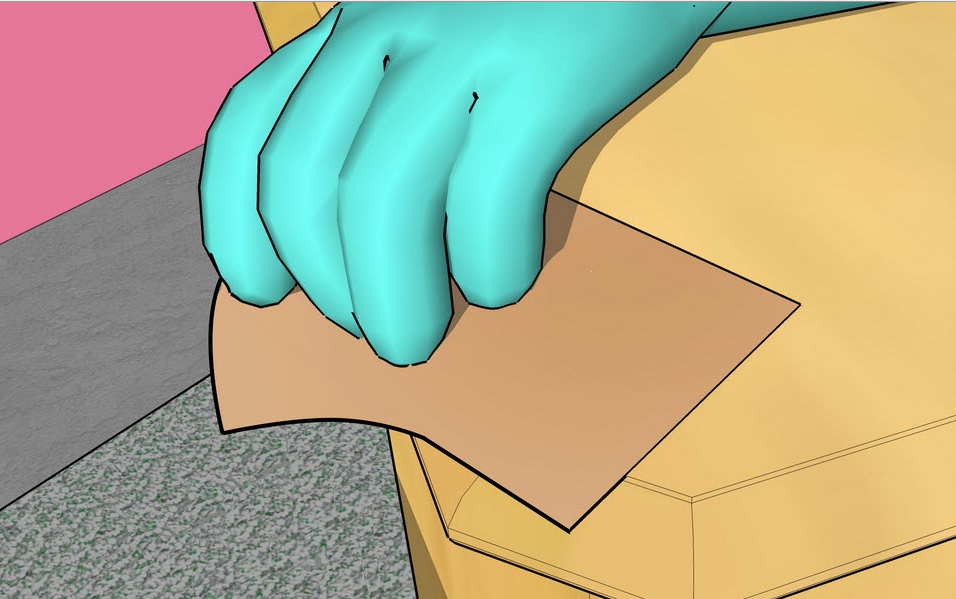
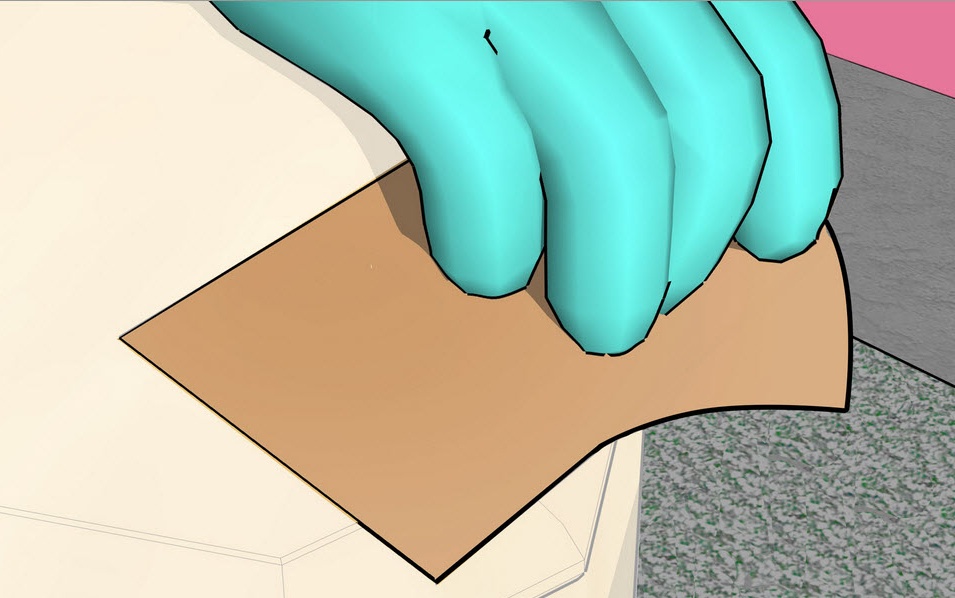
2. The original sandy surface effect can be achieved with a thin sandpaper. After the primer, this technique contributes to a more thorough painting of the wooden surface, but first you need to properly clean it from dust and residues of the primer.
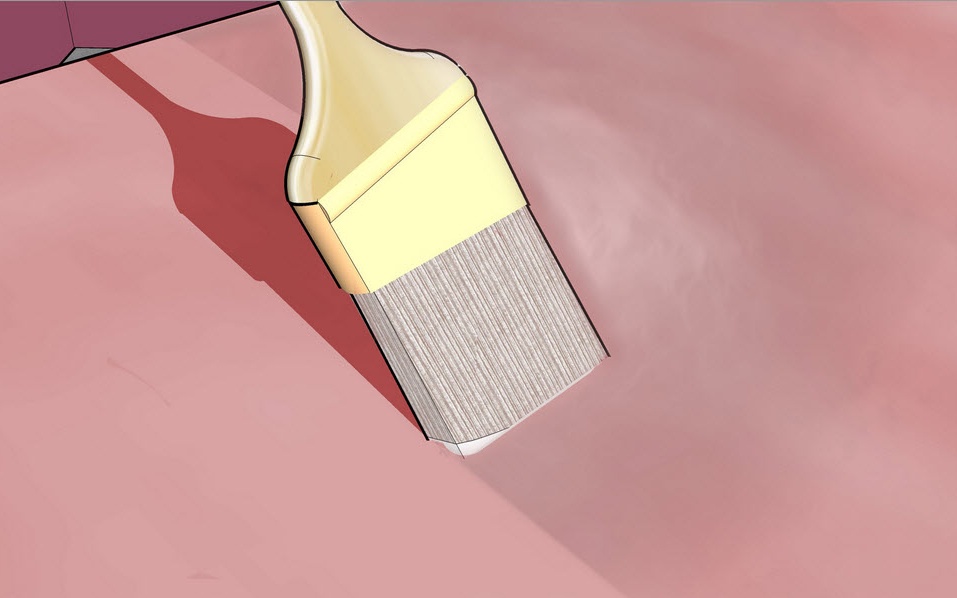
3. After processing the furniture with a roller, adjust the edges and corners with a brush. It is worth noting that quick-drying paints, as a rule, are applied unevenly. As a result, we get sloppy strokes and spotty areas. The special conditioner will greatly facilitate the work: Floetrol - for latex paints and Penetrol - for oil paints, which will prevent them from drying out quickly.
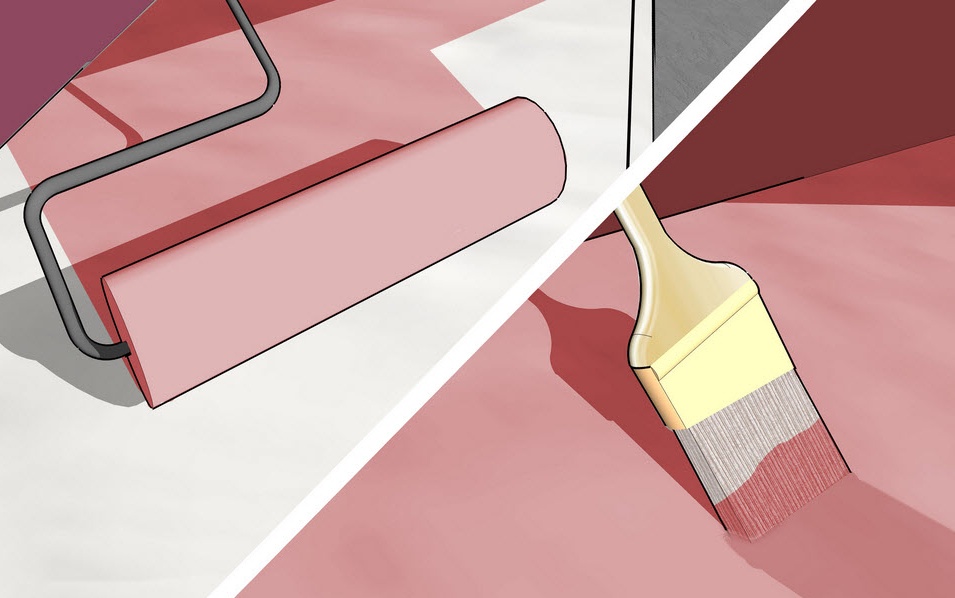
4. Use only quality brushes. In poor-quality brushes, fallen villi remain painted over on the surface. A good brush, although more expensive, but with proper care, will last more than one year.
Final stage
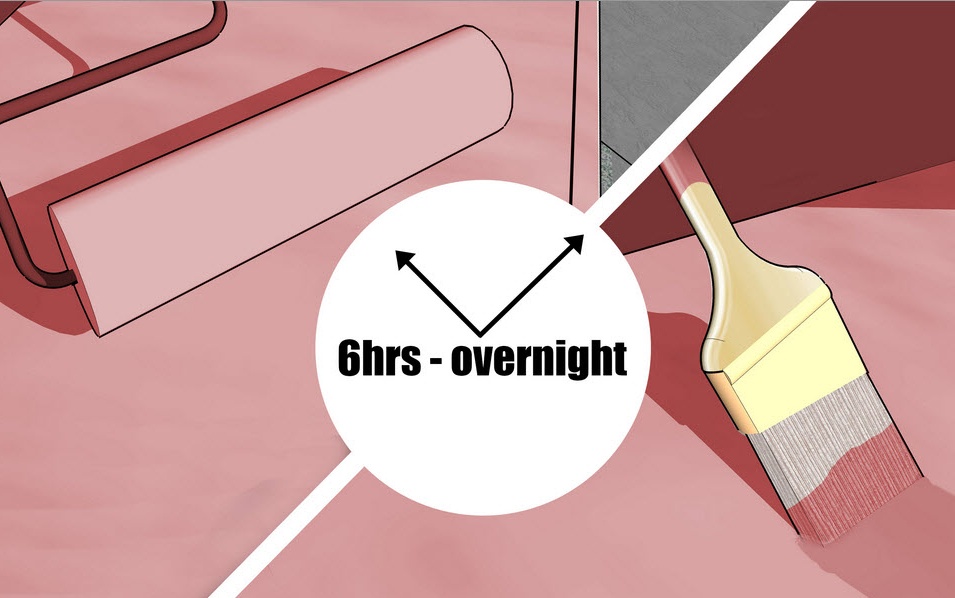
1. After priming and applying the first coat of paint, specialists usually paint the surface again, but only after it has completely dried (no less than 6 hours).
2. Seal the paint using varnish or sealant. This will not only protect it from scratches, but also give an aesthetic appearance and a slight sheen to the wooden surface.
Before you put the furniture in its place, make sure that the sealant is completely dry.


