How to make a stand for stationery trifles from a wooden block
It is amazing how many useful objects you can create with your own hands from auxiliary materials to give the interior a finished look! The increased gifts of modern designers are caused by the gifts of nature - wood, leather, stones and metal. Products made from these natural materials are of particular value due to their pristine appearance and amazing qualities.
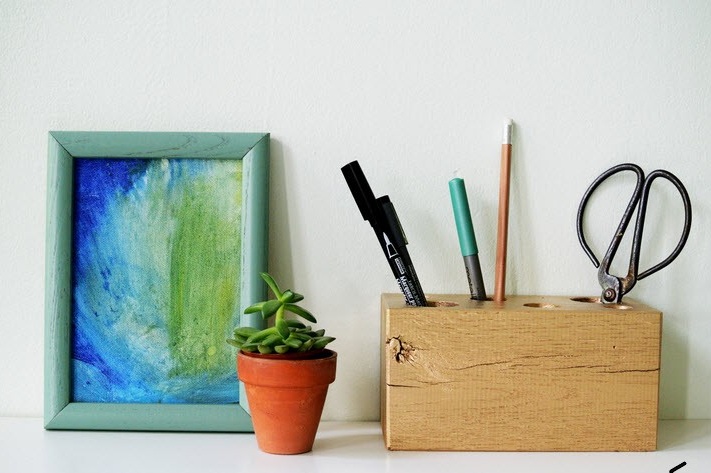
The original accessory, the manufacture of which we will deal with today, will be a wonderful addition to any interior, as well as an excellent surprise for loved ones. We have to create an original stand for stationery. A wooden block will be used as the main component for its manufacture. Why is it decided to give preference to a tree? Everything is very simple: in addition to the well-known useful qualities, this common natural material has very interesting properties.
Some interesting information
It has long been believed that trees symbolize the infinity of being. In some ancient civilizations, special magical qualities were attributed to them. Trees were always worshiped, and often hoped for their protection. Widespread various magic items made from certain types of wood. Wood charms and talismans are used now. Wood products contribute to the development of a person’s existing abilities and enhance the qualities necessary to achieve success in life. It should be remembered that even an ordinary root, twig or wooden block can fulfill the function of a magic accessory. Items made from such gifts of nature can cause positive emotions and a surge of energy.
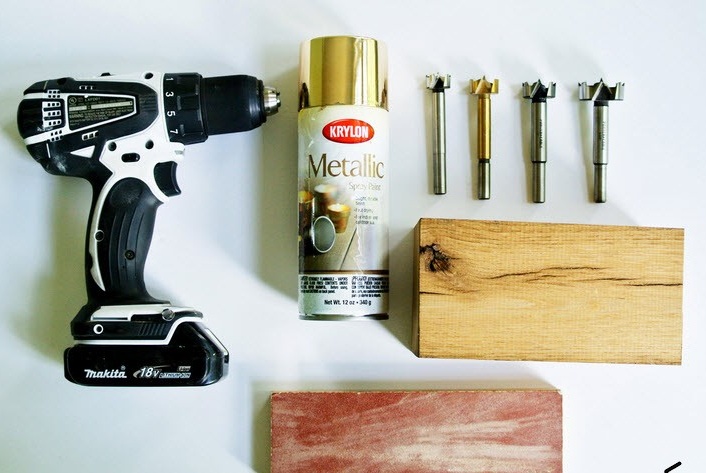
When creating a stand designed to store stationery, in addition to a wooden block of the right size, we need the following tools and materials:
- drill with drills of various diameters;
- sanding block or sandpaper;
- pencil;
- spray paint.
The process of manufacturing a wooden stand takes place in several stages.
The main stages of work
1. First cut the bar to the correct size. The dimensions of the stand for stationery trifles will depend, first of all, on the size of the initial blank. You can use either a thick bar or a small piece of wood - it all depends on your preferences and the main idea.
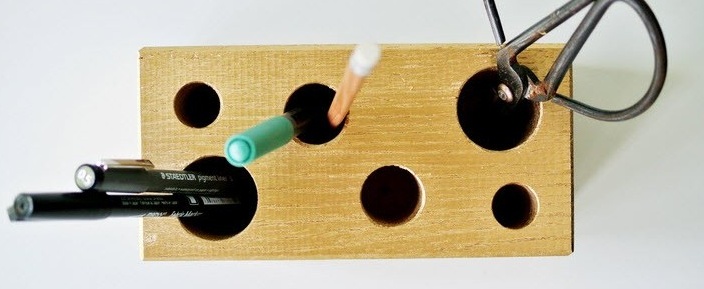
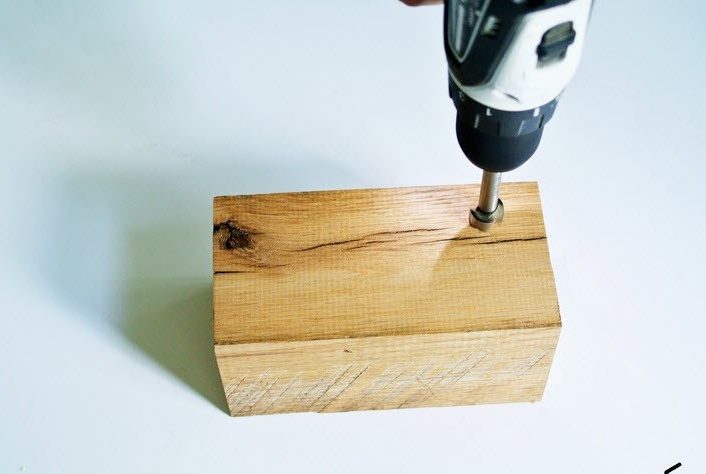
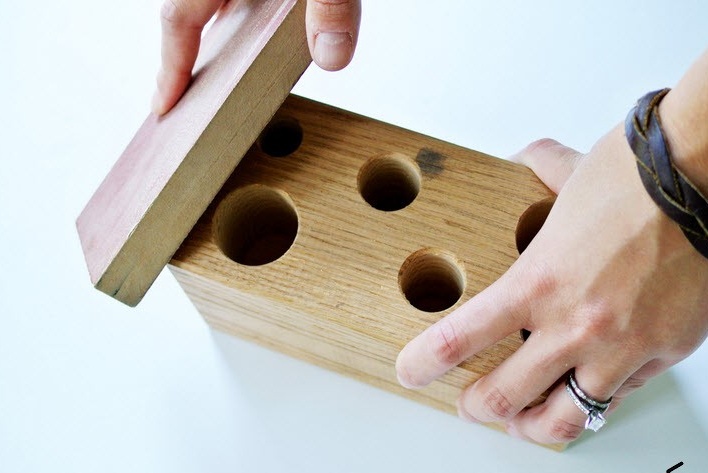
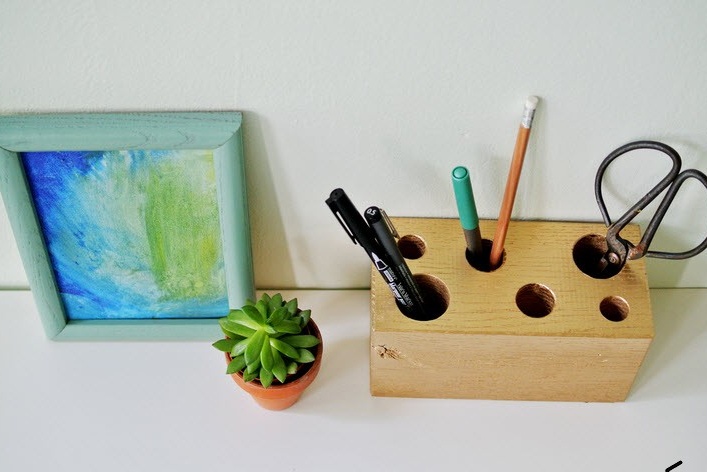
2. Cutting off a wooden part of a given size, using a drill, make several holes of various diameters in it. Before drilling, it is recommended to mark with a pencil the places of future recesses. Large openings are suitable for storing scissors and markers, small recesses will be useful when placing pencils and pens. We decided to drill two rows of recesses of different sizes - three pieces in each row. The holes for stationery items should be deep enough so that objects do not fall out.
3. After all the planned recesses in the stand have been drilled, you should process the wooden block using a sanding block or a piece of sandpaper.
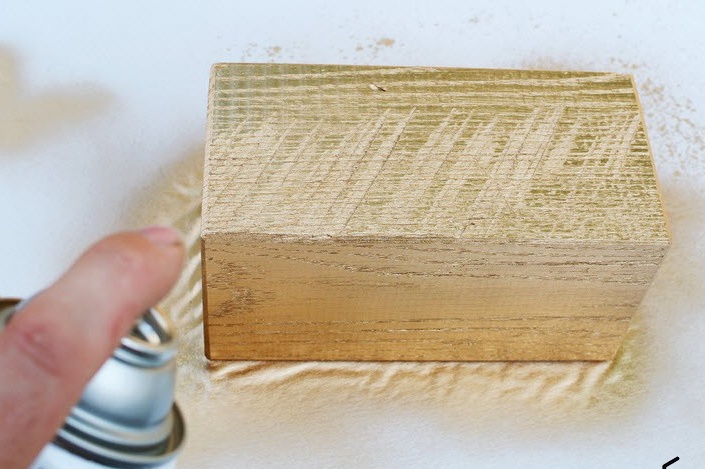
4. You can give the finished product a finished look by using the paint in the spray can. To decorate the stationery stands, a natural golden hue was chosen. However, you can use brighter paint or even plain colorless varnish. If you need to paint certain areas of a wooden block, then masking tape is very useful. This material will help cover areas that cannot be painted.
It is necessary to wait until all the applied paint has thoroughly dried, and you can proceed to the most pleasant and creative process - filling the finished design with stationery trifles. And the place for such a wonderful and stylish DIY organizer on your desktop will certainly be found.

