DIY flower pot from a tree trunk
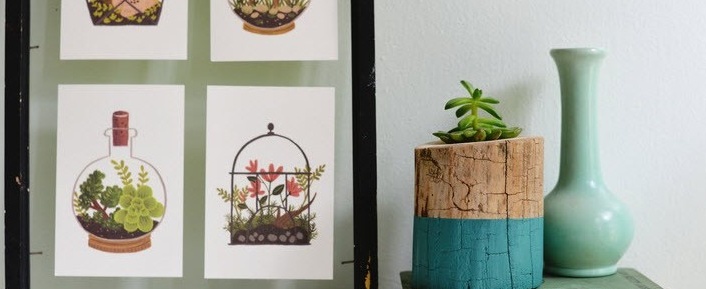
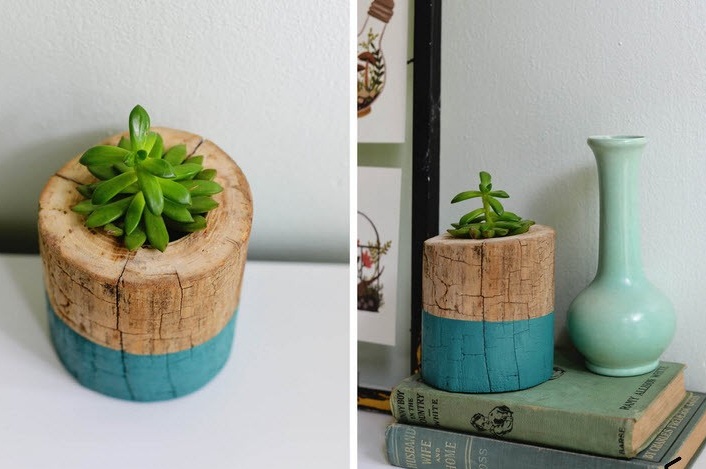
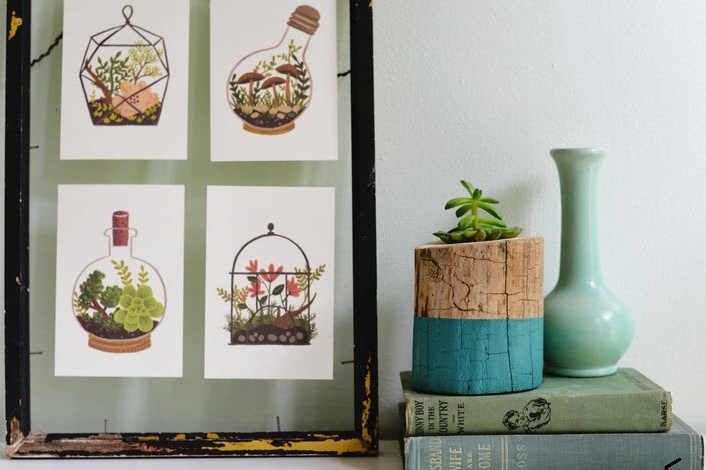
An unusual exclusive flowerpot for a flower from a tree trunk is another idea for creative lovers to craft original and creative accessories. An excellent accompaniment to it will be a graceful vase in tone and a couple of antique books.
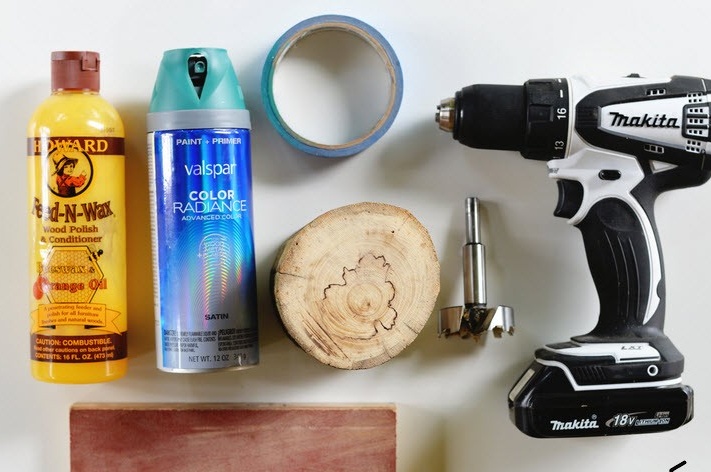
To make a pot you need
- The trunk of the tree is suitable in size.
- Drill.
- Drill (a hand drill is quite suitable, but for a more accurate size it is better to take a drilling machine).
- Sandpaper or sanding block.
- Masking tape.
- Spray paint.
- Varnish for decoration.
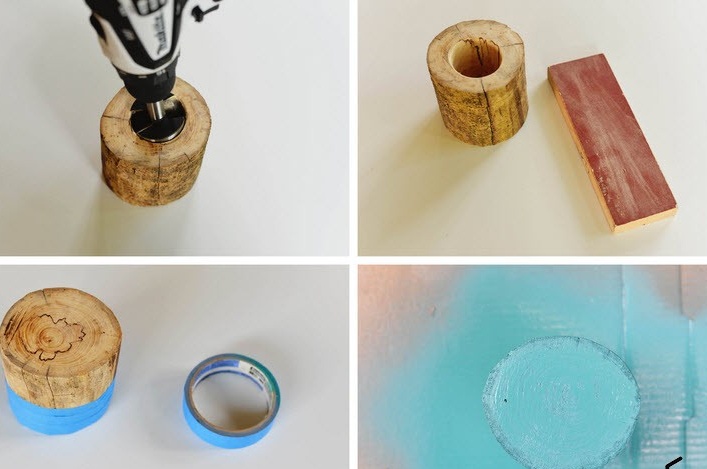
Once you have decided on the size of the future pot, drill the middle of the tree trunk (its diameter will depend on the needs of the plant). Thoroughly sand the surface and center with sandpaper or sanding block.
Decorate a flower pot using masking tape. Tightly glue the upper part of the product with it, and spray the spray paint on the bottom. Let it dry completely and apply a second coat. Make sure that the tape is glued as tightly as possible, without any gaps, to avoid sagging. After the second coat of paint has dried, carefully remove the tape. A more finished look will give the pot a lacquer coating.
The photo shows a two-tone color. By the same principle, you can create absolutely any picture.
Complete the project by planting your favorite plant in a pot and choosing the best place to create the most comfortable conditions for it.
Place an additional plastic vessel at the bottom of the pot so that it lasts as long as possible, and your favorite flower in this frame was a true object of admiration for guests and households.

