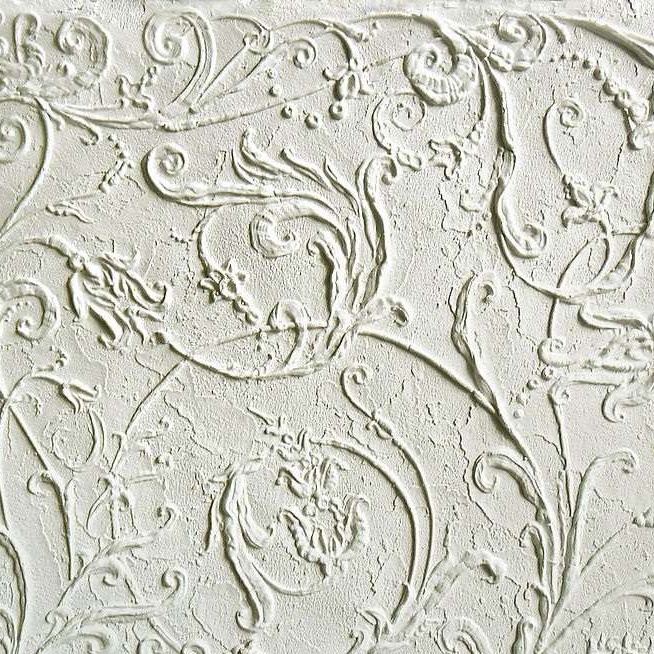
Relief murals
Embossed murals are a wall decoration using Italian decorative plaster. If you are looking for an interesting and unusual option for wall decor, then a raw stucco canvas is just for you. To create a fresco relief using the technique of applying raw plaster on a textured basis. The composition of the plaster includes plasticizers, which makes the canvas flexible. Finishing can be done with finished canvases or do it yourself.


Ready-made relief murals
The advantages of frescoes on finished canvases:
- convenient installation process. All work is first performed in the workshop according to the specified sketch, and then the paintings are attached to the wall;
- the entire installation process will take no more time than wallpapering;
- the cloth can be glued on rounded surfaces;
- fresco relief can be used even in the bathroom;
- The material is environmentally friendly.
Ready installation process relief fresco paintings:
A grid is drawn on a clean, dry wall with a smooth surface using a level, the mesh size of the mesh is 50x50 cm. The canvases are mounted according to the corresponding scheme, the angles of which exactly match the angles of the drawn cells. Cloths need to be glued with an overlap. To do this, use tile adhesive for paintings on the mounting grid, and wallpaper adhesive for paintings on a non-woven basis. The adhesive layer should be at least 2 mm. A sharp knife should trim the edge of the fresco and docking the canvas. Then with the middle brush at the joints we again apply tile glue. This will make the joints completely invisible. When the glue is completely dry, apply the soil and after 2-3 hours our fresco relief is ready for painting.
Making fresco relief from sculpted clay with your own hands
You'll need:tracing papercopy paper,masking tapepolymer clay,PVA glue,brush - bristle,stack, knife, core brush,water tankscapacity for slip.
- For drawing a picture on the wall, first align it and plaster. First draw a sketch of the mural with a pencil. It can be a floral ornament, seashell or any other picture created by your imagination.
- Keeping all the proportions necessary, drawing all the details and to scale the drawing on the tracing paper. After that, fix it with masking tape on the wall. Using carbon paper, transfer the pattern onto the wall.
- Take polymer clay and knead it well, it should not stick to your hands, but be soft enough. To prevent it from drying, wrap it in a damp cloth and place it in a plastic bag.
- Prepare a slip, it acts as an adhesive. For its preparation we use clay which, with the help of water and PVA, is brought to the consistency of sour cream.
- It is best to start work with the part where there will be the most massive fragments. This is necessary to dry the previous layer before applying the next.
- Smear the area of the drawing on which you will apply the fragment with a slip. Take a small amount of clay and apply with small details. The layers can be rolled out with a rolling pin, work through each detail with your fingers and trim using stacks.
- Do not leave an unfinished fragment, the clay has the ability to dry. Try to create a relief so that no joints are visible.
- In order for your bas-relief to dry well, he needs to give time about a week. After complete drying, go over the relief with fine-grained emery paper. Then prime the drawing. For soil, dilute PVA glue with water (1: 1).
- Use a spray gun for painting. Finish work on the bas-relief by applying acrylic varnish.