How to make a house for a cat with your own hands?
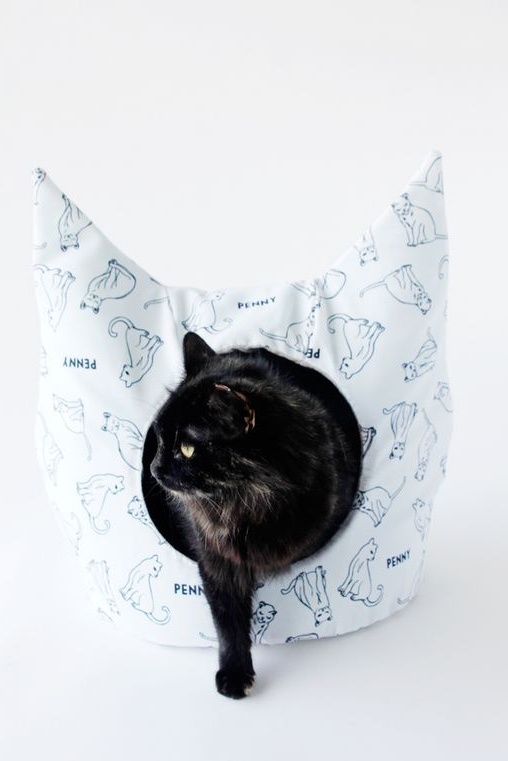
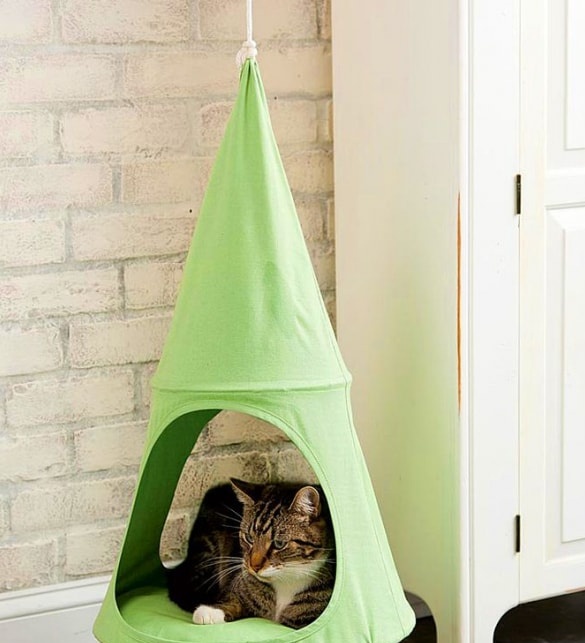
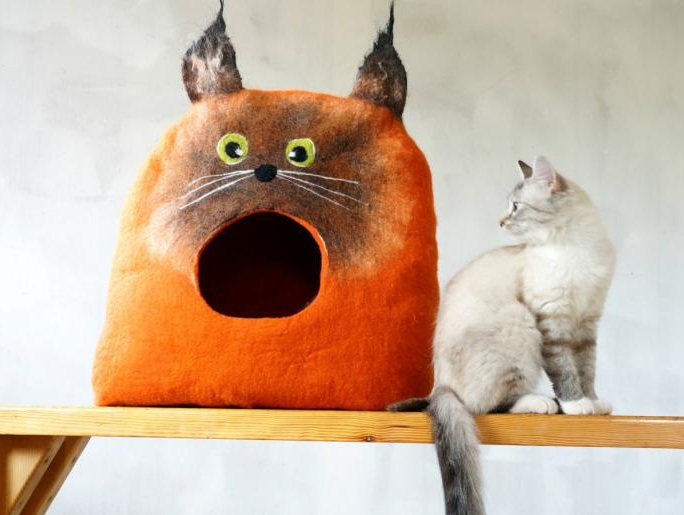
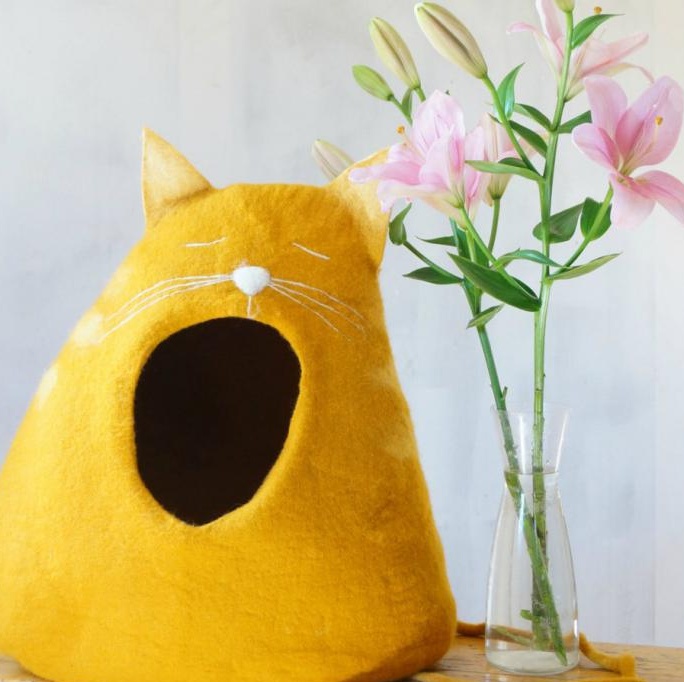
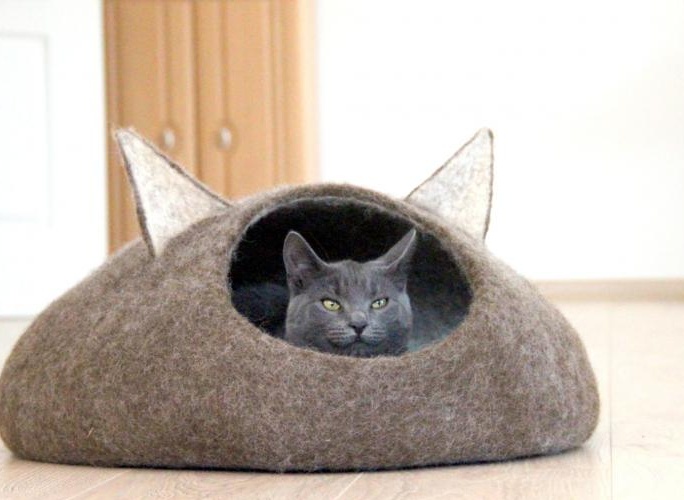
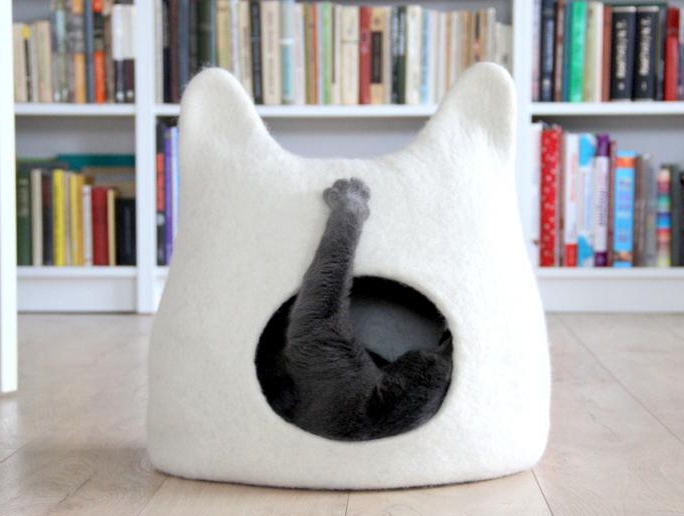
Probably all animal lovers know that cats love to hide in houses. And it doesn’t matter how big the design will be. The most popular are minimalistic options. However, it is not rare to see designs on several floors. Of course, the cost of such products is high, but if you wish, you can make an equally convenient option with your own hands.
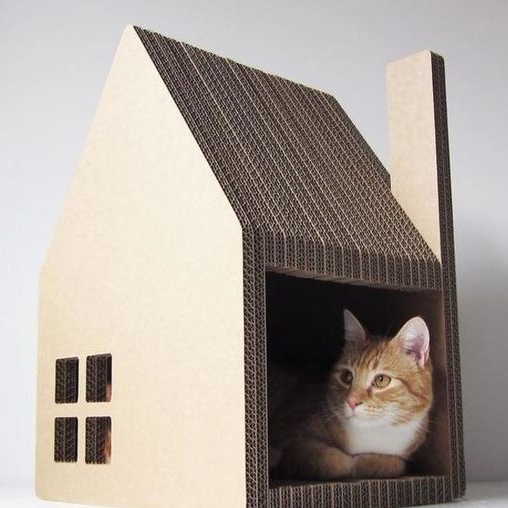
Stylish house made of cardboard box
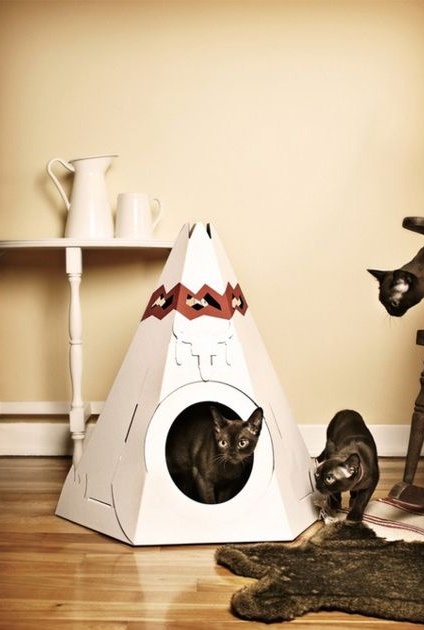
For those who are trying for the first time to do something with their own hands, we recommend starting with the manufacture of a cardboard house. For him, do not need too many devices and financial costs. Nevertheless, it looks no worse than more complex designs.
We will need:
- a suitable size cardboard box;
- cardboard;
- hot glue;
- stationery knife;
- pencil;
- ruler;
- brush;
- paints.
On a cardboard box, make markings and cut off unnecessary parts with a clerical knife.
We cut out an additional part for the roof of a suitable size.
Using hot glue we fix the upper part of the house.
We mark the windows and doors on the box. Cut the marked parts with a clerical knife.
We paint the house with white paint and leave it to dry completely.
We paint the house at our discretion and leave it to dry for at least six hours.
We put inside a plaid or thin mattress of small size.
Bright, stylish house for the cat is ready!
Complex with a house for a cat
We offer those who are not afraid of difficulties to try to make a whole complex for a cat with their own hands.
Necessary materials:
- Fiberboard for the base;
- Particleboard for walls and roof;
- wooden blocks - 2 pcs.;
- struts for walls - 7 pcs.;
- trumpet;
- foam rubber;
- rope;
- soft tissue;
- roulette;
- saw or jigsaw;
- pencil;
- drill;
- a piece of chalk;
- knife;
- marker;
- scissors;
- construction stapler;
- sandpaper;
- glue gun;
- self-tapping screws.
First, from the fiberboard and particleboard, you need to prepare the rectangles that will be needed for the walls, the base and the bed. The size is determined independently based on the free space in the room. On the blanks for the walls, draw a circle.
On one of the walls we draw holes in the form of circles for the entrance and decorative windows.
To do this, you can use the presented scheme.
Using a saw or a jigsaw, carefully cut out all marked holes in the workpieces.
We put the two blanks together and make marks at which they will be connected by slats. In this example, there are seven of them. Using a drill, we drill the marked points.
We begin to prepare the rails. To do this, we align all the faces, and also remove the roughness. 
We connect parts with each other using rails and screws.
Cut the blank from soft fabric. It is best that it be larger than the size of the wall.
We fix the fabric over the wooden wall with a glue gun.
On the second blank from the fabric, cut holes for the windows. Glue it with a glue gun. 
We attach foam rubber to the blank for the base of the complex. This place will be the first couch. In the upper right part, we note the location of the pipe. 
On top of the foam rubber, glue the fabric onto the entire workpiece with a glue gun.
Additionally we fix the fabric with a construction stapler.
Two pieces are cut from the fabric and glued to the inside of the two lower slats.
Using self-tapping screws we connect the main part of the house with the base.
We cover the slats with a cloth and fix with hot glue.
If necessary, fasten the parts with a stapler.
Glue a fabric of a suitable shade into the inside of the house.
The house for the cat is ready! It remains only to complete additional devices.
We connect two wooden bars among themselves with hot glue or self-tapping screws. We insert them into a plastic pipe.
We fix the bars in the pipe with glue.
From the chipboard or fiberboard we cut two semicircles. They will be needed to create a couch.
On one of them we cut a hole for the pipe and put the workpiece on top of it.
On the second workpiece, we make holes for the screws and connect it to the bar in the pipe.
We turn over the complex, put the pipe in the intended place and determine the location of the claw point.
We attach the pipe to the base with self-tapping screws.
We wrap its base with a cloth and fix it with glue.
We cut out the foam rubber in the form of a stove bench and glue it.
Cut the rope and tie a toy at one end. The second end is fixed with a stapler under the bed.
We glue the upper part of the couch with a cloth and, if necessary, fix the edges with a stapler.
Wrap the pipe with a rope and fix it with glue.
We cut a blank for a claw point from a tree. We process the surface and glue it on each edge with a cloth.
We wrap the central part of the claws with a rope. We put the board at an angle to the base of the complex. We attach it to one of the rails.
Such a complex will definitely appeal to every cat or cat.
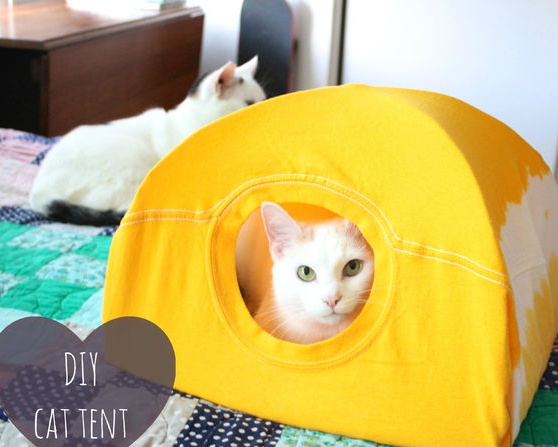
T-shirt house
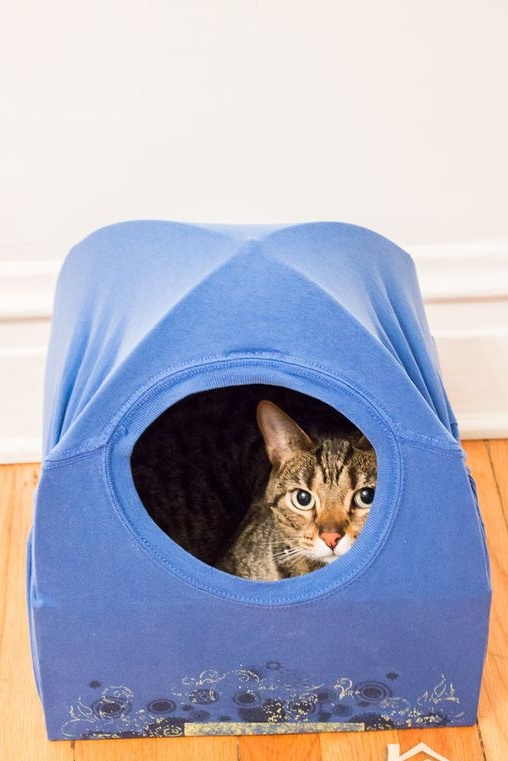
Perhaps one of the easiest and budget options is to make a house for a cat out of a T-shirt.
Prepare the following:
- thick cardboard;
- T-shirt;
- pliers;
- wire hangers - 2 pcs.;
- duct tape;
- pins.
We straighten the hangers and cut the hooks.
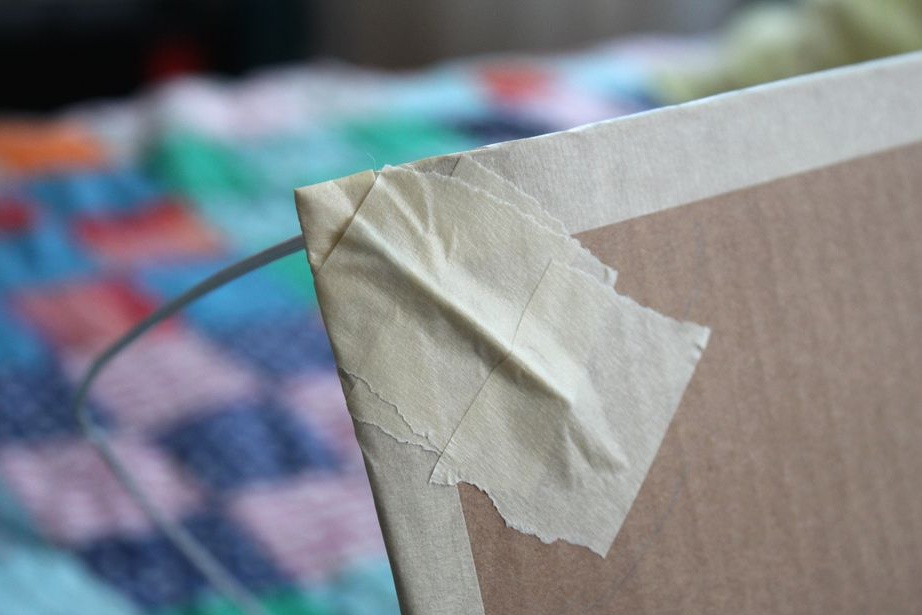
Tape the cardboard with adhesive tape around the edges. From the hangers we make racks, as shown in the photo.
In each corner we make small holes so that the wire in them stands firmly enough.
We put the racks cross on the cross and fix the adhesive tape. We insert them into the holes on the cardboard.
Bend the tips on each side.
We fix the ends with duct tape or tape.
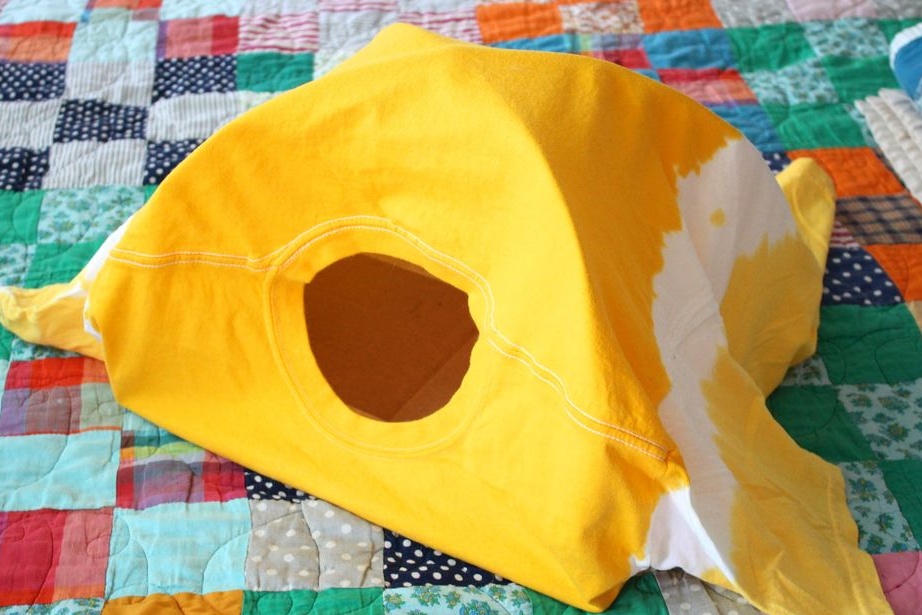
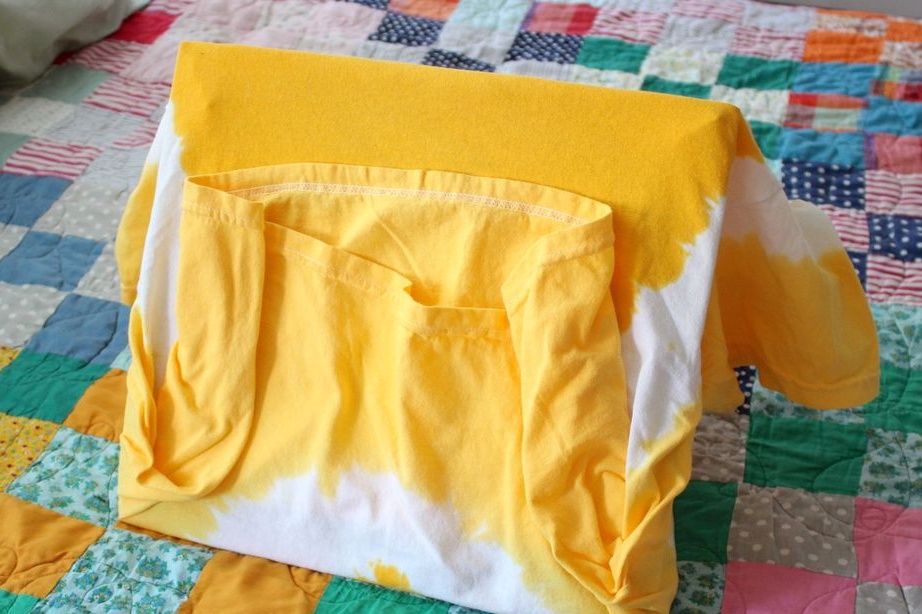
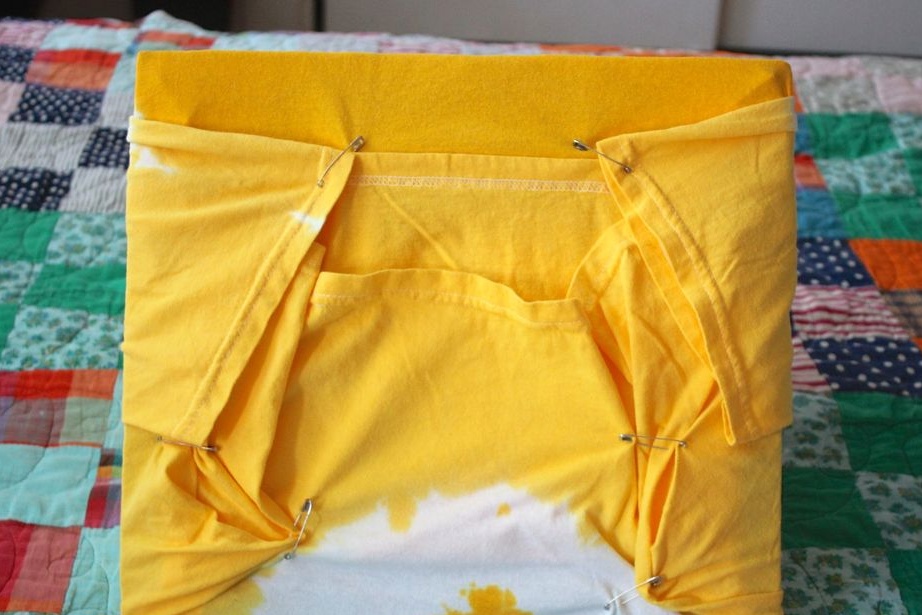
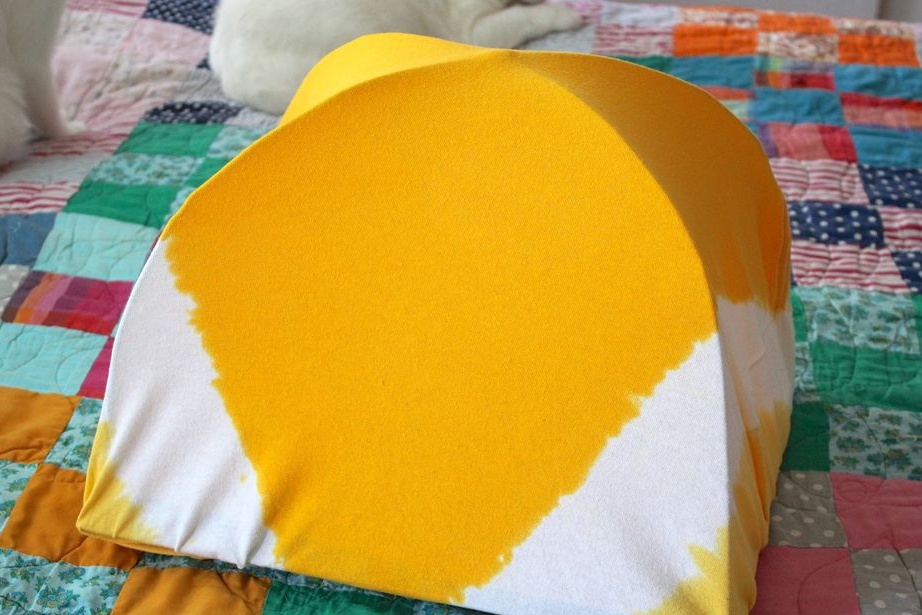
We pull the t-shirt on the frame, as shown in the photo.
We fold the bottom of the T-shirt and fasten it with pins.
We put a plaid or a small pillow inside the house.
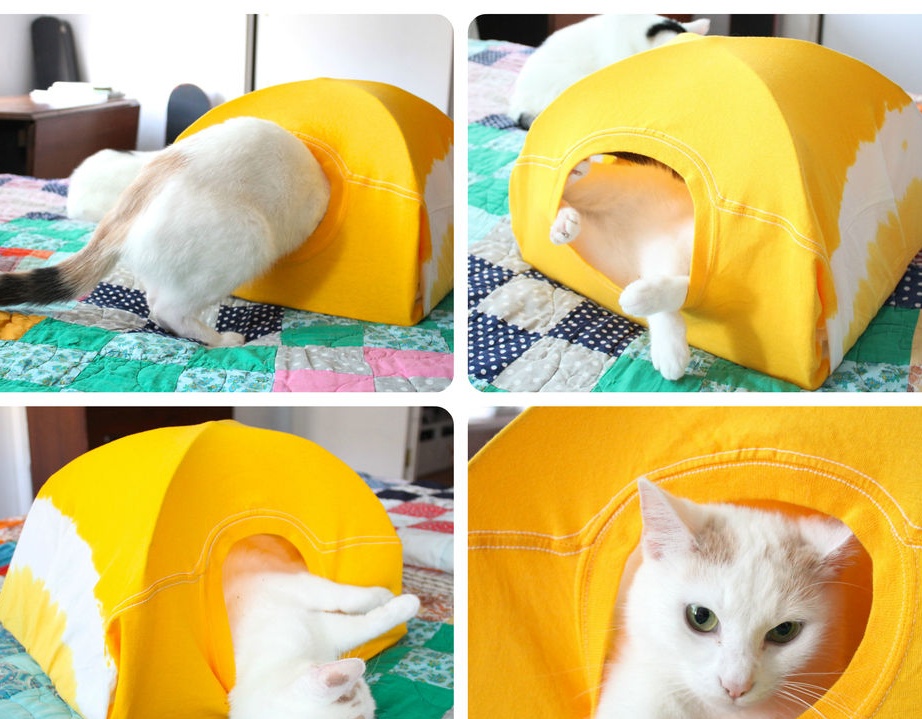
An original, but at the same time a simple house for the cat is ready!
As you can see, to create a house for the cat does not need expensive items. Therefore, do not hesitate to try something interesting and realize all your ideas. After all, the result will be the necessary item for your pet. Be sure that he will definitely not be left without attention.

