

Homemade crafts: interesting ideas from improvised means
Surely, many of you have noticed that in workshops too often materials that are too complex or expensive are used. Of course, as a result, such expenses are really justified. But what to do if there is a desire to create original crafts with your own hands, but there is no way to purchase everything you need? In fact, there is a solution - choose simpler crafts, for the creation of which you can use the means at hand.
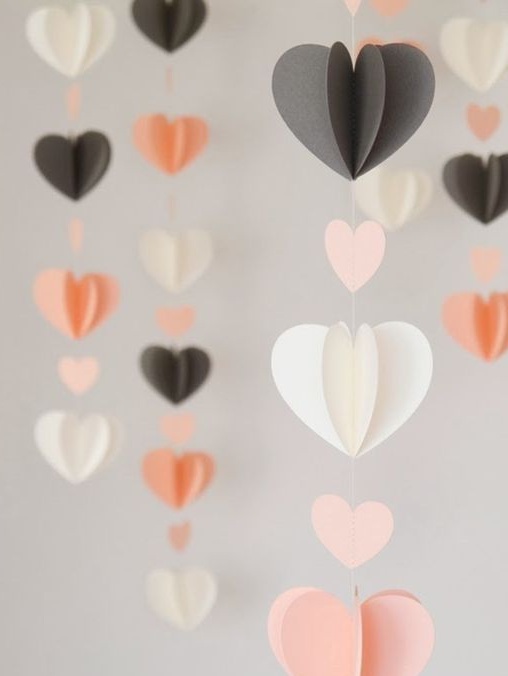
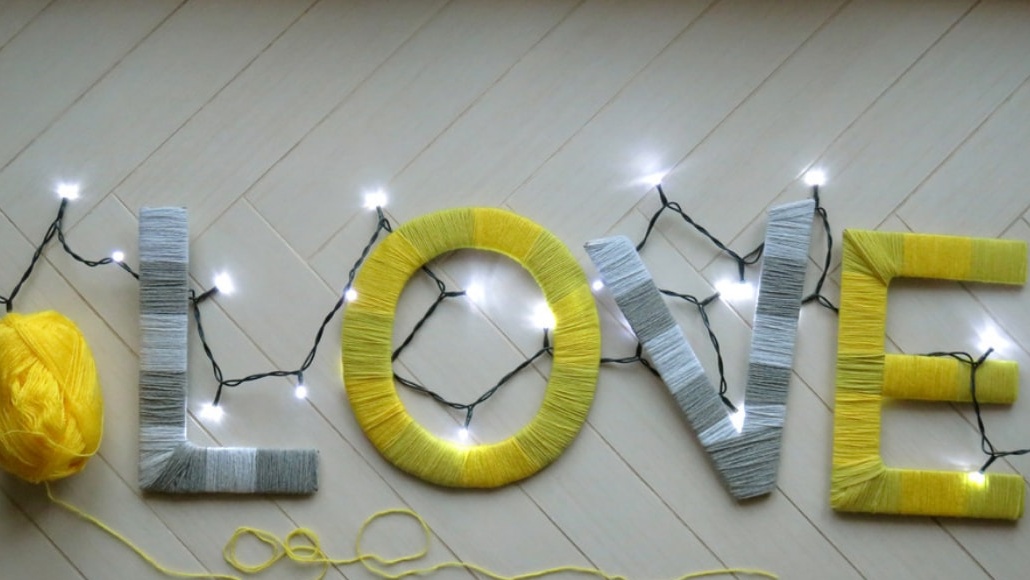
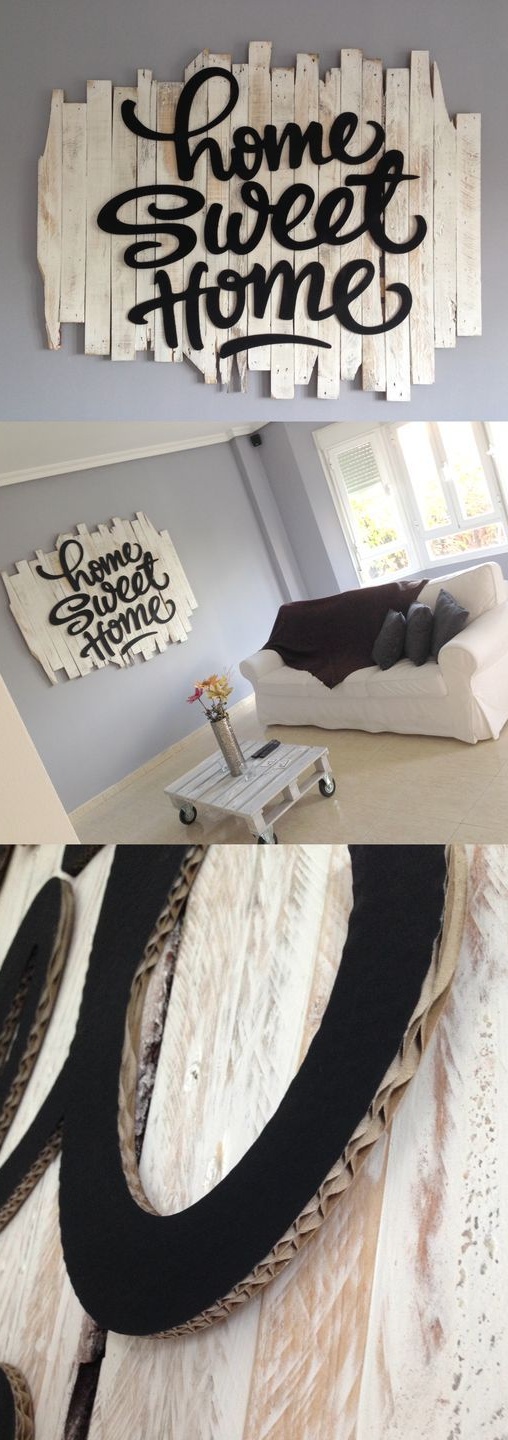
Letters for decor
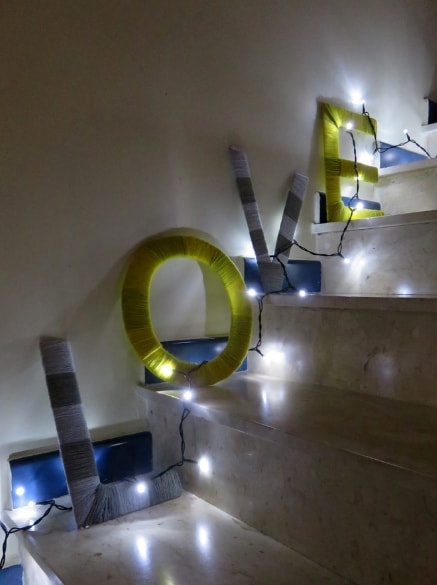
Volume letters or whole words are a great option for room decor. It can be a thematic inscription, a call to action, a motivating phrase, or even your name.
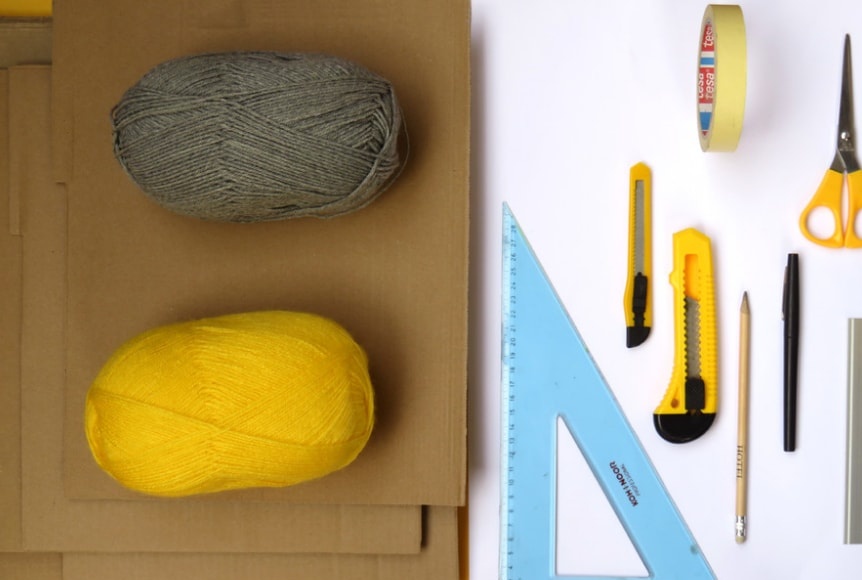
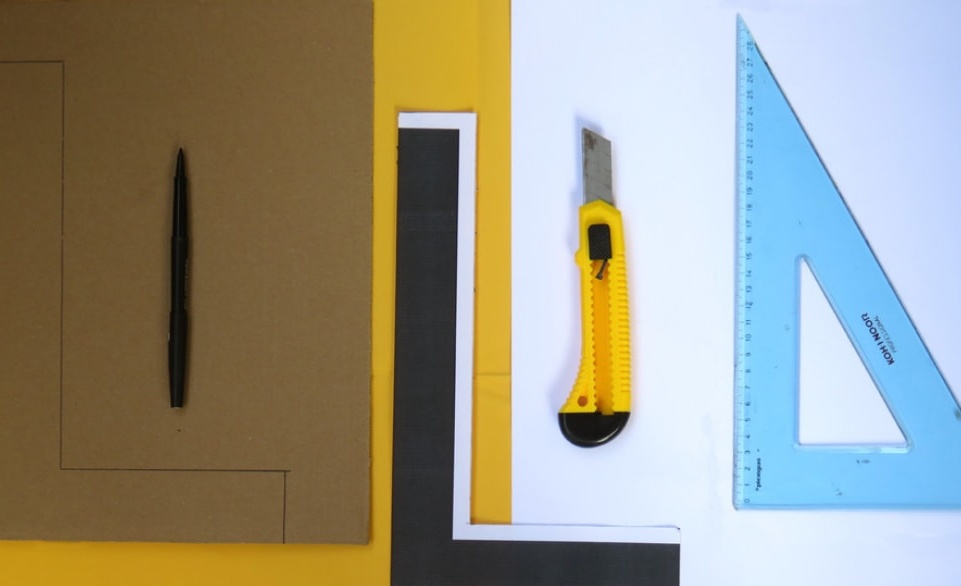
Necessary materials:
- thick cardboard;
- paper;
- threads
- duct tape;
- scissors;
- stationery knife;
- ruler;
- pencil;
- black marker.
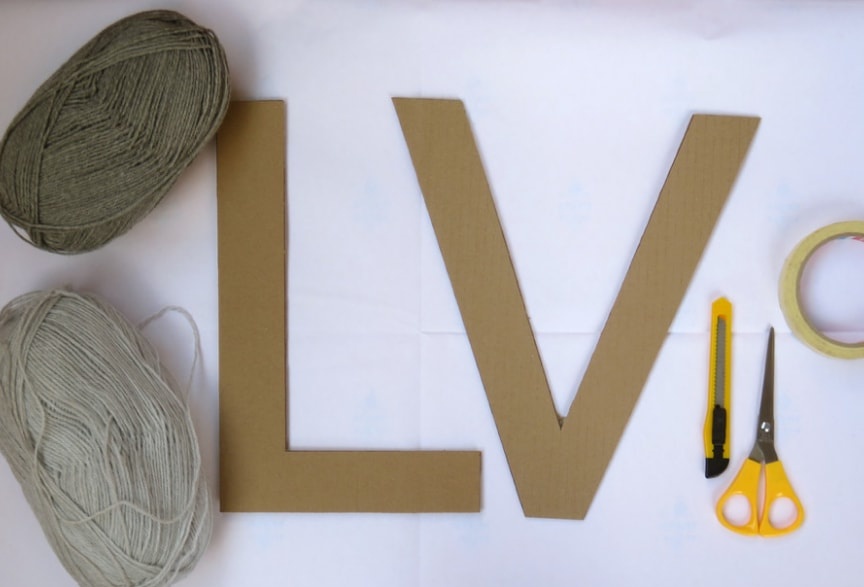
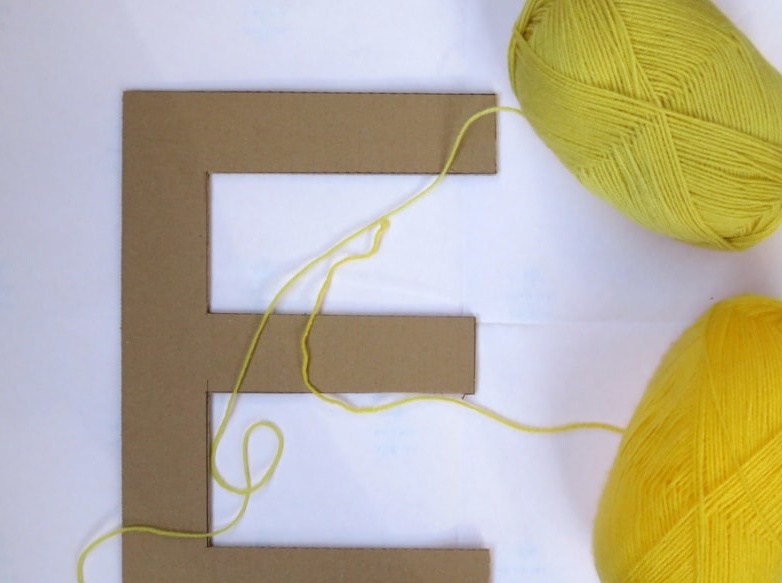
We begin to prepare the letters. To do this, you can print blanks on a printer or simply draw them using a ruler and pencil on cardboard.
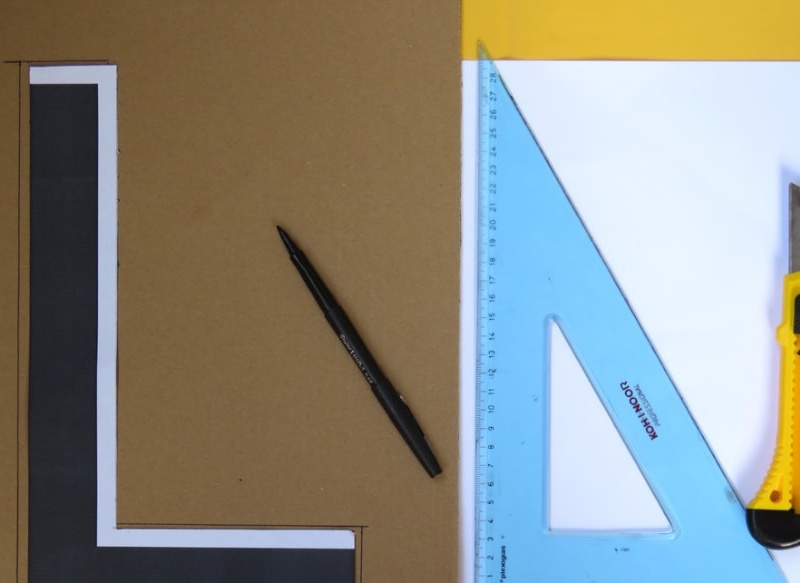
In case you printed them, then we just cut them out and transfer them to cardboard.
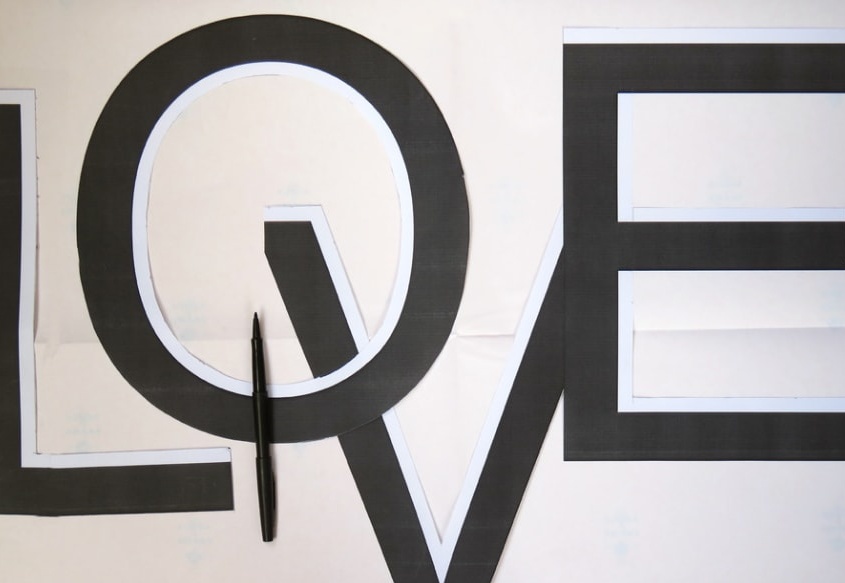

Carefully cut each of them with a clerical knife.

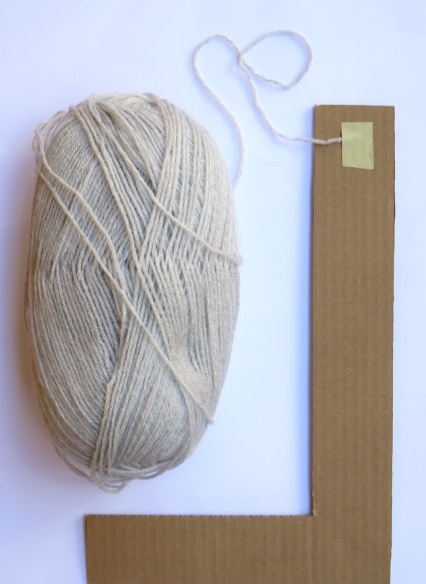
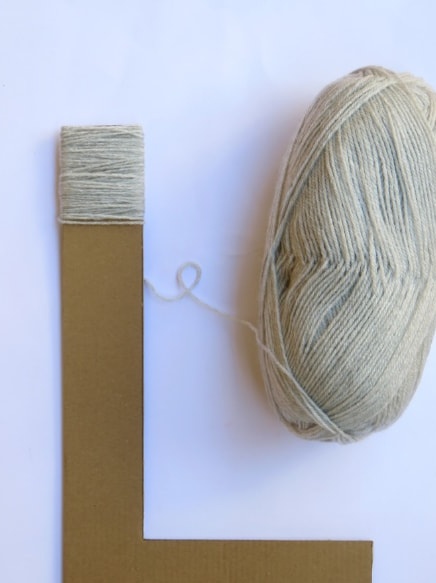
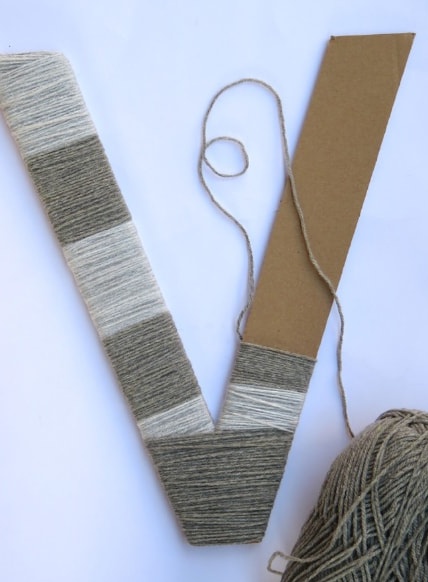
Getting to decorating letters. We fix the edge of the thread with adhesive tape on the letter and begin to wrap it.
In this case, we suggest using threads in several shades. But if you wish, you can make one-color inscription.
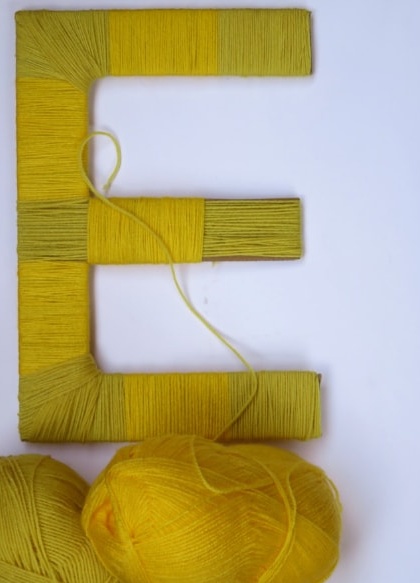
The second letter is made in two shades of yellow.
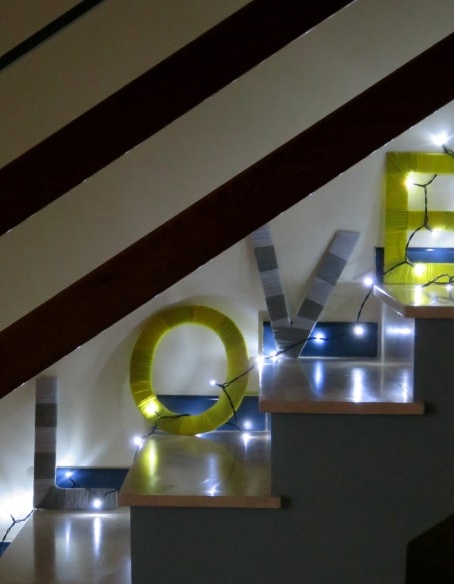
Repeat the same with the next two letters. Do it yourself stylish decor!
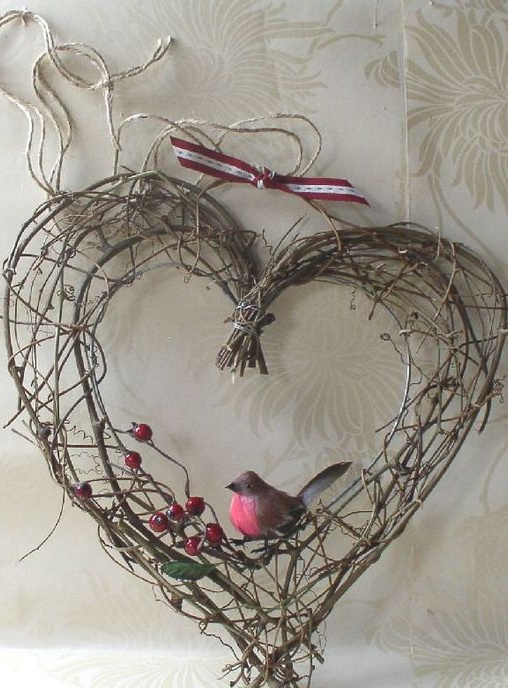
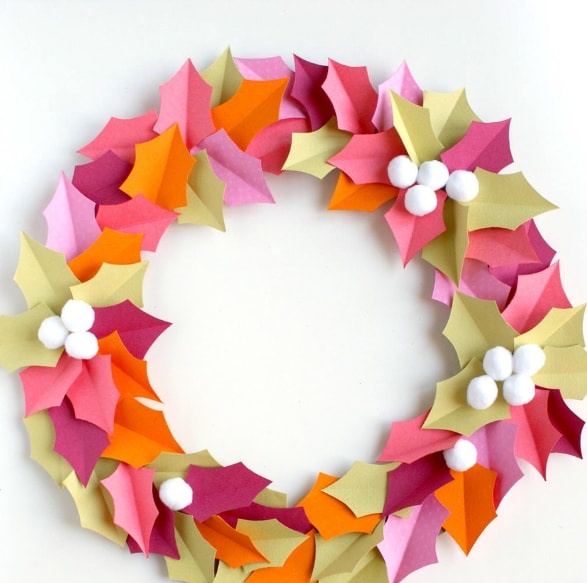
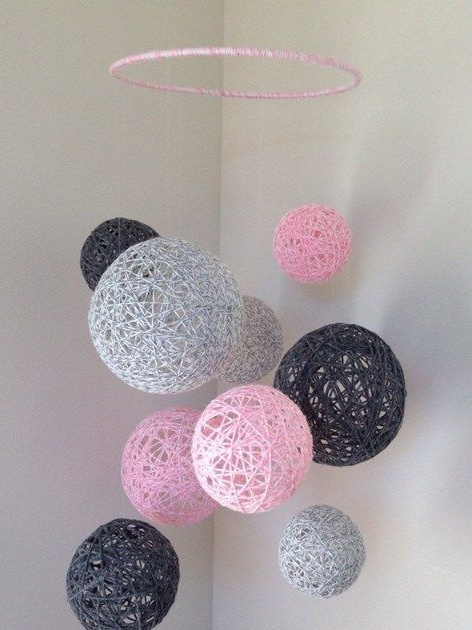
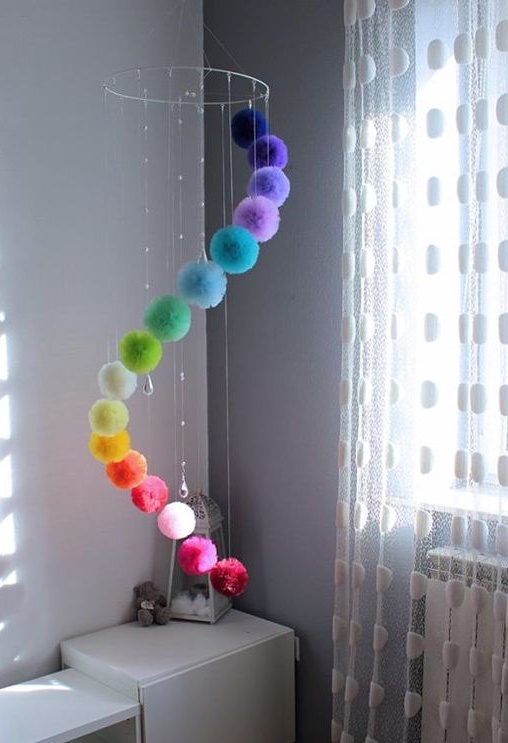
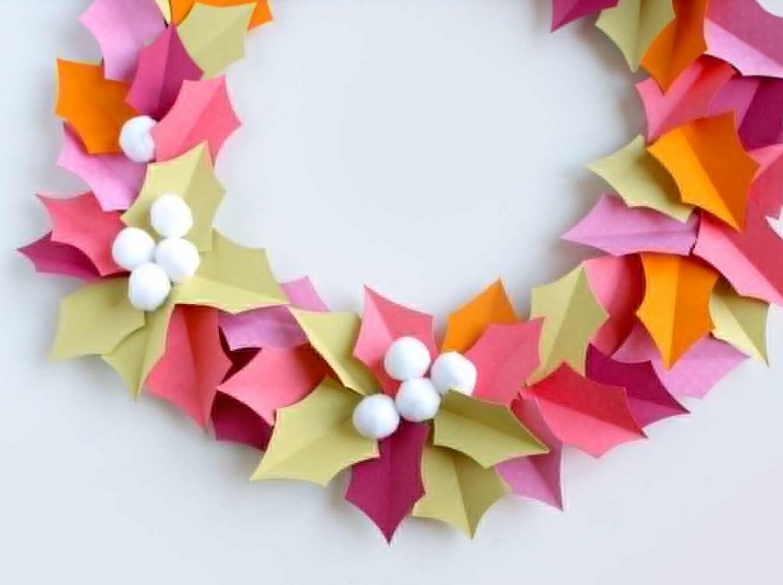
Decorative wreath of paper
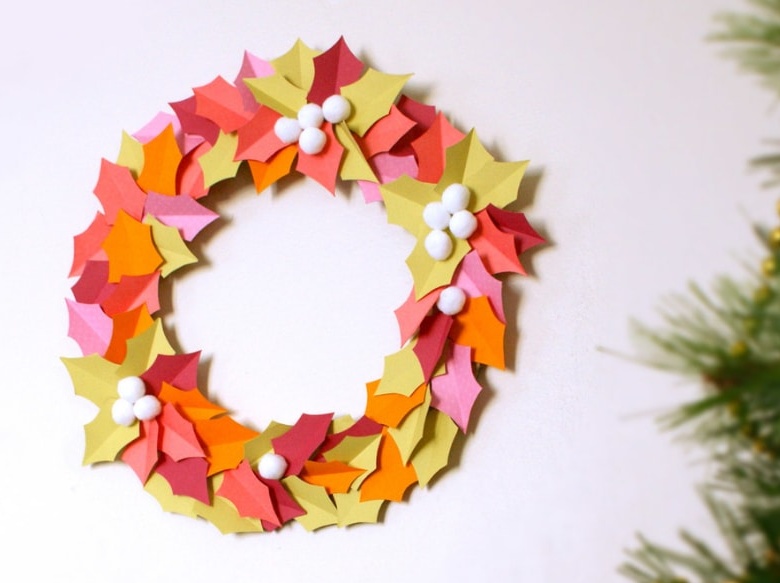
As a decor for the room, you can use literally everything. Therefore, we propose to make an original wreath in the autumn style with your own hands.
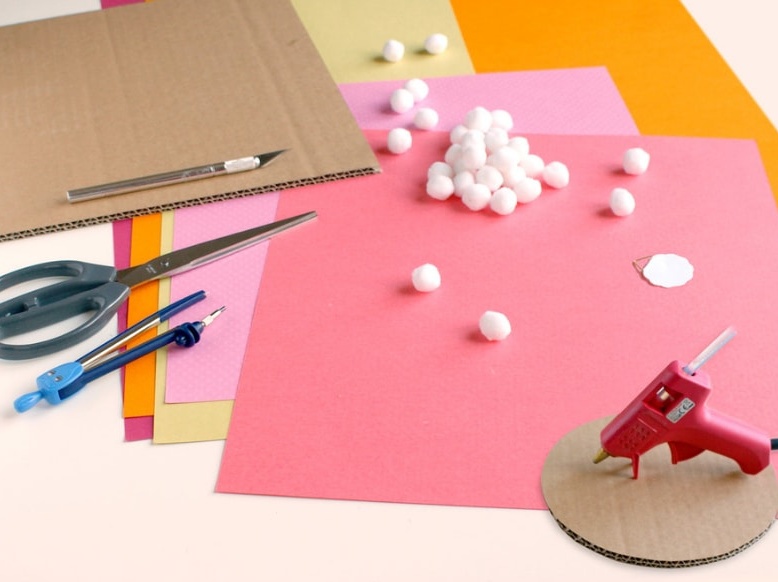
You will need the following:
- colored paper;
- cardboard;
- scissors;
- compass;
- stationery knife;
- glue gun or superglue;
- foam balls or other decor as desired.
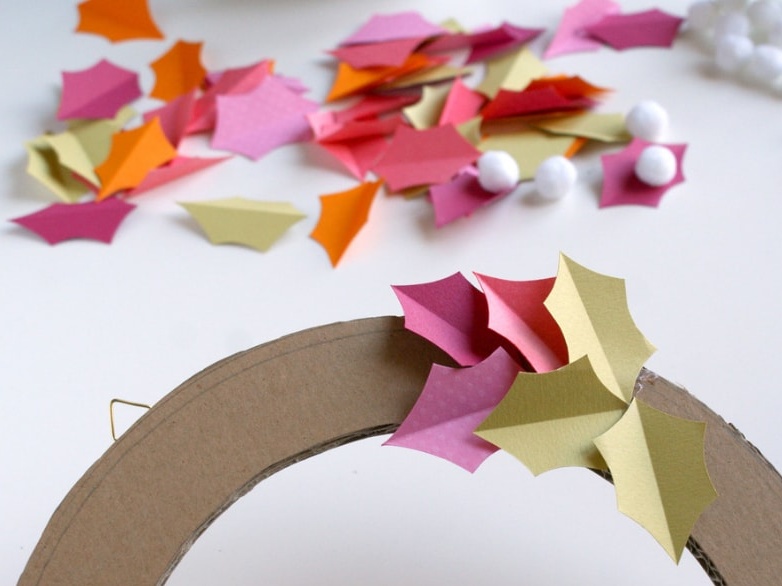
On a sheet of cardboard we draw two circles of different diameters around one center.
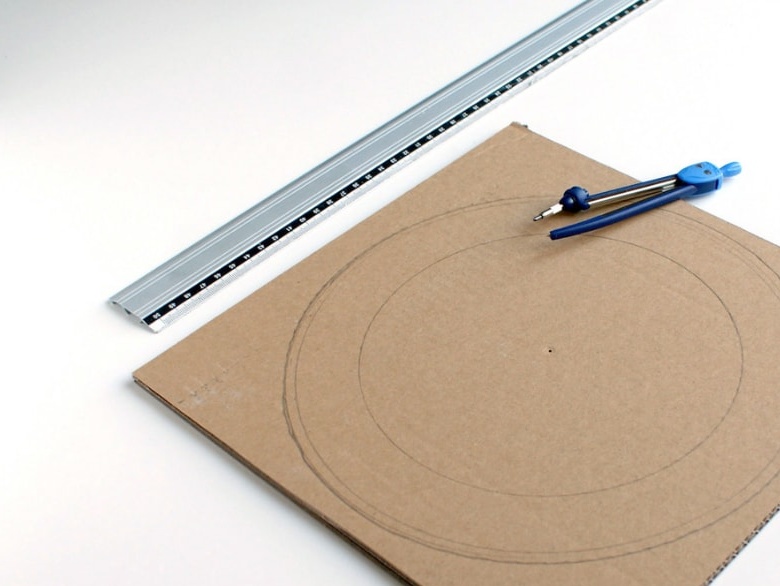
With a clerical knife, carefully cut the workpiece.
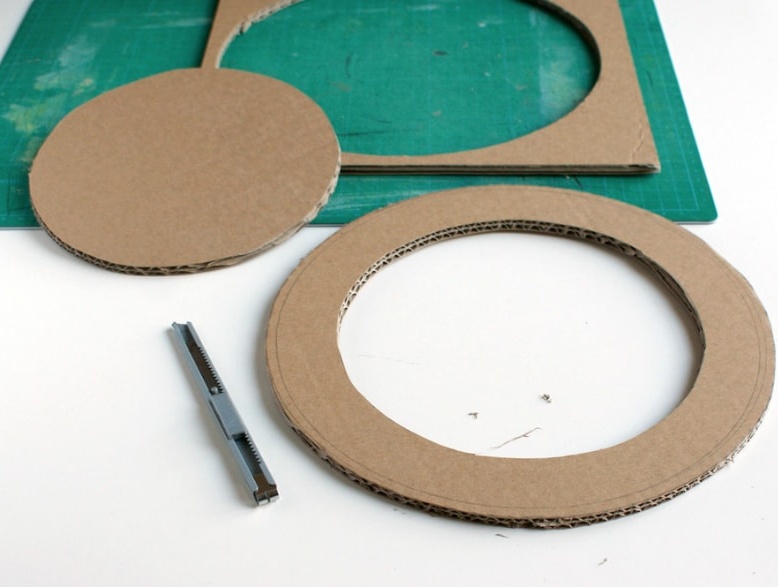
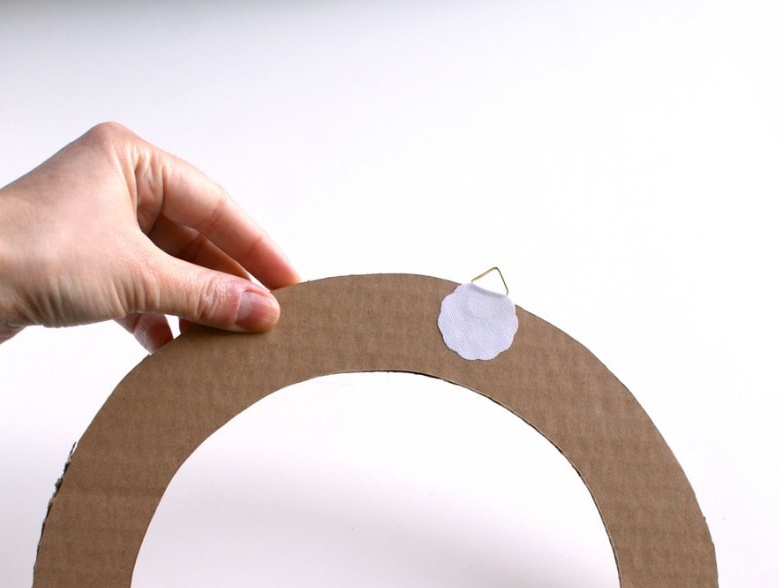
If necessary, attach a hook or a piece of thread from the back. This is necessary so that the wreath can be hung on the wall.
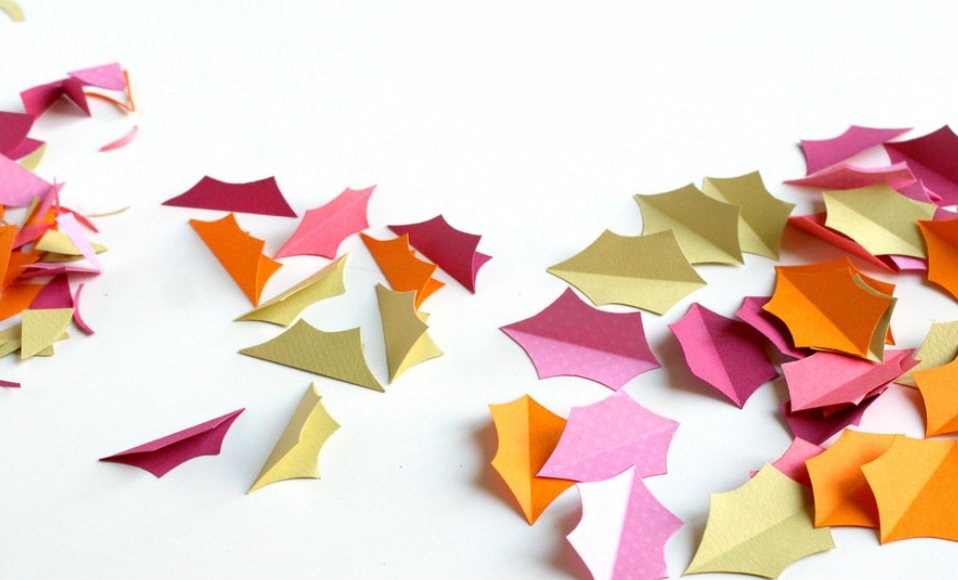
Color paper is cut into rectangles of the same size.
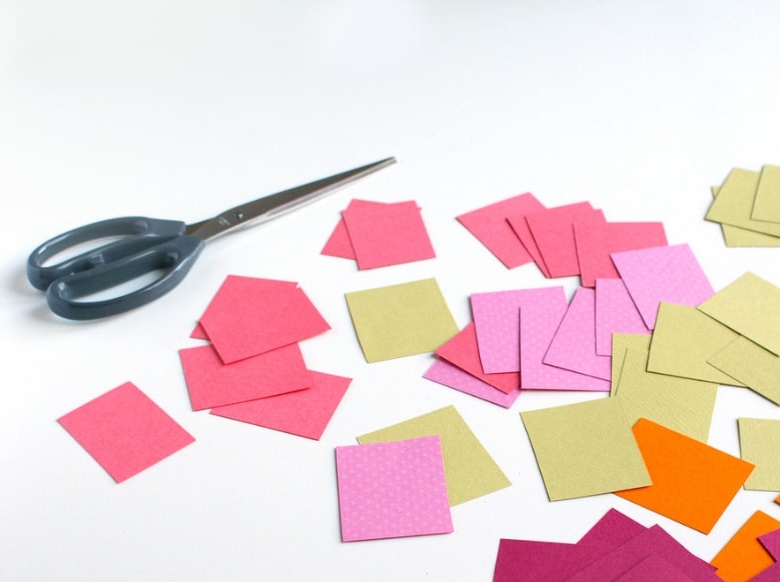
We bend each of the blanks in half.

We cut the paper blanks, as shown in the photo, and then straighten each of them.
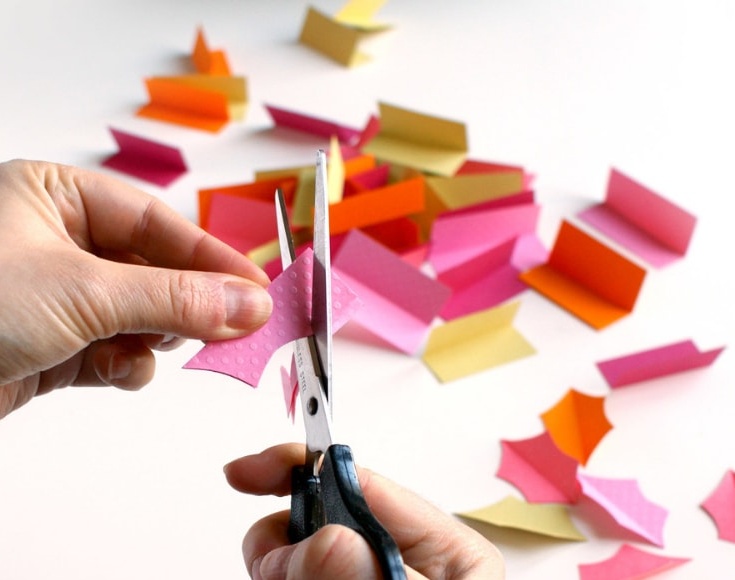
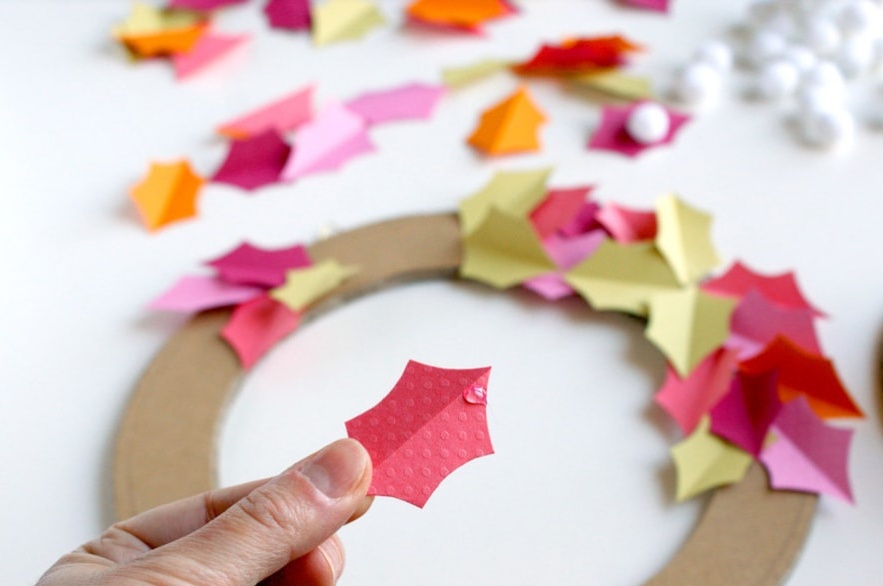
Using hot glue, glue the leaves to the cardboard blank.

Keep in mind that too much glue is not needed for fixing. Also note that the leaflets should be arranged in a chaotic manner. Only this way the wreath will look more natural.
If you wish, you can decorate it with polystyrene balls or other decor.
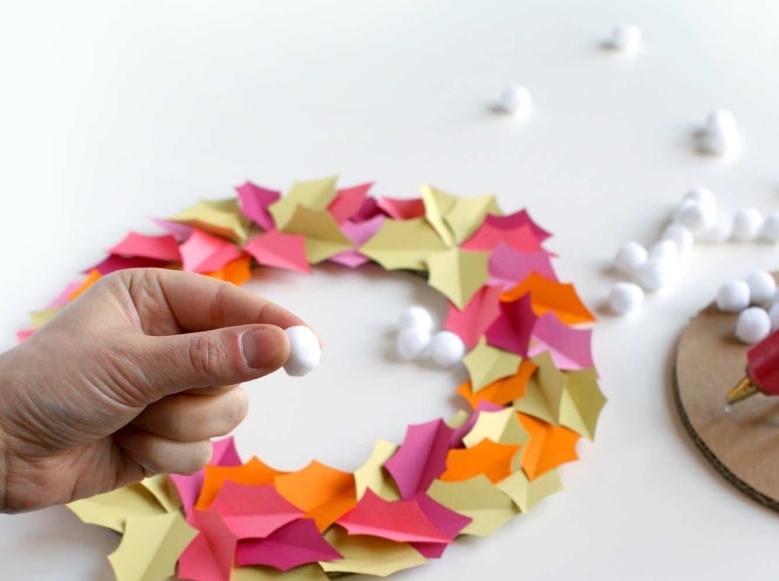
The result is a bright, beautiful decorative wreath in the autumn style.
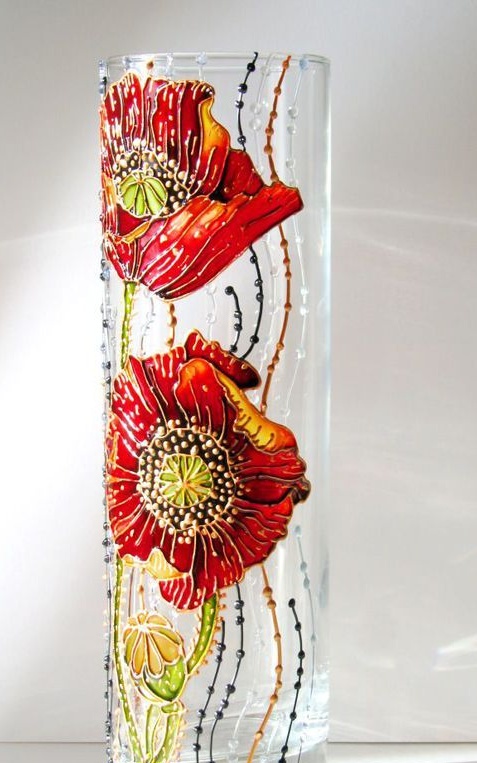
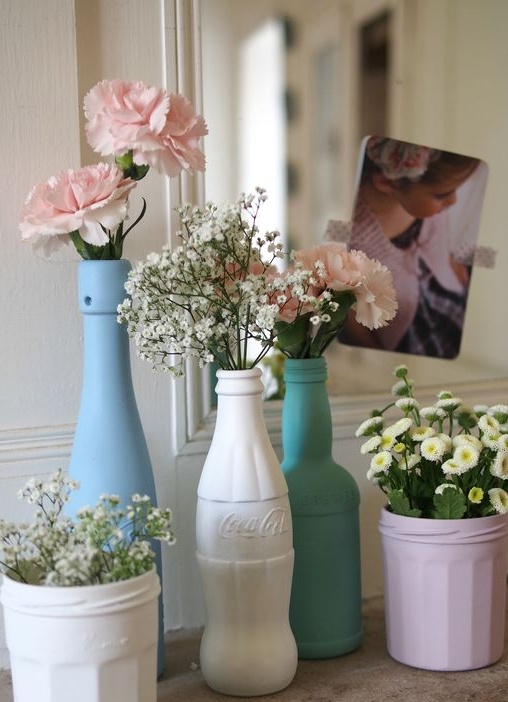
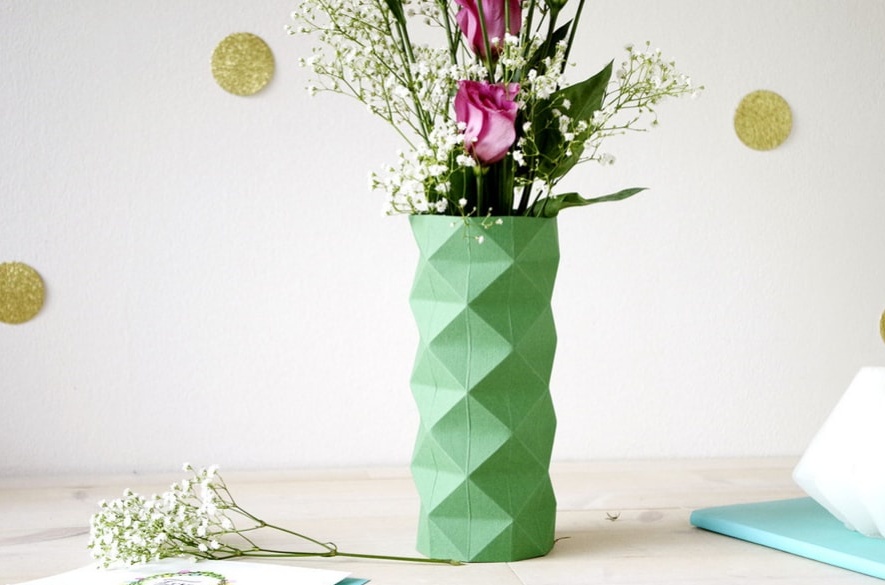
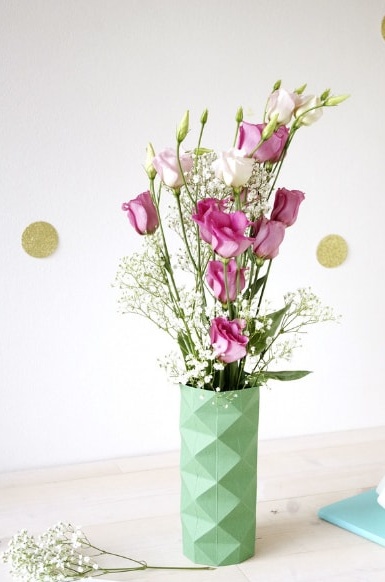
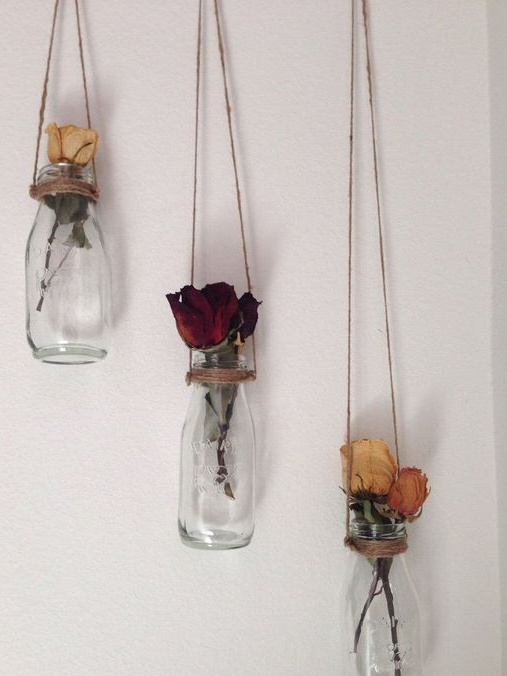
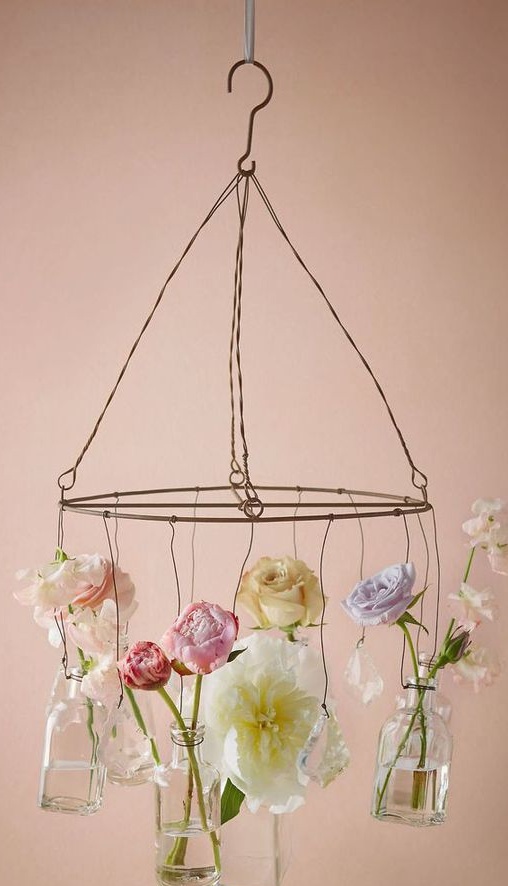
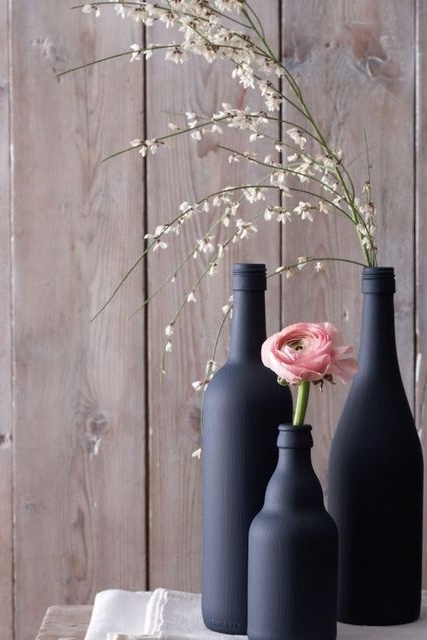
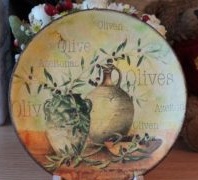
Vase Decor
Simple plain or transparent vases are sometimes annoying. In this case, we propose not to run after a new one, but to make an original decor that can always be removed.
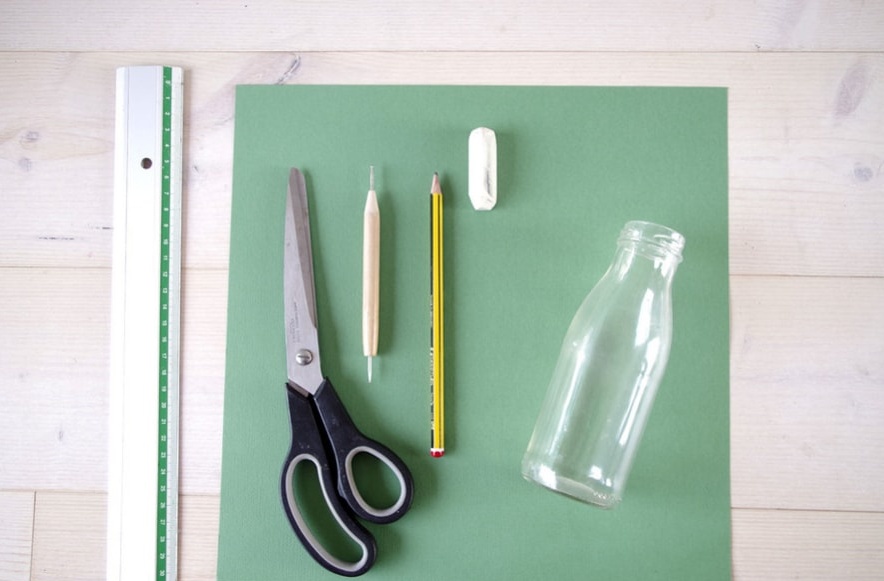
For this we need:
- a large sheet of paper;
- vase or jar;
- scissors;
- pencil;
- ruler;
- eraser;
- glue;
- dots or pen without ink;
- a printer.
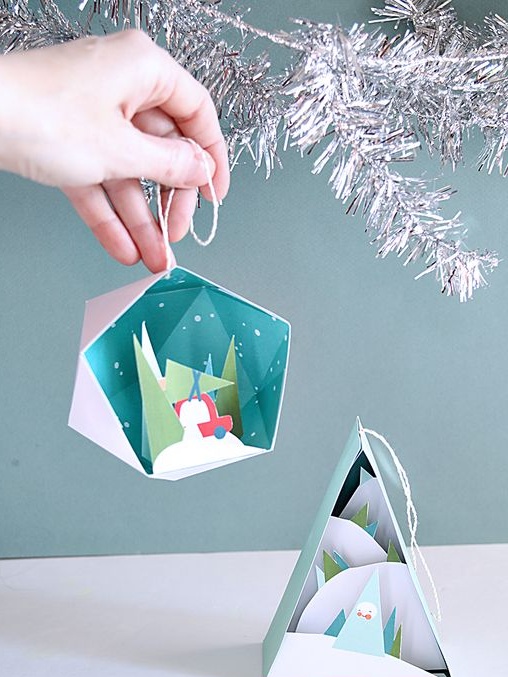
We print a template on plain paper and transfer it to a color sheet.
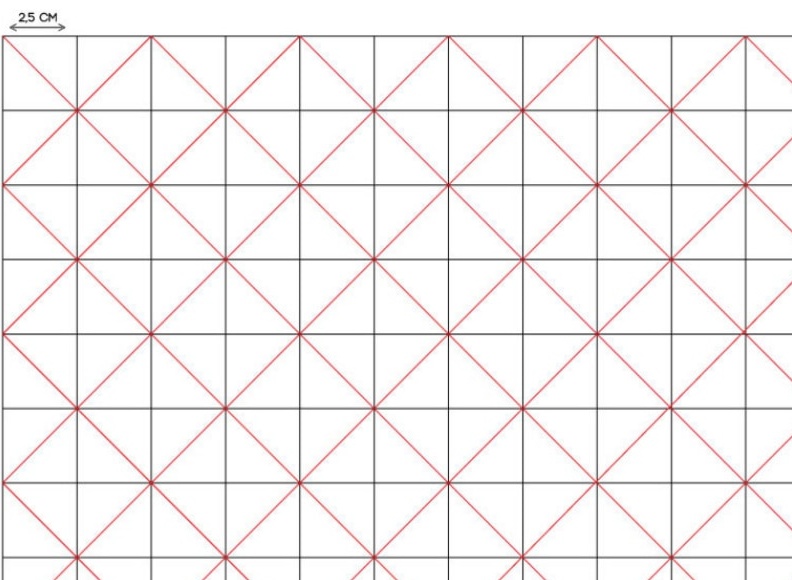
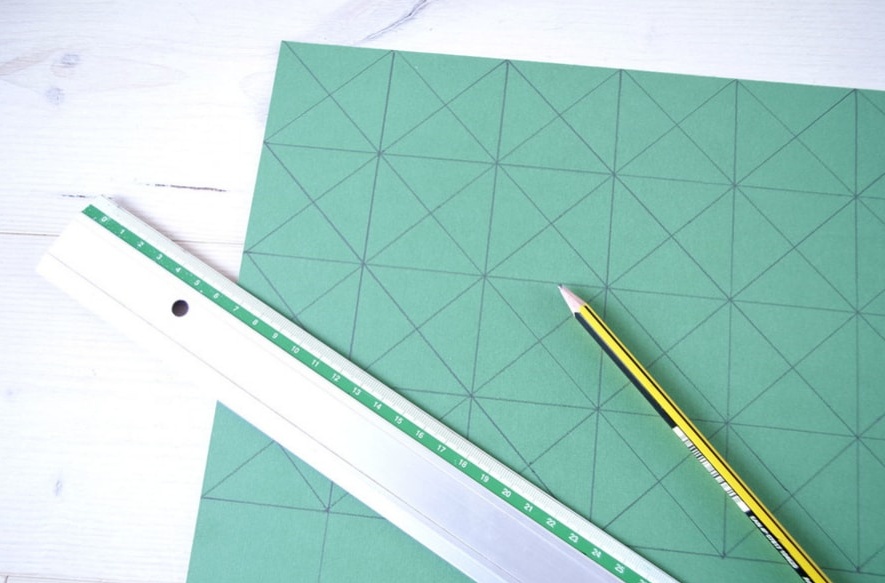
Using dots, carefully draw lines on top of those already drawn. This is necessary so that the paper bends well and there are no unnecessary creases on it.
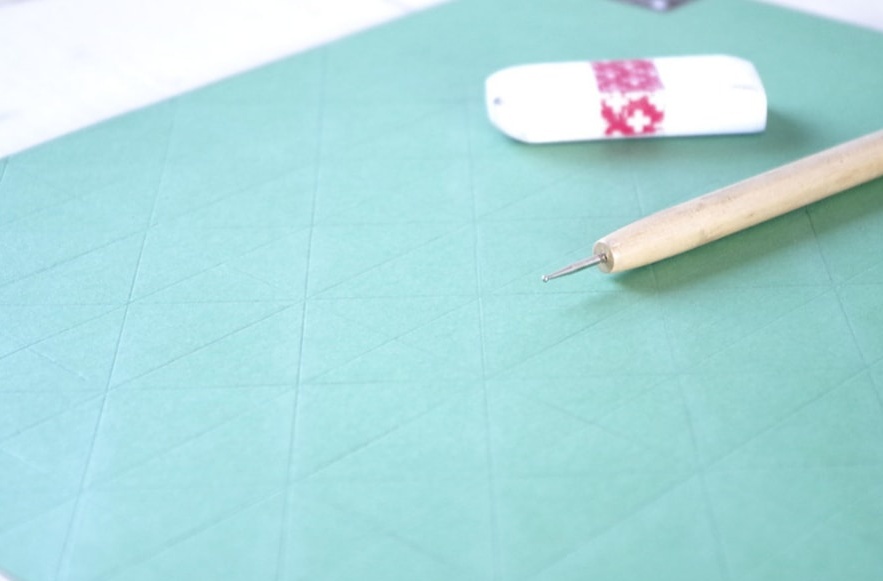
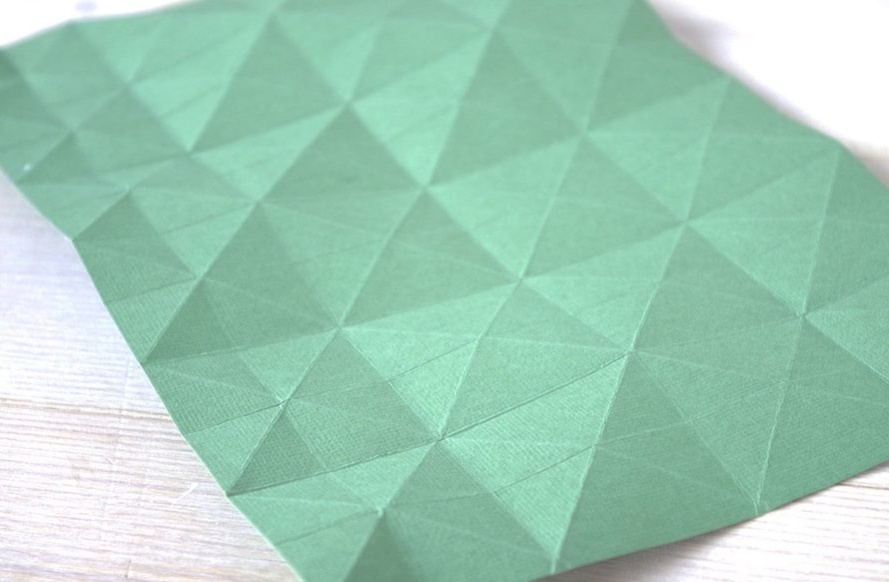
Bend all the lines that are marked on the template. Red to the center, and black - horizontally and vertically.
We fix two edges of the workpiece with glue.
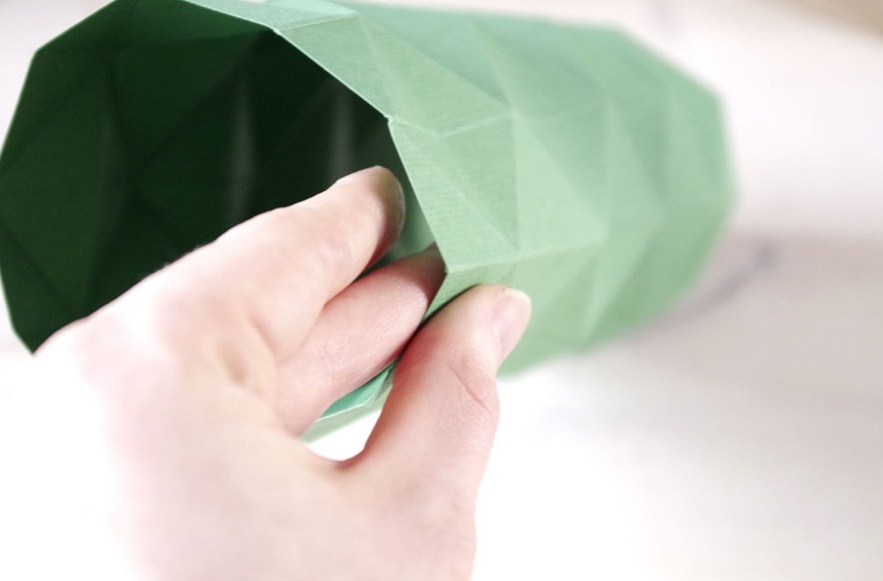
As a result, the decor for the vase should look like the photo.
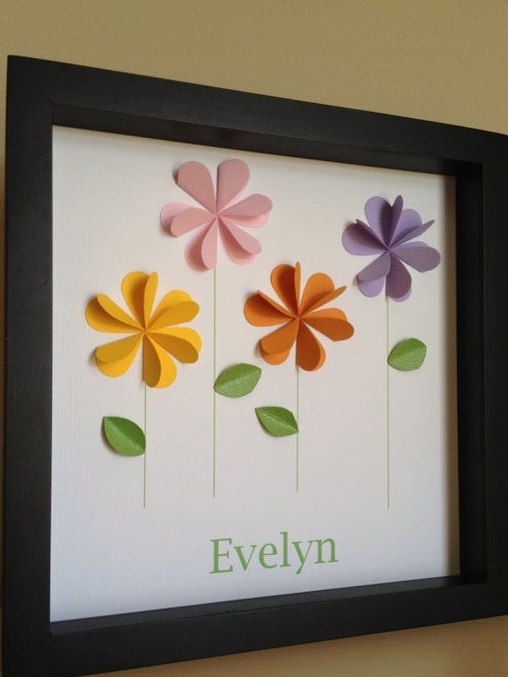
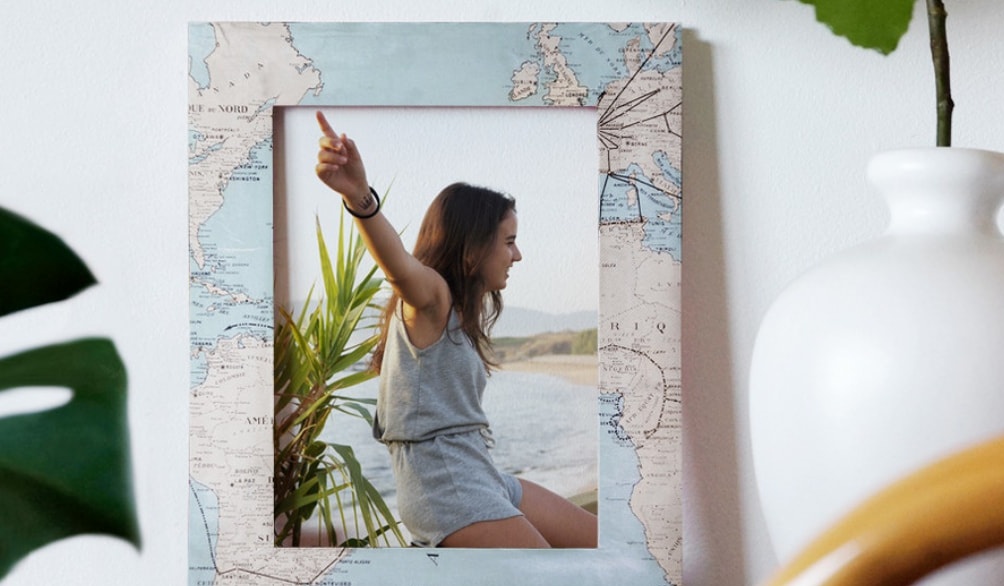
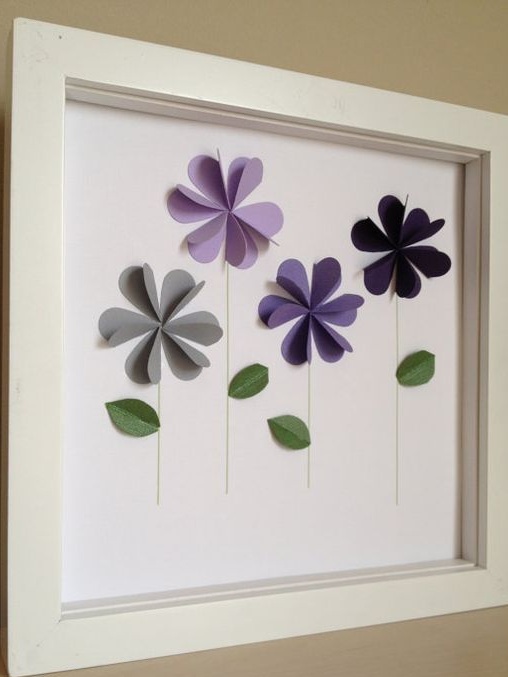
Frame for traveler
Of course, simple, concise frames for photos are always stylish. But at the same time, sometimes I want to create something more original and unusual. In this case, we offer to make a stylish decor for the frame with your own hands.
Prepare the following:
- Photo frame;
- World map;
- pencil or pen;
- scissors;
- brush;
- PVA glue;
- varnish (optional).
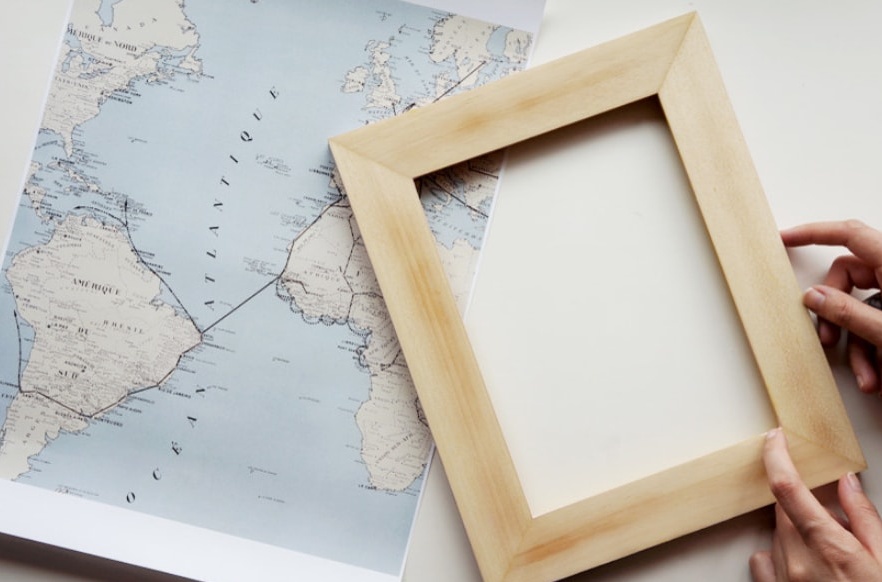
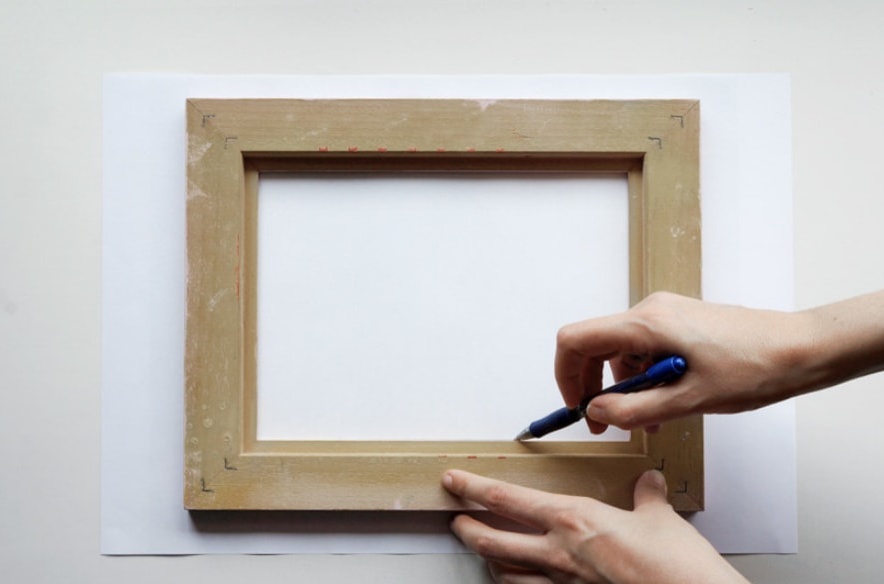
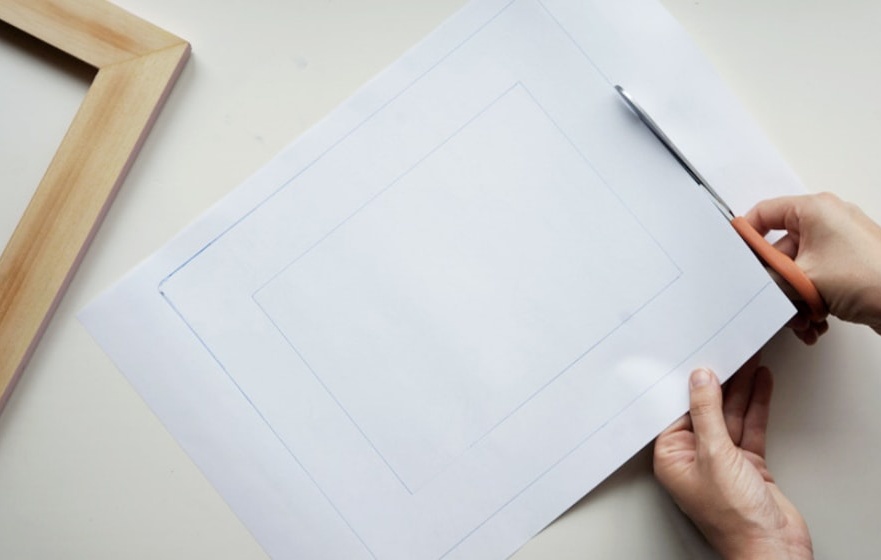
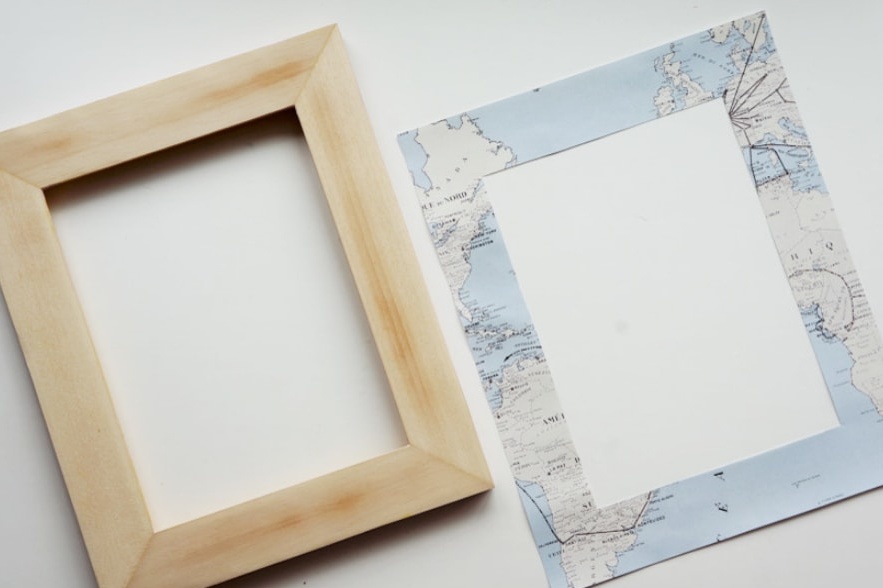
We put a world map on the working surface and place a photo frame without glass on top. We circle the edges from the inside and outside, leaving allowances for the sides.
Carefully cut the blank from the card.
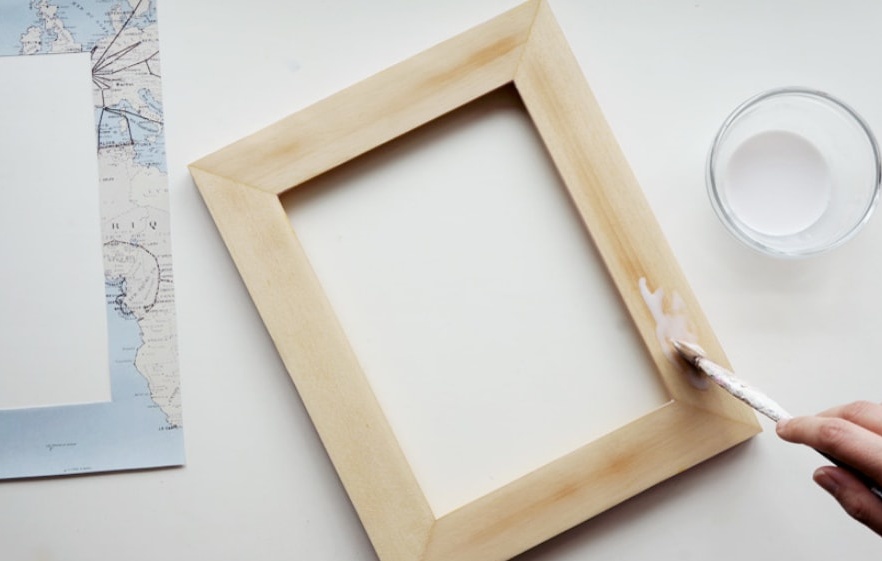
We apply PVA glue to the outside of the frame and immediately apply a card element to it.
On top of the card we also apply some glue. This should be done very carefully, straightening all the wrinkles that may form in the process. Leave the frame for several hours until dry.
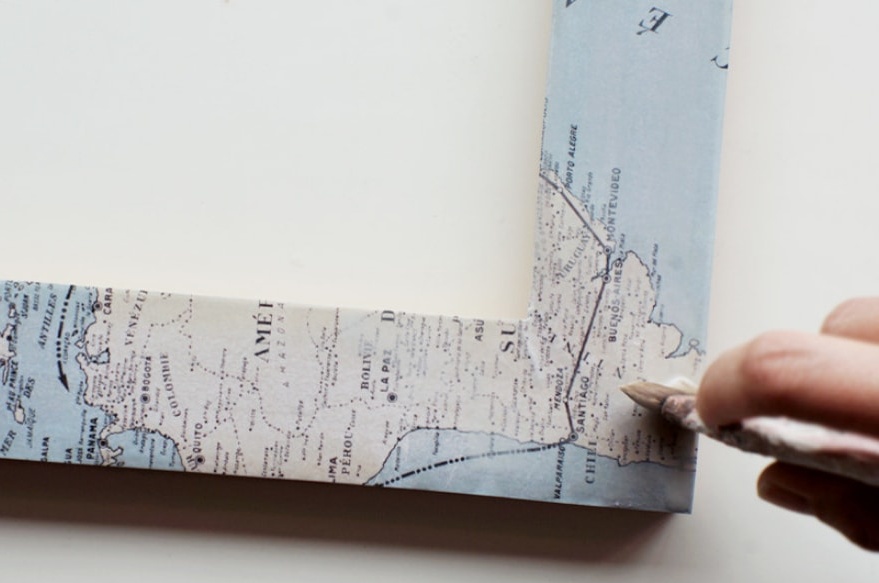
If desired, apply a layer of varnish and leave the frame to dry. After that, insert the glass and your favorite photo.
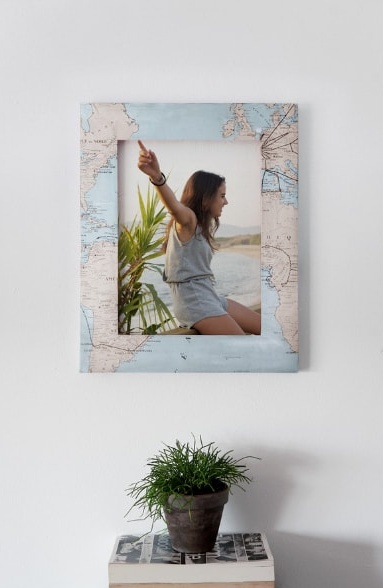
Such a frame will decorate every room. But be sure that the person who is crazy about travel will experience special pleasure and joy. This is the best gift that will always remind you of bright and unforgettable moments.
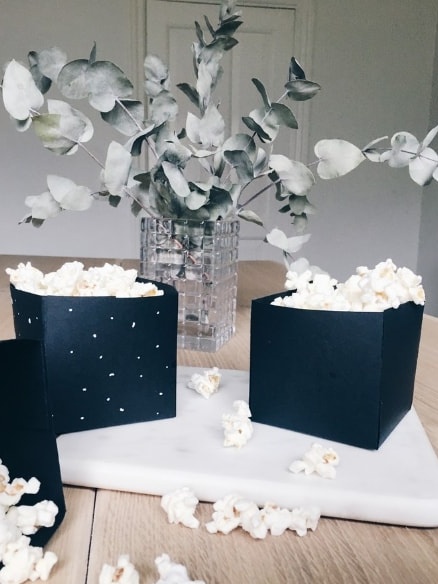
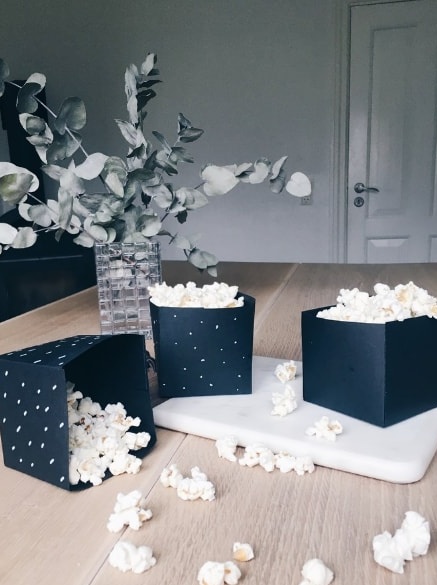
Popcorn boxes
Perhaps the simplest craft that can be implemented at home is boxes for popcorn or chips. In black they look especially beautiful.
Necessary materials:
- cardboard;
- pencil;
- scissors;
- glue;
- ruler.
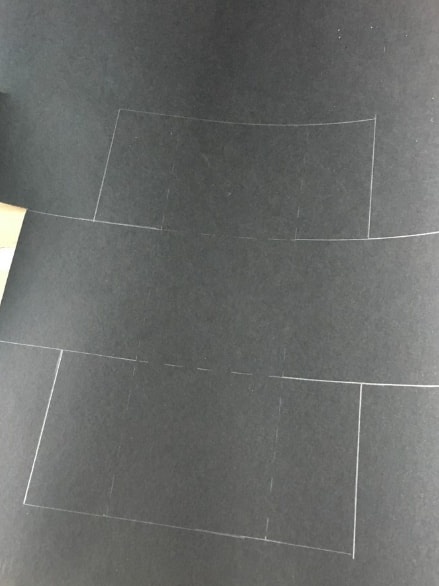
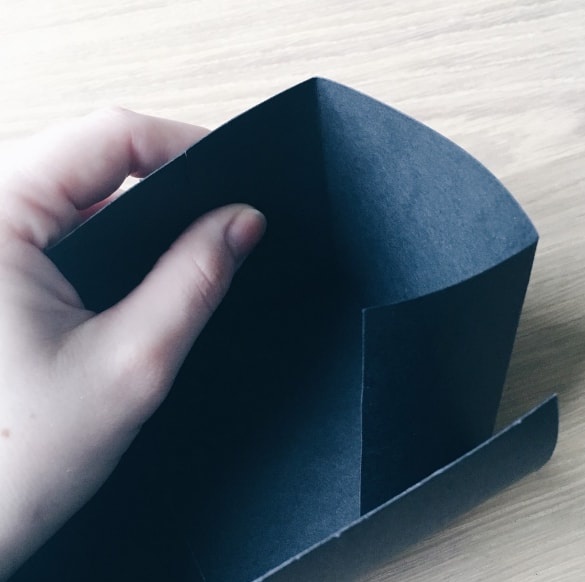
We put cardboard on the working surface and draw a diagram on it, as shown in the photo. In this case, you need to cut along solid lines, and bend along dashed lines.
We bend all the elements marked on the diagram.
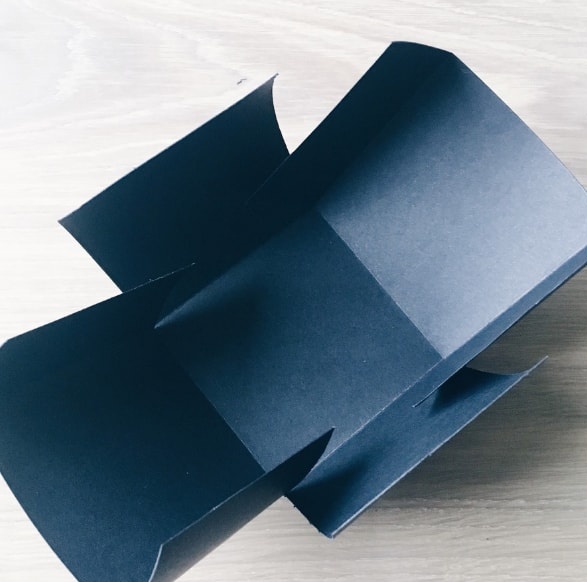
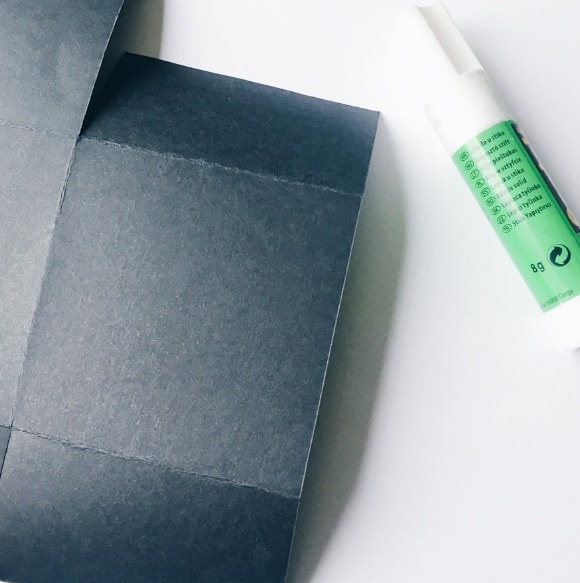
We glue the parts from the inside.
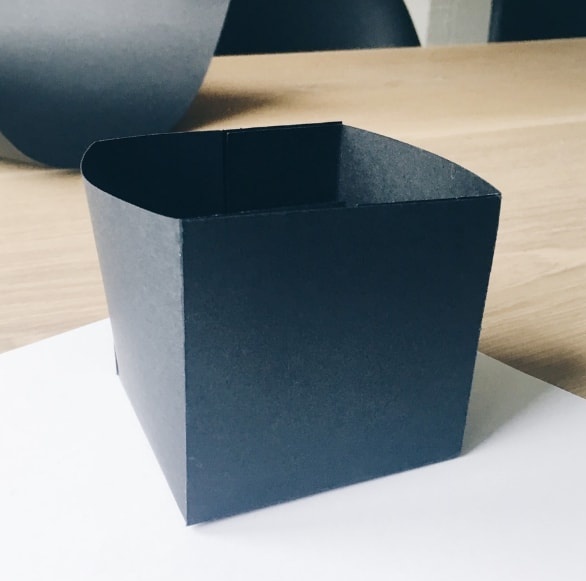
We fill the boxes with goodies in the form of popcorn, chips, berries or sweets. Be sure that your loved ones and friends will be pleasantly surprised.
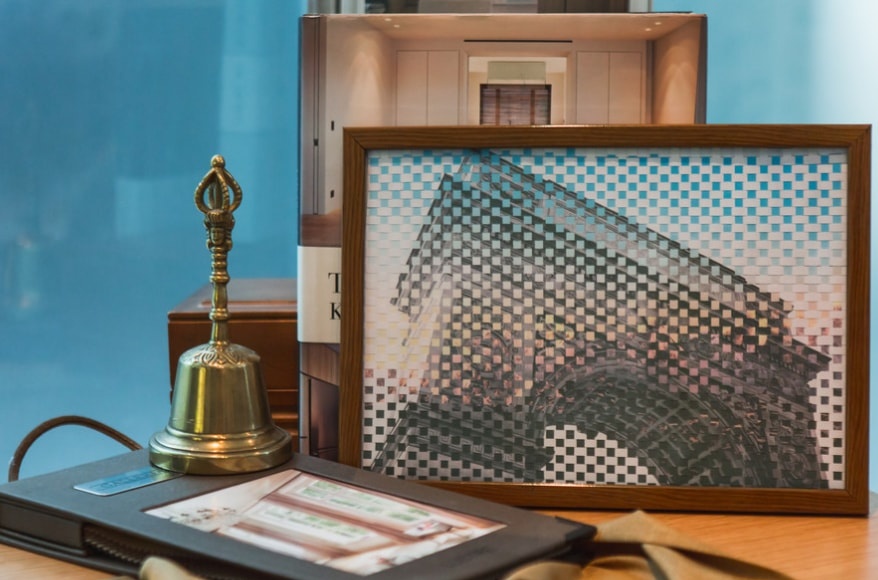
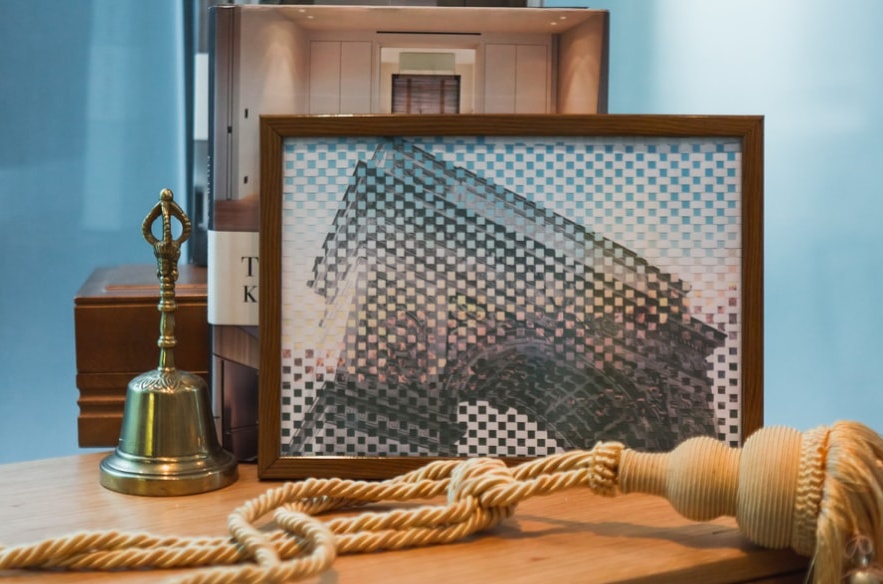
Wicker panel
Another option for the unusual design of the frame is to make a stylish wicker panel of two photos.
In the process you will need:
- Photo frame;
- two pictures or photos printed on paper;
- glue;
- scissors;
- ruler;
- pencil.
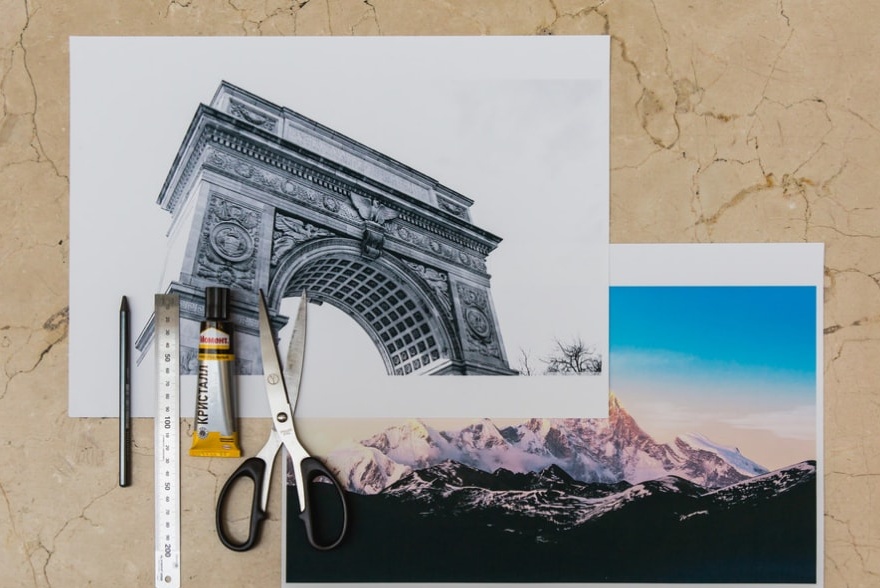
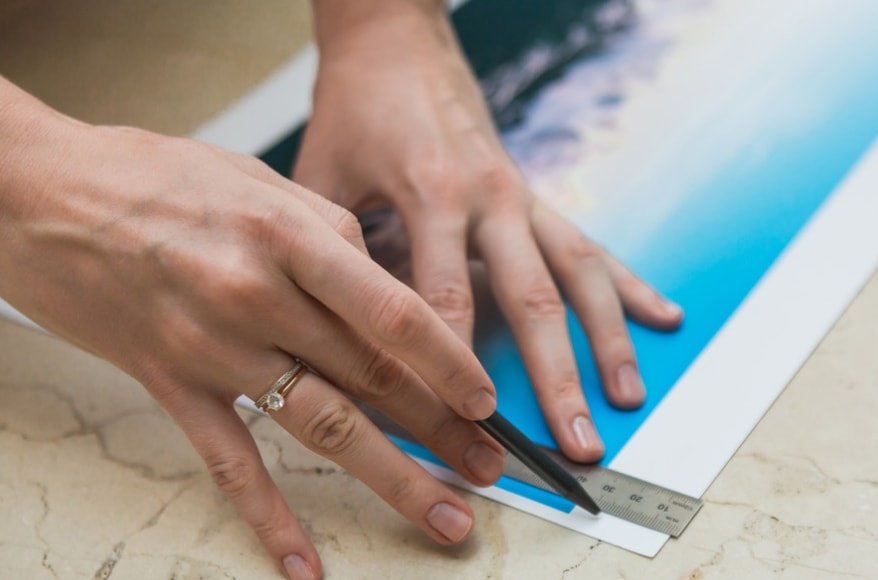
We divide each image into strips of the same width, marking with a pencil.
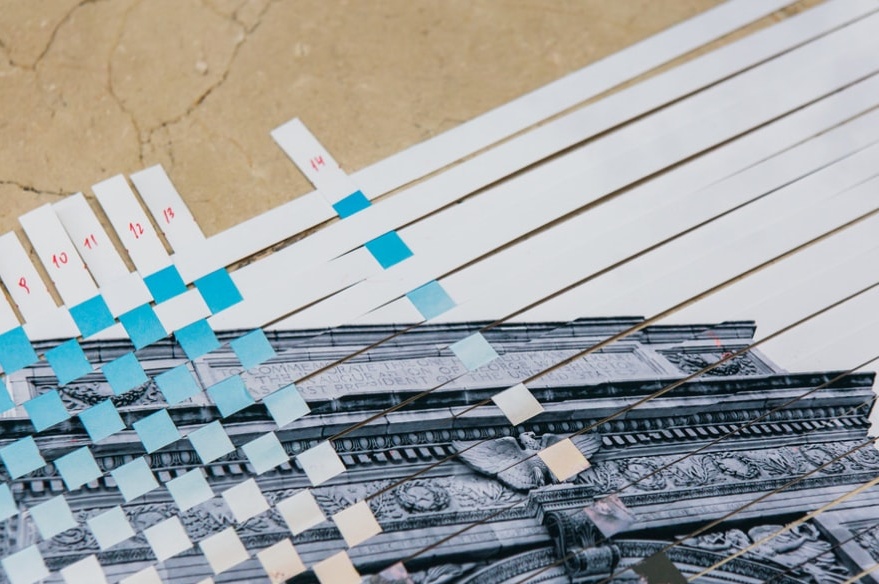
We cut the first image into strips and number each of them.
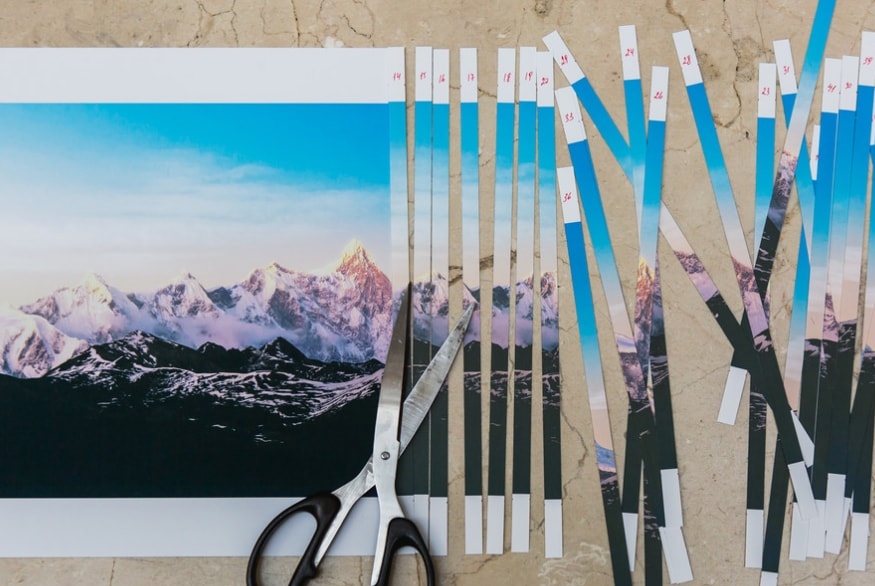
We do the same with the second image.
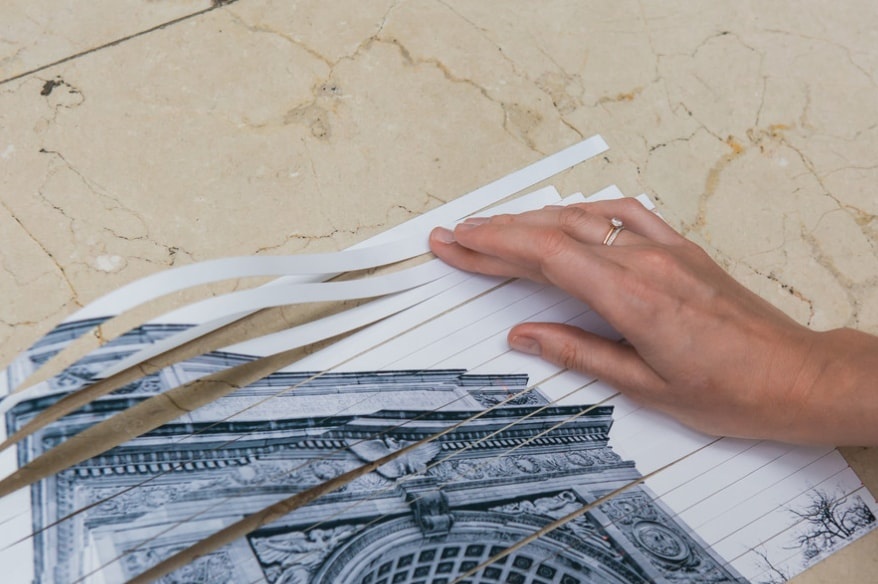
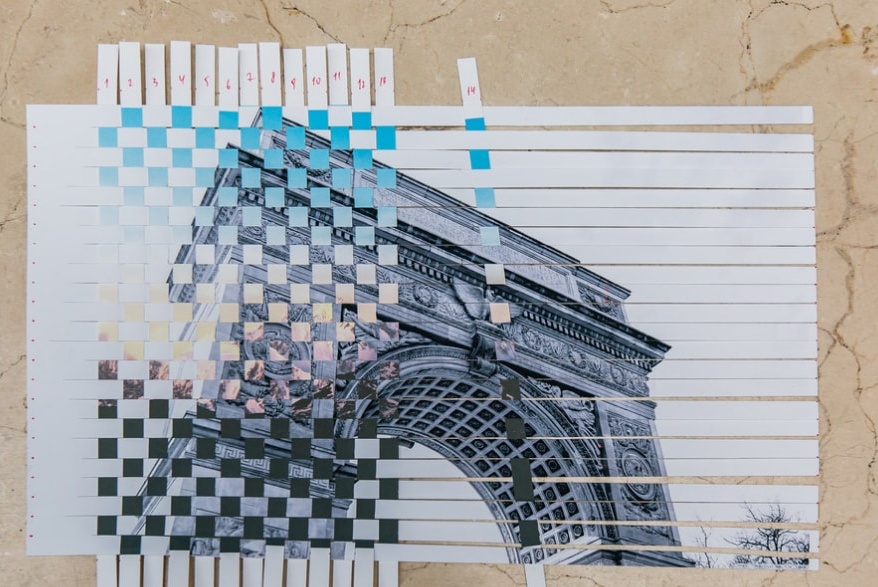
We begin to weave two images in a checkerboard pattern. Pay attention to the numbering of the strips so as not to miss anything.
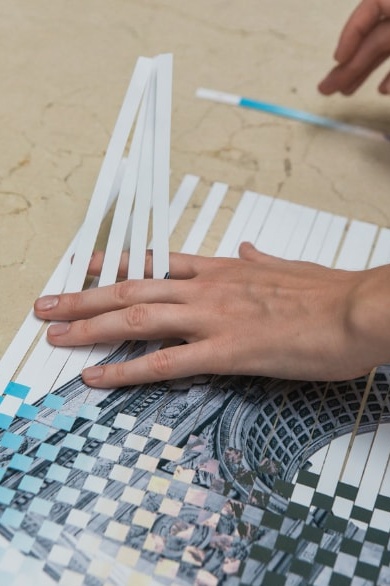
When all the strips are woven, we bend the ends and set the panel in the frame for the photo.
Original homemade craft ideas
In fact, there are many different crafts that can be implemented literally from improvised means.

Everyone can do something interesting with their own hands. Use the presented master classes, be inspired by ideas and feel free to try.


