DIY furniture decor. New life of old furniture: 4 workshops
Over time, the furniture loses its appearance, but this is not a reason to throw it away. After all, even from an unnecessary old thing you can do something unique with your own hands. That is why we picked up several workshops that will help give a new life to furniture.
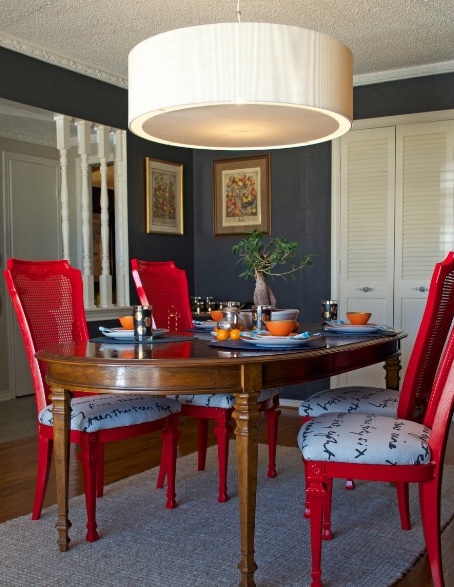
Bright chairs
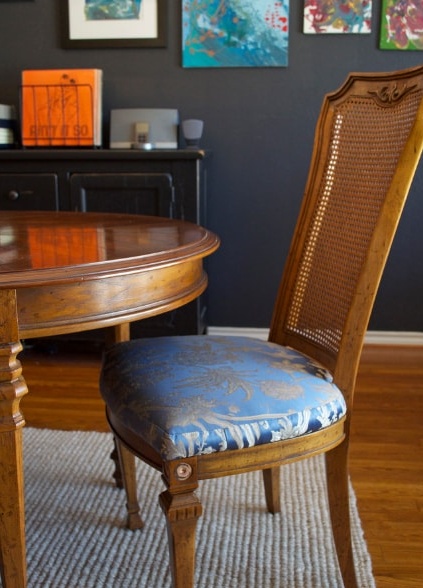
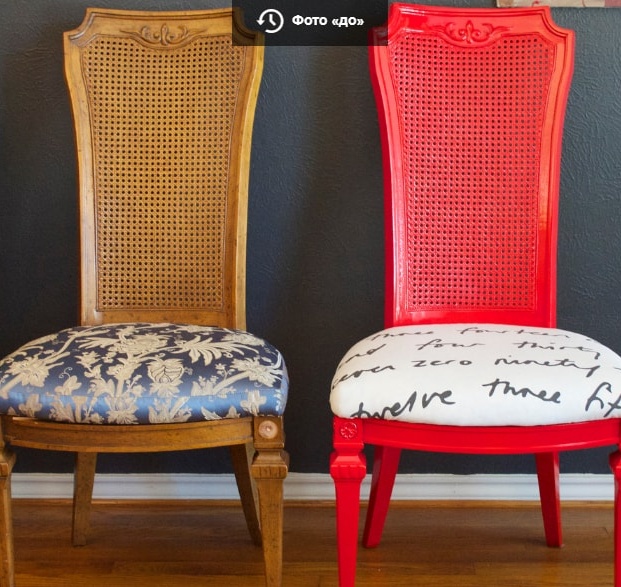
Of course, wooden chairs with jacquard fabric on the seats are a classic. But unfortunately, it is such furniture that dims rather quickly and loses an attractive appearance. However, if you are ready for experiments and vivid combinations, we suggest that you deal with their transformation right now.
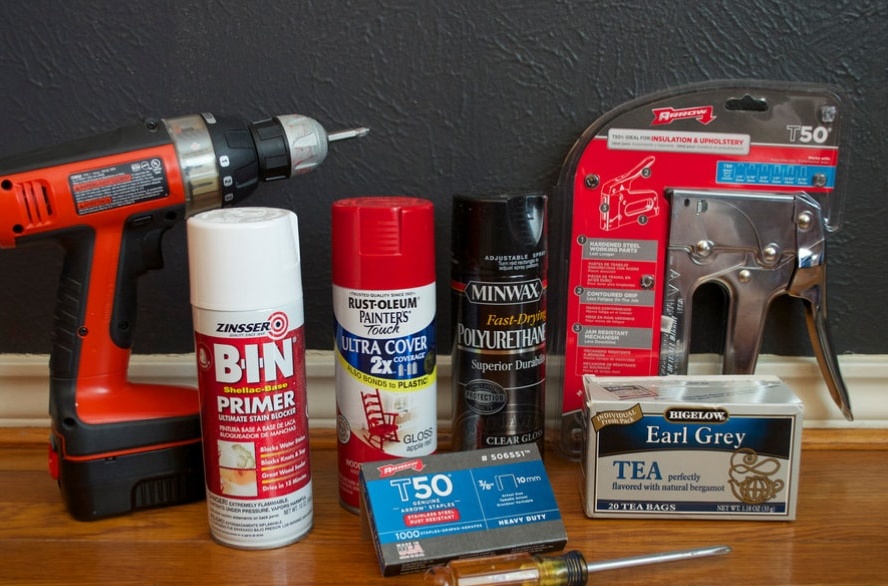
We will need:
- chairs;
- red spray paint;
- stapler;
- drill;
- primer in the spray can;
- topcoat;
- the cloth;
- plastic container;
- Black tea.
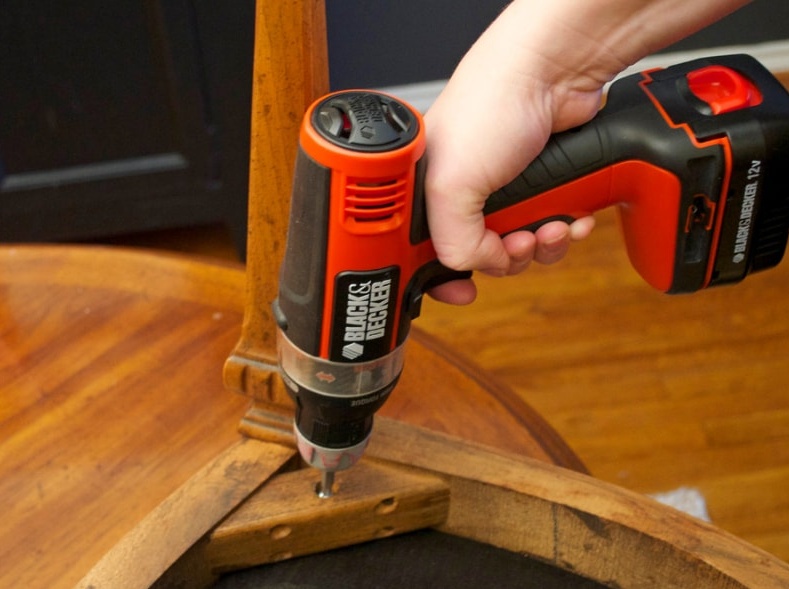
Using a drill or screwdriver, remove the mounting bolts on the seats and remove to the side.
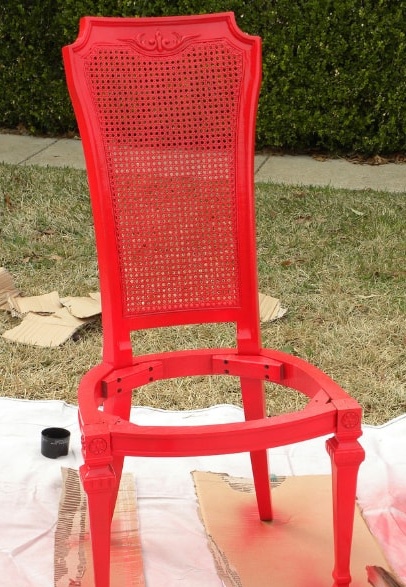
We color the chairs with a primer in the spray can. If you plan to do this at home, be sure to lay a film on the working area so as not to spoil it. 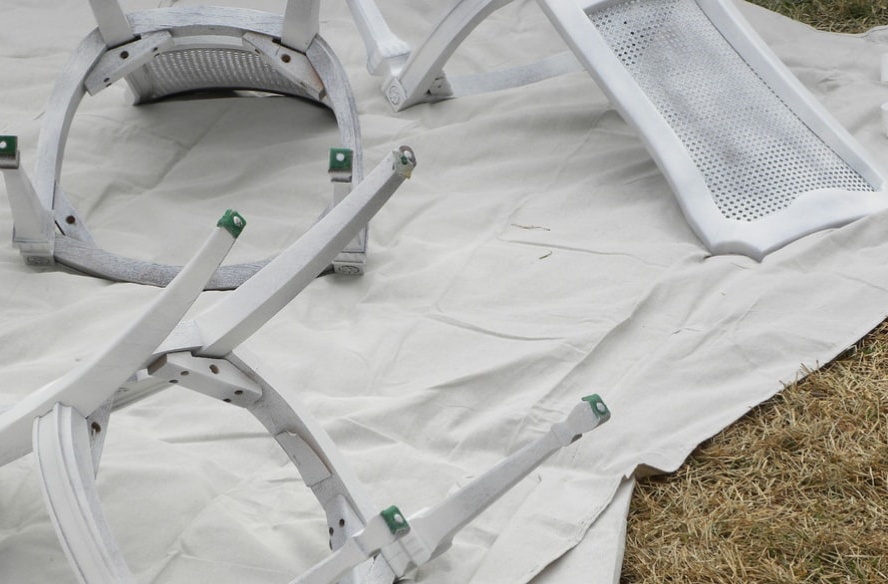
After the primer has dried, proceed to the next step. We color the chairs in red and leave for several hours before drying. 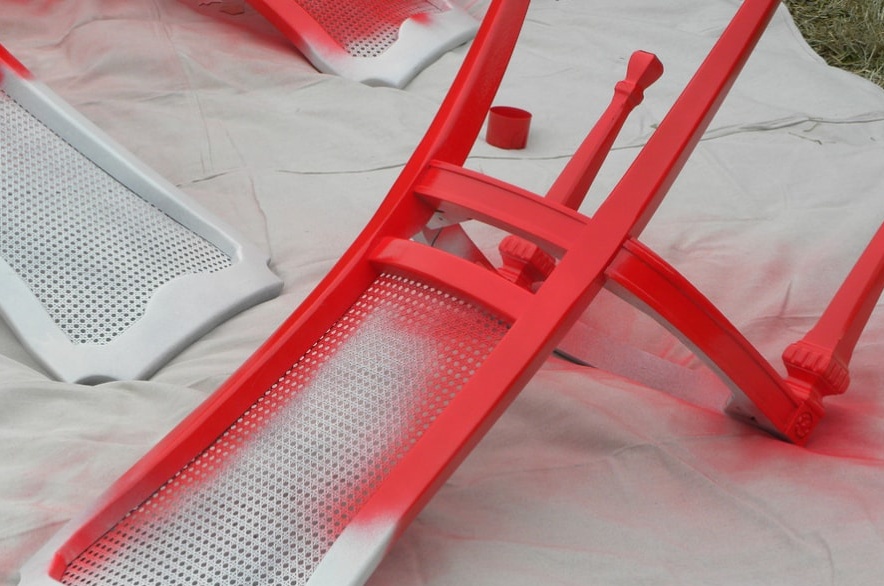
We apply a topcoat to the chairs so that the surface shines and is smoother. 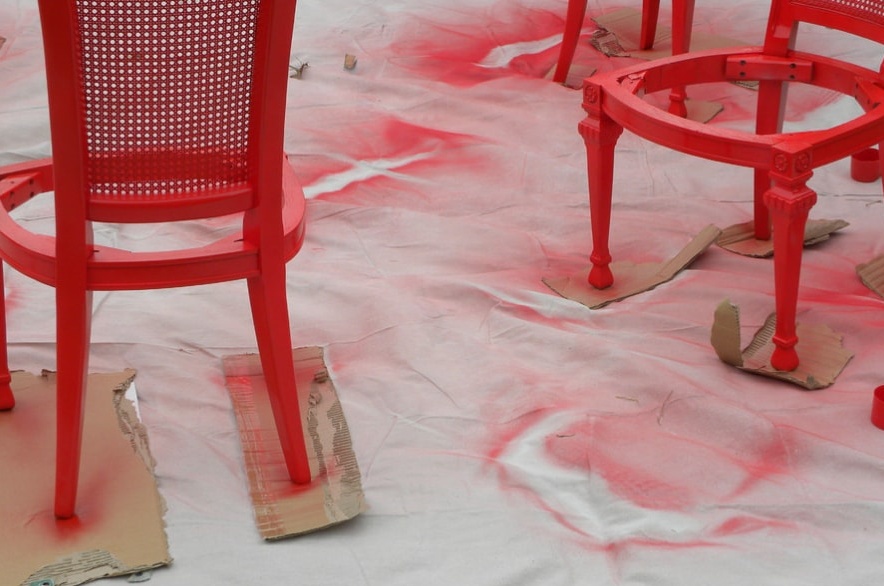
Leave them for a day so that the surface dries well.
White fabric with inscriptions looks pretty attractive, but still offer it a little tint with tea. 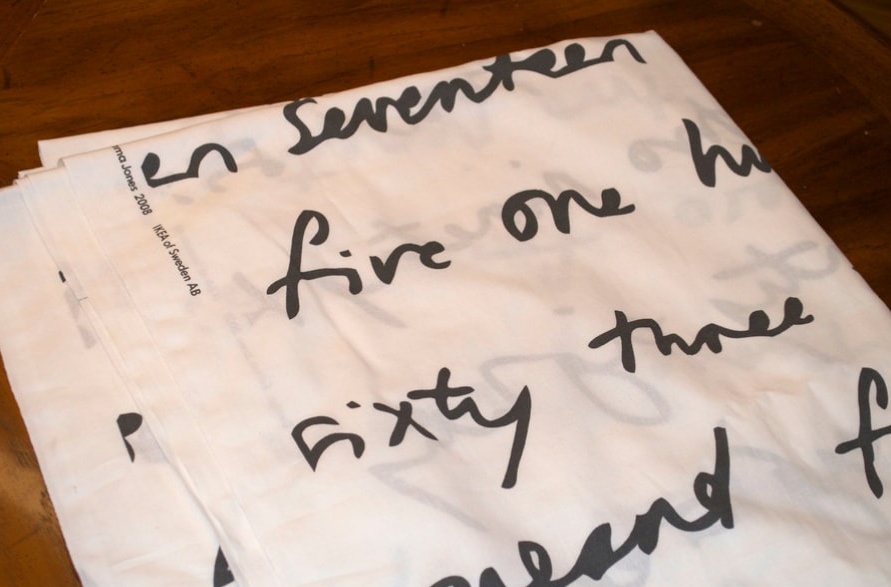
We fill the plastic container with hot water and throw a few tea bags into it. Next we put the fabric there and leave for several hours. From time to time, you can stir the water so that the color is more uniform. 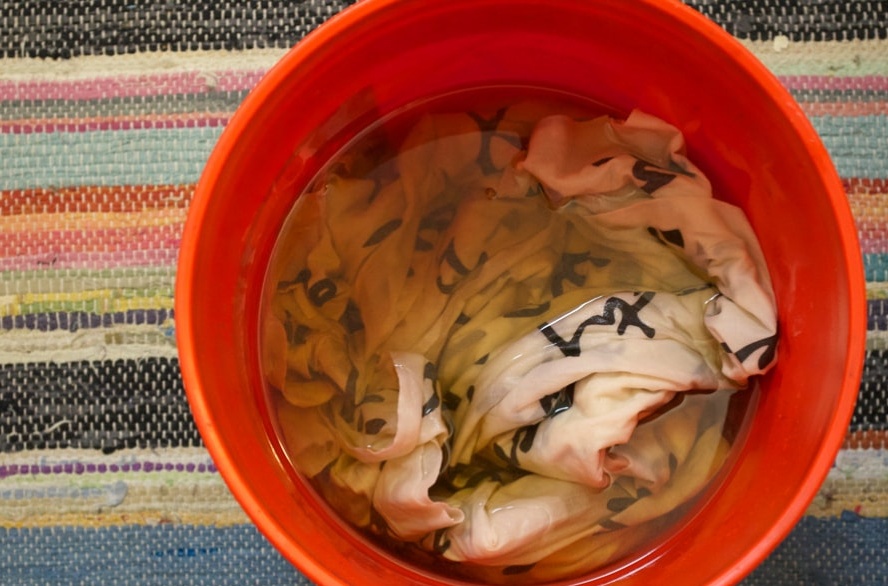
We take out the fabric and leave it to dry completely. 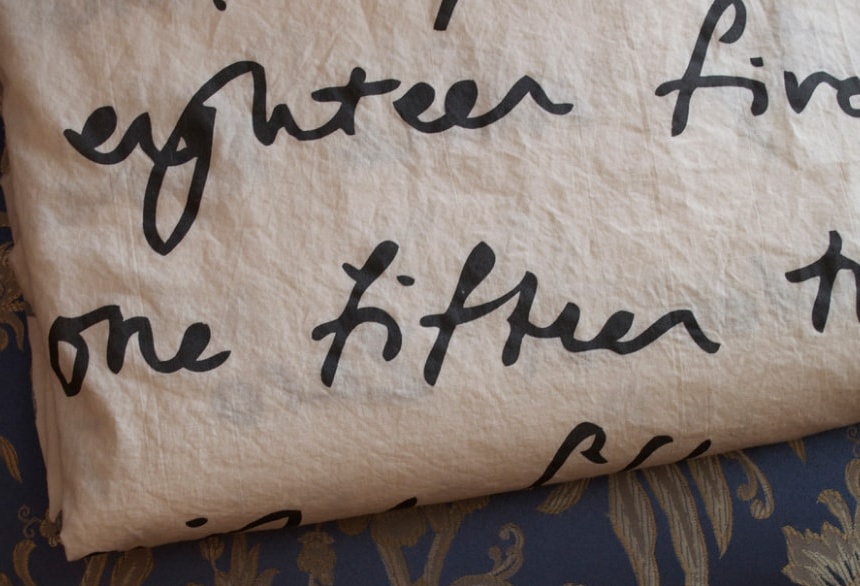
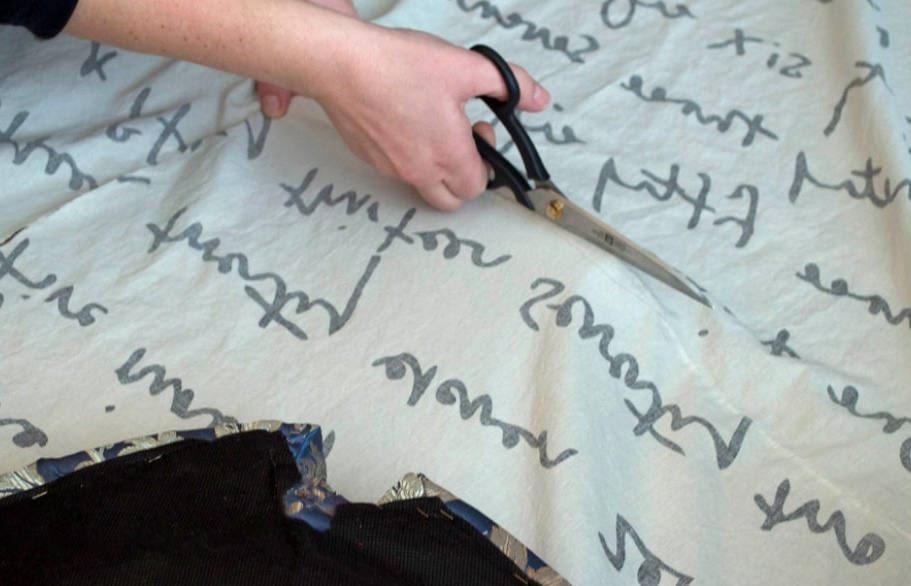
We put a seat on top of the material and cut out the necessary shape, according to its size.
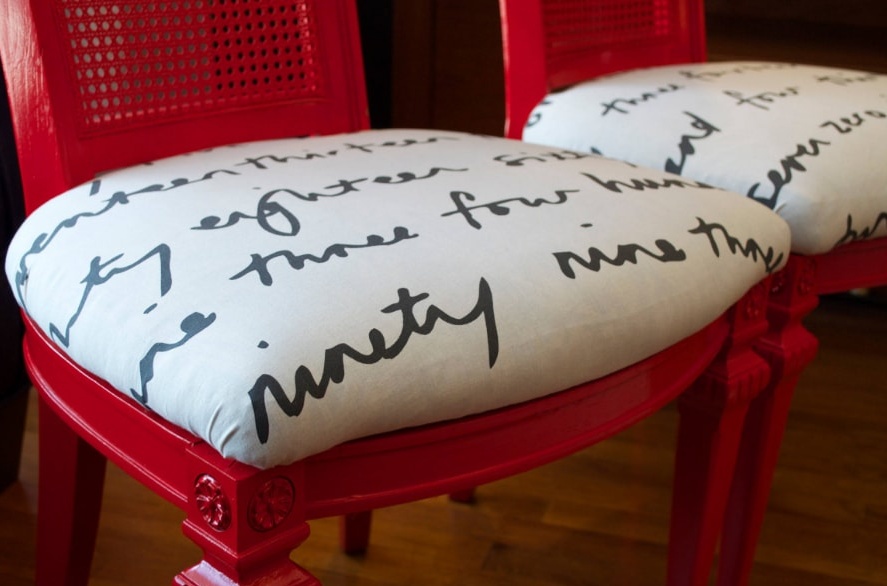
We turn the slices and attach the fabric to the bottom of the seat with the help of a stapler. 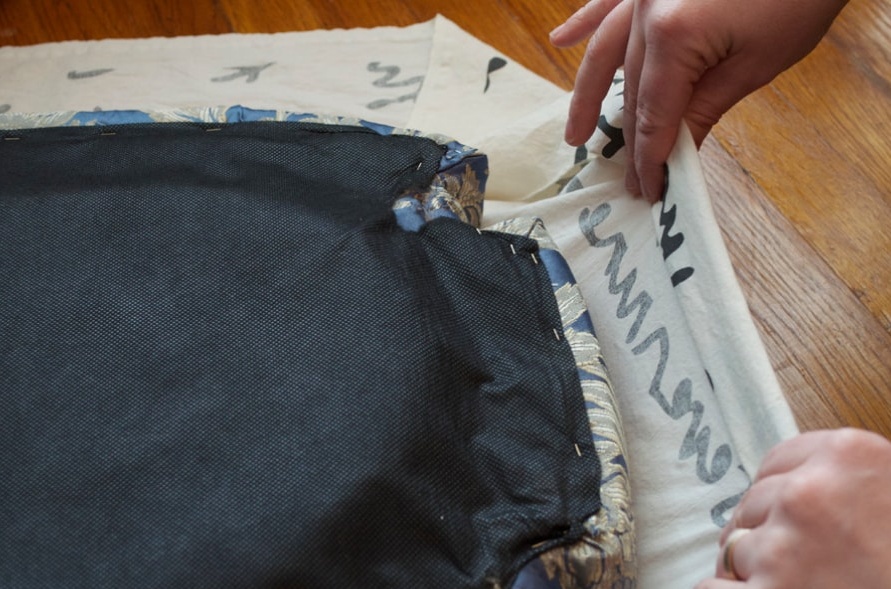
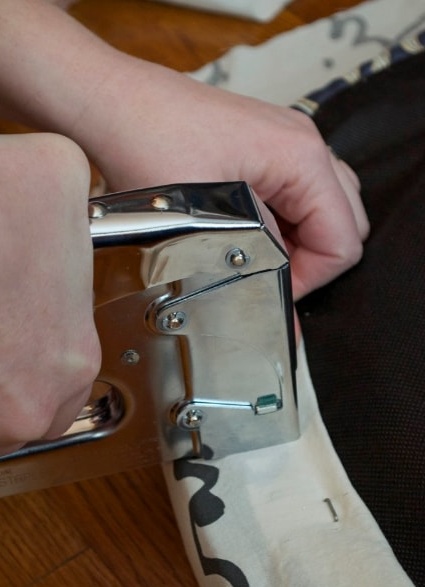
We connect the frame to the seat using mounting bolts and a drill or screwdriver.
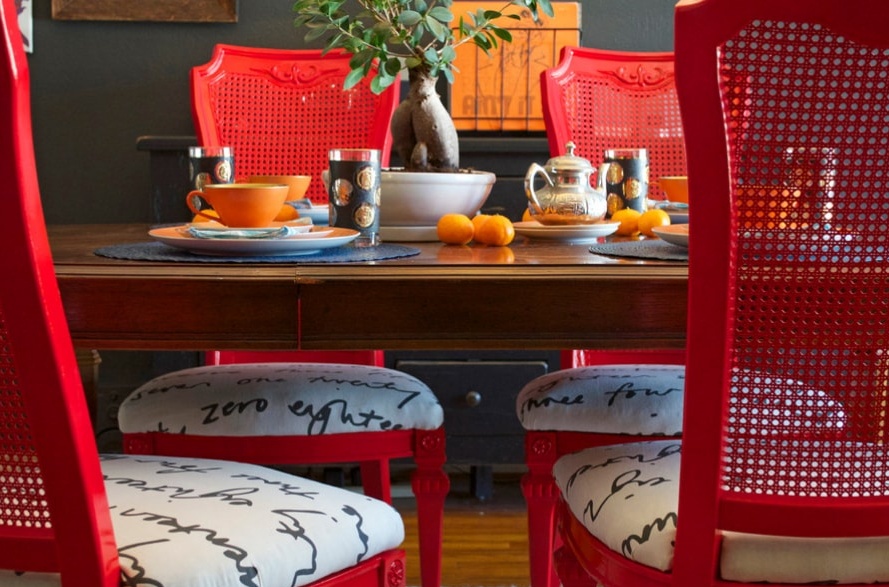
As you can see, the chairs were transformed beyond recognition. Now they are suitable for any modern interior.
Bench for a hall
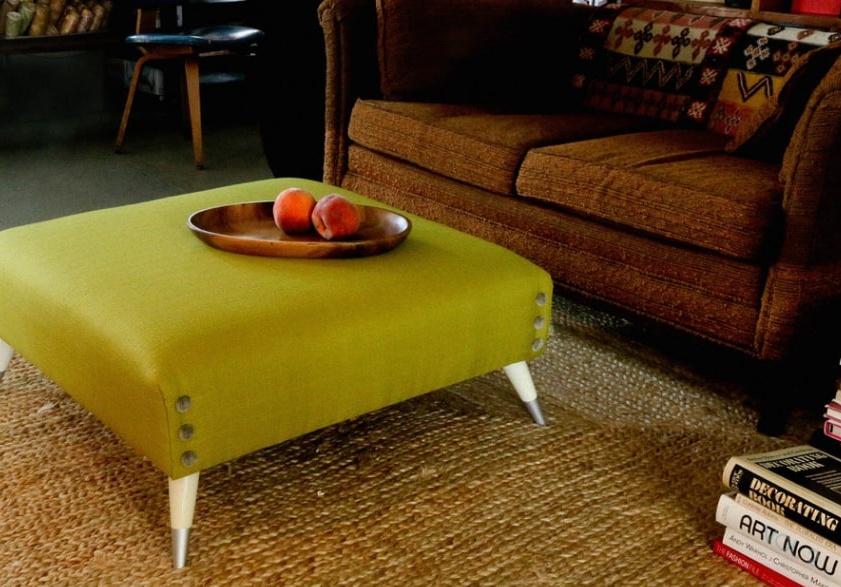
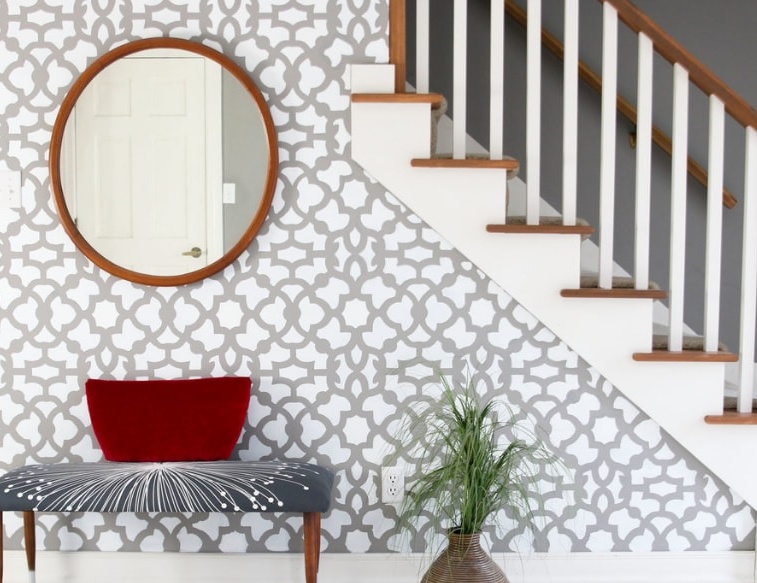
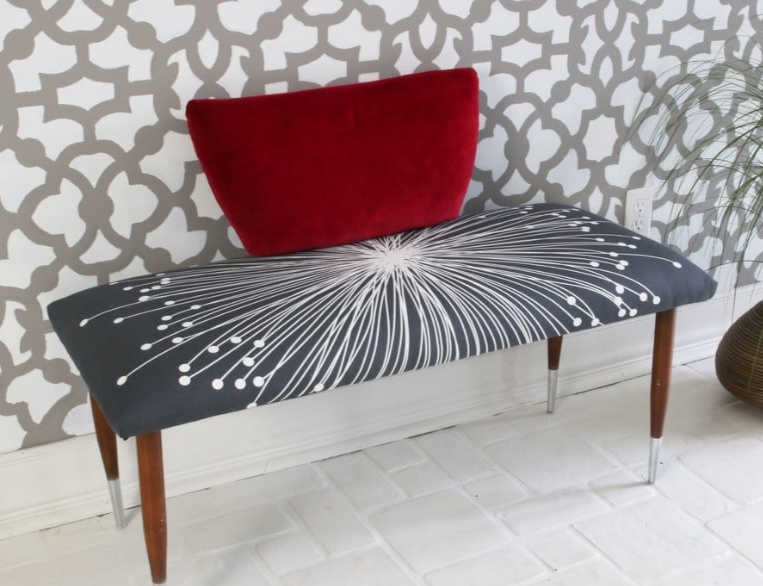
Of course, in the hallway of a small size, a bench is often not provided. But if the size of the room allows, then such furniture becomes a necessity. Of course, the original designer products have an impressive cost. But this does not mean at all that you cannot make a worthy option with your own hands.
We will prepare such materials:
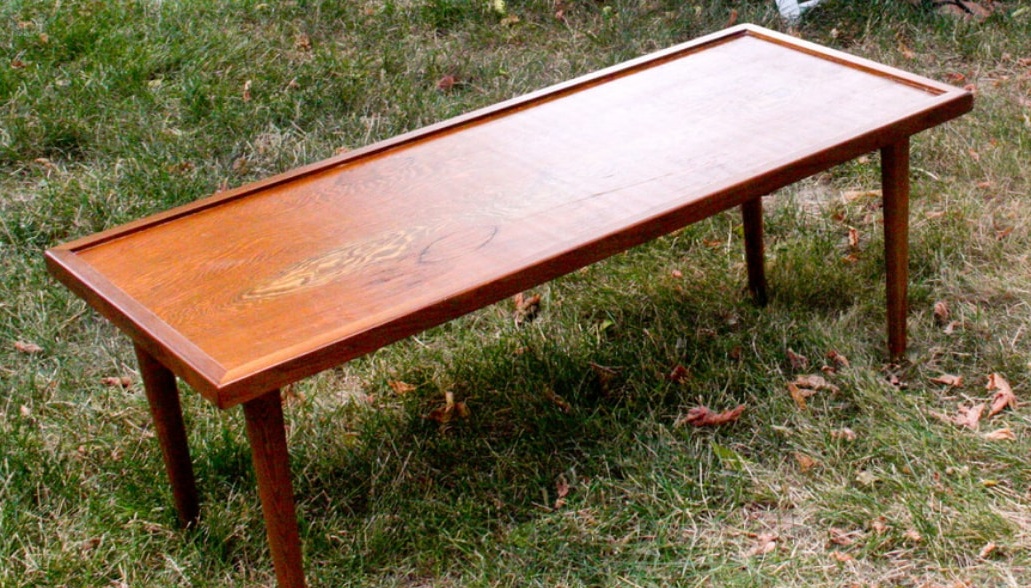
- strong, steady coffee table;
- foam for the first lining;
- thin foam rubber;
- upholstery fabric;
- glue spray;
- hammer;
- furniture stapler;
- ruler;
- scissors;
- roulette;
- screwdriver;
- marker;
- pliers;
- leftover fabric.
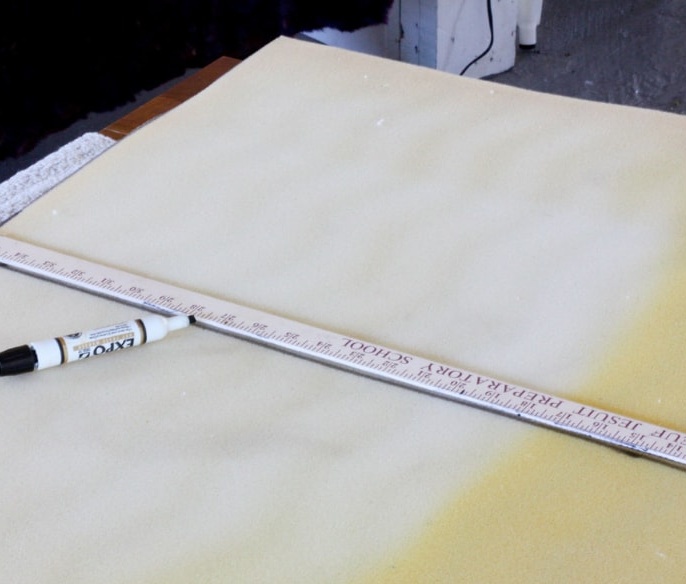
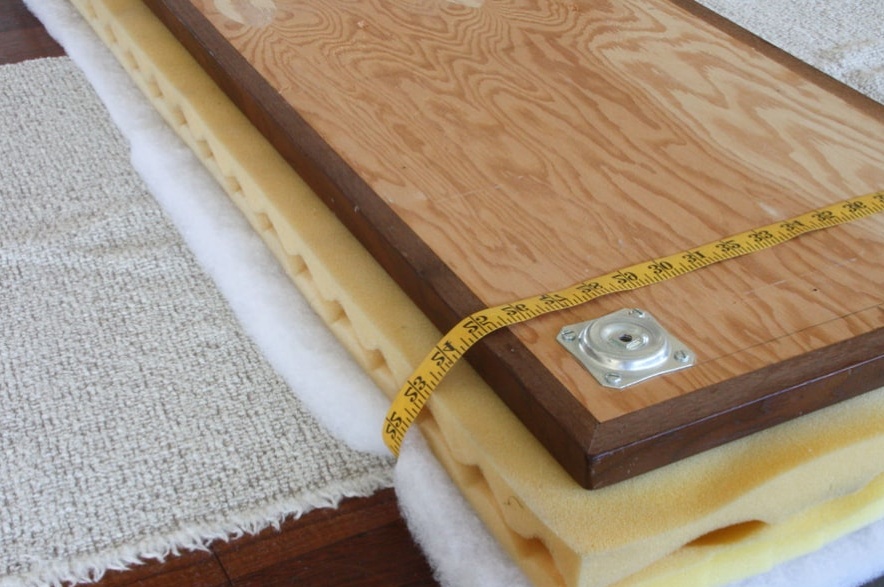
To begin with, we measure the countertop, after which we make markings on thick foam for the first lining. Be sure to make allowances of at least 3 cm on each side.
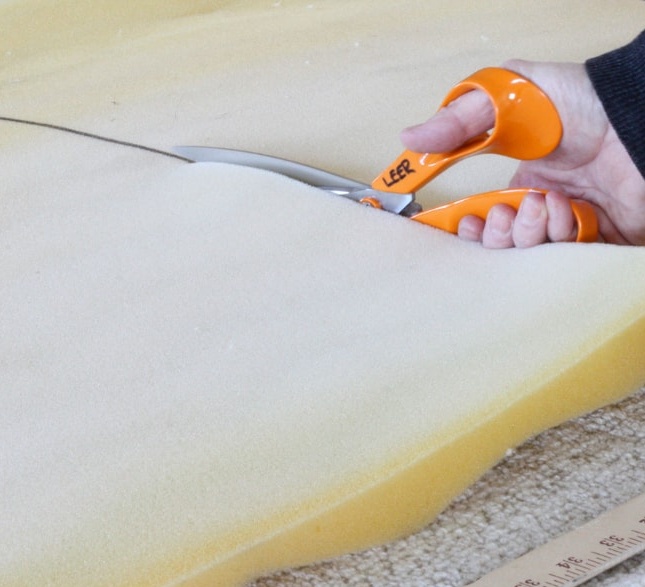
Cut the workpiece from foam.
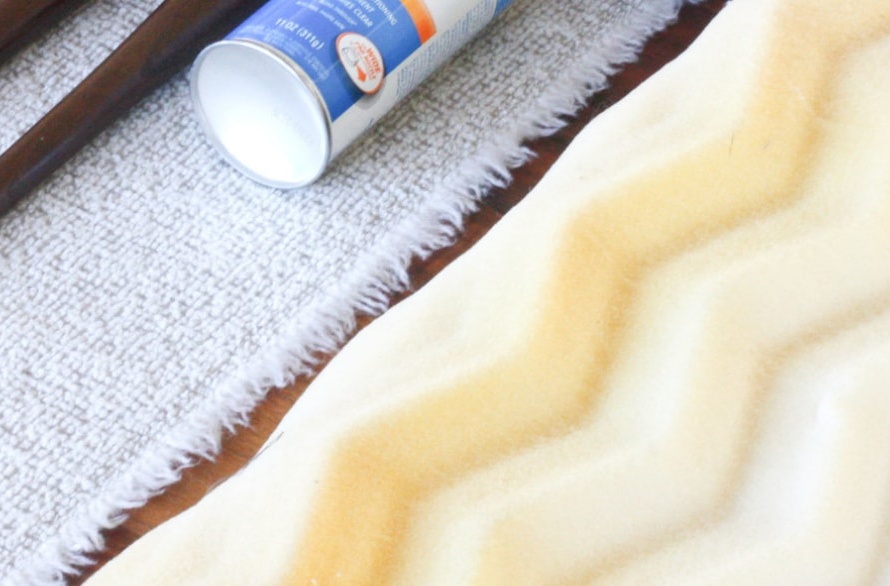
To make the banquet softer, it is better to use two layers of foam. To do this, put them with embossed sides inward and apply glue-spray to fix them securely. 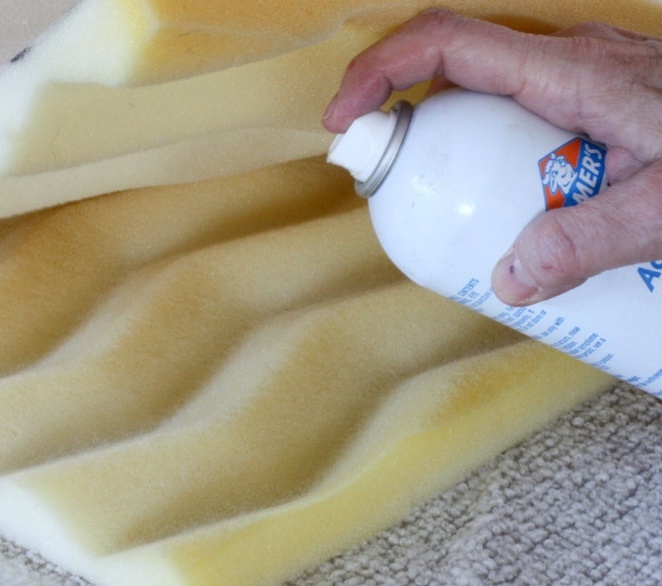
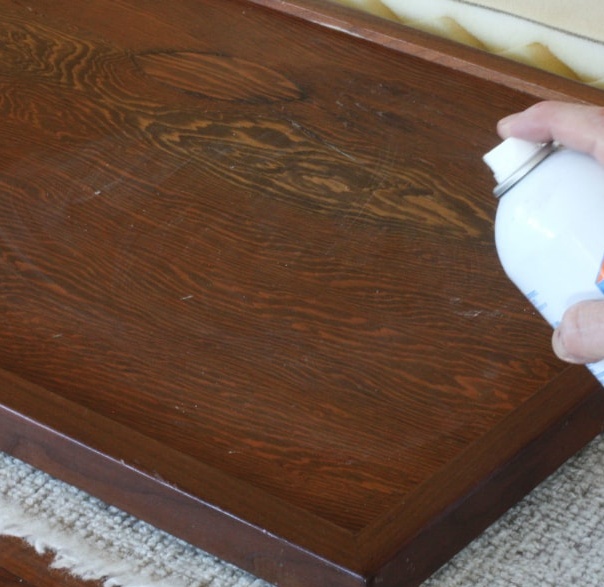
We turn off the legs of the table, after which we apply glue to the countertop.
Immediately turn it over and install it on top of the foam. Press lightly to secure them. 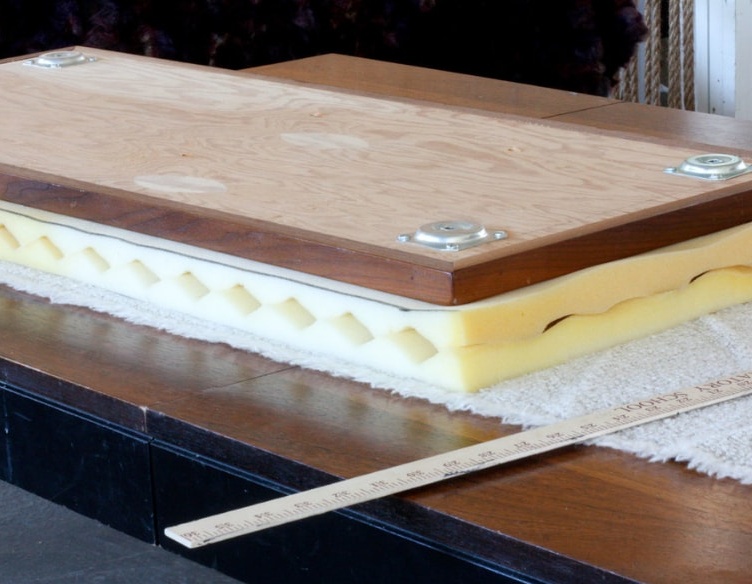
From thinner foam cut another workpiece taking into account allowances. 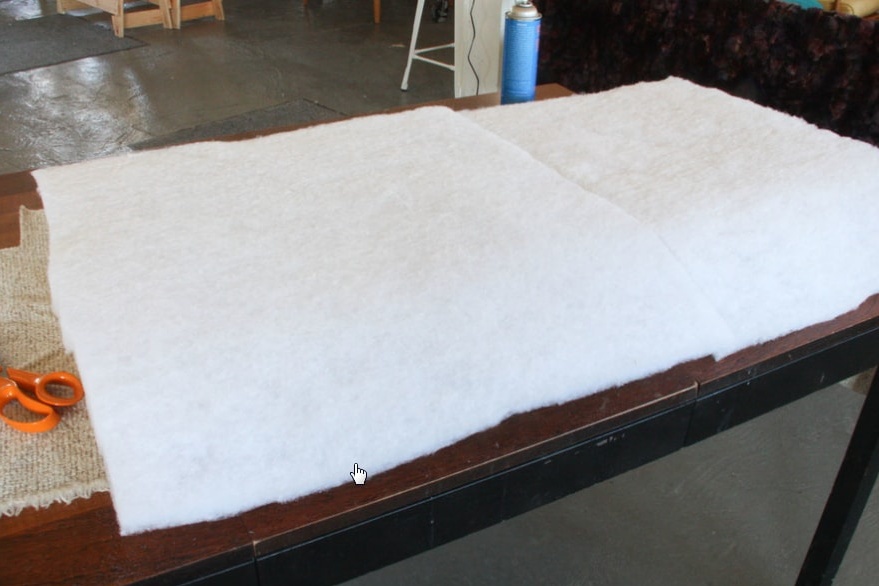
Apply glue and immediately apply on top of the main foam.
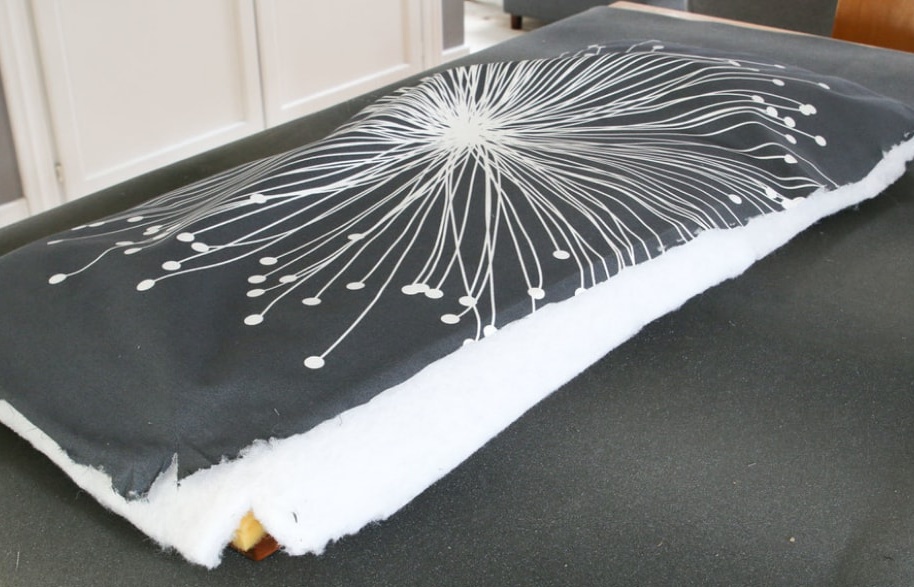
Using a tape measure, measure the future banquets to calculate the size of the fabric.
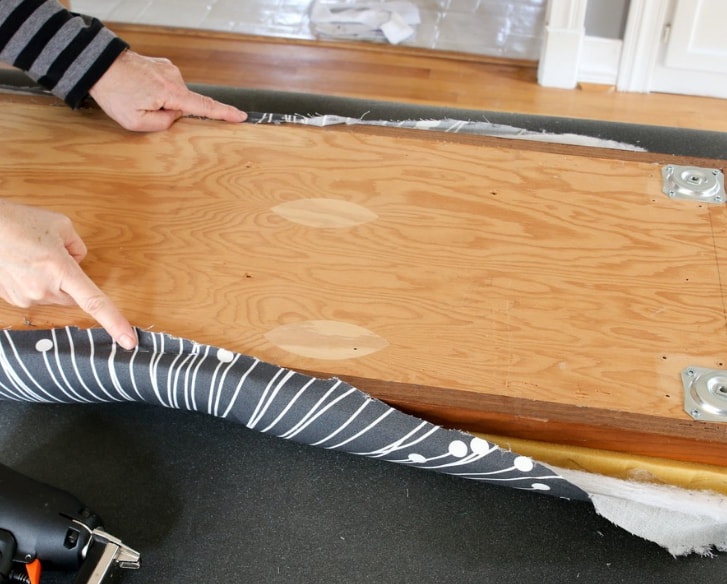
Put the fabric on a flat surface. On top of it we install a tabletop with foam rubber. Fasten the fabric with a stapler.
Particular attention should be paid to the corners, as the fabric in these places should lie perfectly and without unnecessary folds. 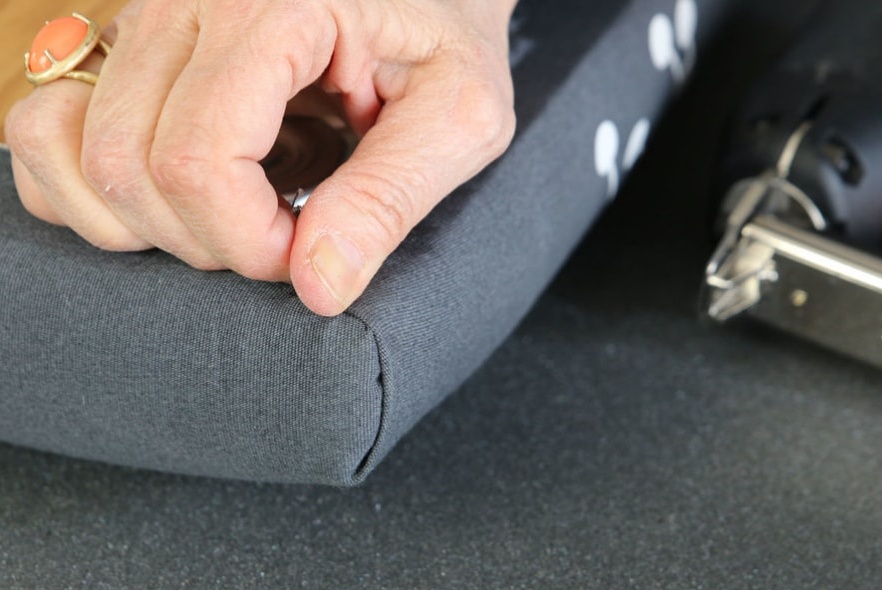
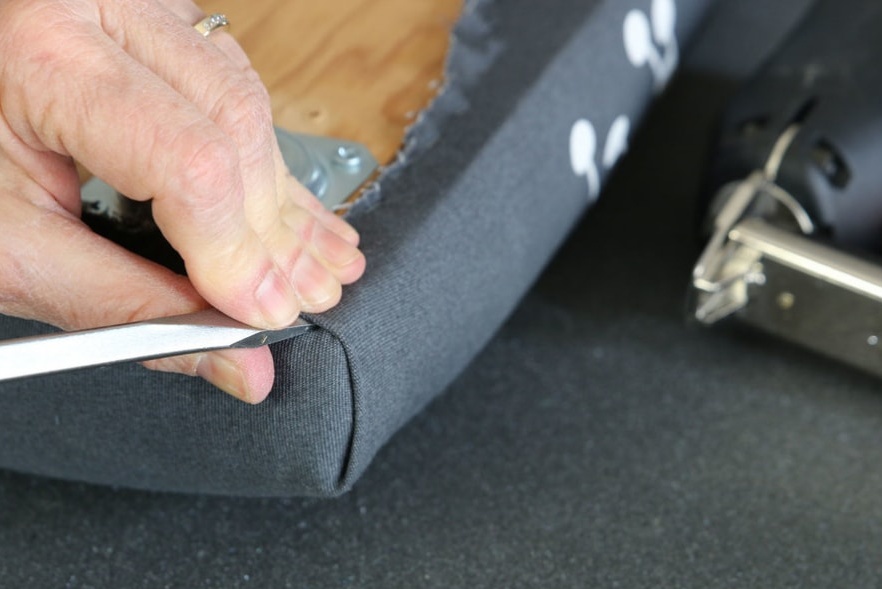
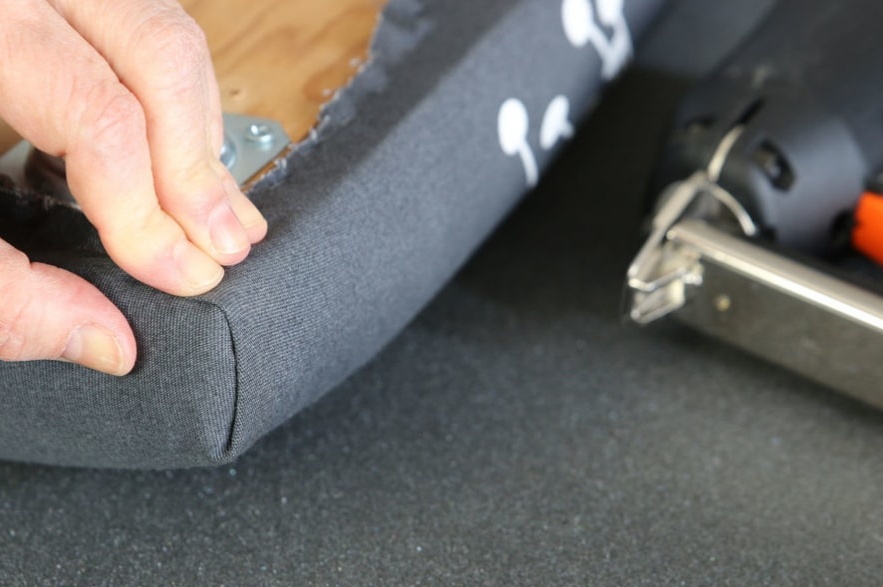
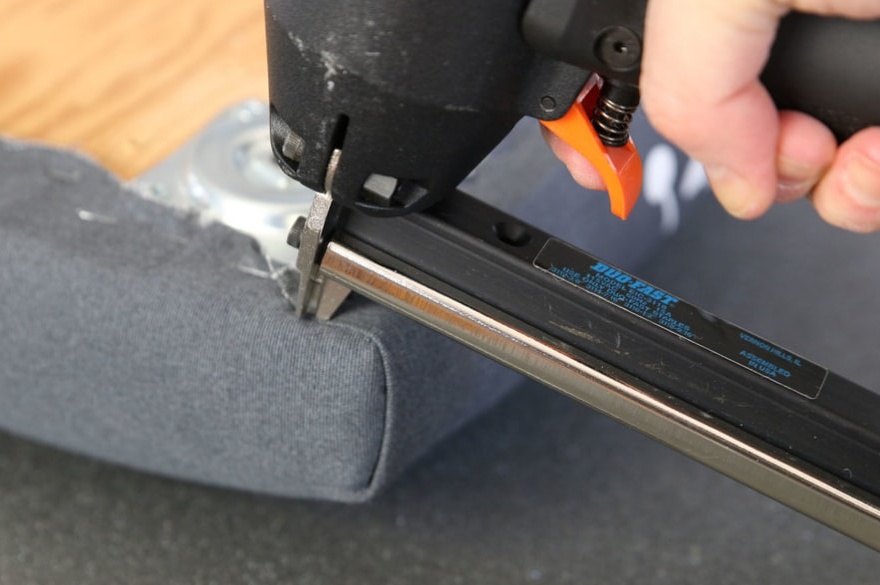
From the remnants of the fabric, cut a rectangle in the size of the countertop.We twist the edges and attach it around the perimeter with a stapler. We fasten the legs of the table and check it for strength. 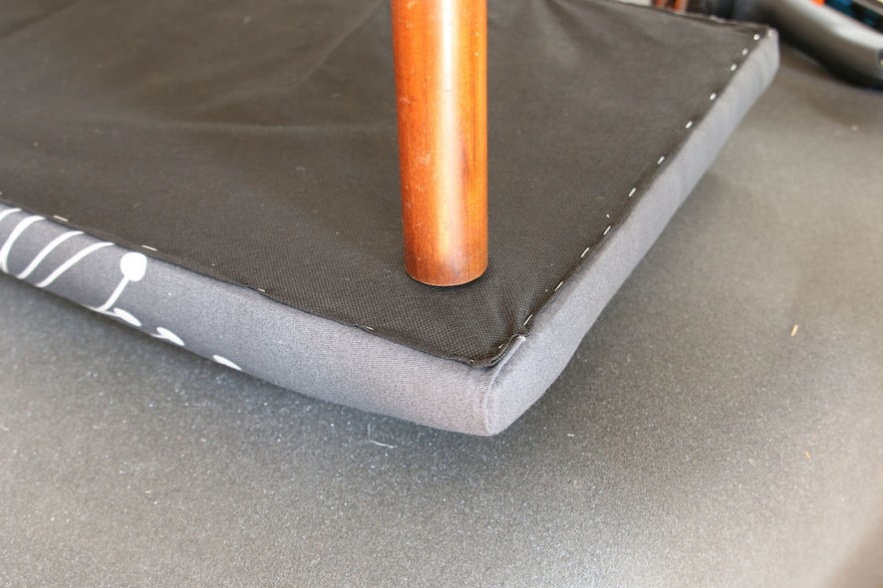
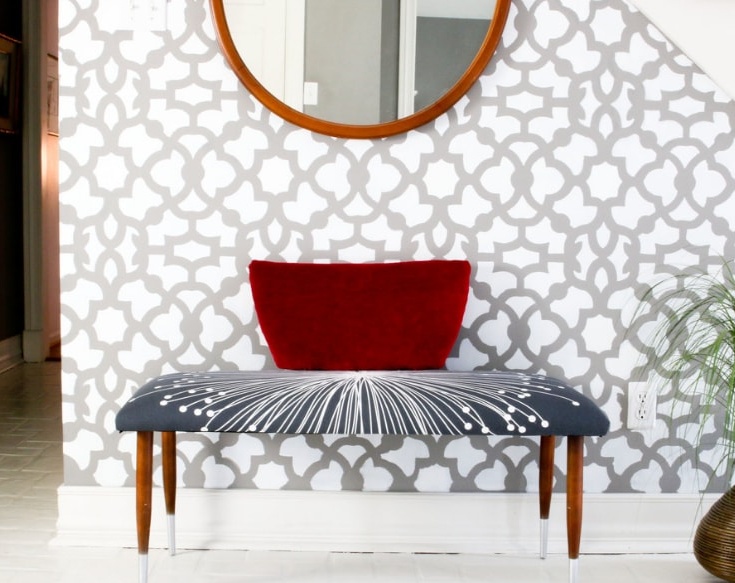
Turn the bench over and install in a suitable place.
Bedside table
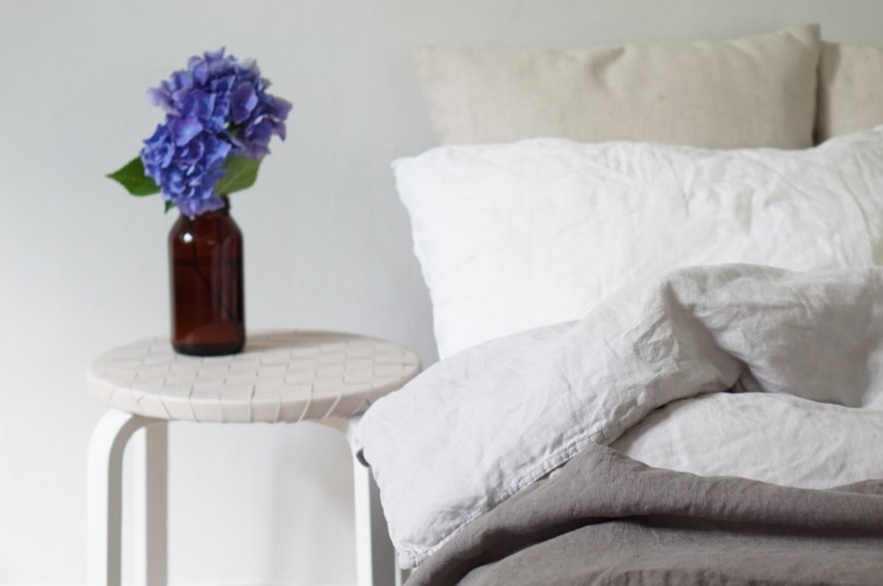
It would seem that the old stool cannot be restored or changed. In fact, this is not so, therefore, we propose to make a stylish bedside table out of it, which definitely will not go unnoticed.
Necessary materials:
- old stool;
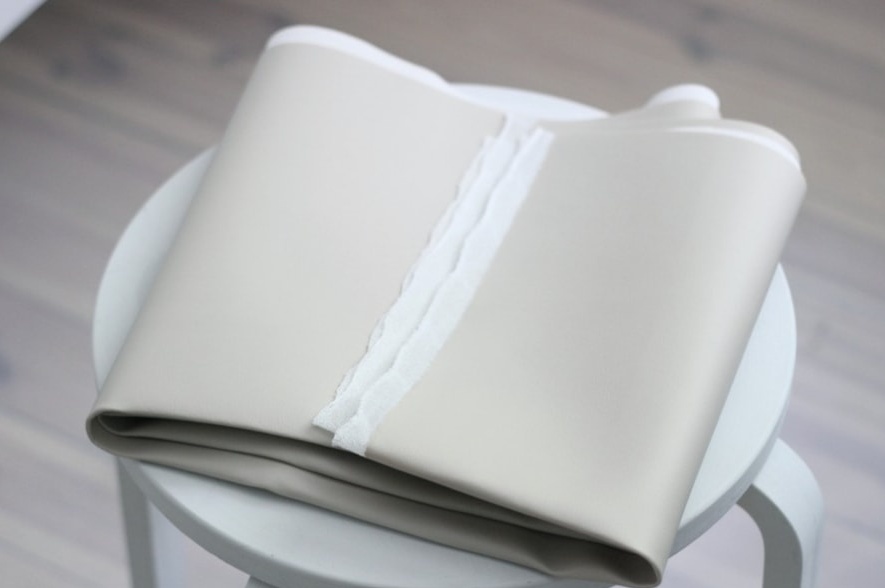
- artificial leather;
- pencil;
- ruler;
- stationery knife or scissors;
- stapler.
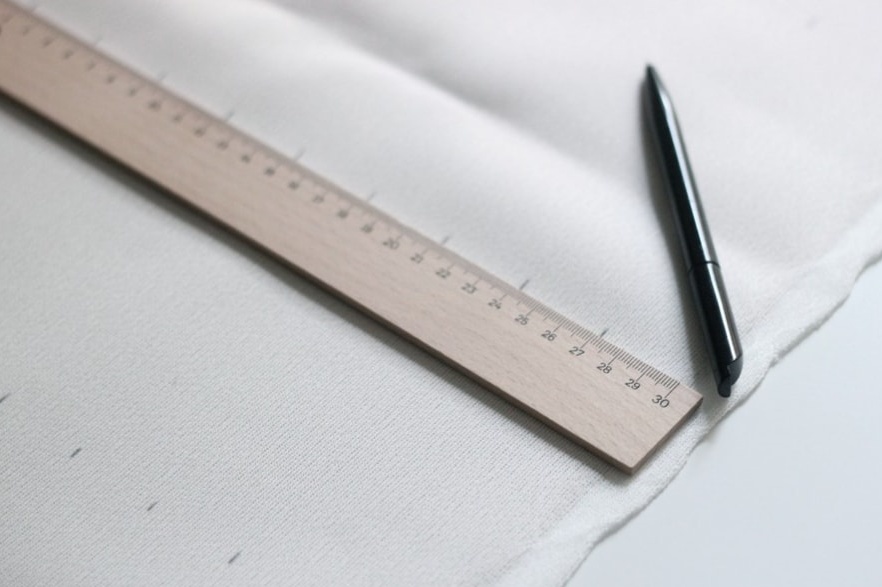
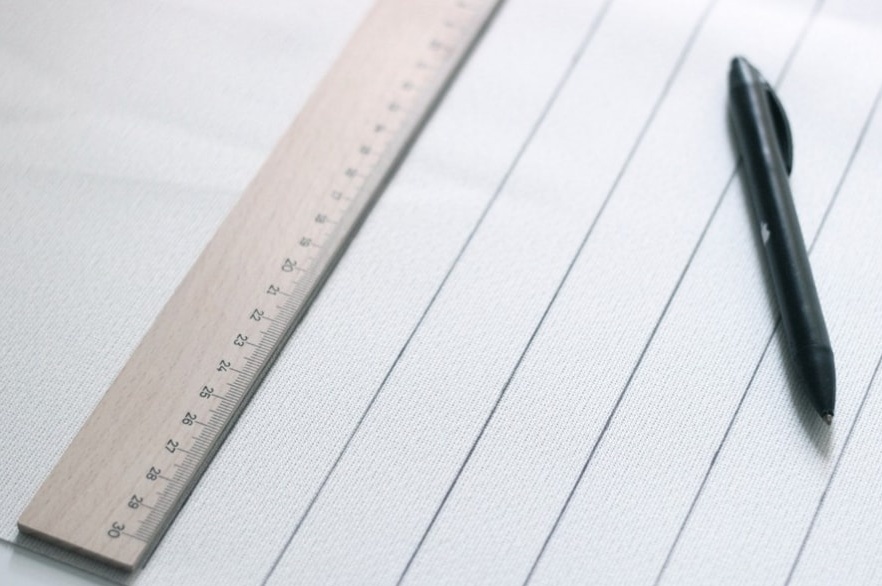
To begin with, we determine the desired width of the strips of artificial leather and apply markings on the back side.
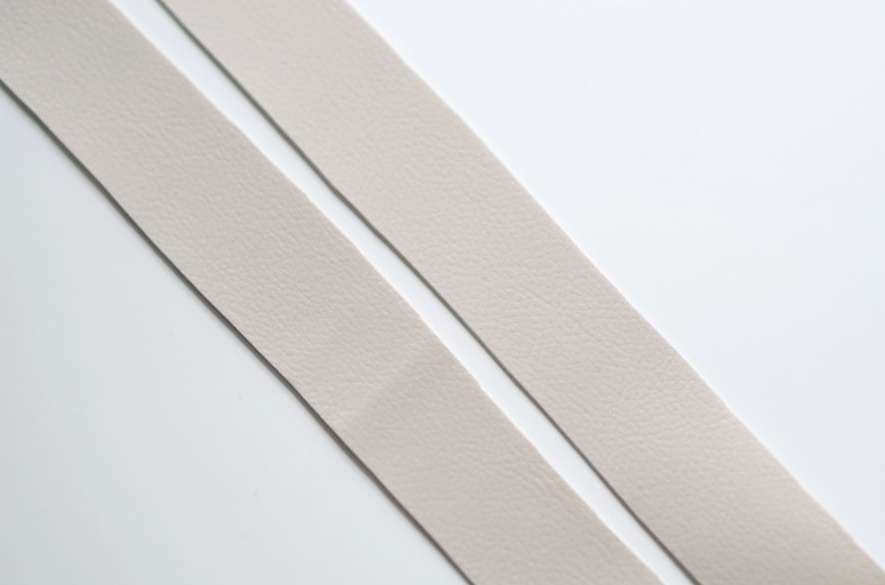
Cut the skin into strips using scissors or a stationery knife.
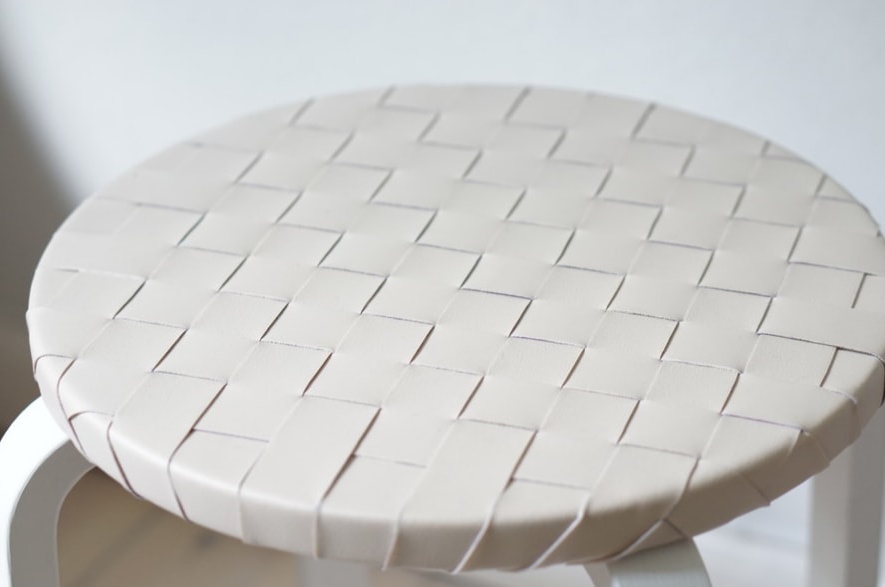
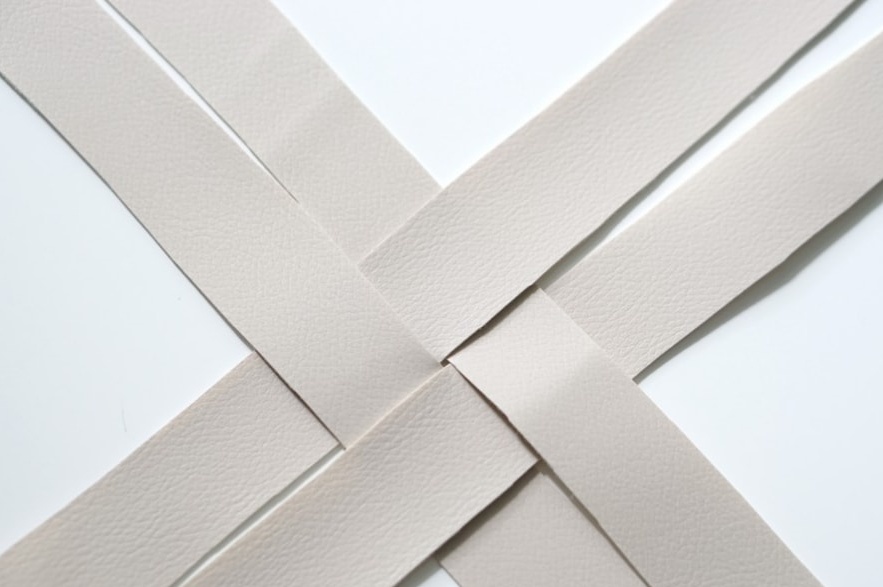
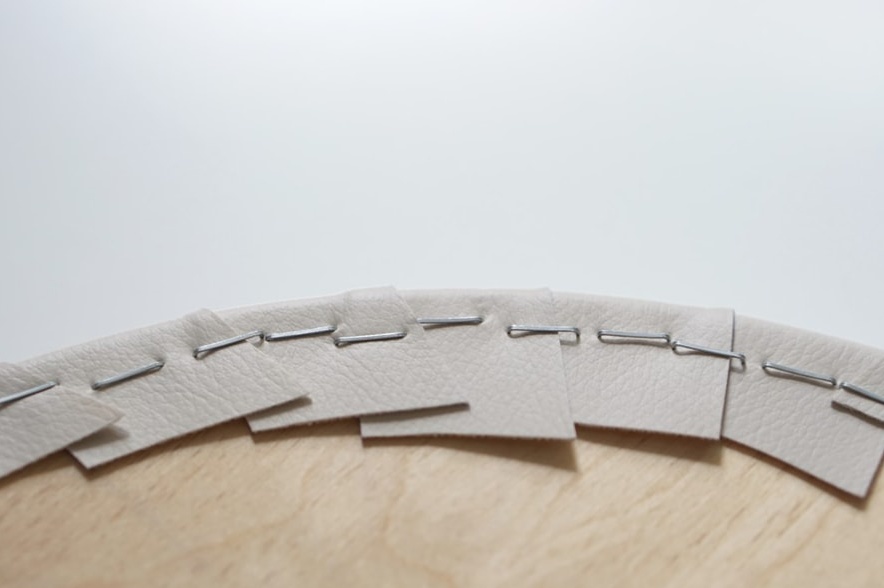
We unscrew the legs of the stool and proceed to weaving. First, we cross the four strips together, as shown in the photo. We fix them on the inside with a stapler.
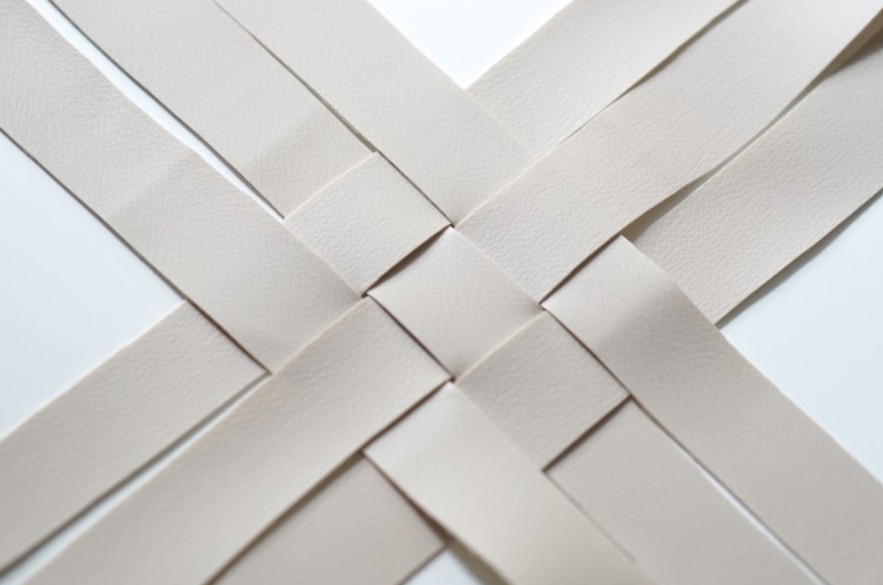
Add two more ribbons and fix them.
Repeat the same until the strips cover the entire outer surface of the stool. We cut off excess material from the inside so that they are not visible.
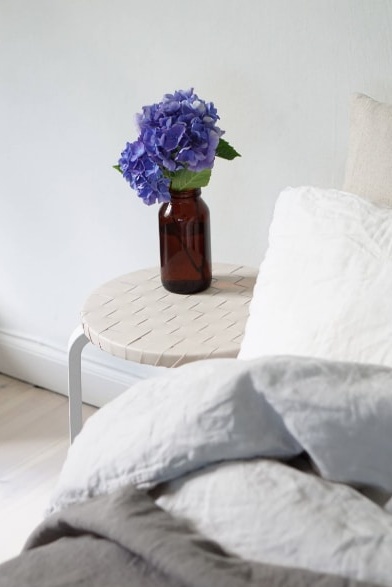
We connect the upper part with the legs and install a stylish bedside table.
DIY headboard
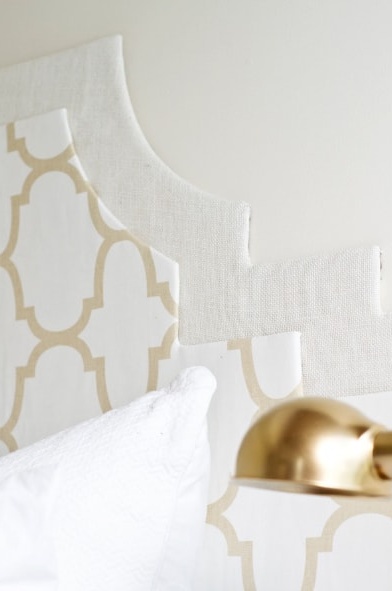
To slightly transform the interior of the bedroom, it is not at all necessary to make a relocation or repair. As an alternative, we propose to make a beautiful headboard for the bed with your own hands.
You will need the following:
- large sheets of cardboard - 2 pcs.;
- non-woven;
- breadboard knife;
- glue;
- fabric with a pattern;
- Double-sided tape;
- sackcloth;
- glue spray.
On one of the sheets of cardboard we draw a smaller part of the head of the head. 
Cut the workpiece with a breadboard knife. We put it on the second sheet of cardboard, retreat a few centimeters and cut out the second blank.
We spread the non-woven, apply a large workpiece and cut out the lining, taking into account the allowances. We connect the two parts with glue spray.
By the same principle, we cut out the fabric with a pattern and glue it over the lining layer.
We slightly cut the corners of the fabric and lining.
Gently wrap the fabric with non-woven fabric and fix it on cardboard using double-sided tape. 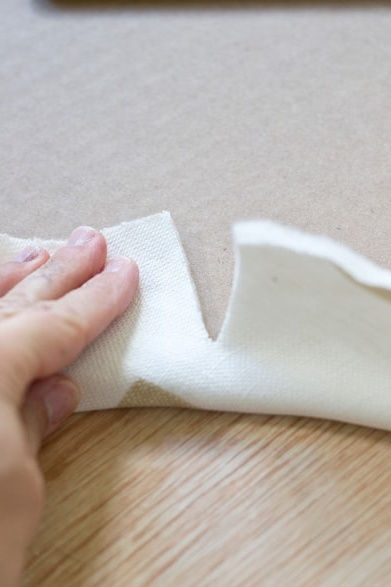
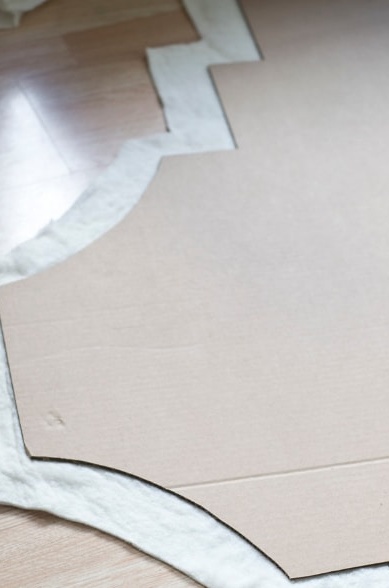
Repeat the same with the second blank. Glue them together with glue and leave to dry completely.
Glue a double-sided tape on the inside of the head and attach the structure to the wall.
Stylish, original bed decor is ready!
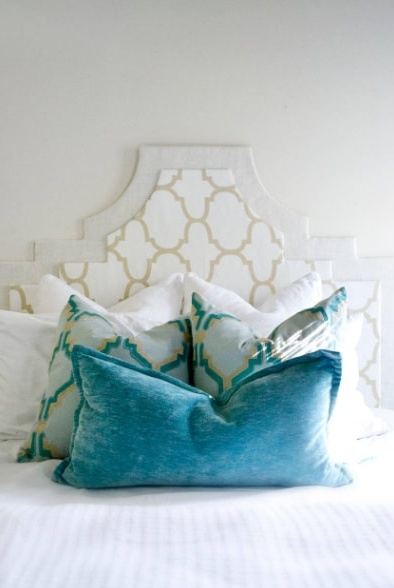 As you can see, even old furniture can look modern. Therefore, do not be afraid to restore it at home, because the result will be worthwhile.

