Original DIY home decor
For every person, a house is a special place, which should be as comfortable, cozy and practical as possible. Of course, a lot depends on the layout and general style of the room. Nevertheless, the additional decor also plays an important role. Therefore, we have prepared several workshops, among which you can definitely pick up something for yourself.
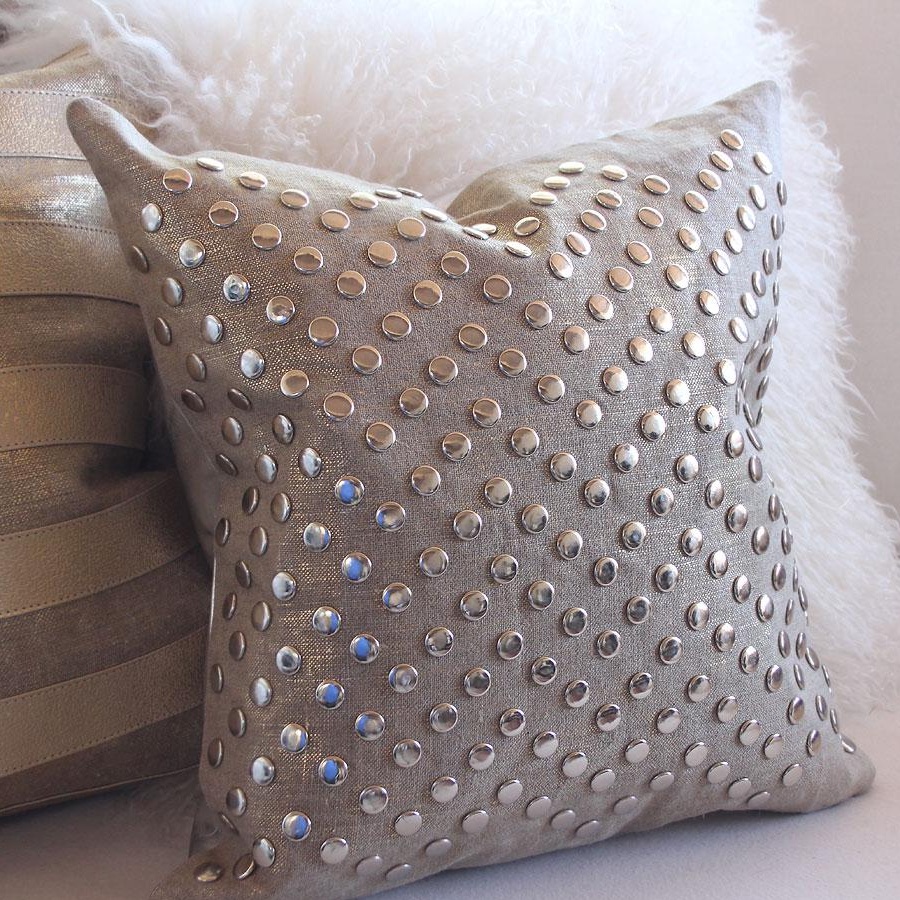
Patchwork Pillow
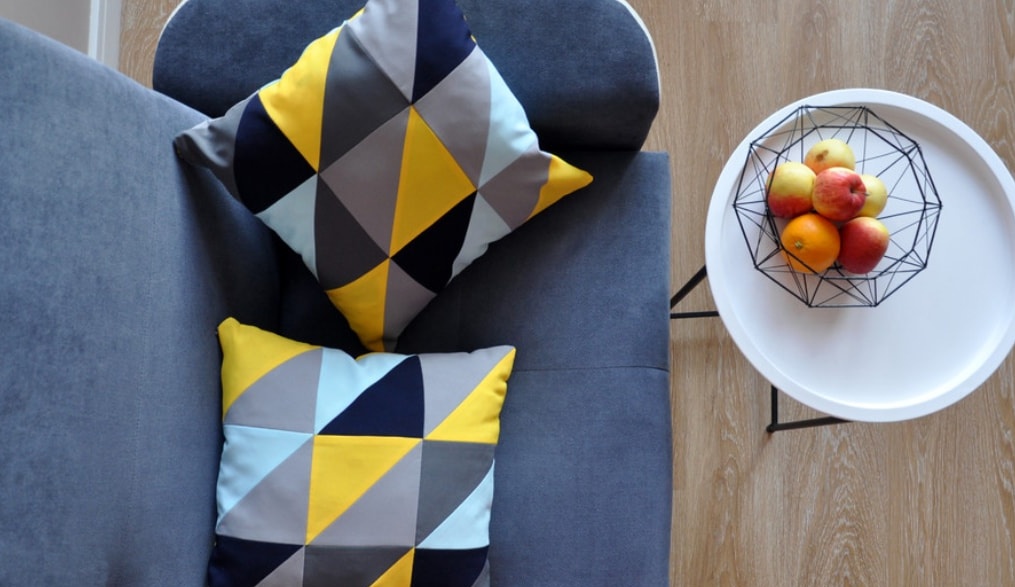
Beautiful, original pillow covers - the best solution for room decor. We suggest paying attention to the patchwork style, with which you can make very restrained, but no less attractive products.
For a case measuring 45 × 45 cm, you will need such materials:
- fabric in several shades;
- scissors;
- ruler;
- pencil;
- centimeter;
- threads
- paper;
- a piece of chalk;
- sewing machine;
- secret lightning;
- sackcloth;
- pins
- iron.
First, we sketch the cushion cover and draw triangles. In this example, five shades will be used, but you can choose another option. We print the sketch on the printer.
Cut the pattern according to the size, taking into account the allowances on each side.
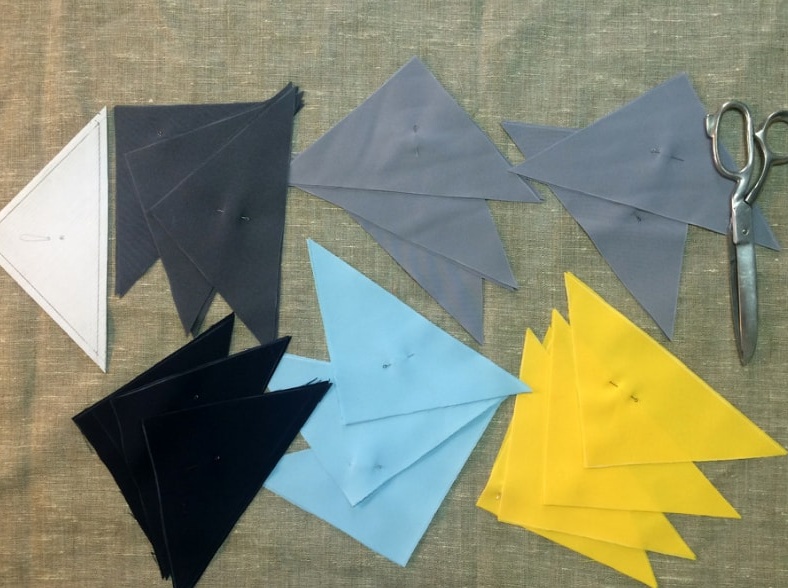
Getting started with the fabric. To do this, fold it in half, with the face inward. We make a marking in the form of triangles and cut it out.
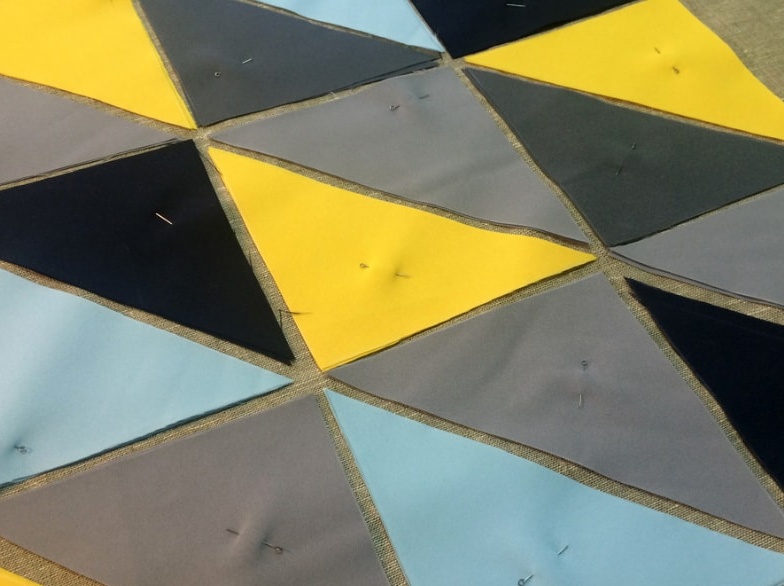
In this case, you need two sides of the cover: ten light gray, six dark gray, eight yellow and six blue and blue blanks.
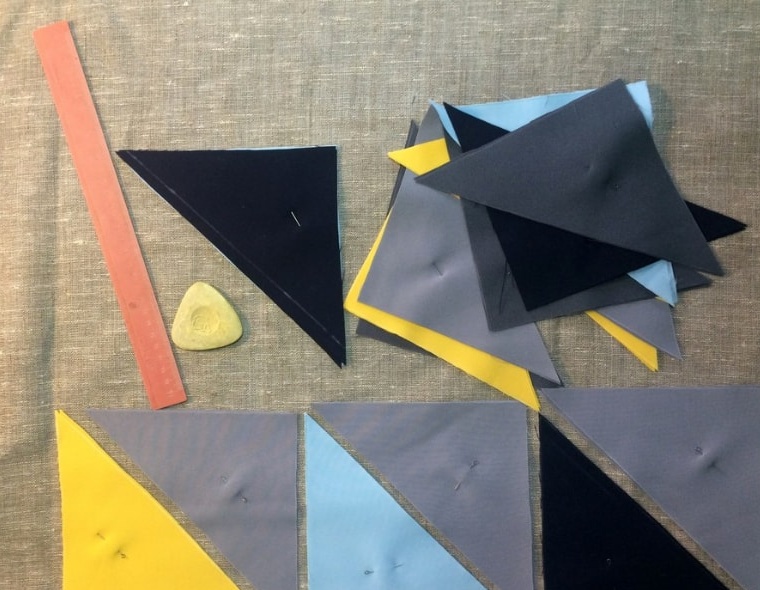
Since there are a lot of blanks, we suggest using burlap. We lay out one of the sides of the cover on it and fix it with pins.
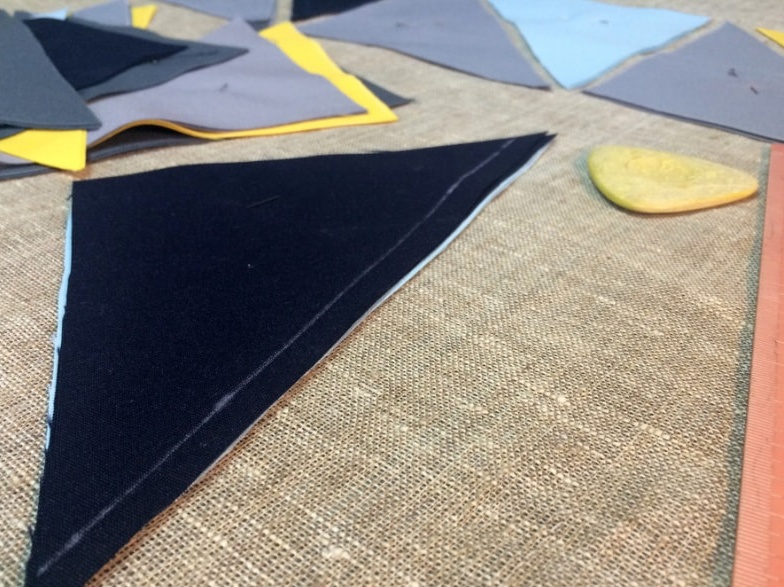
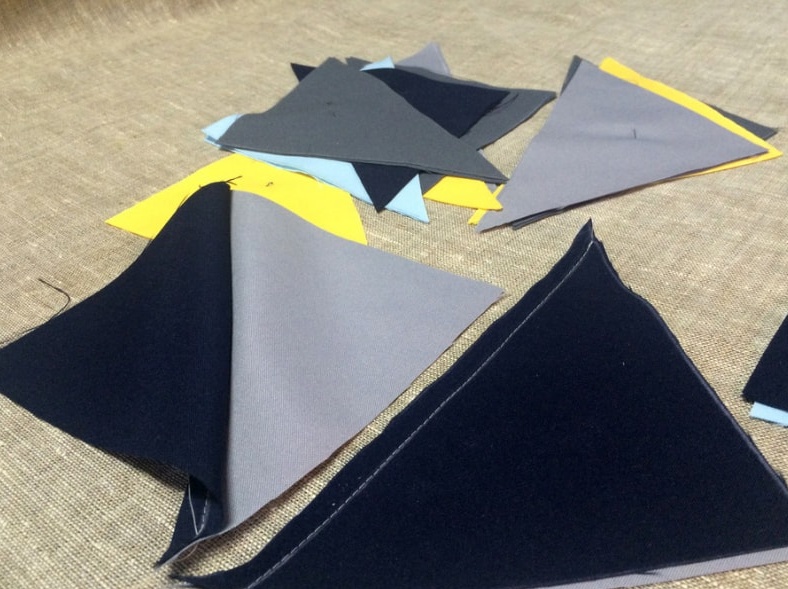
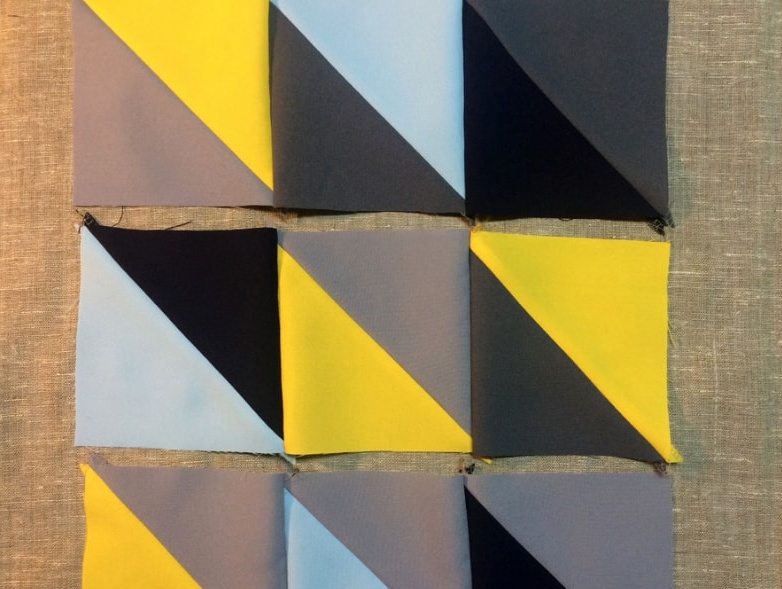
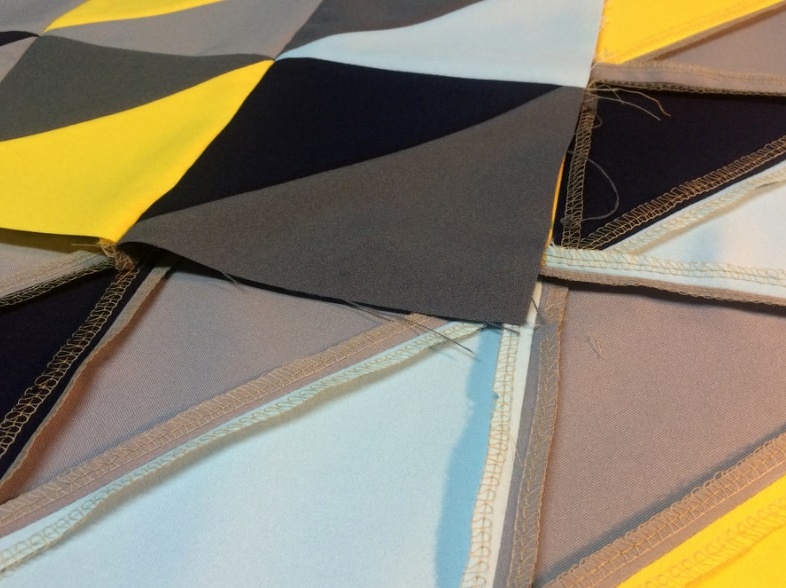
Fold the two triangles with the front inward. We sew them together on the long side. Repeat the same with the rest of the blanks. The result is nine squares for each side.
Smooth seams with an iron.
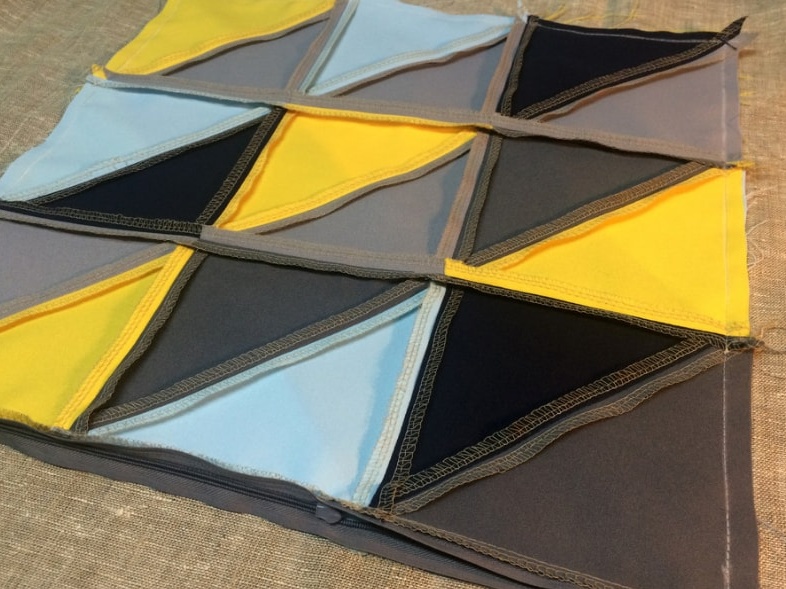
We sew three squares together so that we get stripes. Smooth the seams again with an iron.
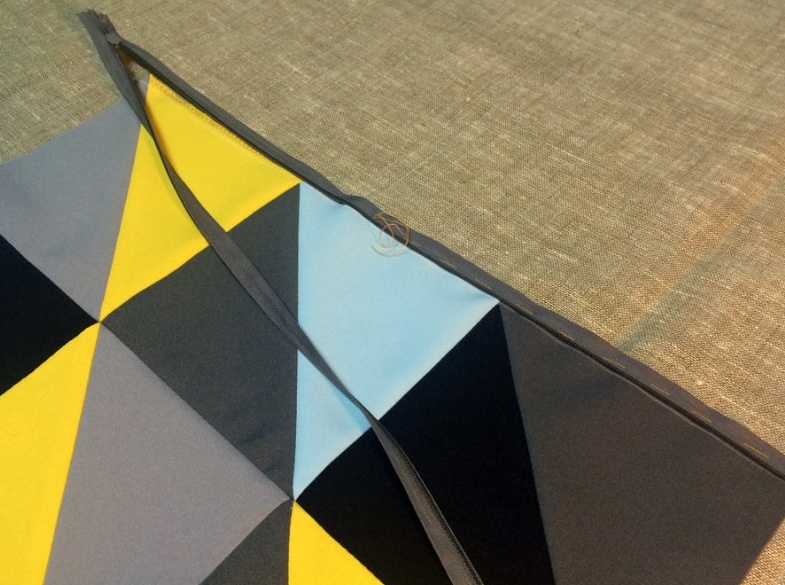
We sew the strips together and smooth them. Fold the two sides of the cover with the front sides and sew a secret zipper to them.
After the zipper is completely sewn, we sew the two parts of the cover around the perimeter.
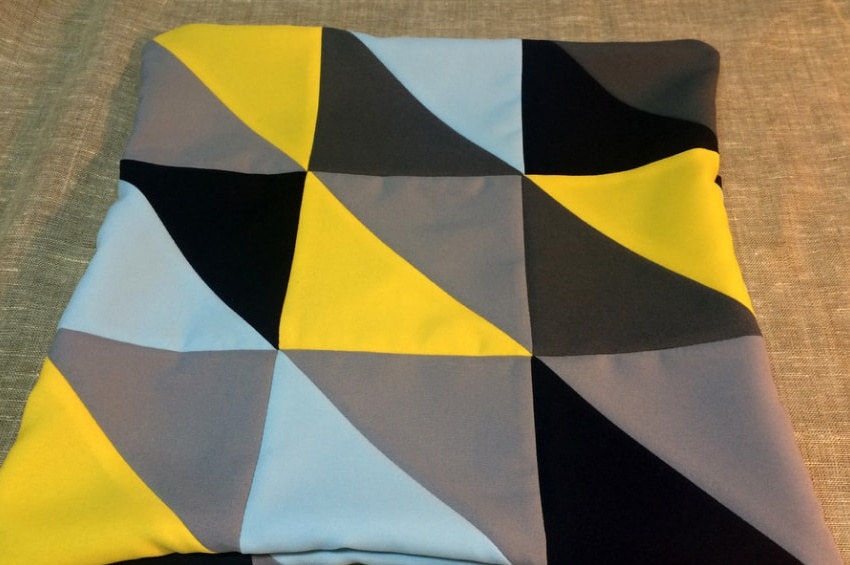
We turn it out, iron it and put it on the pillow.
We turn it out, iron it and put it on the pillow.
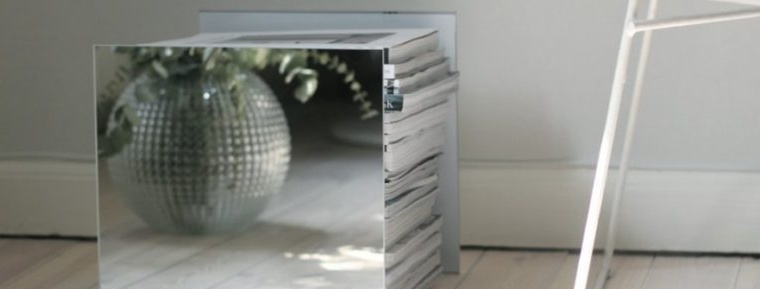
Mirrored Newsstand
The issue of storing various trifles is often acute. Therefore, we propose to make an original newspaper rack, which will be appropriate in every home.
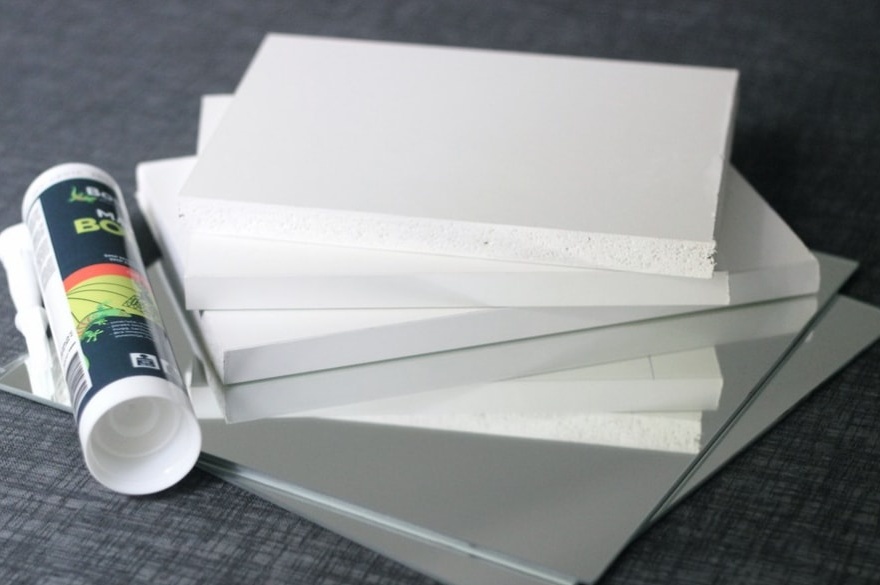
Prepare the following:
- wood panels - 3 pcs.;
- mirrors - 2 pcs;
- drill;
- glue for wood;
- glue gun;
- self-tapping screws;
- mounting glue;
- saw.
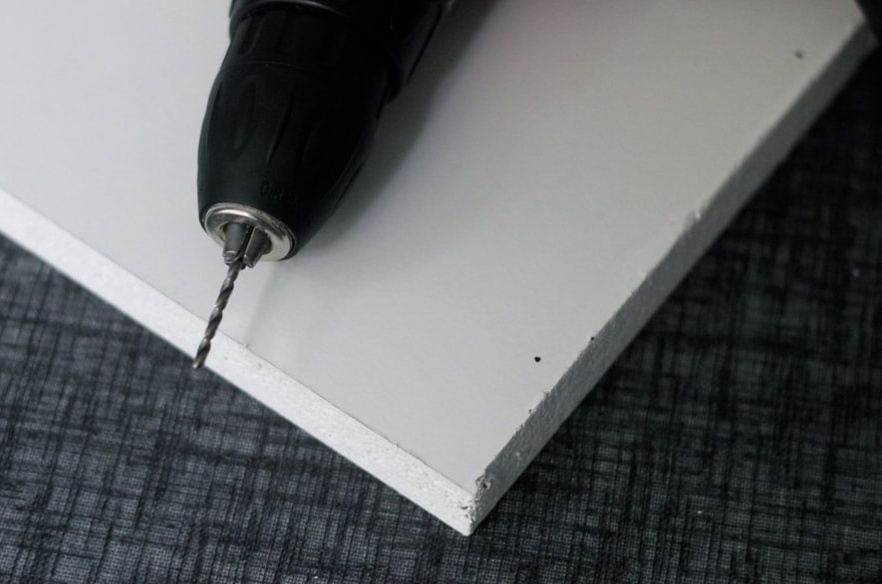
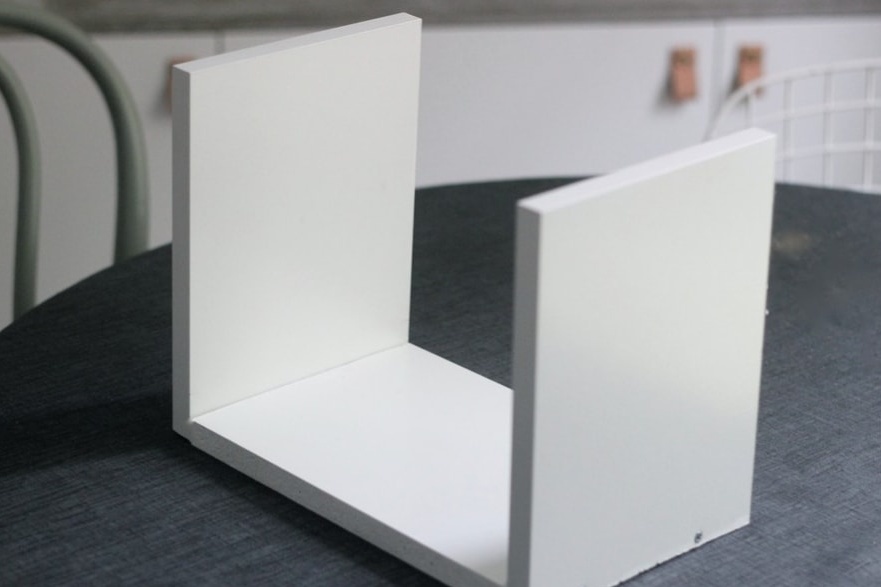
On wooden panels, we make holes for fasteners of a future design.
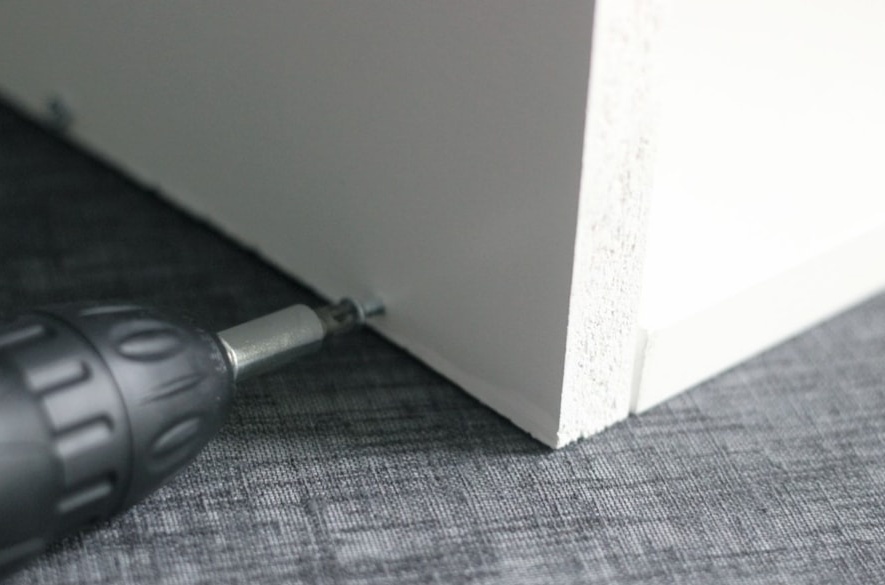
Using self-tapping screws we connect three wood panels together. For better fixation, we use carpentry glue.
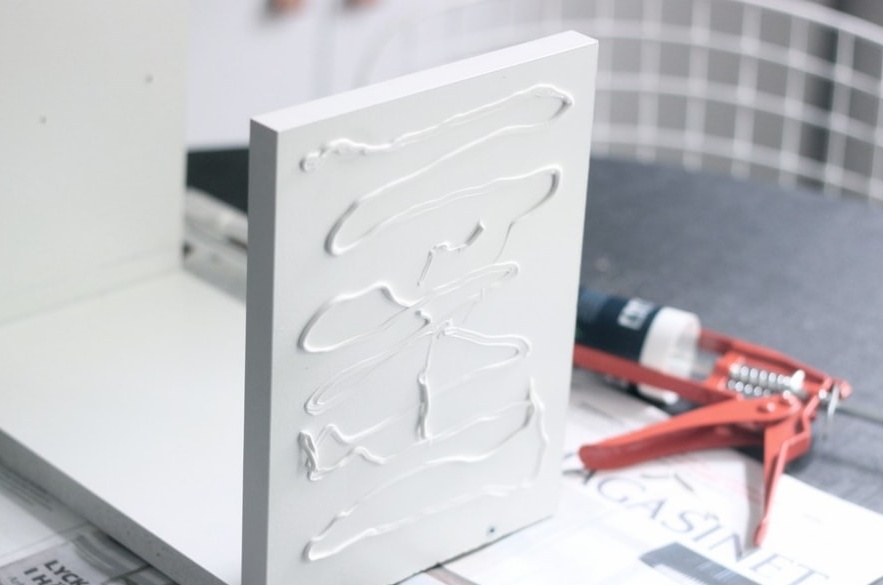
On the outer sides of the panels we apply glue in a rather thick layer.
We attach mirrors to them and press them for better fixation. Leave the structure to dry completely.
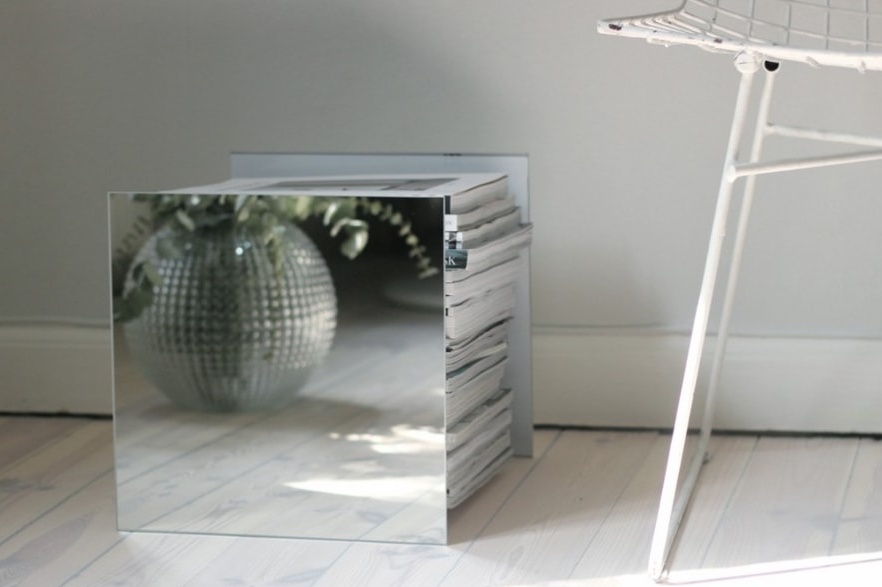
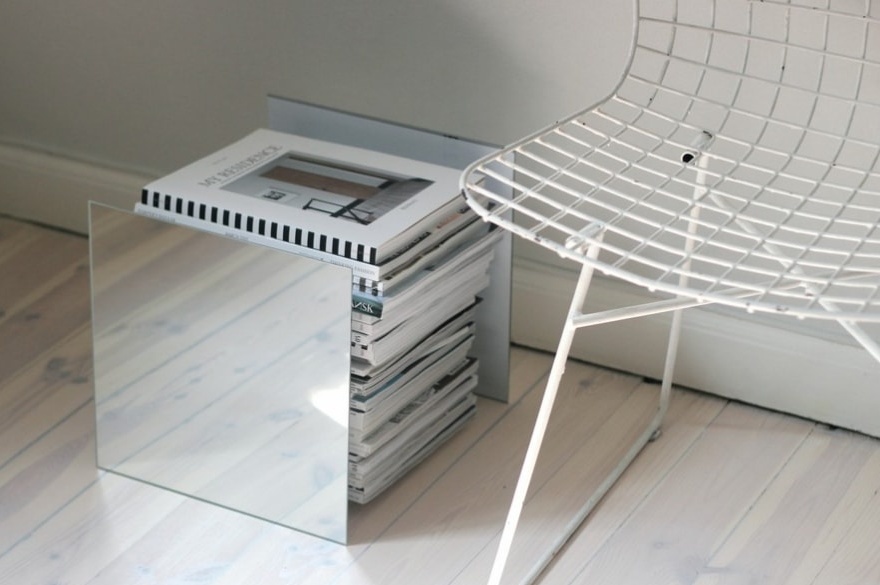
Stylish, original newspaper rack is ready. Feel free to fill it with your favorite magazines and the latest press.
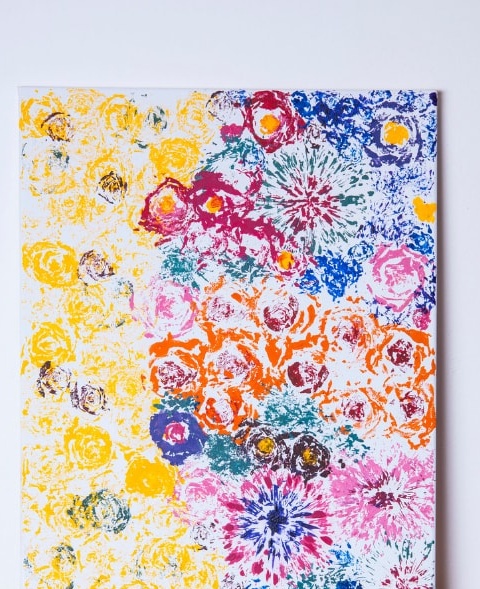
Flower picture
Not everyone possesses the talent of an artist. But this does not mean that you can’t do it yourself.
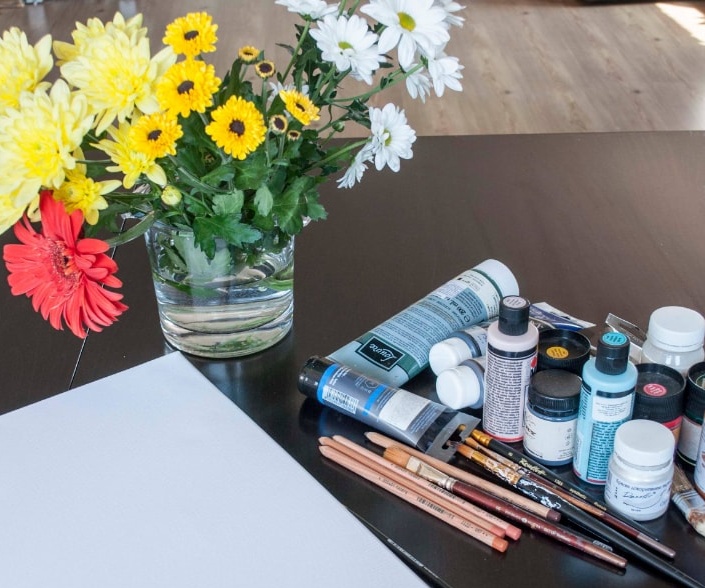
We will need:
- canvas;
- plate or substrate;
- acrylic paints;
- brushes;
- various flowers.
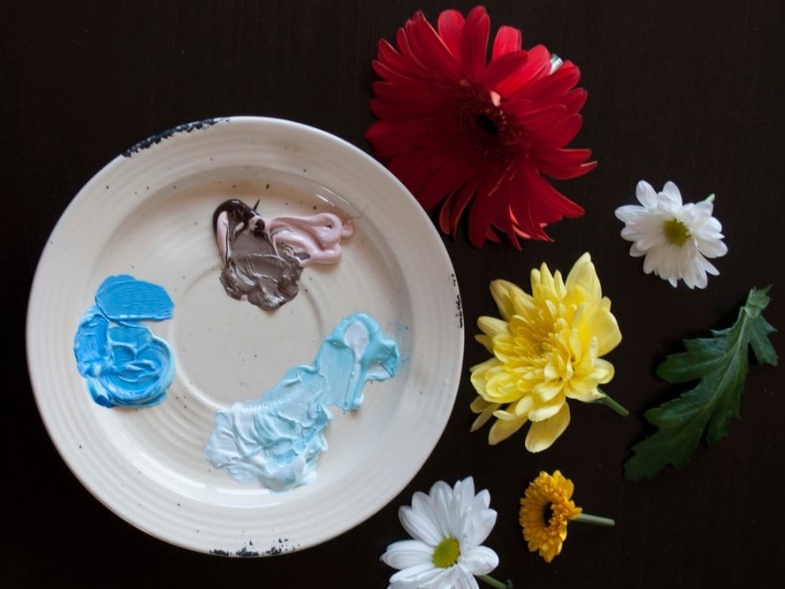
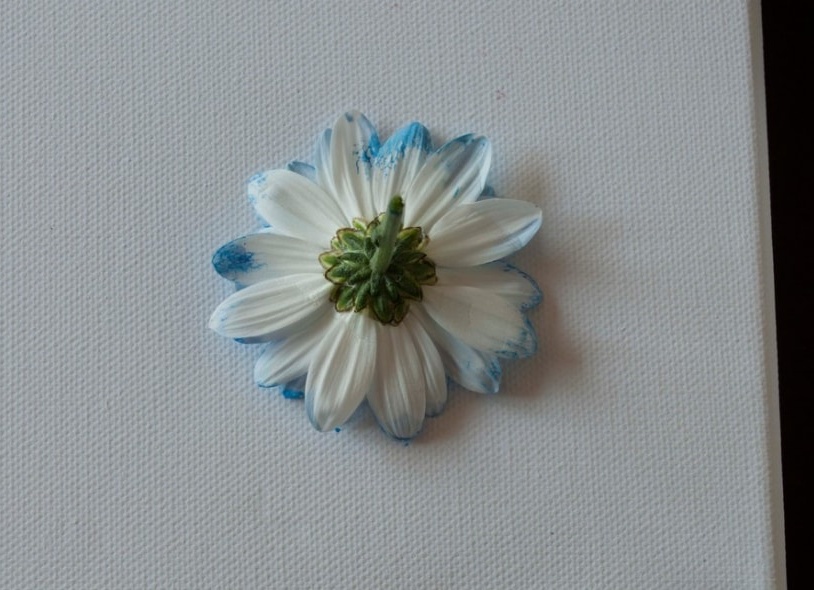
On a plate or a special substrate we apply paints of your favorite shades.
Please note that it is most convenient to draw in large colors. For example, chrysanthemums, roses and daisies are ideal.
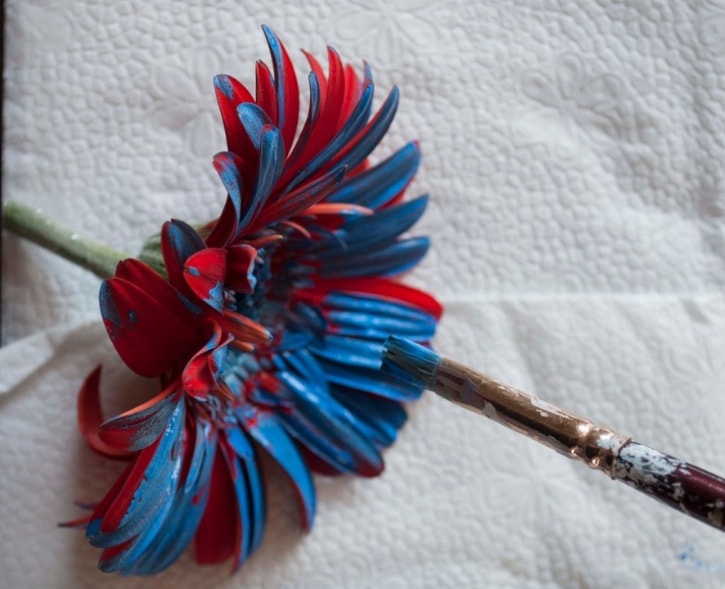
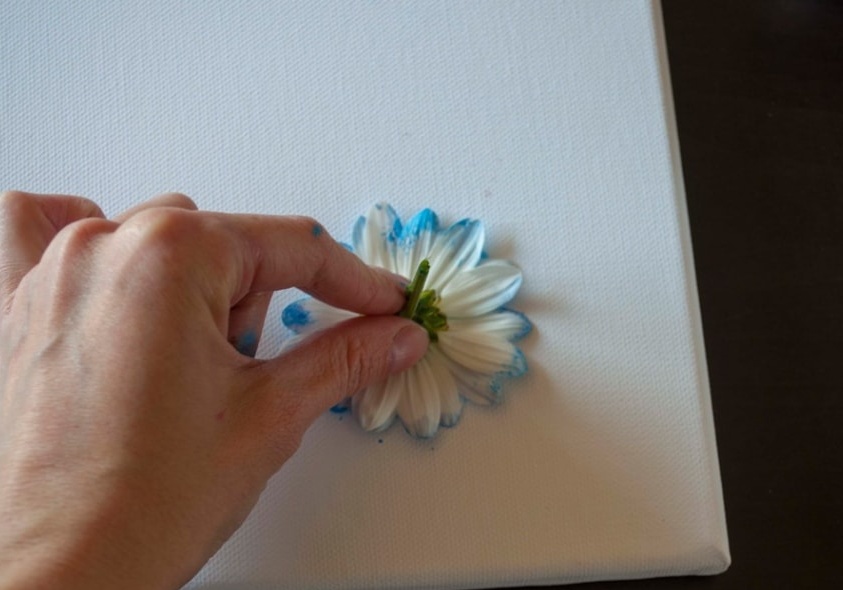
We lower the bud into the paint and gently press it to the canvas.
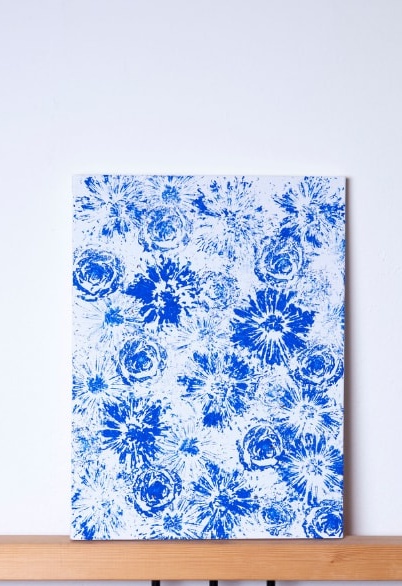
Repeat the same with different buds and shades of paint. Due to this, the picture will look more interesting. 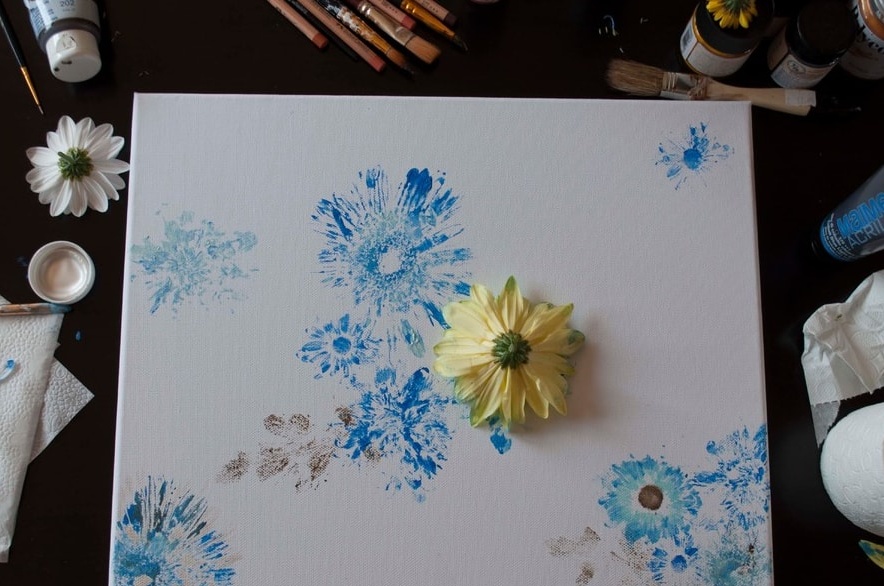
The result is a picture that will become a stylish decoration for your home.
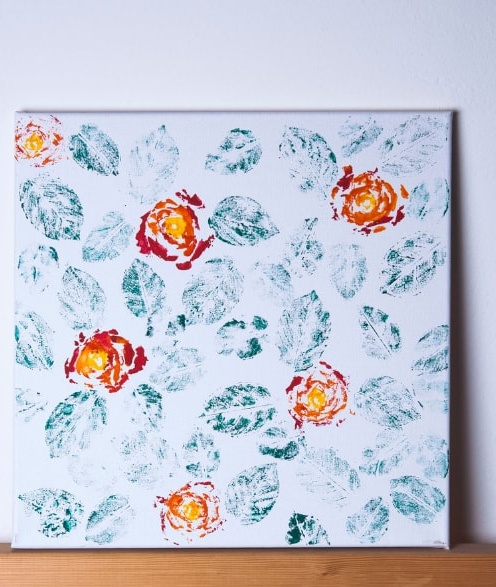
Another option is using a bud of roses and leaves.
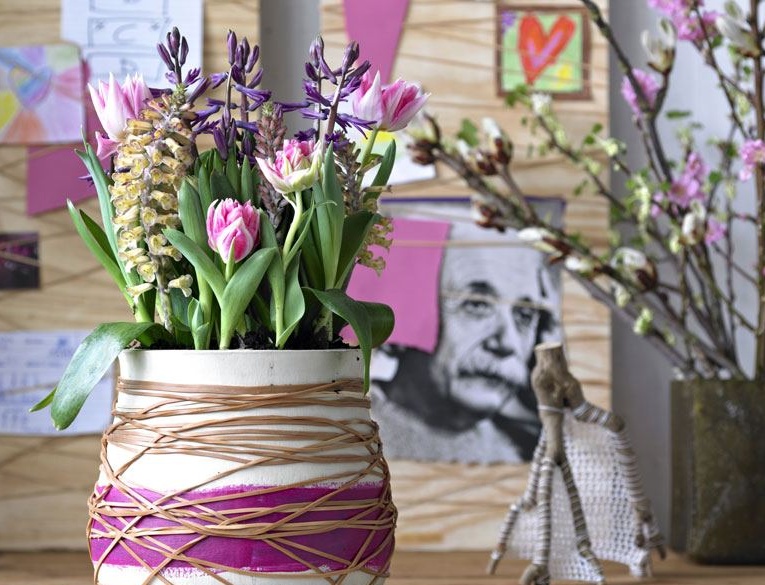
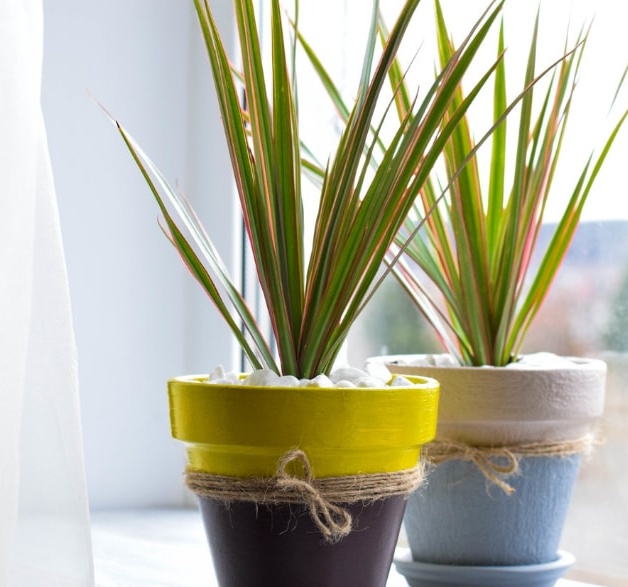
Decor flower pots
Various flowers and plants are likely to be in every home. They themselves are decoration, but often the pots have no design. Therefore, we propose to fix it and make them more vivid.
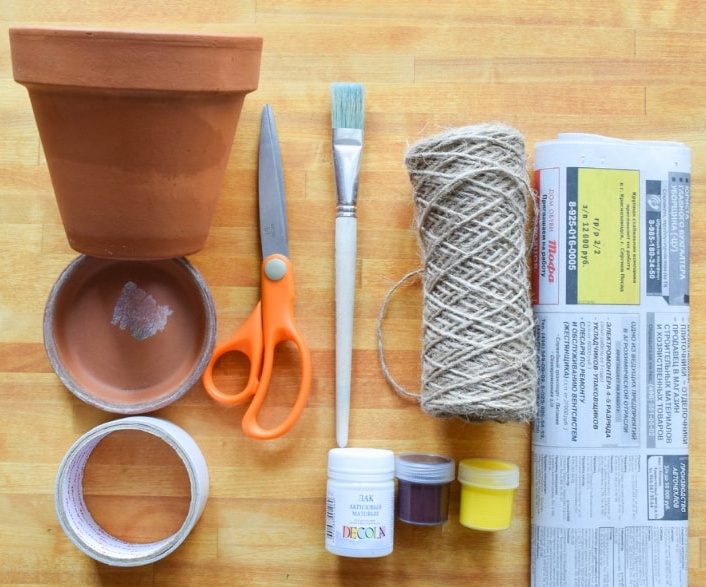
We will prepare such materials:
- terracotta pots;
- acrylic paints;
- matt acrylic varnish;
- paper tape;
- twine;
- Newspapers
- brush;
- scissors.
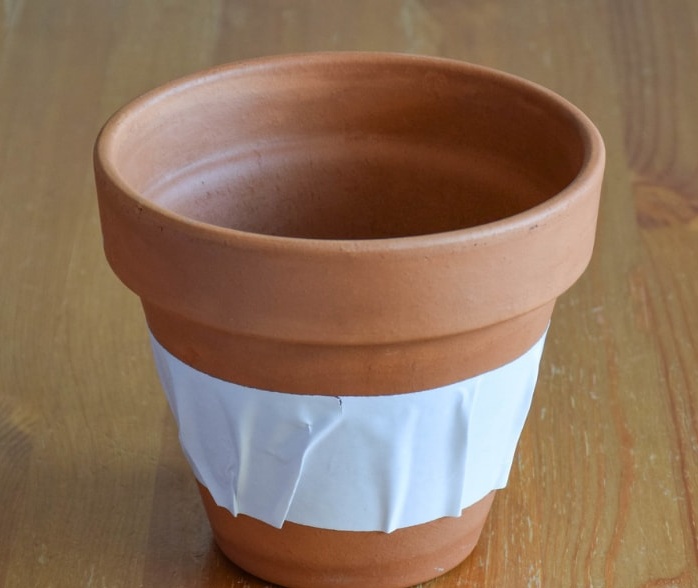
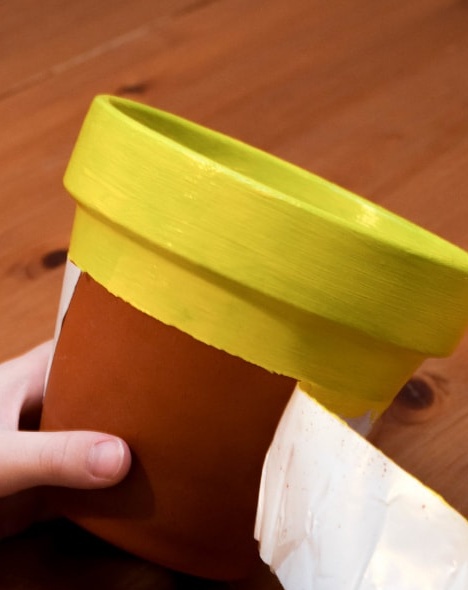
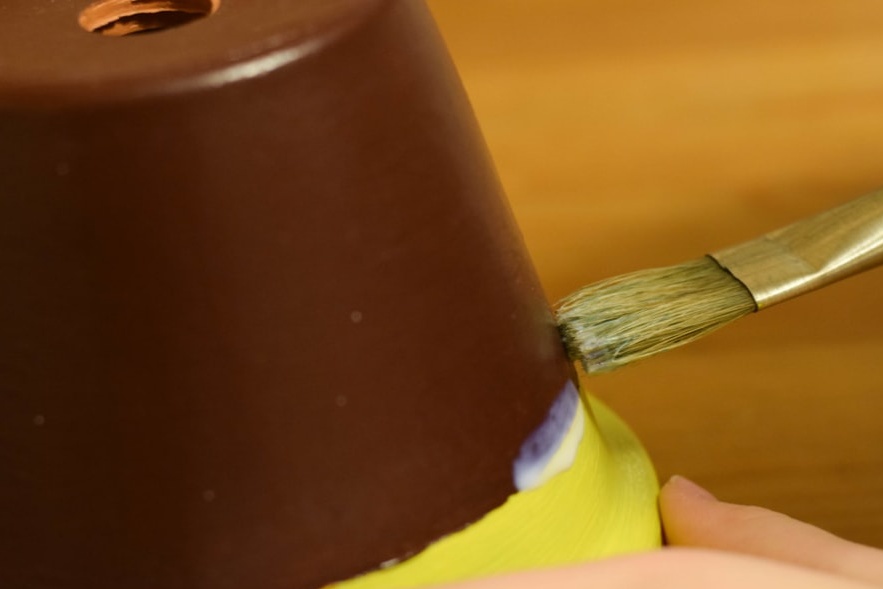
To begin with, make a small indent from the bottom of the pot and glue the tape around the perimeter.
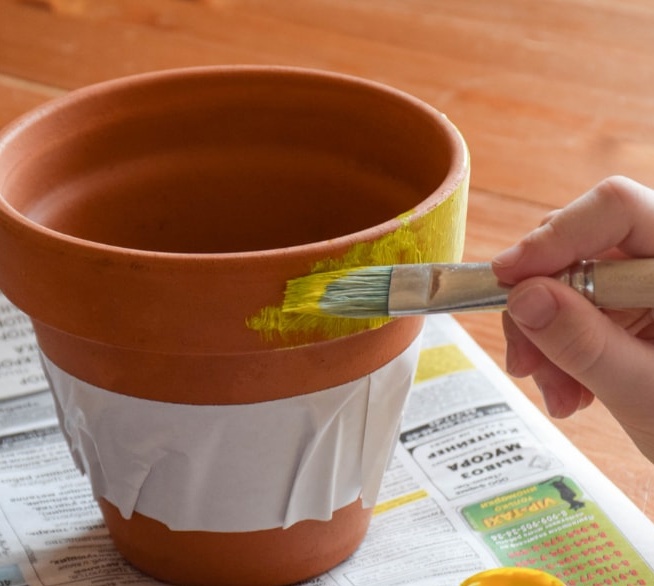
We put a newspaper on the table so as not to spoil it with materials. Paint the top of the pot with yellow paint.
When the paint has dried, carefully remove the tape.
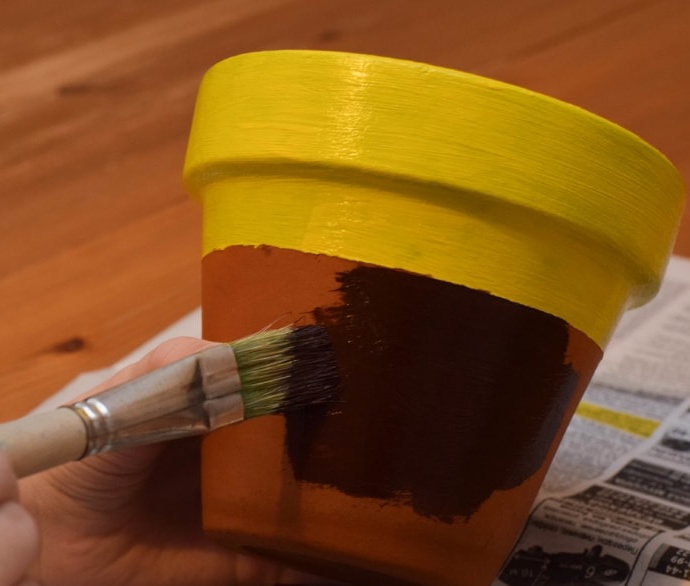
The lower part of the pot is painted in a different color. Leave to dry completely.
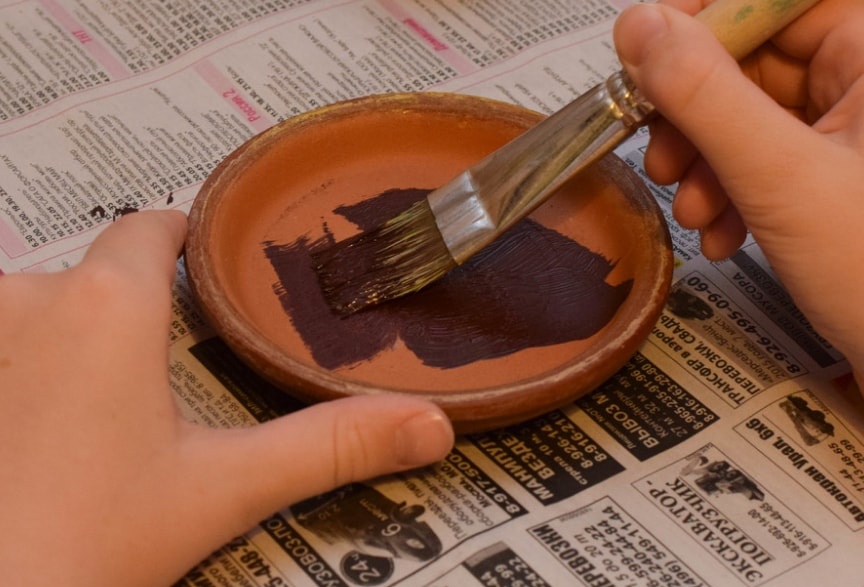
Apply paint of the same color on the pot saucer.
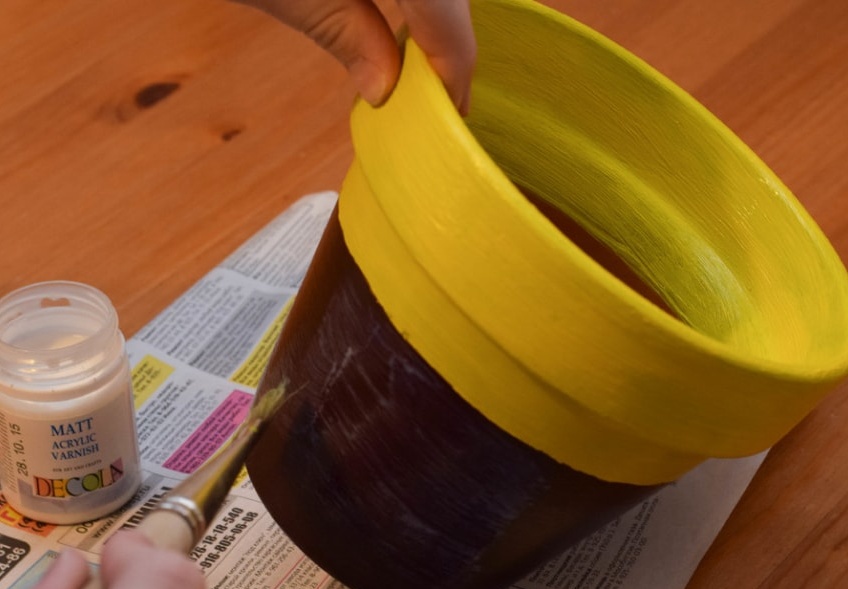
After all the parts have dried, apply a matte varnish and leave to dry for a while.
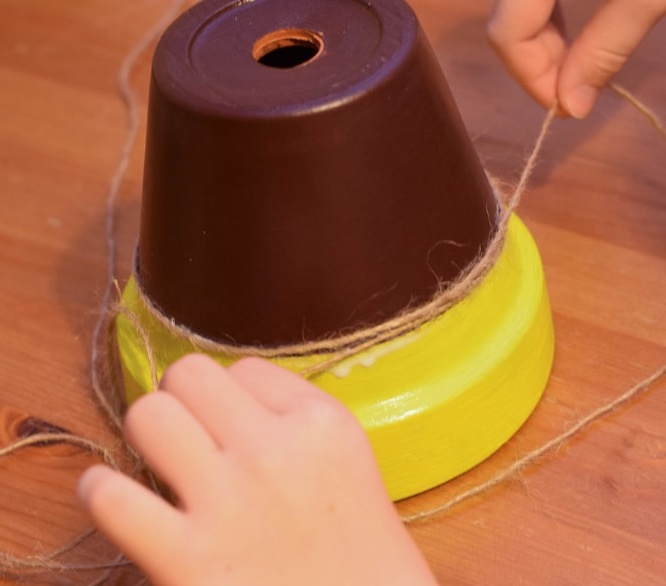
We apply varnish on the joint of two paints and immediately wrap the pot with twine several times, hiding irregularities.
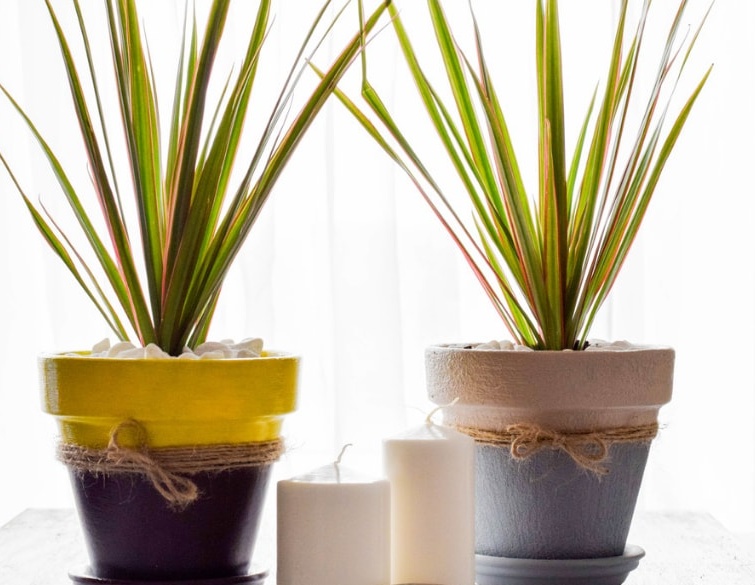
Original pots will look much more harmonious with living plants.
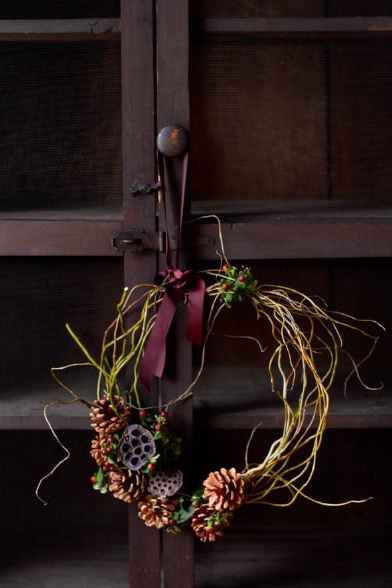
Christmas wreath
With the approach of the holidays, every house literally changes before our eyes. For this, various toys, garlands and other accessories are used. We also offer to make a Christmas wreath with your own hands.
Necessary materials and tools:
- sprigs of willow;
- wire;
- decorative tape;
- twine;
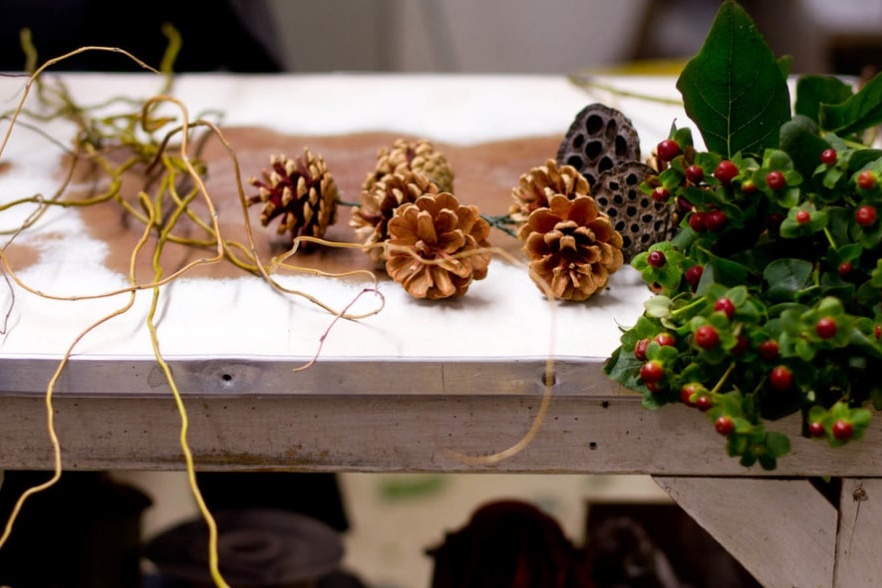
- fir cones;
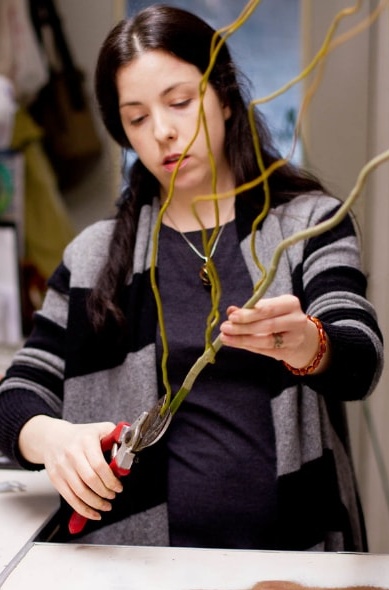
- gardening scissors;
- dry lotus seed boxes;
- St. John's wort with berries;
- thin flower wire;
- scissors.
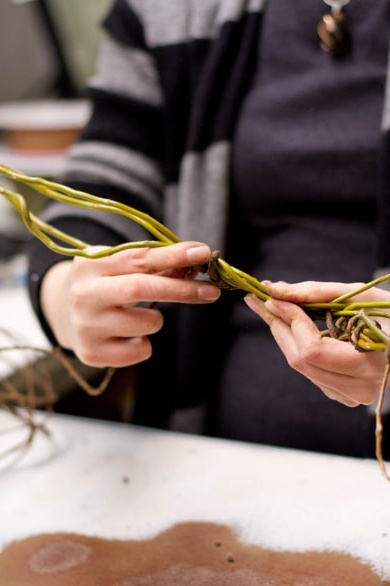
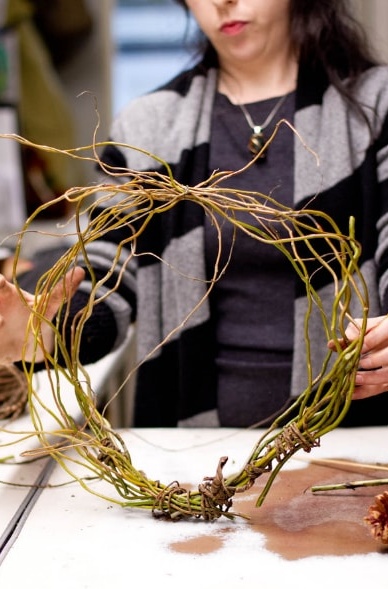
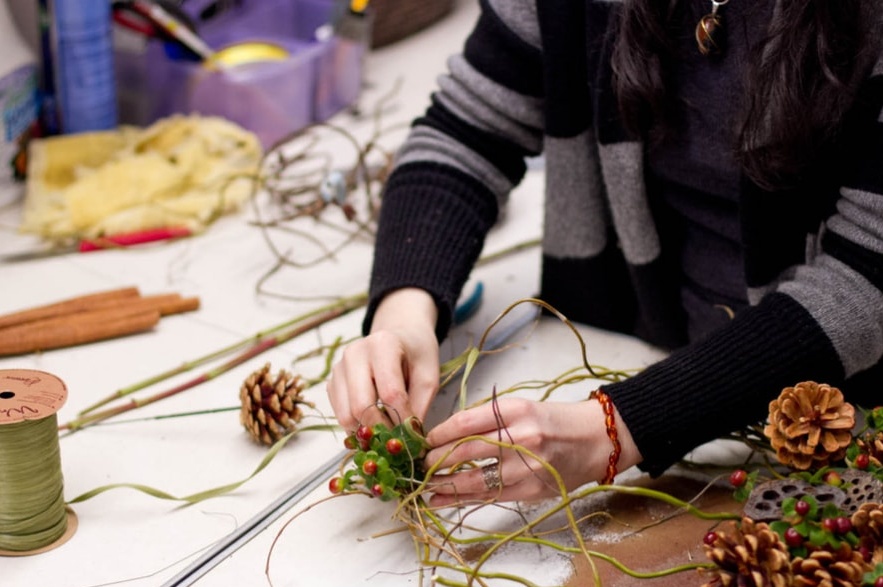
We cut off all the shoots from the willow twigs and select the most flexible ones.
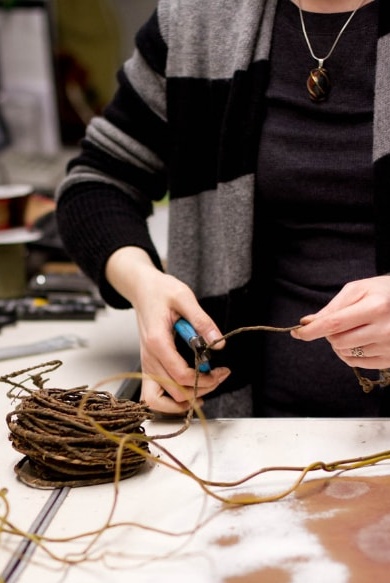
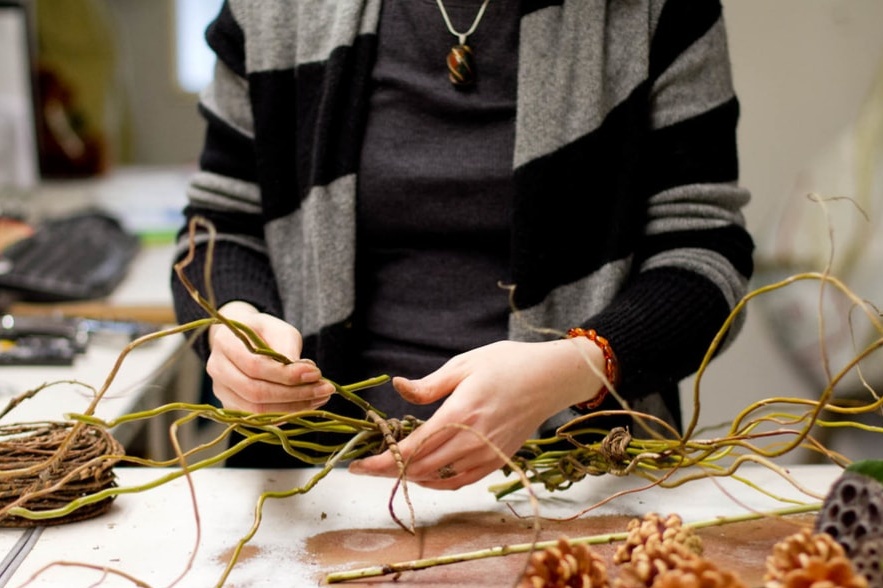
Cut off a piece of decorative wire and tightly wrap five to six willow shoots.
In the same way, we make another bunch of shoots.
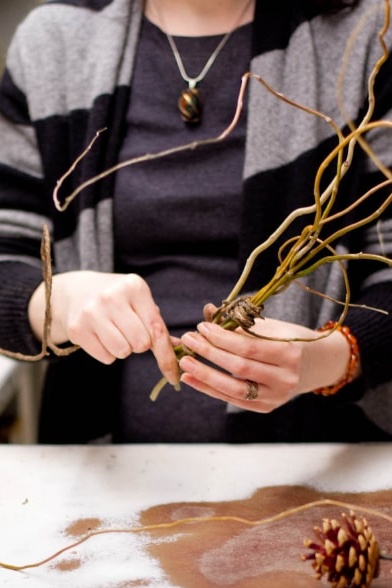
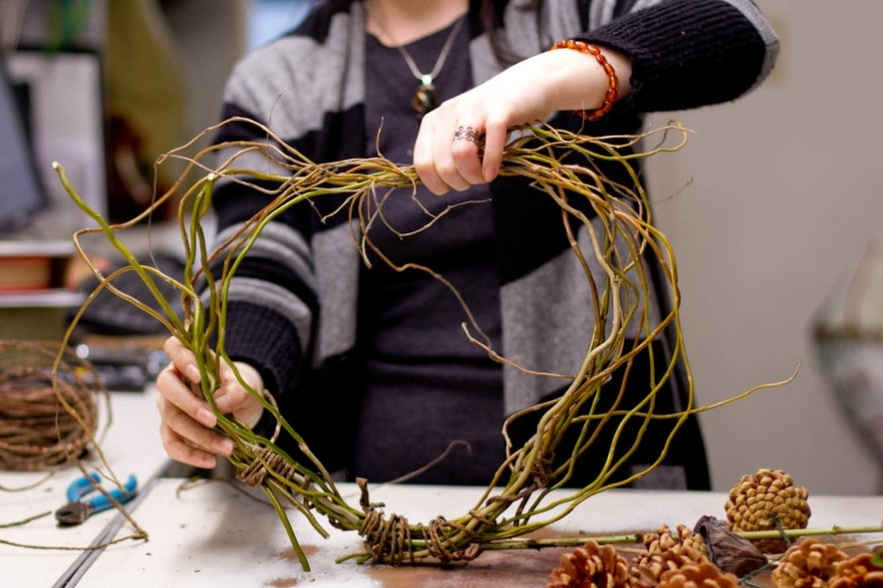
We connect them into a long bundle using a piece of decorative wire.
Gently bend the two edges of the shoots and give them the shape of a wreath.
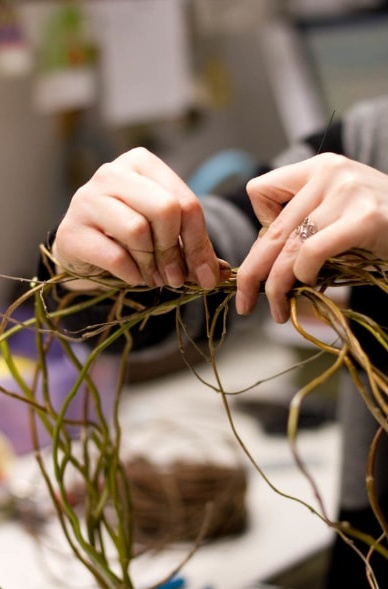
We fix it with a floral wire.
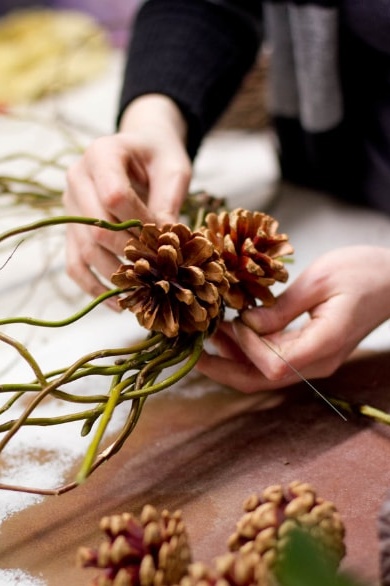
We shorten the cones to the desired length 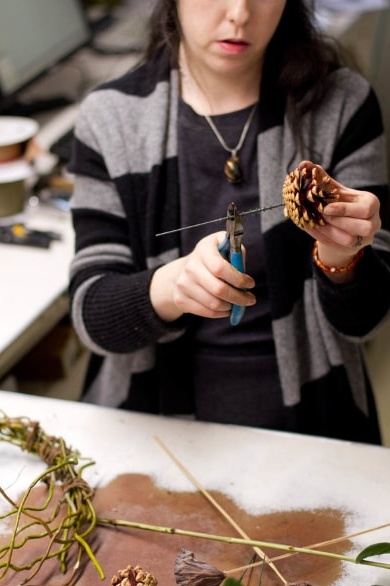
We fix the cone on the wreath with the help of a floral wire.
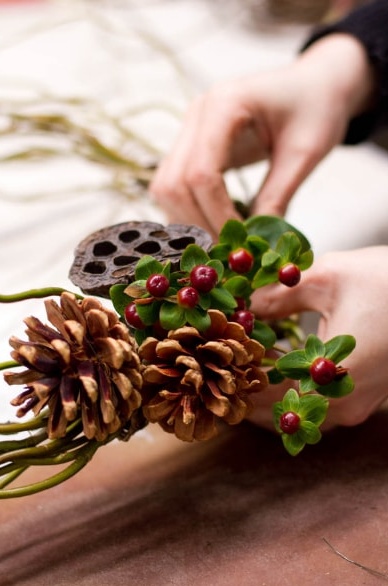
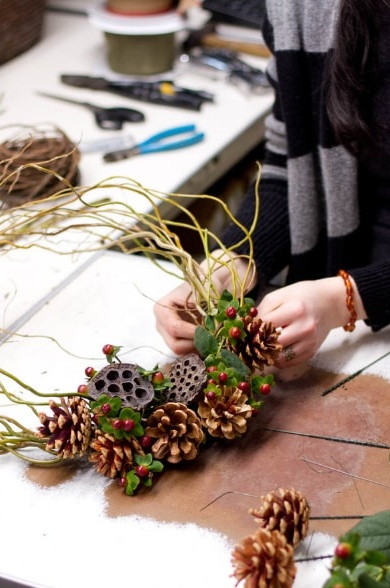
Add the lotus seed boxes and hypericum branches to the composition.
We try to place the branches in different ways until the wreath acquires the desired appearance.
We form a small bouquet of St. John's wort and attach it to the junction of willow twigs.
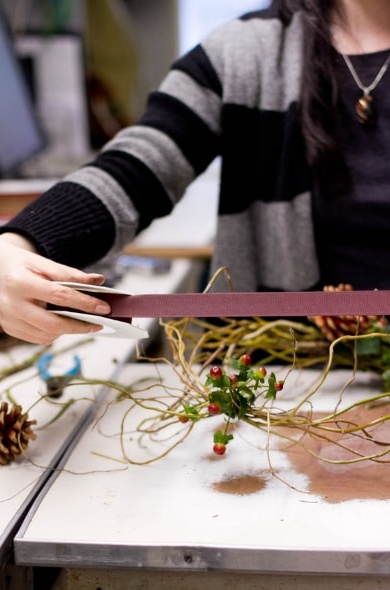
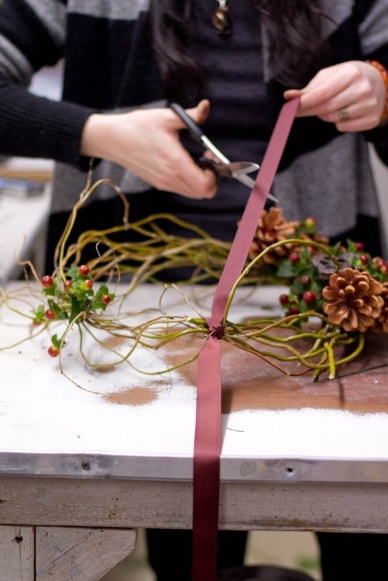
Cut the ribbon of the right size to hang a Christmas wreath.
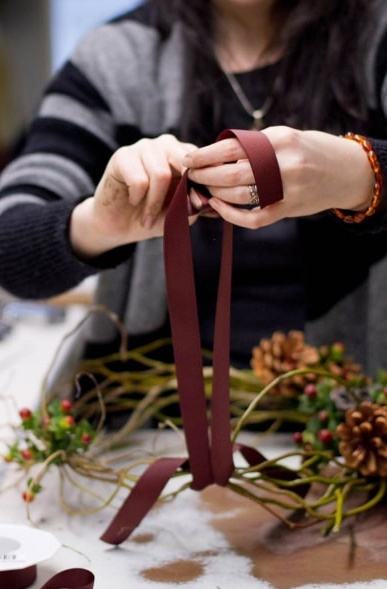
We wrap a wreath and tie. Trim the ends so that they hang.
Take another piece of tape and tie it in a knot.
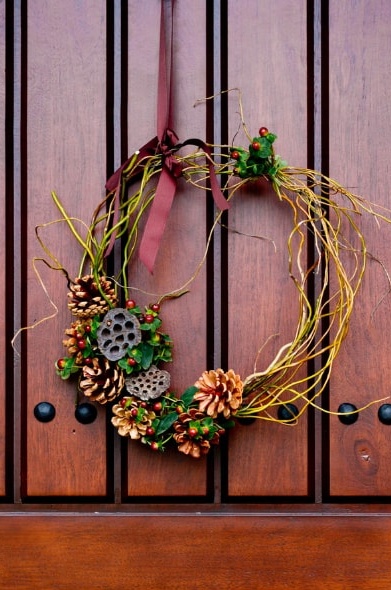
We hang a beautiful Christmas wreath on the window or door.
Creating a home decor is a very exciting experience. After all, every thing needs to be thought out to the smallest detail, given the style and color scheme. But it's worth it, because the result often exceeds all expectations.
Do you make your own decor items or purchase in specialized stores?

