
How to decorate a nursery with your own hands?
Children's room is always associated with tenderness, comfort and pastel colors. Every parent wants to make this room special for their child. Of course, decor is an integral part of any room. Therefore, we have prepared interesting master classes with which you can stylishly design a nursery.
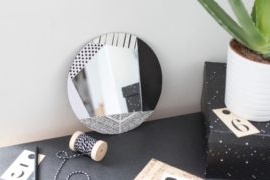
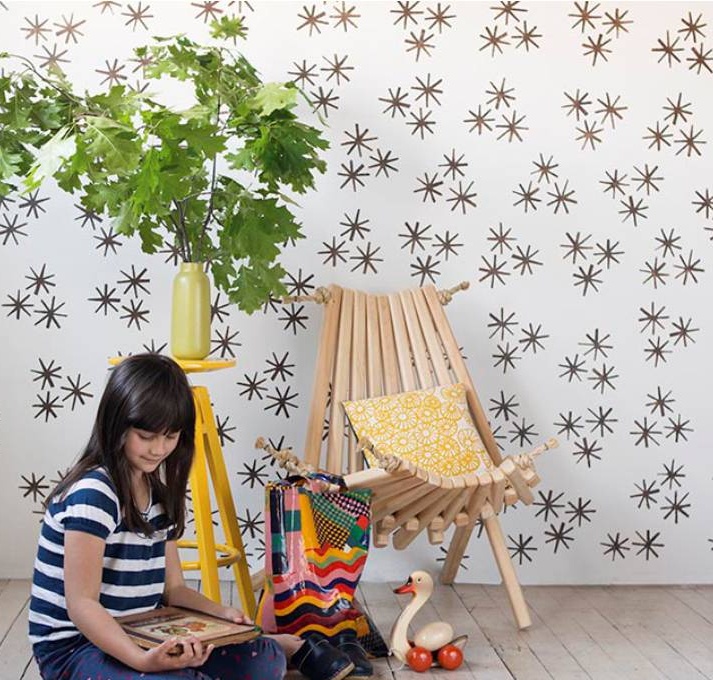
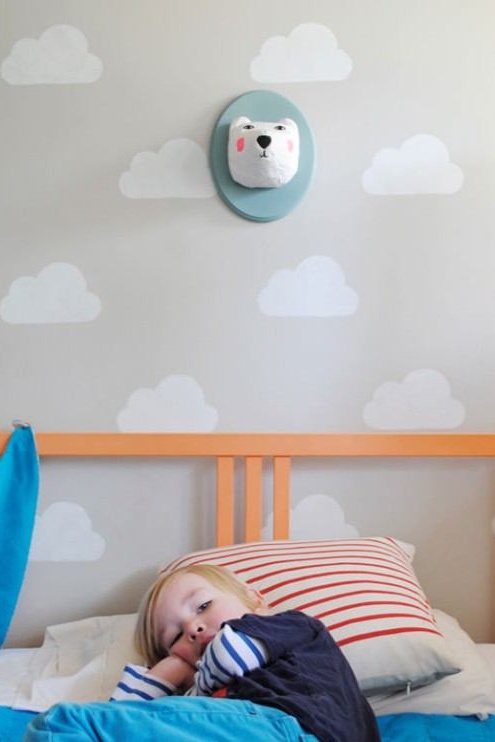
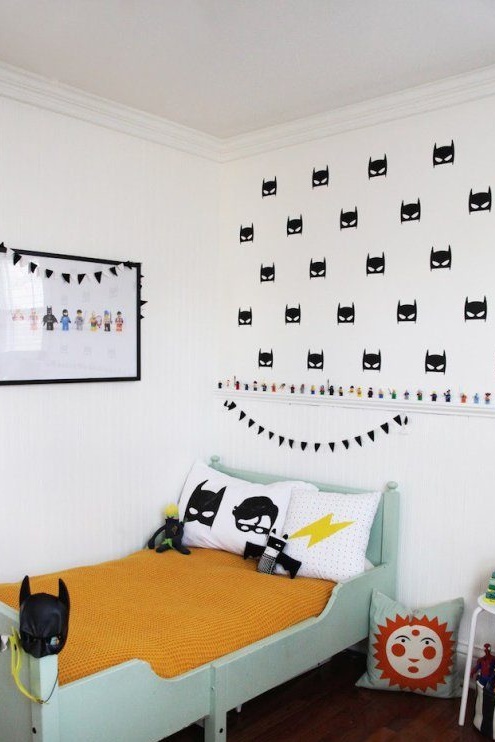
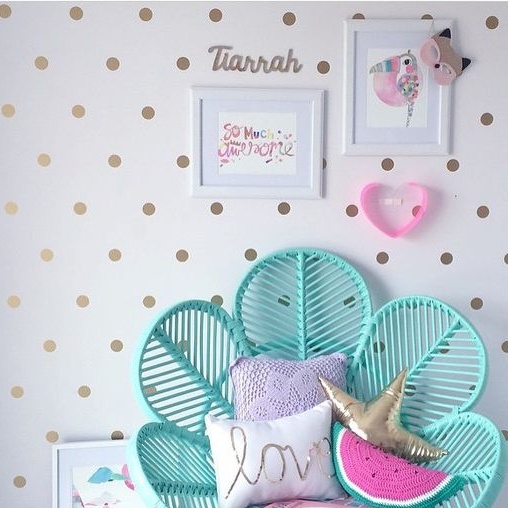
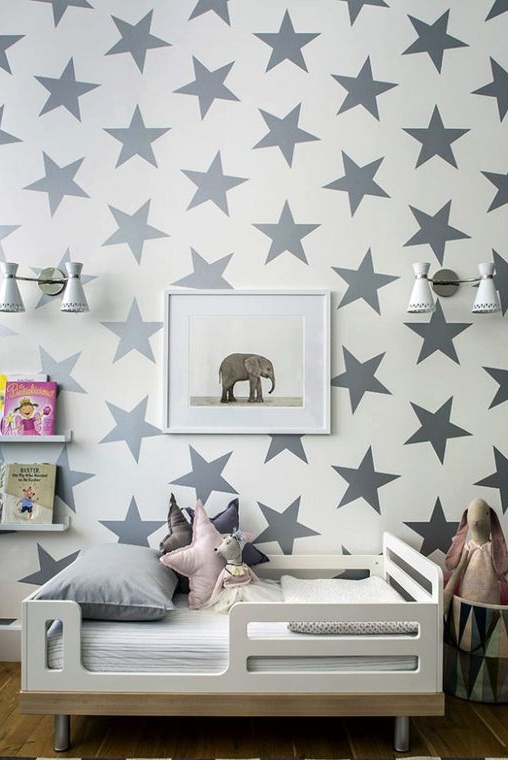
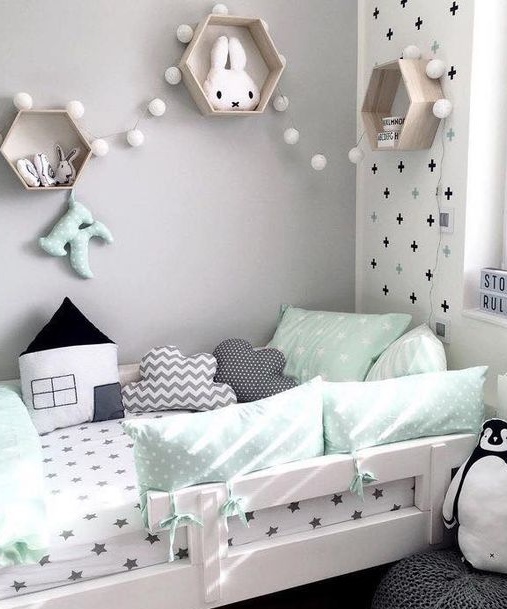
Wall decor in the nursery
If the plain design of the room seems too simple, it can be a little diversified. To do this, we propose to paint one or two walls using stencils.
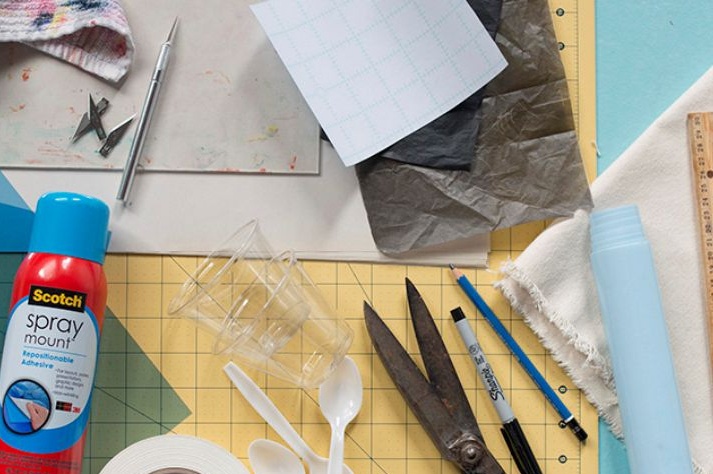
The following materials will be required:
- A4 paper
- Scotch;
- masking tape;
- a printer;
- acrylic paints;
- scissors;
- brushes;
- sponge.
First, look for the desired pattern and print on the printer. Cut out the details if necessary. Laminate the stencil with tape so that it does not get damaged when painting the walls.
We apply the stencil to the wall and fix it with small pieces of masking tape.
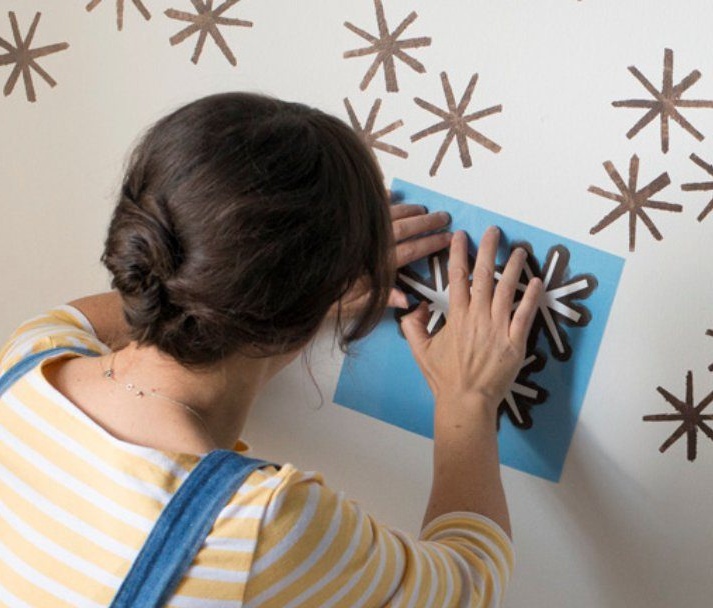
First, we make markings on the wall where the drawings will be located. Getting to painting the wall. It is best to use a sponge for this.

After all the details are drawn, paint the contours with a brush for greater clarity.
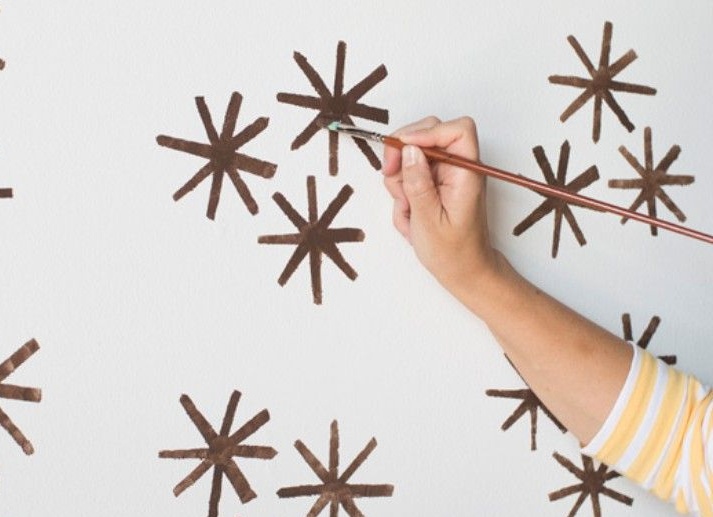
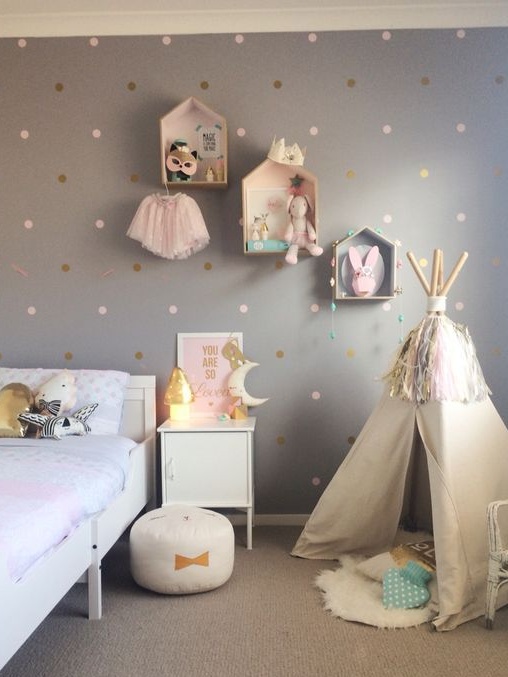
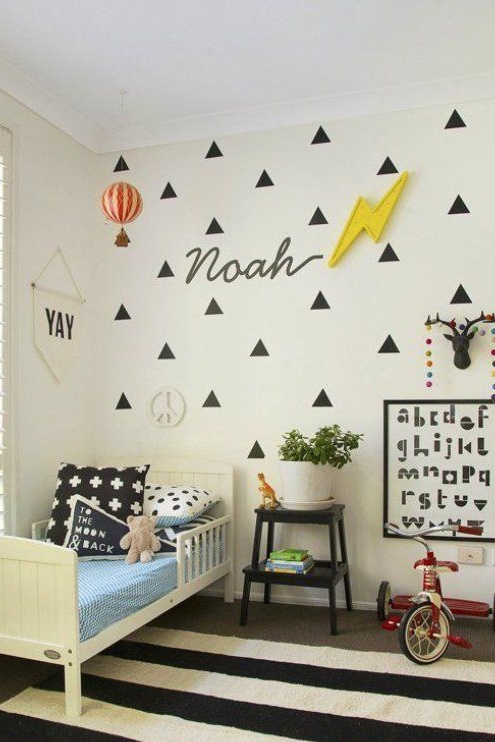
There are many wall decor options in the kids room. If you wish, you can use any of the presented.
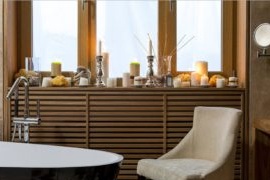
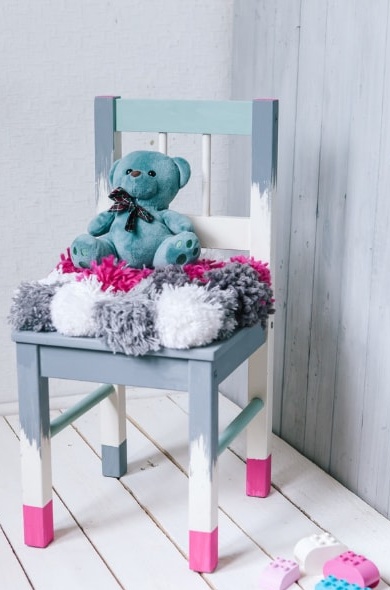
Stylish highchair
Furniture is one of the important components of a children's room. It does not have to be boring and plain. Therefore, we propose to restore a little chair and use it as one of the elements of the decor.
Necessary materials:
- plain highchair;
- masking tape;
- scissors;
- acrylic paints;
- brushes;
- woolen threads in several shades;
- device for creating pompons.
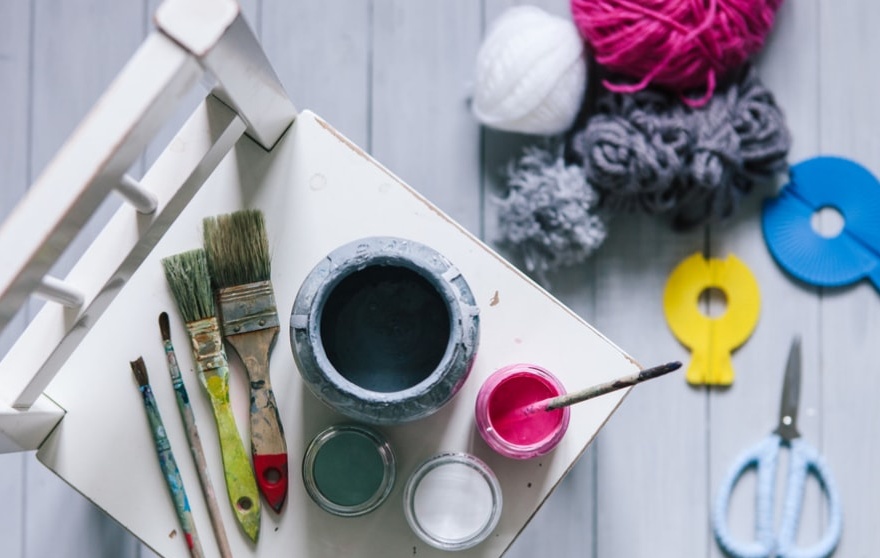
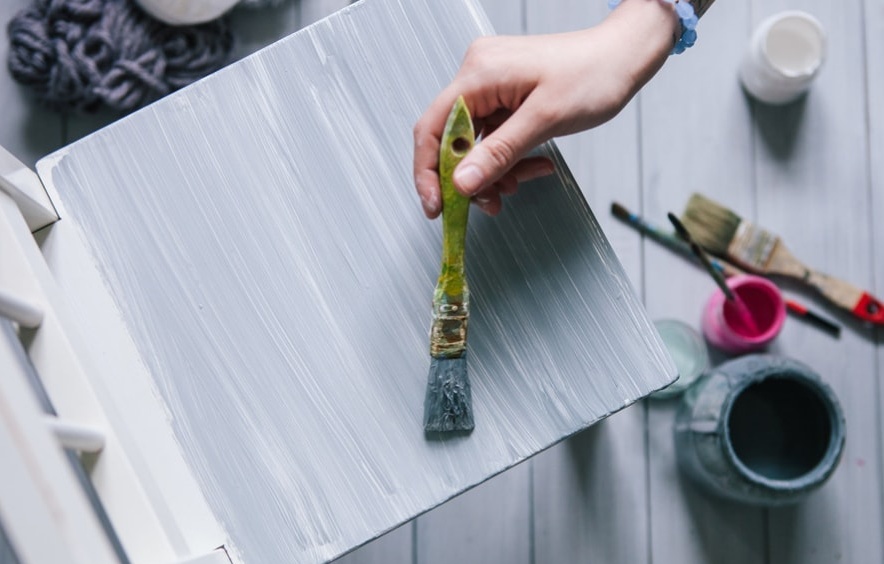
Getting to the stool seat coloring. We use gray paint for this. If necessary, paint in several layers and let each of them dry.
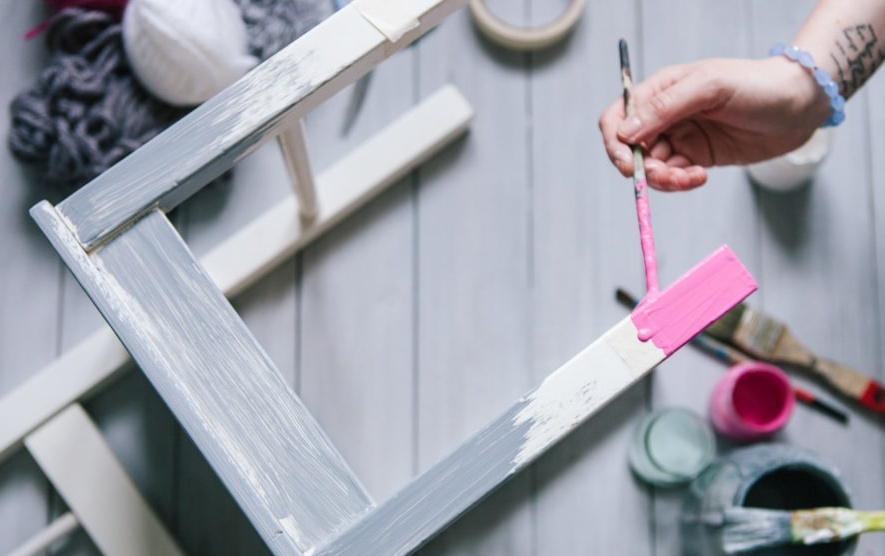
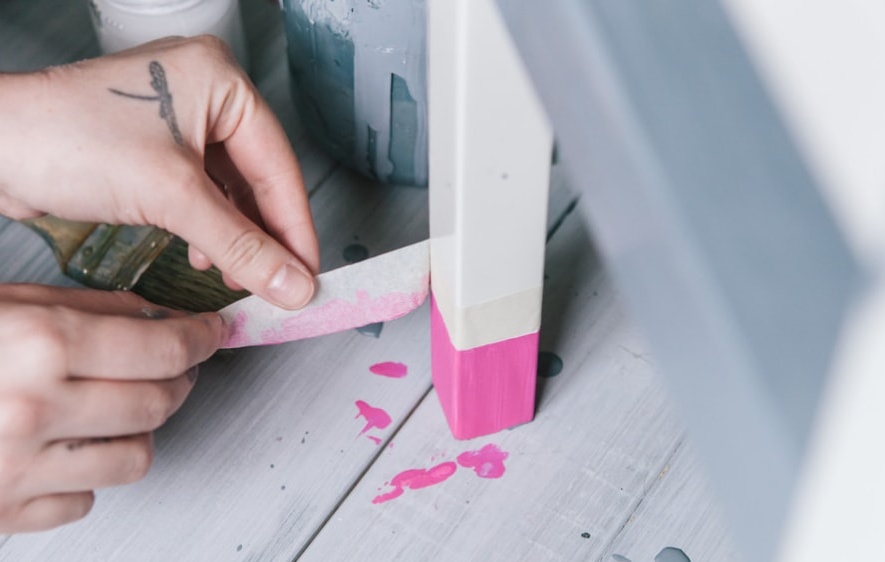
Glue pieces of masking tape to the legs of the chair in order to make a border. The lower part is painted with bright pink paint, and the upper part is gray.
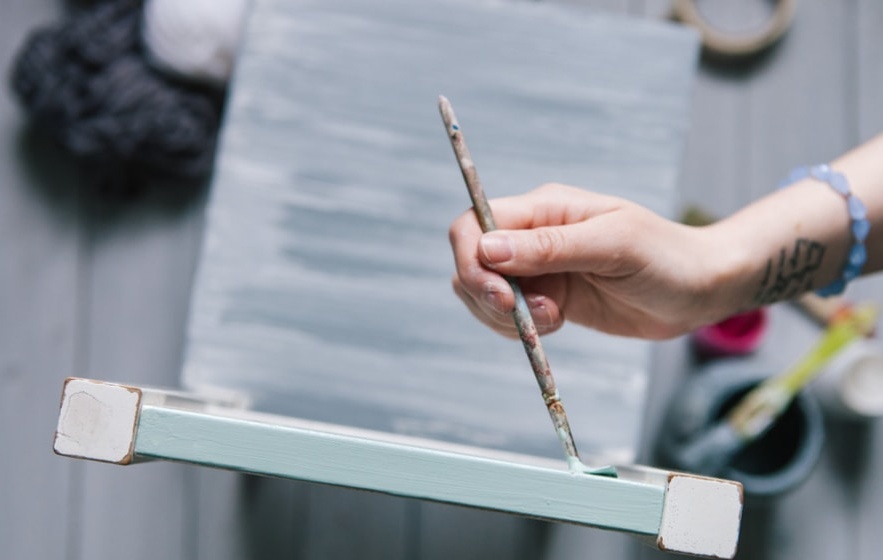
The back of the chair is painted with pale green paint.
We work through the details, adding pink to the top of the highchair.
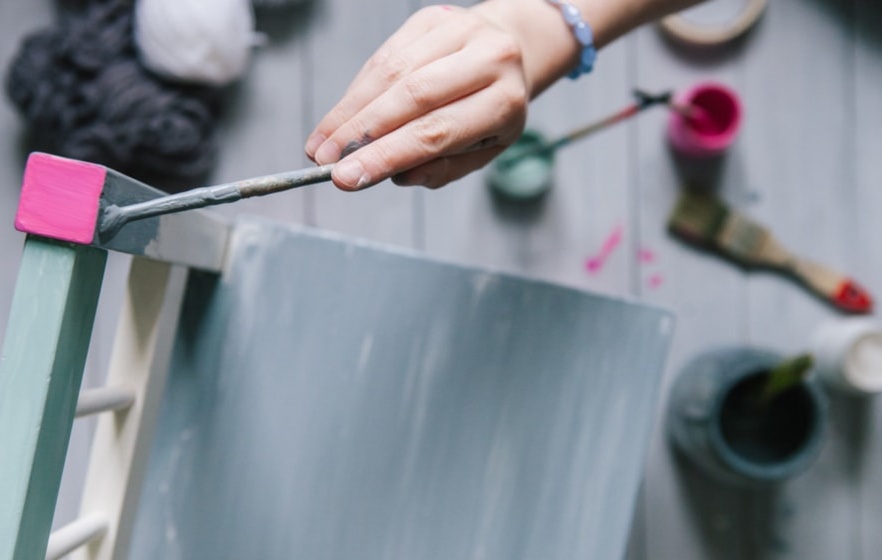
Remove masking tape from the legs of the chair when the paint is completely dry.
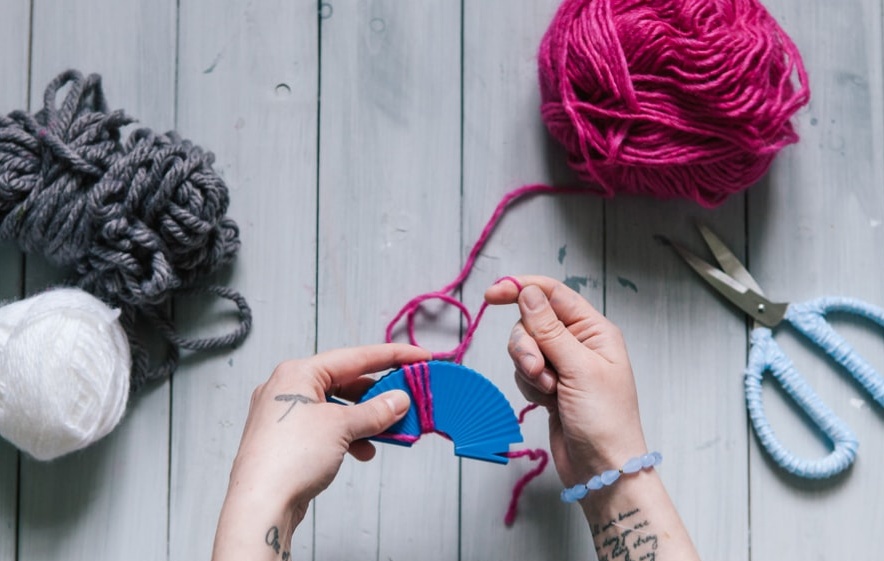
Using a special device, we make the first pompom. If you wish, you can use a piece of paper, as you did before.
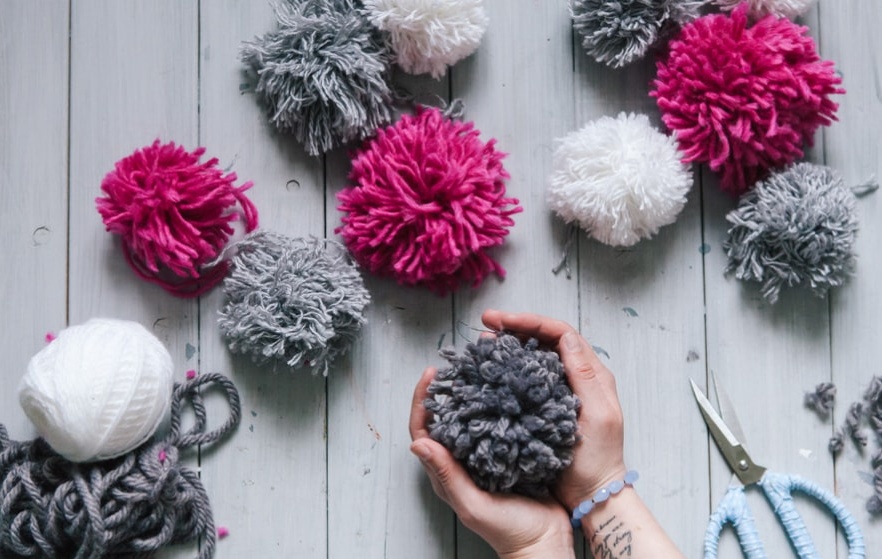
In this case, you need sixteen pompons.
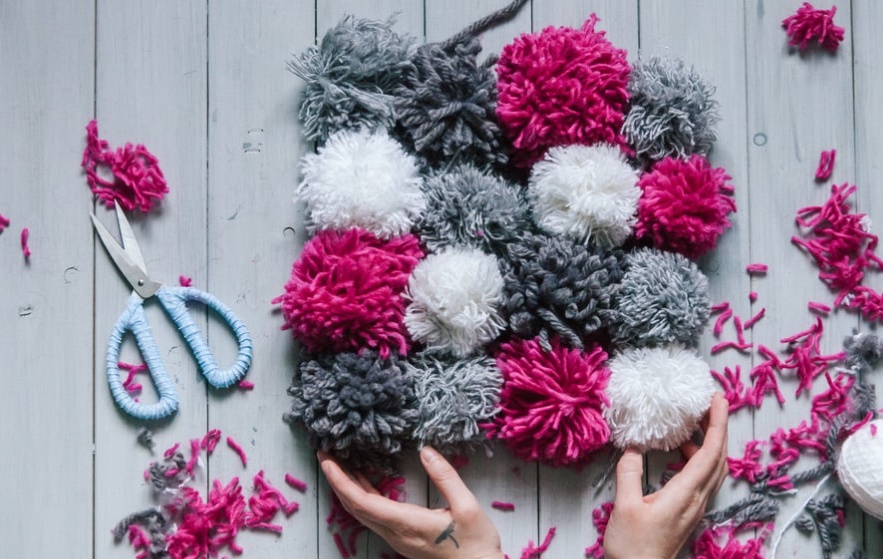
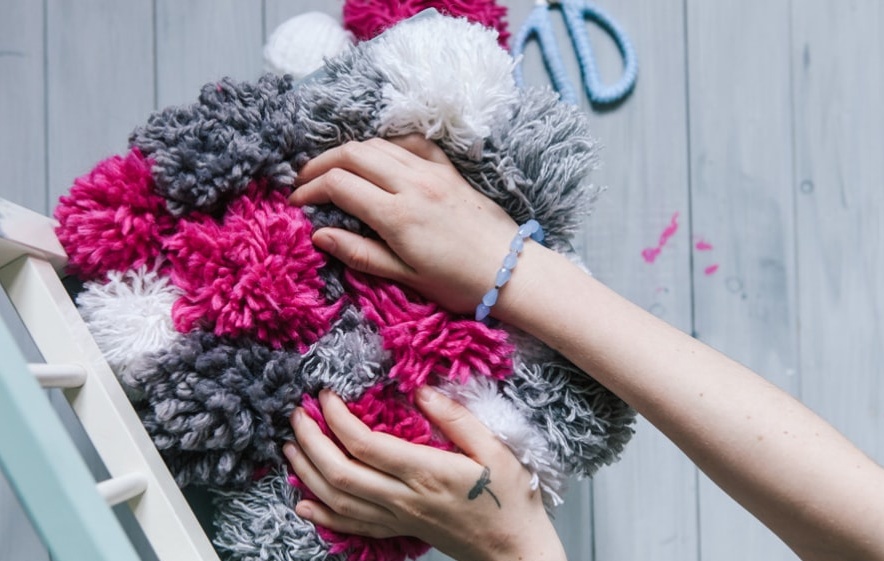
We connect the pompons with each other using a thread. The result should be a small fluffy rug.
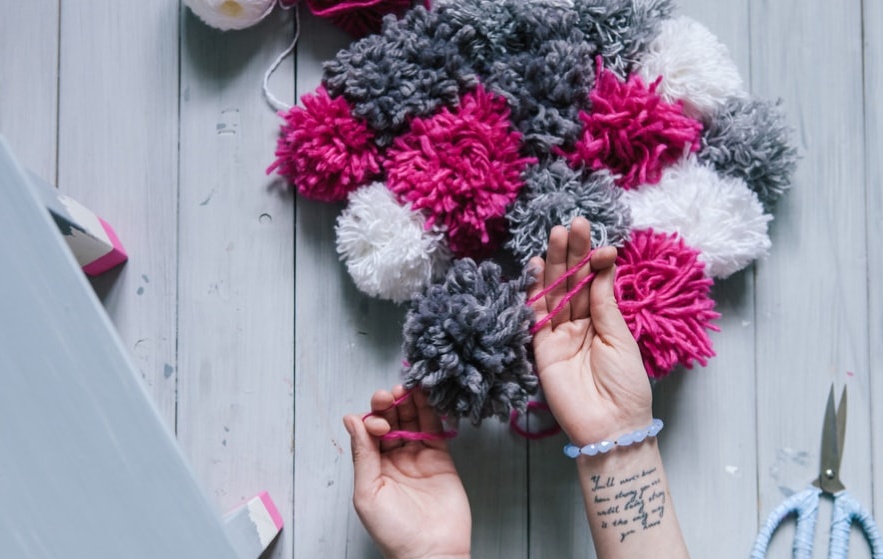
We attach it to the stool with the help of threads.
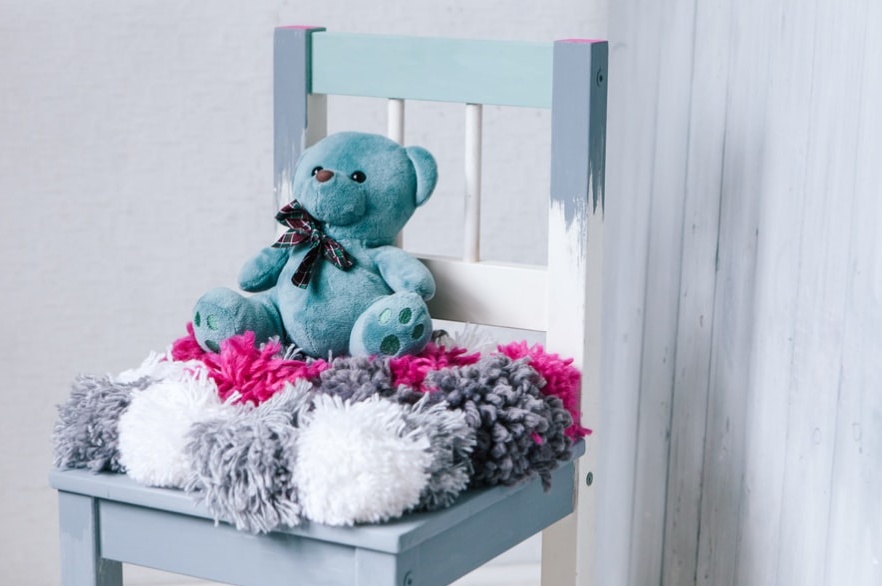
A beautiful chair with bright details will decorate any room.
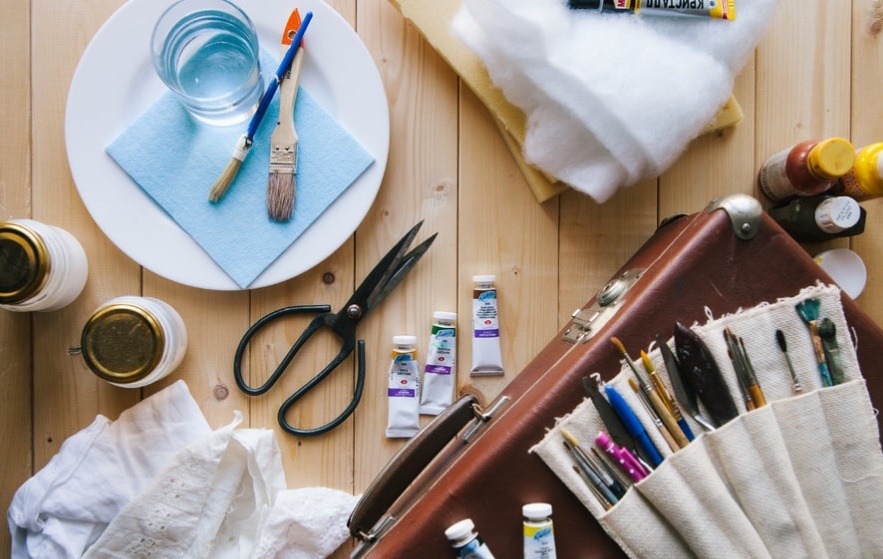
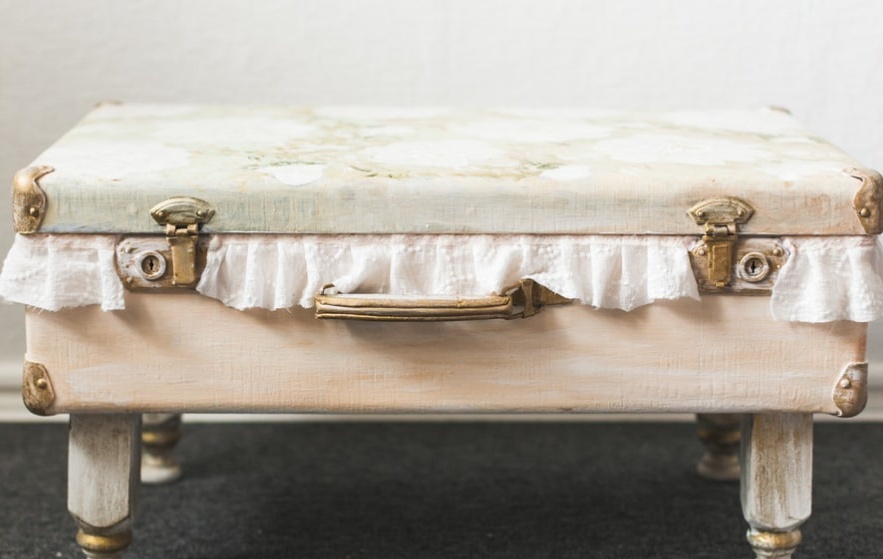
The second life of an old suitcase
Often the issue of storing toys is acute. If you encounter such a problem, we suggest making a stylish box from an old suitcase.
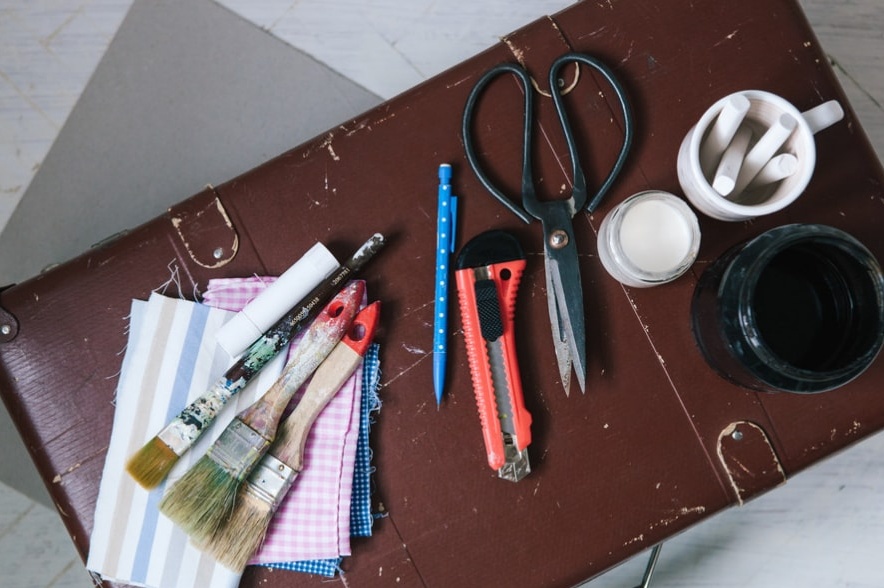
Prepare the following:
- suitcase;
- legs of a small size - 4 pcs.;
- acrylic primer;
- varnish;
- thin foam rubber;
- the cloth;
- scissors;
- paints;
- brushes;
- PVA glue;
- centimeter.
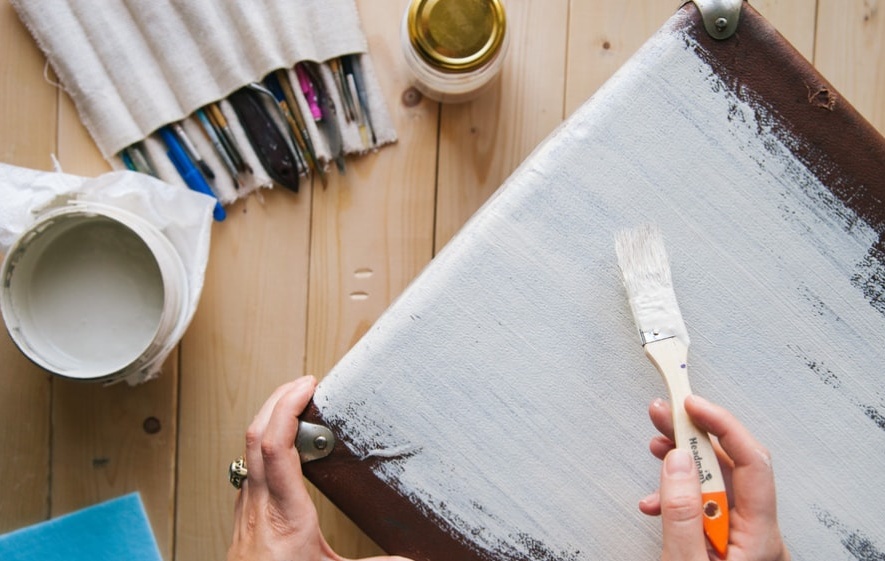
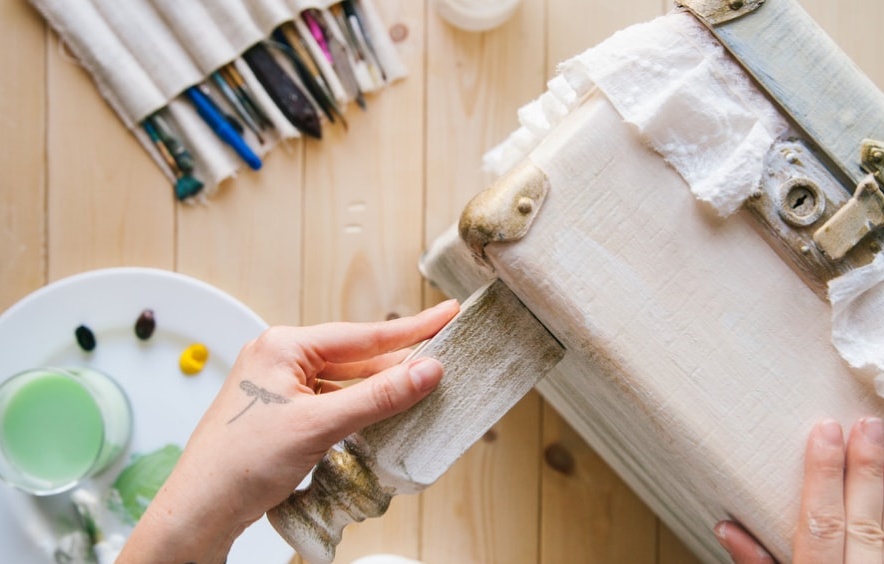
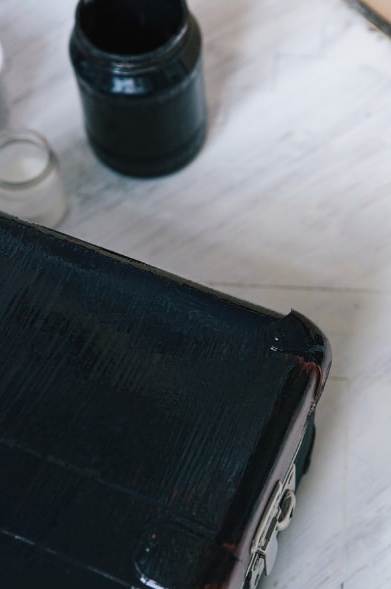
We remove all unnecessary from the suitcase and wipe it from dust. We apply two layers of primer, and then we paint the outer part and the ends.
Leave the suitcase to dry completely.
We measure the dimensions of the suitcase and cut off the foam or synthetic winterizer exactly in size. We sew together a heater with the fabric that was chosen for the lining.

We put the resulting lining in the suitcase and fix it with PVA glue.
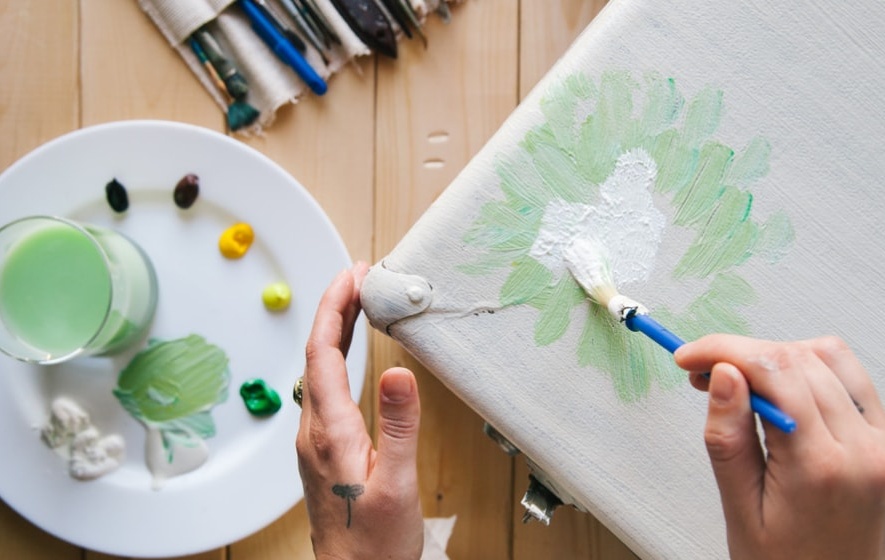
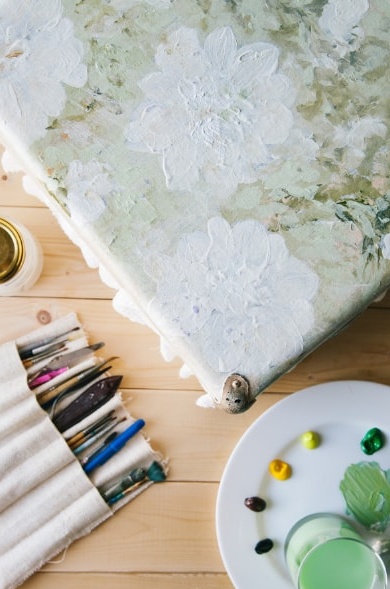
On the surface of the suitcase we draw flowers with acrylic paints. It is better to choose neutral shades for this, so that the product fits the decor of the room.
We cover the suitcase with varnish and leave to dry.
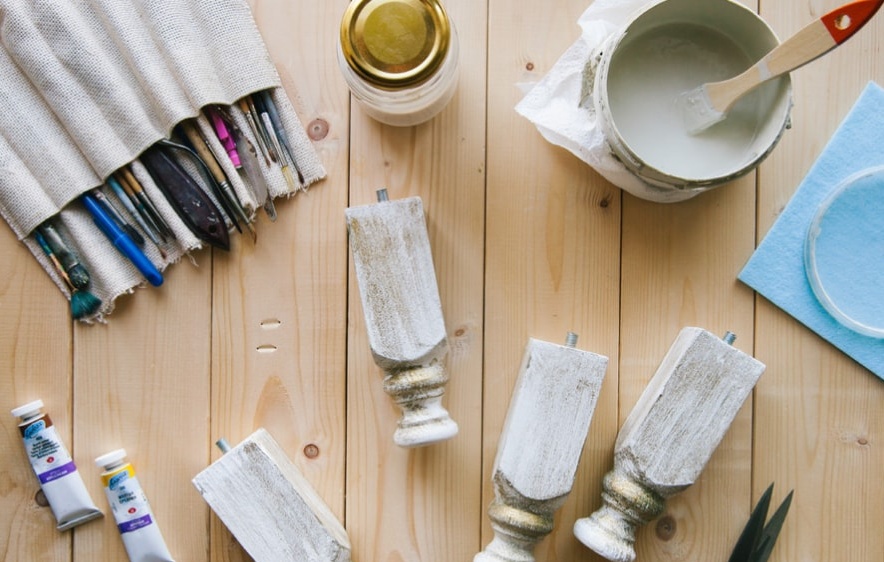
We make holes in the suitcase and screw the legs in such a way that they are securely fixed.
If desired, you can decorate it with additional decor.
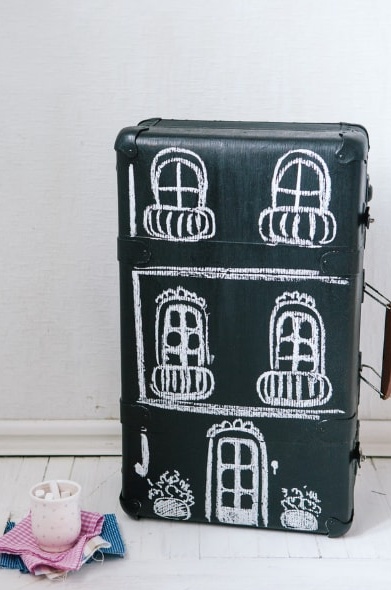
You can also make a beautiful dollhouse out of a suitcase, which every girl dreams of.

We will prepare such materials:
- suitcase;
- a piece of chalk;
- slate paint;
- brushes;
- acrylic paint;
- scissors;
- parquet lacquer;
- cardboard;
- stationery knife.
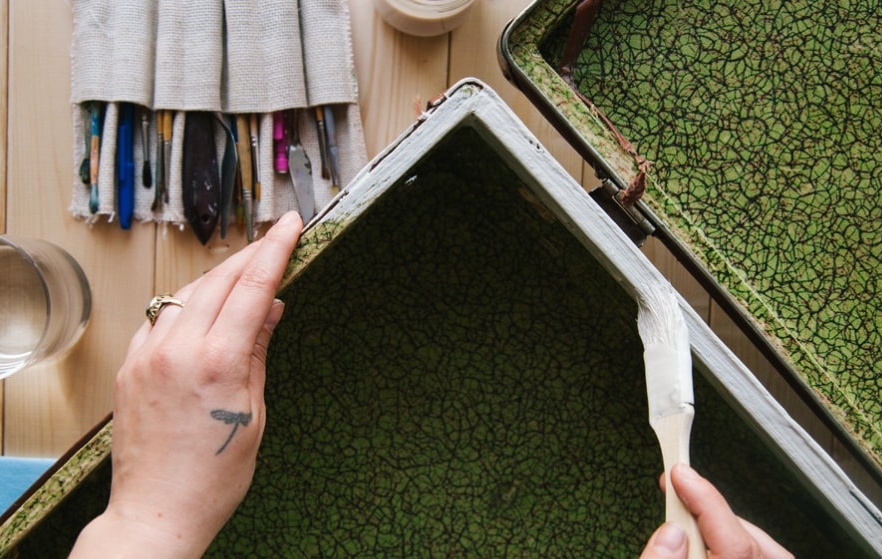
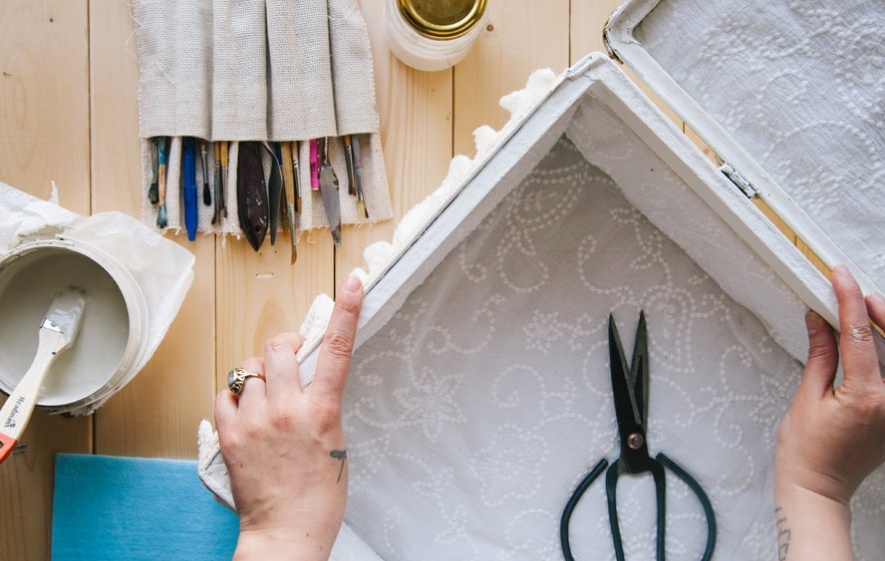
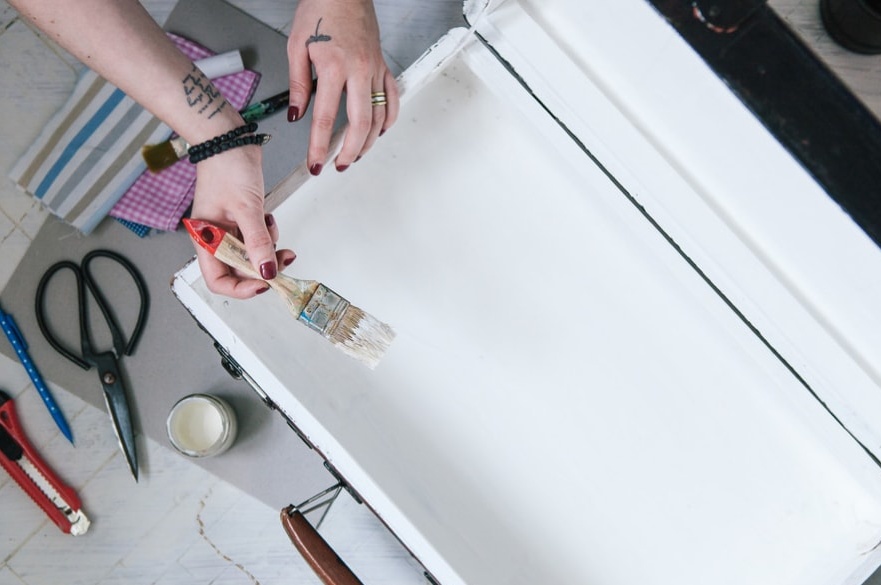
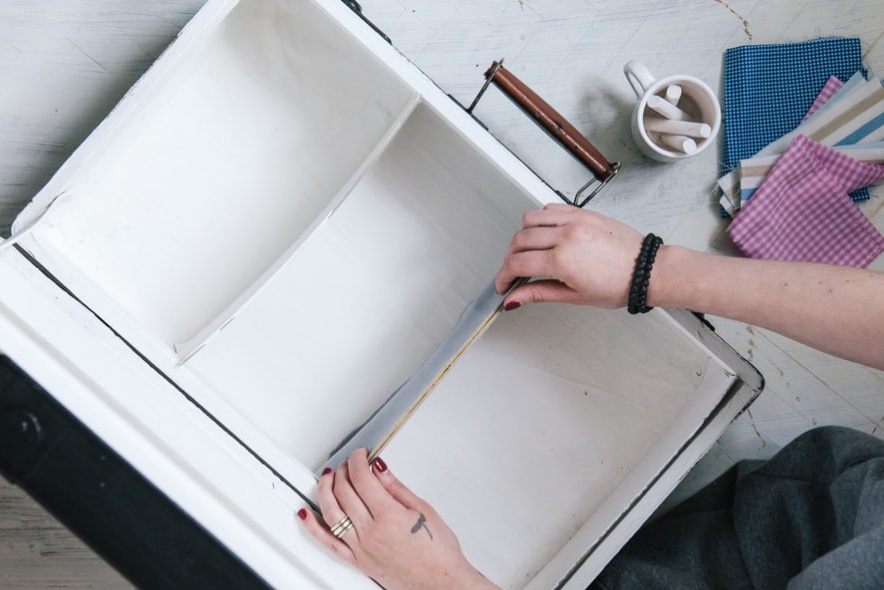
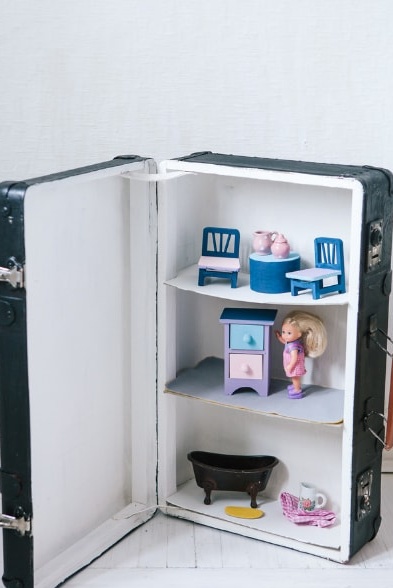
We paint the inside of the suitcase with white acrylic paint. We do this twice so that the color is as clear as possible, without bald spots. We leave the suitcase to dry completely and cover it with parquet lacquer.
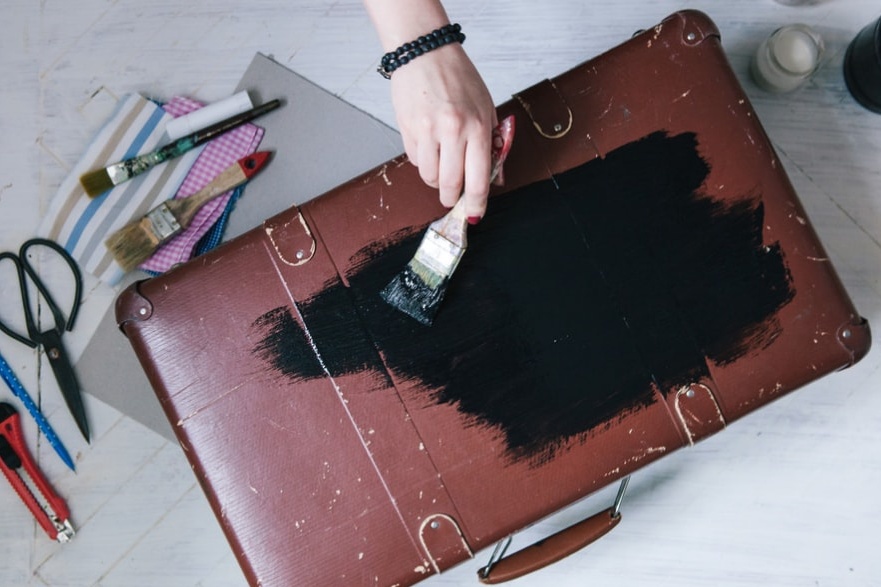
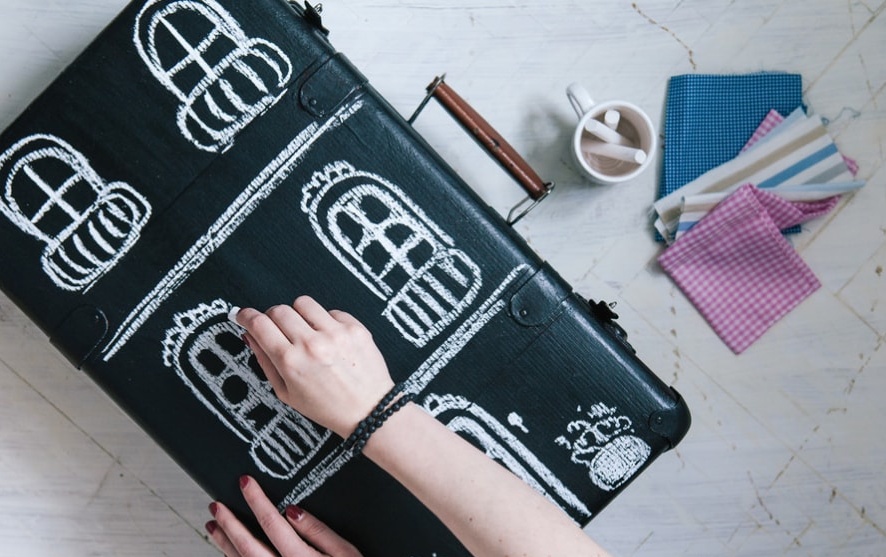
The outer part of the suitcase is painted with slate paint.

We cut out shelves for the future dollhouse from thick cardboard.
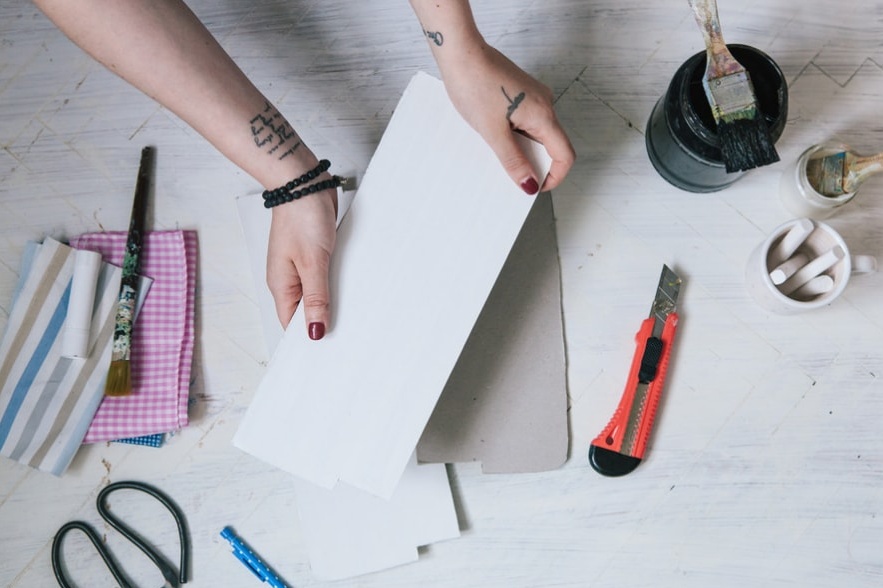
Insert the shelves into the suitcase.
Outside, draw the facade of the house in chalk. If something went wrong, you can always erase a drawing with a damp sponge and draw it again!
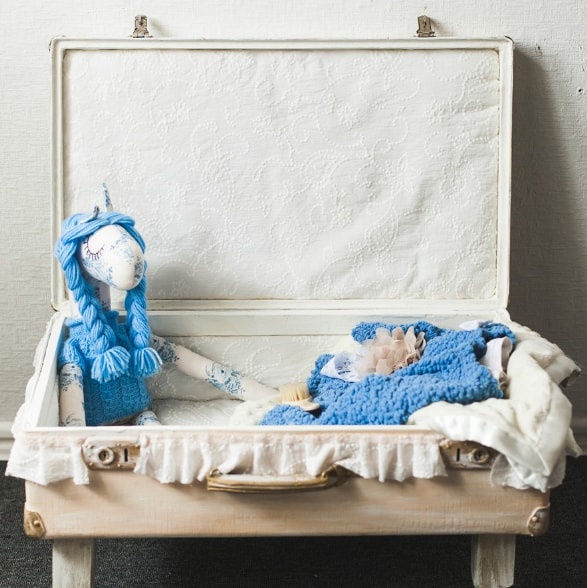
We fill the suitcase with various toys and not heavy doll furniture.
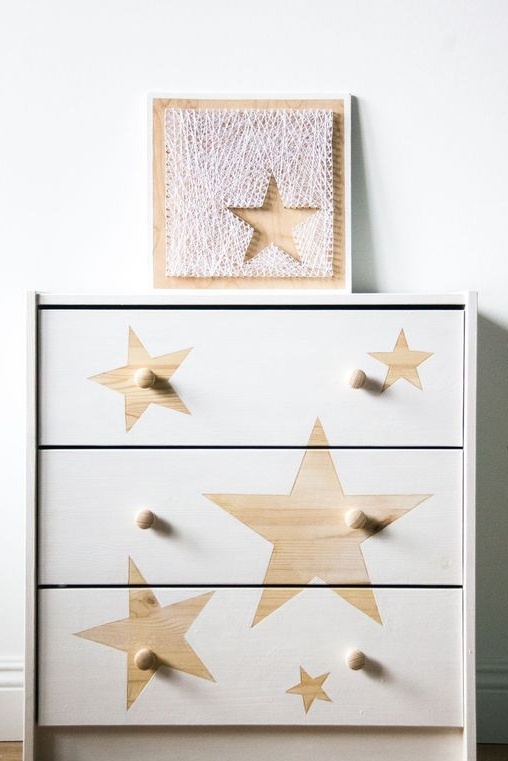
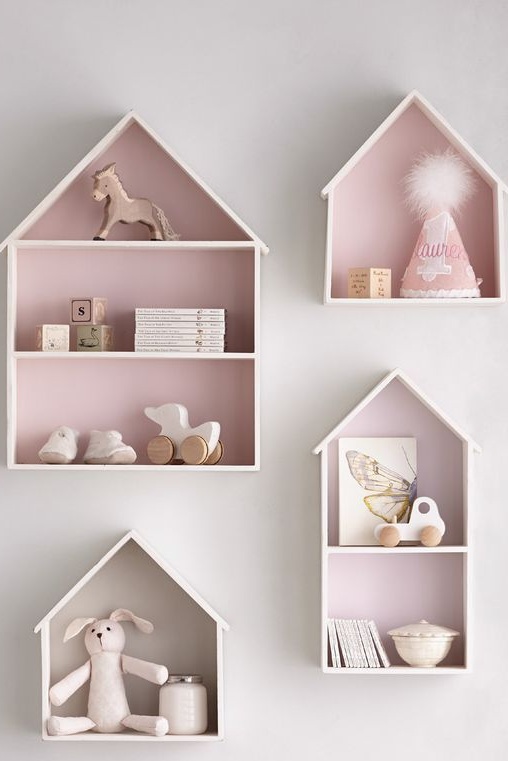
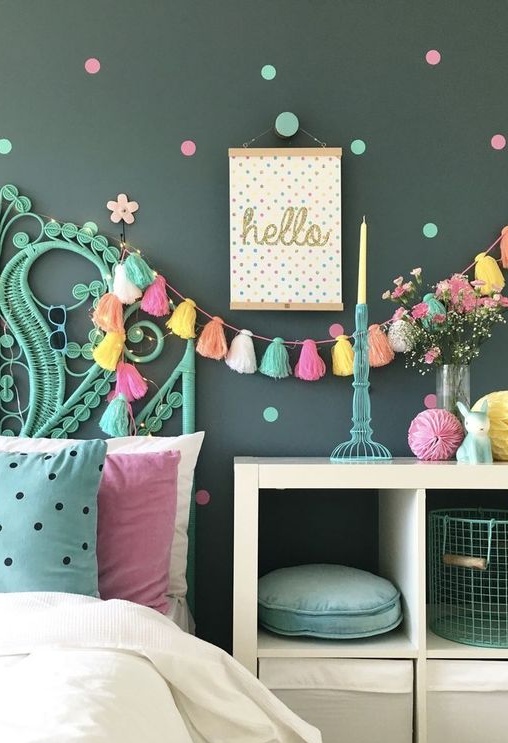
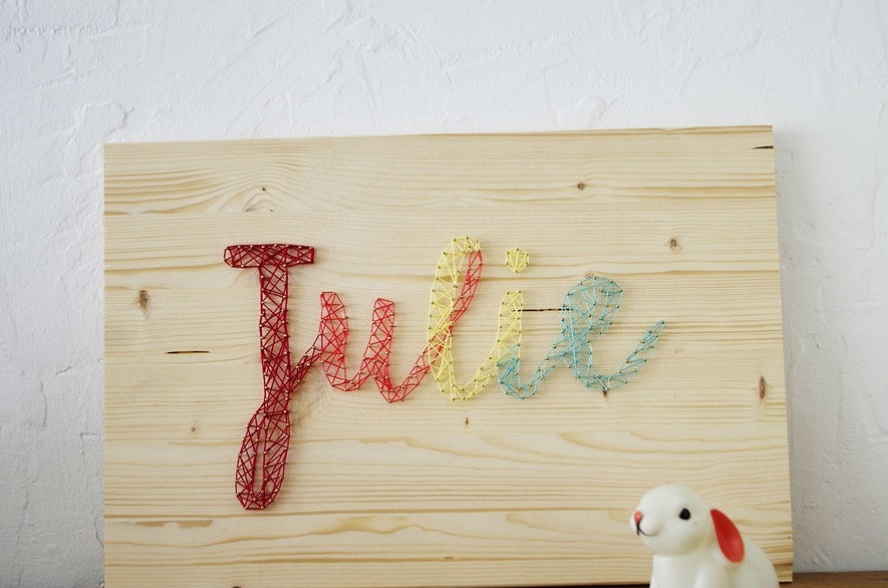
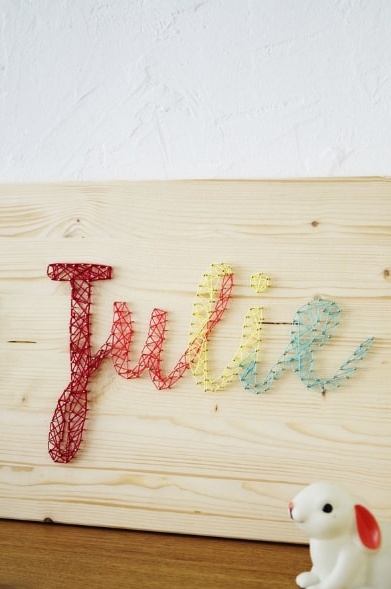
Name panel
A stylish decoration for a child’s room can be a stylish panel with the name of the child.
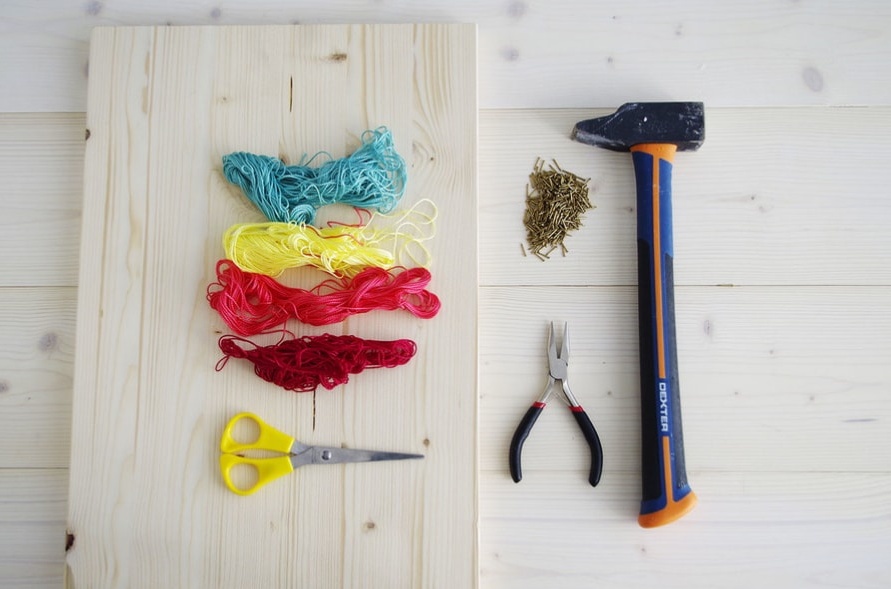
To make it at home you will need:
- wooden plank;
- threads of different colors;
- scissors;
- nails
- hammer;
- pliers;
- sheet A4;
- pencil;
- eraser.
On an A4 sheet, draw the name of the child. If you wish, you can simply print it.
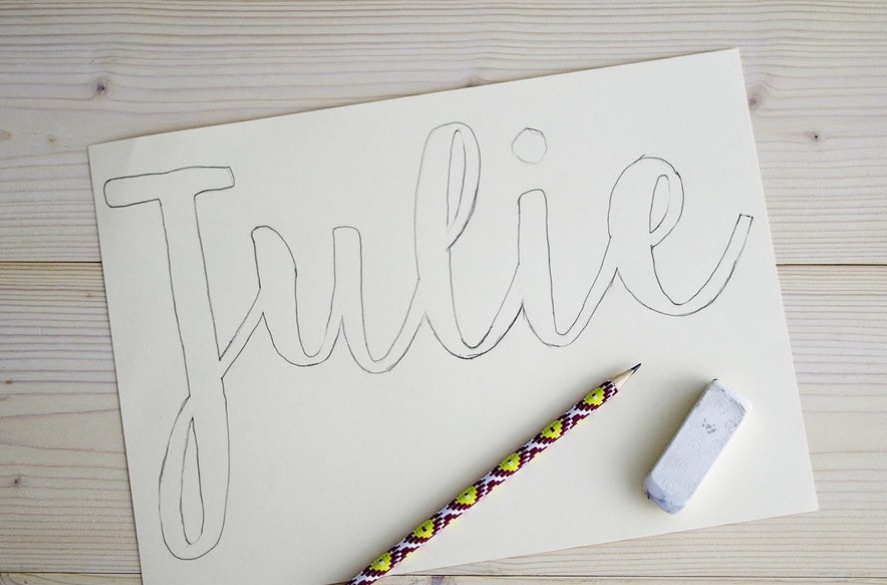
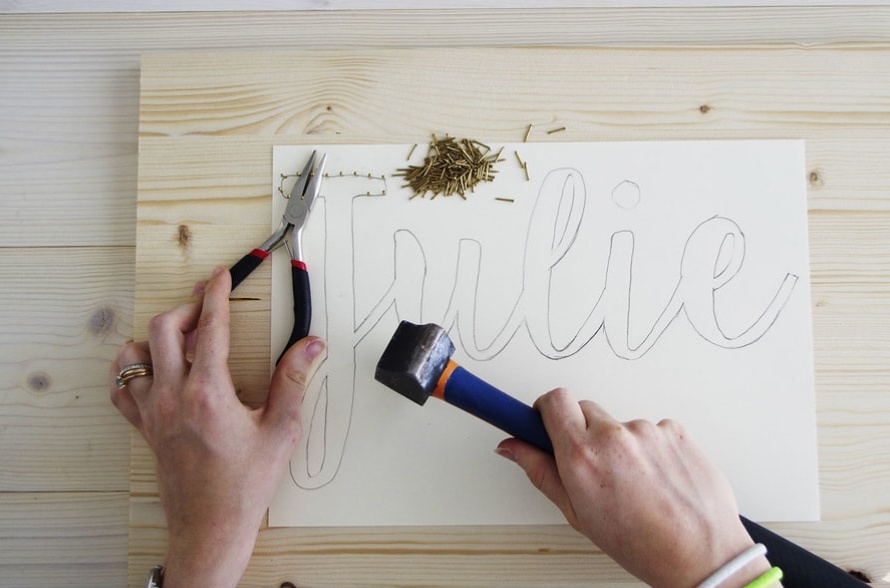
Put the name sheet on a wooden board. We fix the nail on the edge of the letter and hammer it with a hammer. Alternately drive the remaining nails at an equal distance.
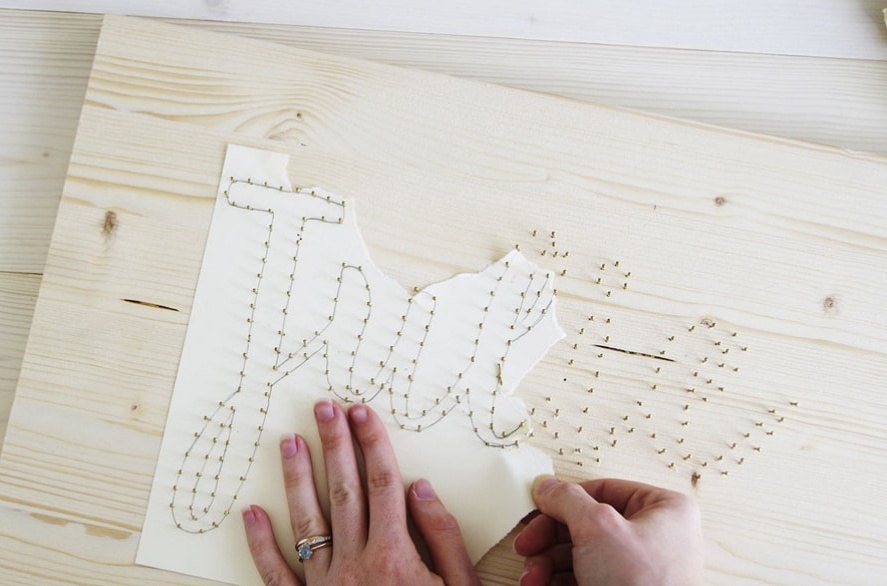
When all the nails are on the board, remove the sheet of paper.
We tie the tip of the thread to one nail and weave it between the nails in such a way as to fill the space of the letter.
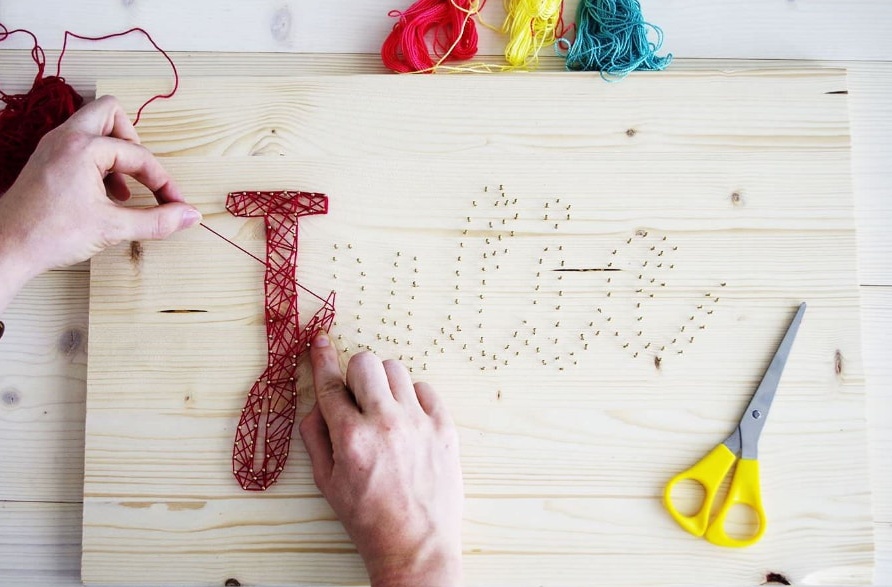
We repeat the same with the rest of the letters, changing the thread color for each of them. Due to this, a peculiar gradient effect is obtained.
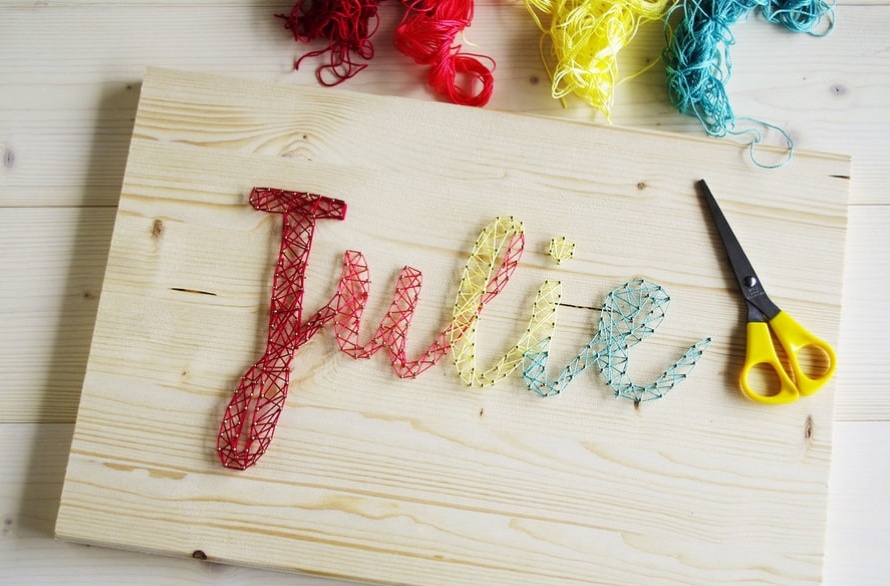
The panel can be put on the table or attached to the wall.
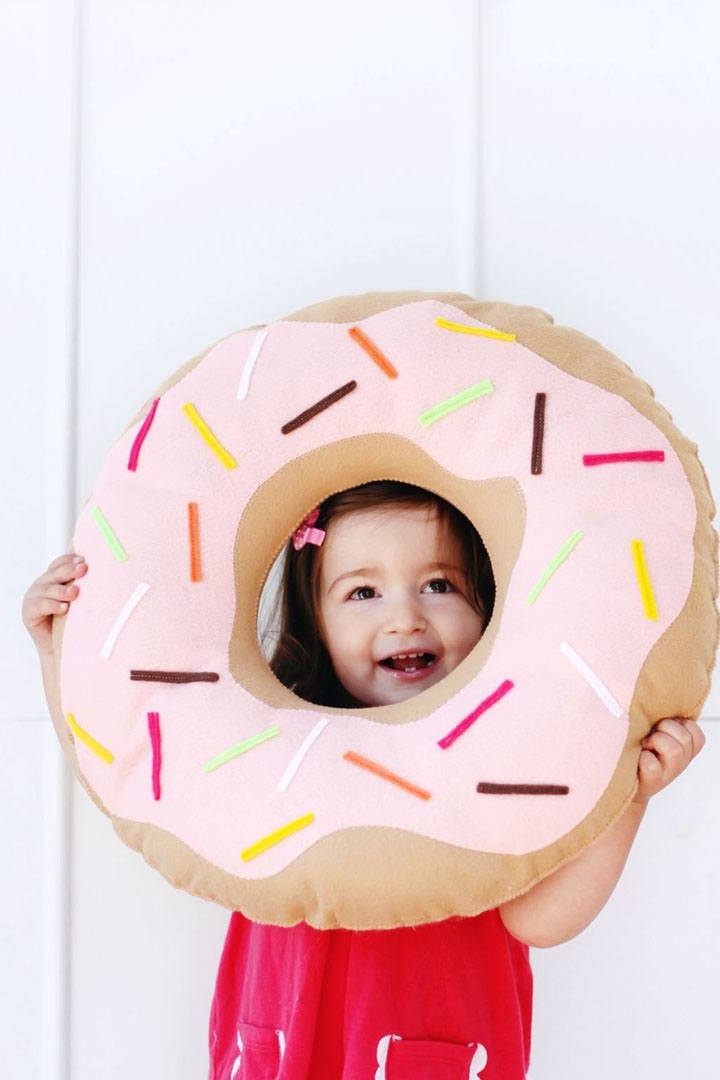
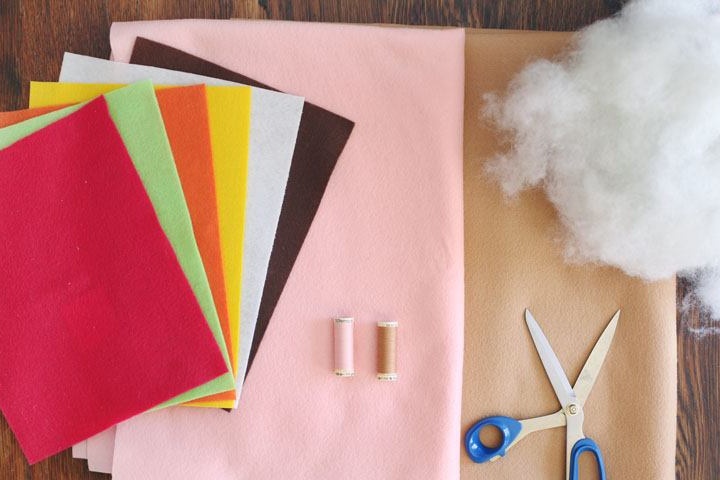
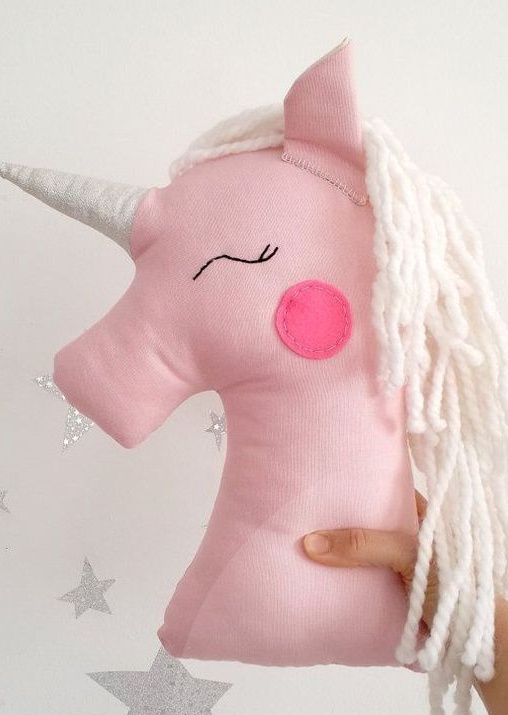
Original throw pillow
Necessary materials:
- beige and pink fleece;
- threads in appropriate shades;
- small pieces of colored felt;
- batting or synthetic winterizer;
- sewing machine;
- scissors;
- two containers of different sizes;
- marker;
- pins
- needle.
We fold the beige fabric in half. We attach a large container and draw a marker. In the center we apply a small container and also circle it.
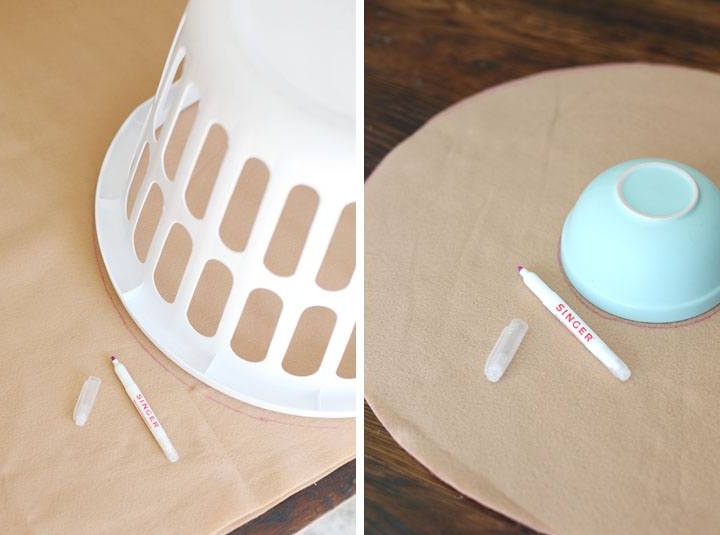
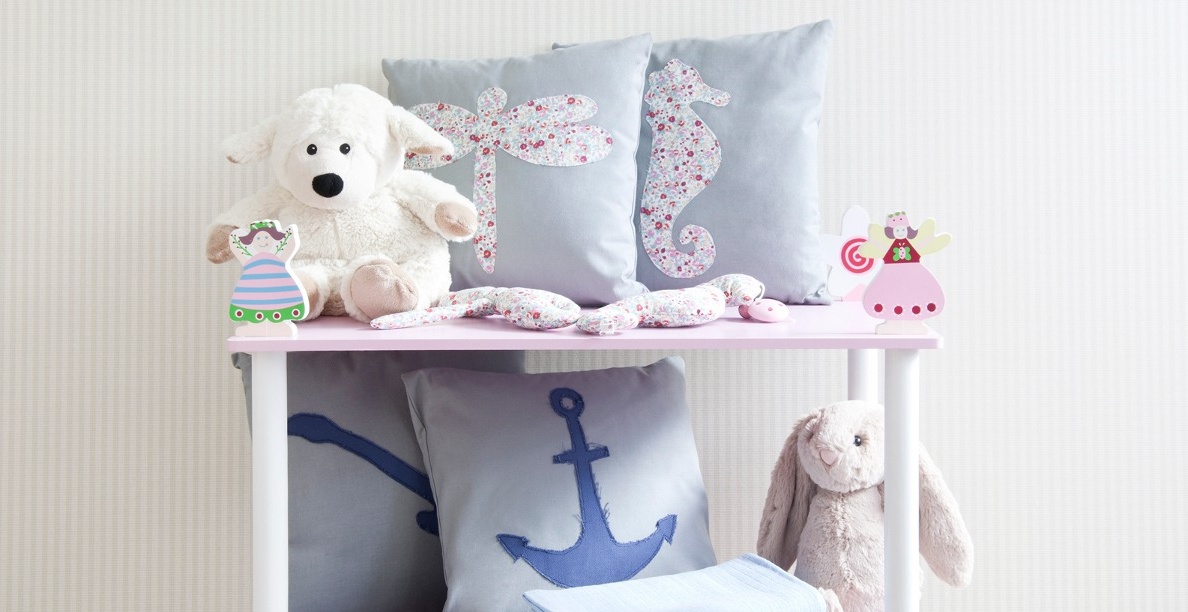
Repeat the same with pink fabric without folding it. Draw the wavy lines as shown in the photo.
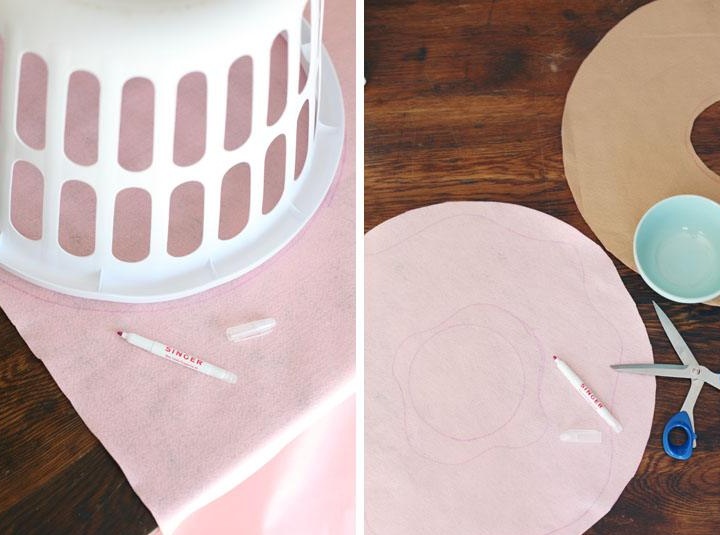
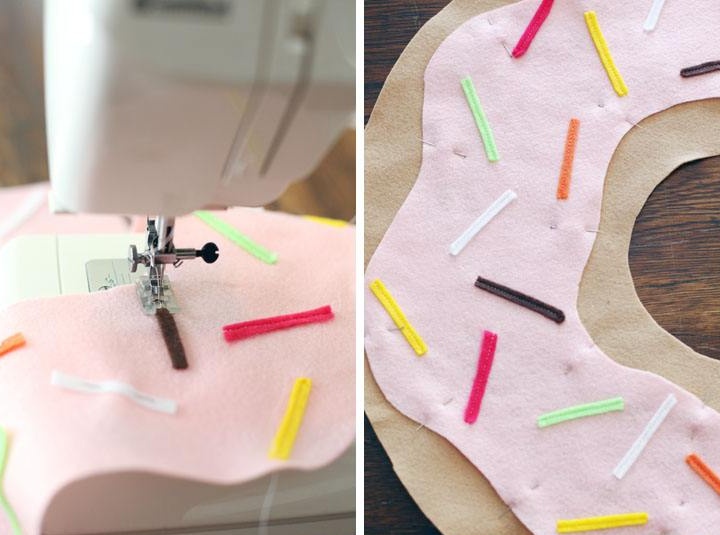
Cut out all the details of the workpieces. From felt of different shades we cut thin strips. We distribute them on the surface of the pink blank and fix it with pins.

Using a sewing machine, sew all the strips to the pink blank. After that, we sew it to the brown blank.
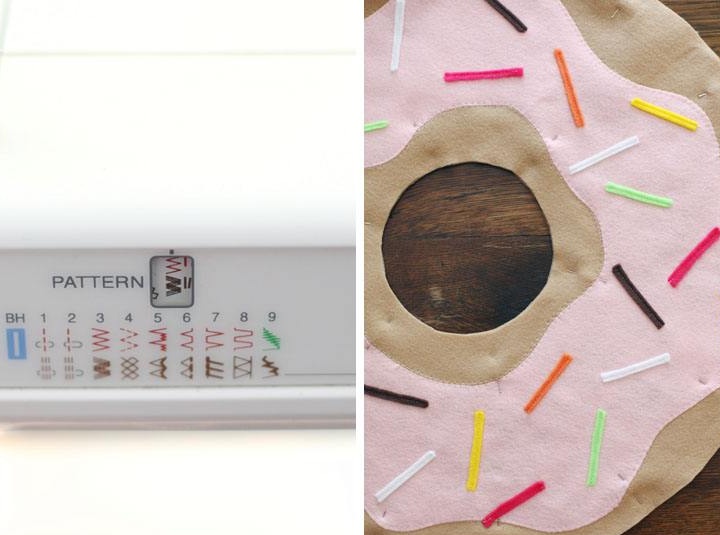
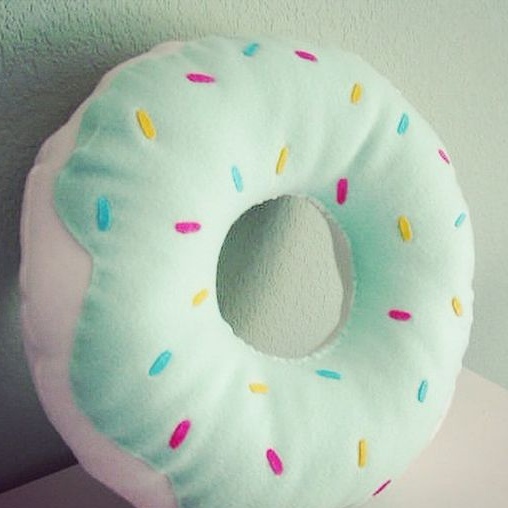
We sew two brown blanks, but not completely. Fill with padding polyester or batting, then sew the remaining part.
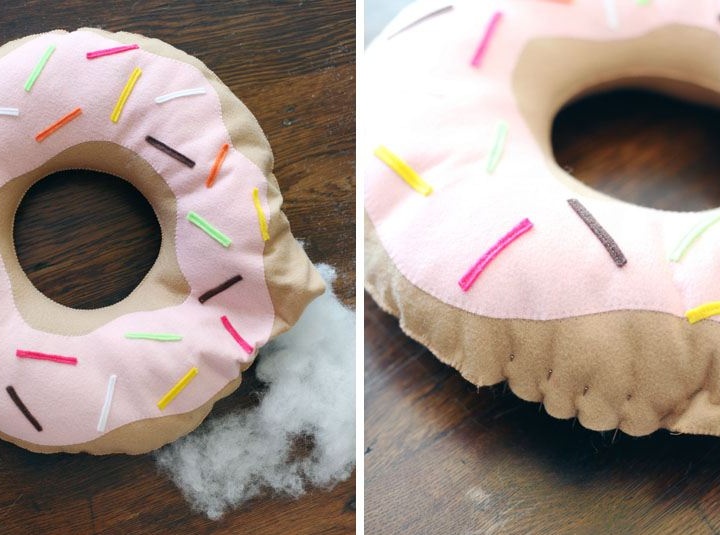
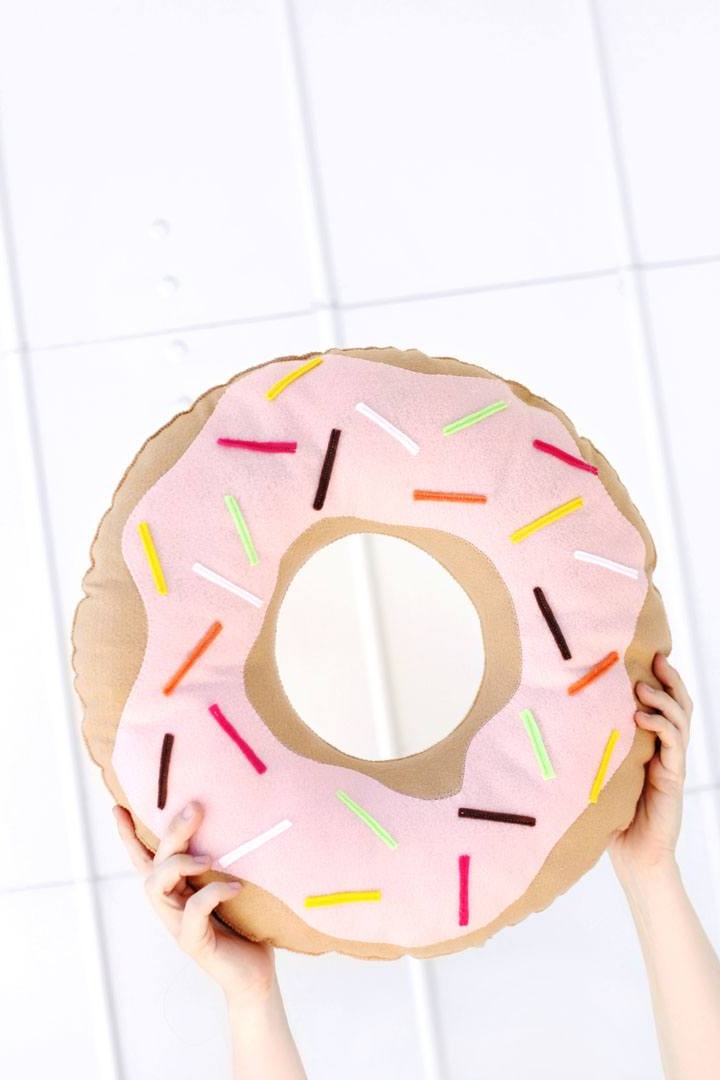
The original donut-shaped throw pillow is ready! If desired, you can make a pillow in any form.
Beautiful, stylish decor for a children's room does not have to be voluminous. Sometimes even a small subject becomes the main focus. Therefore, be sure to try to implement any of the presented master classes and share photos in the comments.